15 Mermaid Braids I Tried and What Held
Fifteen mermaid braids tested on the same head, three of which came apart, and the one thing that decided every result — a fishtail is held together by friction between strands, not by how hard you pull it.
In this article · 23
- What a Mermaid Braid Actually Is
- By Length and Thickness
- The Fine and Slippery Hair Fix
- How to Pancake a Mermaid Braid
- Waves Accessories and Boho Finishes
- Making It Last
- The 15 Mermaid Braids I Tried
- 1. Classic Down the Back
- 2. Freshly Washed and It Failed
- 3. Pancaked on Day Two
- 4. Deep Side Over the Shoulder
- 5. Half Up at the Occipital Bone
- 6. Dutch So It Sits Proud
- 7. Waterfall Mermaid
- 8. Boho Face Framing Pieces
- 9. At 24 Inches of Length
- 10. The Collarbone Lob That Failed
- 11. Ribbon Woven Through
- 12. The Crown Braid That Failed
- 13. Coiled Into a Bun
- 14. Beachy Curls First
- 15. Slept In Waves
- Final Thoughts
A mermaid braid is a fishtail, and the ones that fail tend to fail before a single strand has been crossed.
A fishtail is held by friction, not by tension. Two sections, thin pieces taken from the outer edge of one and crossed to the inner edge of the other. Nothing is knotted, so what stops the braid sliding apart is how much grip the strands have on one another.
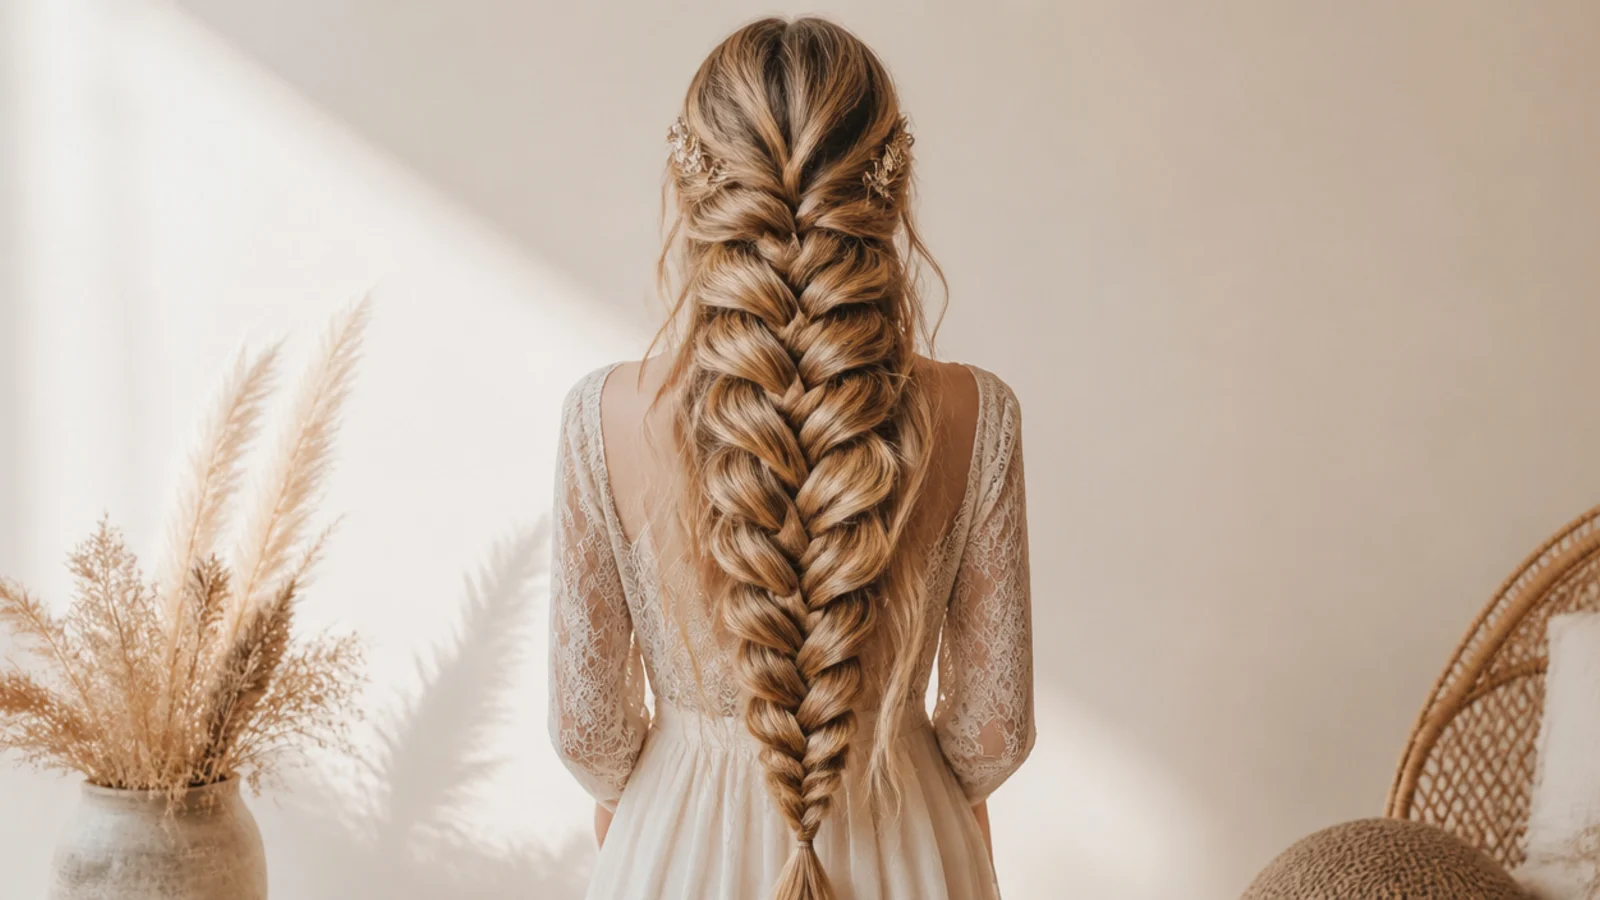
The width is added after the braid is finished. A completed fishtail is a narrow rope. Pancaking is the separate step that turns it into the wide scaled thing people are actually looking at in the photograph.
What a Mermaid Braid Actually Is
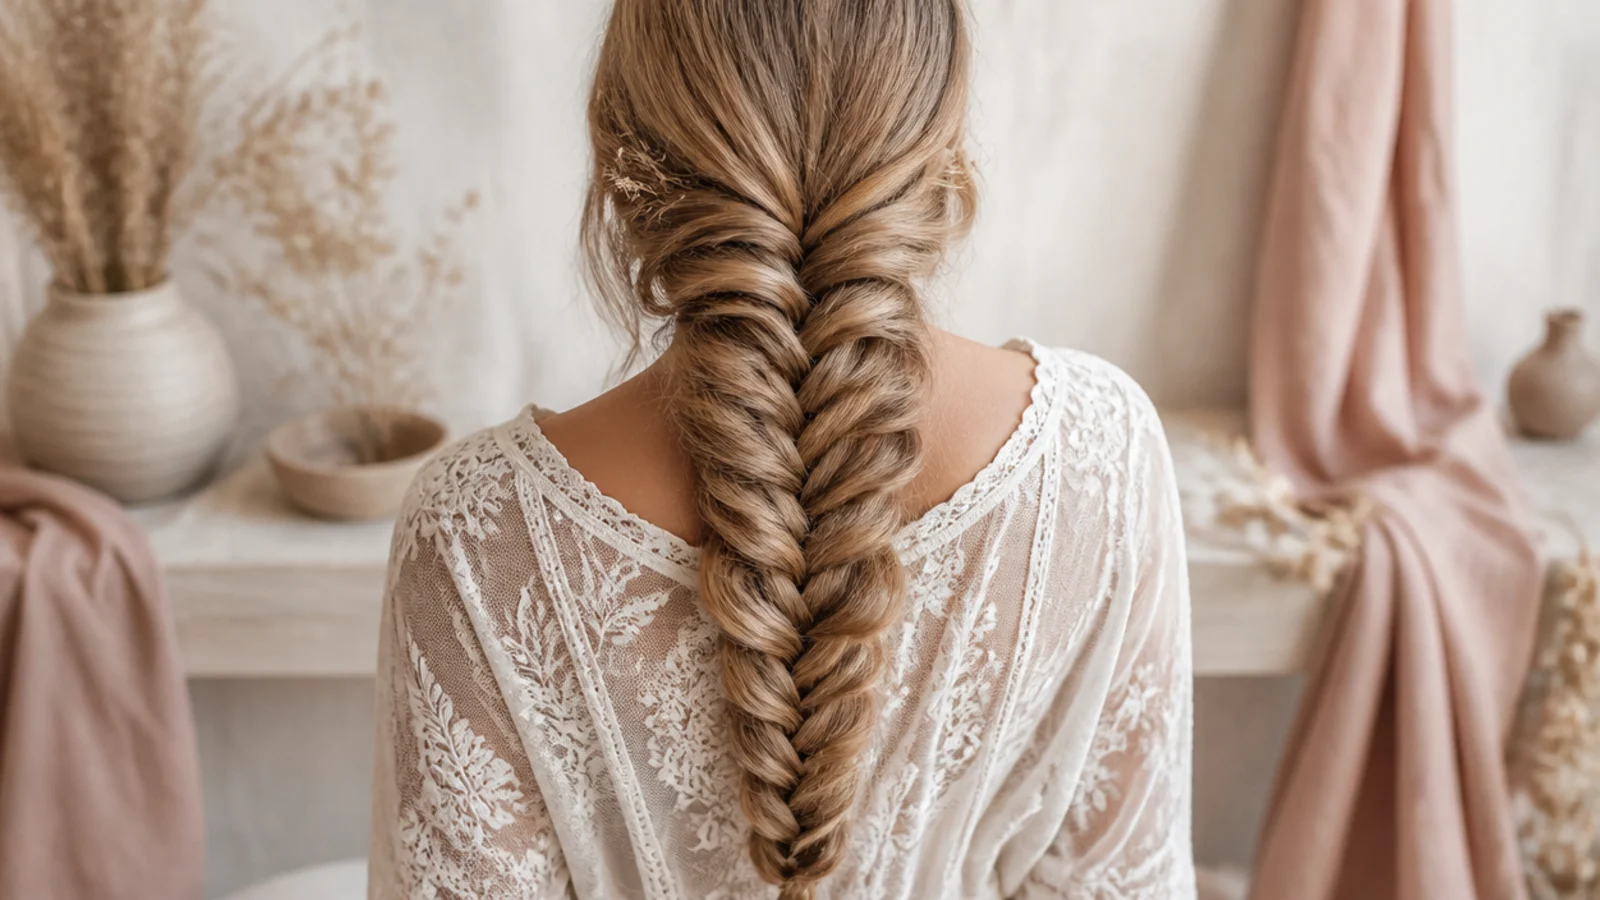
Two sections, not three. A three strand plait moves one of three pieces each pass. A fishtail splits the hair in half and moves a thin sliver from one outer edge to the far inner edge, then repeats on the other side.
The chevron pattern is the crossing point. Each sliver lands in the centre and is pinned there by the next one. Stacked up, those overlaps read as scales, which is where the name came from.
It takes twice as many passes per inch. The pieces are thinner, so more of them fit in the same length of braid. Budget fifteen to twenty minutes on long hair rather than the three a plait takes.
Thinner slivers give a finer pattern. Take pieces about the width of a shoelace for a clearly defined scale, and pencil thick if you want the braid to build faster and read chunkier.
By Length and Thickness
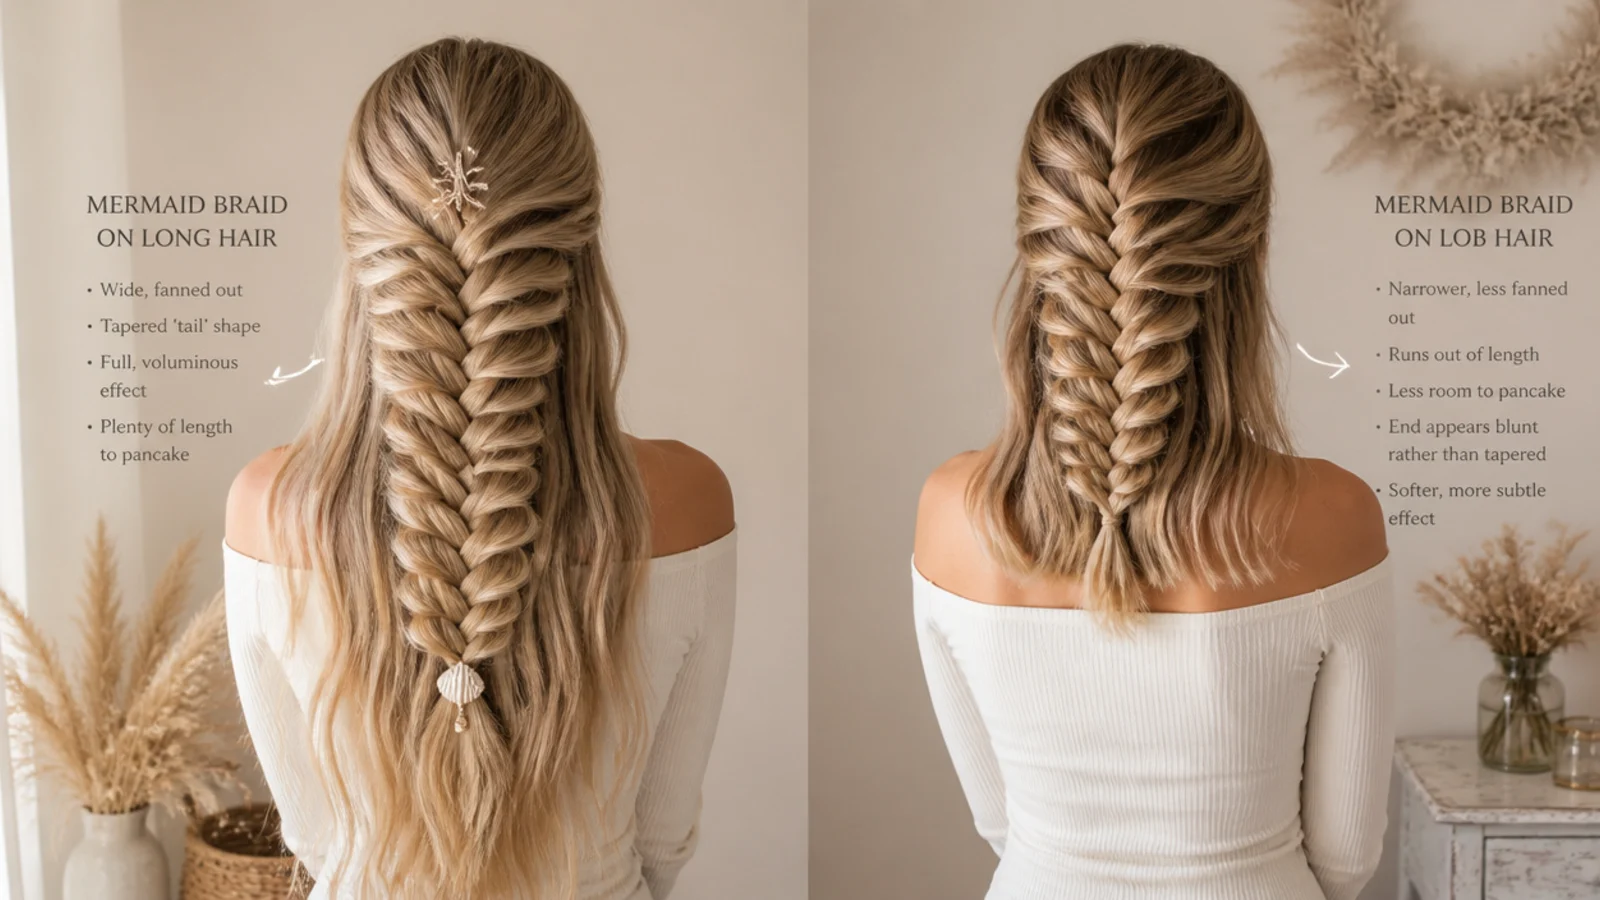
Mid back is the practical minimum for a braid down the back. Below the starting point you need six or seven crossings before the braid reads as one, and anything shorter finishes as a stub above the elastic.
Thickness sets the width you can pancake to. Pancaking redistributes hair sideways rather than creating it, so a fine head widens to a point and then starts showing gaps between crossings.
Very thick hair needs thinner slivers. Large pieces on a dense head produce a braid so wide it will not lie flat against the back, and it rolls onto its side within an hour.
Layers shorten the useful length. Short layers run out partway down and escape as loops along the braid, which is worth knowing before you blame the technique.
The Fine and Slippery Hair Fix
Do not braid it clean. Freshly washed hair has a flat cuticle and no sebum on it at all, so the crossed pieces have nothing to grip and the braid unwinds from the bottom.
Day two hair holds best. A day of natural oil raises the friction between strands, which is the only force keeping a loose fishtail in position.
Texture spray does the same job in a minute. It leaves particles sitting between strands, and those particles are what stop one sliver sliding out from under the next.
A light backcomb at the crown gives the start something to sit on. Fine hair has the least anchorage at the top of the braid, and that is where a mermaid braid usually loosens first.
Skip conditioner on the lengths that day. Slip is exactly what you are trying to remove, and a smoothing serum is working against you here.
How to Pancake a Mermaid Braid
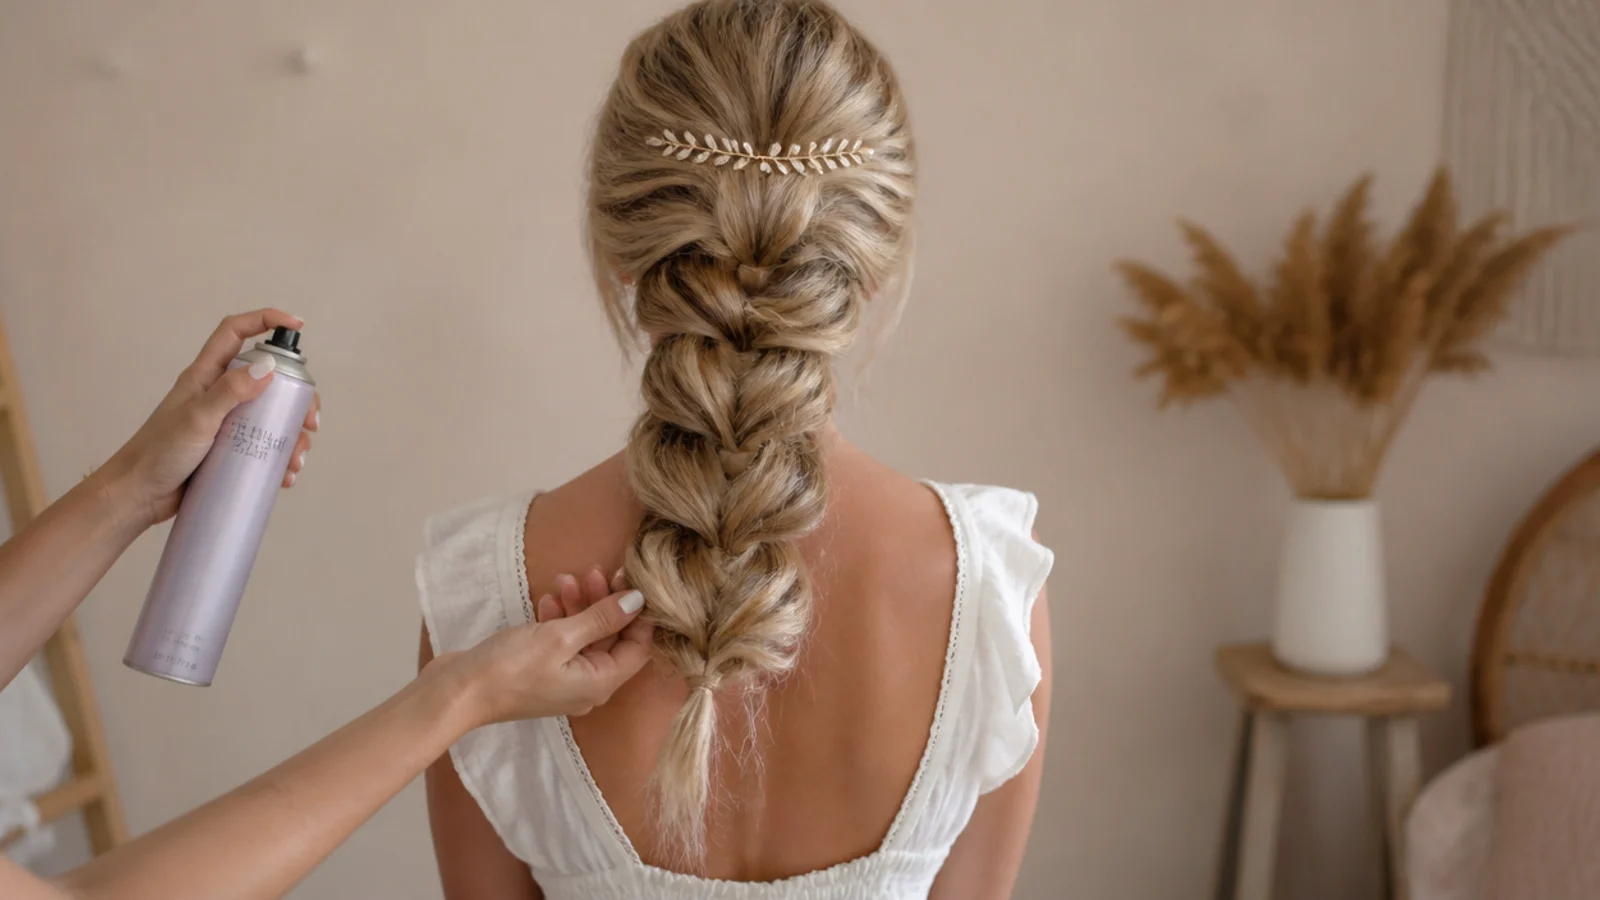
Secure the end first. Pancaking releases tension, so the elastic has to be on before you start or the braid slackens faster than you can widen it.
Work from the bottom upward. Each crossed piece is held by the ones above and below it. Widening the lowest one first leaves the tension above it untouched, while starting at the top drops slack all the way down.
Pull the outer loop sideways, not down. Sideways moves hair from the centre of the braid out to the edge. Downward just drags the whole crossing out of place.
Go along one side, then the other. Alternating side to side is how you end up with a braid that is wider on the left than the right.
Stop before you can see through it. Gaps between crossings mean you have taken more slack than the braid had, and there is no way to put it back without redoing the section.
Waves Accessories and Boho Finishes
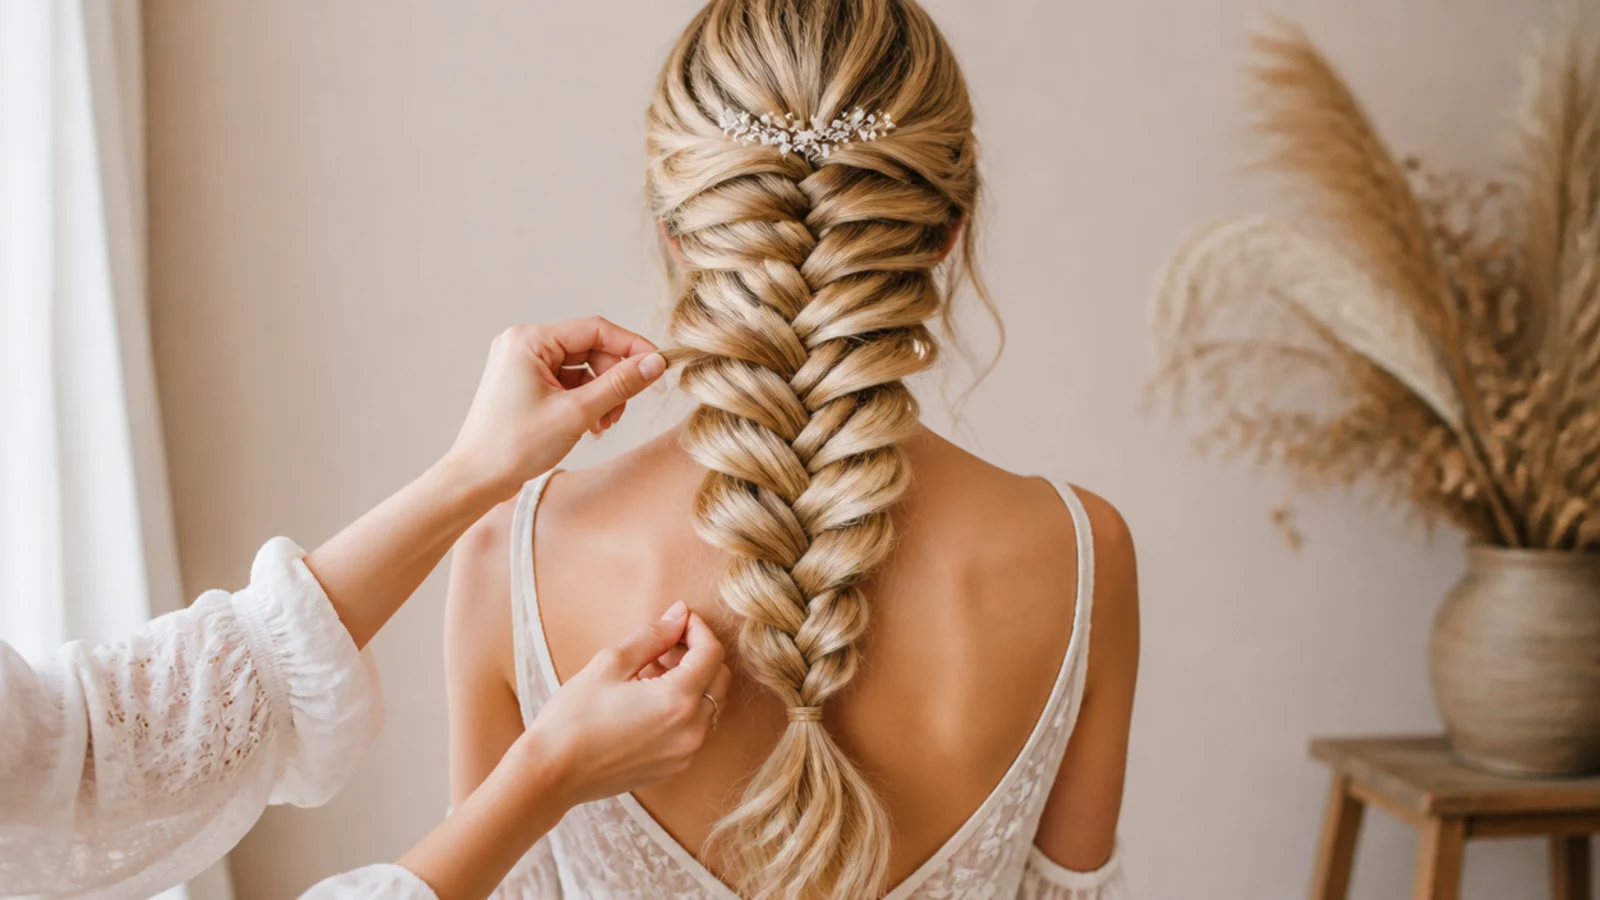
Wave the hair before braiding, not after. A bent strand touches its neighbours at several points instead of lying parallel to them, which raises grip through the whole braid.
Ribbon adds friction as well as colour. Woven in as a third element it sits across the crossings and physically blocks them from sliding.
Pull face framing pieces out at the very end. Doing it before you braid removes hair the braid needed, and the front sections are the ones that stop a braid reading severe.
Pins go into the crossings, not the surface. A pin pushed through a crossing point has hair on both sides of it to bite into, so it holds instead of working its way out.
Making It Last
Mist hairspray from a distance and let it fall. Sprayed close it wets one spot and leaves a stiff patch, which is visible on a braid where everything else is soft.
Expect the width to compress overnight. Pancaked hair is held out by nothing but position, so a pillow flattens it back toward a rope by morning.
A silk pillowcase keeps the surface intact. Cotton drags on the cuticle for eight hours and lifts the short ends that make a day two braid look fuzzy.
Repancake in the morning rather than rebraiding. Two minutes of tugging restores most of the width, and the crossings themselves are usually still fine.
The 15 Mermaid Braids I Tried
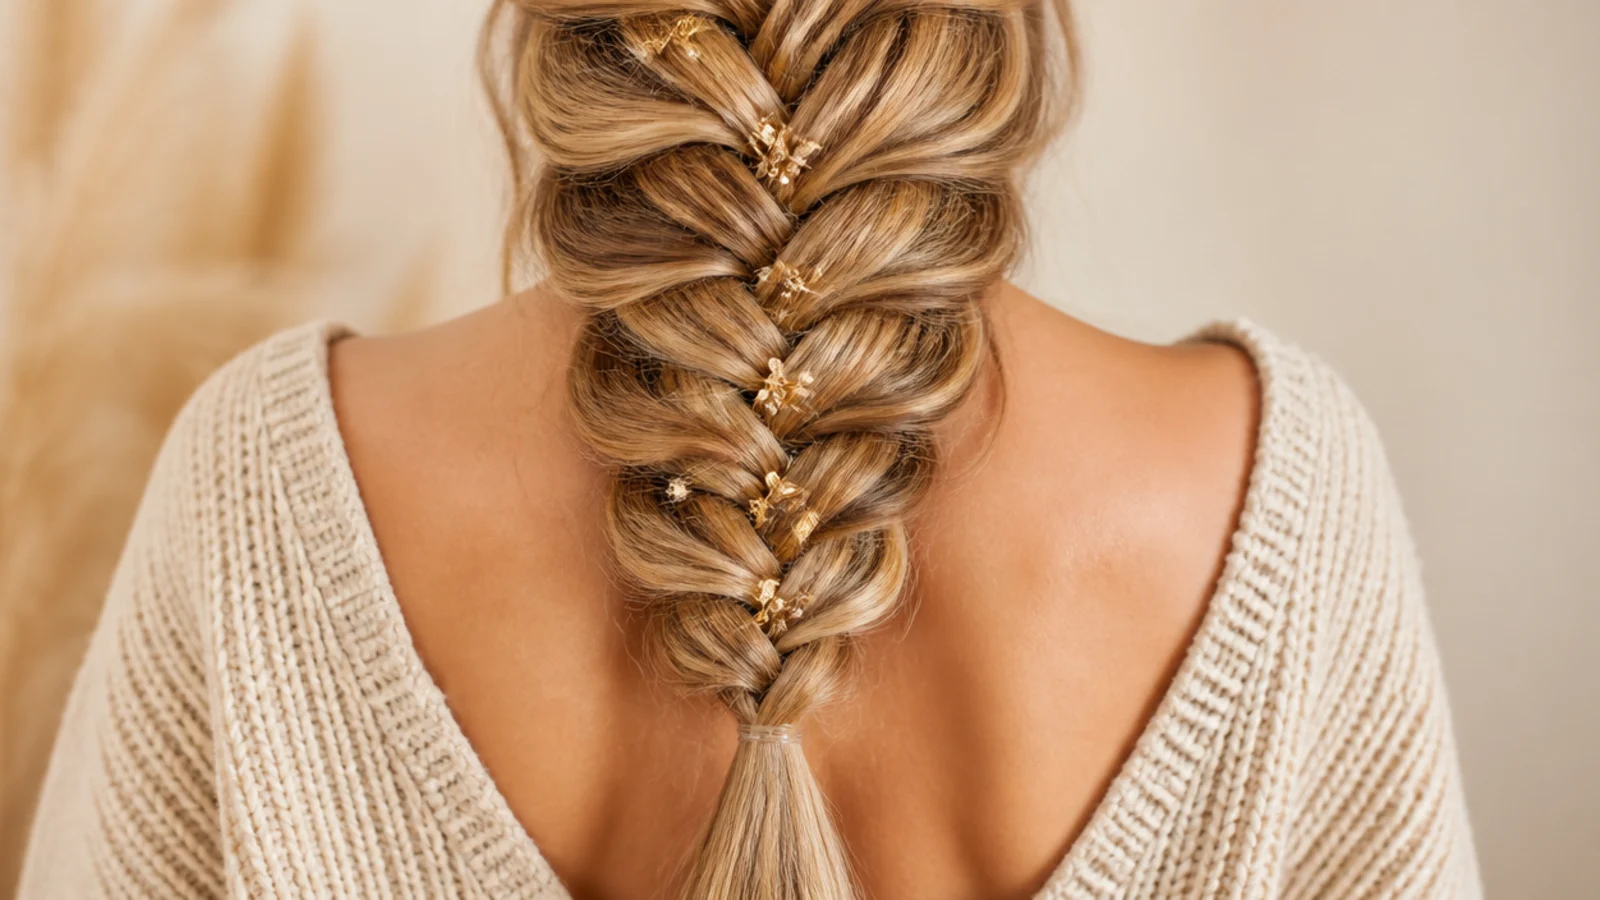
1. Classic Down the Back
Starting at the nape and working straight down keeps both halves of the braid the same length, so the crossings stay even from top to bottom. It is also the only version where the whole scale pattern is visible at once, which is why it is the honest test of your sliver width.
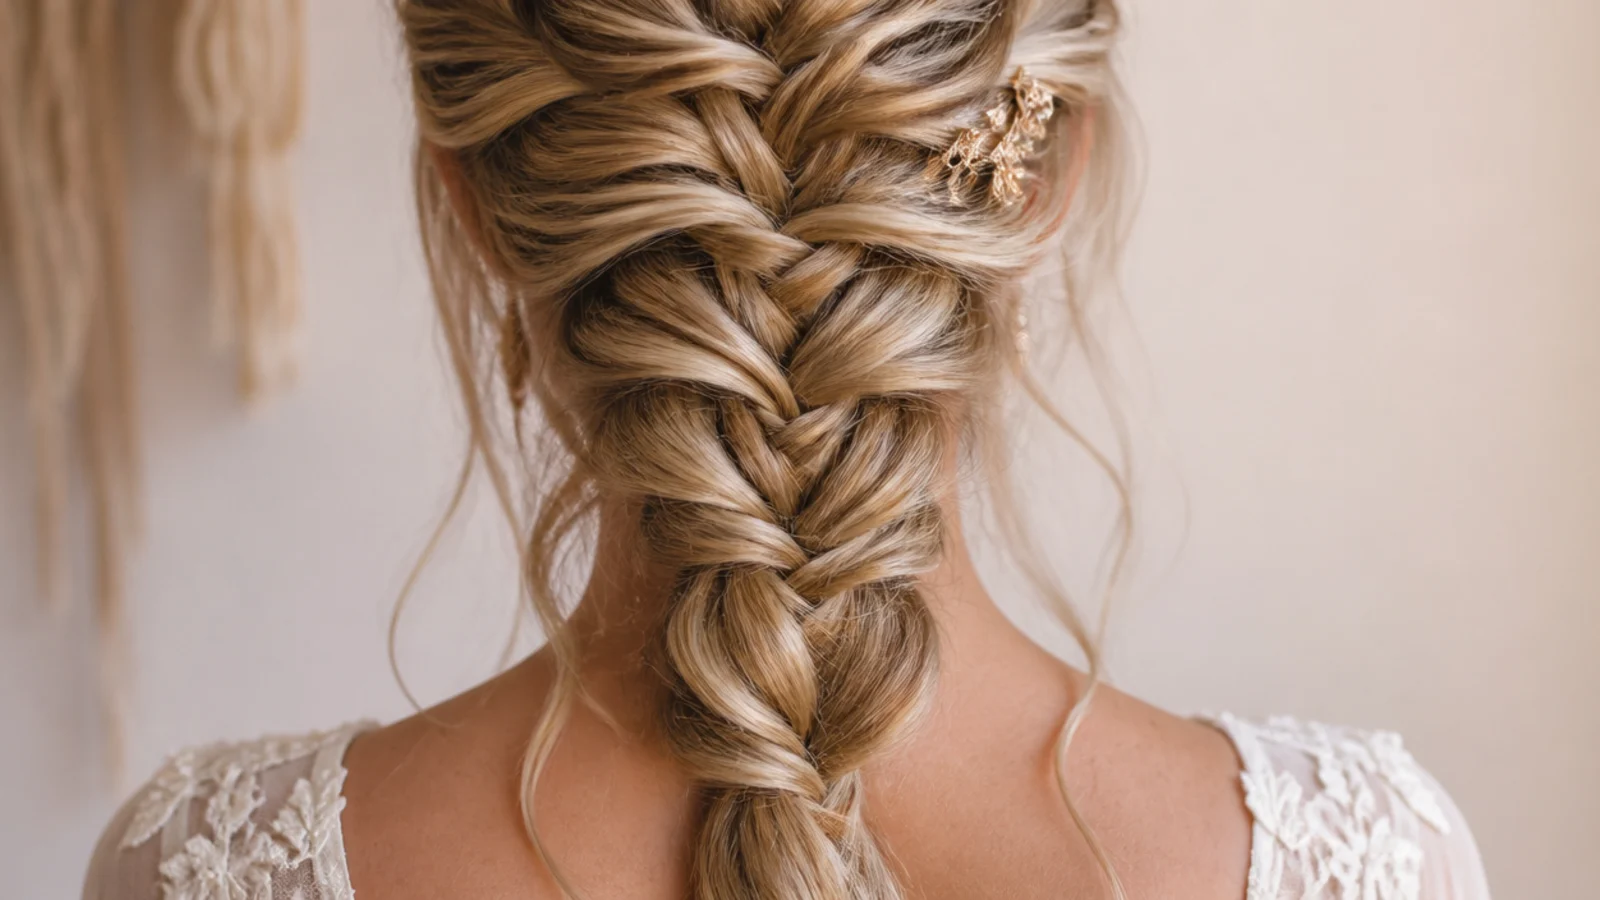
2. Freshly Washed and It Failed
Braided an hour out of the shower, this one slid loose from the bottom within twenty minutes. A newly washed cuticle lies flat and carries no oil, so the slivers had nothing to grip and gravity walked them out of the crossings one at a time.
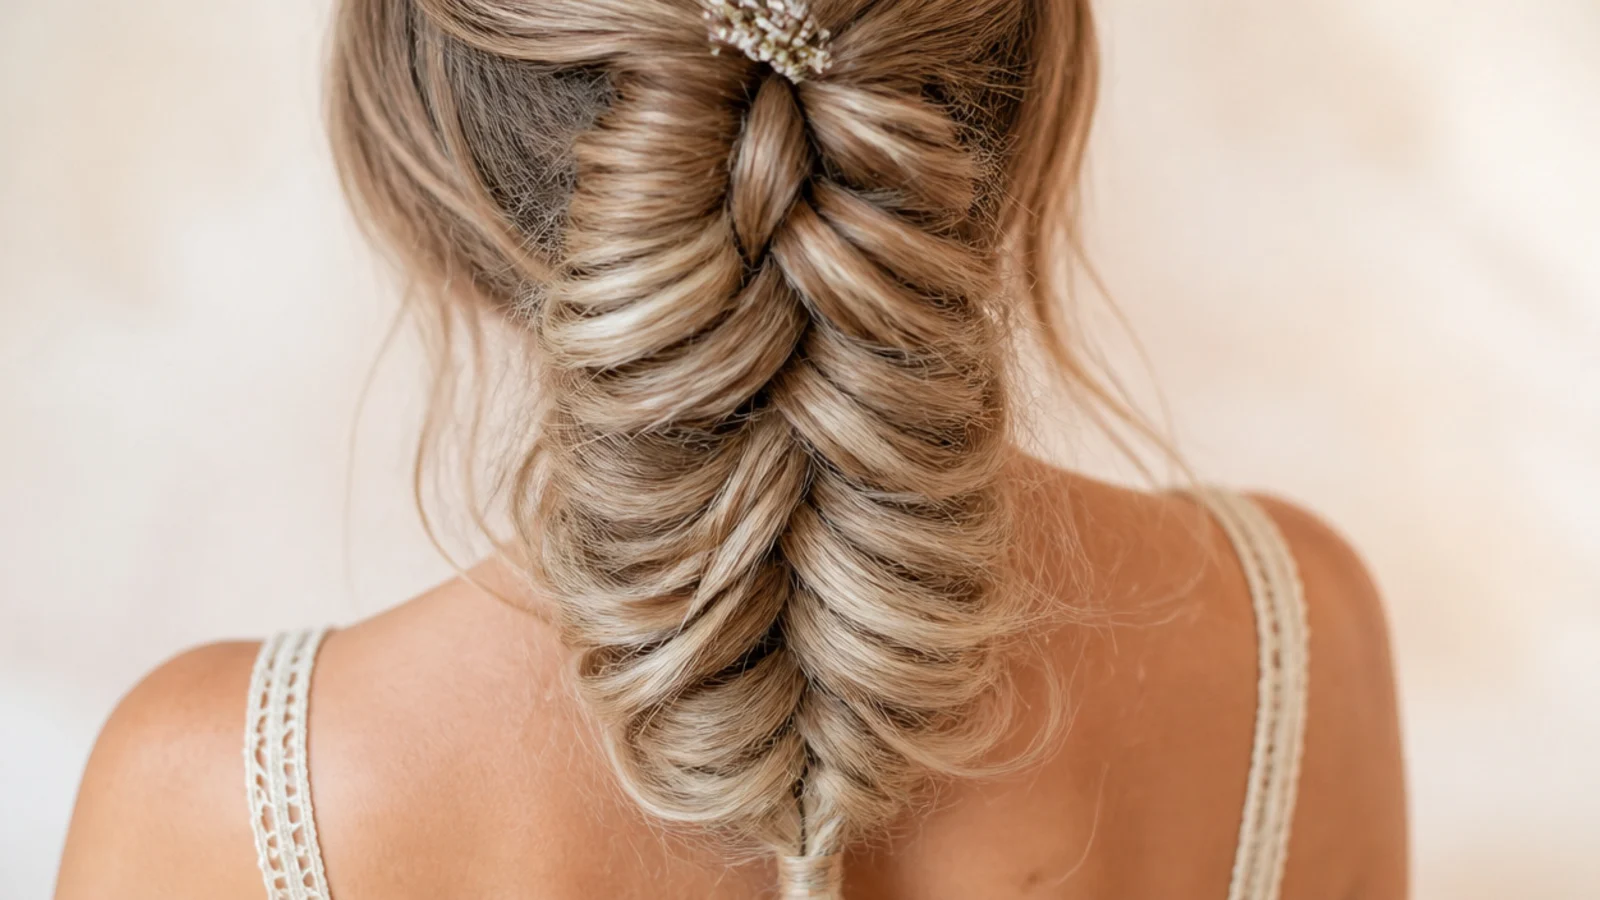
3. Pancaked on Day Two
Second day hair holds a pancake far better because the sebum on it raises friction at every crossing point. The braid could be widened almost to the shoulder blades without gaps opening, which on clean hair the day before had been impossible.
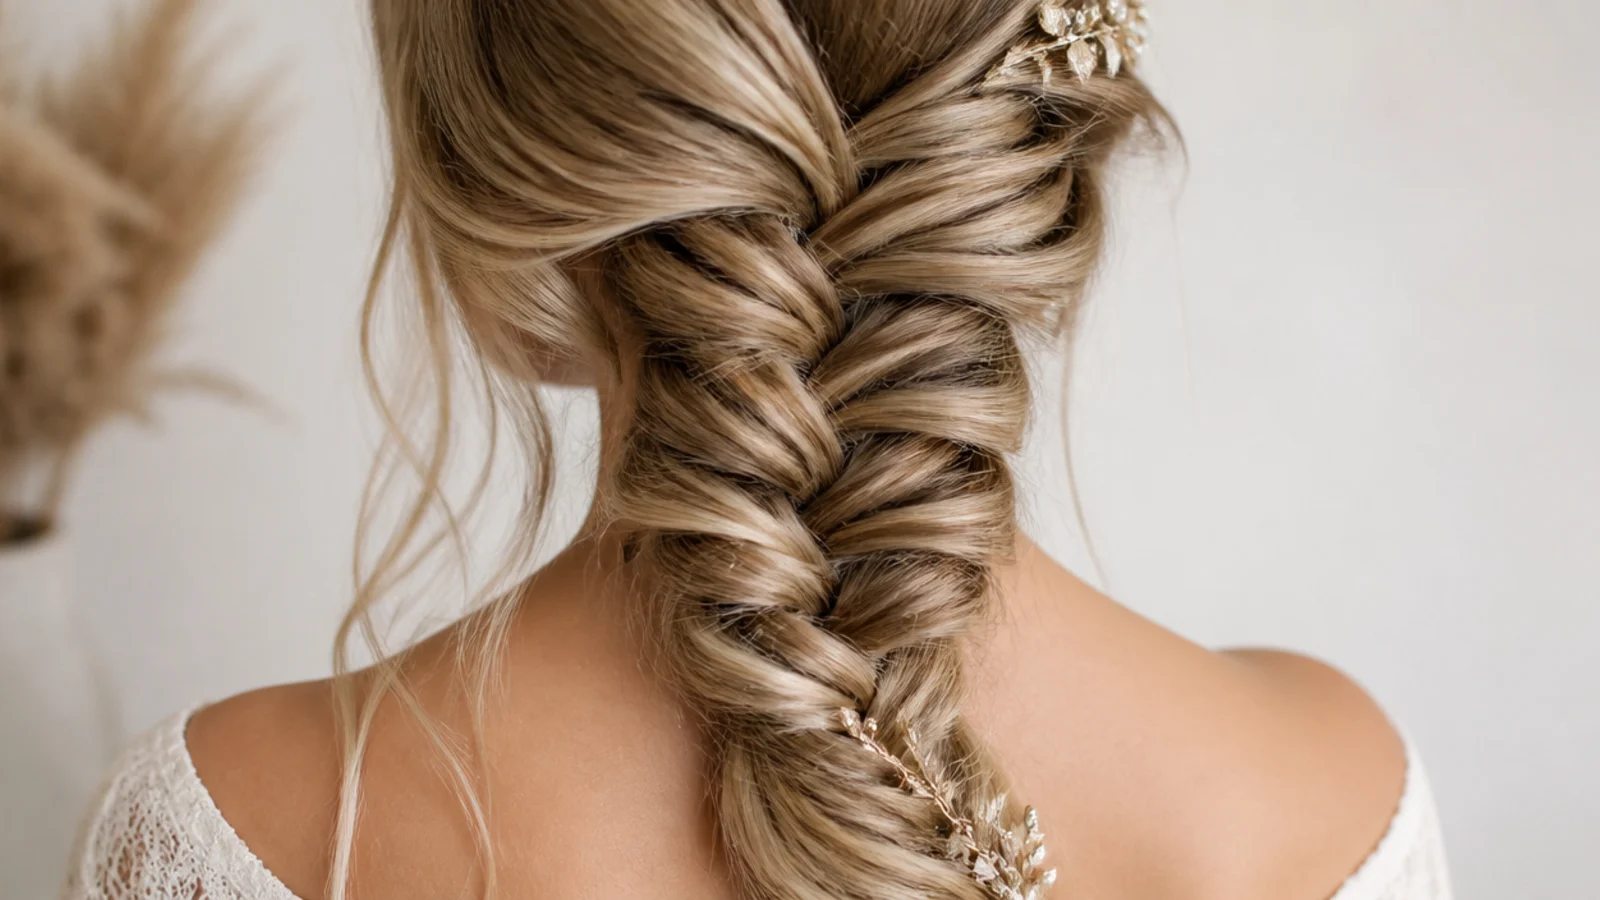
4. Deep Side Over the Shoulder
Bringing the braid forward over one shoulder means one half of the hair travels further than the other, so the crossings on the outside edge need slightly larger slivers to keep pace. Get that wrong and the braid twists onto its side as it comes over the collarbone.
5. Half Up at the Occipital Bone
Gathering only the top half and starting the braid at the occipital bone leaves the length underneath loose, so you get the pattern without committing all your hair to it. The occipital is also the widest point of the skull, which gives the elastic a shelf to sit on rather than sliding down.
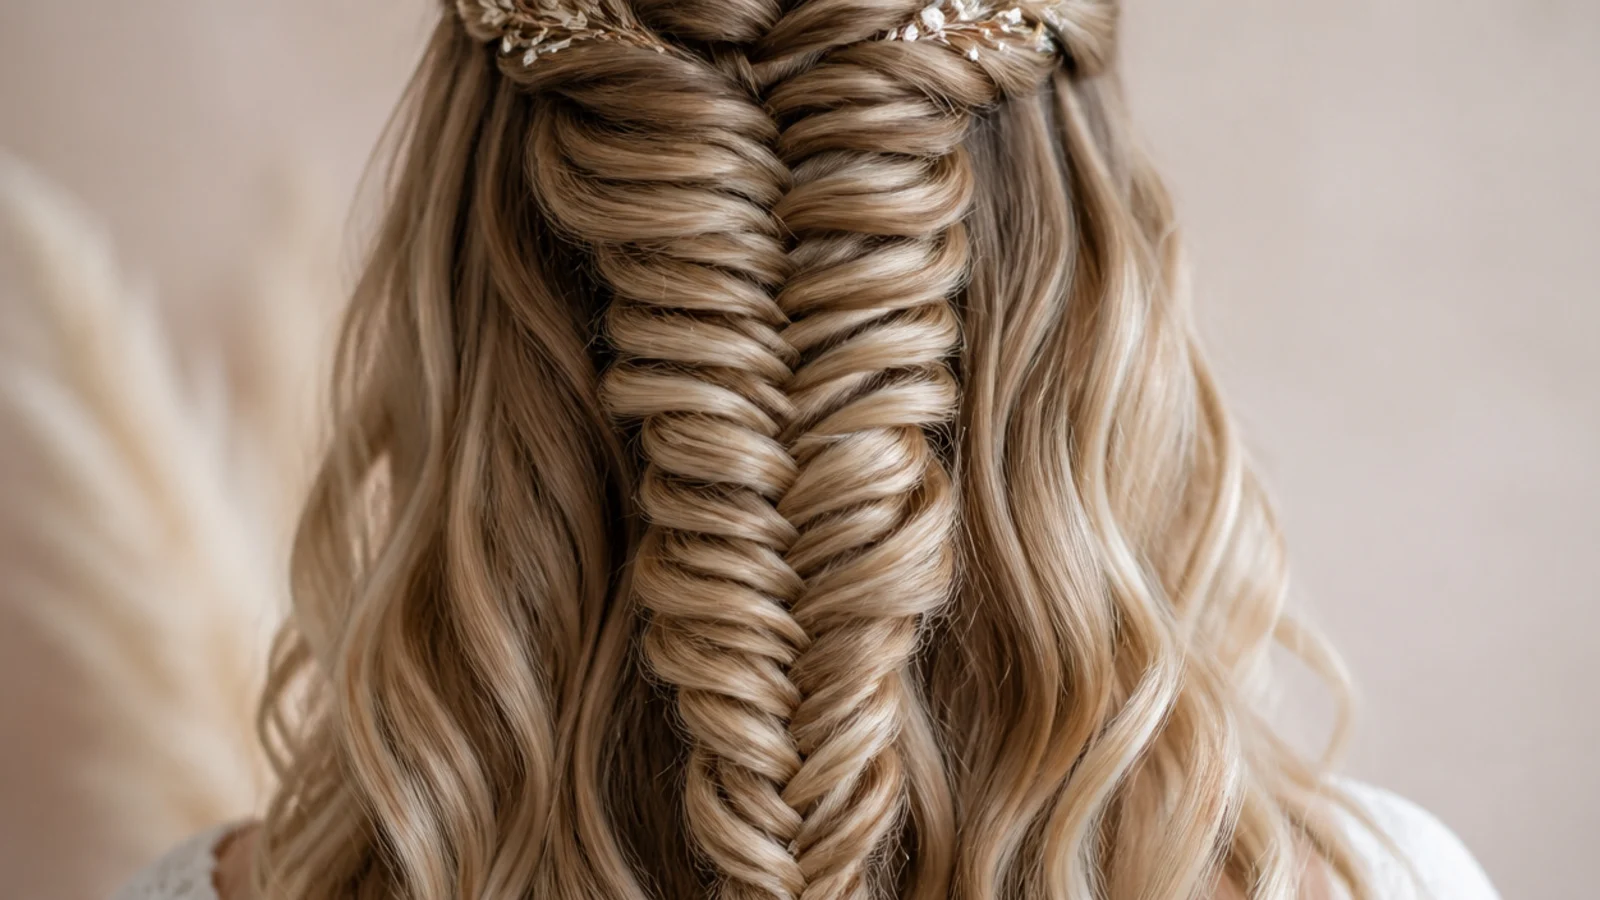
6. Dutch So It Sits Proud
Crossing the slivers underneath rather than over lifts the whole braid off the scalp instead of sinking it in. It reads much bolder from the side, and it is also easier to pancake because the edges are already standing clear of the head.
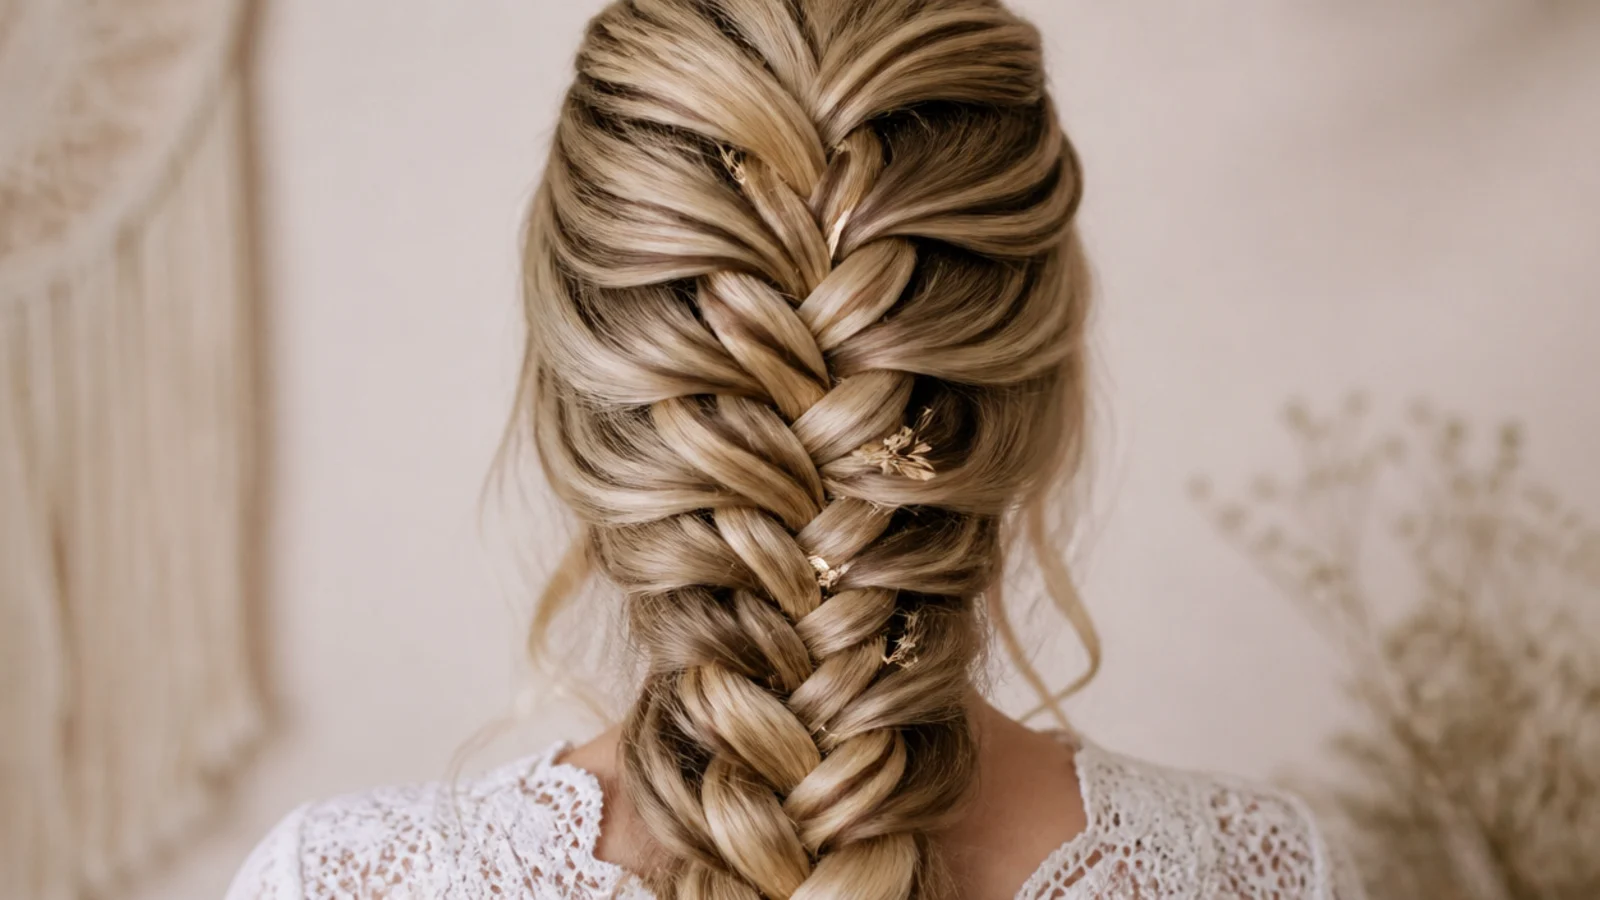
7. Waterfall Mermaid
At each pass you let one sliver drop free instead of crossing it, and pick up a fresh piece from above to replace it. The dropped strands fall through the braid as loose ribbons, which is the whole effect, and it works best on hair that has some bend to keep those falls separated.
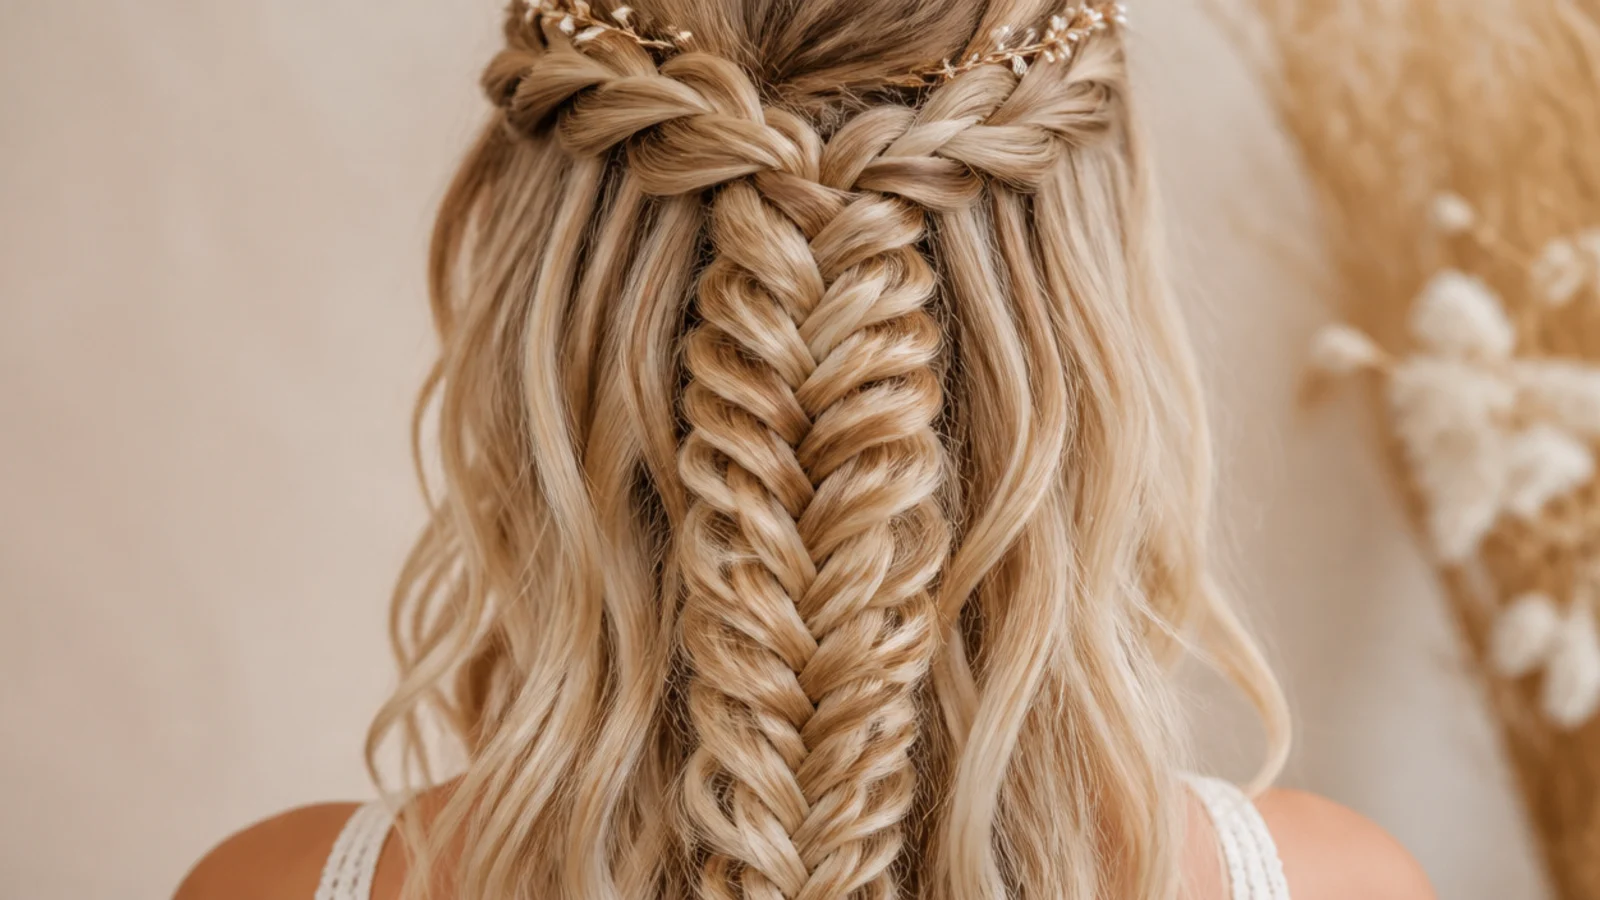
8. Boho Face Framing Pieces
Two pieces released from the front at the very end soften the hairline without costing the braid any bulk. Pull them after the elastic is on, because anything you take out before braiding is hair the crossings needed to stay dense.
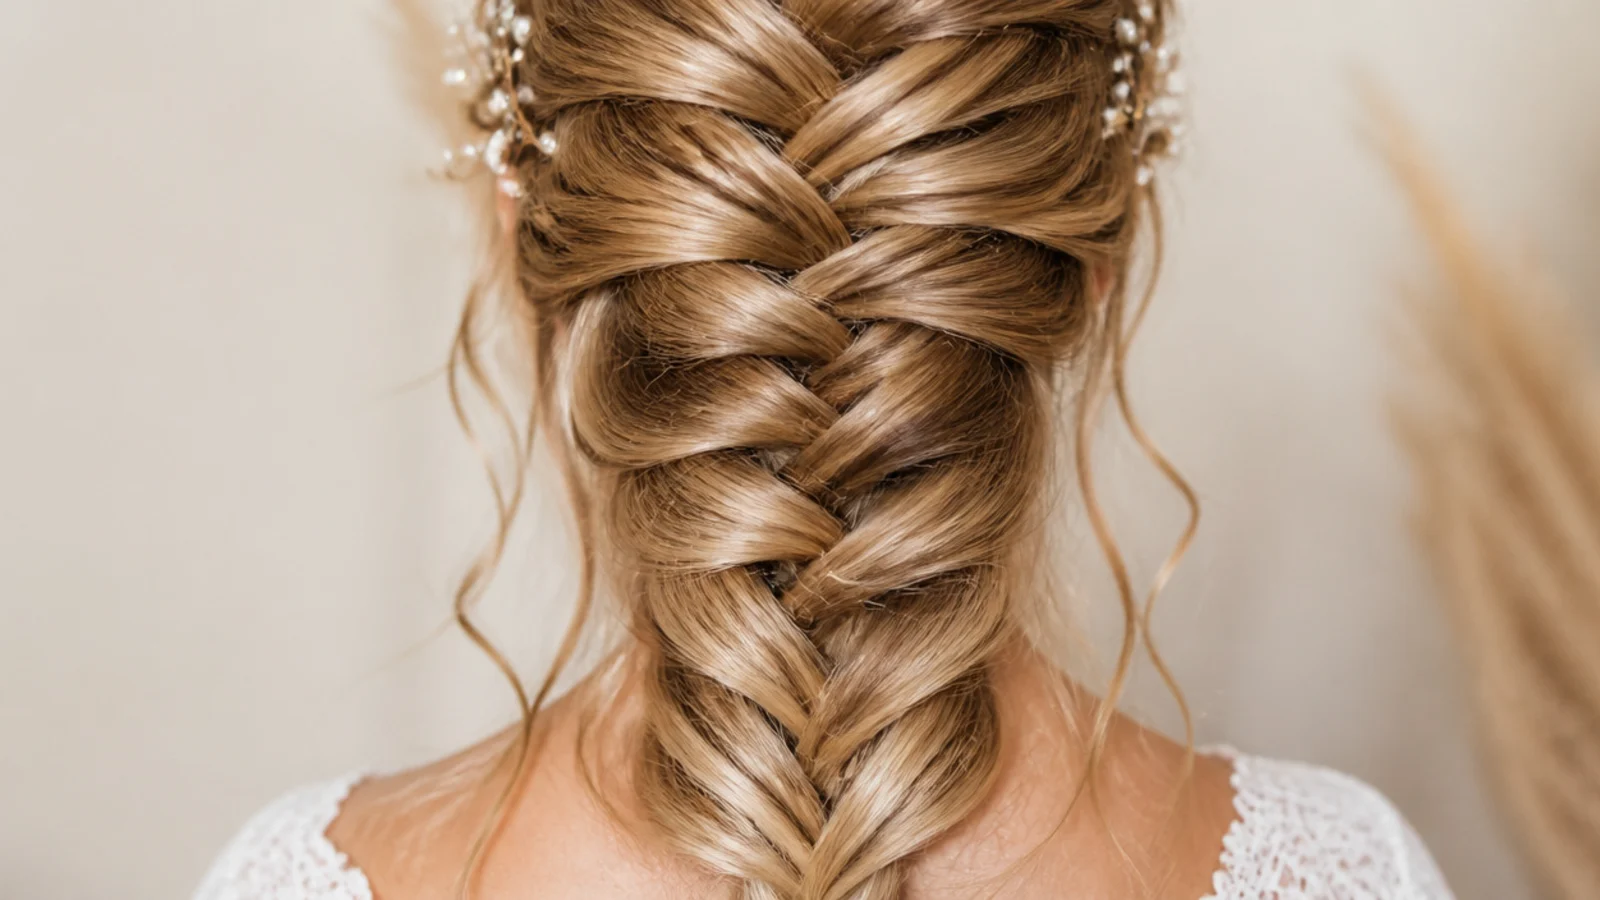
9. At 24 Inches of Length
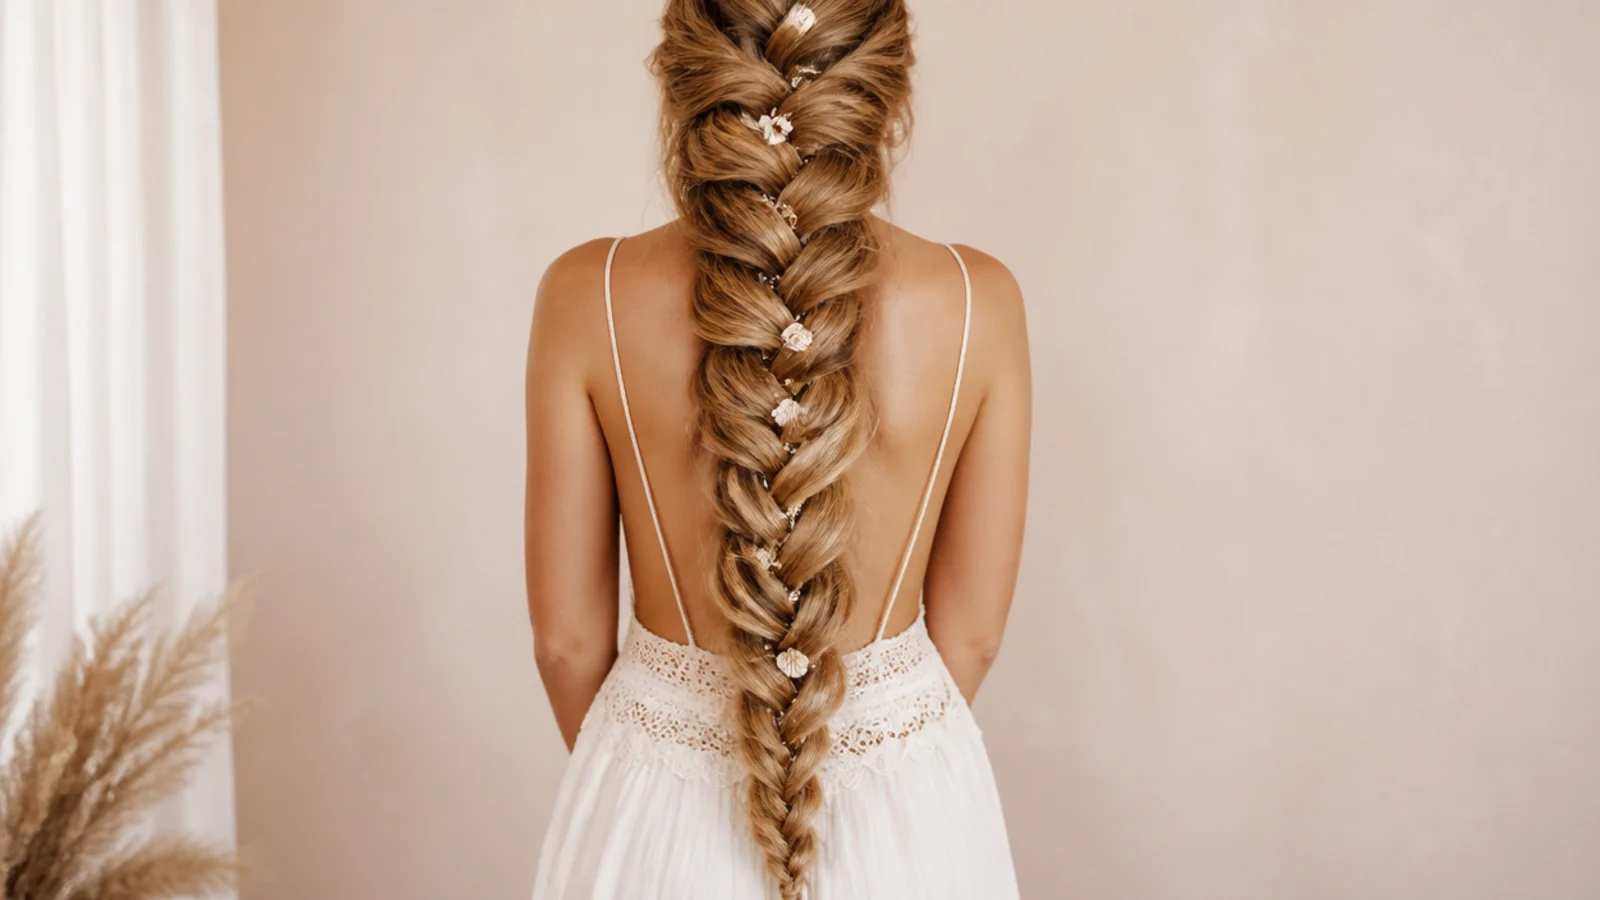
Around hip length the braid gets heavy enough that its own weight pulls the upper crossings tight, which is a free head start on definition. The trade is that the last few inches thin out badly unless you stop the braid early and leave a tail.
10. The Collarbone Lob That Failed
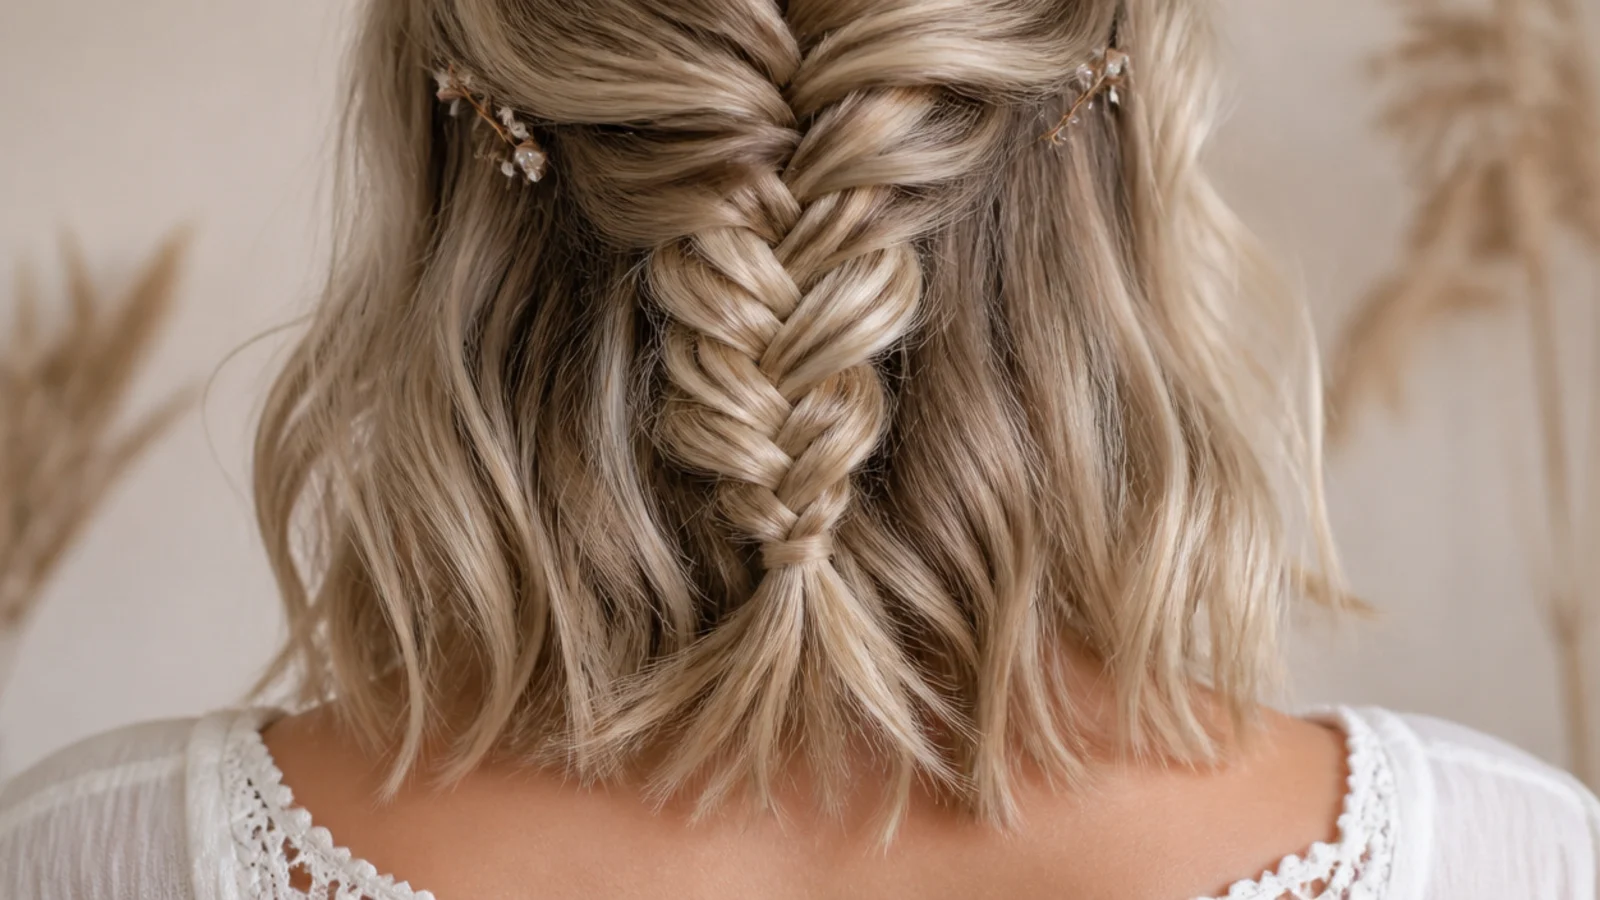
At collarbone length there were four crossings below the nape before the hair ran out, which is not enough for the pattern to register as a braid at all. Growing into this is a year and a half of waiting, since hair adds roughly half an inch a month.
11. Ribbon Woven Through
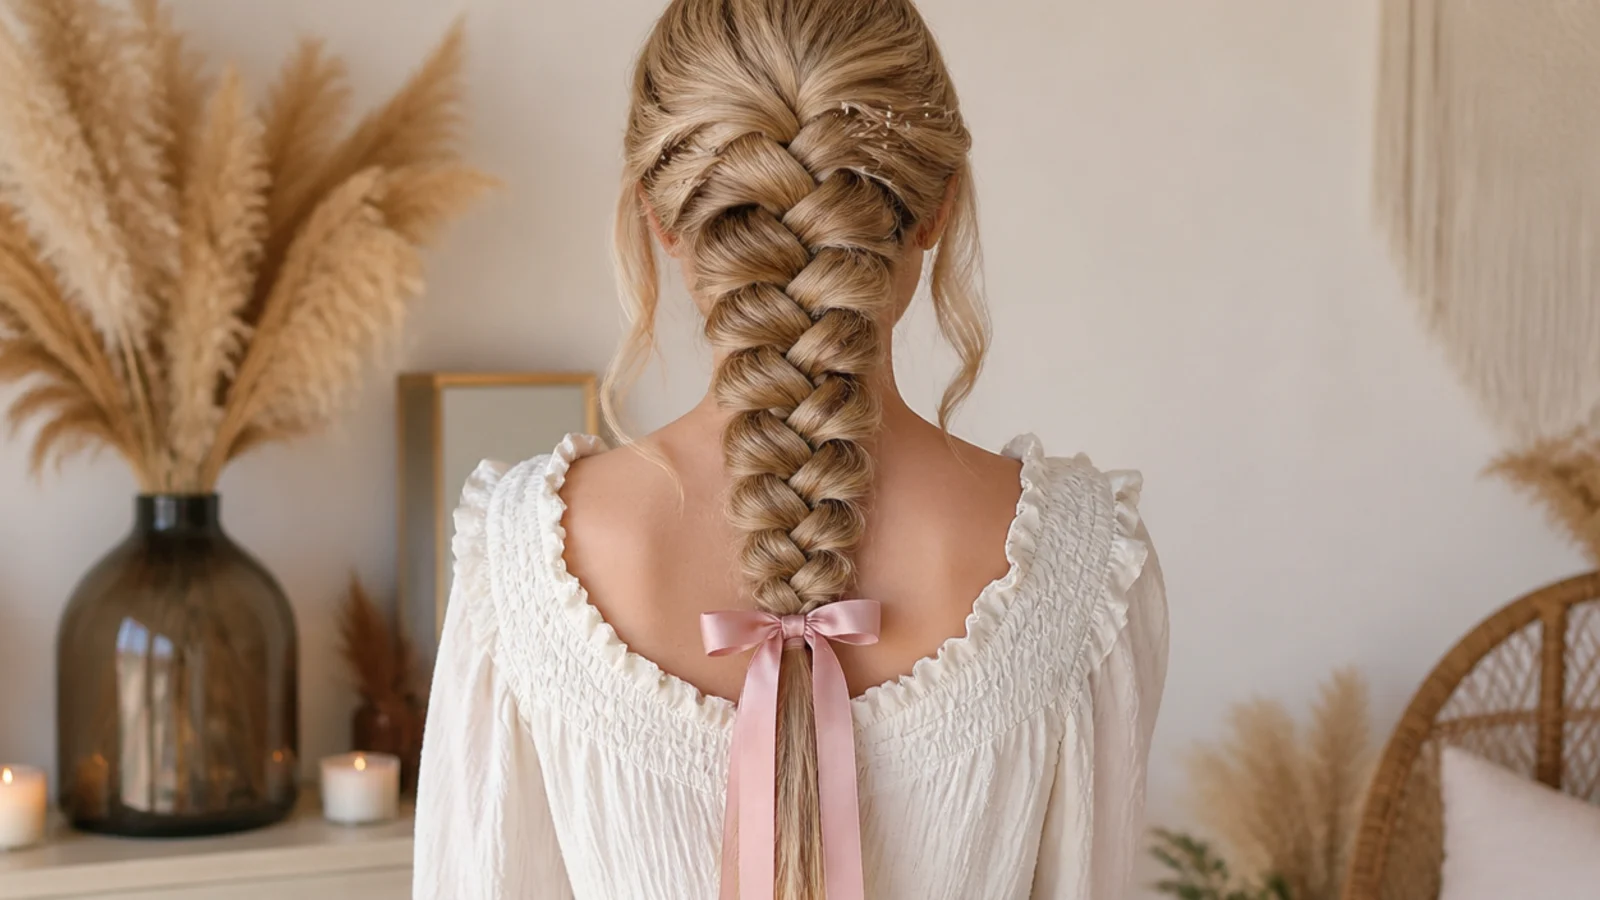
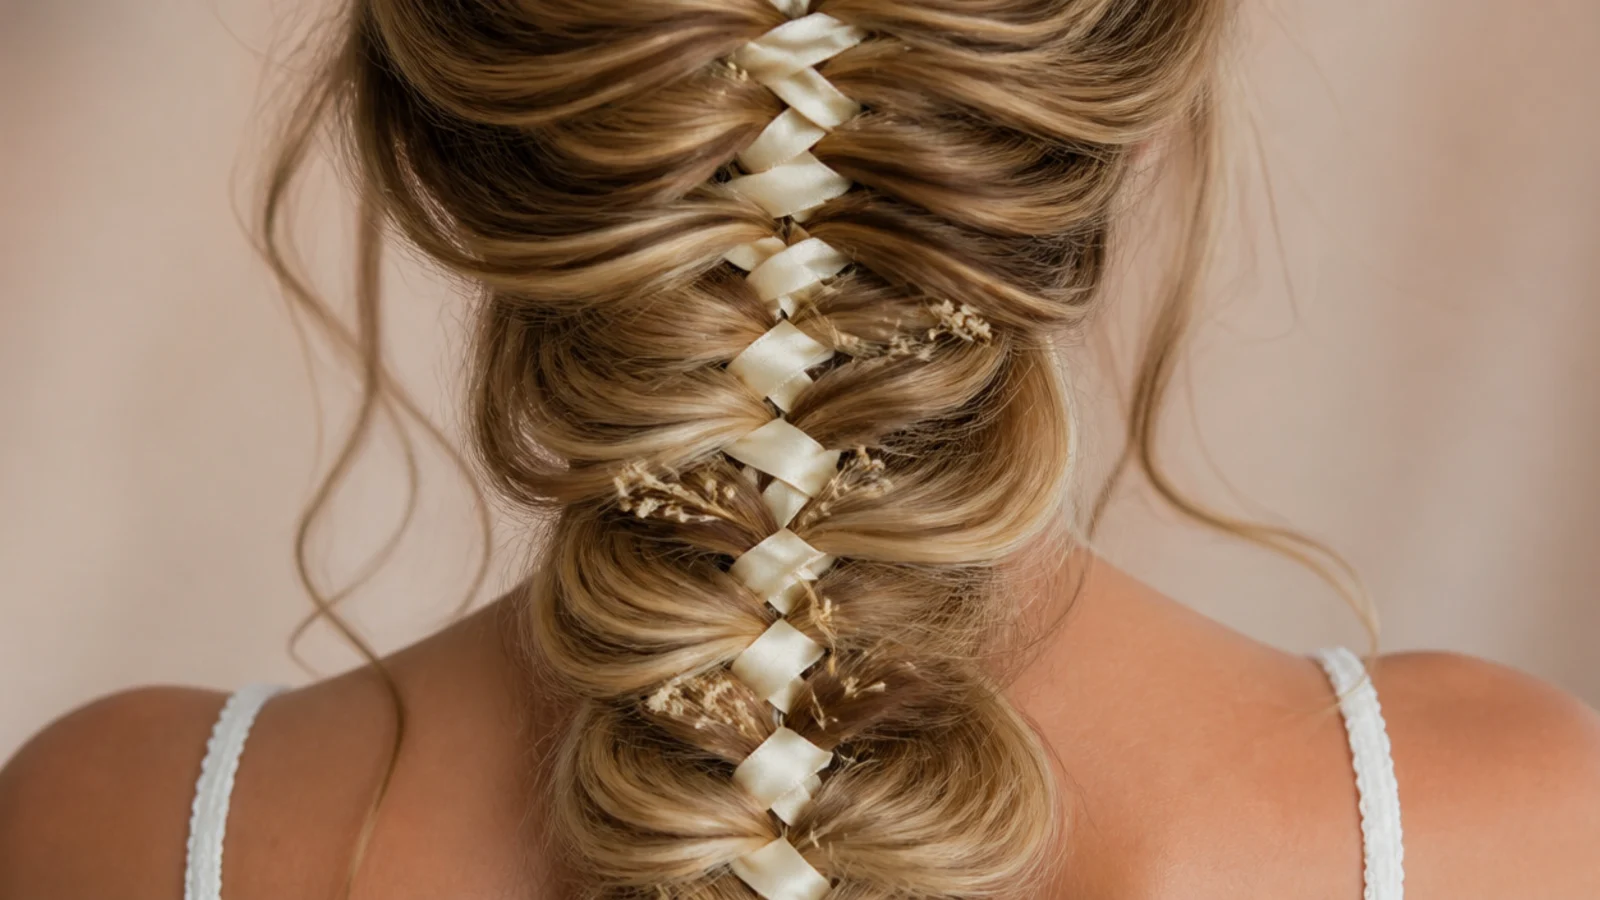
Treating a narrow ribbon as an extra element and carrying it through the crossings does two jobs at once. It adds a colour line that traces the chevron, and the fabric grips the hair around it, which is why ribboned braids survive a full day better than bare ones.
12. The Crown Braid That Failed
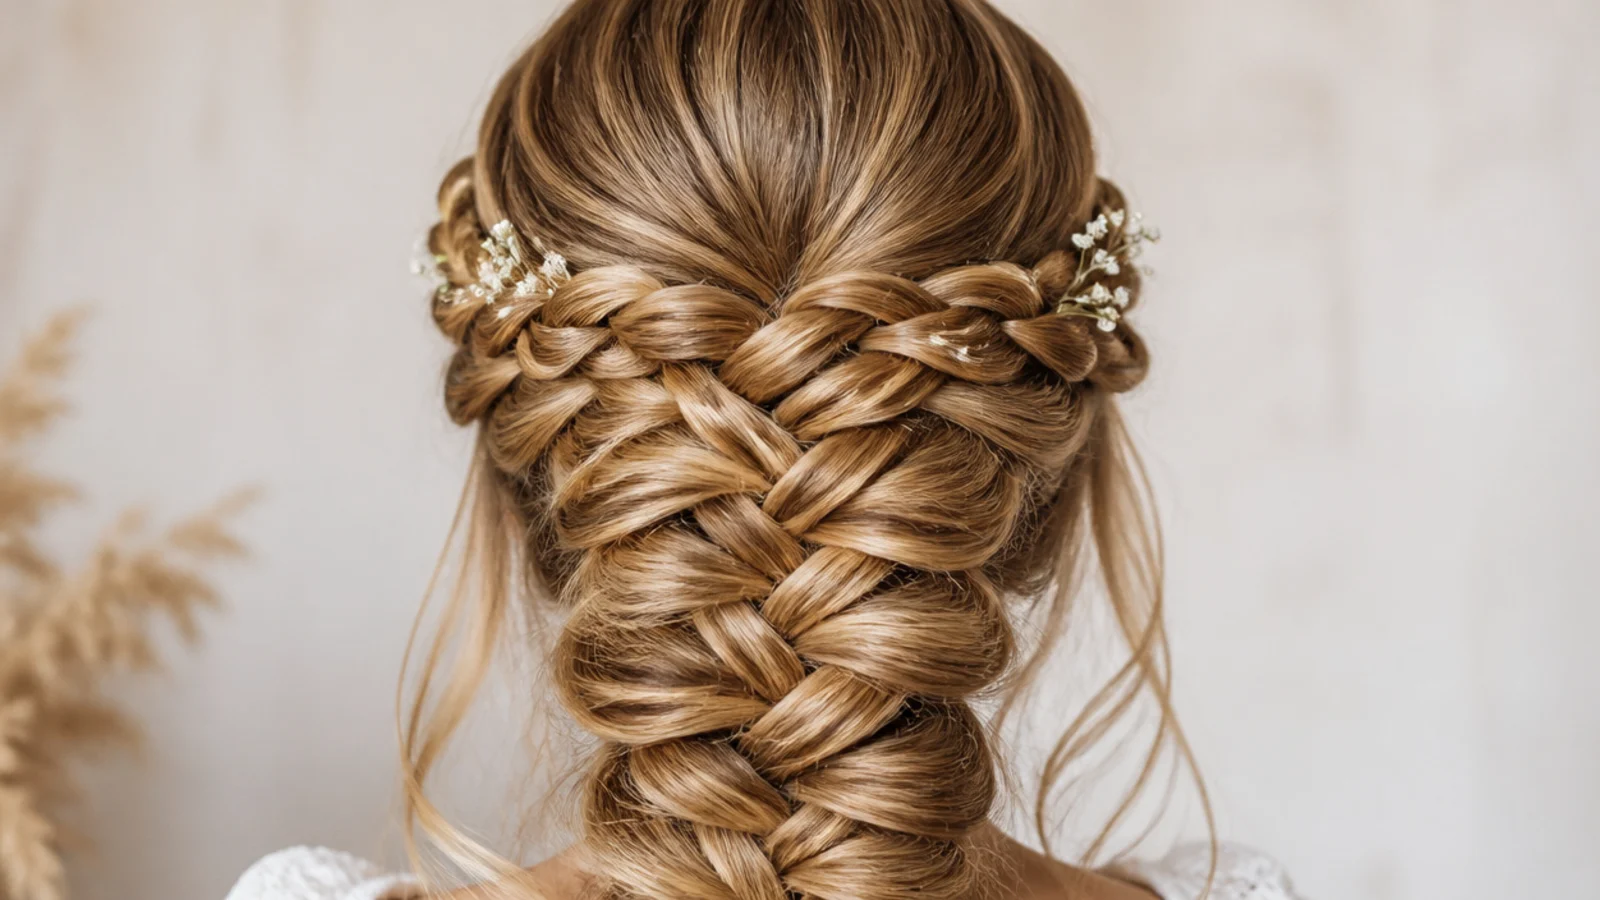
Taking the fishtail around the head as a crown meant braiding against the direction the hair naturally falls, and the tension needed to hold that line kept flattening the crossings. It ended up reading as a rope rather than scales, and pancaking it just pulled it away from the scalp.
13. Coiled Into a Bun
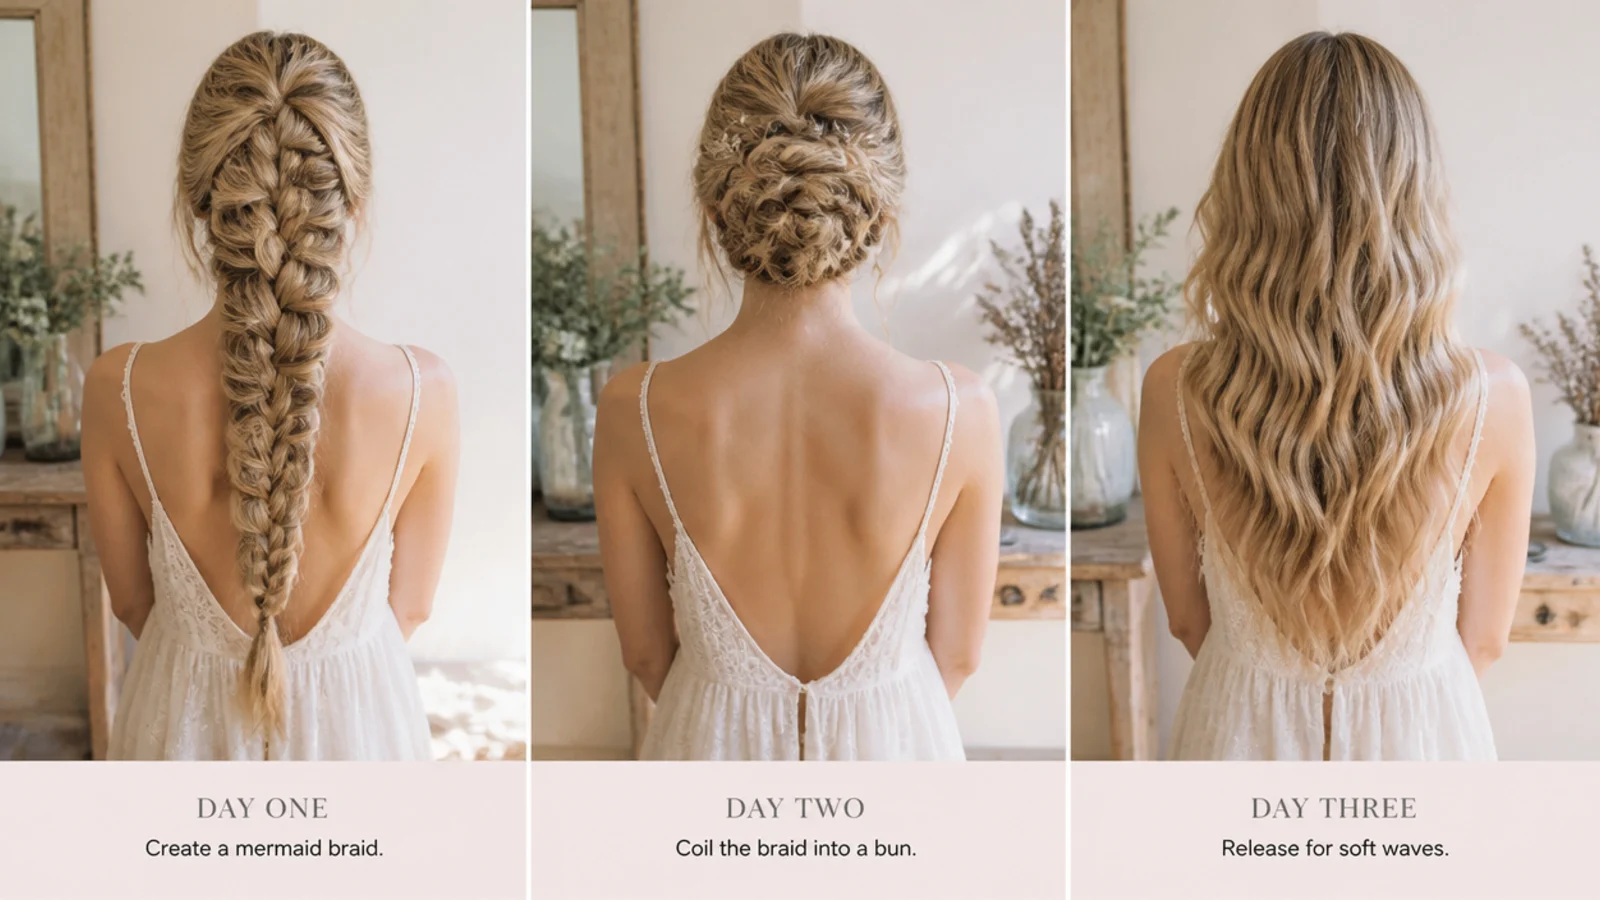
A finished fishtail wrapped around itself makes a much better bun than loose hair does, because the braid is already a solid rope that will not shed pieces as you coil it. Pin through the braid rather than over it so the pins have hair on both sides to grip.
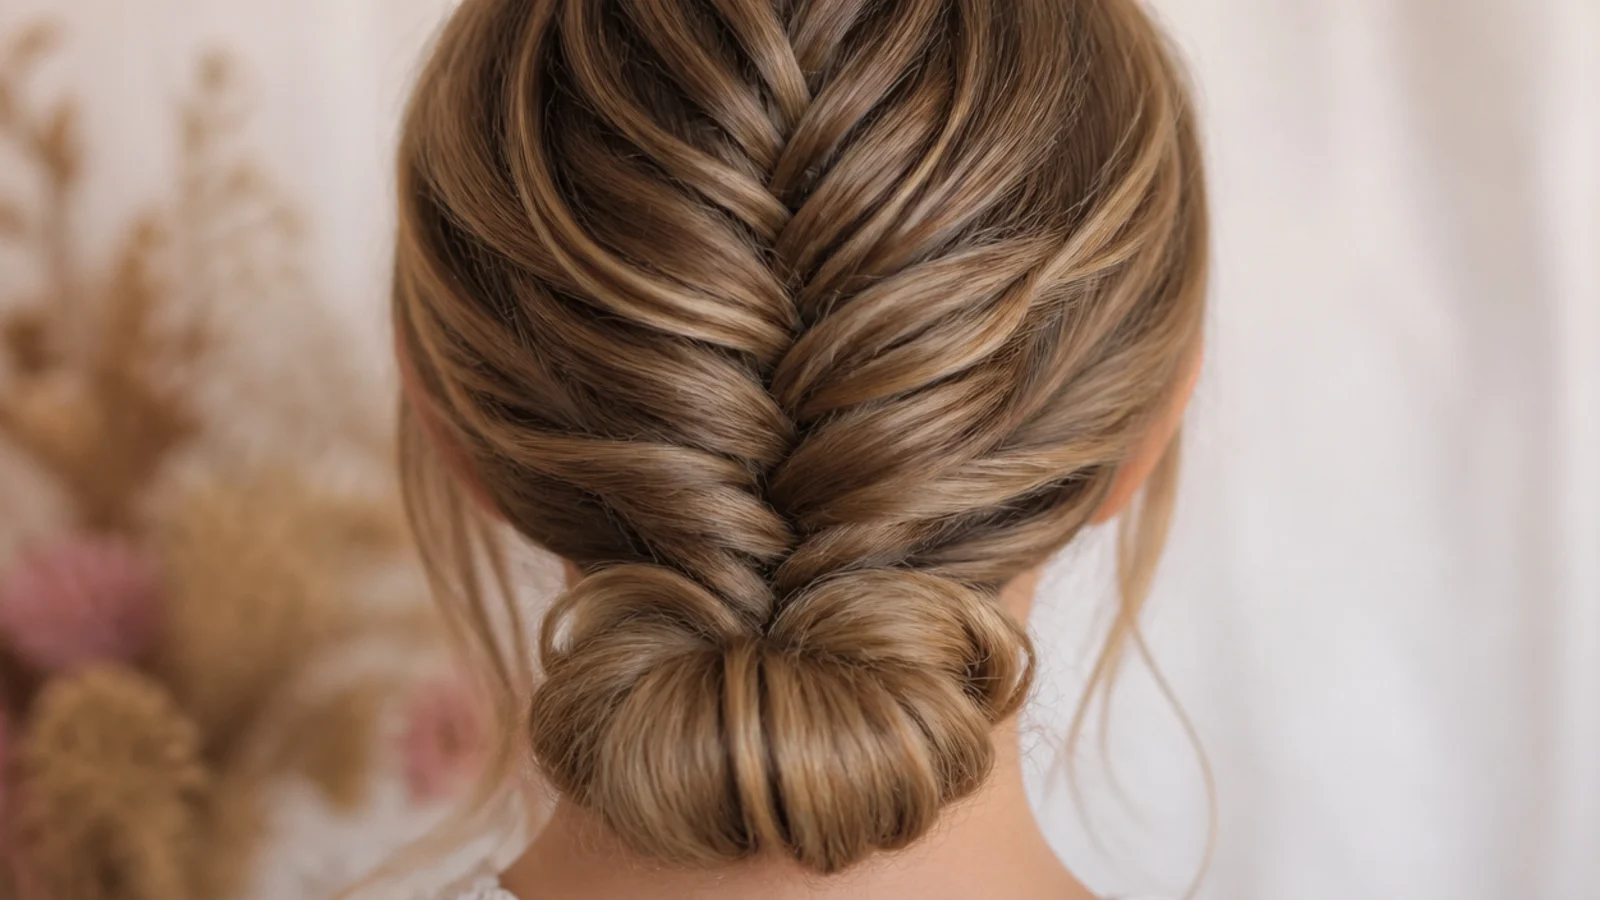
14. Beachy Curls First
Curling the hair before braiding gives every strand multiple contact points with its neighbours instead of one long parallel line, which is the cheapest grip you can buy. The braid held its pancaked width all evening with no spray at all.
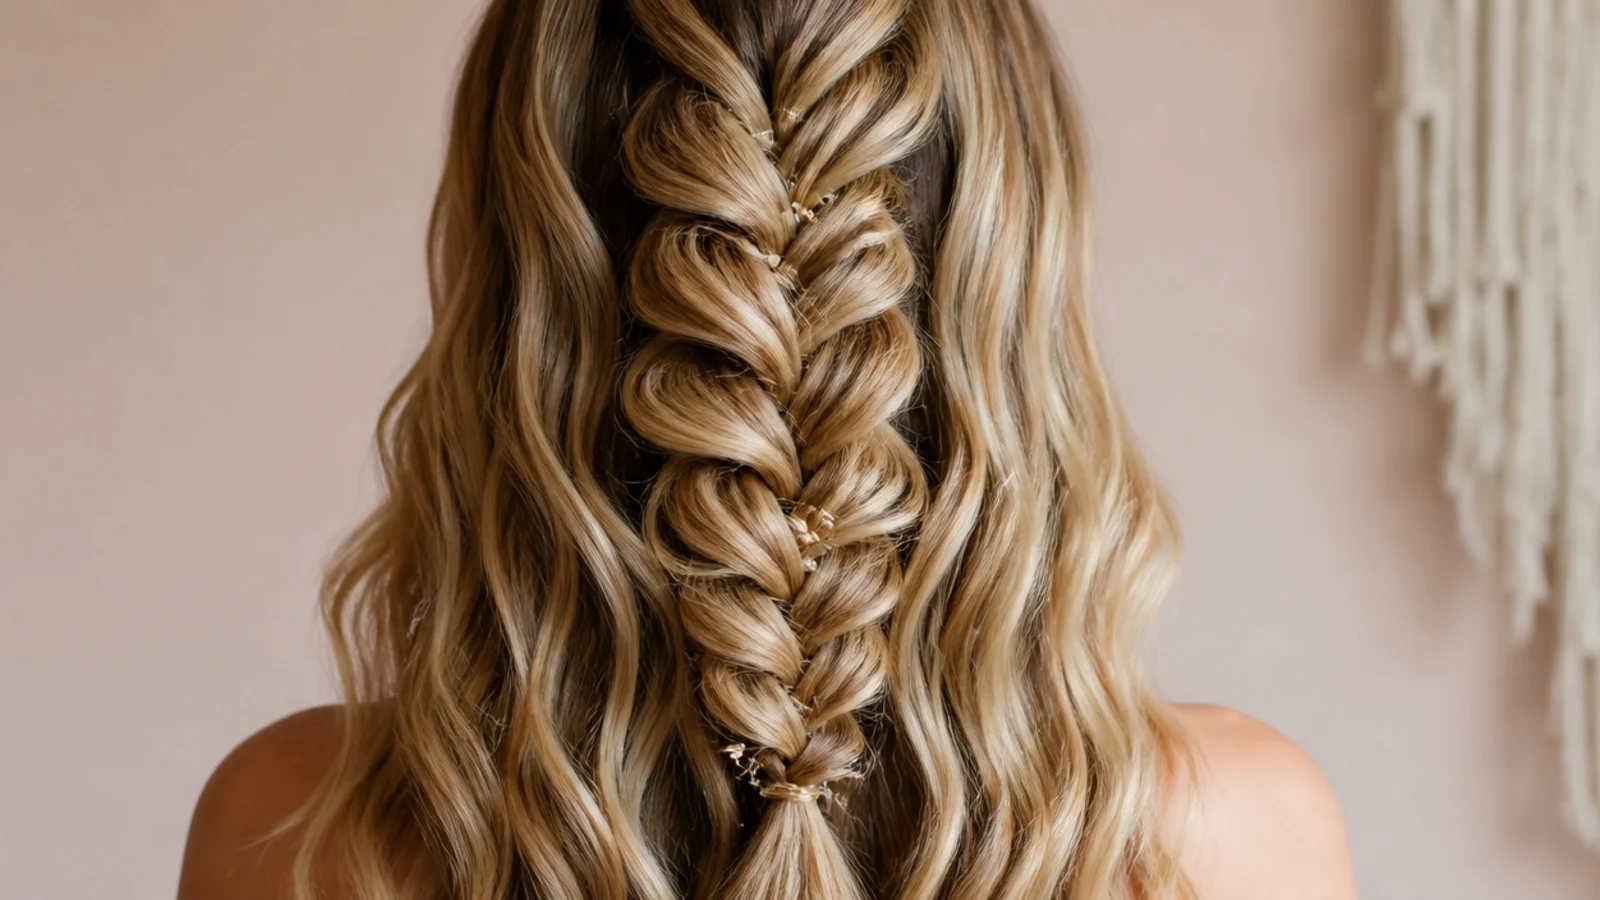
15. Slept In Waves
Left in overnight, the braid compresses back toward a rope and the hair inside it takes a set at every crossing. Undone in the morning it gives a fine crimped wave, which is a better result than the flattened braid it came out of.
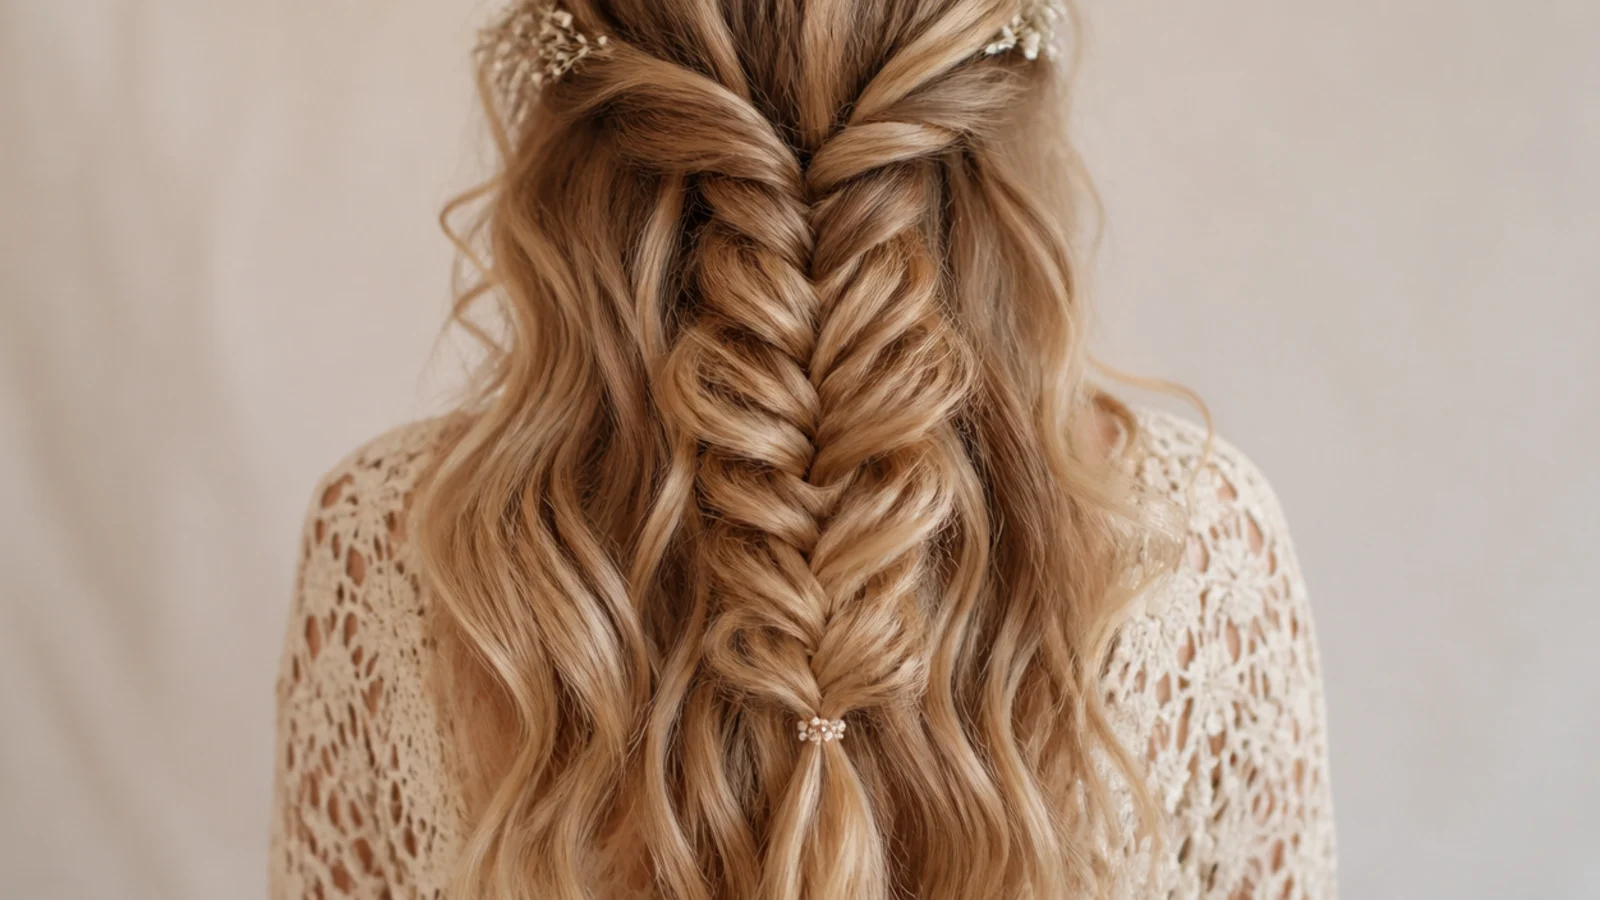
Final Thoughts
Almost everything that went wrong across these fifteen came down to grip. Clean hair, smoothing serum and a braid started on a slippery crown all fail the same way, and none of them are fixed by pulling harder. Add friction first, then braid loosely, then widen.
Treat the pancake as its own step with its own rules. Elastic on, bottom to top, sideways and not down, and stop while the crossings still touch. A braid that looks half as wide as the photograph is usually a braid that was widened in the wrong order rather than one that ran out of hair.
For a braided style that lasts weeks rather than a day see 15 large knotless braids I tried and loved, and for a patterned style done on your own hair see 15 simple fulani braids I tried and loved. More in Braids and Protective Styles.
Frequently asked questions
Related posts
See all posts
20 Waterfall Mermaid Braid Ideas That Hold
Read more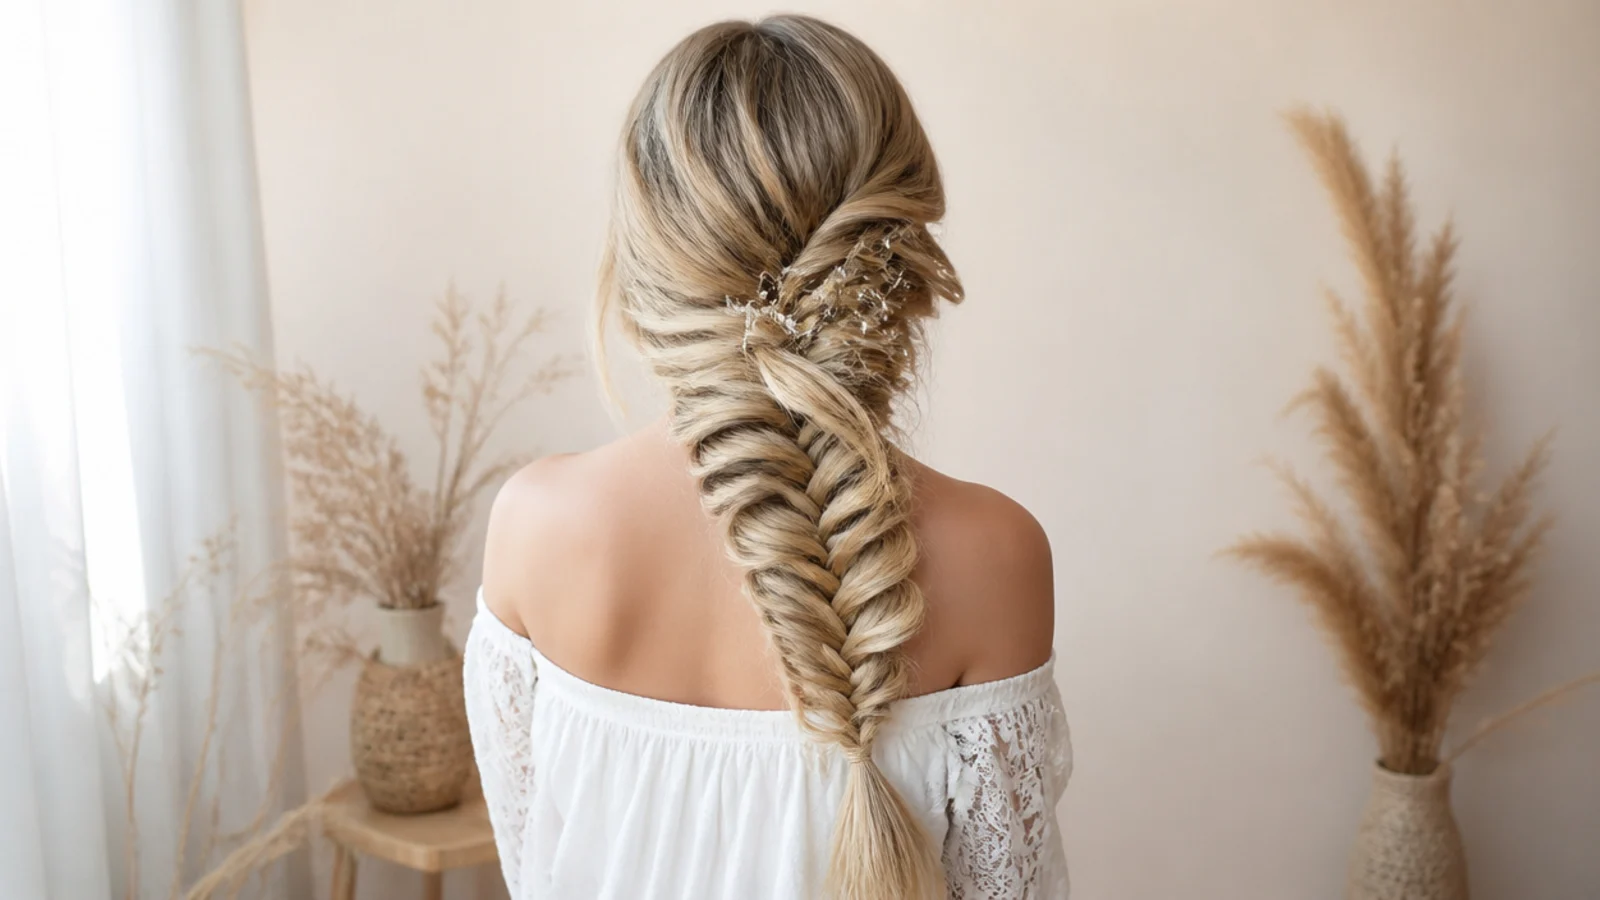
15 Side Mermaid Braid Ideas That Sit Right
Read more
20 Side Part Medium Knotless Braids I Saved
Read more