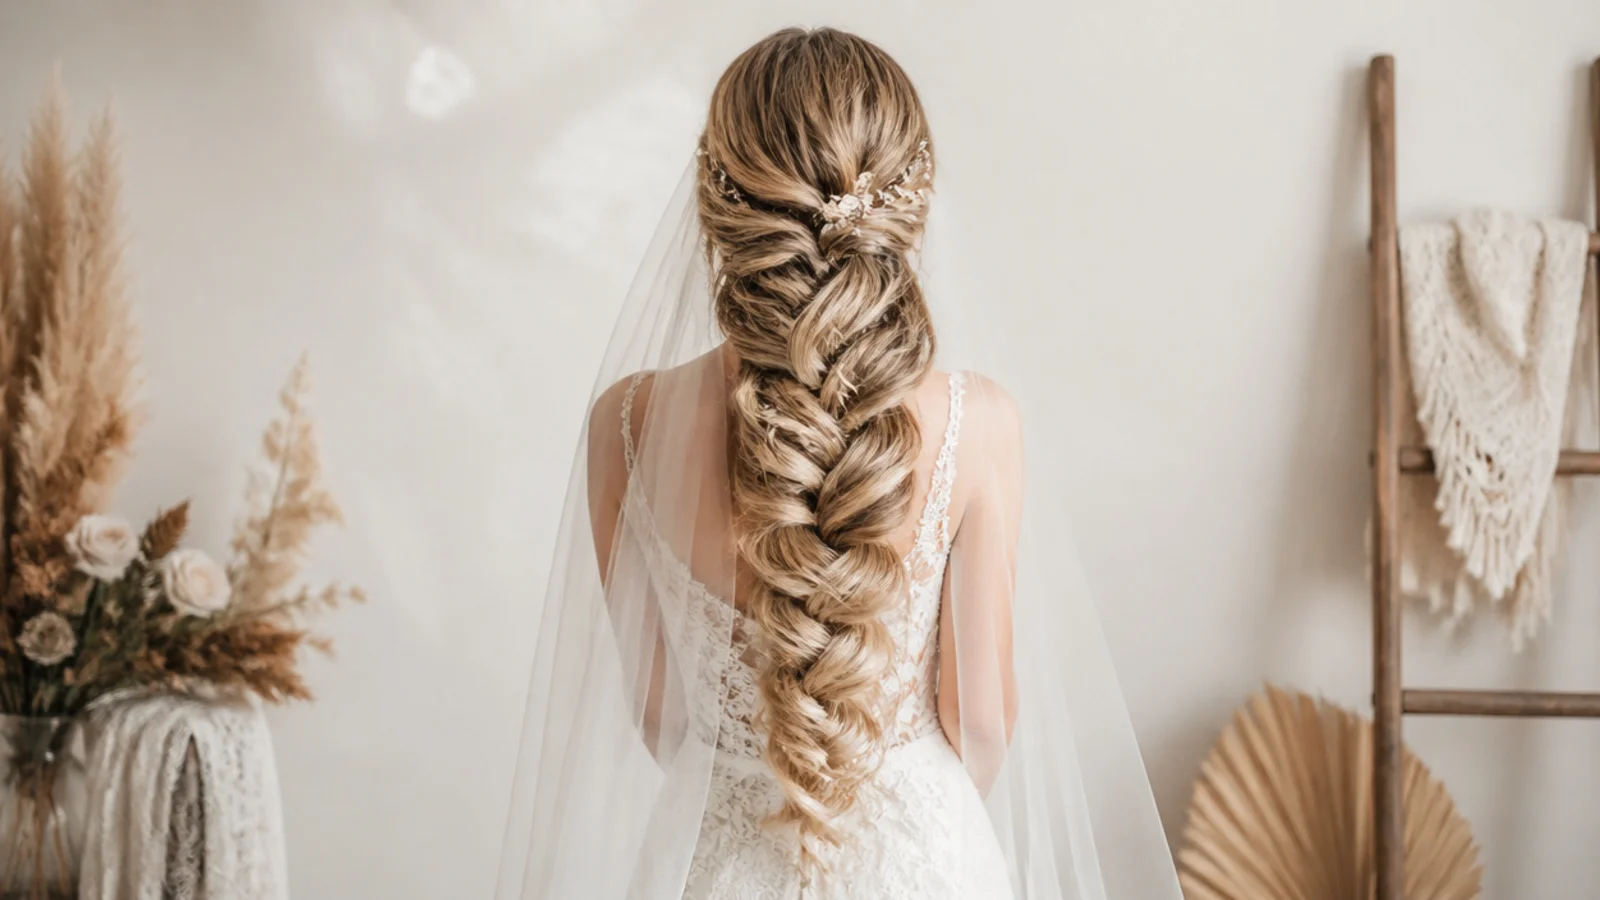
20 Mermaid Braid Wedding Hairstyles for Brides
Twenty bridal mermaid braids, chosen around the two things that actually decide a wedding braid — where the veil comb has to anchor, and whether the neckline already has a line running across it.
In this article · 28
- What a Mermaid Braid Is
- Pairing the Braid With Your Neckline
- Veil Placement
- Fine and Slippery Hair
- Pancaking Technique
- Making It Last Through the Day
- The 20 Wedding Mermaid Braids
- 1. Classic Braid With a Strapless Gown
- 2. Side Braid Under a Cathedral Veil
- 3. Half Up With a Blusher
- 4. Braid Crown for a Garden Wedding
- 5. Low Braided Bun With a High Neckline
- 6. Waterfall Braid on the Beach
- 7. Boho Braid Threaded With Gypsophila
- 8. Double Braids for Bridesmaids
- 9. Pearl Hair Vine Through the Braid
- 10. Loose Braid With a Sweetheart Neckline
- 11. Braided Ponytail for the Reception
- 12. Dutch Mermaid Braid on Fine Hair
- 13. Clip Ins on Shoulder Length Hair
- 14. Halo Braid With a Backless Gown
- 15. Braid Under a Juliet Cap Veil
- 16. Twisted Version on Curly Hair
- 17. Silk Ribbon as the Something Blue
- 18. Braided Chignon for a Winter Wedding
- 19. Deconstructed Braid for an Elopement
- 20. Two Tone Balayage in the Braid
- Final Thoughts
Most bridal braids are chosen from a photograph and then fought with all day, usually because of the two things nobody photographs.
The neckline decides whether the braid goes down or up. A dress with an open back and bare shoulders has a vertical space the braid can fill. A high neck or a halter has already used that space, and a braid down the spine becomes a second competing line.
The veil has to anchor into pins, not into hair. A finished braid is a smooth rope with nothing for a comb to bite into, so the anchor point has to be built before the veil goes anywhere near it.
What a Mermaid Braid Is
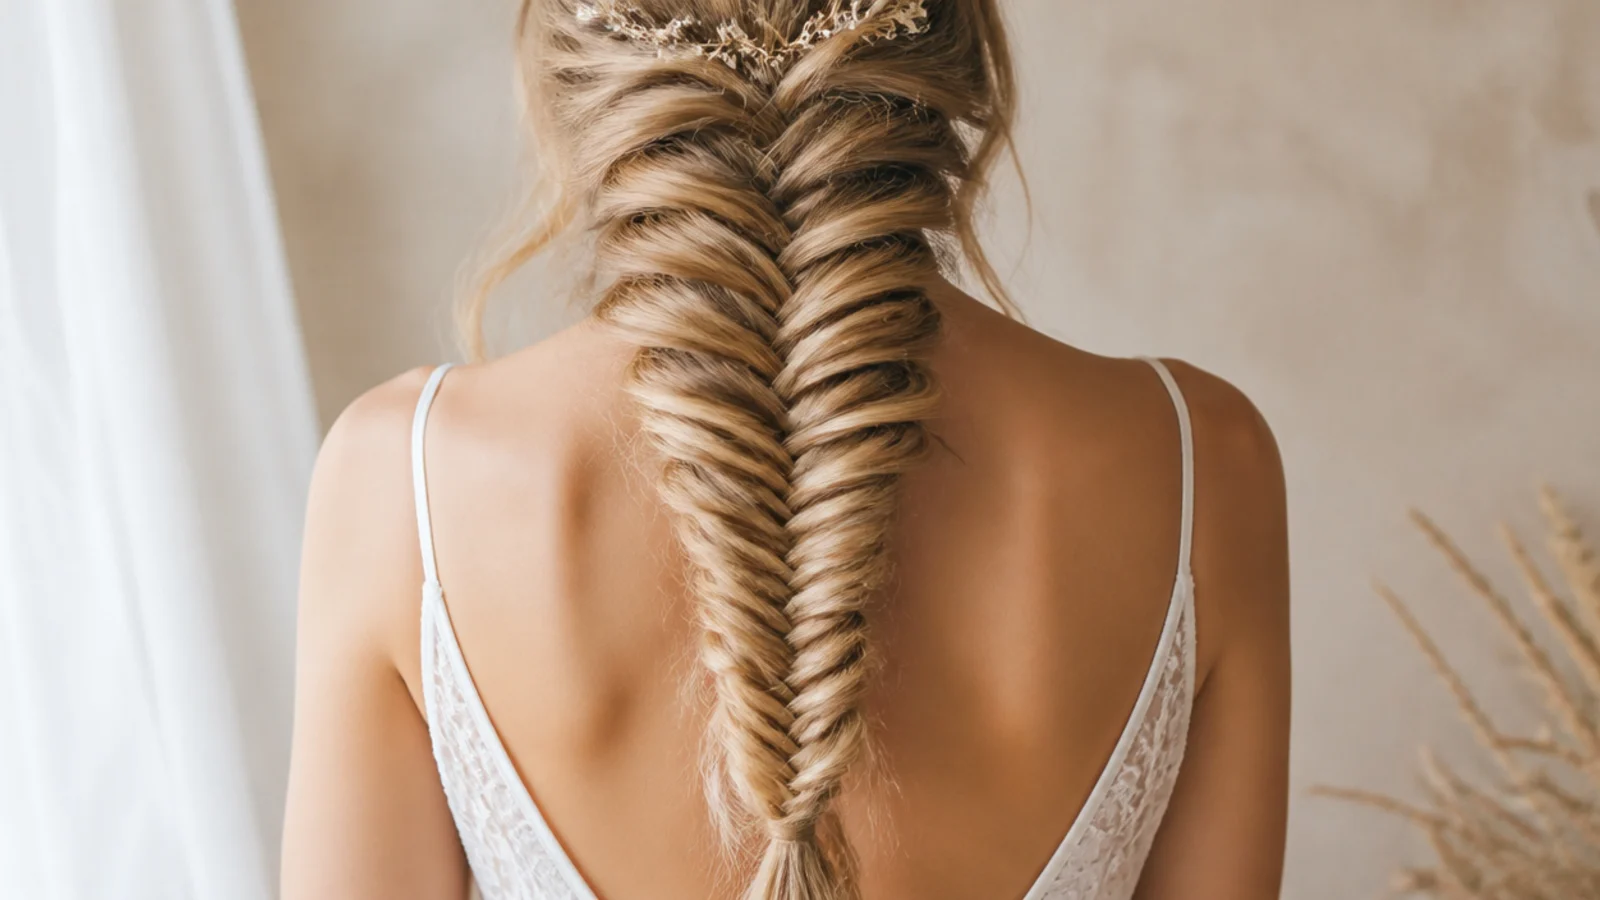
It is a fishtail, worked in two sections. A thin sliver is taken from the outer edge of one half and crossed to the inner edge of the other, then the same on the opposite side, over and over.
The scales are the crossing points stacked up. Each sliver lands in the centre and is trapped by the next one, which is what produces the chevron that reads as scales in photographs.
The width is added afterwards. A finished fishtail is a narrow rope until it is pancaked, and every bridal photograph you have saved is of a pancaked braid rather than a raw one.
It takes twenty minutes to build on long hair. The slivers are thin, so many more of them fit into the same length than a three strand plait needs. Book the time into the morning schedule rather than assuming it is quick.
Pairing the Braid With Your Neckline
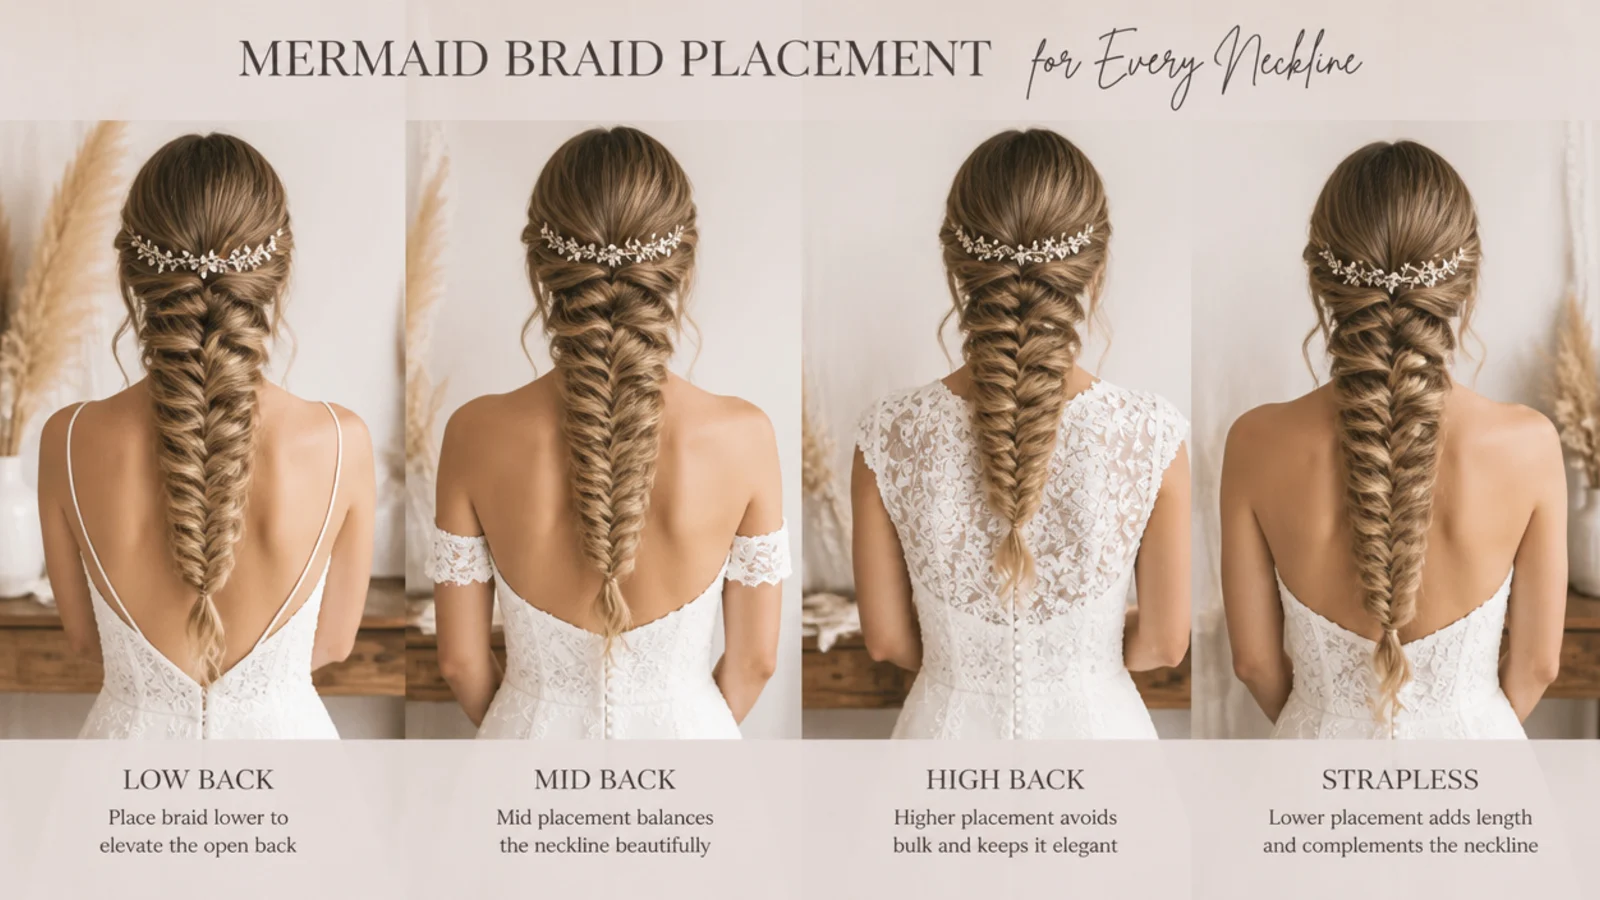
Strapless and sweetheart want the braid down the back. The dress ends in a horizontal across the chest and leaves the whole back empty, which is exactly the space a vertical braid was made for.
A high neck wants the braid up. The fabric already runs across the shoulders and up the throat, and a braid falling over it disappears into the material rather than sitting against skin.
Halter necks have a line running to the nape. Anything braided down the back crosses it. A crown or a halo keeps the two from arguing.
An open back is the one case for maximum width. There is more skin to read the braid against, so pancake further than you would otherwise dare.
Check it seated as well as standing. A braid that sits perfectly upright at the mirror can be pushed sideways by a chair back for the whole reception.
Veil Placement
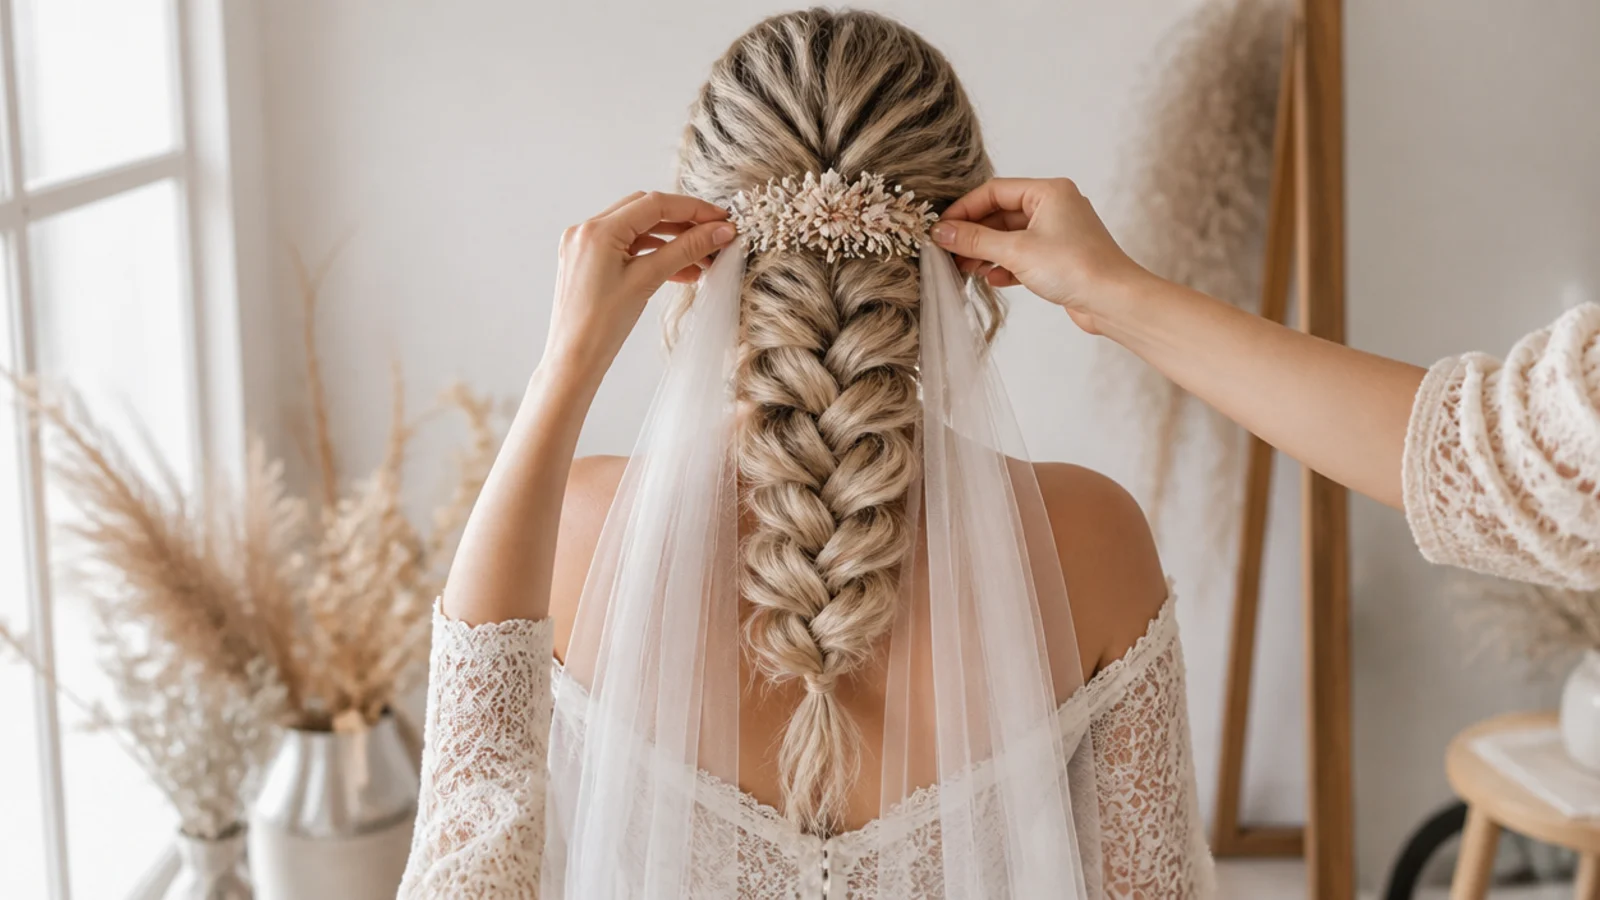
Build the anchor before the veil arrives. Two bobby pins crossed into an X, pushed into hair that has been lightly backcombed, gives the comb teeth something solid to hook under.
A cathedral veil pulls downward all day. Its weight is carried entirely by the anchor point, so set it above the braid where the skull curves in, not on the flat crown where it can slide back.
A blusher pulls forward instead. The force is toward the face, which means the comb needs to face backward into the anchor rather than forward with it.
Never push the comb into the braid. A braid is a rope with a smooth surface and no loose hair to grip, and the comb will work its way free within the first dance.
Practise removing it. The veil usually comes off before the reception, and the braid has to survive that without the front collapsing.
Fine and Slippery Hair
Do not wash it that morning. A clean cuticle lies flat and carries no sebum, so the crossings have nothing to grip and the braid loosens from the bottom before the ceremony.
Second day hair is the right starting condition. The natural oil raises friction between strands, which is the only force holding a loose fishtail together.
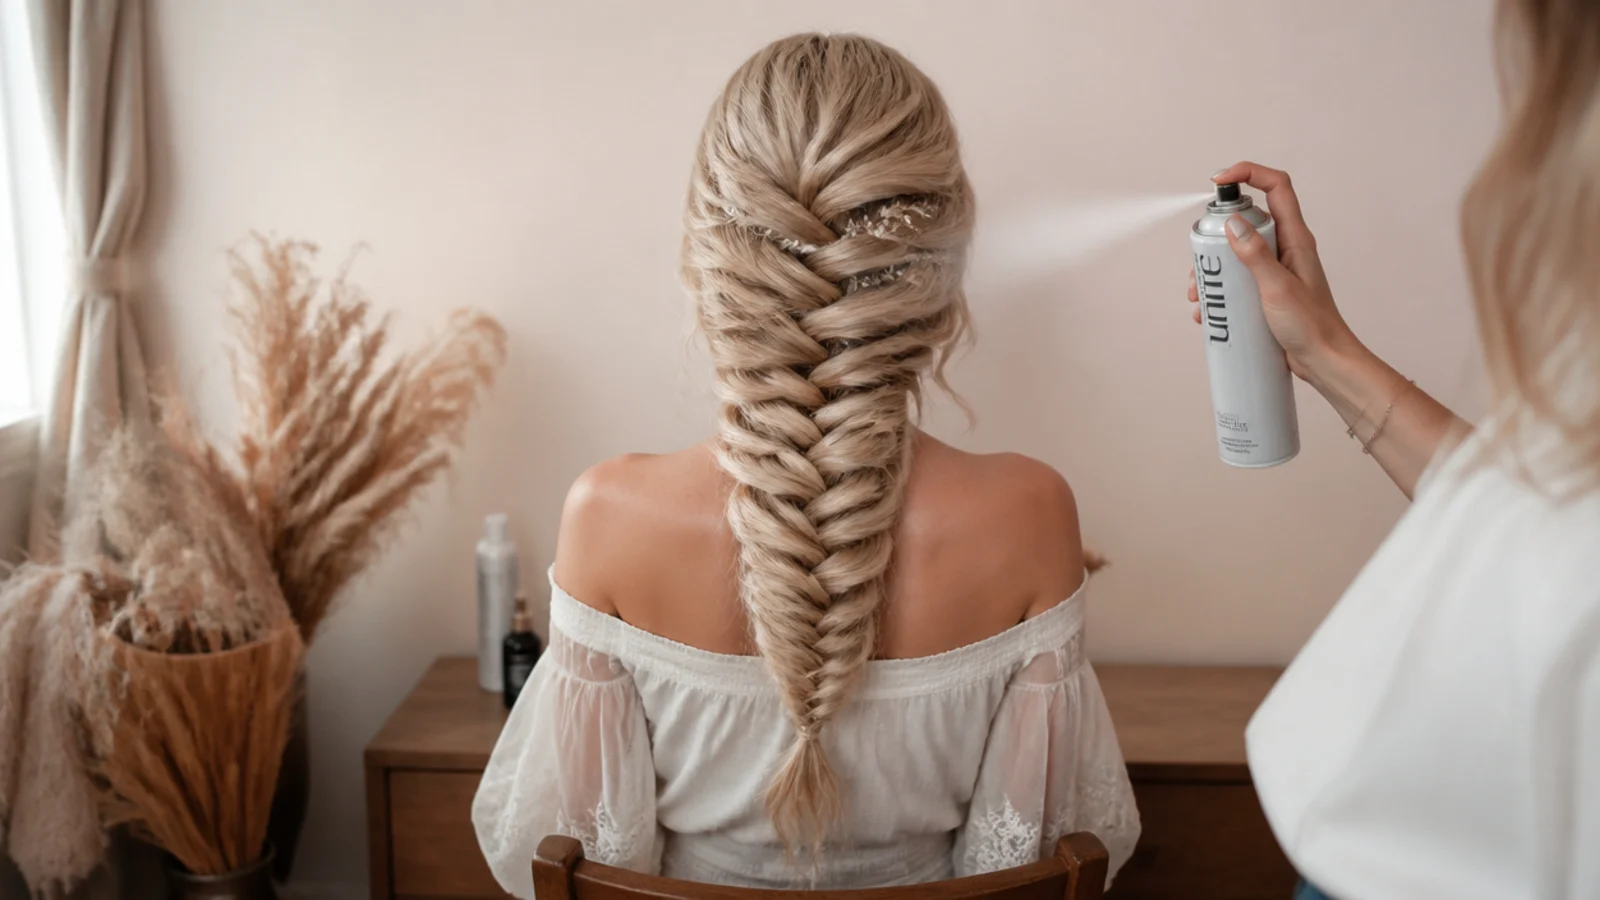
Texture spray substitutes for that day. It leaves particles between the strands, and those particles stop one sliver sliding out from under the next.
Backcomb the base of the braid lightly. Fine hair loosens at the top first because that is where the braid has the least anchorage, and a small cushion there fixes it.
Skip serum and conditioner on the lengths. Slip is the enemy here, and every smoothing product is engineered to add it.
Pancaking Technique
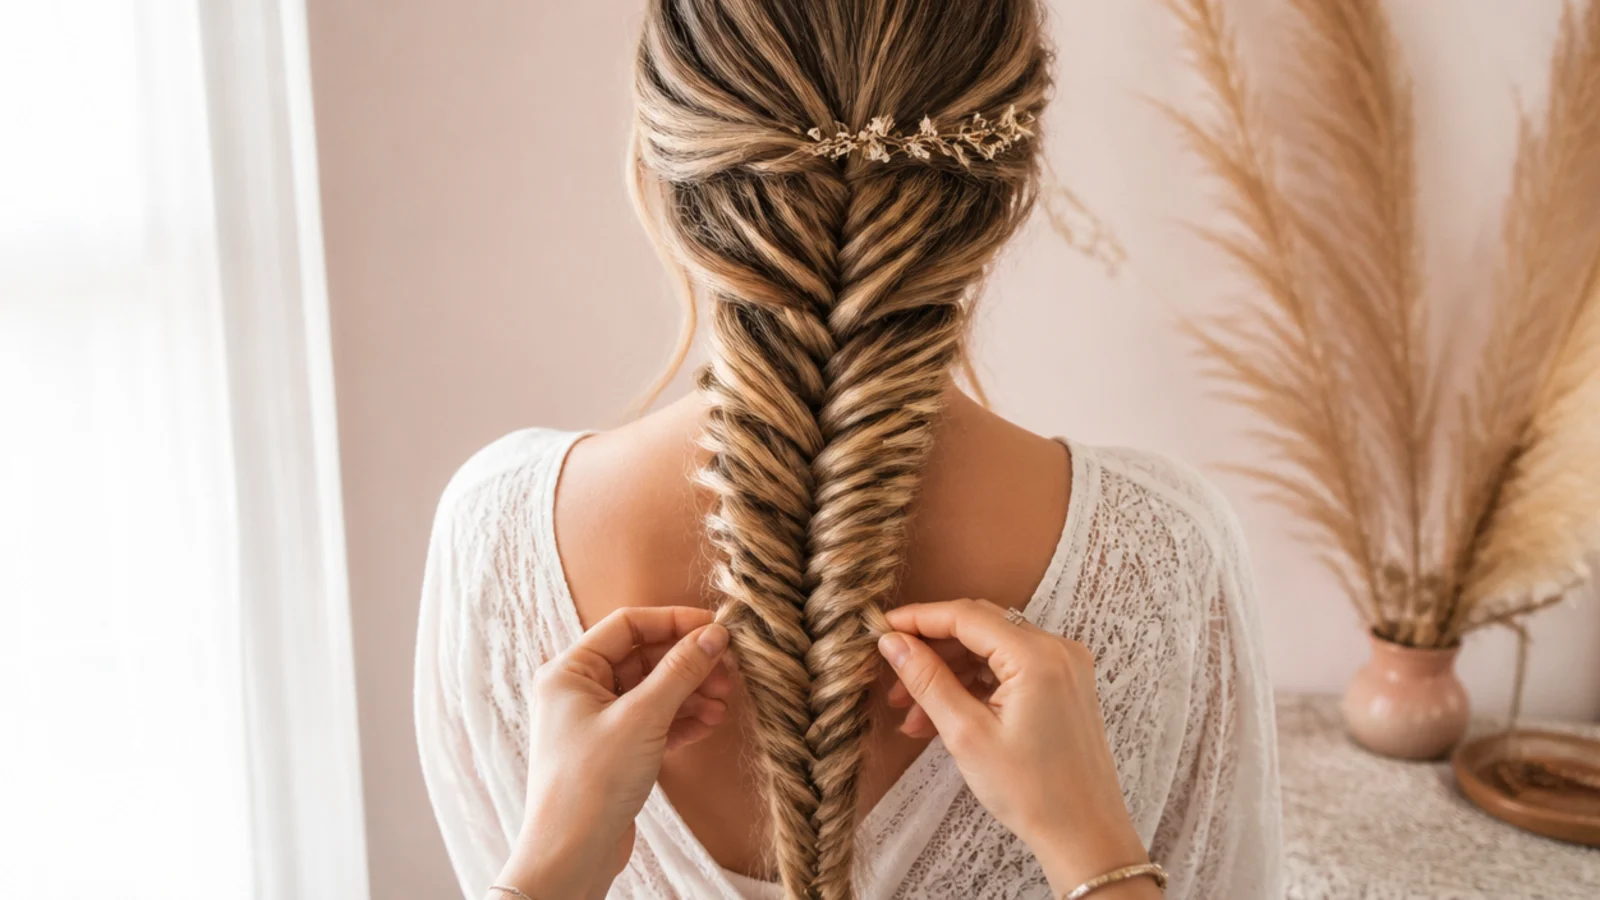
Elastic on first. Widening the braid releases tension, so anything not secured slackens faster than you can pull it out.
Bottom to top, always. Each crossed piece is held by the ones above and below it, and widening the lowest one leaves the tension above untouched. Starting at the top drops slack down the whole braid.
Pull sideways, not down. Sideways moves hair from the centre of the braid out to its edge, which is the entire mechanism. Downward simply drags the crossing out of shape.
Do one side fully, then the other. Alternating is how a braid ends up wider on the left than the right, which photographs badly from every angle.
Stop before daylight shows through. Gaps mean you have taken more slack than the braid contained, and nothing puts it back short of rebraiding the section.
Making It Last Through the Day
Hairspray from a distance, in passes. Held close it soaks one spot and dries into a stiff patch, which is obvious on a braid where everything around it is soft.
Pins go through the crossings. A pin pushed into a crossing point has hair on both sides of it to bite into, so it stays put when a hug knocks it.
Give someone the repair kit. Two spare pins and a clear elastic in a bag, held by whoever is standing nearest you all day.
Expect the width to compress slightly. Pancaked hair is held out by position alone, so hours of leaning against chairs and cars will narrow it. It is a two minute fix if someone knows to look.
The 20 Wedding Mermaid Braids
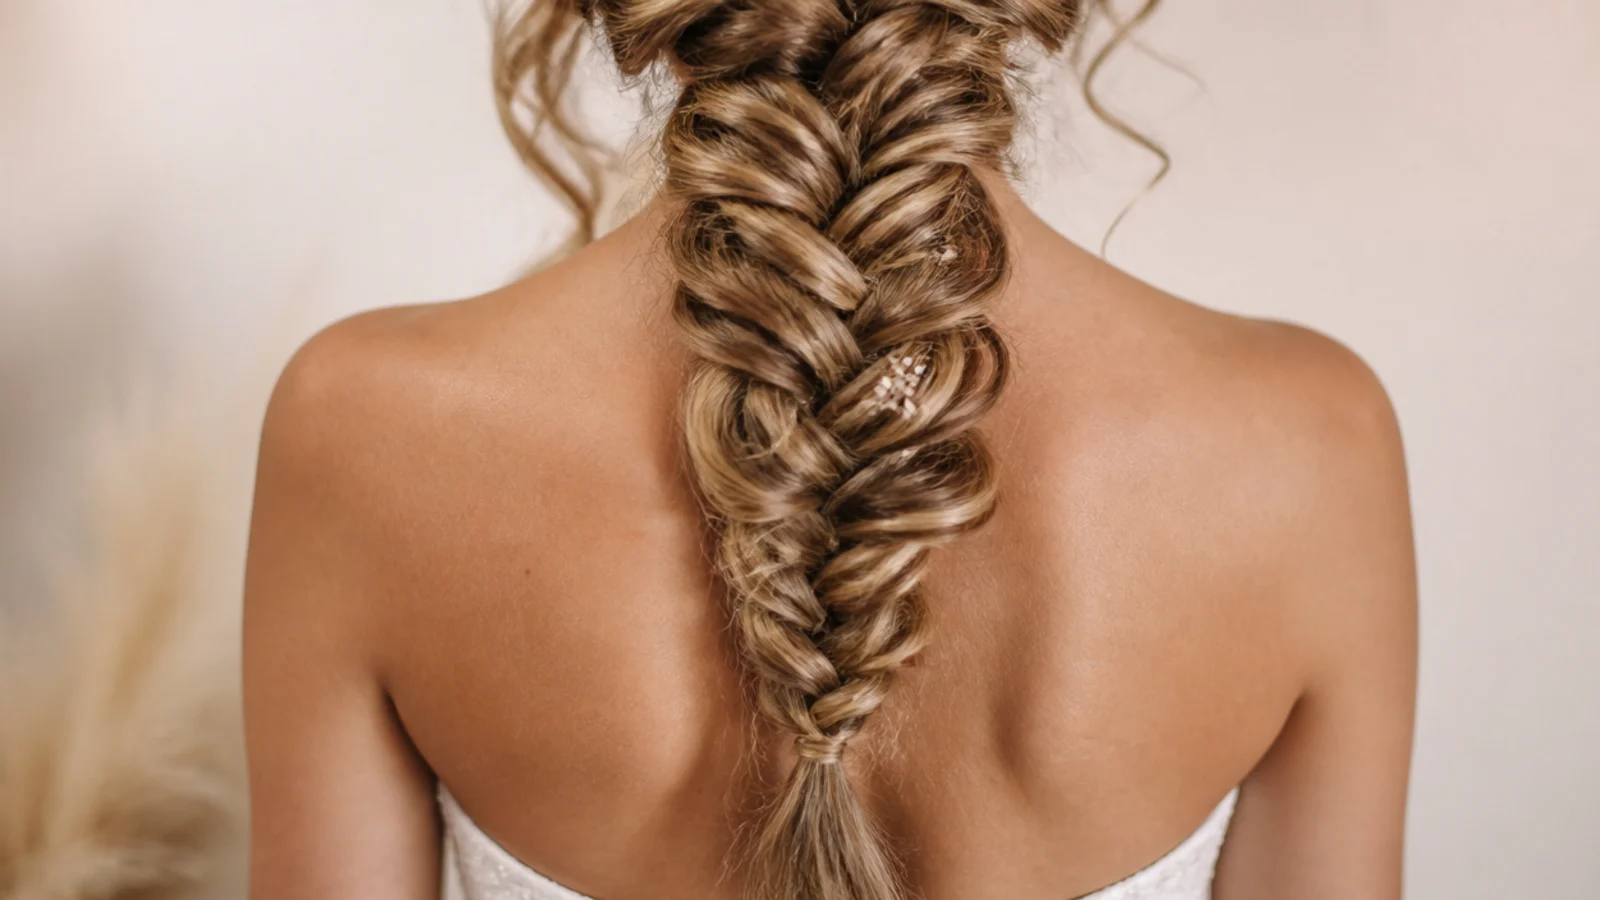
1. Classic Braid With a Strapless Gown
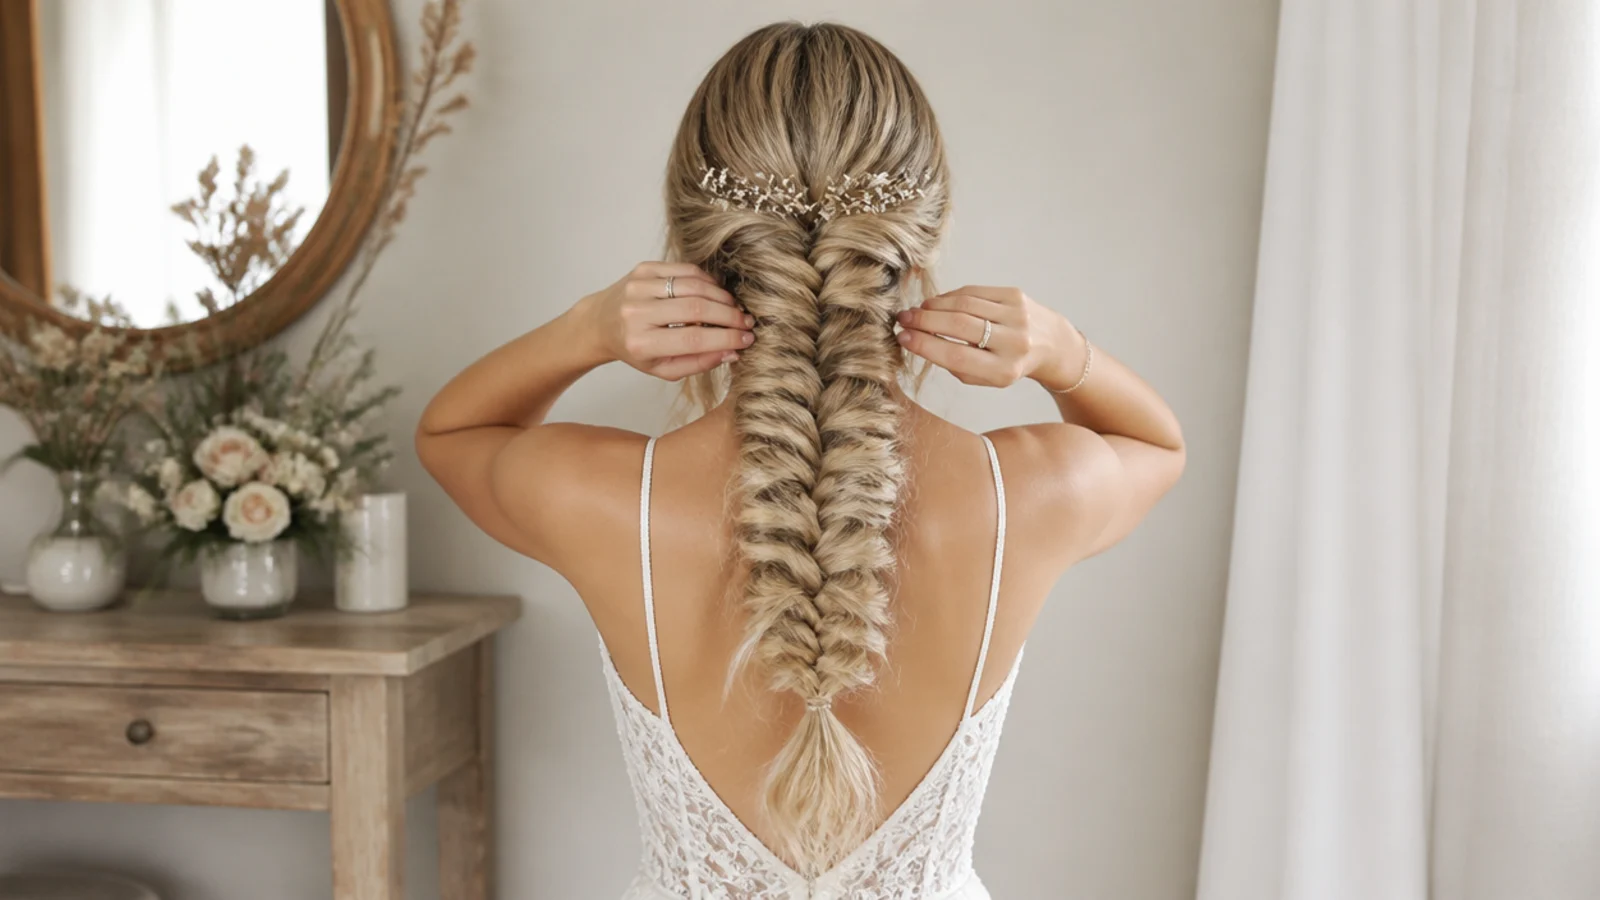
A strapless dress finishes in a horizontal across the chest and leaves the entire back bare, which is the one place a long vertical braid has nothing to compete with. Pancake it wide, because the amount of skin behind it is what lets the width read at a distance.
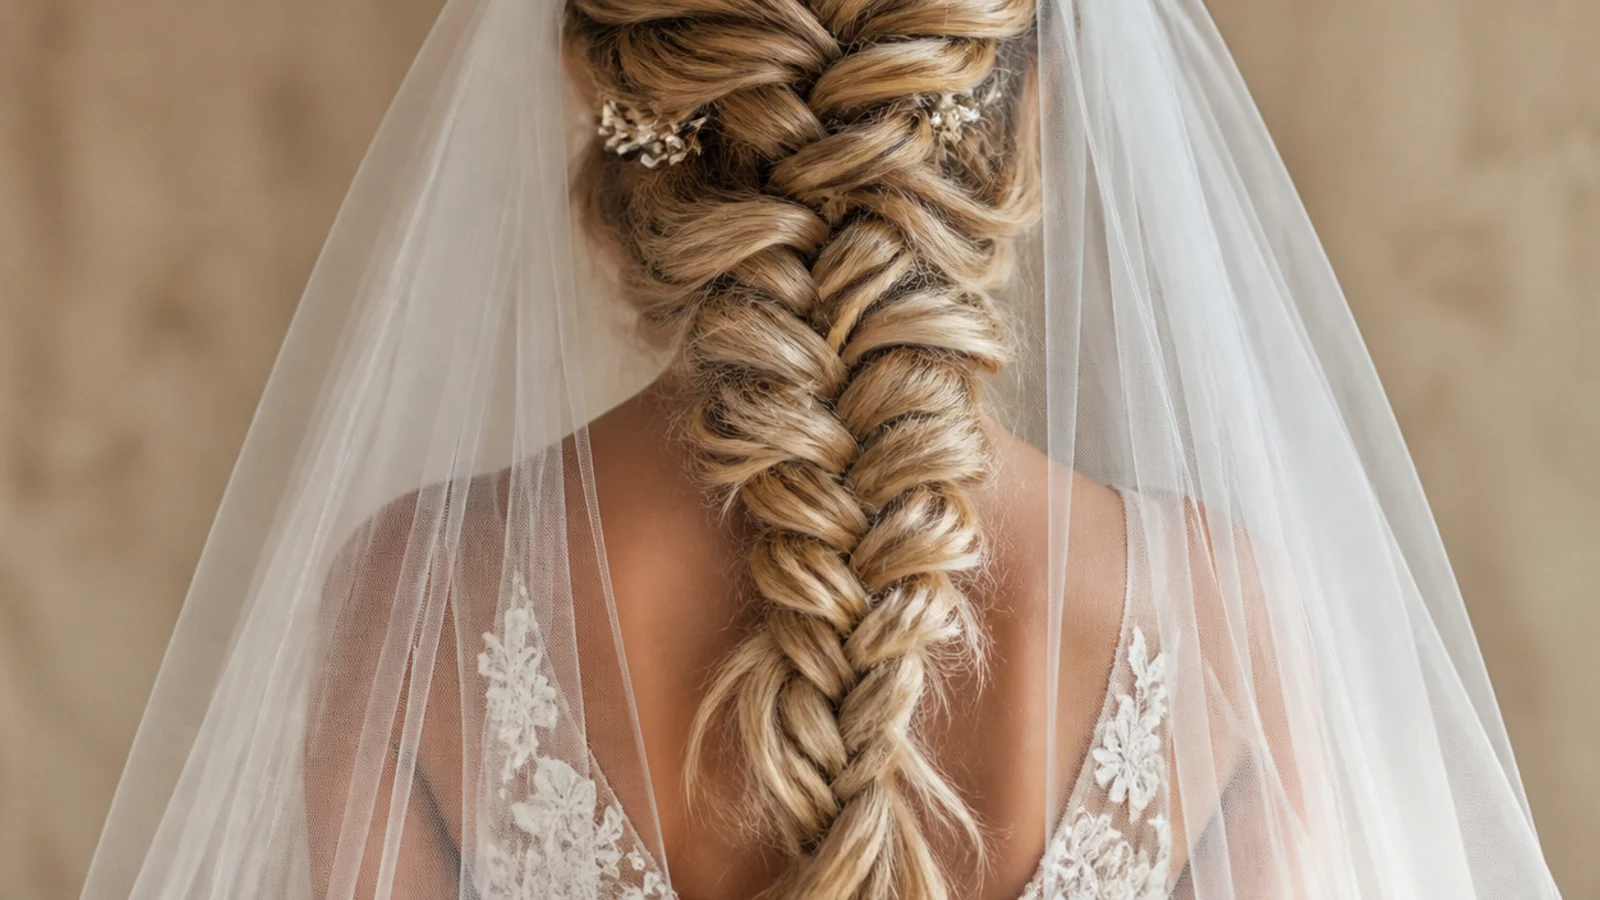
2. Side Braid Under a Cathedral Veil
Bringing the braid forward over one shoulder clears the centre of the back, which is exactly where a cathedral veil wants to fall uninterrupted. It also moves the braid to where you can see it in photographs taken from the front, rather than only in the ones behind you.
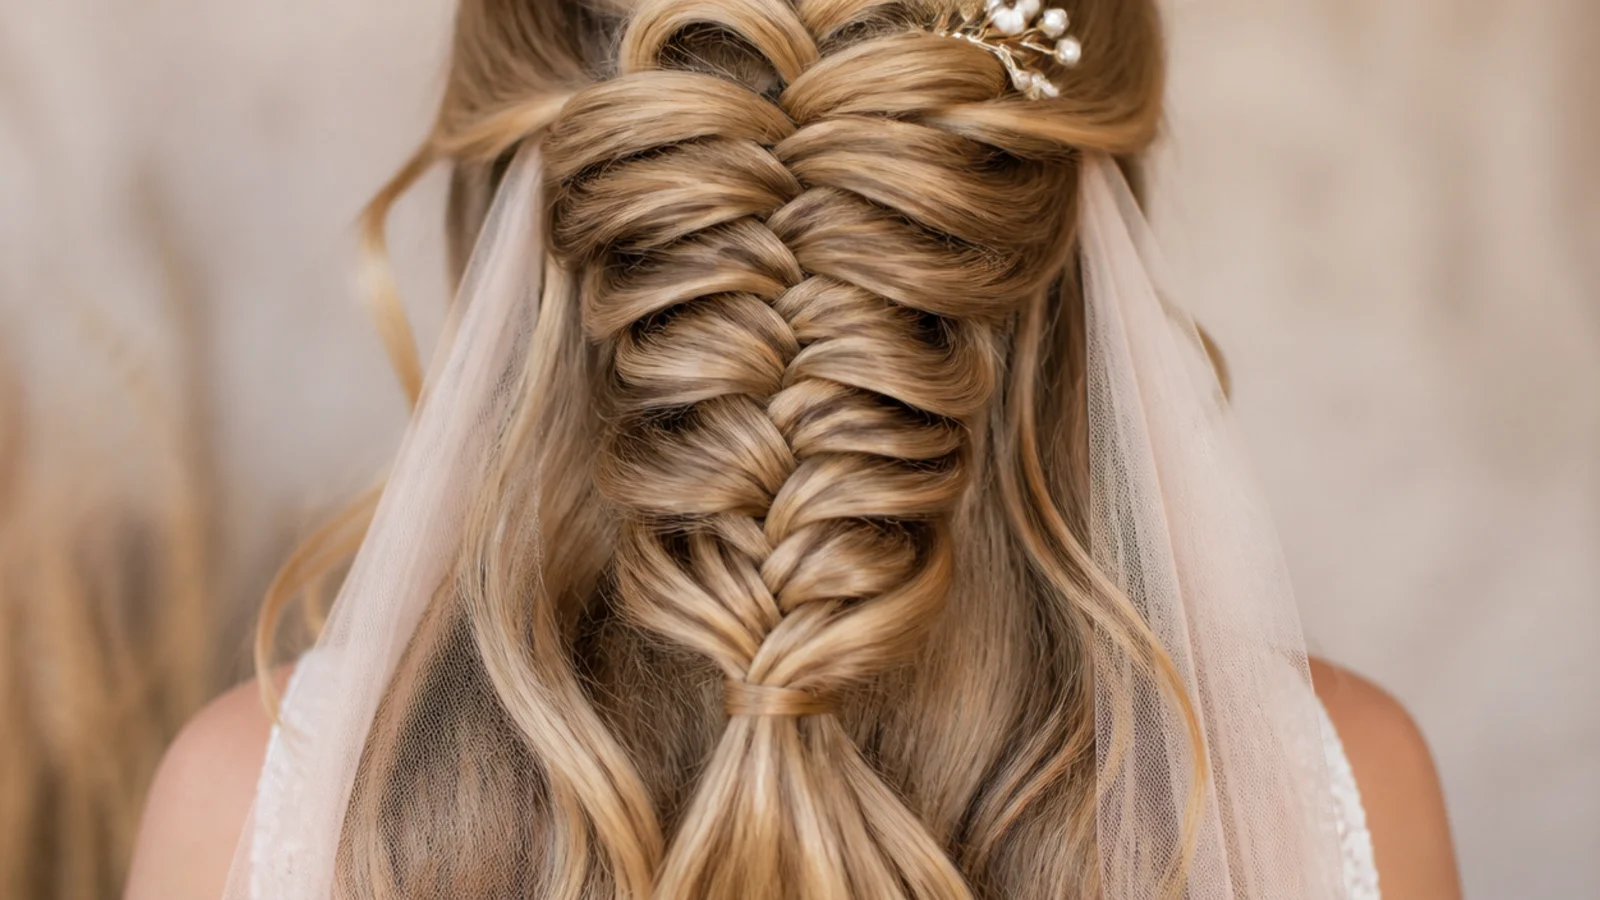
3. Half Up With a Blusher
Gathering only the top half gives the blusher comb a clean anchor above the braid while leaving loose hair below to soften the join. The blusher pulls forward rather than down, so the comb faces backward into the pins and the braid takes none of the load.
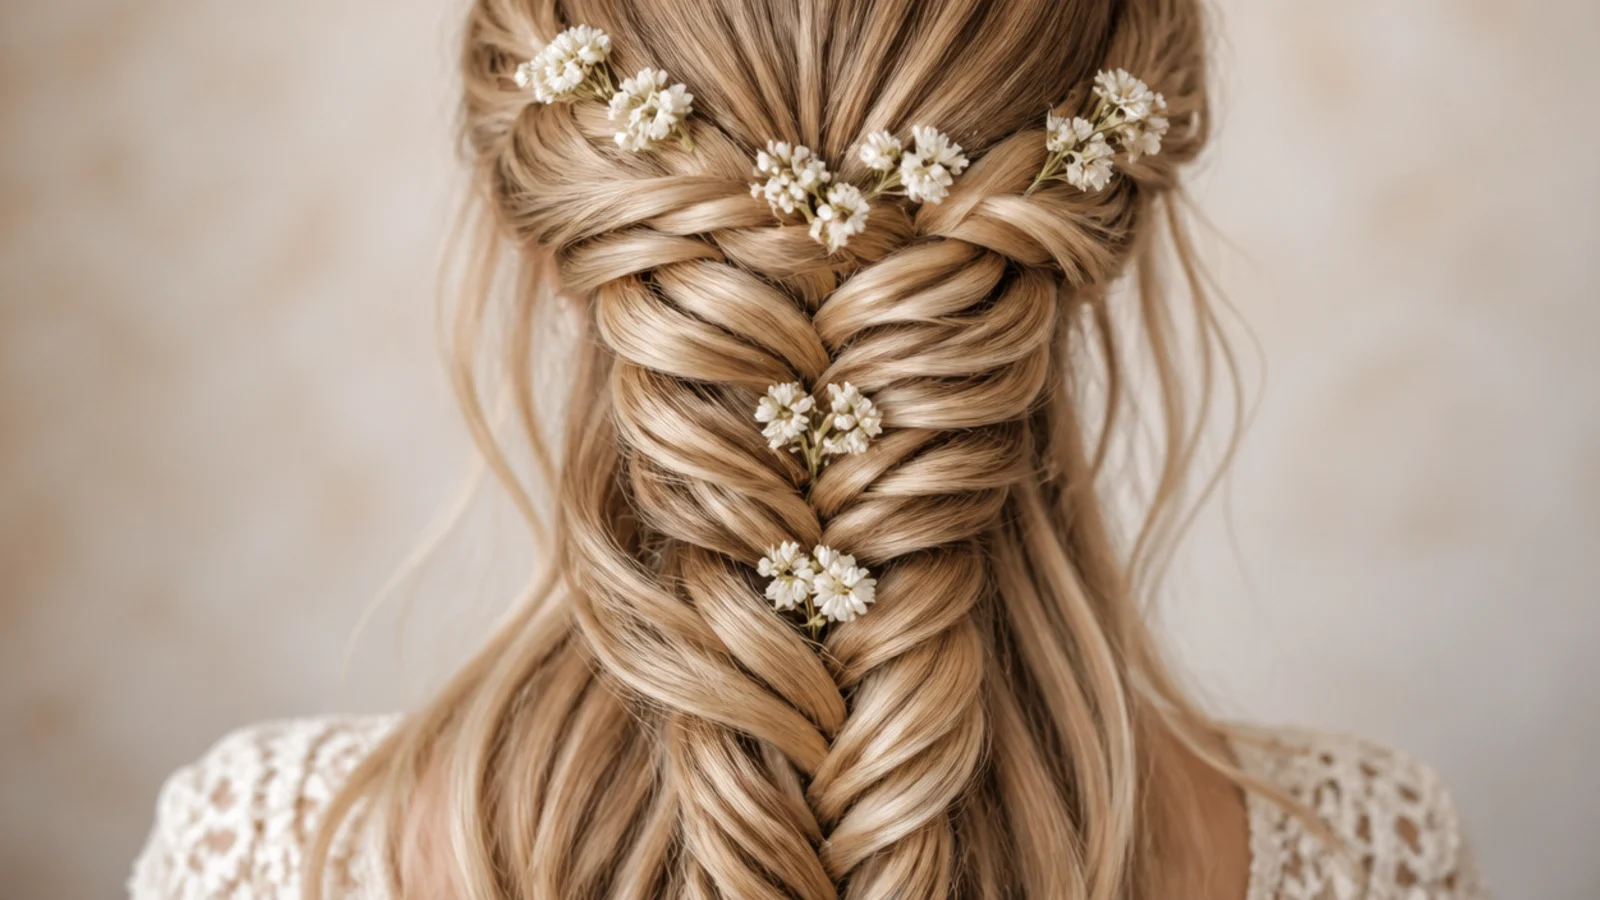
4. Braid Crown for a Garden Wedding
Taking the fishtail around the head keeps every inch of hair off the neck, which matters more outdoors in summer than any photograph suggests. Flowers tucked into the crossings have hair on both sides of the stem to grip, so they hold without wire.
5. Low Braided Bun With a High Neckline
A high neck already runs fabric across the shoulders and up the throat, so hair worn down vanishes into it. Coiling the finished braid into a low bun puts the pattern above the collar, where it still catches light and the neckline keeps its own line.
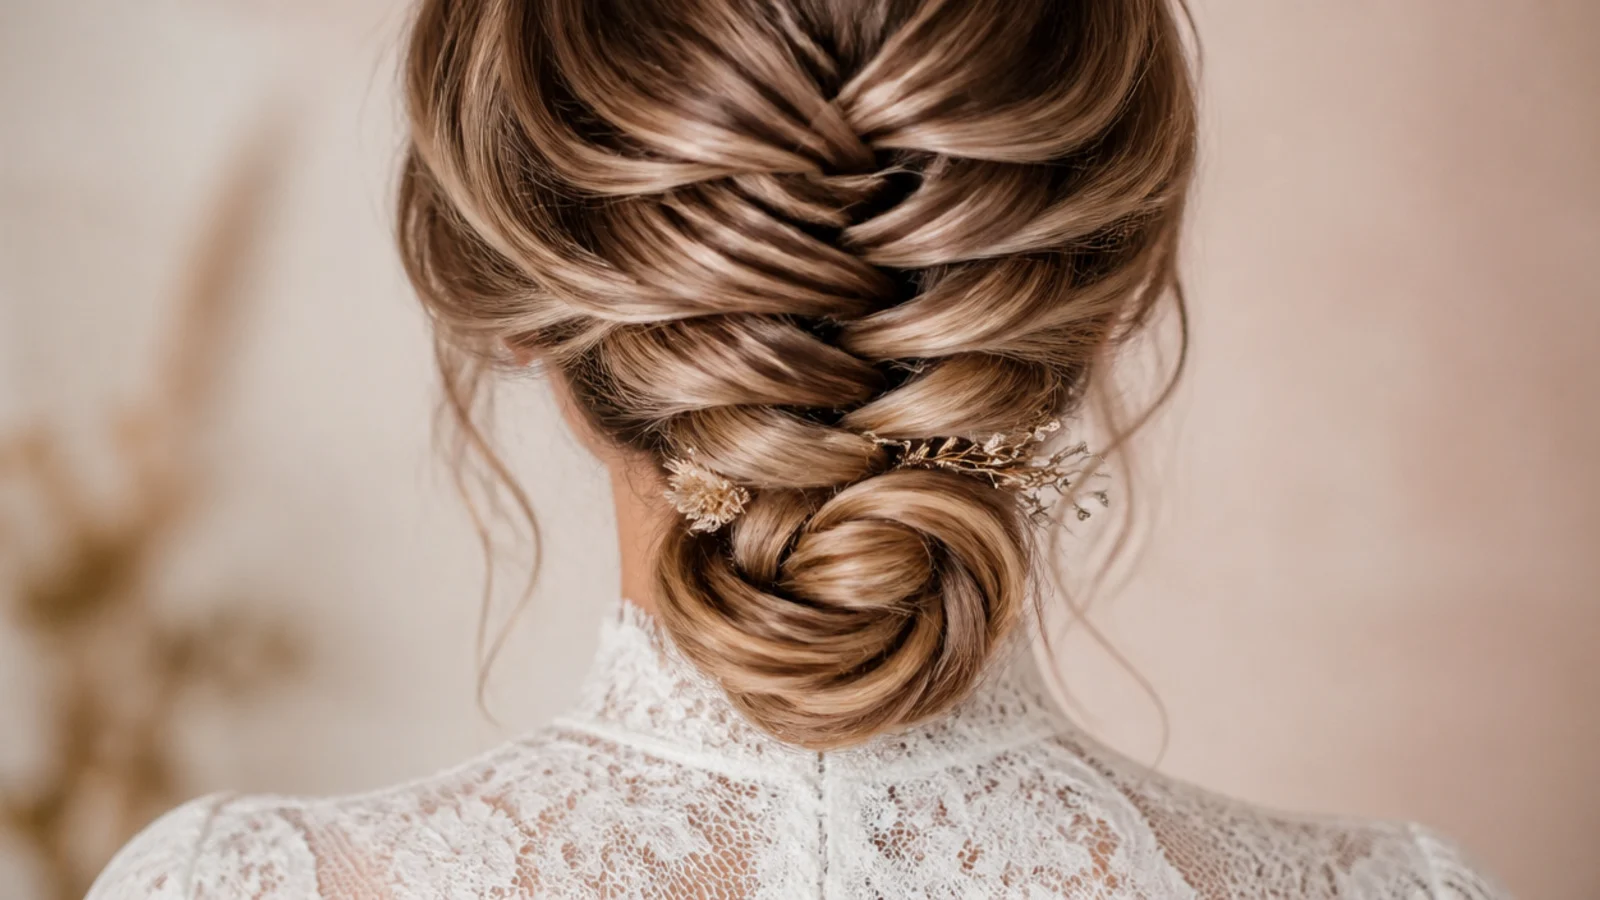
6. Waterfall Braid on the Beach
At each pass a sliver is dropped free instead of crossed, and a fresh one picked up from above replaces it. Those falling strands move constantly in wind, which on a beach is the difference between hair that looks alive and hair that looks like it is being blown apart.
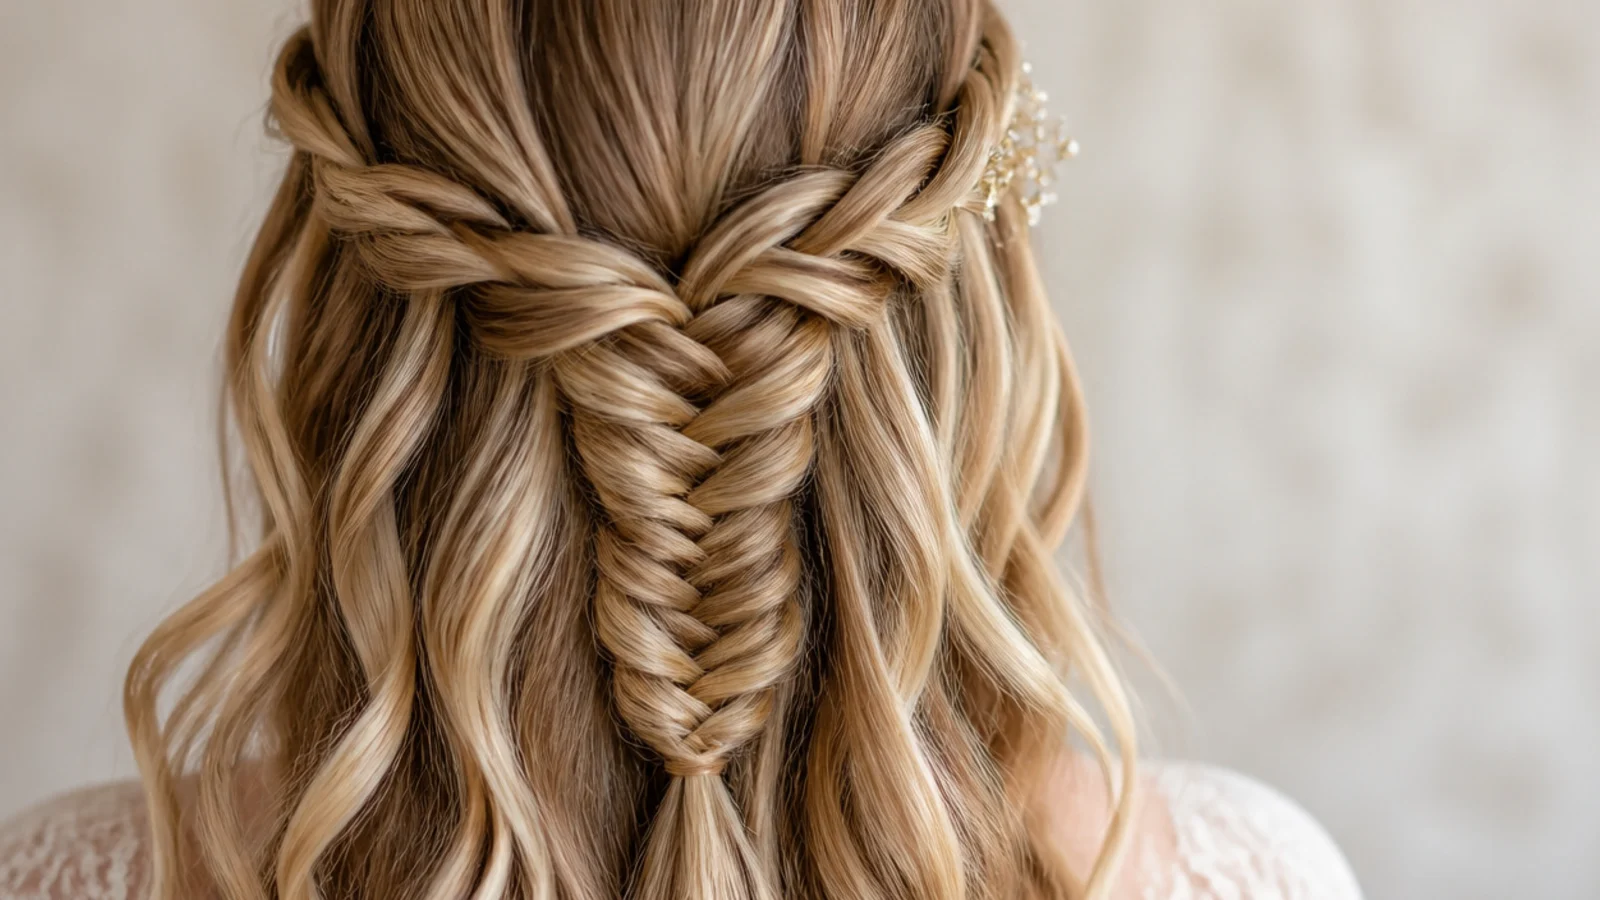
7. Boho Braid Threaded With Gypsophila
Baby breath sprigs are light enough to push into the crossings without any wire, because each stem has hair gripping it from both sides. Set them after pancaking rather than before, since widening the braid afterwards would lever every stem straight back out.
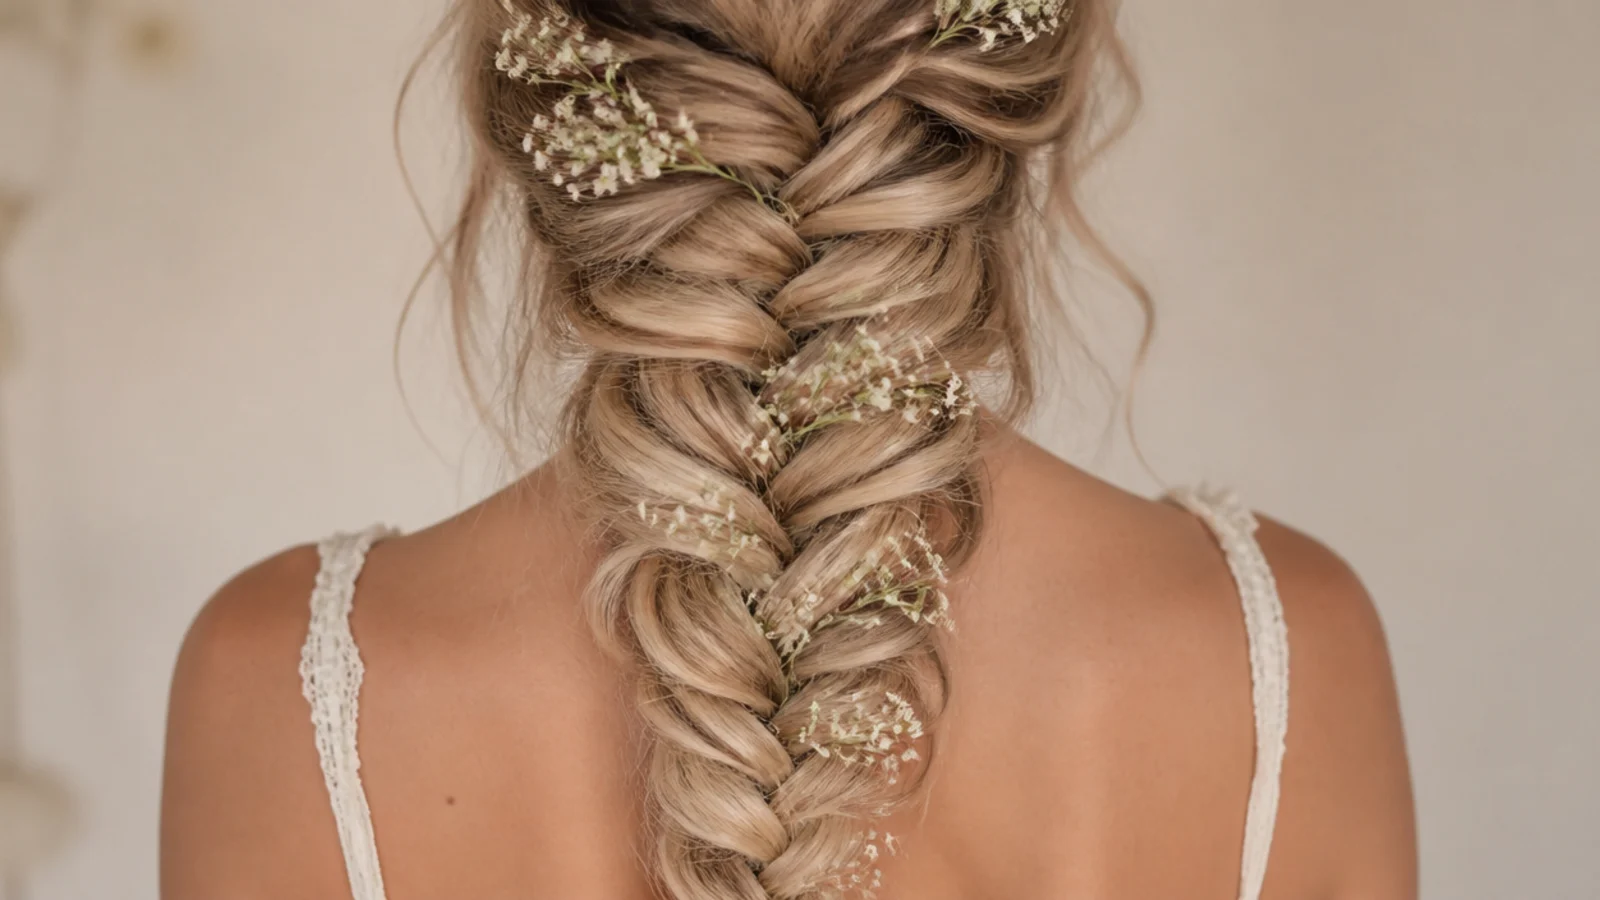
8. Double Braids for Bridesmaids
Two braids read as a set from across a room in a way one never does, which is the point when there are several of them standing together. Keep the parting central and the two braids the same width, because any asymmetry is multiplied across the line.
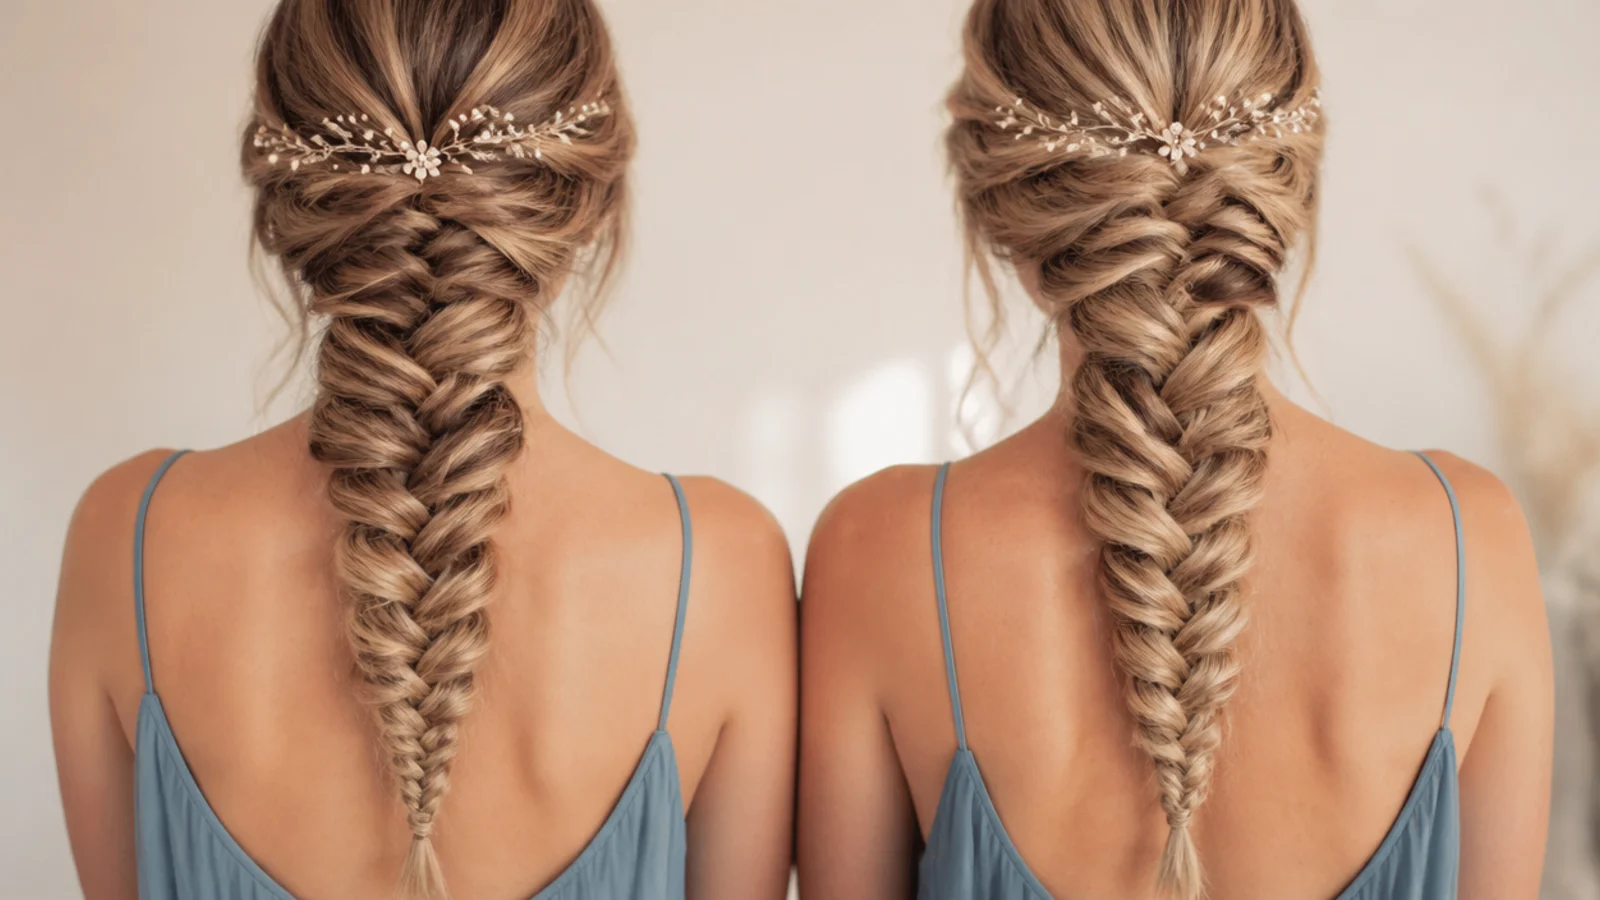
9. Pearl Hair Vine Through the Braid
A vine is flexible wire, so it can be threaded to follow the chevron rather than laid across it. Following the pattern makes the braid read as more defined, while a vine set straight over the top flattens the crossings it crosses.
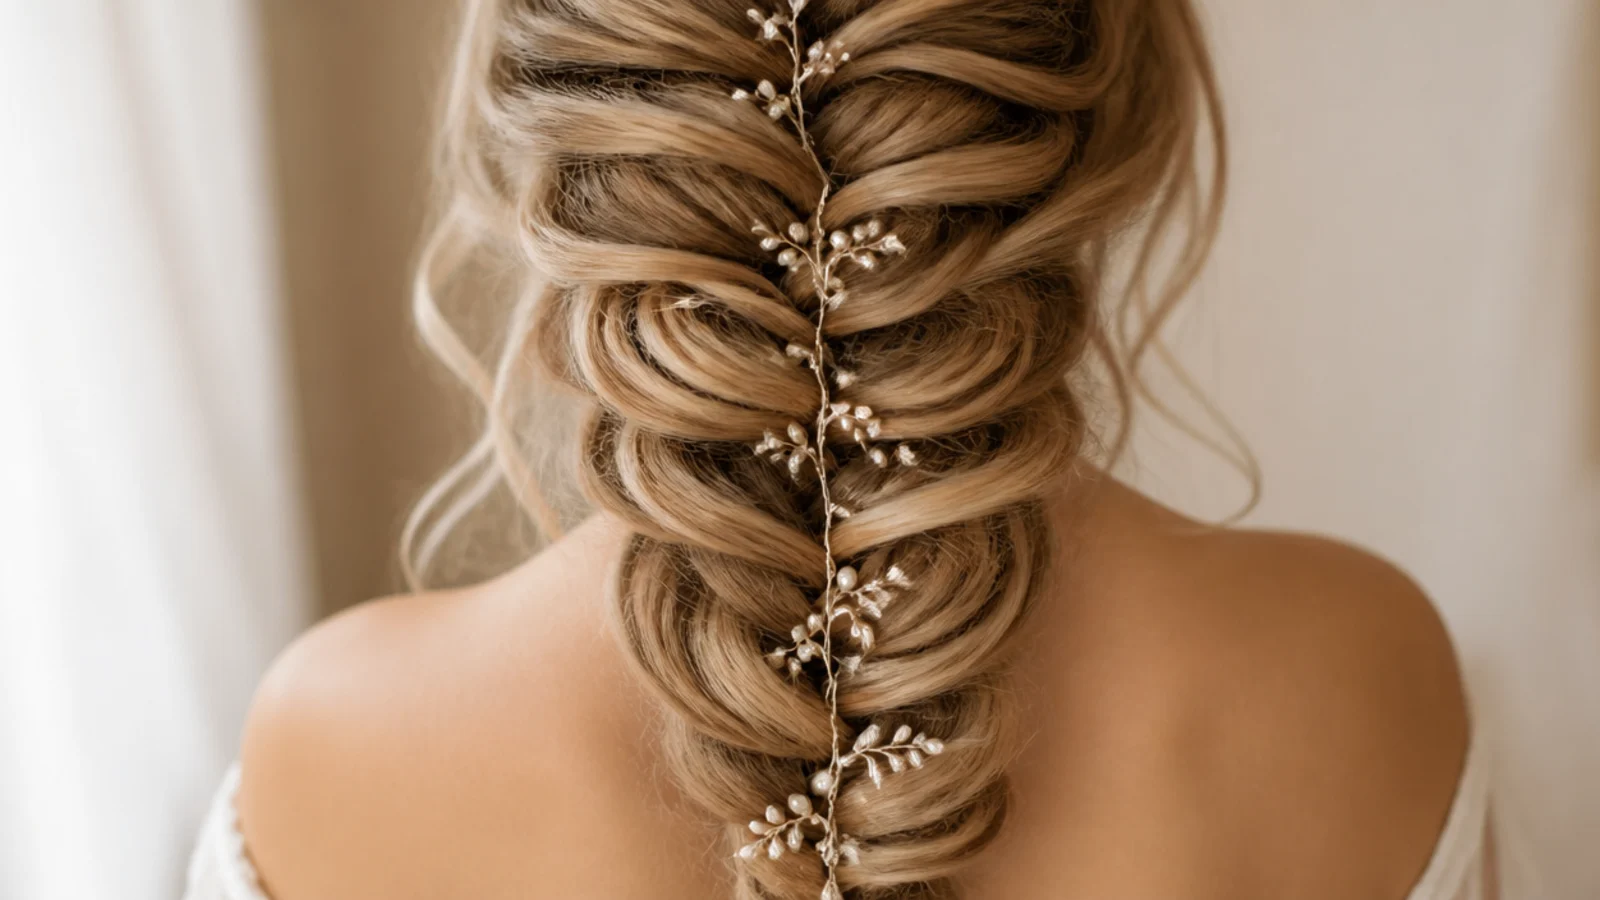
10. Loose Braid With a Sweetheart Neckline
A sweetheart neckline curves rather than cutting straight across, so a hard tight braid above it looks borrowed from a different outfit. Braiding loosely and pancaking generously gives a soft edge that matches the curve of the dress.
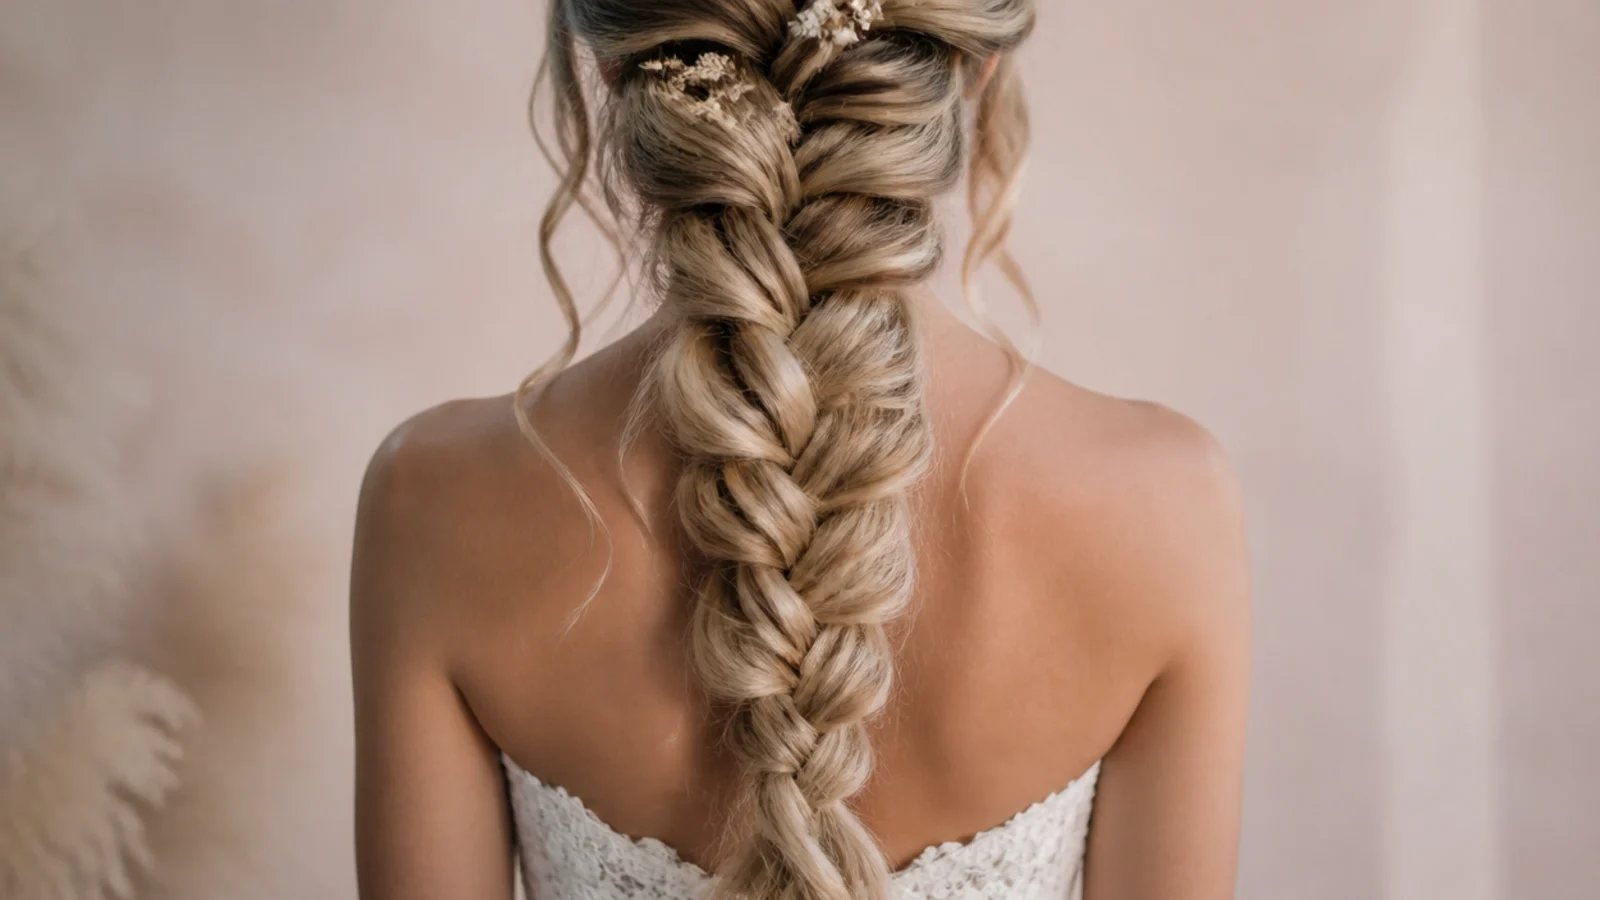
11. Braided Ponytail for the Reception
Gathering the hair first and braiding only the tail lifts everything off the neck for dancing while keeping the pattern on show. The elastic at the base carries the weight, so the crossings below it stay under no tension and hold their width.
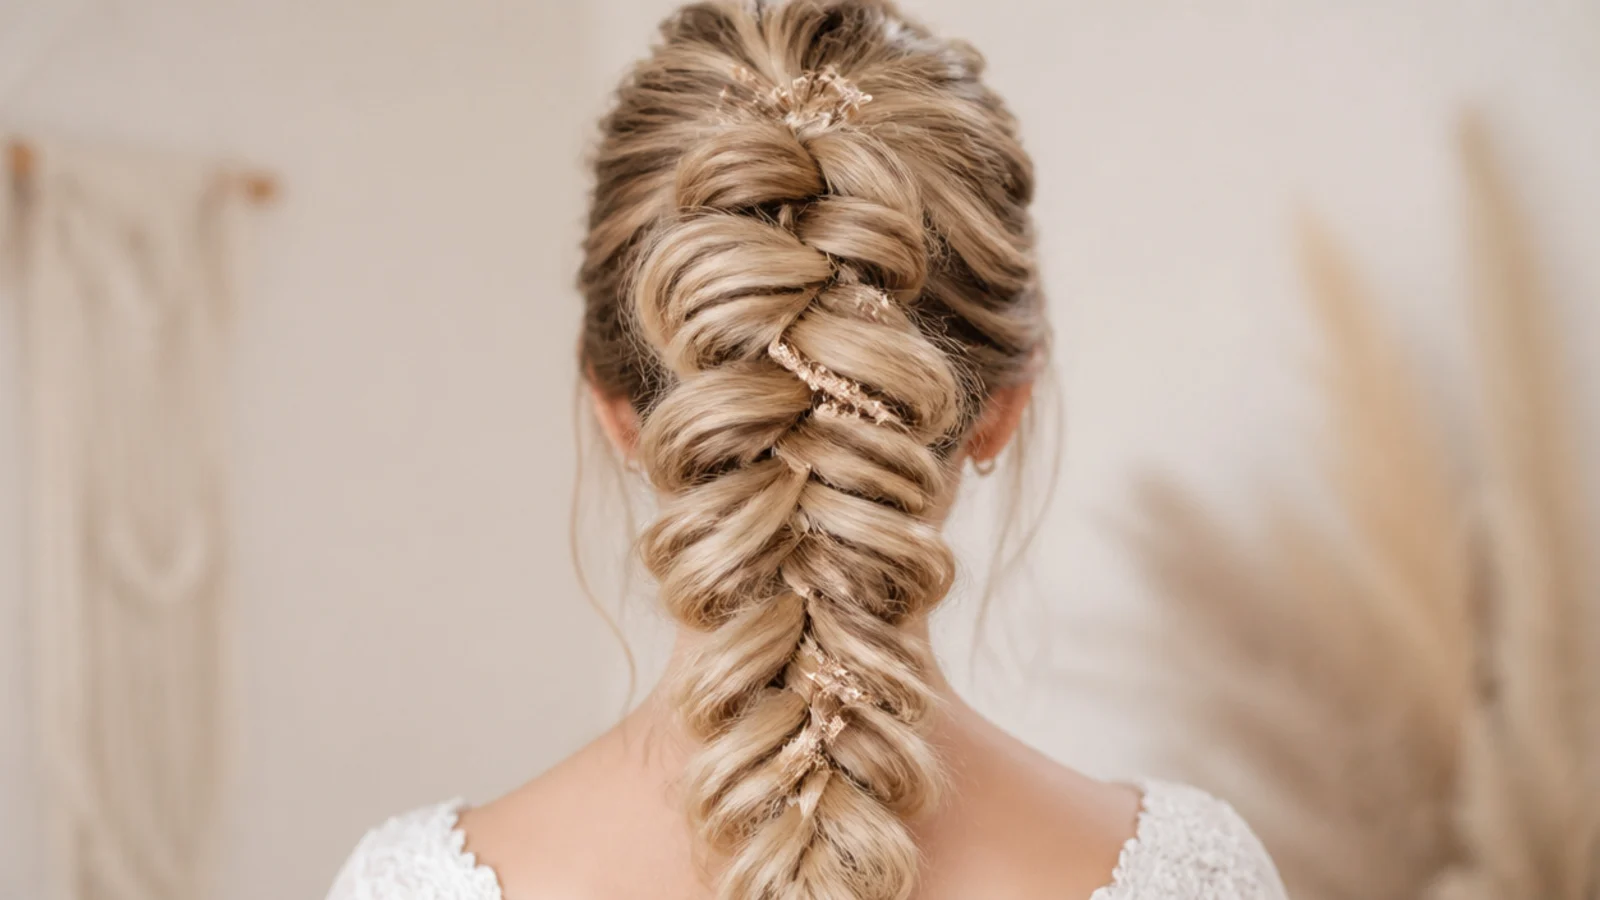
12. Dutch Mermaid Braid on Fine Hair
Crossing the slivers underneath instead of over lifts the braid clear of the scalp, and a raised braid casts a shadow that fine hair cannot produce on its own. That shadow is what makes it read as thicker than it is in every photograph taken from the side.
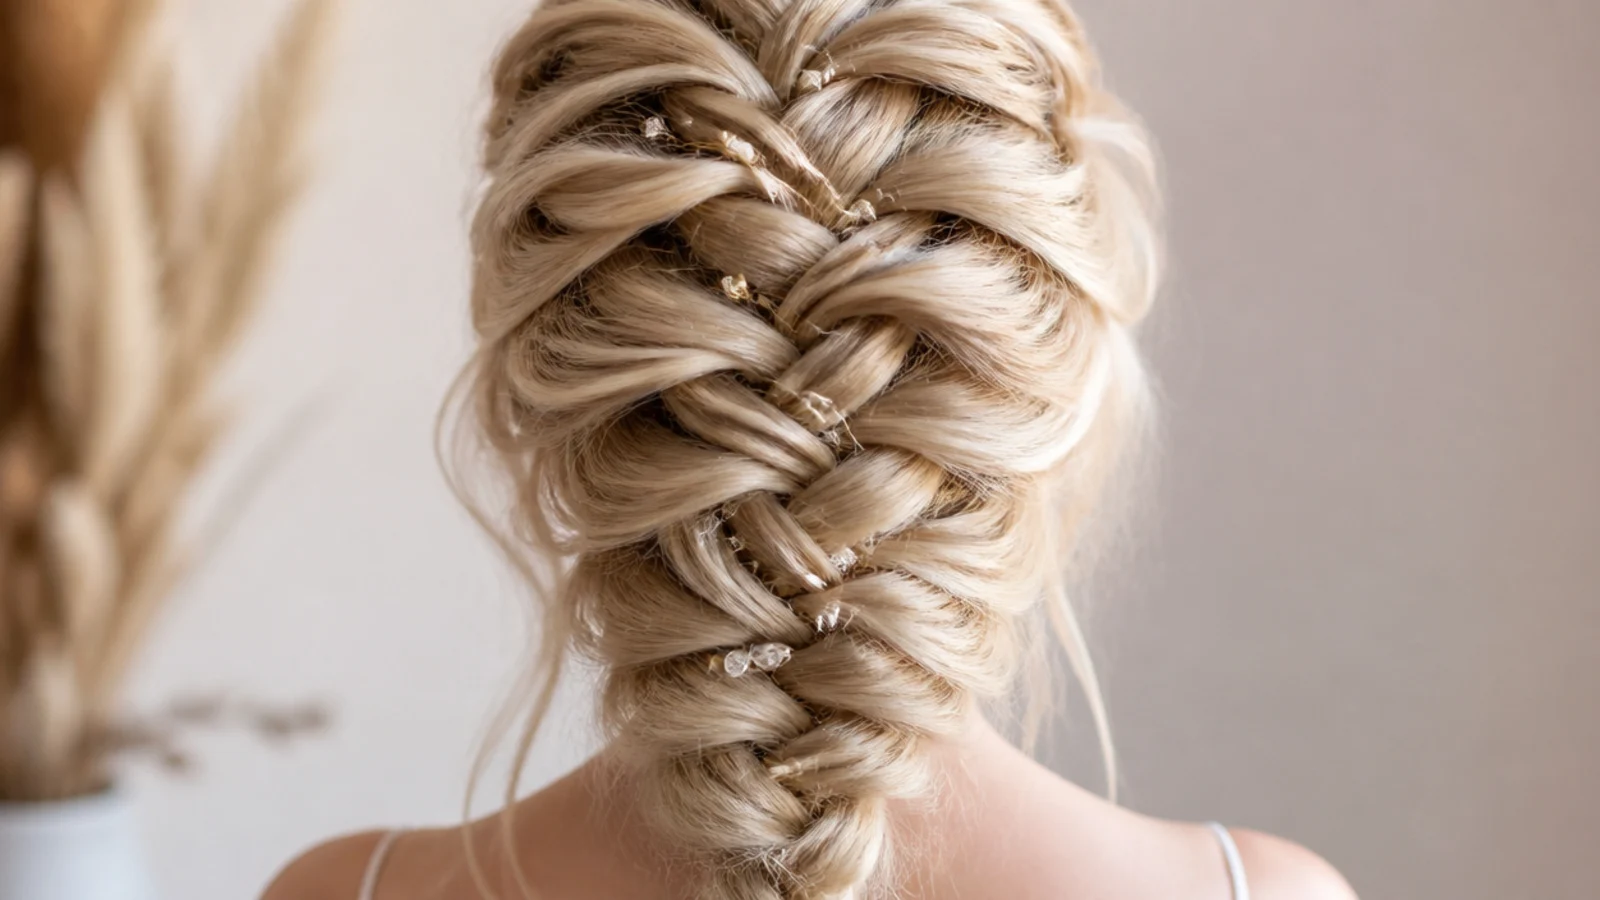
13. Clip Ins on Shoulder Length Hair
Shoulder length hair gives four or five crossings before it runs out, which is not enough for the pattern to register. Clip ins set below the crown add the length the braid needs, and the wefts are hidden by the braid itself rather than needing to be covered.
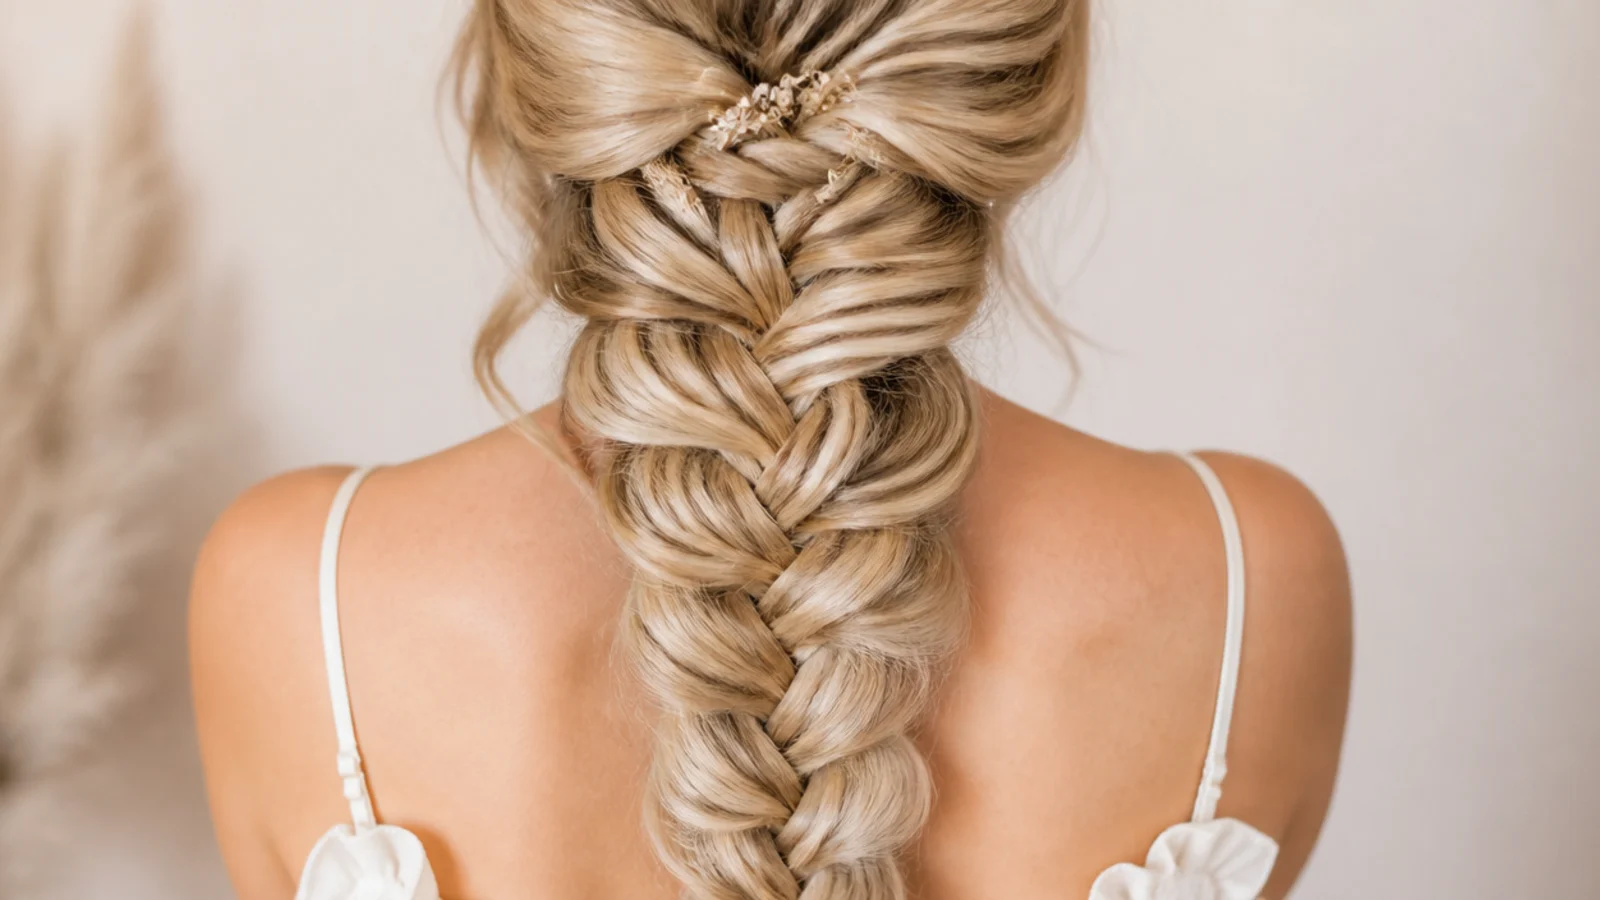
14. Halo Braid With a Backless Gown
A backless dress makes the back the focus, and a braid hanging down it covers exactly the skin the dress was cut to show. Taking the braid up into a halo leaves the back clear and puts the pattern where the guests behind you are looking anyway.
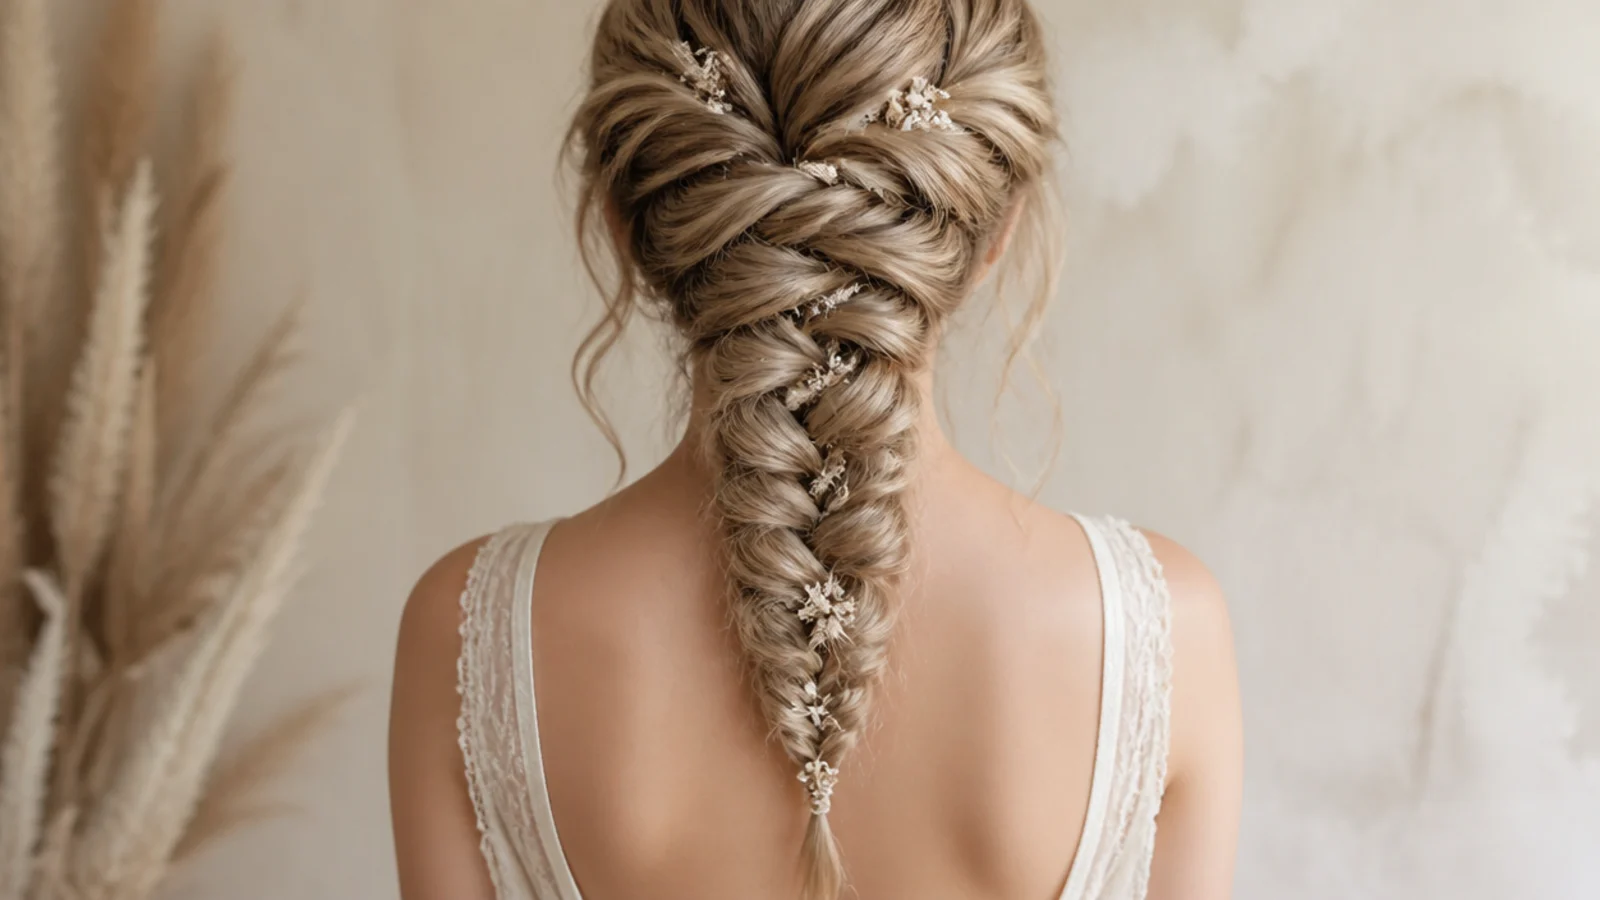
15. Braid Under a Juliet Cap Veil
A Juliet cap sits flat on the crown and needs that area smooth, so the braid has to begin at the occipital bone rather than at the hairline. Start it too high and the cap perches on the braid instead of the skull, and it will not stay level.
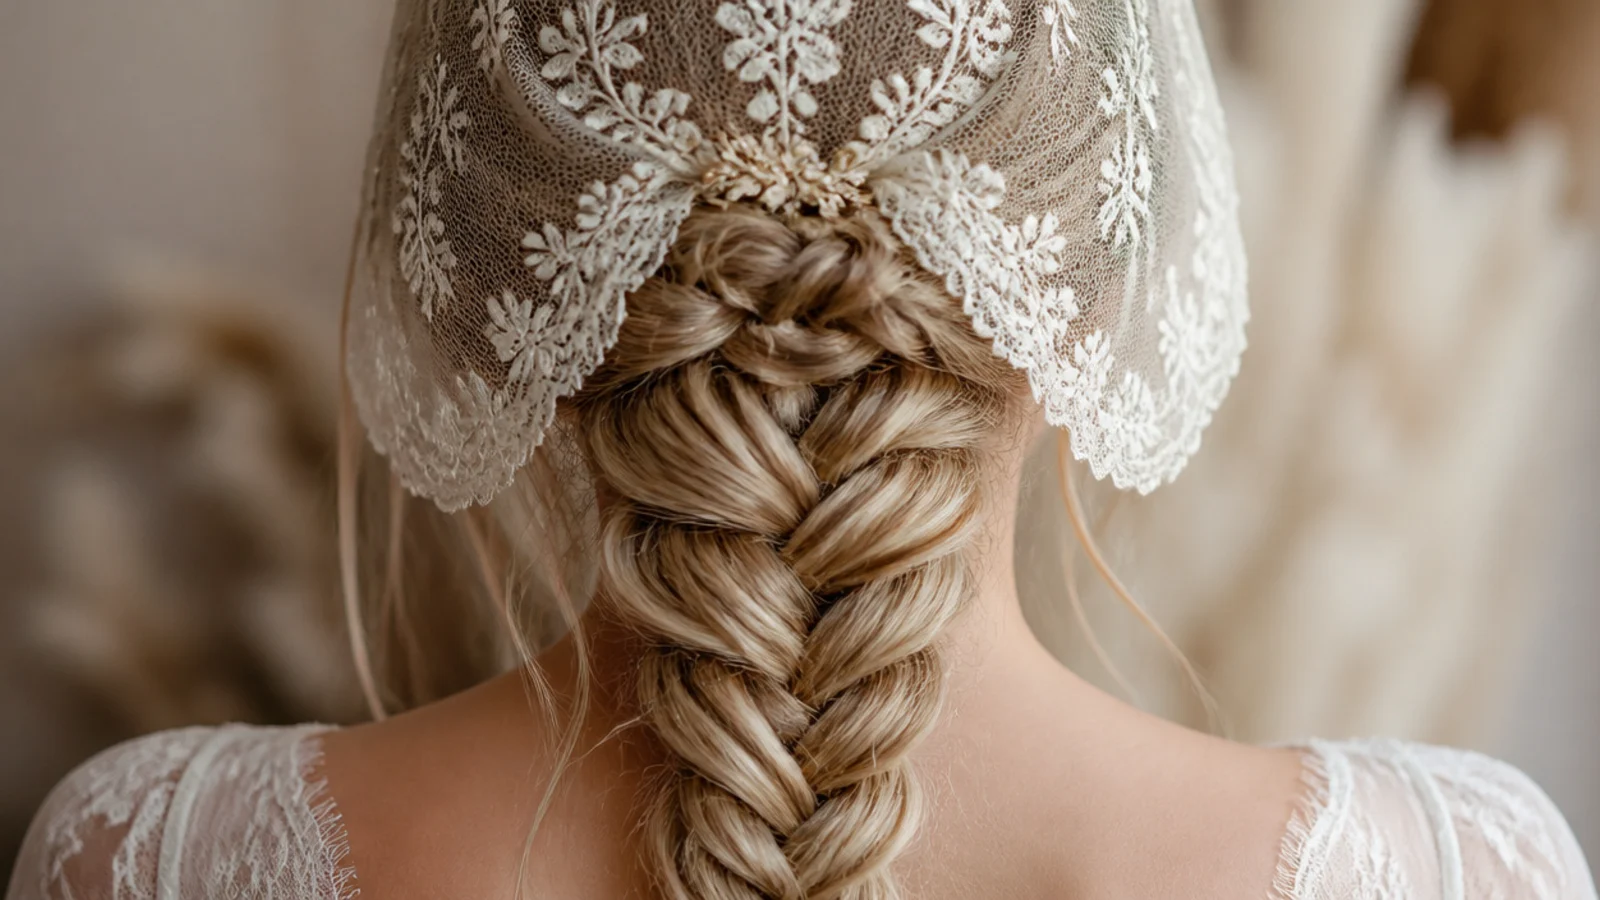
16. Twisted Version on Curly Hair
Curly hair already grips itself at every bend, so a twist holds where straight hair would need a full braid to stay put. Twisting also keeps the curl pattern visible along the length instead of flattening it into a chevron that curly texture fights anyway.
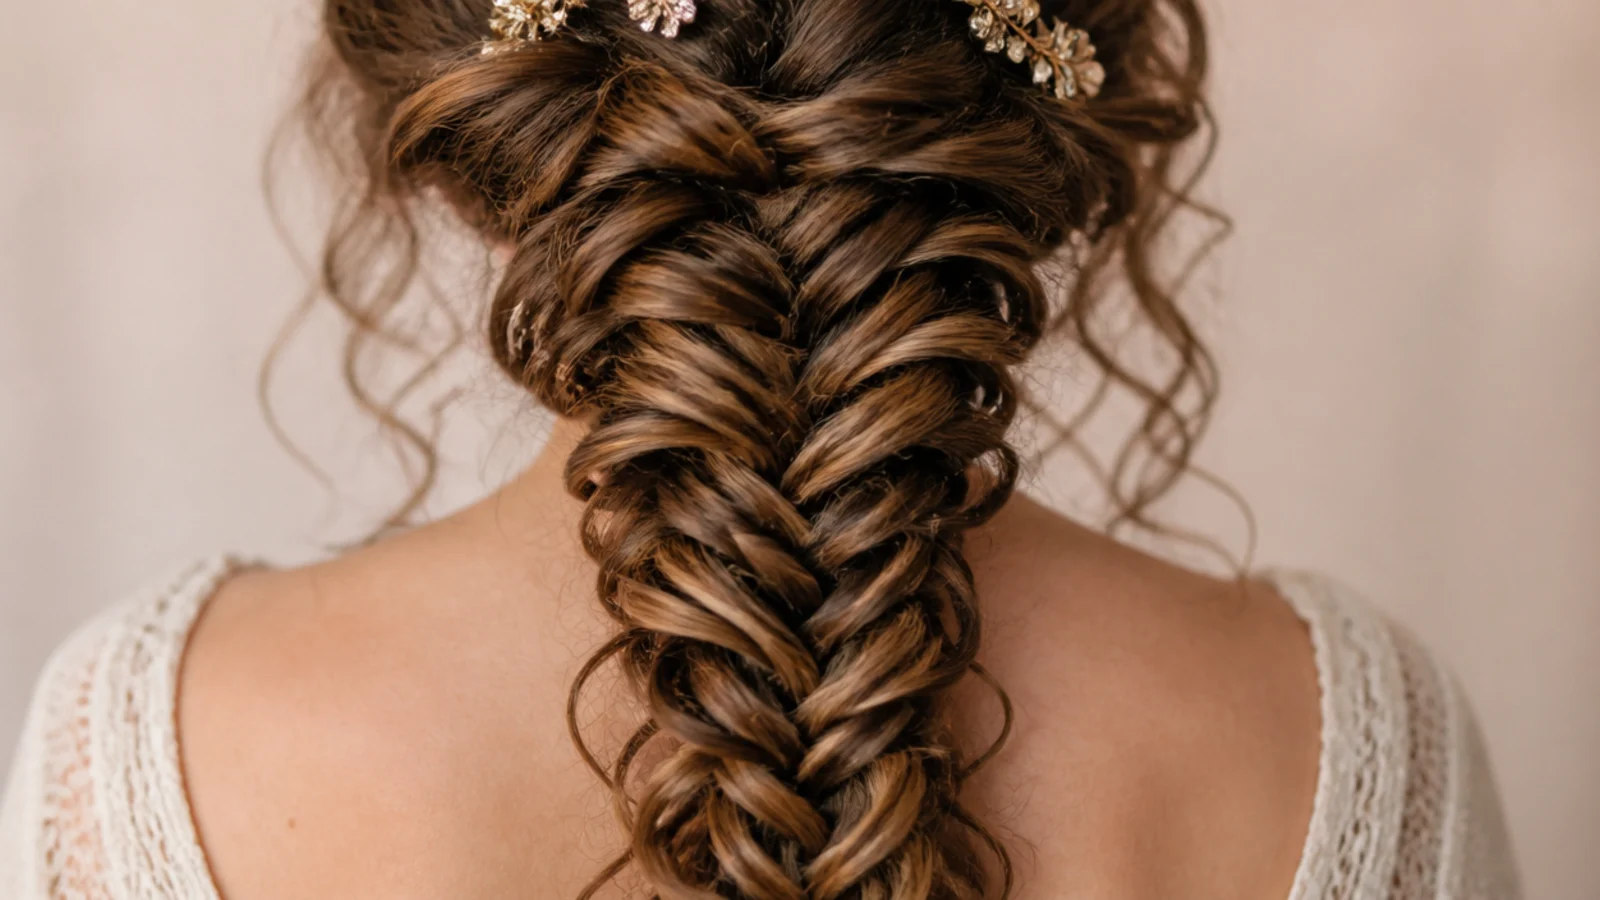
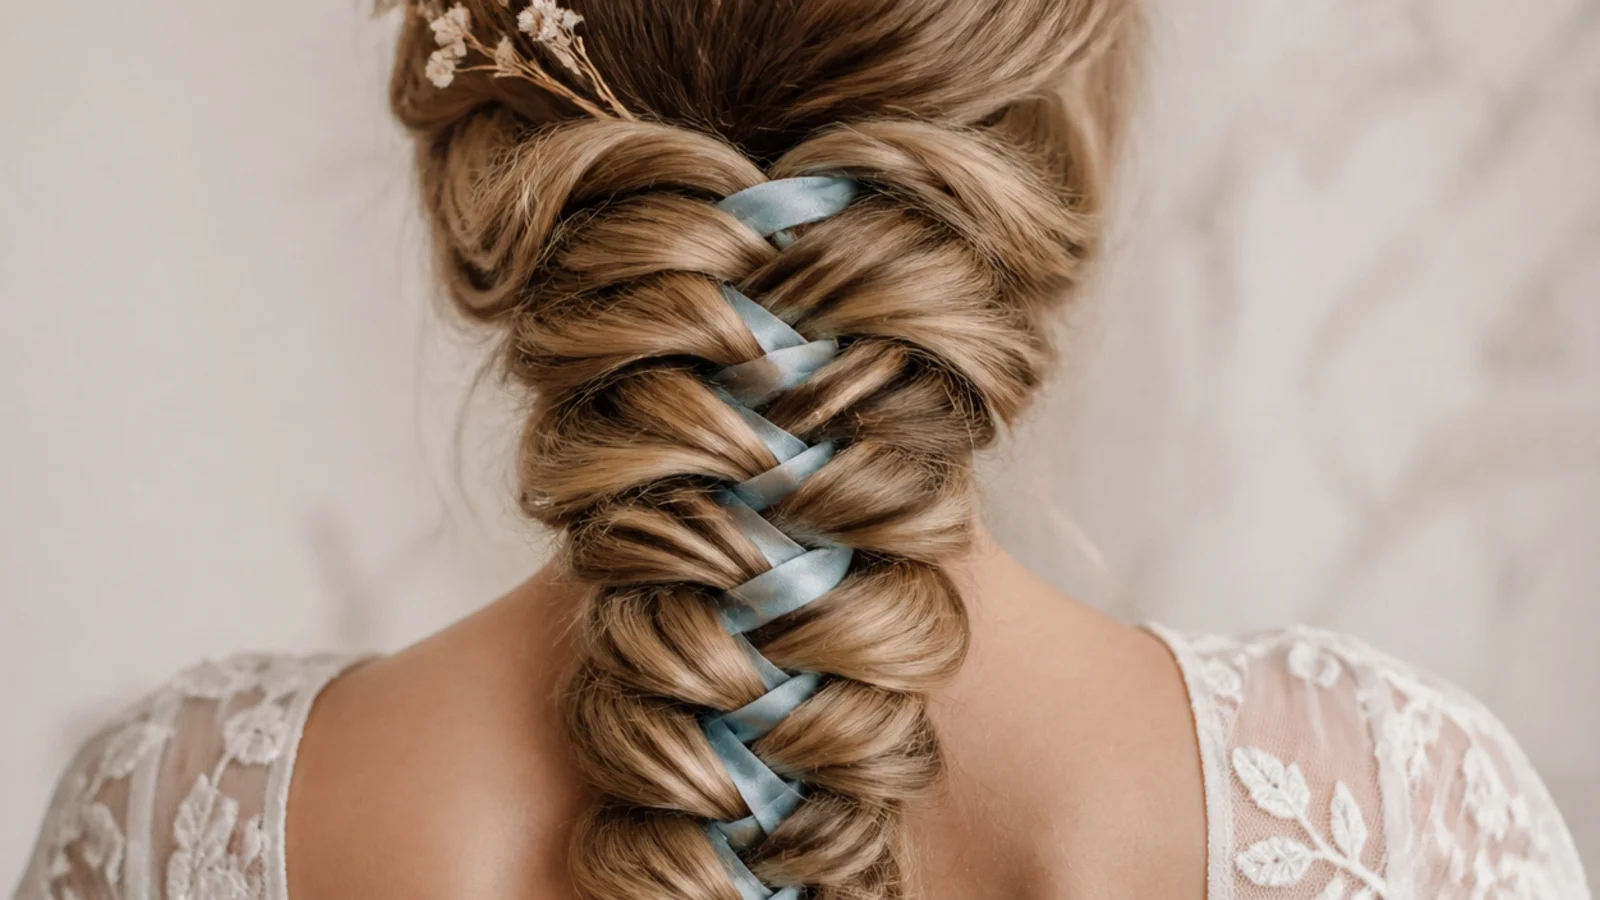
17. Silk Ribbon as the Something Blue
Carrying a ribbon through the crossings as an extra element gives the colour and holds the braid at the same time, since fabric grips the hair on either side of it. Choose a narrow ribbon, because anything wide sits on top of the pattern rather than inside it.
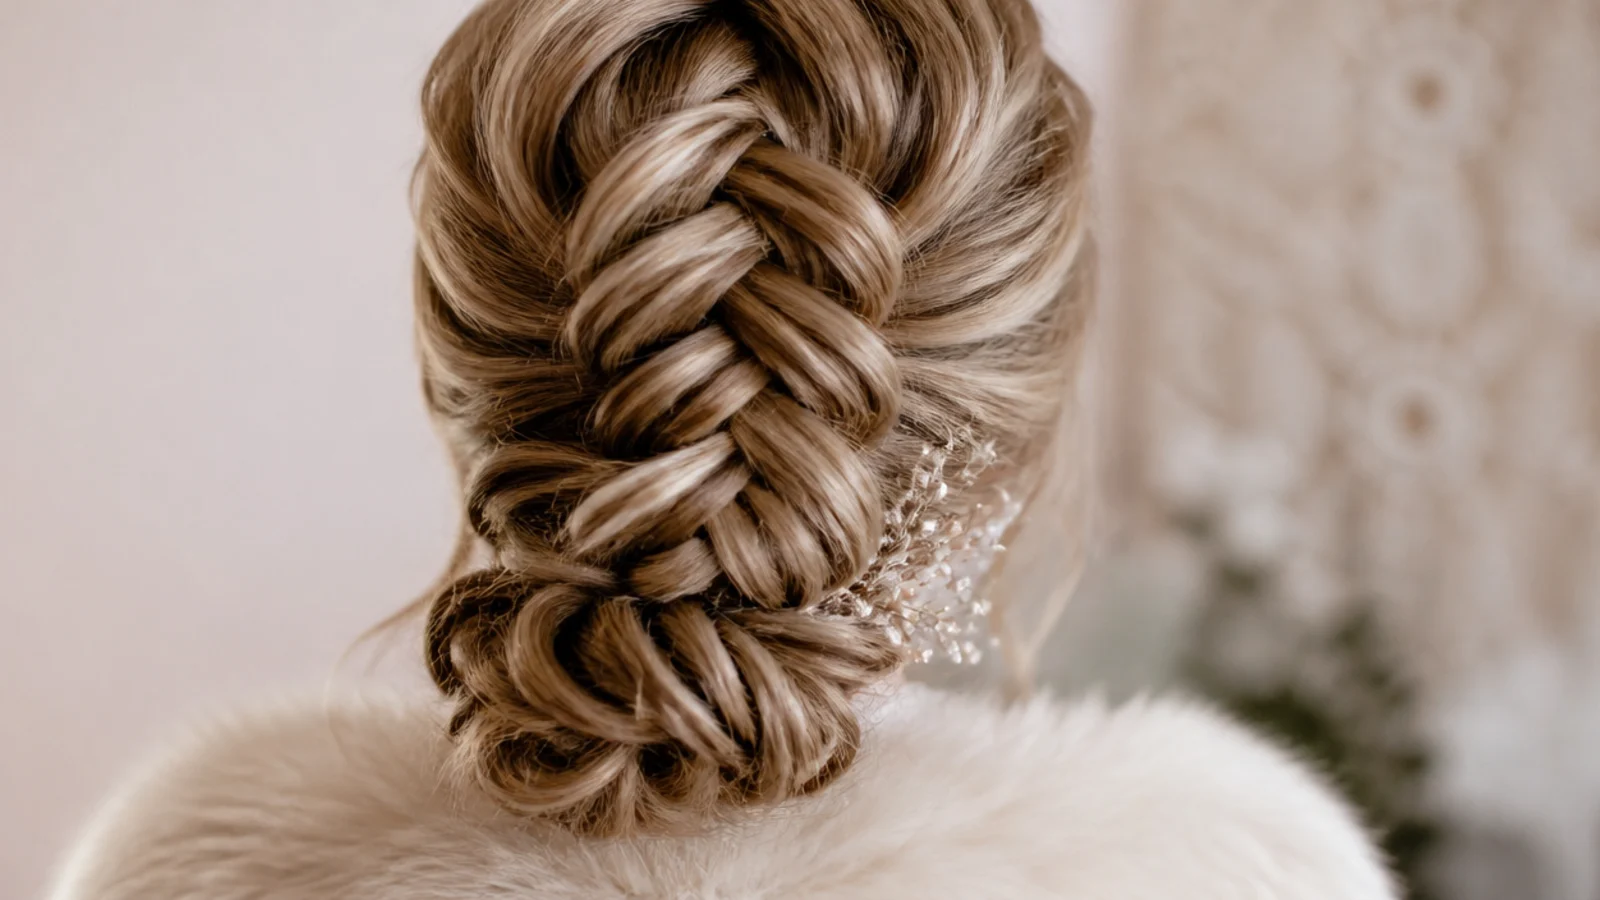
18. Braided Chignon for a Winter Wedding
A finished braid coils into a chignon far more neatly than loose hair, because it is already a solid rope that sheds nothing as you wrap it. In winter it also keeps everything clear of a coat collar, which is what wrecks worn down hair between venues.
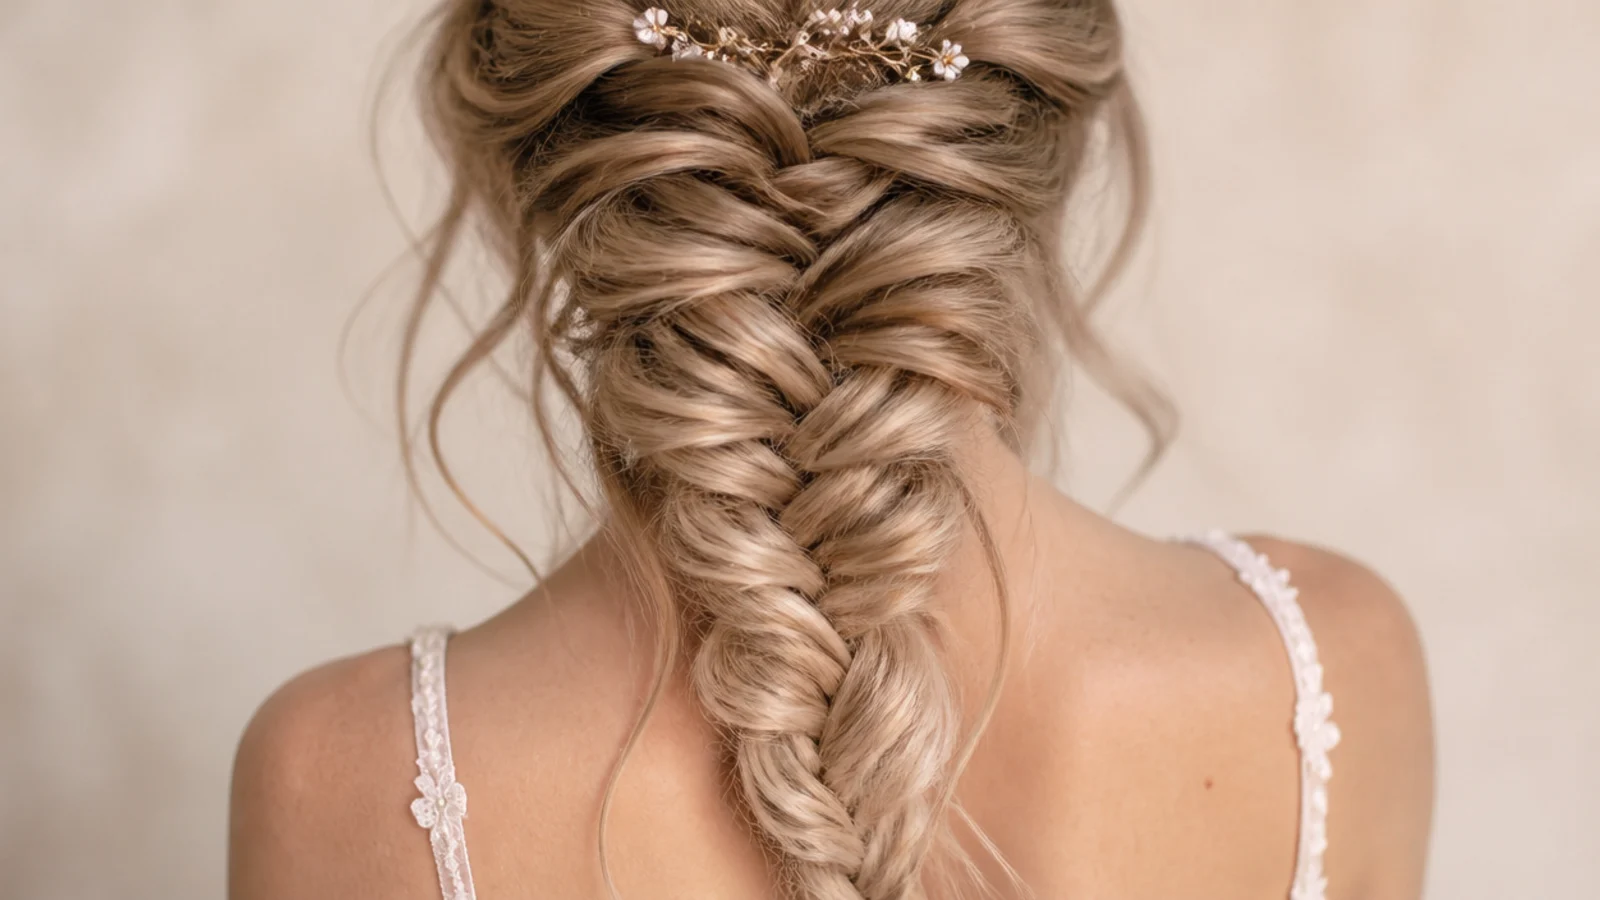
19. Deconstructed Braid for an Elopement
Braided loosely and then pancaked hard, with pieces deliberately pulled free along the way. It reads as undone rather than unfinished because the crossings underneath are still even, and that contrast between a soft surface and a regular structure is the whole effect.
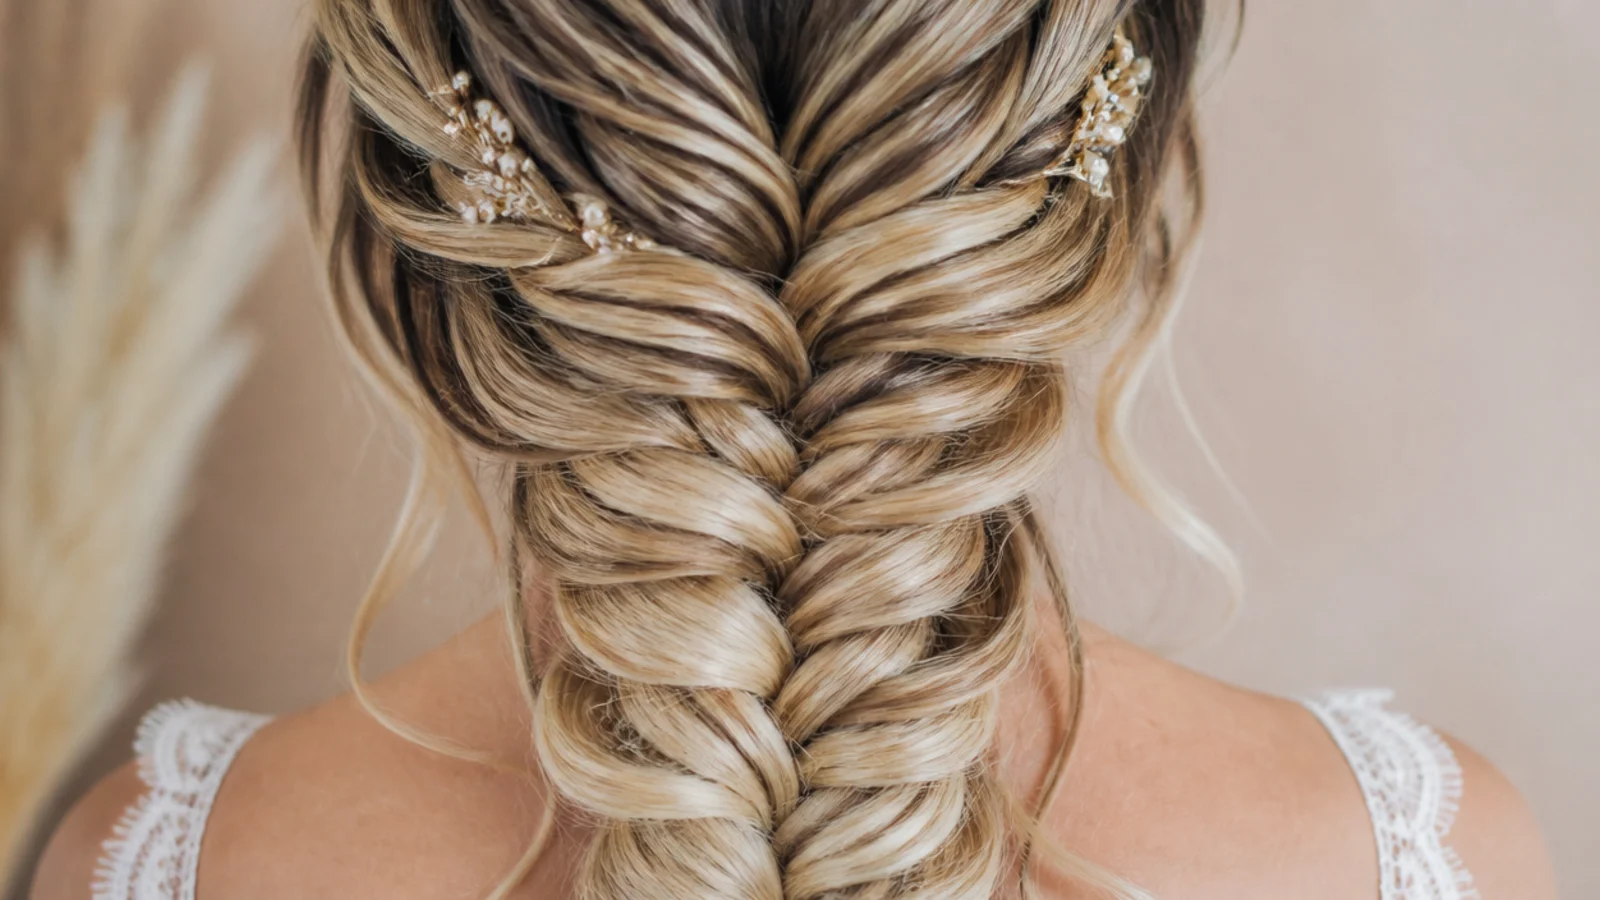
20. Two Tone Balayage in the Braid
Crossing lighter pieces against darker ones is what makes the chevron visible at all, because a single flat colour hides the overlaps in its own shadow. Balayage gives that contrast down the length rather than at the roots, which is exactly where the braid needs it.
Final Thoughts
Decide the direction before the style. Down the back if the dress leaves it empty, up if the neckline has already used that space, and everything else follows from there. Choosing the braid first and then discovering it fights the dress is the most common way a bridal trial goes wrong.
Then prepare for the day rather than the photograph. Braid on second day hair, build the veil anchor into crossed pins instead of into the braid, and hand someone two spare pins for the reception. A mermaid braid that lasts twelve hours and one that comes apart by the speeches are usually the same braid, prepped differently.
More in Braids and Protective Styles. See also the blonde version and the boho version.
Frequently asked questions
Related posts
See all posts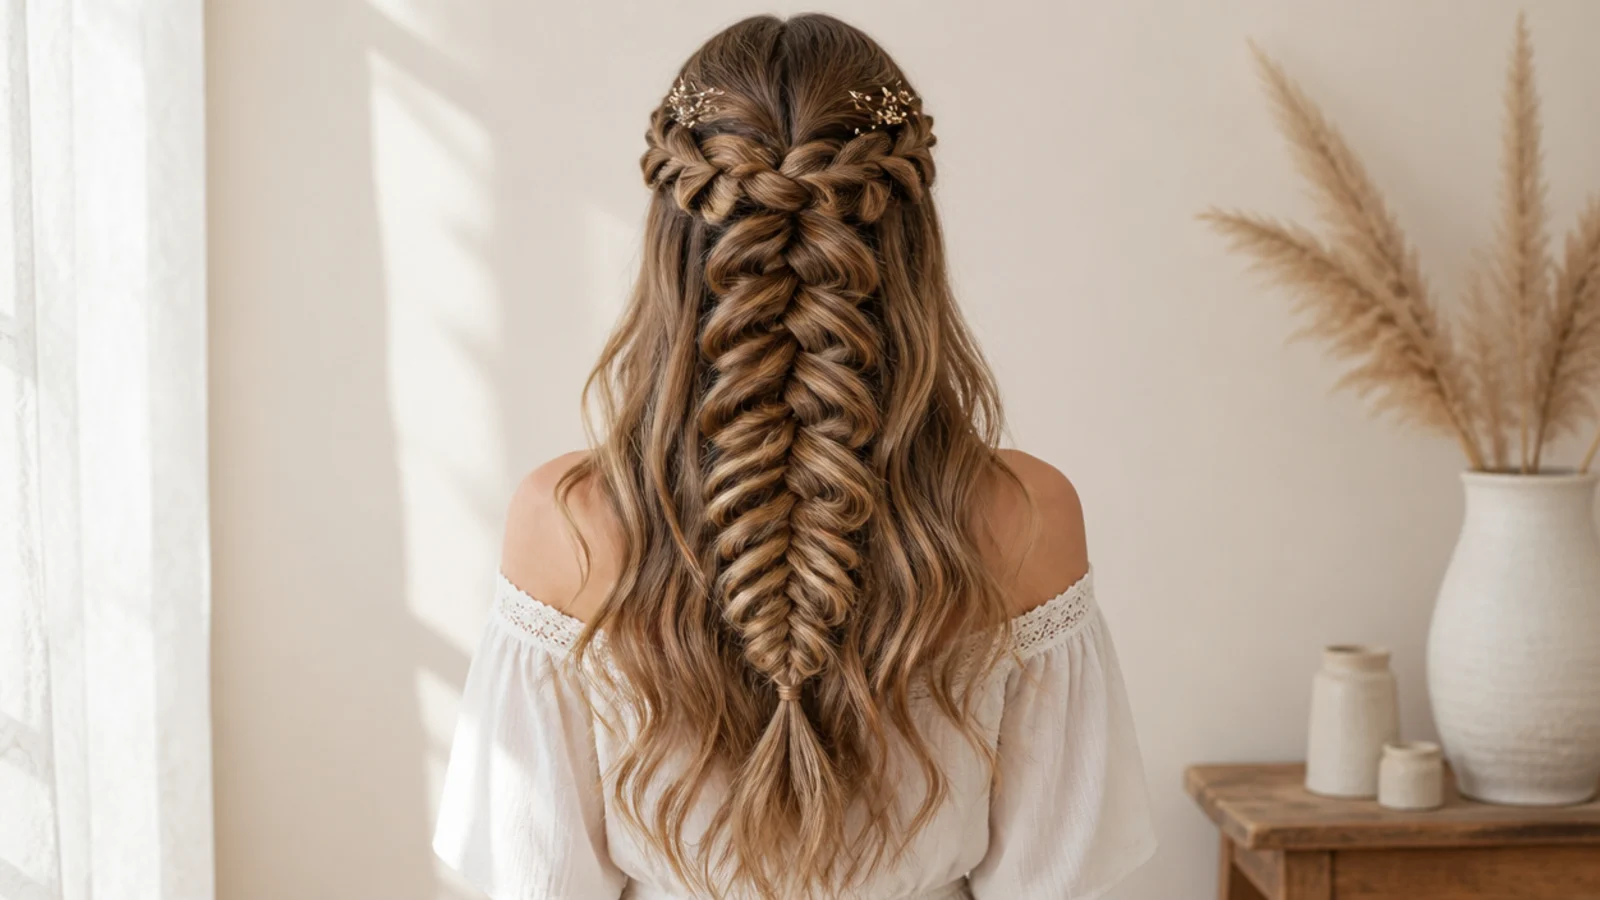
20 Waterfall Mermaid Braid Ideas That Hold
Read more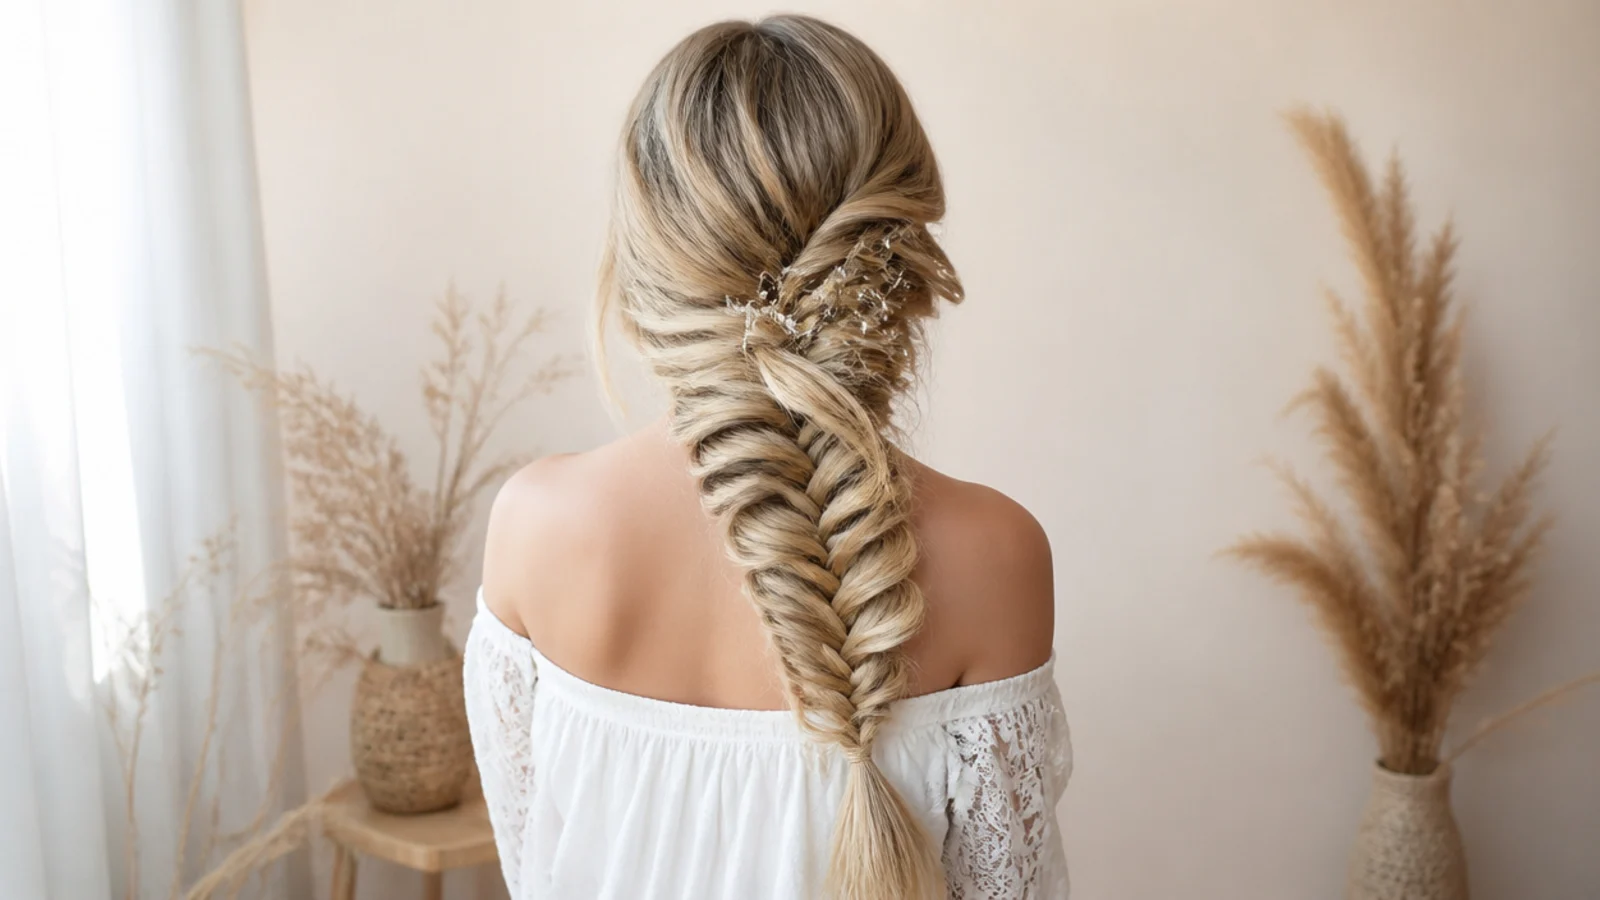
15 Side Mermaid Braid Ideas That Sit Right
Read more
20 Side Part Medium Knotless Braids I Saved
Read more