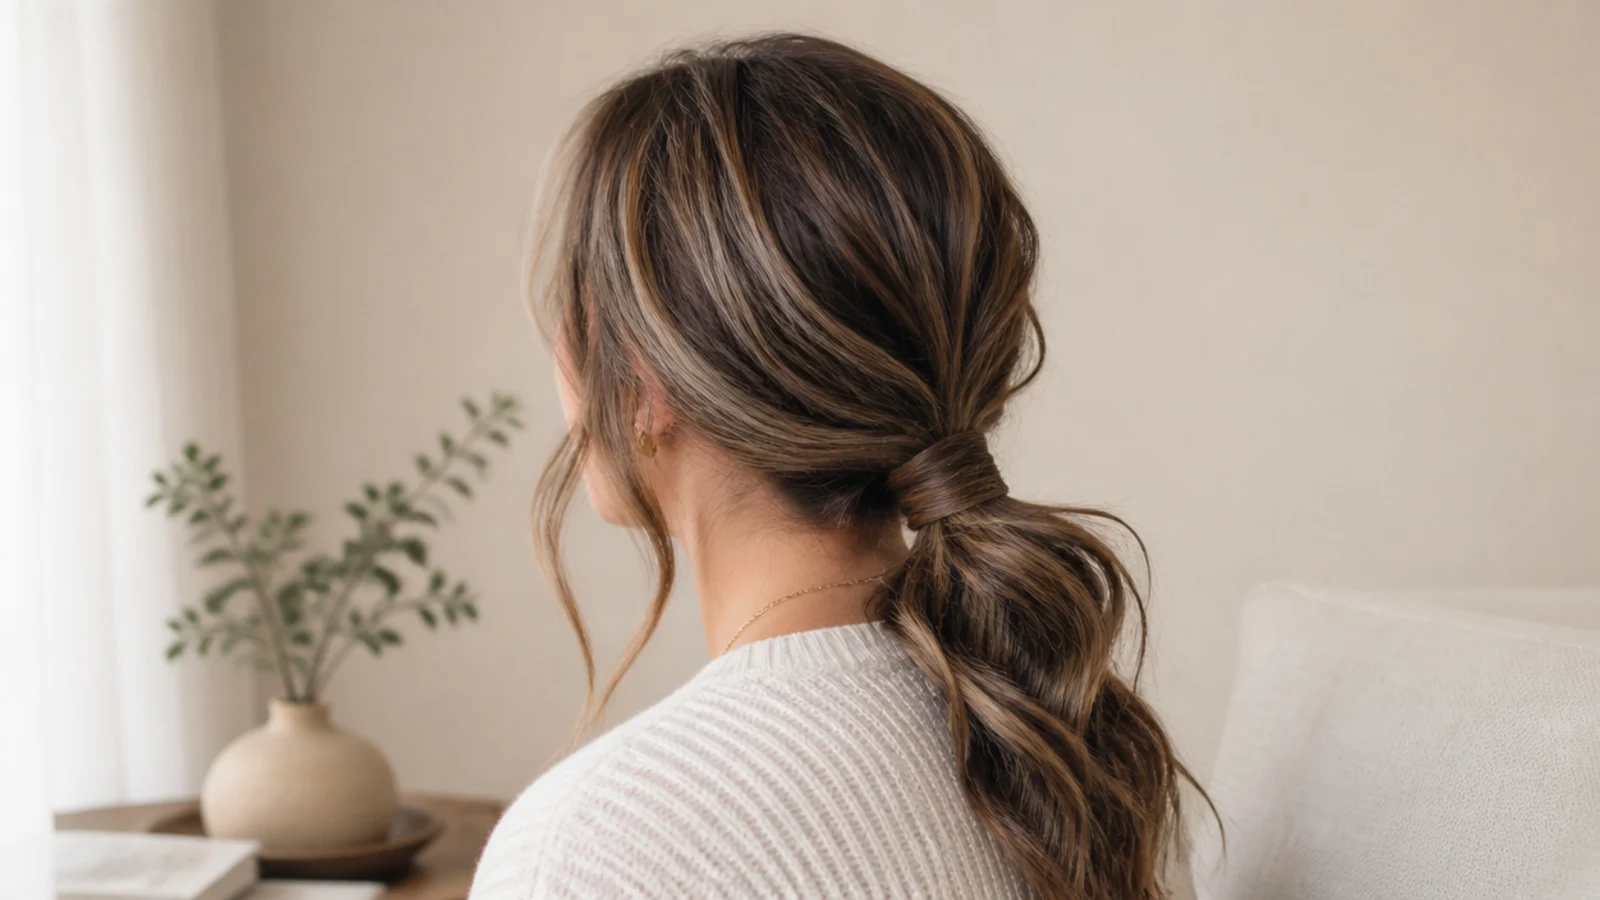
20 Low Messy Ponytail Ideas
Twenty low messy ponytails and the trade this placement makes — it is the only one where the skull carries part of the weight, which is why it holds all day, and why the crown above it goes flat unless you build for that.
In this article · 28
- What Makes It Messy
- Messy Versus Sleek
- Tie Height by Hair Length
- Fine Versus Thick Hair
- Volume and Hold
- Products That Matter
- The 20 Low Messy Ponytails
- 1. Classic Nape Ponytail
- 2. Wrapped Elastic
- 3. Face Framing Pieces
- 4. Curtain Bangs
- 5. Day Two Hair
- 6. Beach Waves
- 7. Deep Side Part
- 8. Side Swept Low Ponytail
- 9. Twisted Low Ponytail
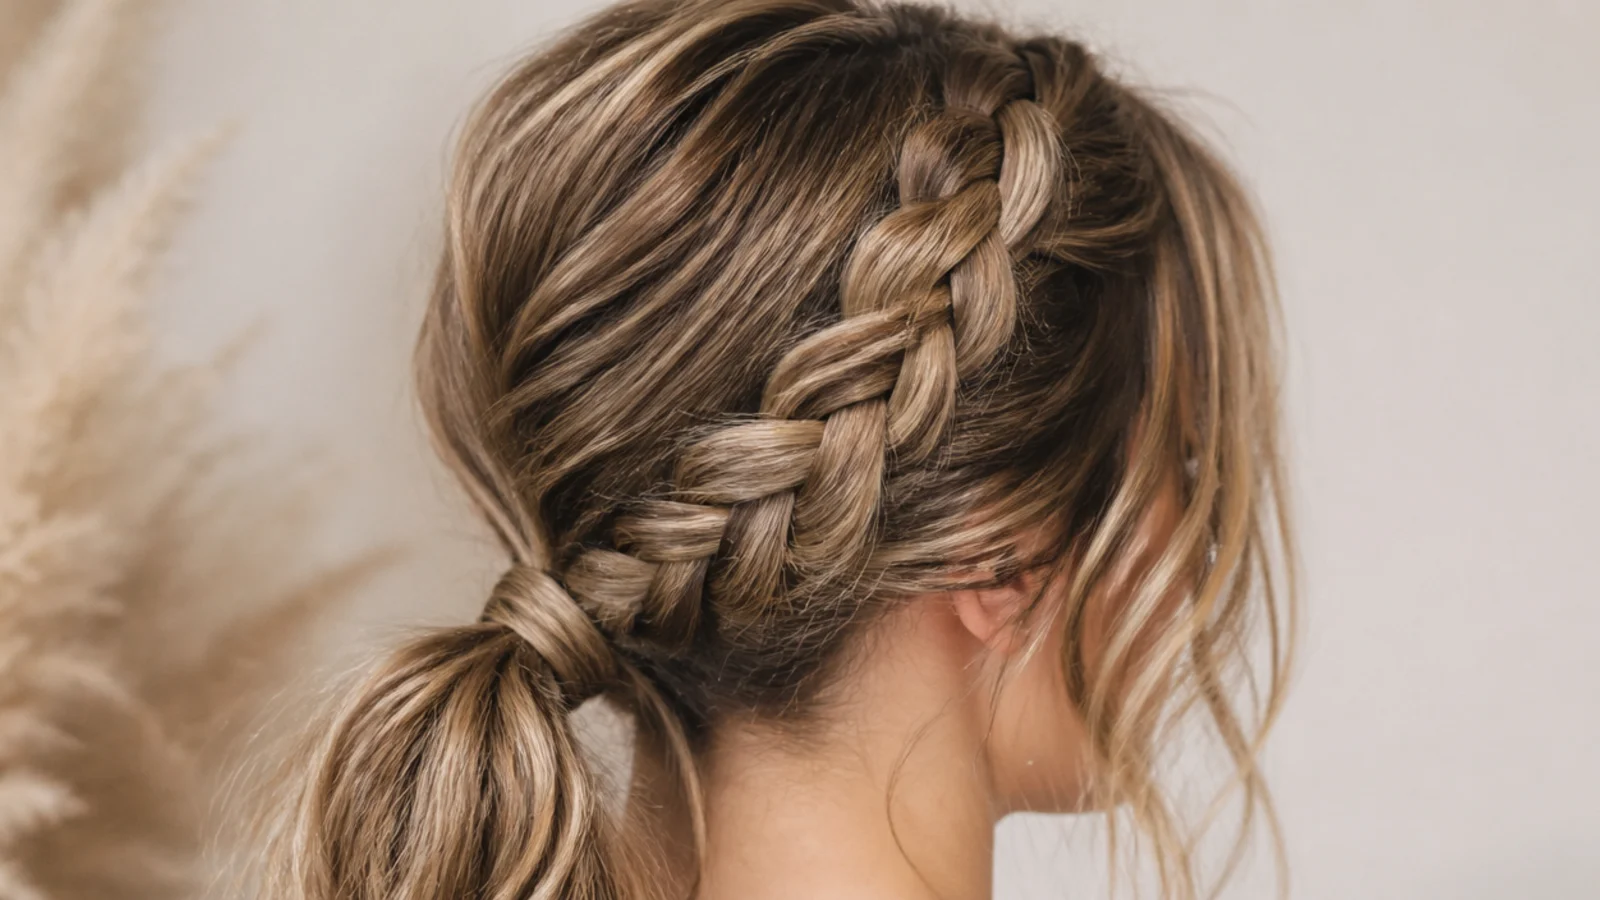
- 10. Front Braid
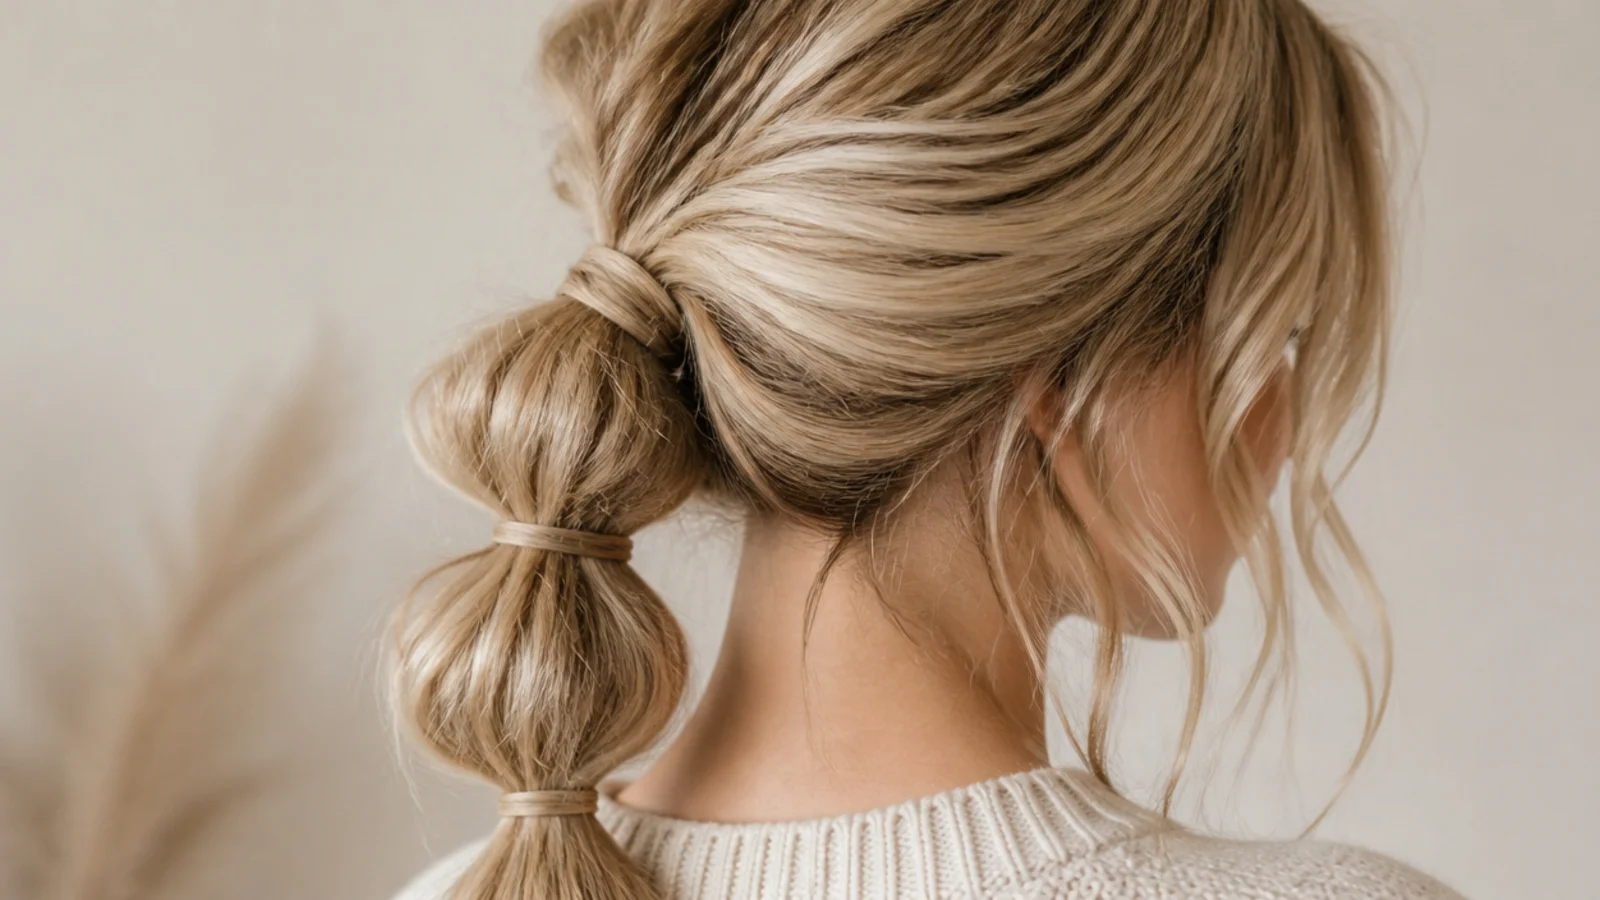
- 11. Low Bubble Ponytail
- 12. Fine Hair
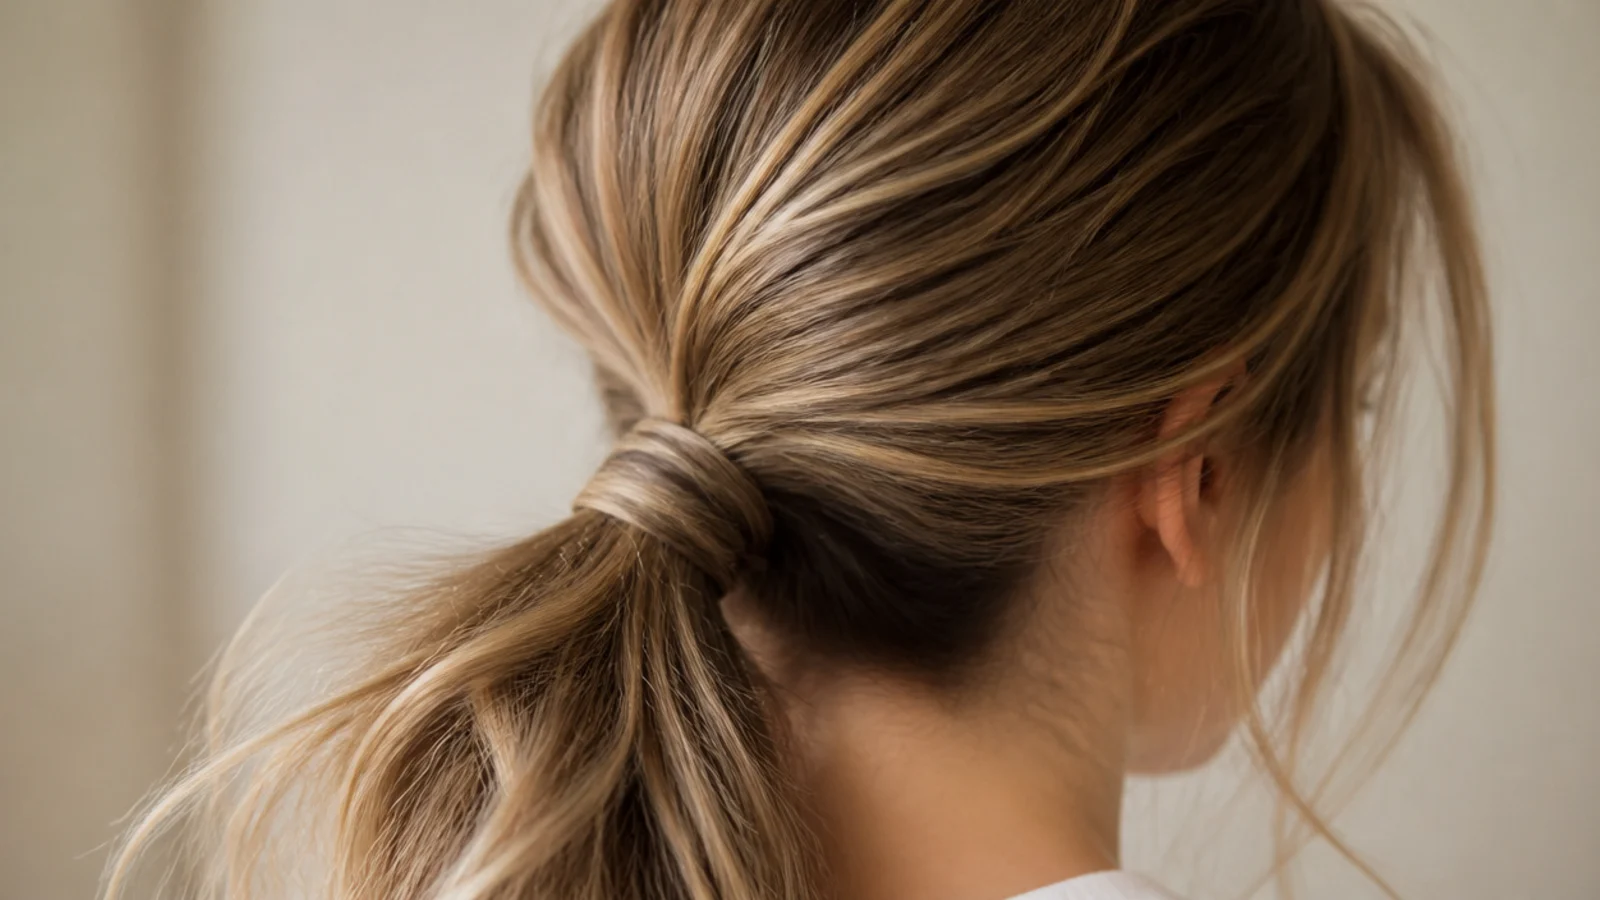
- 13. Thick Hair
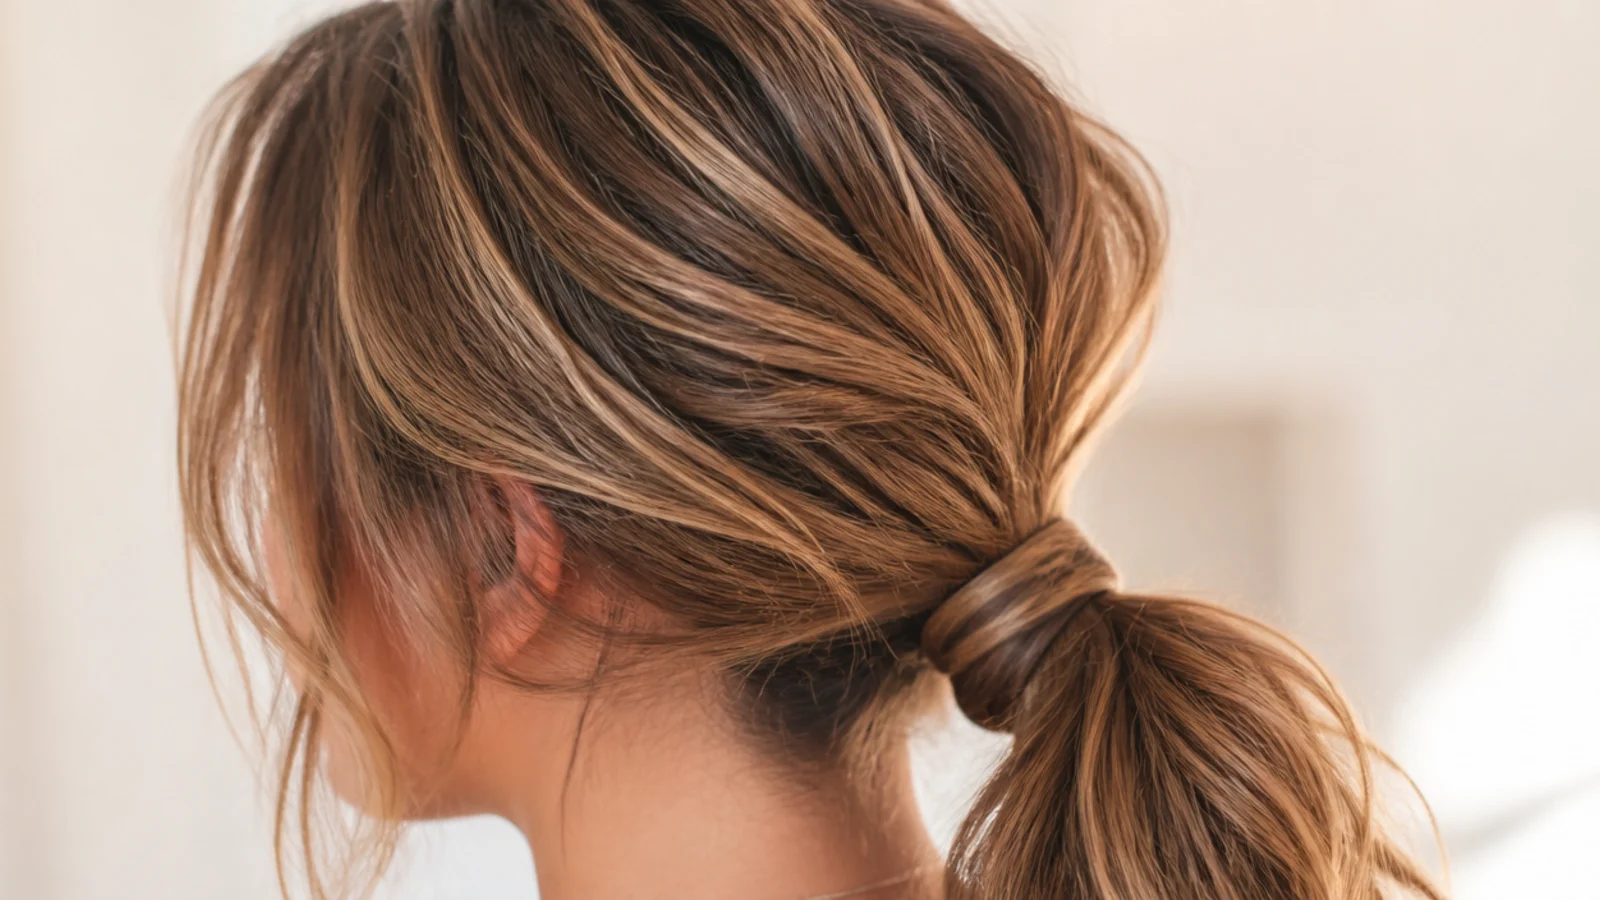
- 14. Curly 3a to 3c
- 15. Bob Length
- 16. Silk Scarf
- 17. Velvet Bow
- 18. Gold Cuff
- 19. Half Up Low Ponytail
- 20. Sleek Root for the Office
- Final Thoughts
A low ponytail is the most durable placement on the head and the one most likely to look flat, and both facts come from the same thing.
The skull carries part of the load. Sitting below the occipital bump, the base rests against bone rather than on a slope, which is why one elastic holds it all day.
Everything above the band becomes uninterrupted surface. There is nothing left to break up the crown, so any flatness up there is on full display and has to be built out before you tie.
What Makes It Messy
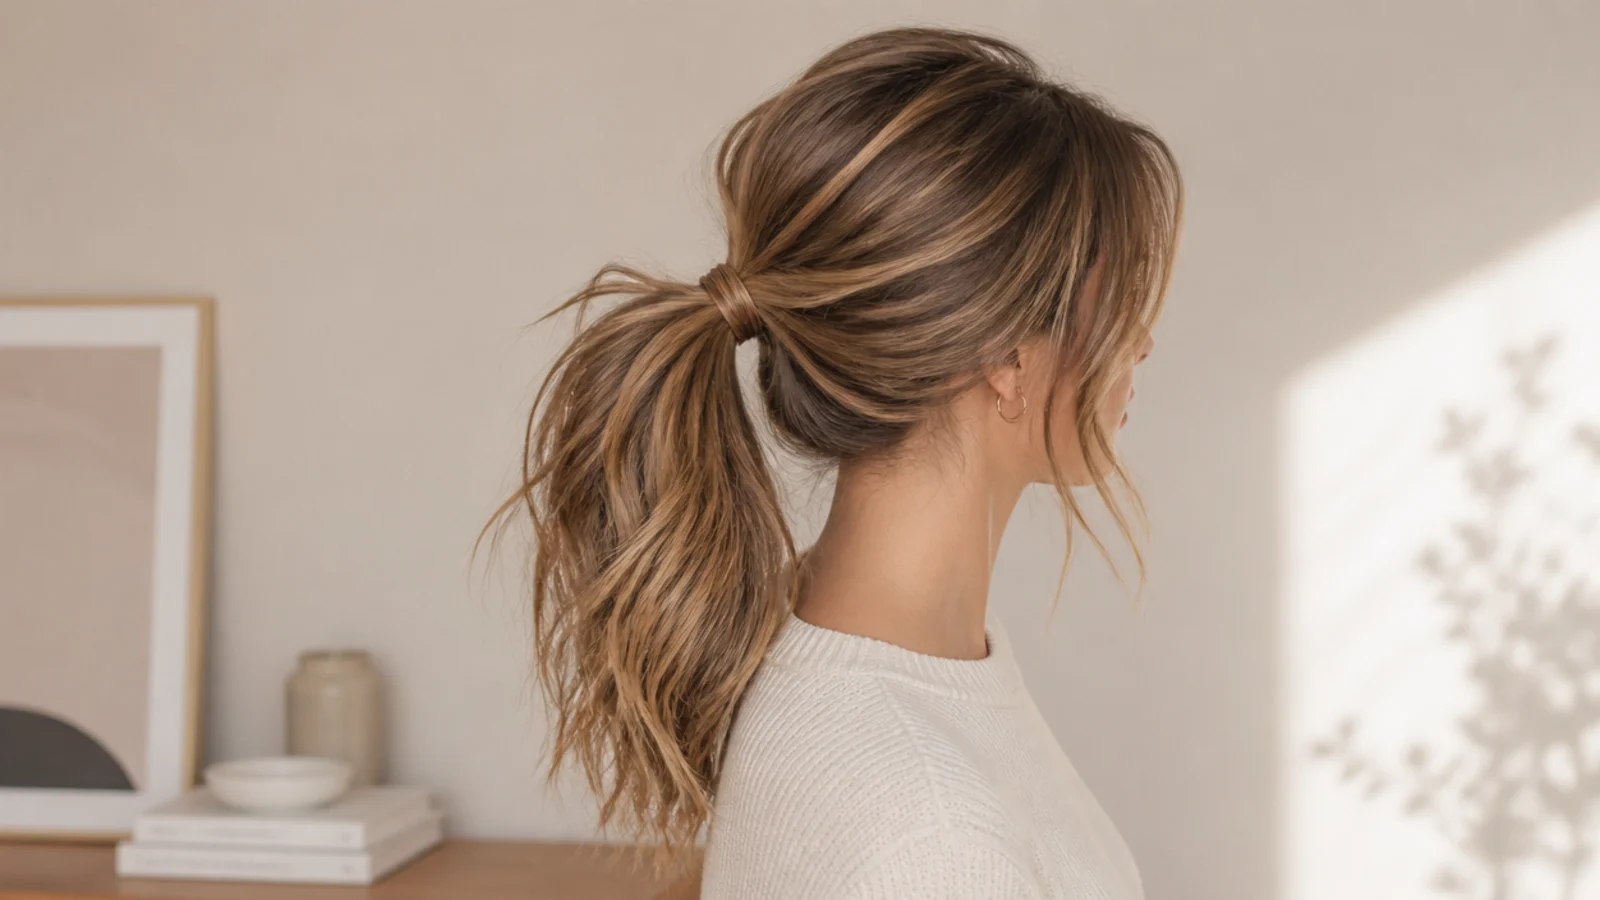
Texture through the length, not chaos at the base. The band stays clean and covered. Everything interesting happens below it and above it, never on it.
Volume built before the gather. A low tie pulls the crown down as you collect, so any lift has to exist before your hand closes.
Loose pieces sized for the placement. A low tail already sits close to the face, so the temple pieces need to be finer here than they would be on a high one.
Fingers, not a brush. A brush lays the crown into one flat plane, which is the single worst thing you can do to a style with a low anchor.
Firm where it matters. The tie itself is not loose. Only the hair around it is.
Messy Versus Sleek
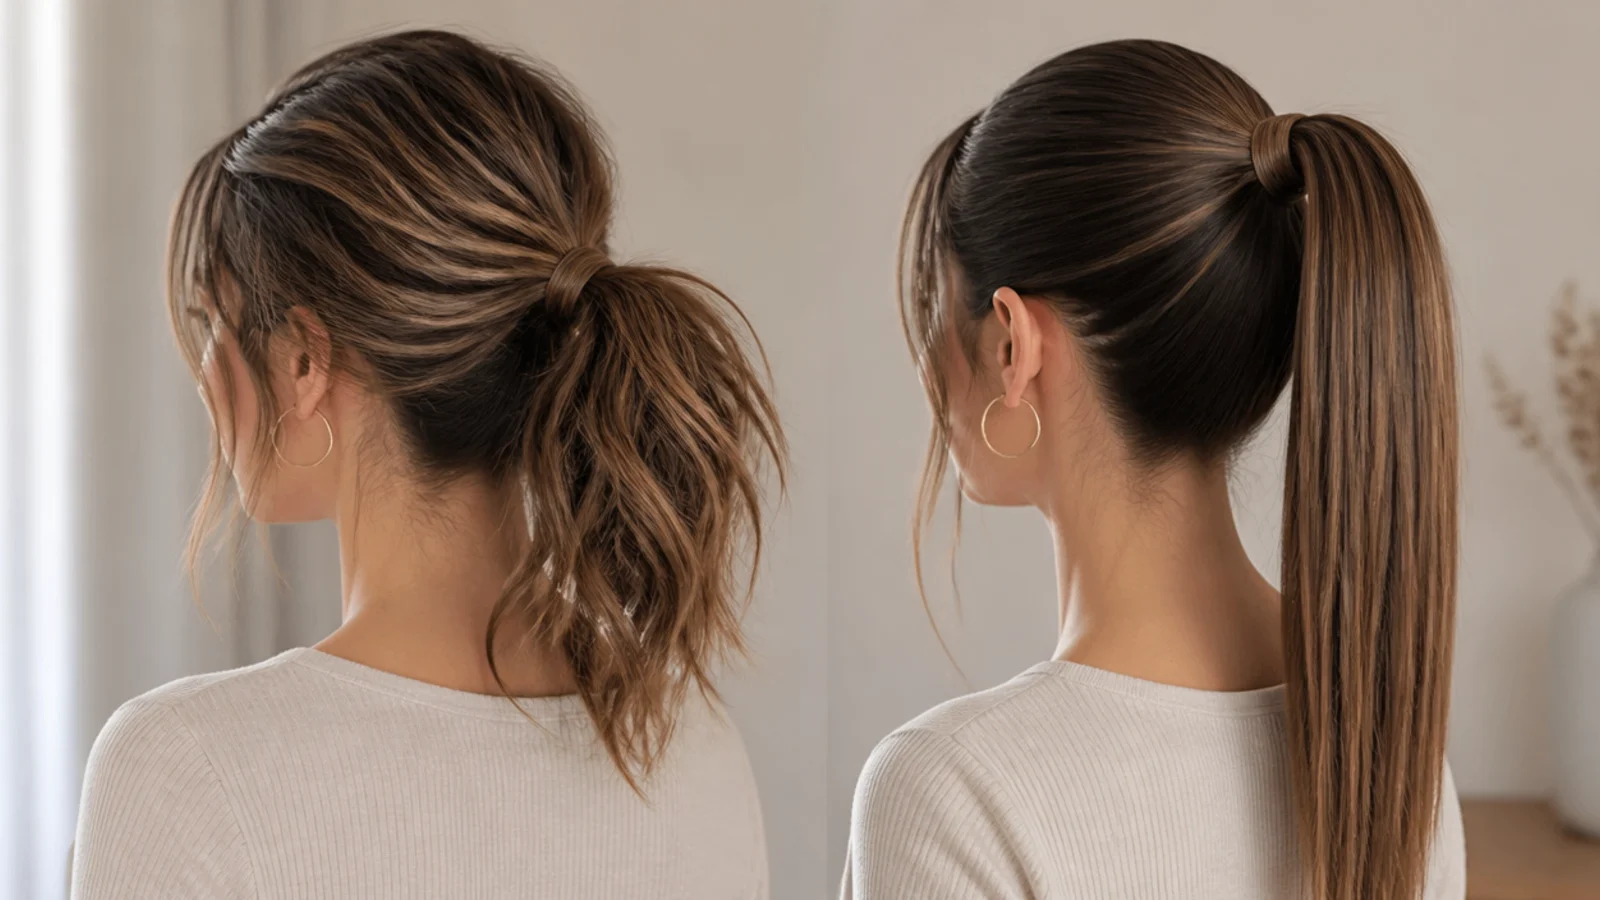
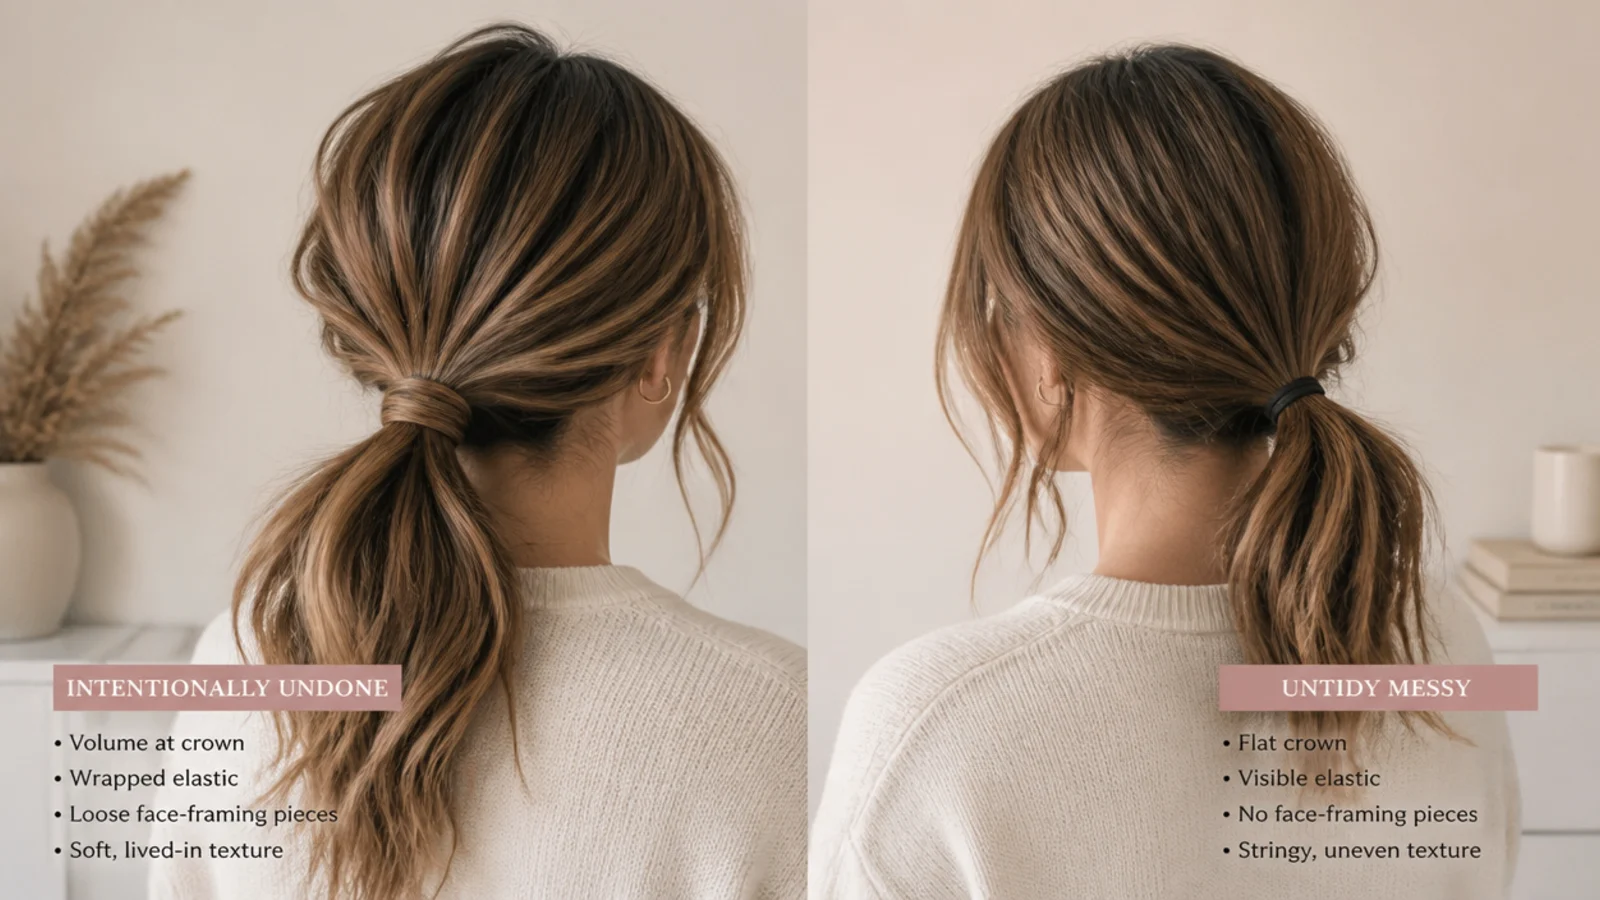
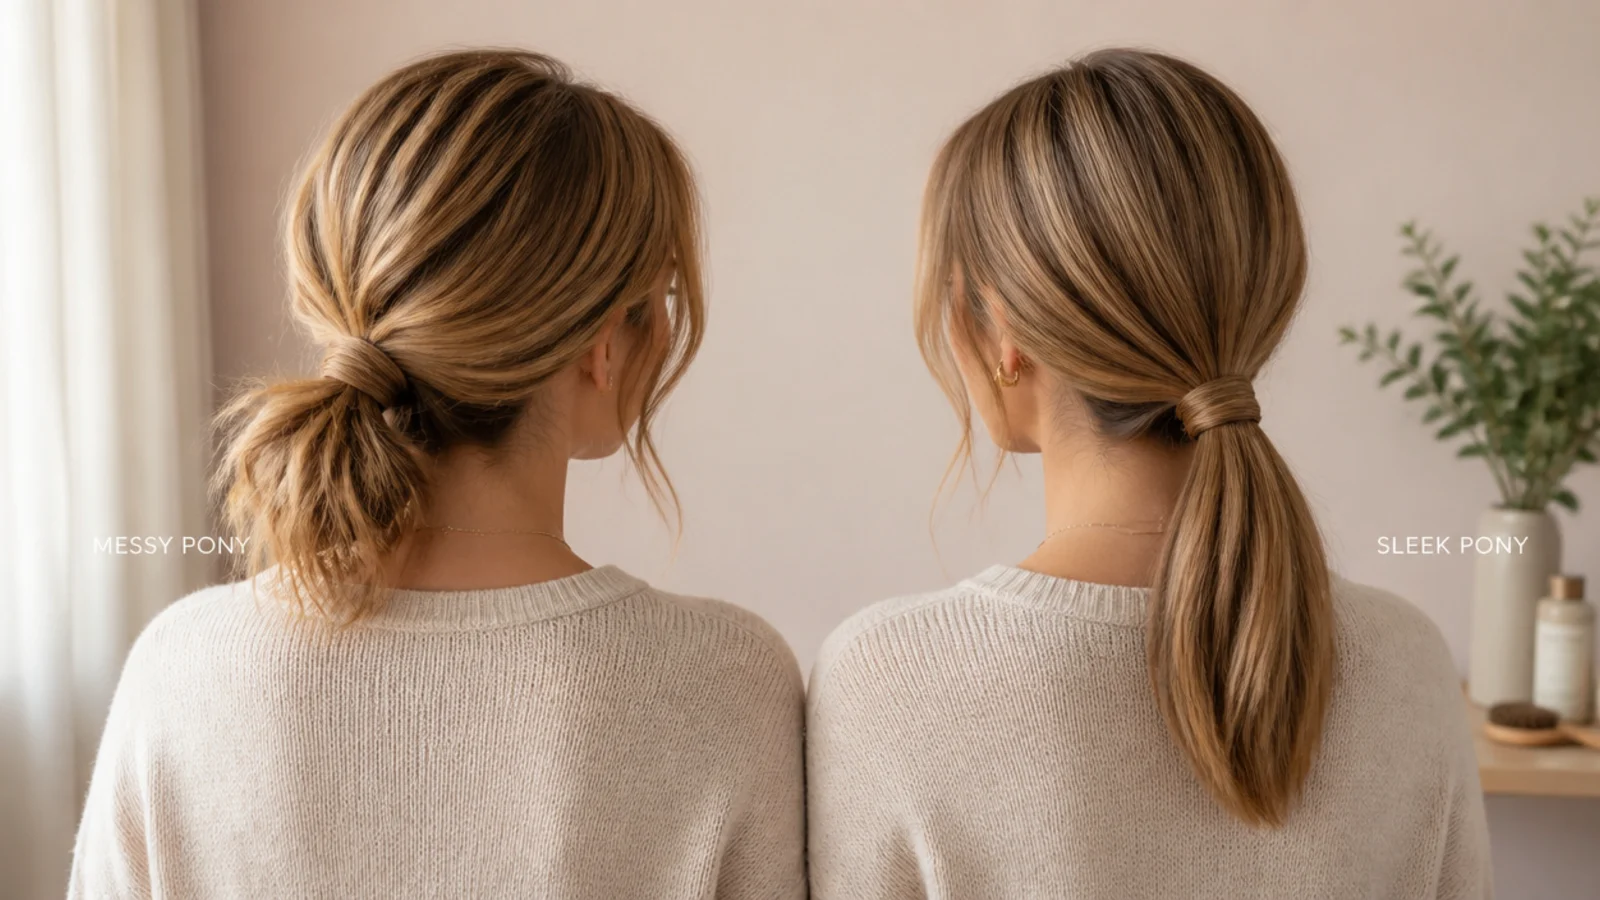
Sleek needs the crown flat on purpose. That is the whole design, so the low placement suits it perfectly and needs no volume work at all.
Messy needs the opposite at the same tie height. You are asking for height above a band that is pulling everything downward, which is why the sequence matters so much here.
Sleek shows every flyaway. Against a smooth crown a single lifted hair catches light on its own, and there is no fixing it once you have left the house.
Messy hides its own faults. Anything that works loose during the day joins the texture rather than breaking a line.
Sleek is built damp, messy is built dry. Gel and a brush on wet hair against texture spray and fingers on dry hair, and those two routines share nothing.
Tie Height by Hair Length
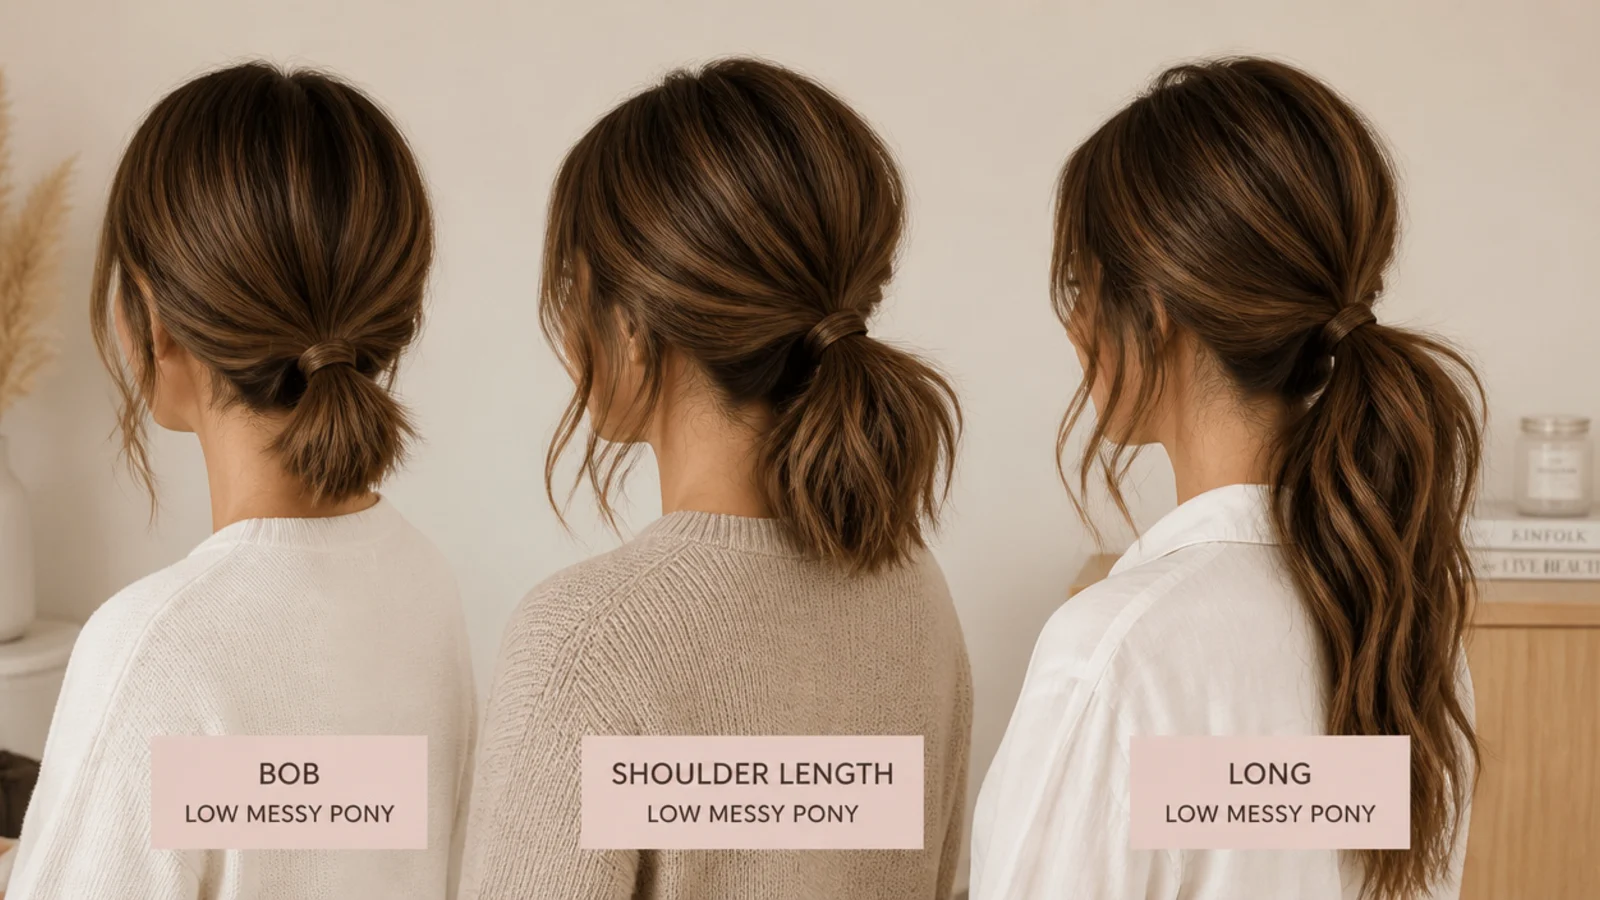
Bob length. Sit the band as low as the shortest layers allow, because every millimetre lower is a millimetre more of the under layers that can reach it.
Chin to shoulder. Just below the occipital bump. High enough to show the tail from the front, low enough to rest on bone.
Shoulder to collarbone. Anywhere in the nape works. This is the length that makes the placement look effortless.
Past the shoulder blades. Take it to the base of the nape. The lower the band, the shorter the lever arm the weight has to work with.
Curly and coily. Judge by where the gathered mass sits rather than where the ends fall, since the pattern shortens the visible length considerably.
Fine Versus Thick Hair
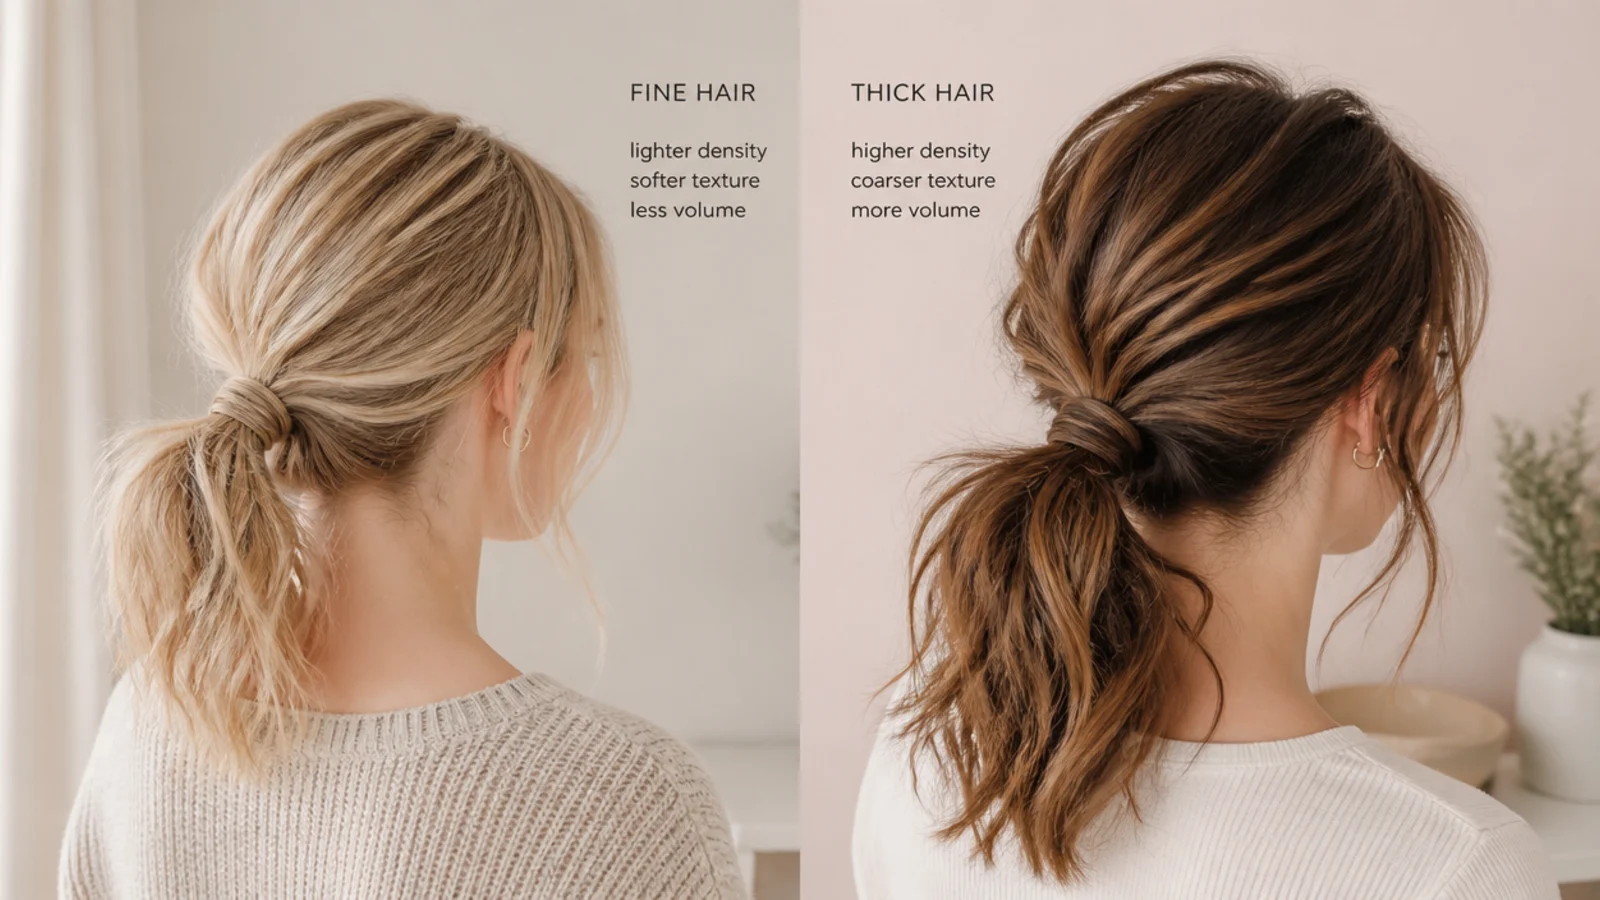
Fine hair shows scalp when pulled flat. A downward gather flattens the crown against the head, and flat hair on a fine head reveals the parting along its full length.
Thick hair finds its best placement here. The mass sits where the skull supports it, so nothing has to fight the weight.
Fine hair wants the tension taken from the sides. Gather from behind the ears rather than dragging the crown back, and leave the top surface unpulled.
Thick hair wants a covered band. With this much weight a bare elastic concentrates all of it onto a narrow line of strands.
Both want a deliberate crown. Whether that is a backcombed cushion or a deep parting, it has to go in before the gather.
Volume and Hold
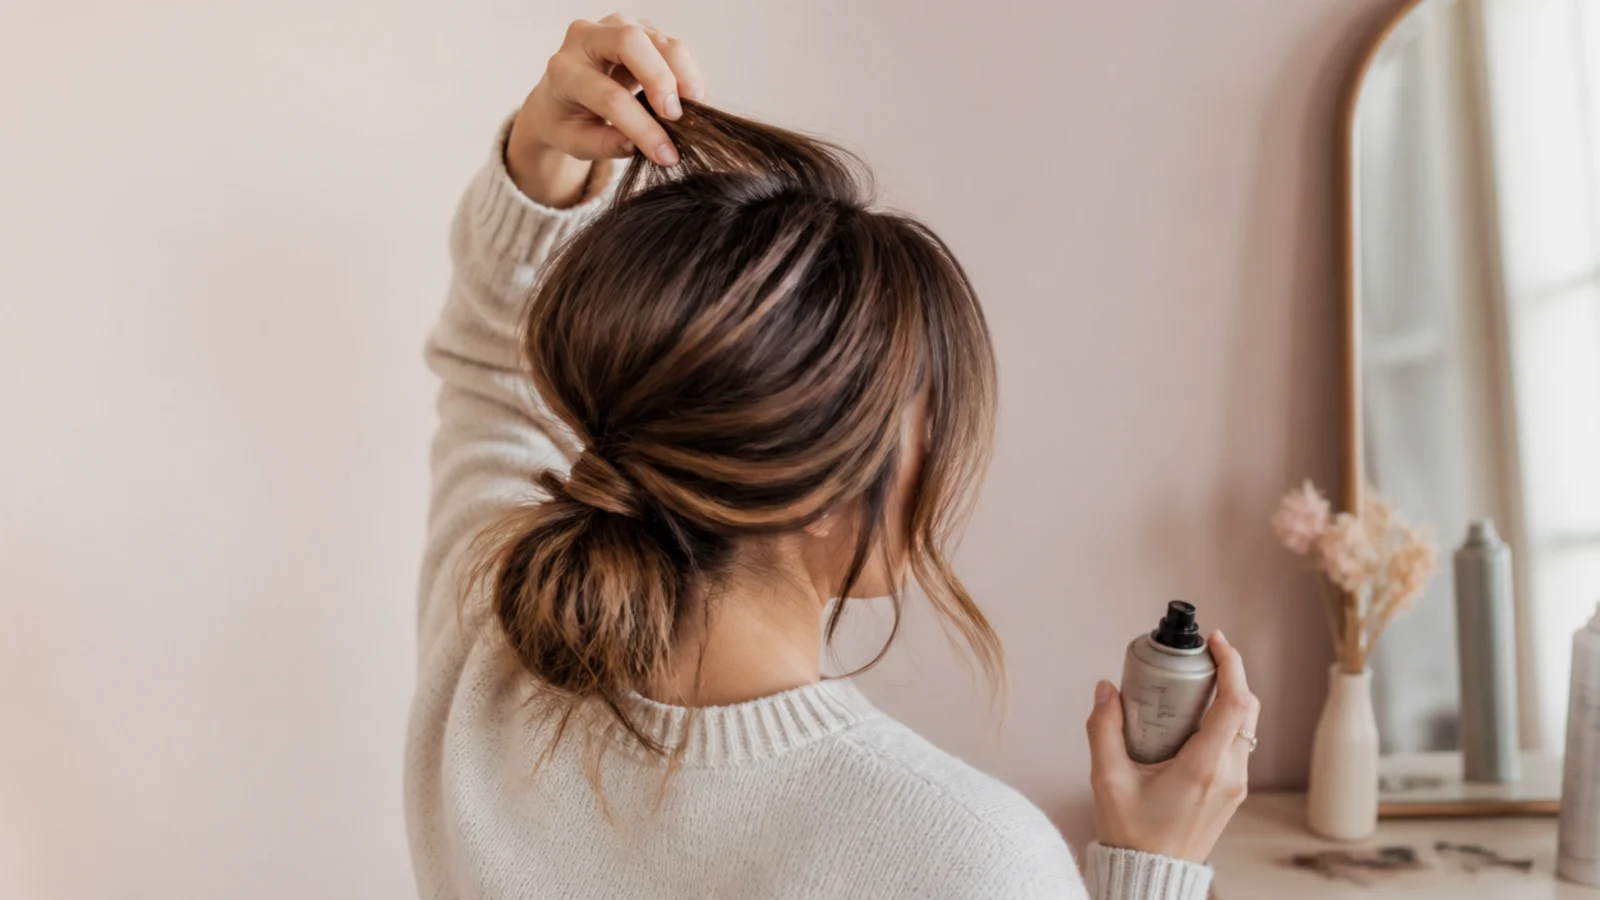
Backcomb under the top layer, then smooth over it. The tangled section holds the surface off the scalp while the surface stays clean enough to reflect light properly.
A deep parting is free height. Combing hair from a low line across the head makes it travel further, and travelling further lifts it at the root without any product.
Wrap the band with a strand. At nape level this also gives a collar something smooth to rub against instead of a rubber ring that catches on knitwear.
Pin the base rather than the tail. Two crossed pins under the elastic hold the position. Pins in the length are holding the thing that is pulling.
Set the crown, not the tail. A mist of flexible spray at the top keeps the height. Spraying the length only stiffens the part that was meant to move.
Products That Matter
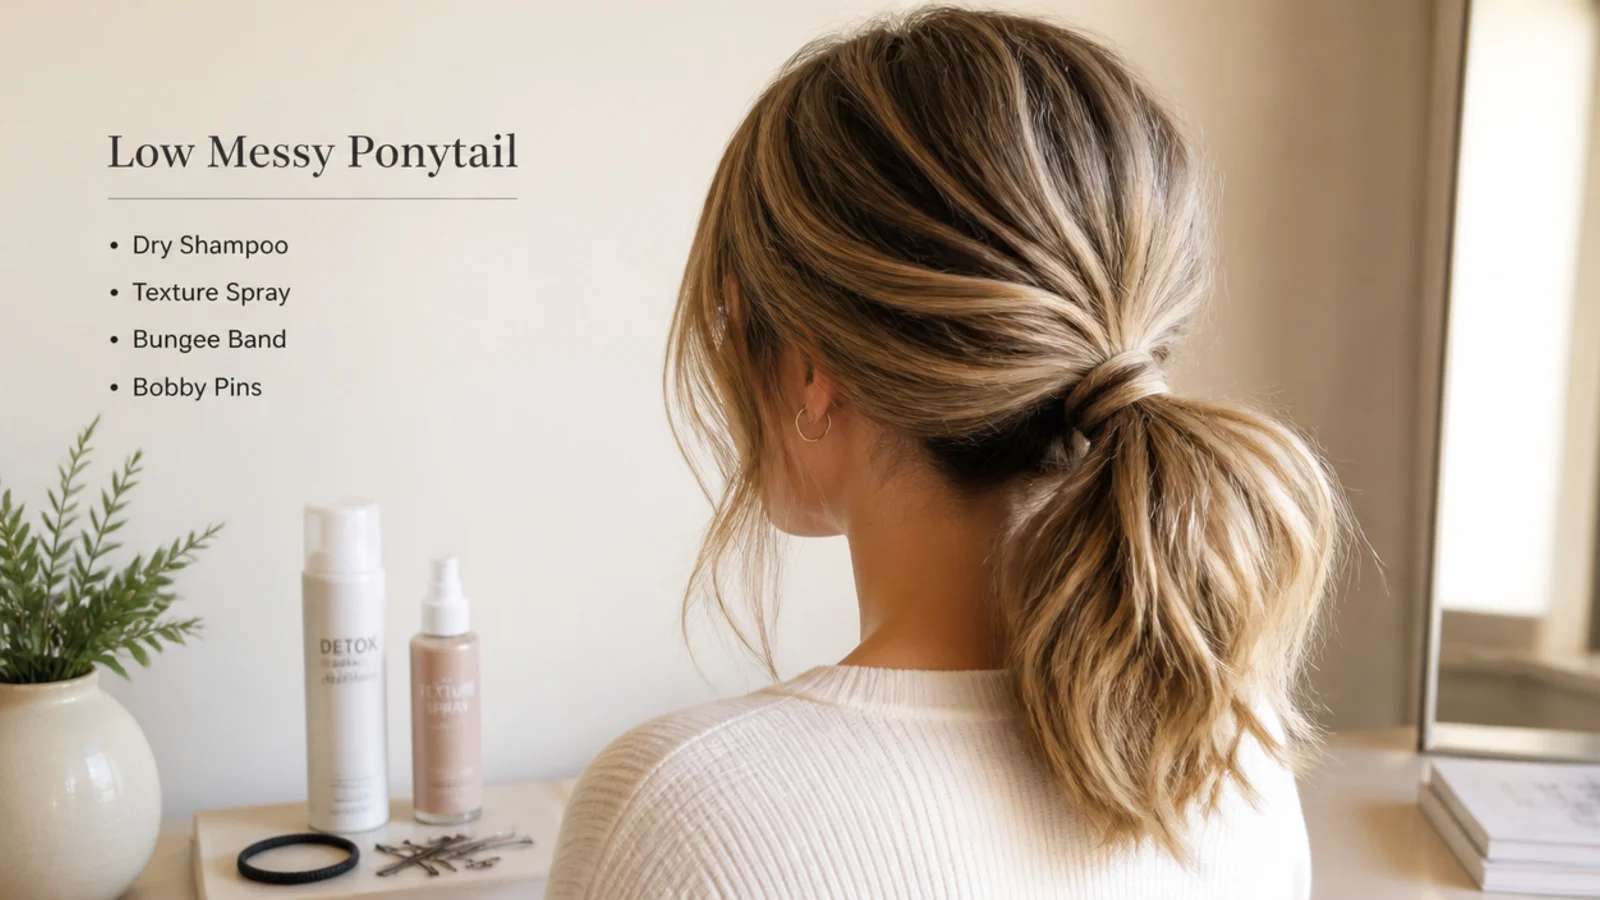
Texture spray on dry mid lengths. It roughens the strand surface so the tail keeps its width rather than tapering to a point below the band.
Dry shampoo at the roots for grip and lift. Two jobs at once, and on a low placement the lift is the more valuable of them.
A fabric covered band. Wider contact means lower pressure on any one line of hair, which is what stops the snap line forming.
Flexible hold spray at the crown only. Firm spray at nape level cracks against a collar and flakes onto dark fabric.
No shine product near the base. A smoothed cuticle is exactly what an elastic cannot grip, and at this height it slides straight off the bone.
The 20 Low Messy Ponytails
1. Classic Nape Ponytail
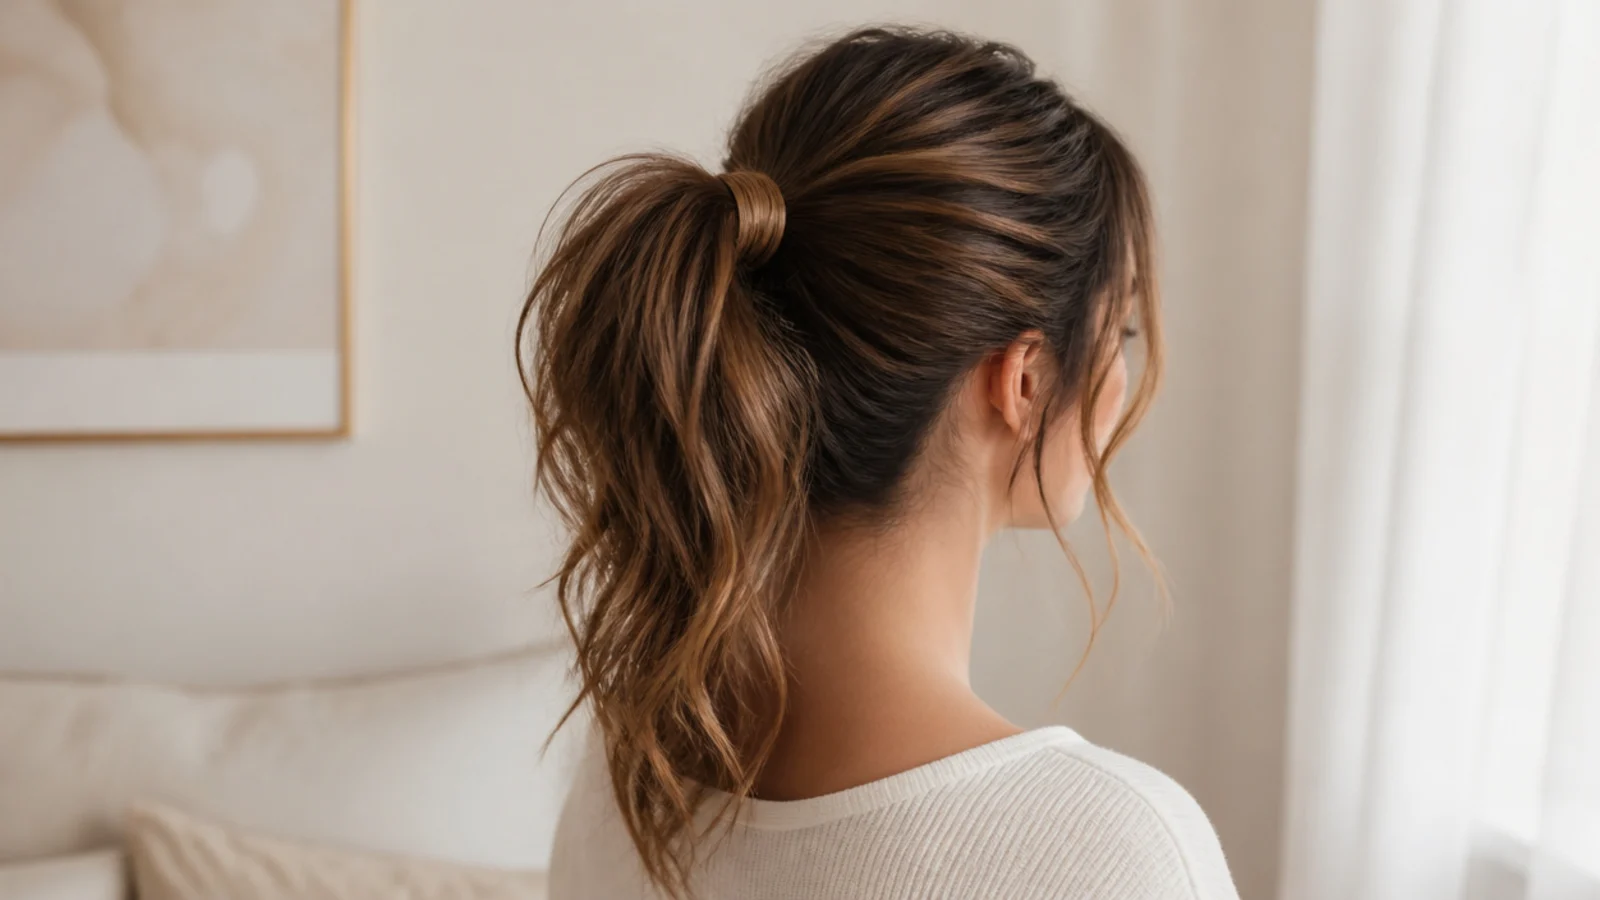
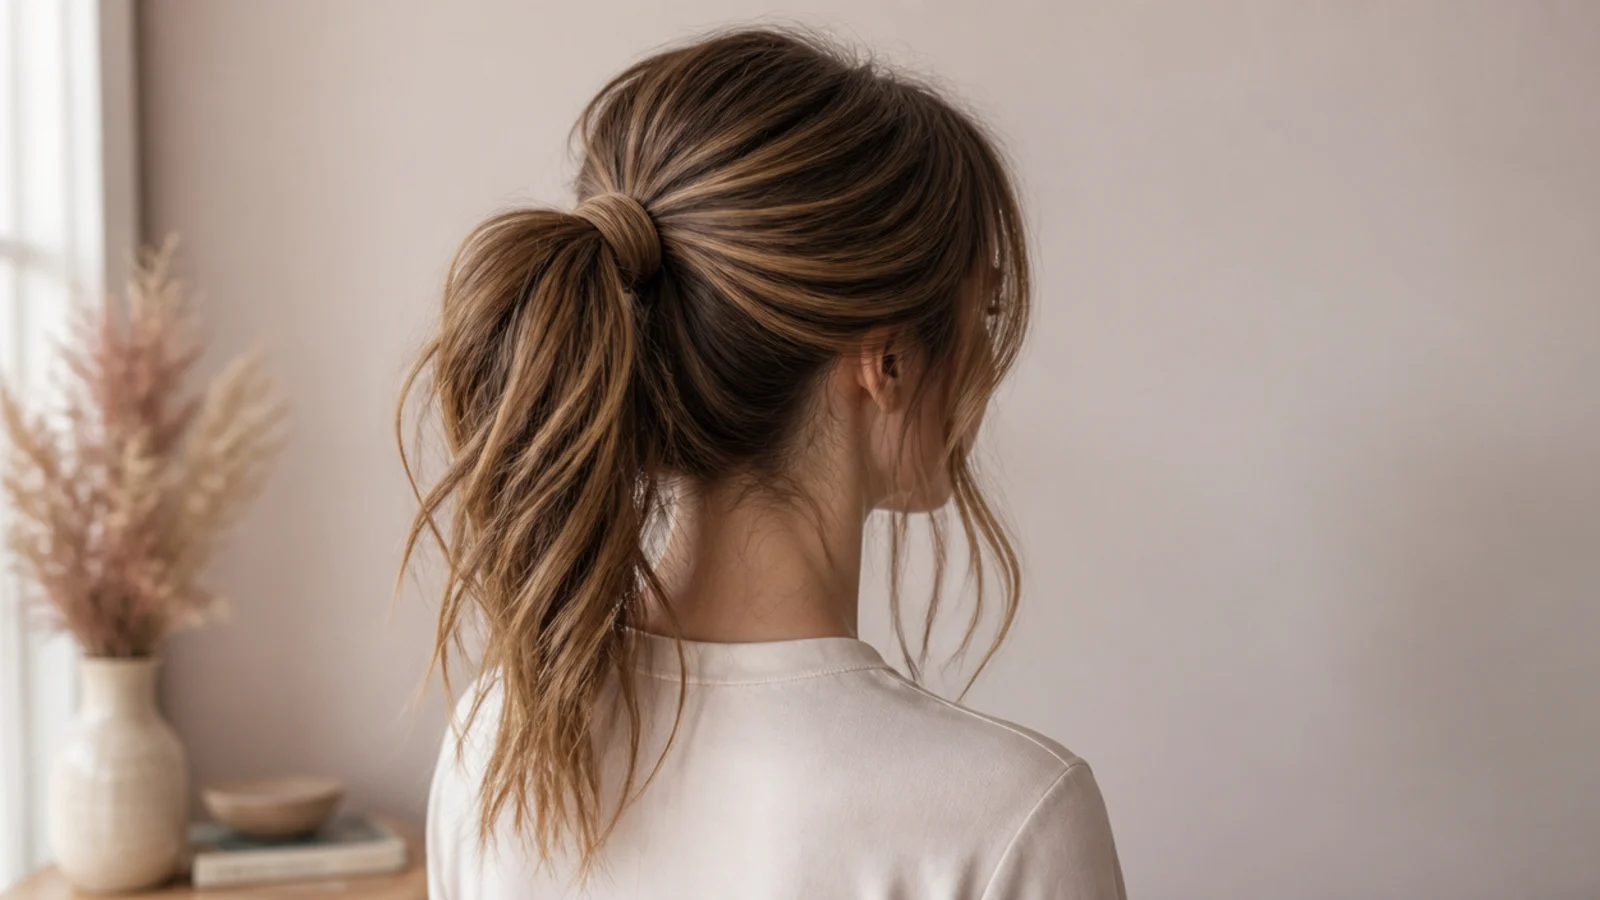
Placed below the occipital bump, the base rests against bone instead of the slope of the skull, and that is the entire reason this version holds all day on one band. The cost is the crown above it, which will lie flat unless you lift it before you gather.
2. Wrapped Elastic
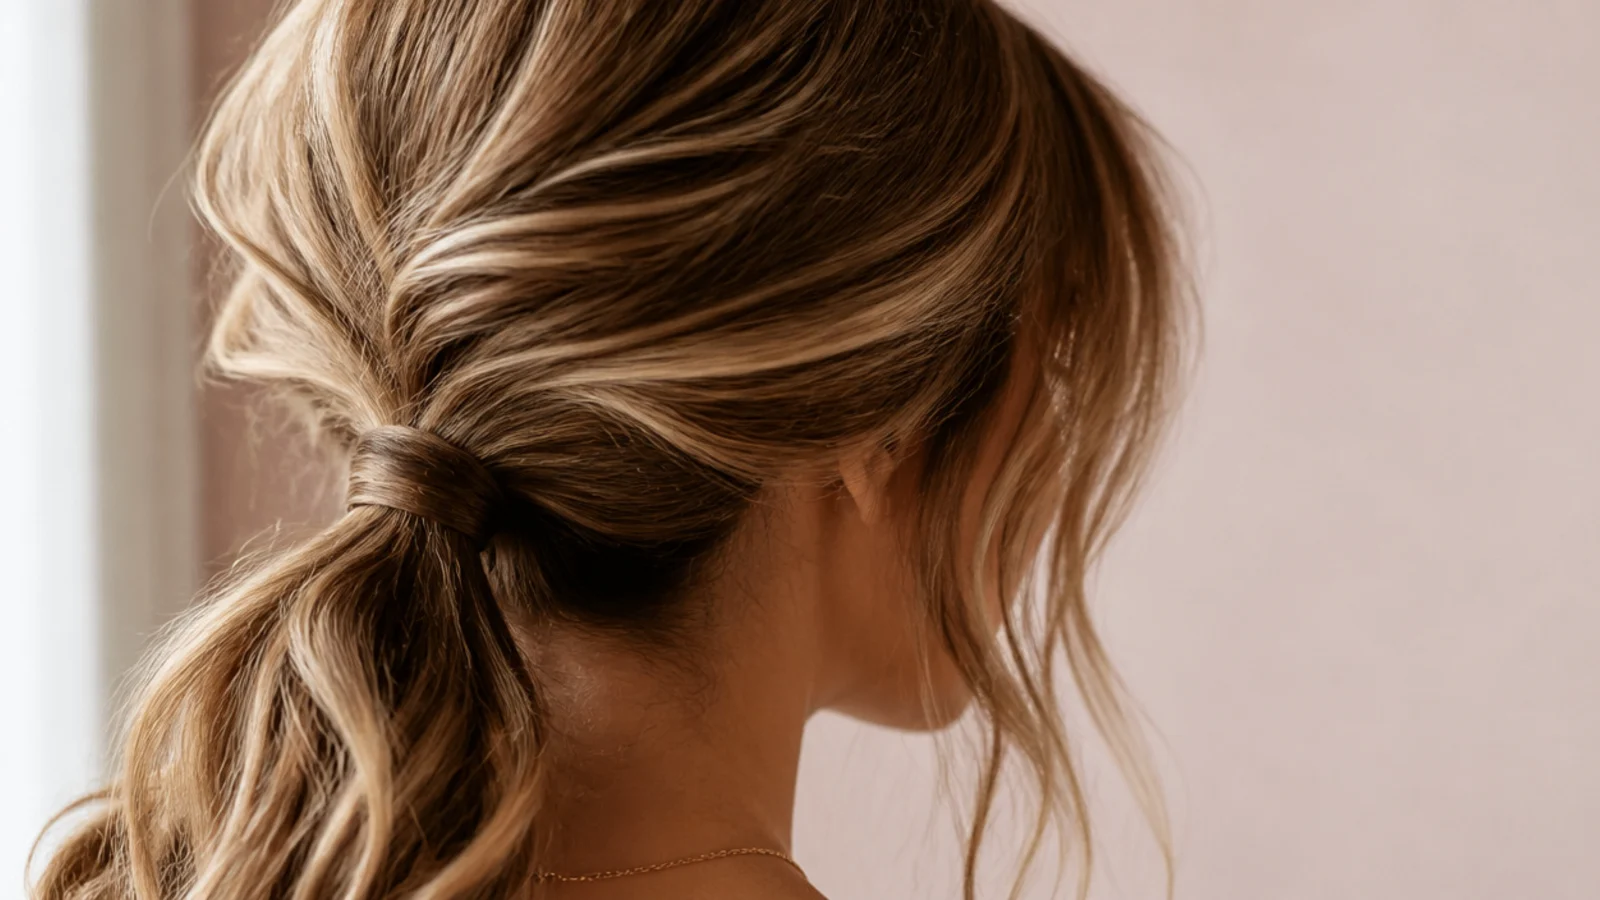
A strand wound over the band hides it and gives a jumper collar a smooth surface to rub against, rather than a rubber ring that snags on knitwear all day. The wrap also clamps the elastic so it cannot rotate against the neck.
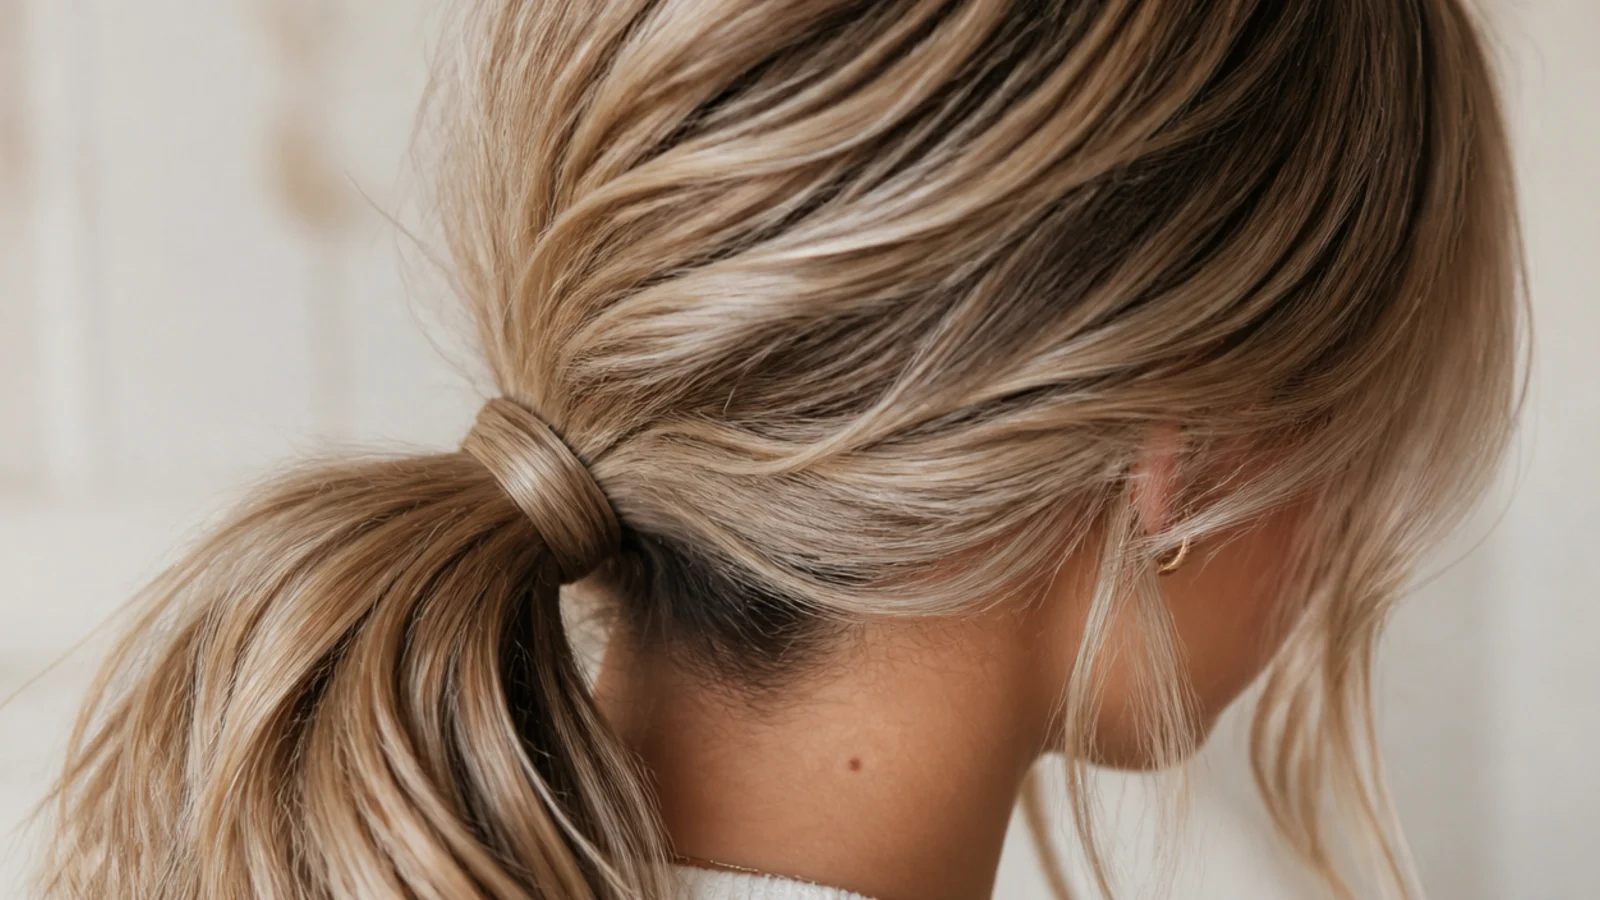
3. Face Framing Pieces
Keep the released sections finer than you would on a high tail. A low gather already leaves hair sitting close to the jaw, so anything more than a thin piece at each temple stops reading as framing and starts reading as an unplanned fringe.
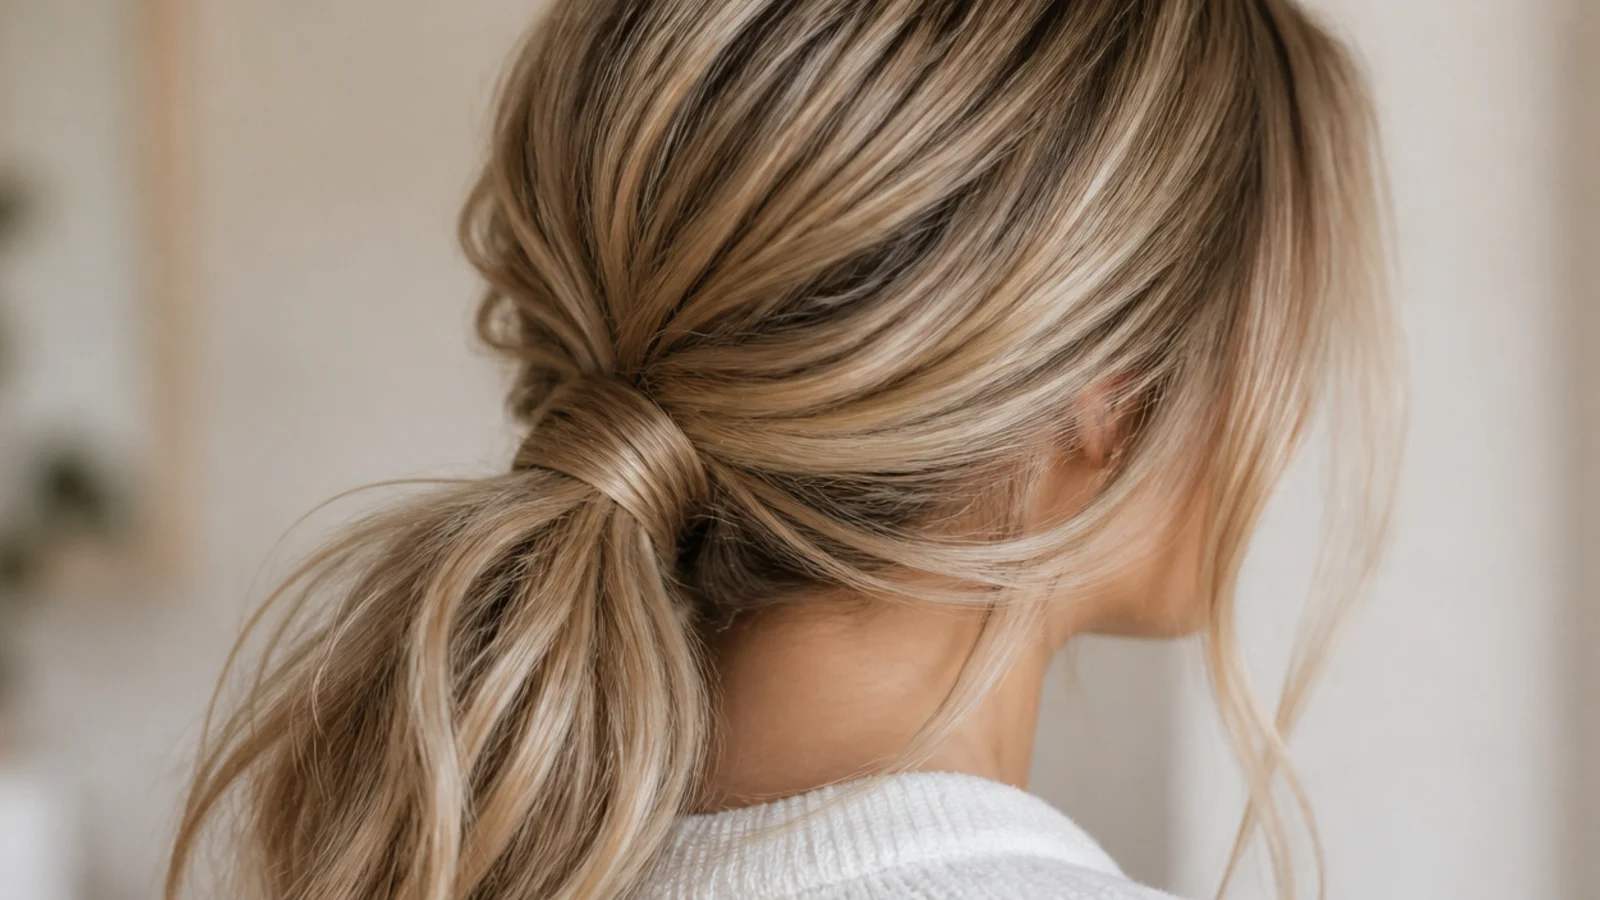
4. Curtain Bangs
With the tail sitting low and everything else pulled back, the fringe becomes the only vertical line in the style. Gather from behind it and let nothing into the elastic, since a caught piece drags the whole curtain sideways and the centre split stops sitting straight.
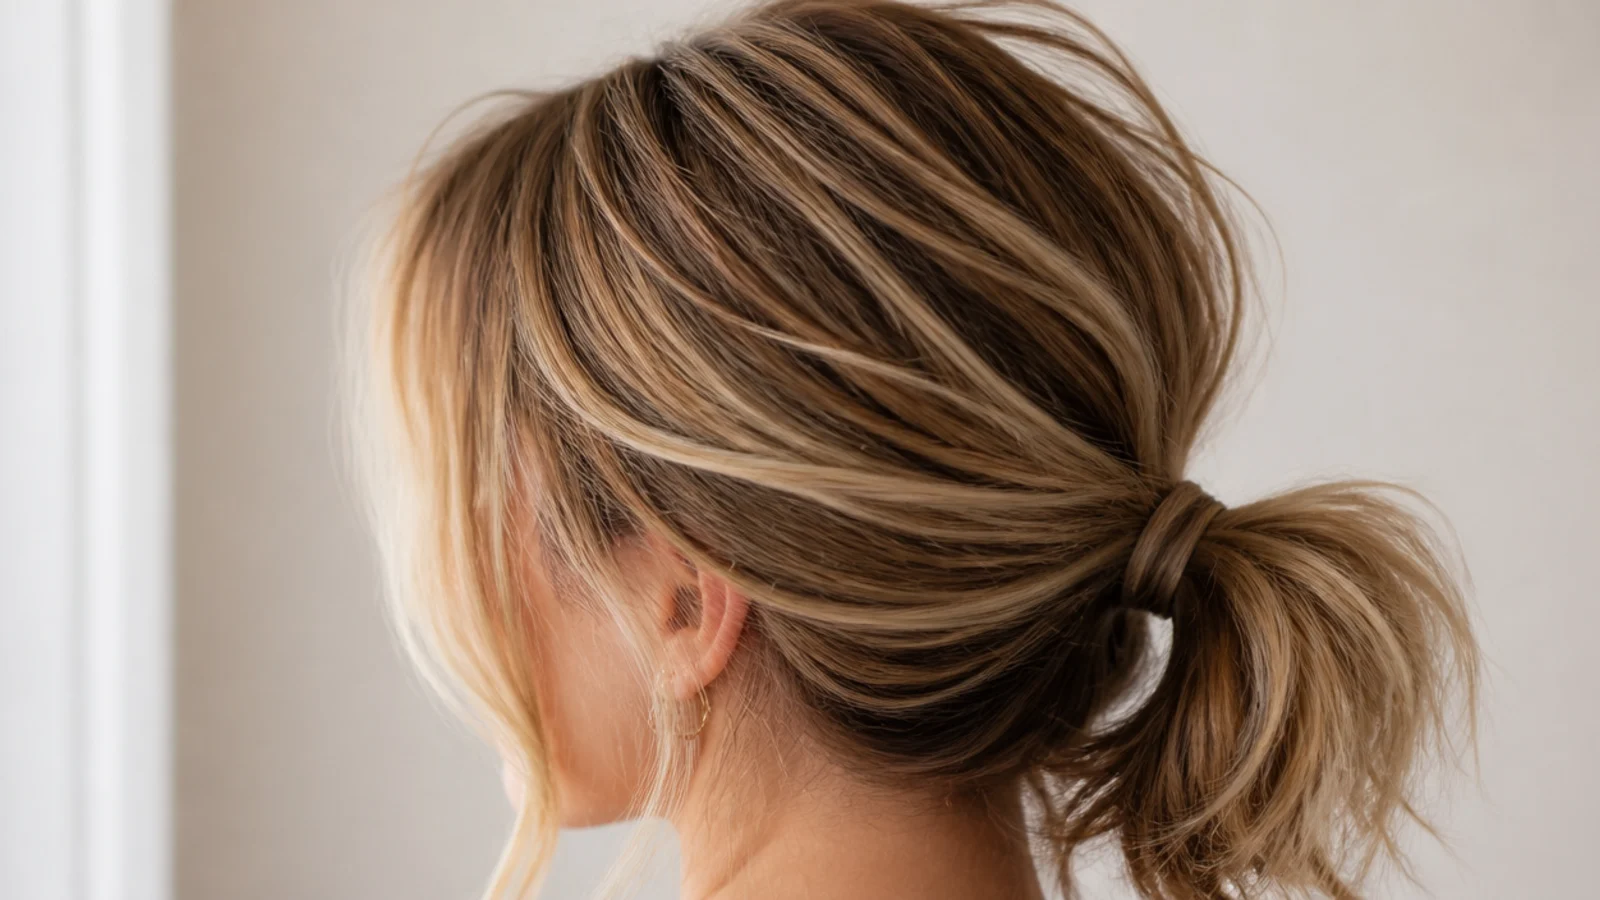
5. Day Two Hair
This is the most forgiving placement for a slippery clean head, because the band is not fighting gravity along the whole length. Even so, second day texture is what keeps the crown from collapsing into the flat plane a low gather naturally pulls it toward.
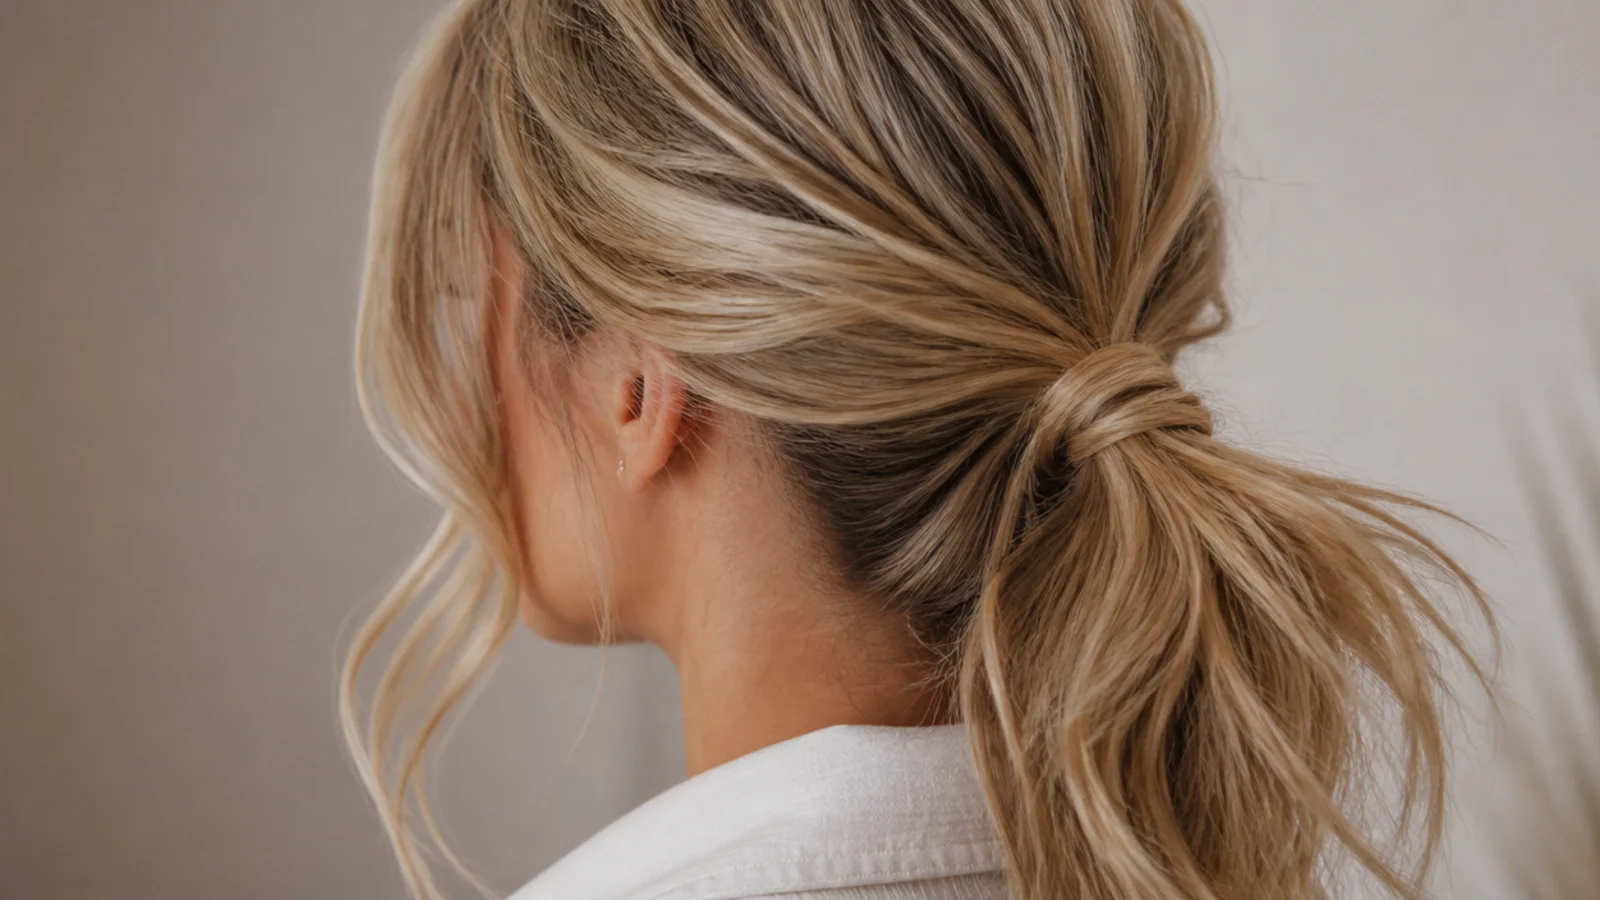
6. Beach Waves
A low tail cannot gain width above the band, so the width has to come from the length hanging below it. Waved hair occupies more space than straight hair of the same weight, which is the cheapest way to stop a nape ponytail reading as a thin rope.
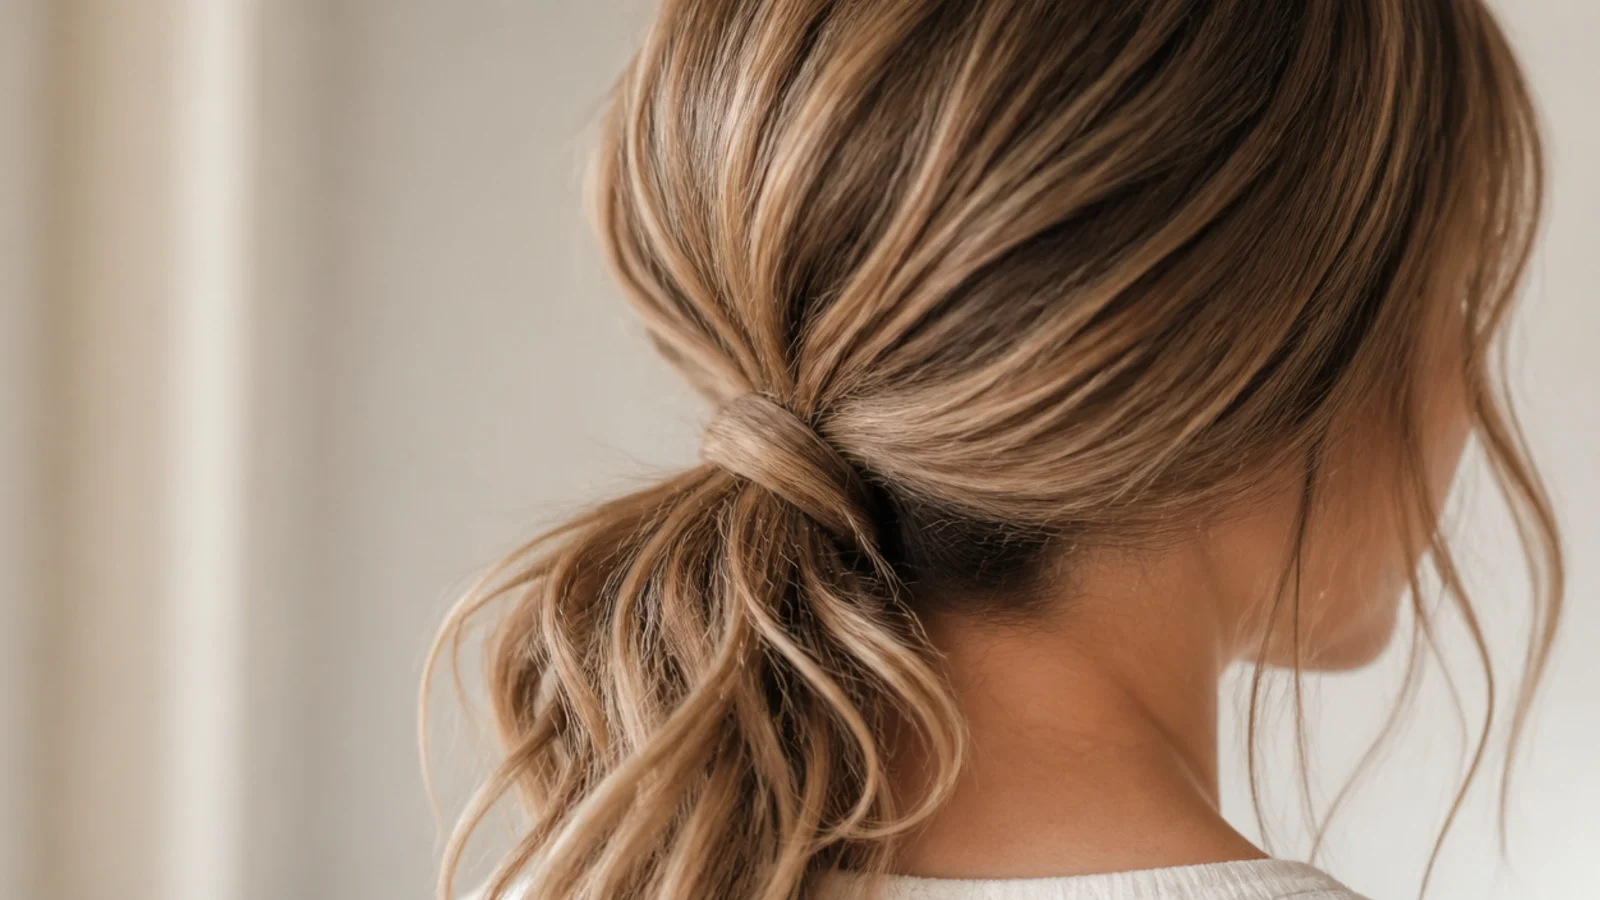
7. Deep Side Part
Hair combed across the head from a deep line has to travel further to reach the band, and travelling further lifts it away from the scalp on that side. It is the only source of height a low ponytail gets for free, and it costs nothing but a comb.
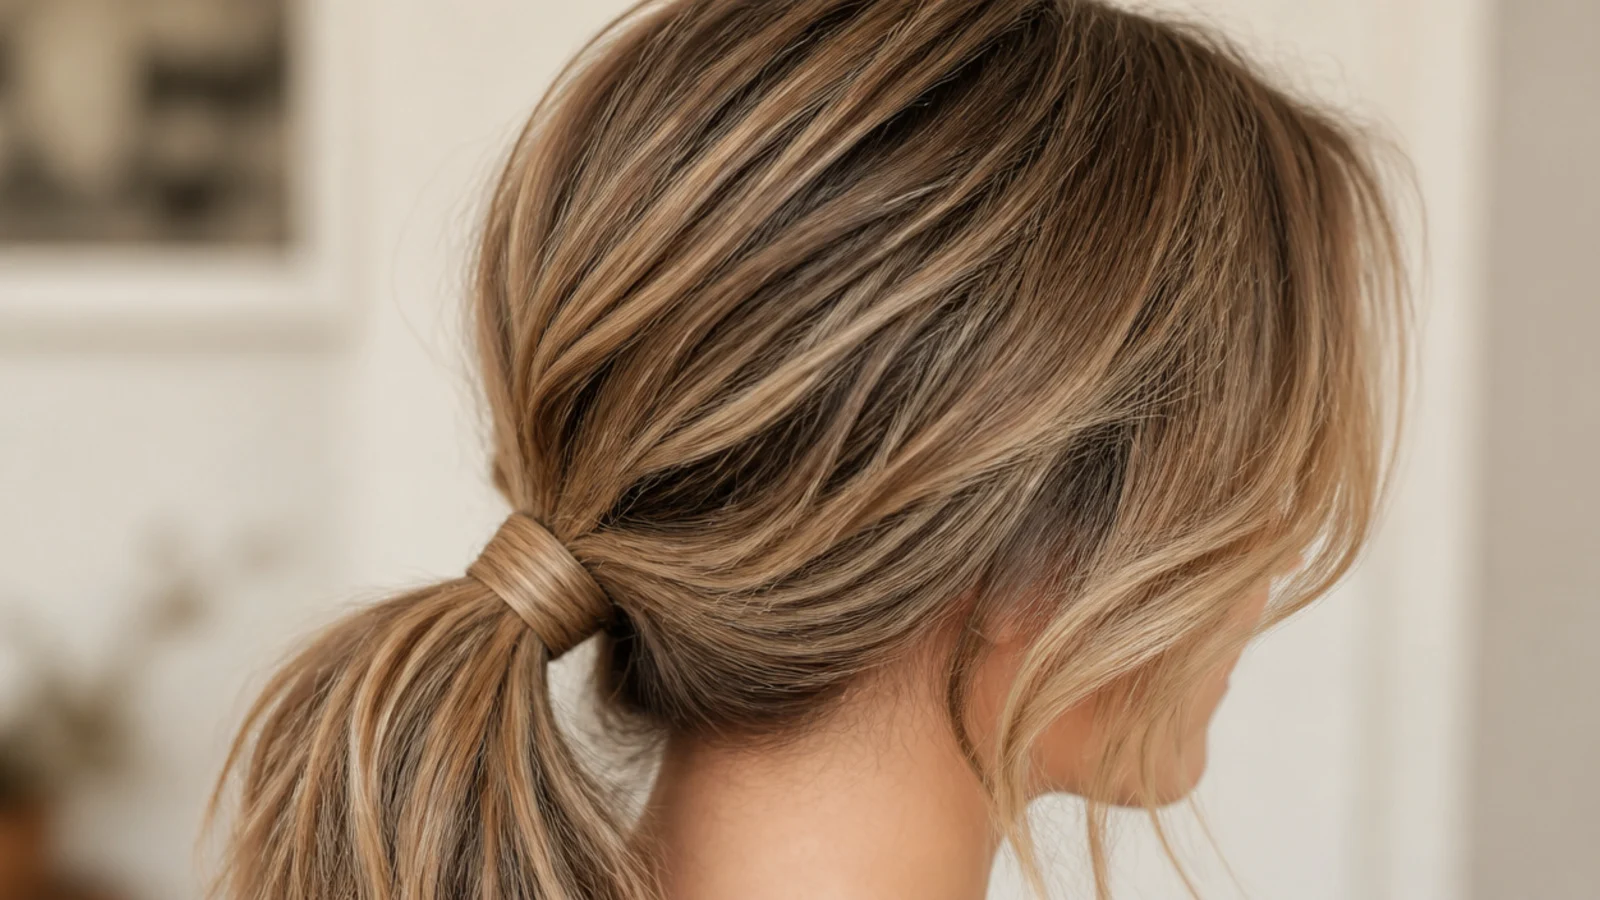
8. Side Swept Low Ponytail
Moving the base to behind one ear breaks the strong horizontal a centred nape tie creates. Pin the opposite side flat before gathering, or the head reads as though the ponytail has slipped rather than as though it was placed there.
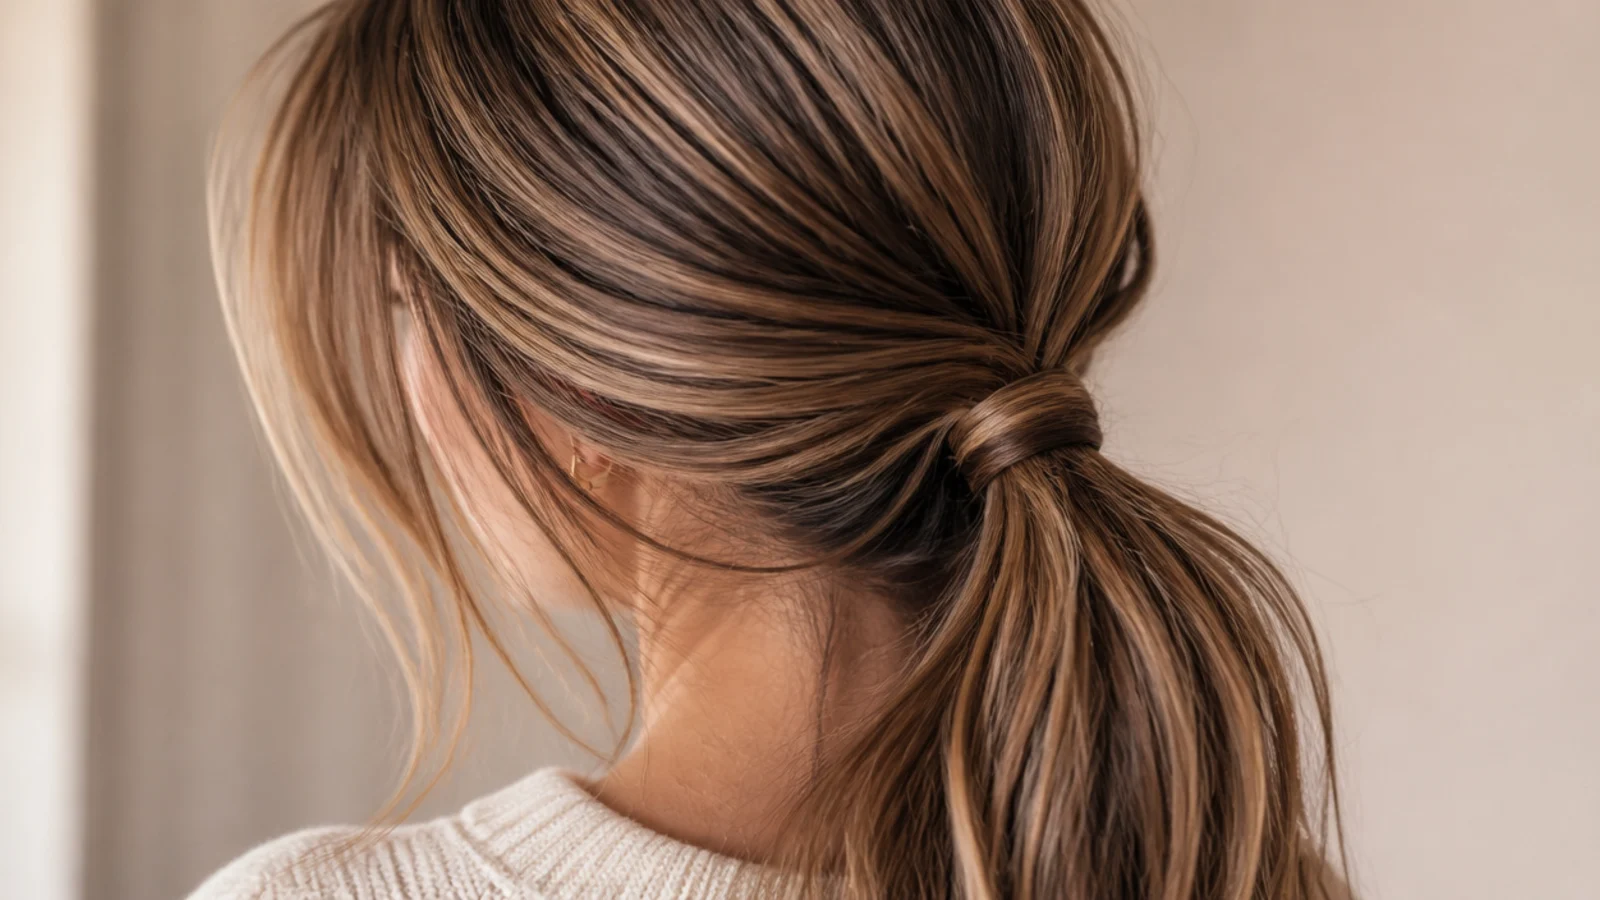
9. Twisted Low Ponytail
Twist each side section back toward the nape before you gather. A twist compresses hair into a rope that stands slightly proud of the head, which puts shape either side of a placement that otherwise lies completely flat against the skull.
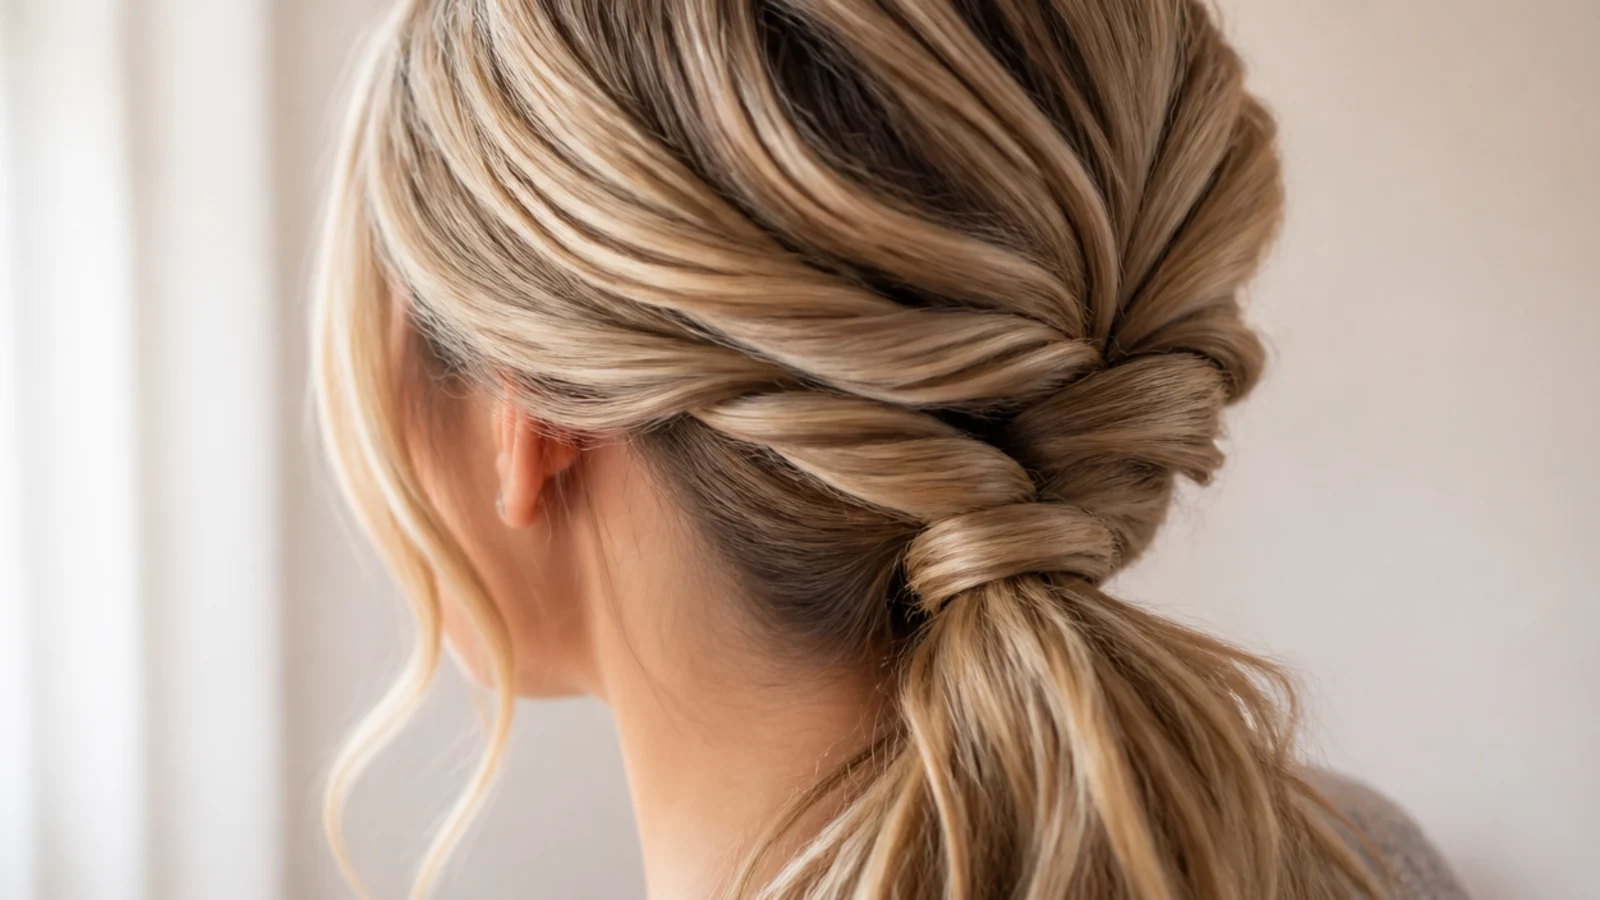
10. Front Braid
A braid running from the parting back to the band creates a raised ridge across the top of the head. On a low tail that ridge is doing structural work rather than decoration, because it is the only thing above the band with any height at all.
11. Low Bubble Ponytail
Bands spaced down the tail spread the weight and add width where a low placement most needs it. Set the first band close to the base, or the top segment presses against the neck and flattens out instead of rounding.
12. Fine Hair
Gather from behind the ears and leave the top surface untouched, because dragging the crown backward on fine hair opens the parting along its whole length. The tension should come from the sides, where there is hair to spare and no scalp on show.
13. Thick Hair
This is the placement thick hair was waiting for, since the mass sits directly where the skull can support it rather than hanging off the curve of the crown. Use a wide fabric band, because with this much weight a bare elastic loads it all onto one narrow line.
14. Curly 3a to 3c
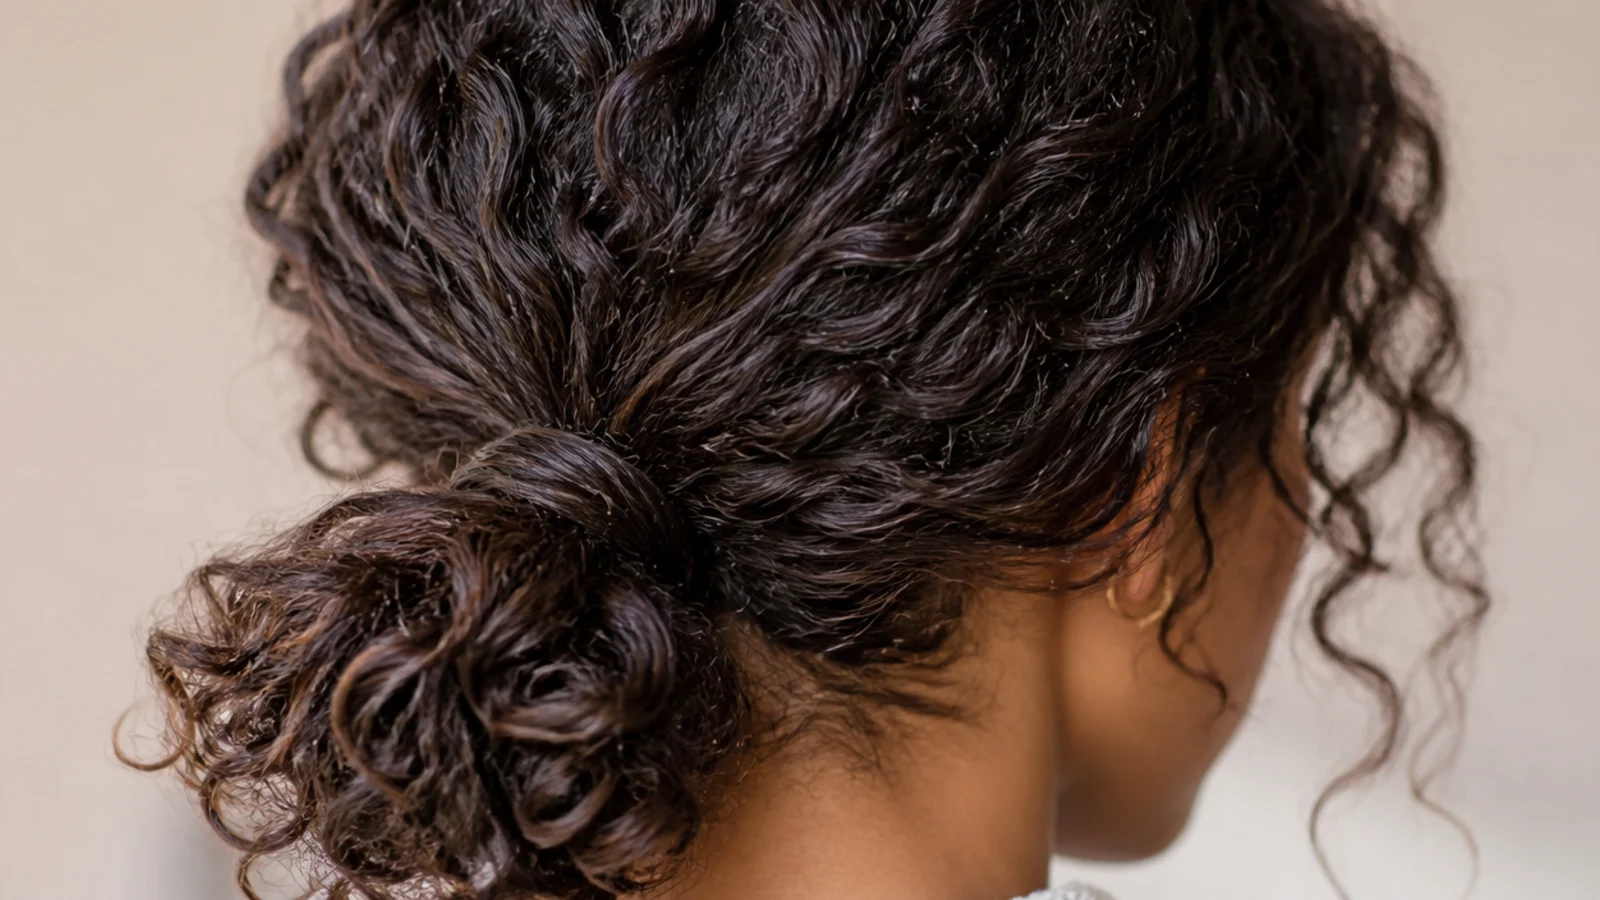
Curl at the nape is usually the loosest on the head, having spent the day compressed against a collar, so a low gather asks the least of the pattern. Use a scrunchie rather than a thin band and let the curls sit around the tie instead of inside it.
15. Bob Length
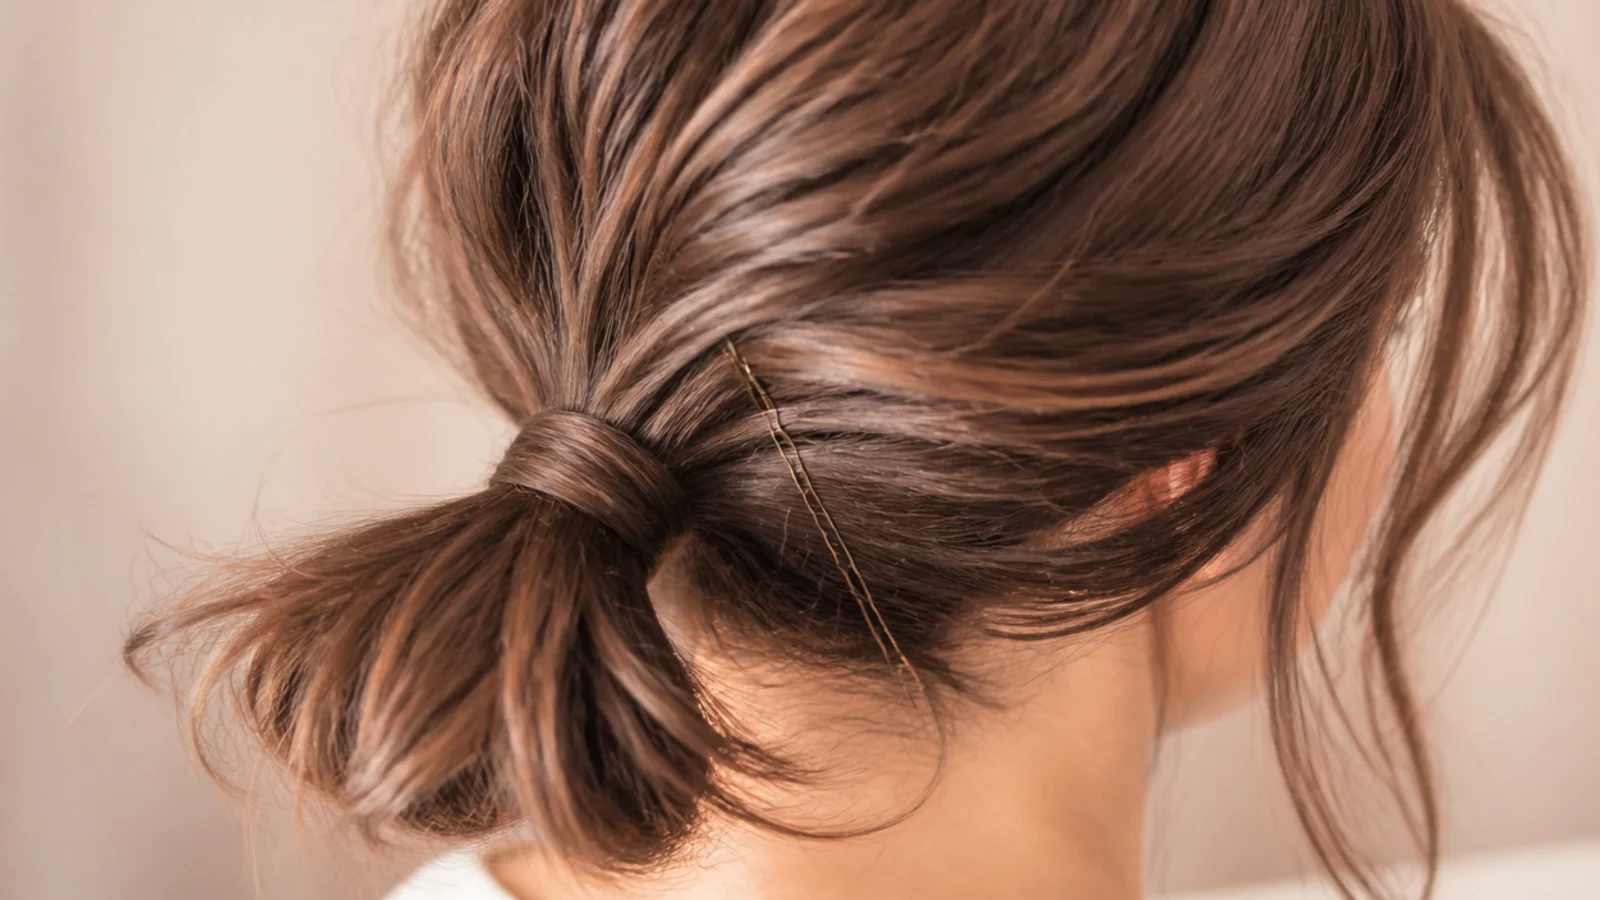
A low tie is the only ponytail a bob will reliably make, because the shorter under layers have the least distance to travel to reach it. Pin whatever will not reach rather than pulling harder, since forcing them in only drags the whole base upward.
16. Silk Scarf
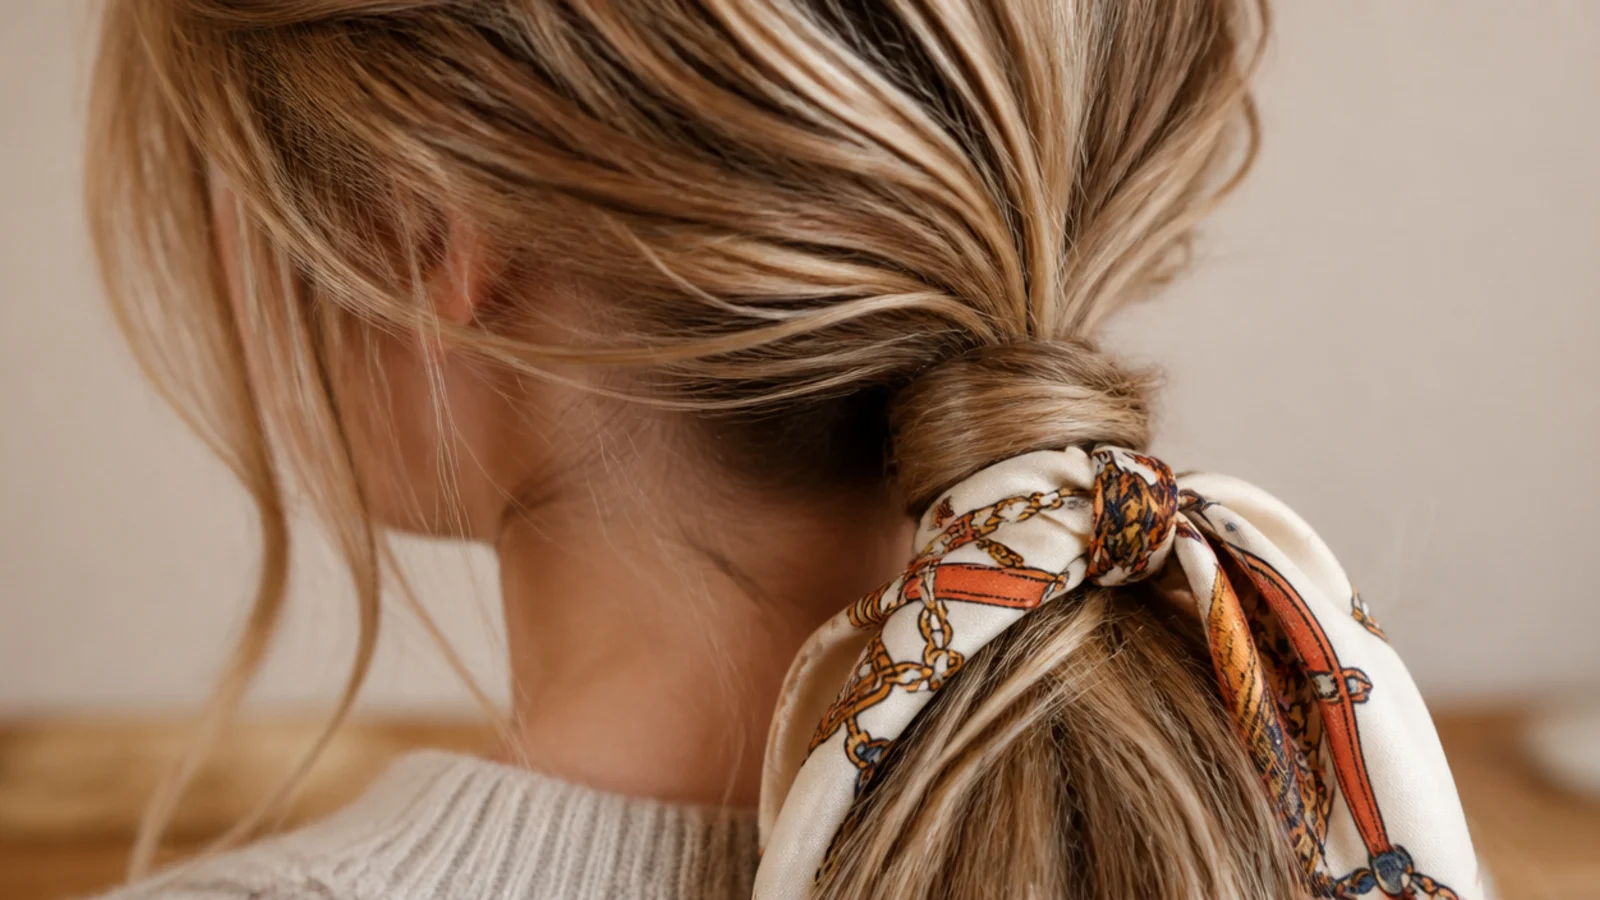
Silk is slick and holds nothing on its own, so knot the scarf around the elastic rather than around the hair and tie it twice. Its real job is covering the transition where the band meets a collar, which is the part of a low ponytail everyone behind you sees.
17. Velvet Bow
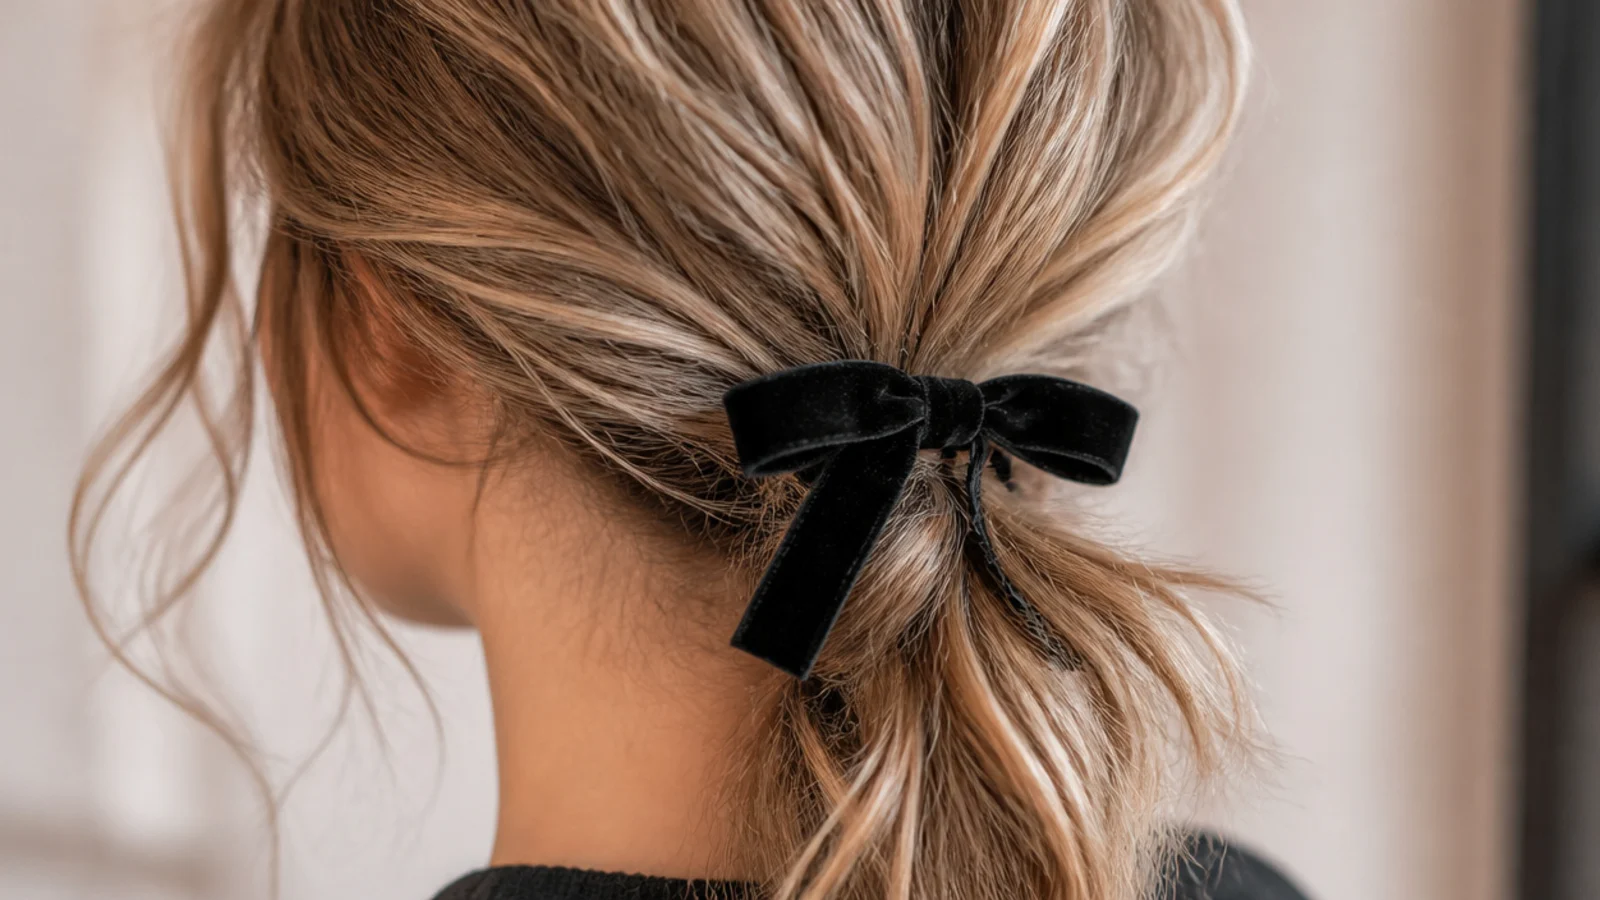
The loops of a bow stand out from the head, and on a low placement that is the only vertical the whole style has. Tie the knot over the elastic so the bow carries no weight at all, or the loops drag open by the middle of the afternoon.
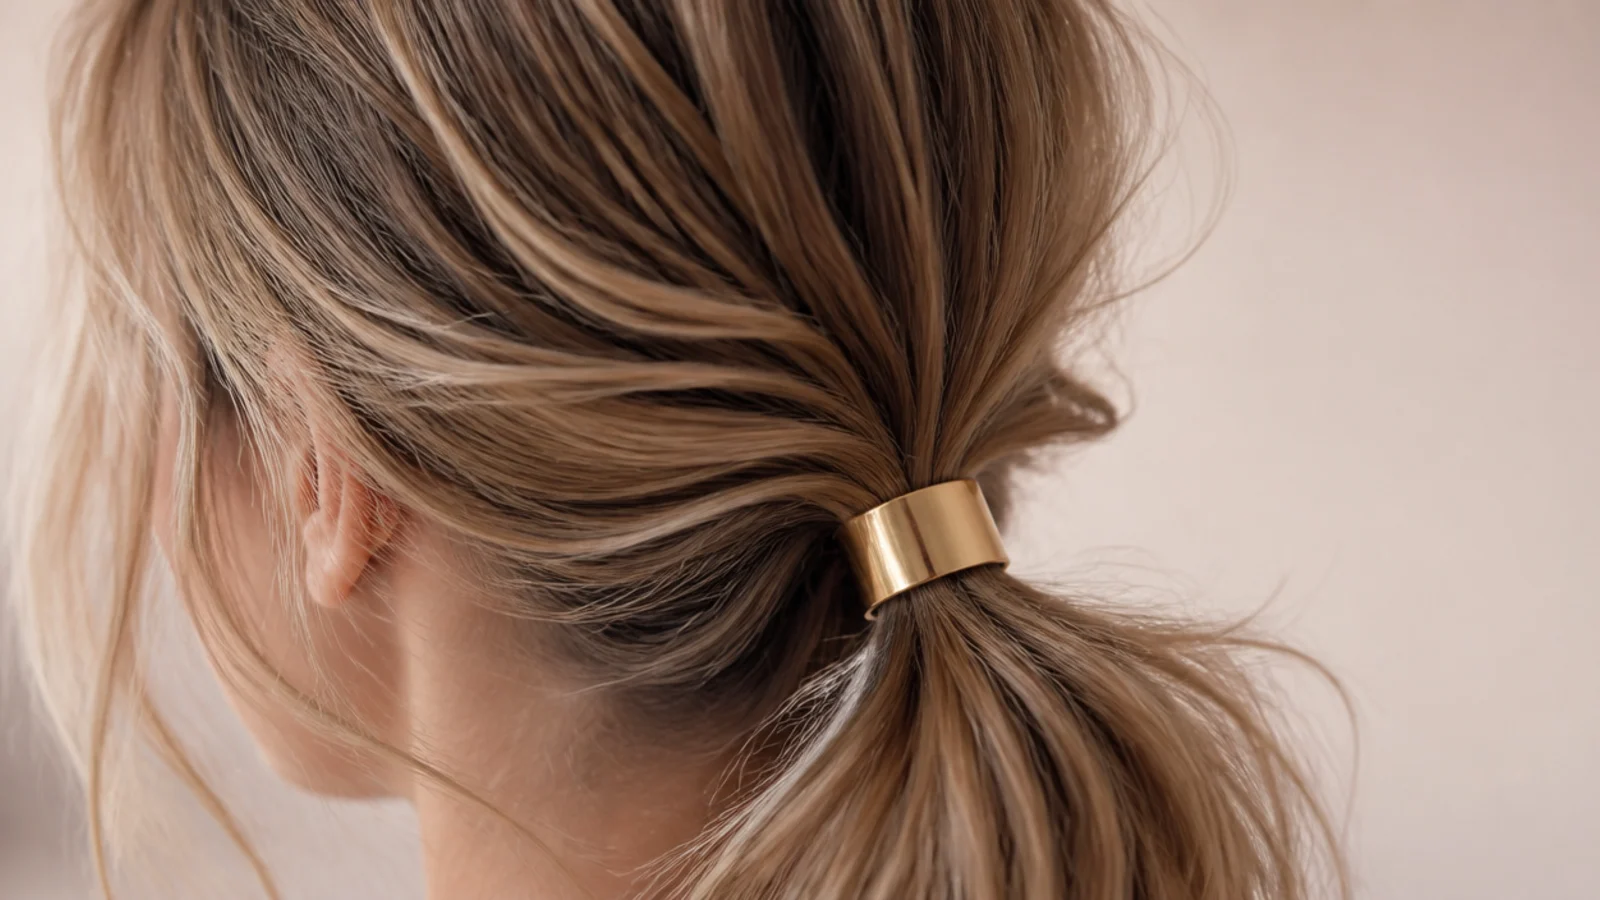
18. Gold Cuff
A low base sits in the shadow under the back of the head, where hair and skin are both dark and the transition disappears. A metal cuff is the one thing there that reflects, which is why it defines the shape in photographs when nothing else does.
19. Half Up Low Ponytail
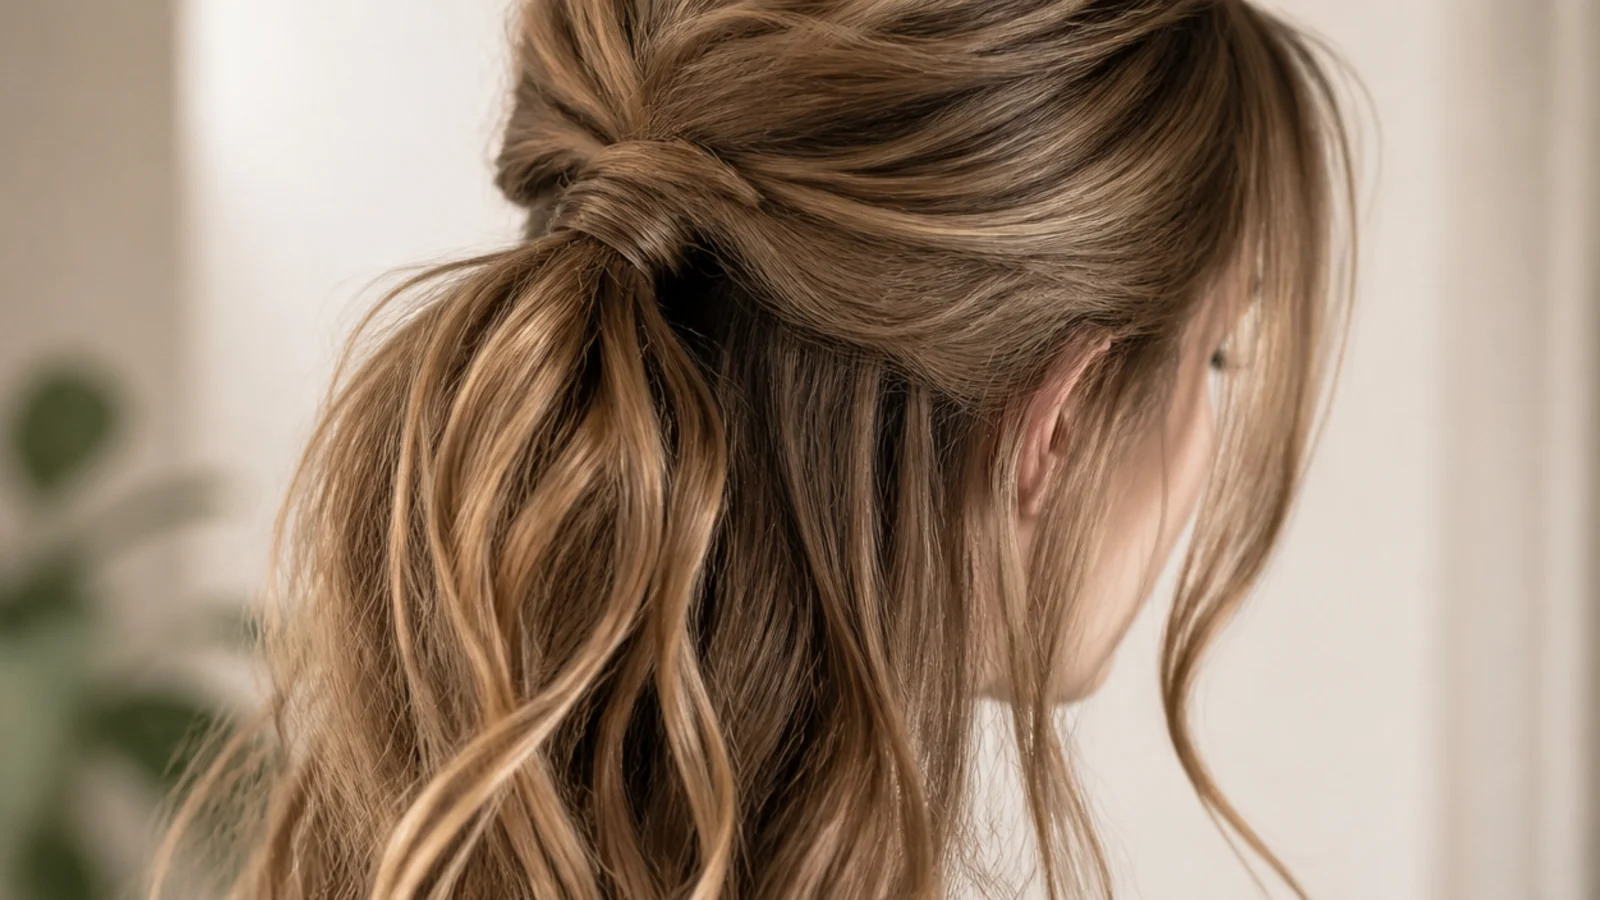
Taking only the top section and tying it at ear level leaves no bump anywhere a hat or a hood would sit. The join also gives you a solid anchor point for pins, which loose hair never provides no matter how much of it there is.
20. Sleek Root for the Office
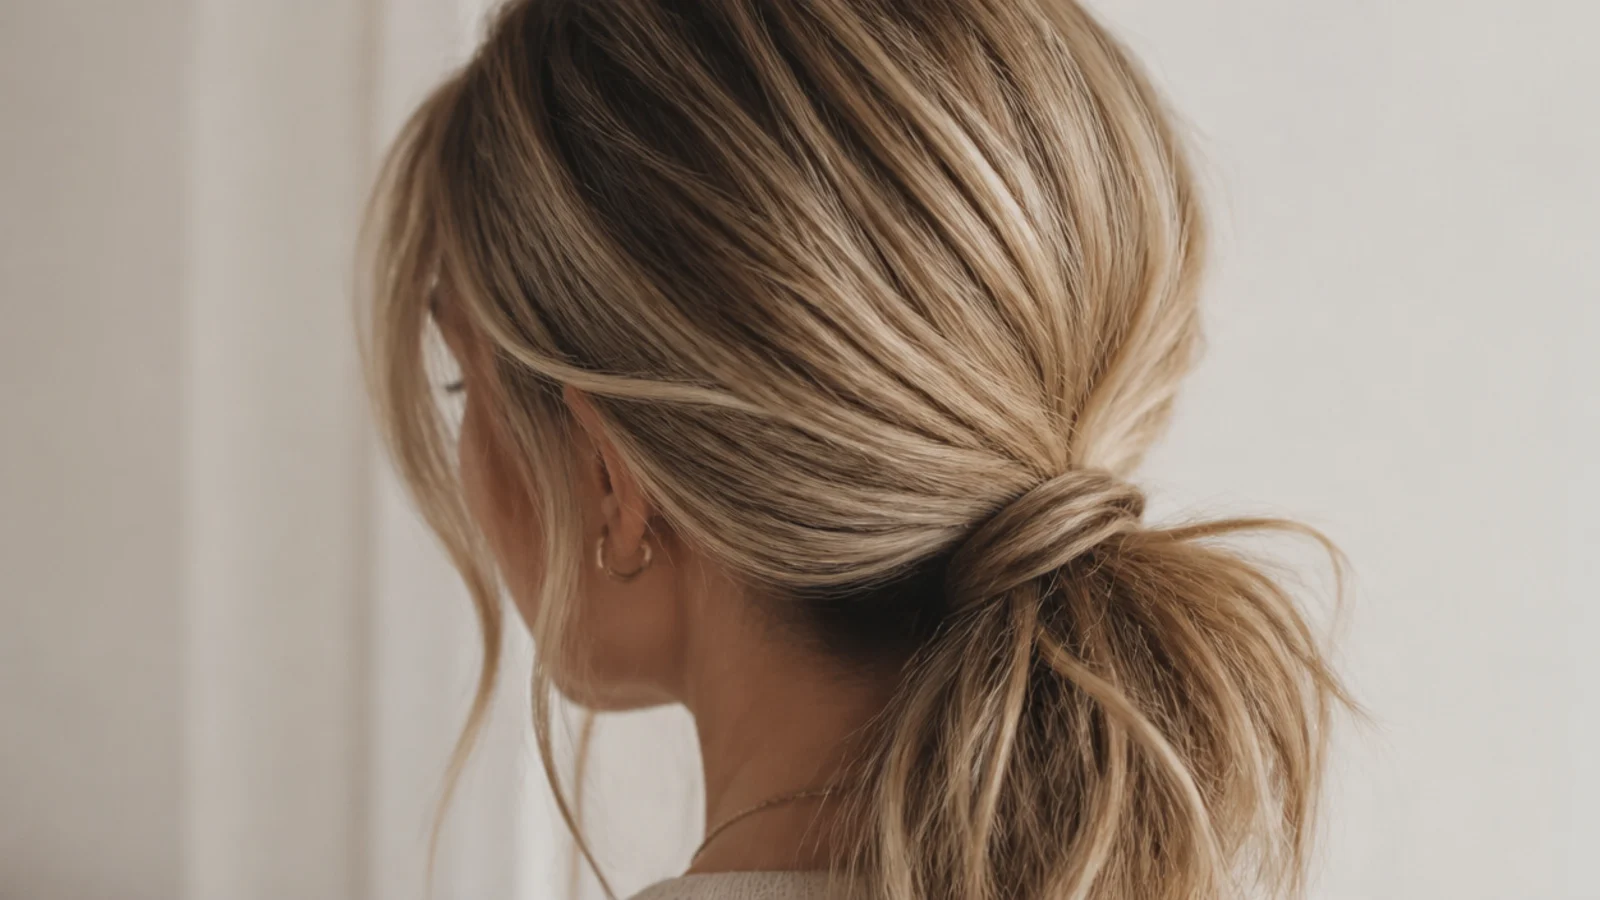
Smooth only the first few inches from the hairline and leave everything below the band textured. The polished section is what the eye reads as intentional, and it applies that reading to the rest, which is how this passes as formal without a flat iron touching the length.
Final Thoughts
Take the placement seriously and the rest is easy. Find the bump at the back of your skull, sit the band clearly below it, and you have the one ponytail height where the bone does some of the holding for you. That is why this version survives a working day on a single elastic and why it is the kindest daily option for hair that is already fragile.
Then spend your effort above the band rather than on it. A backcombed cushion, a deep parting or a braid across the front all put height where a downward gather is trying to remove it, and all three have to happen before your hand closes around the hair. For the same placement gathered into a knot see the low messy bun tutorial. More in Updos and Clips. See also the curly version.