

15 Ways to Style a Jellyfish Haircut
Fifteen ways to style a jellyfish haircut, and the rule that decides all of them. The cut is two deliberately disconnected tiers, so styling means giving each tier a different surface. Treat them as one head of hair and the shape vanishes.
In this article · 31
- What Is a Jellyfish Haircut
- Jellyfish Versus Wolf Cut and Mullet
- Who It Suits and Face Shape
- Styling the Top and Bottom Layers
- How to Ask Your Stylist
- Growing Out a Jellyfish Haircut
- The 15 Ways to Style It
- 1. Sleek Straight Bell
- 2. Flipped C Curve
- 3. Inward Bowl Bell
- 4. Beach Waves Through the Lengths
- 5. Heatless Braid Waves
- 6. Half Up Bun
- 7. Low Ponytail Under the Bell
- 8. Dutch Braids in the Lengths
- 9. Wet Look Bell
- 10. Tucked Behind the Ears
- 11. Round Brush Blowout
- 12. Curtain Flick on the Bell
- 13. Deep Side Part
- 14. Claw Clip Twist
- 15. Second Day Texture
- How to Blow Dry a Jellyfish Haircut
- Step 1. Prep on Damp Hair
- Step 2. Section the Bell
- Step 3. Rough Dry the Lengths
- Step 4. Round Brush the Bell
- Step 5. Shape the Ends
- Step 6. Texture and Smooth
- Step 7. Set and Check the Back
- Final Thoughts
Most jellyfish haircuts look wrong in the mirror because they were styled as one head of hair.
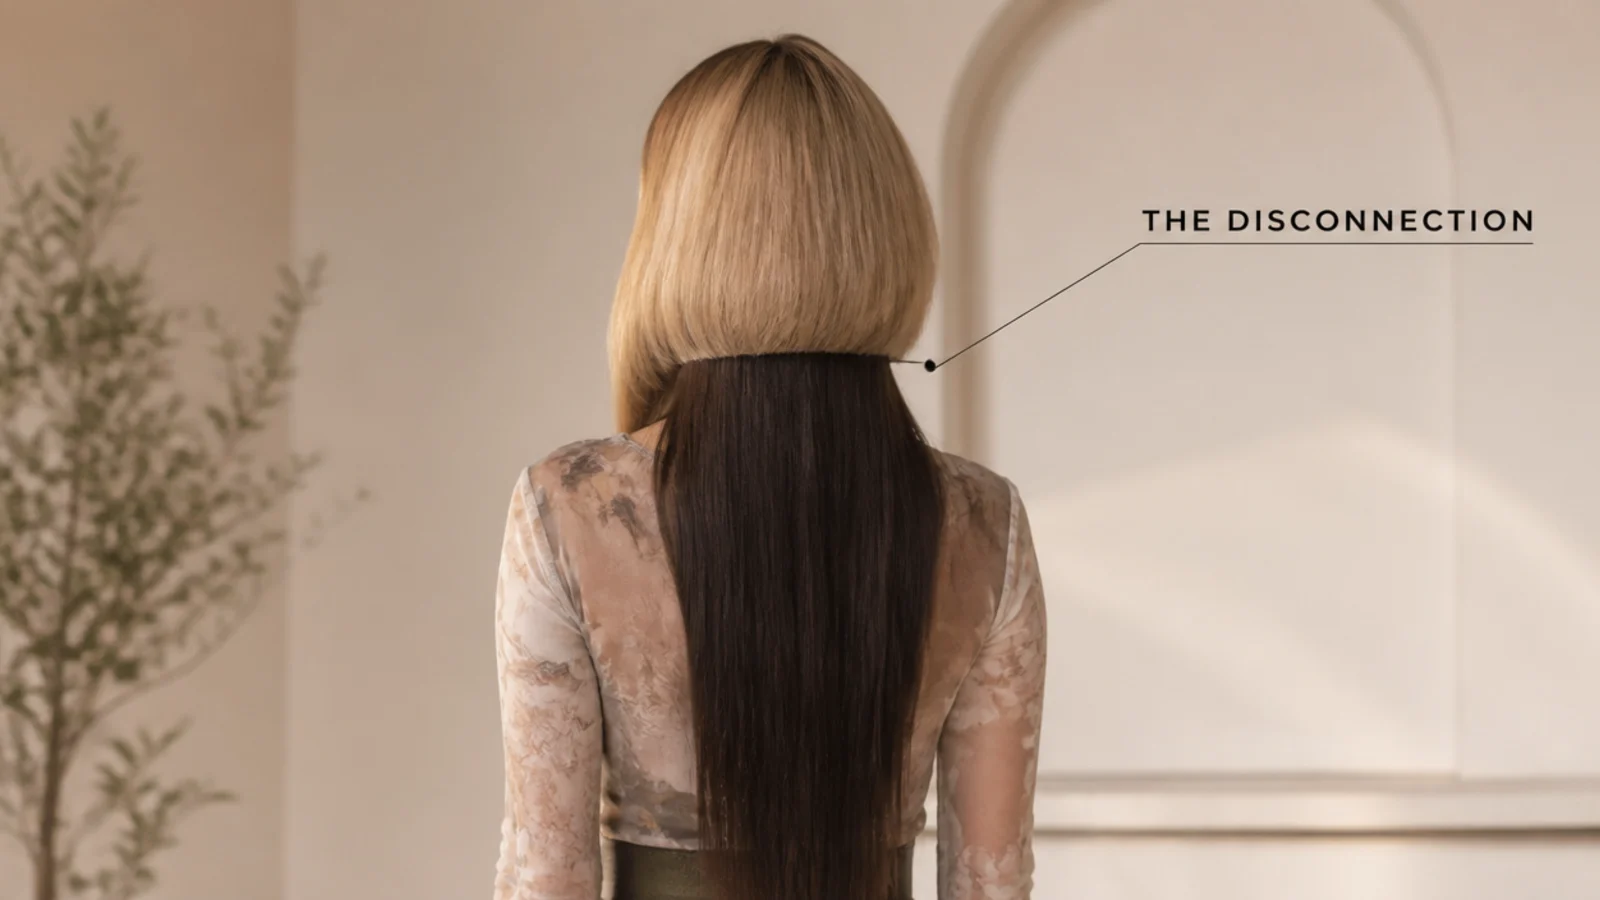
The cut is two tiers with nothing joining them. A short blunt upper layer sits over long lengths that were never cut into, and the step between them is the entire design.
Styling means giving each tier a different surface. Smooth above and textured below, or the reverse. The moment both look the same, the step stops reading and the cut looks like a grow out.
What Is a Jellyfish Haircut
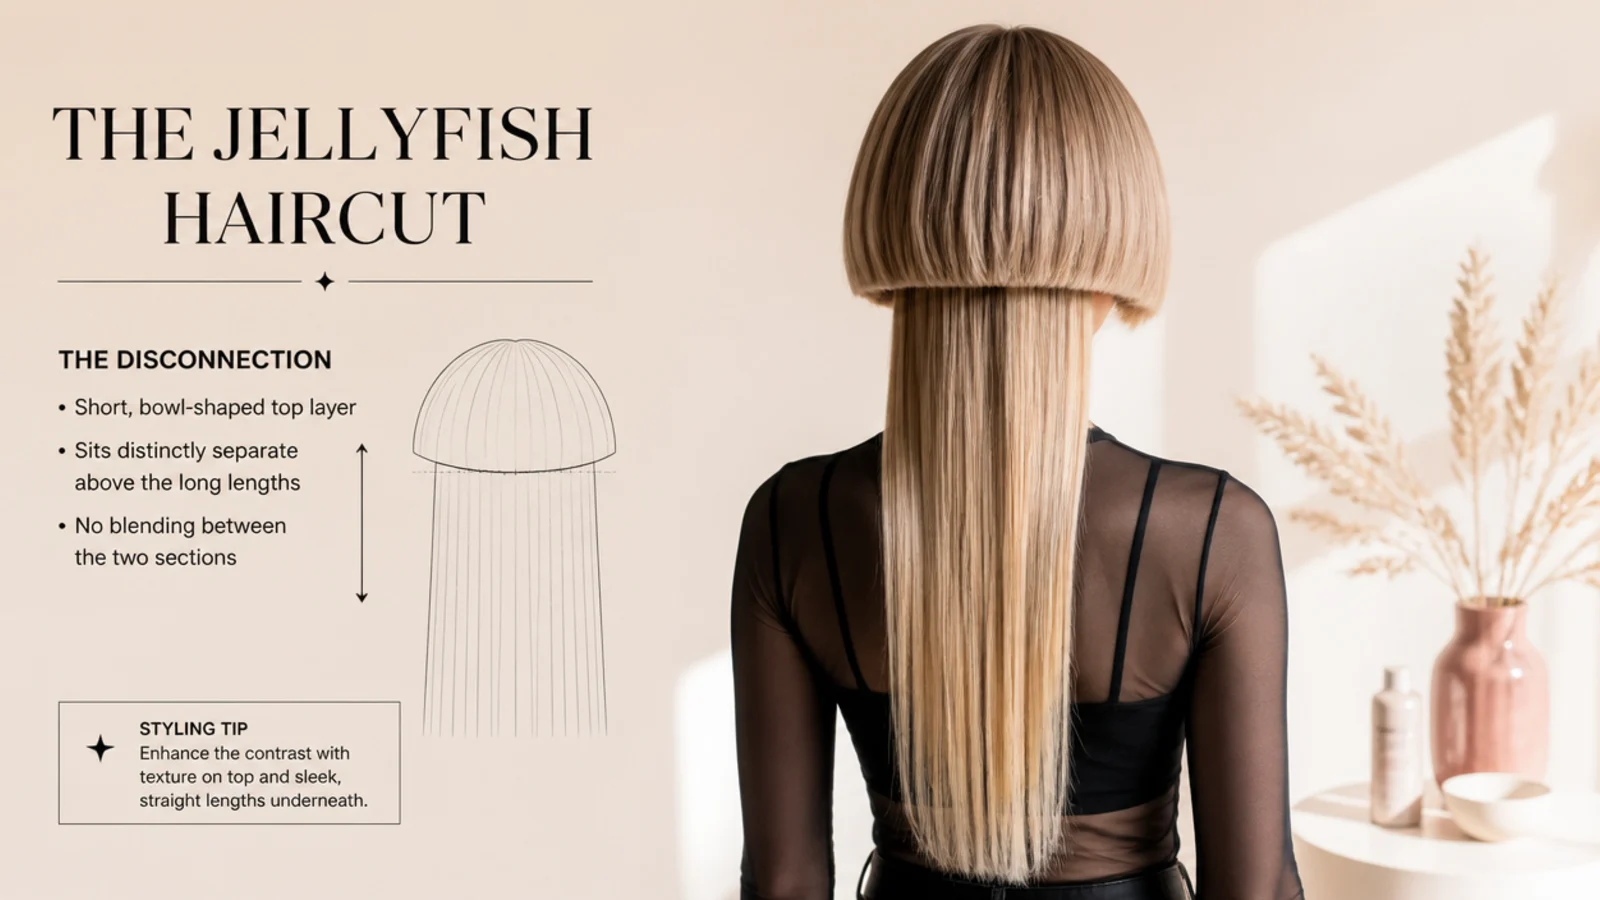
It is two lengths on one head with nothing in between. A short blunt upper layer sits over long lengths that were never cut into, and no hair bridges the two.
The disconnection is the whole point. Every other layered cut graduates one length into the next. This one refuses to, which is why the hem stays visible as a drawn line.
The tiers have names. The upper one is the bell, cut level all the way round like a bowl. The lengths below are the tentacles, and they keep whatever length they already had.
The gap has to be obvious. Less than a few inches between the two hems and the cut reads as a bad grow out rather than as a decision anybody made.
Jellyfish Versus Wolf Cut and Mullet
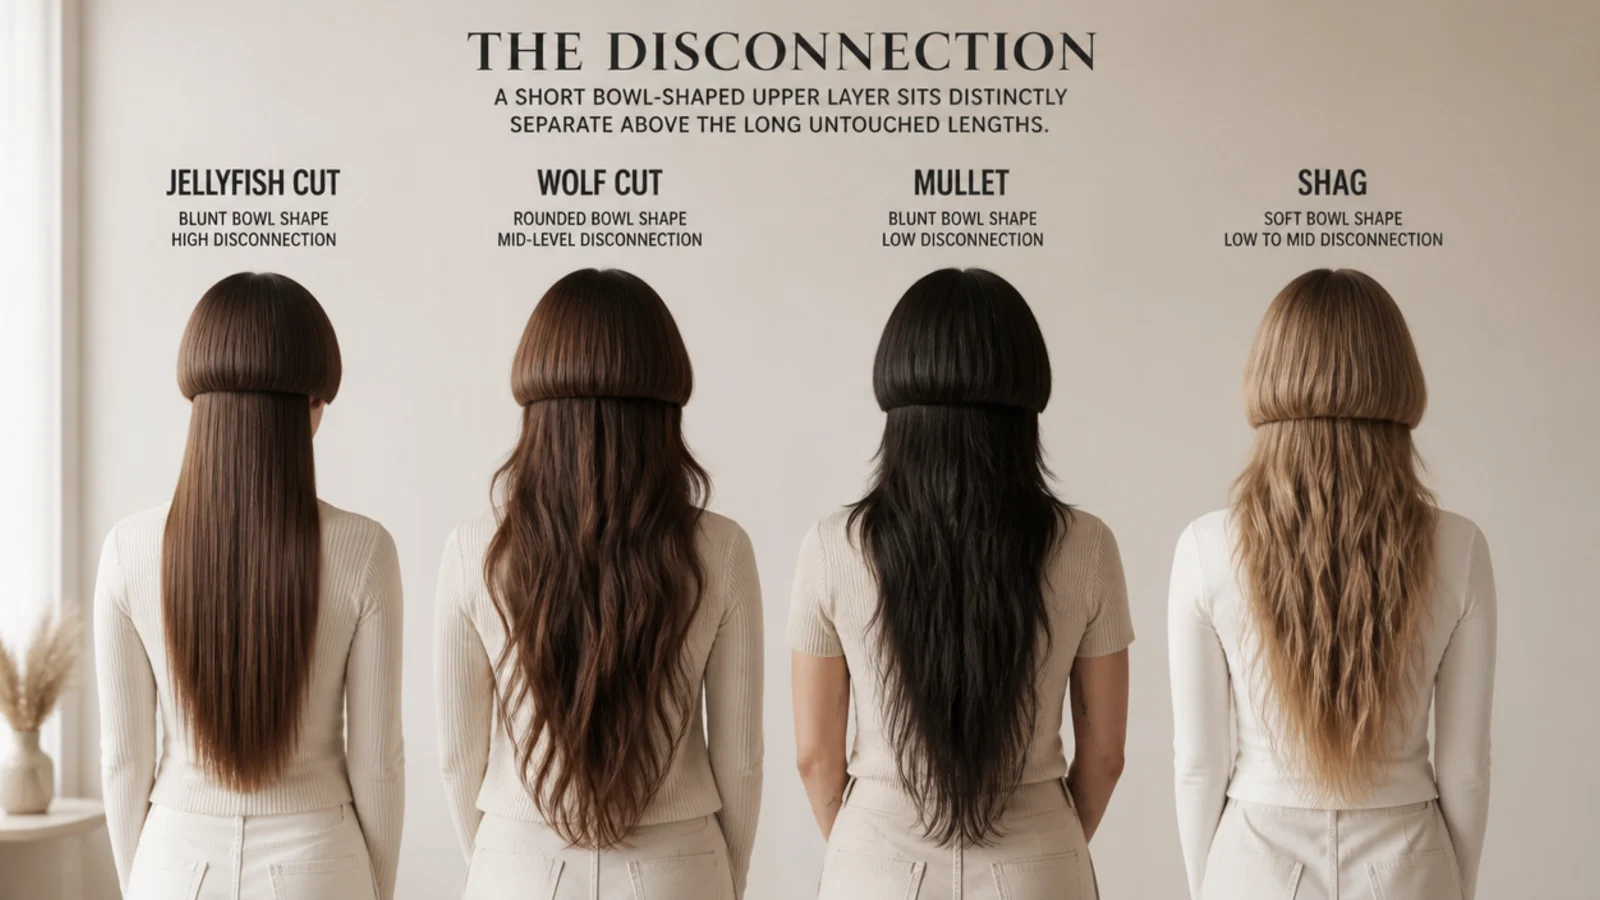
A wolf cut blends and a jellyfish does not. The wolf graduates from short crown layers into long ends so every length has a neighbour. The jellyfish leaves a step where that graduation would be.
A mullet changes length front to back. Short at the front and sides, long at the back. The jellyfish changes length top to bottom instead, which is a different axis altogether.
A shag is connected layers plus a fringe. No hard edge anywhere in it. If you can run a finger down the hair and feel no step, what you have is not a jellyfish.
Stylists blend by reflex. Softening a hard edge flatters most cuts, so the word disconnected has to be said out loud or the step gets quietly graduated away.
Who It Suits and Face Shape
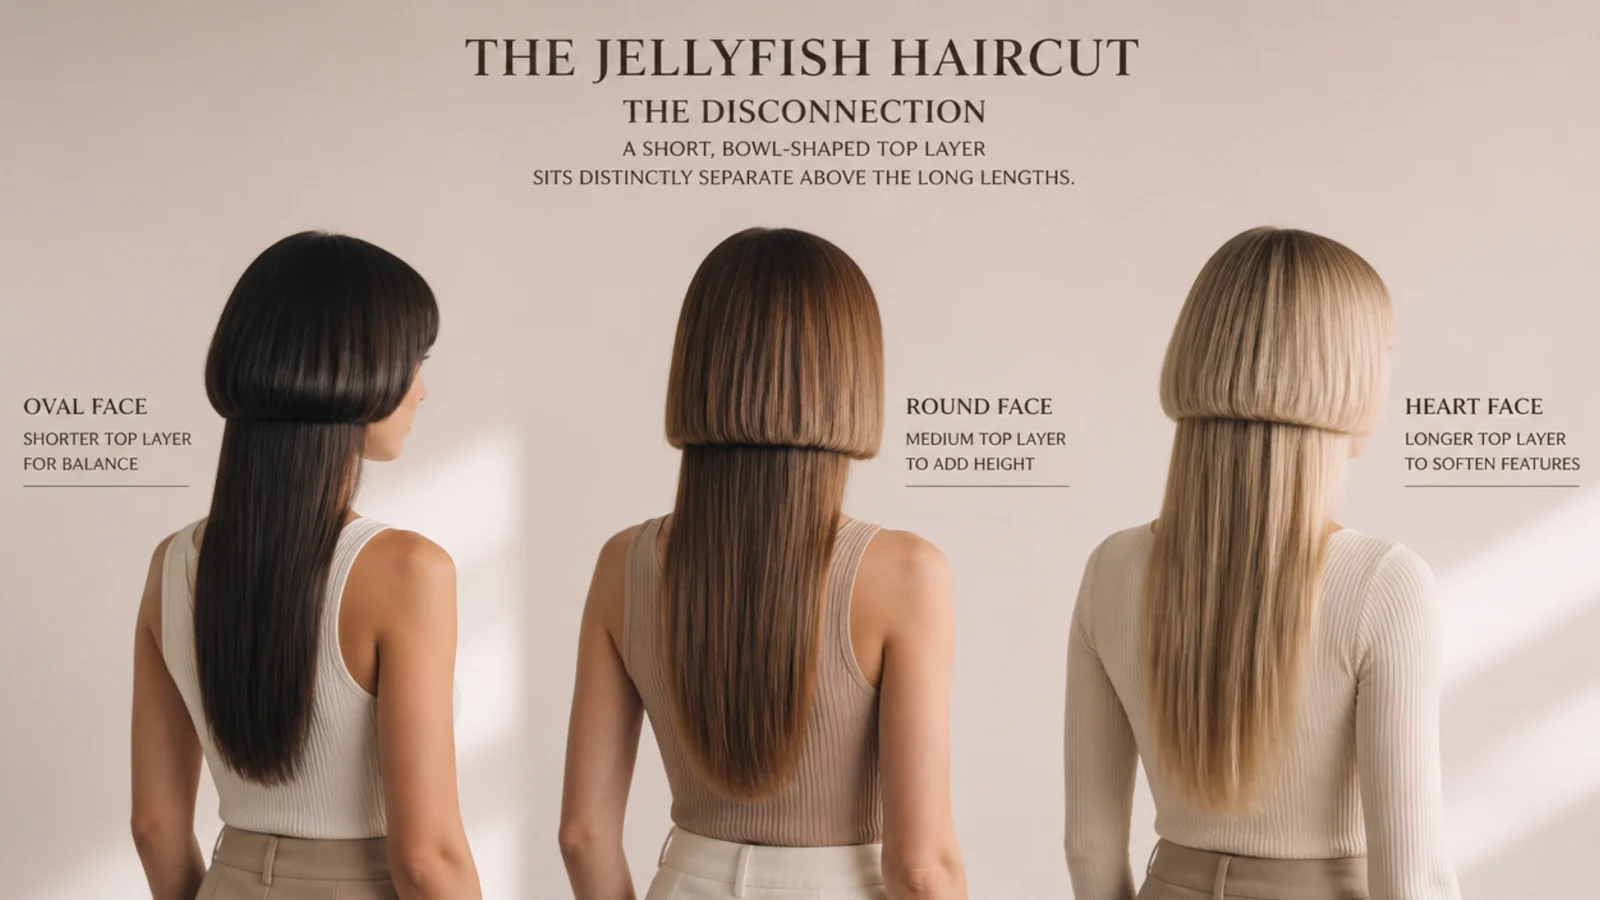
The hem is a horizontal line across your face. A blunt line pulls the eye sideways, so wherever the bell ends is where the face picks up width.
Round faces do better below the cheekbone. Dropping the hem to the jaw or chin leaves the widest part of the face uncrossed, which keeps the outline vertical.
Long faces can take a cheekbone hem. The horizontal interrupts the length of the face, and this is the one situation where a high bell genuinely helps rather than hurts.
Density decides how deep the bell section is. Fine hair needs a shallow upper tier so the lengths keep weight, because taking too much hair into the bell leaves both tiers looking thin.
Styling the Top and Bottom Layers
Different surfaces, always. Smooth above and textured below is the standard reading. Matching them collapses the two tiers into one head of hair.
The bell wants a brush and heat. It is short enough to hold a set for a full day, and its hem is the only edge anyone actually reads.
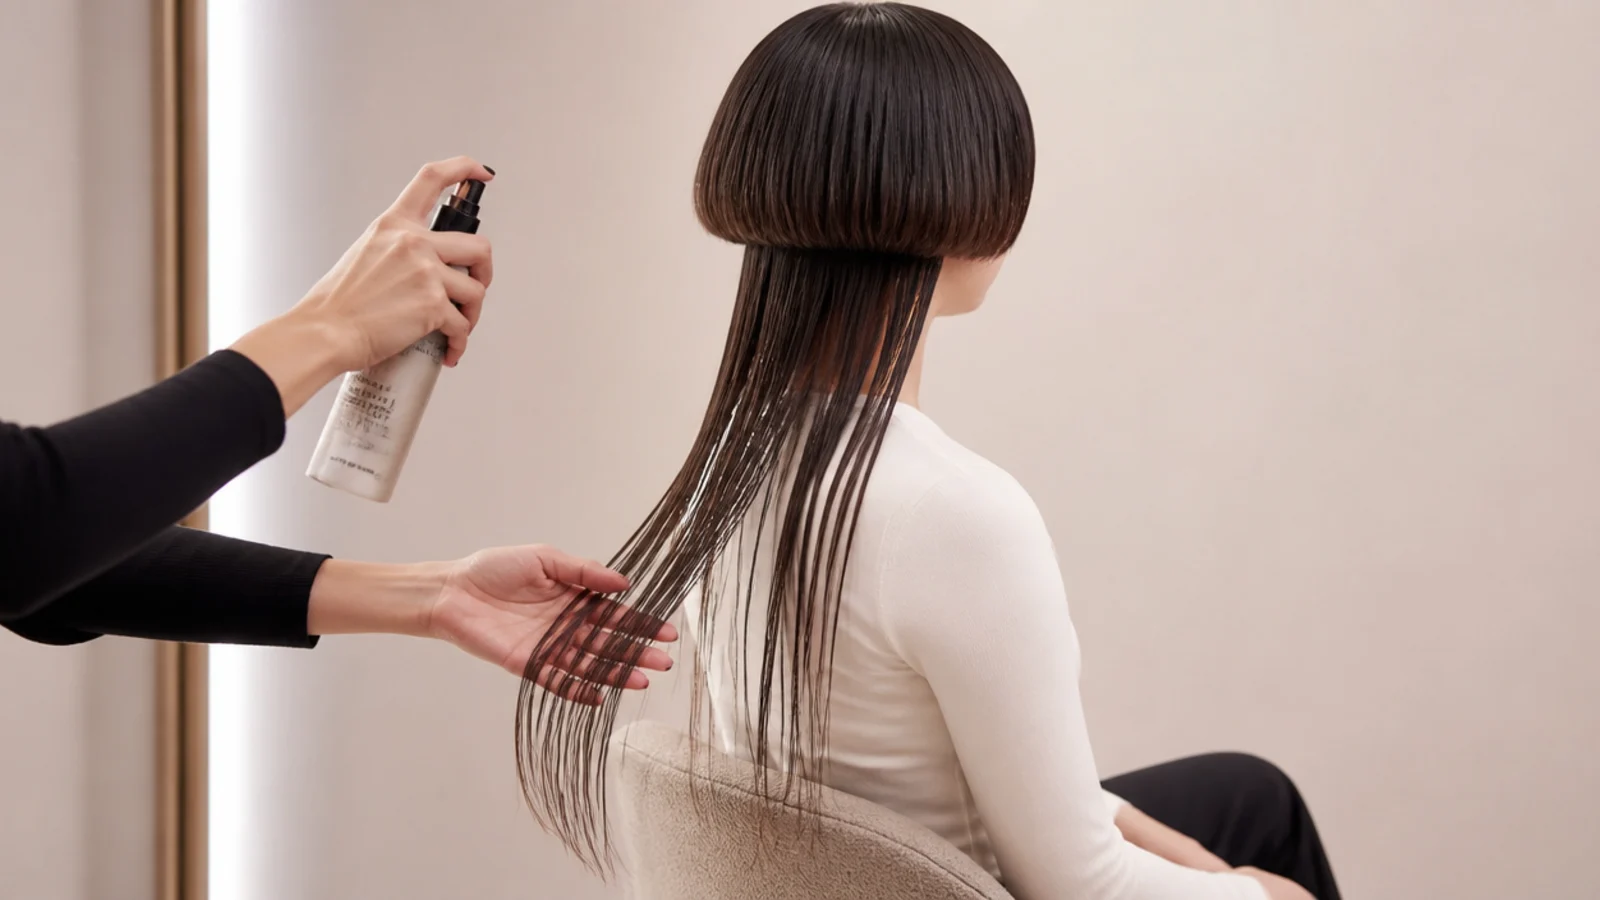
The lengths want fingers and air. Brushing them to a mirror finish removes the contrast and leaves the bell sitting on top like a hat.
Product goes in by tier. A drop of serum on the bell, texture spray in the lengths. Applied the other way round, each one cancels what the other was for.
How to Ask Your Stylist
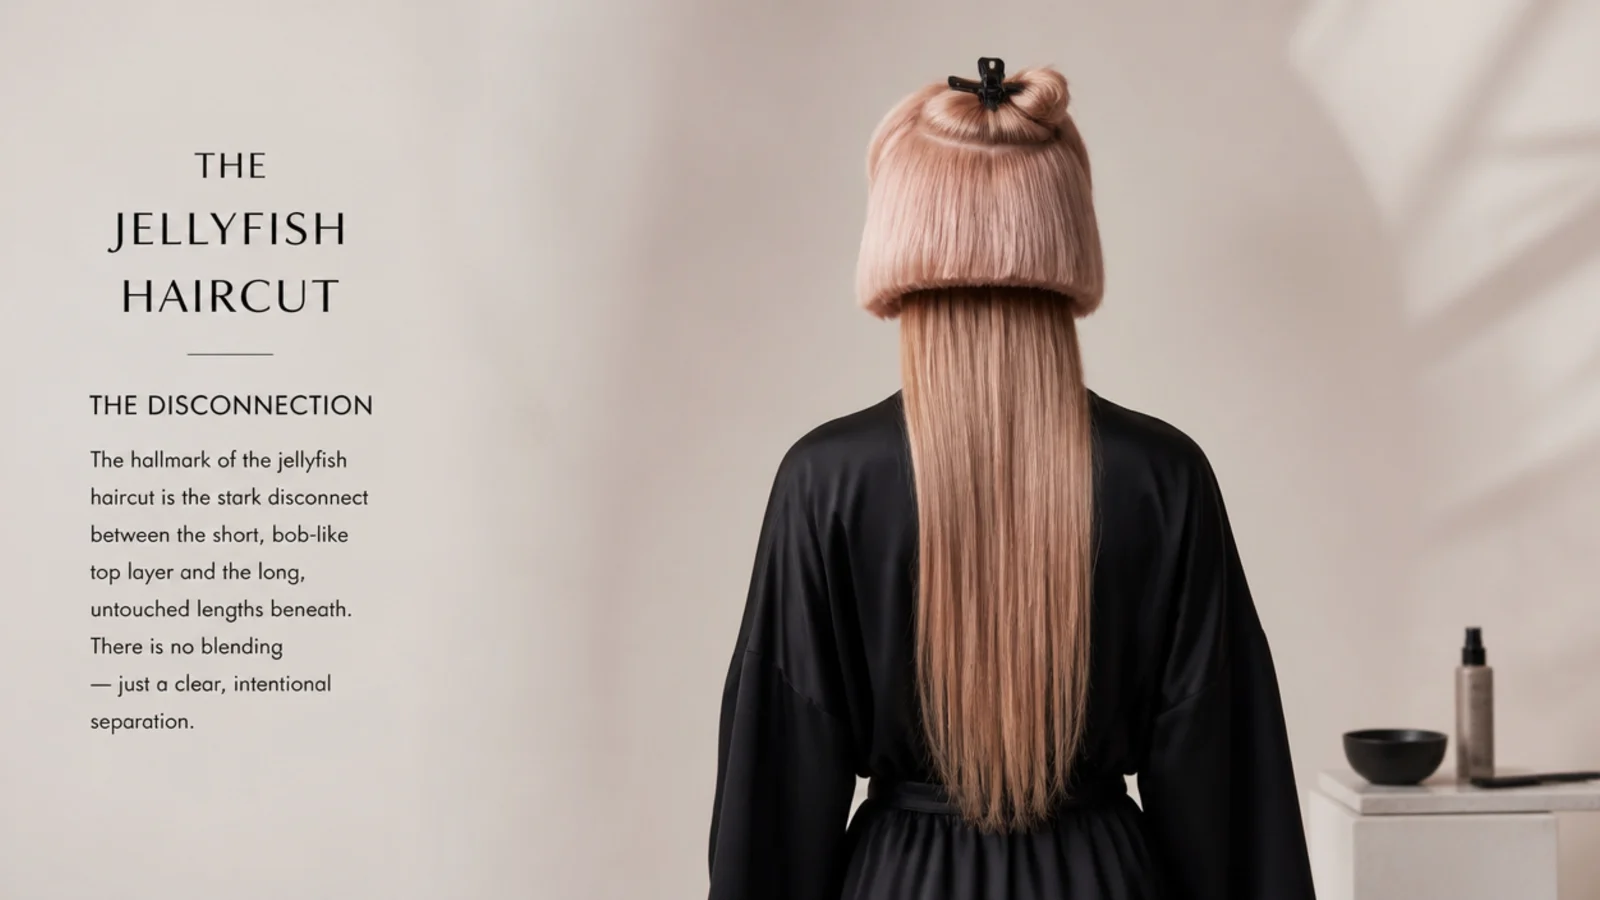
Say disconnected, and say do not blend. Those two phrases decide whether you leave with this cut or with a long layered one.
Point at where the hem should land. Cheekbone, jaw or chin, indicated with a finger against your own face. Inches land differently on every head.
Say the lengths stay untouched. Dusting the ends is fine. Layering them is not, because layers underneath close the gap from below while the bell is still in place.
Bring a photograph and point at the gap. Not at the whole picture. The distance between the two hems is the one measurement that has to be agreed before any cutting starts.

Growing Out a Jellyfish Haircut
Hair grows roughly half an inch a month. A jaw length bell reaches the collarbone in about six months, and the gap narrows the entire way there.
Month three is when it stops reading as a jellyfish. The bell has dropped around an inch and a half by then, and the step has softened into something closer to a long face framing layer.
Hem trims alone will hold it. Cutting the bell back to its original line every eight to ten weeks preserves the gap, and the lengths never need to be touched at all.
Or let it turn into a shag. Once the two hems sit within a couple of inches, one blending pass converts the cut with no awkward stage in between.
The 15 Ways to Style It
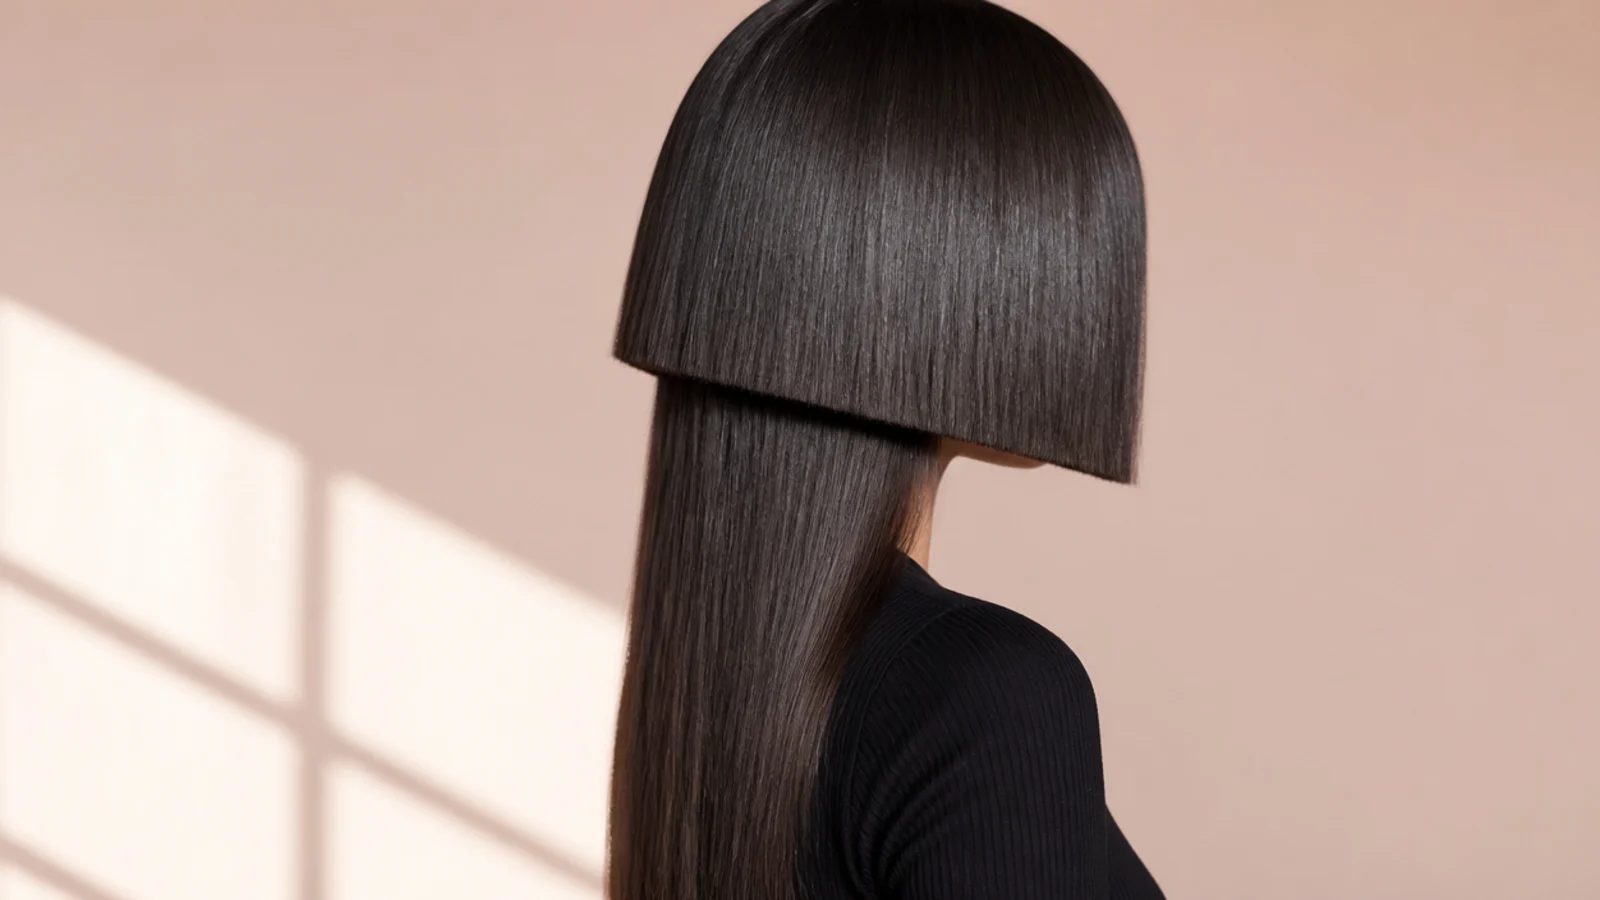
1. Sleek Straight Bell
Ironing the upper tier to a single flat plane is what turns the hem into a drawn line rather than a soft edge. A flat cuticle reflects light in one direction, so the boundary between the two tiers gains contrast with no colour involved at all.
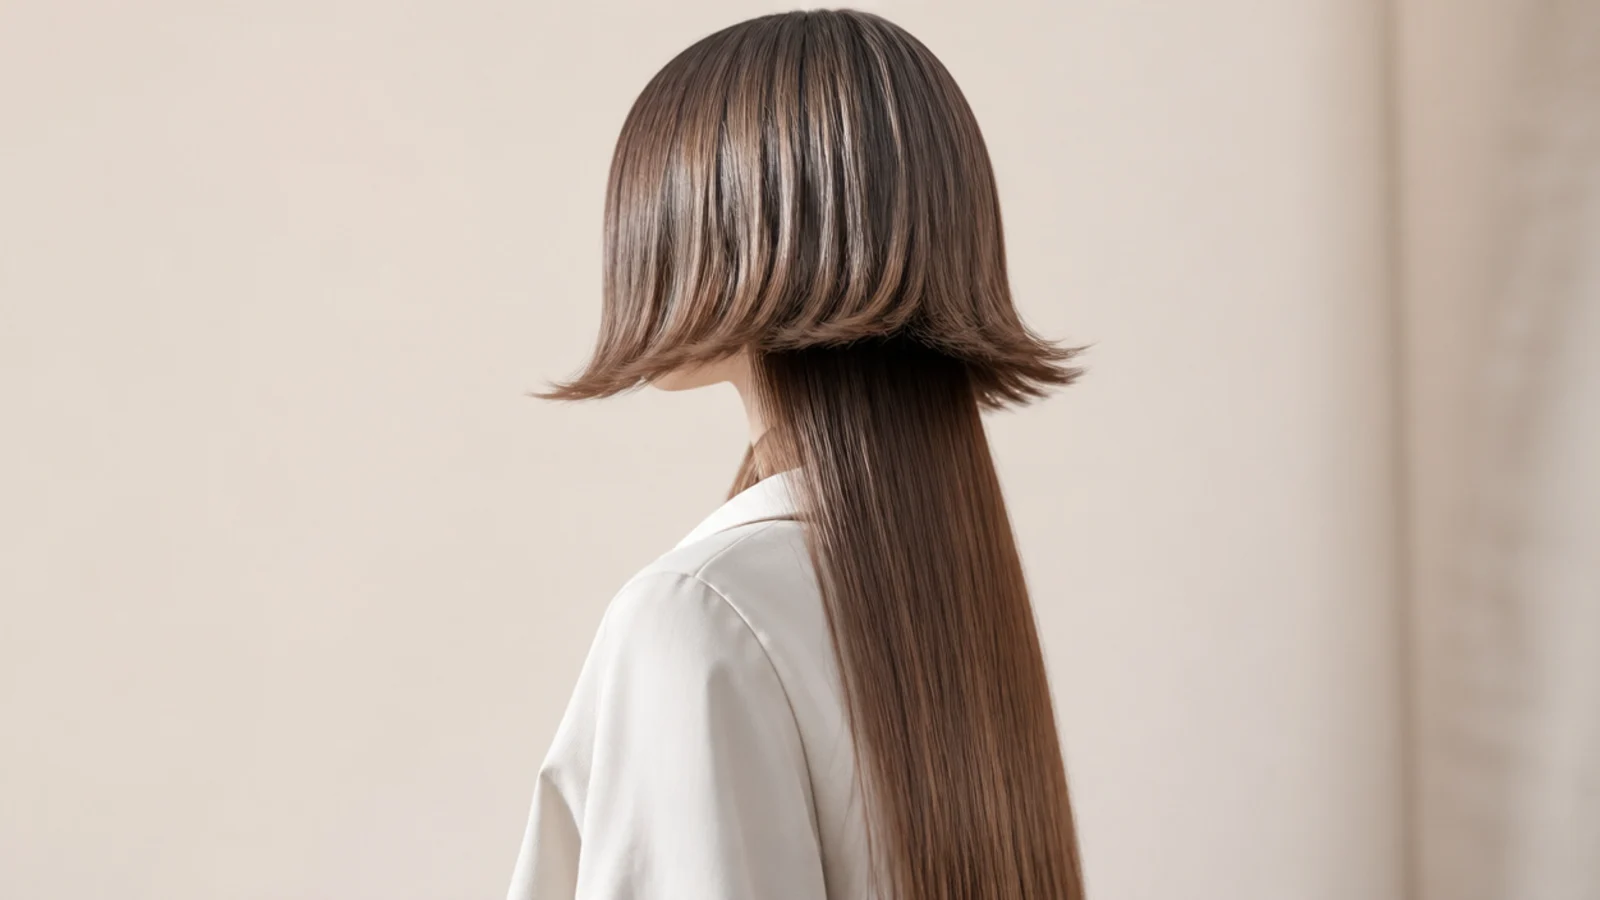
2. Flipped C Curve
The ends are turned outward in a shallow C so the hem lifts away from the hair beneath it. That gap is the trick — an outward flick puts air between the two tiers, which stops the bell sinking visually into the lengths below.
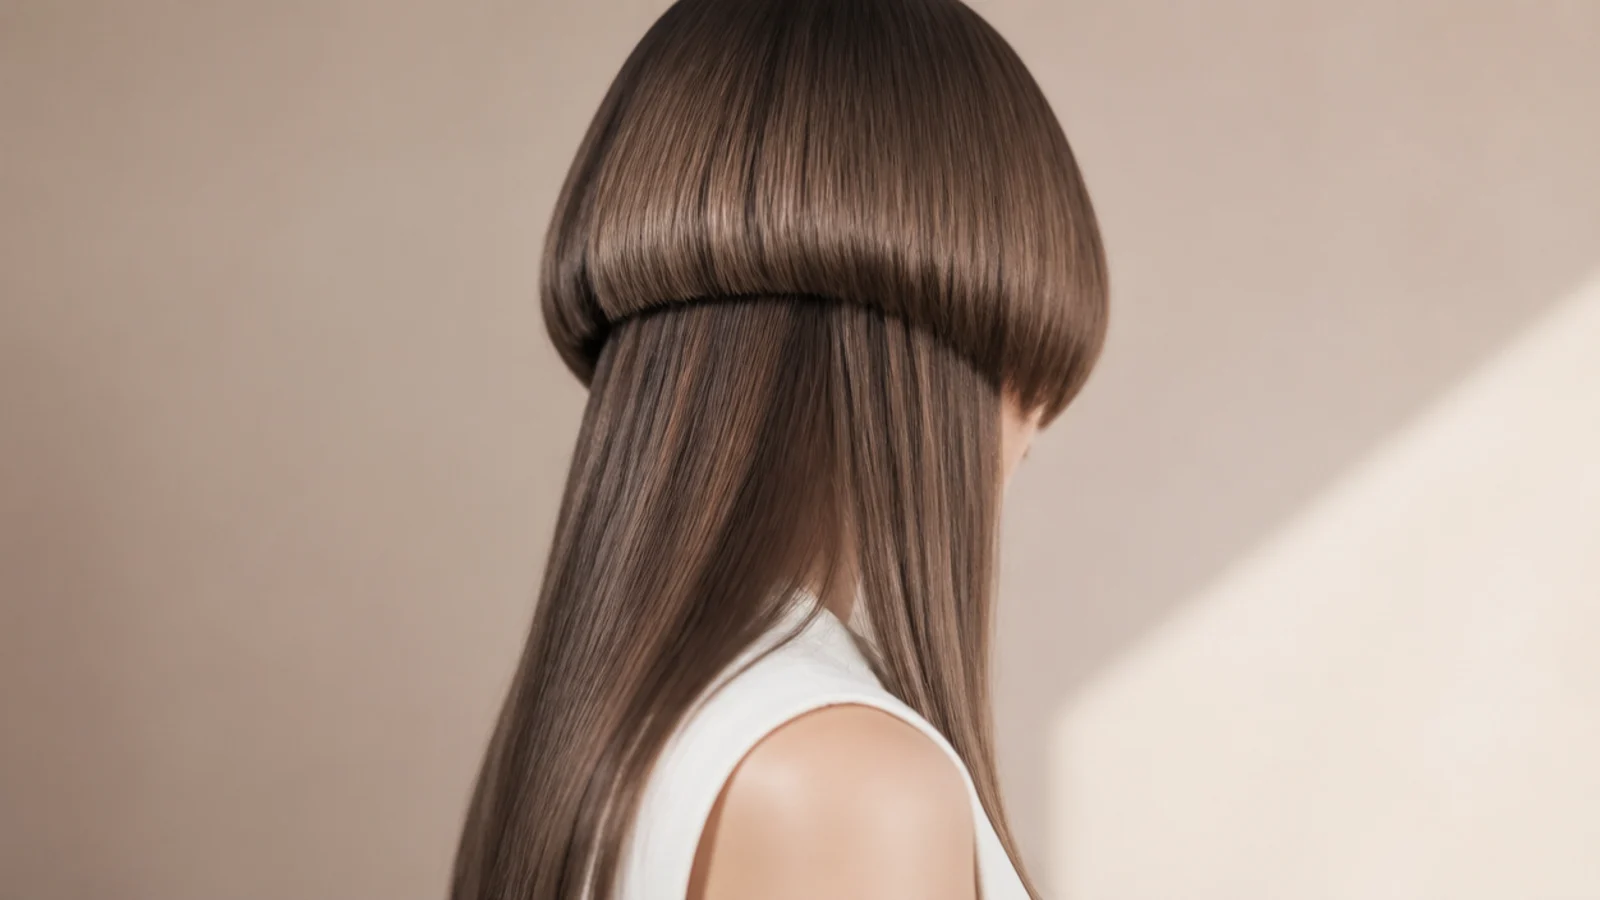
3. Inward Bowl Bell
Turning the ends under closes the shape into a solid dome and hides every cut end inside it. It reads heavier than the flipped version because a curve bending toward the head shortens the visible outline, so the bell looks denser than it measures.
4. Beach Waves Through the Lengths
Waving only the hair below the hem gives the two tiers different textures, which is the cheapest way to make the disconnection look deliberate. Leave the bell smooth, because waving both tiers merges them visually and the cut stops reading as two separate pieces.
5. Heatless Braid Waves
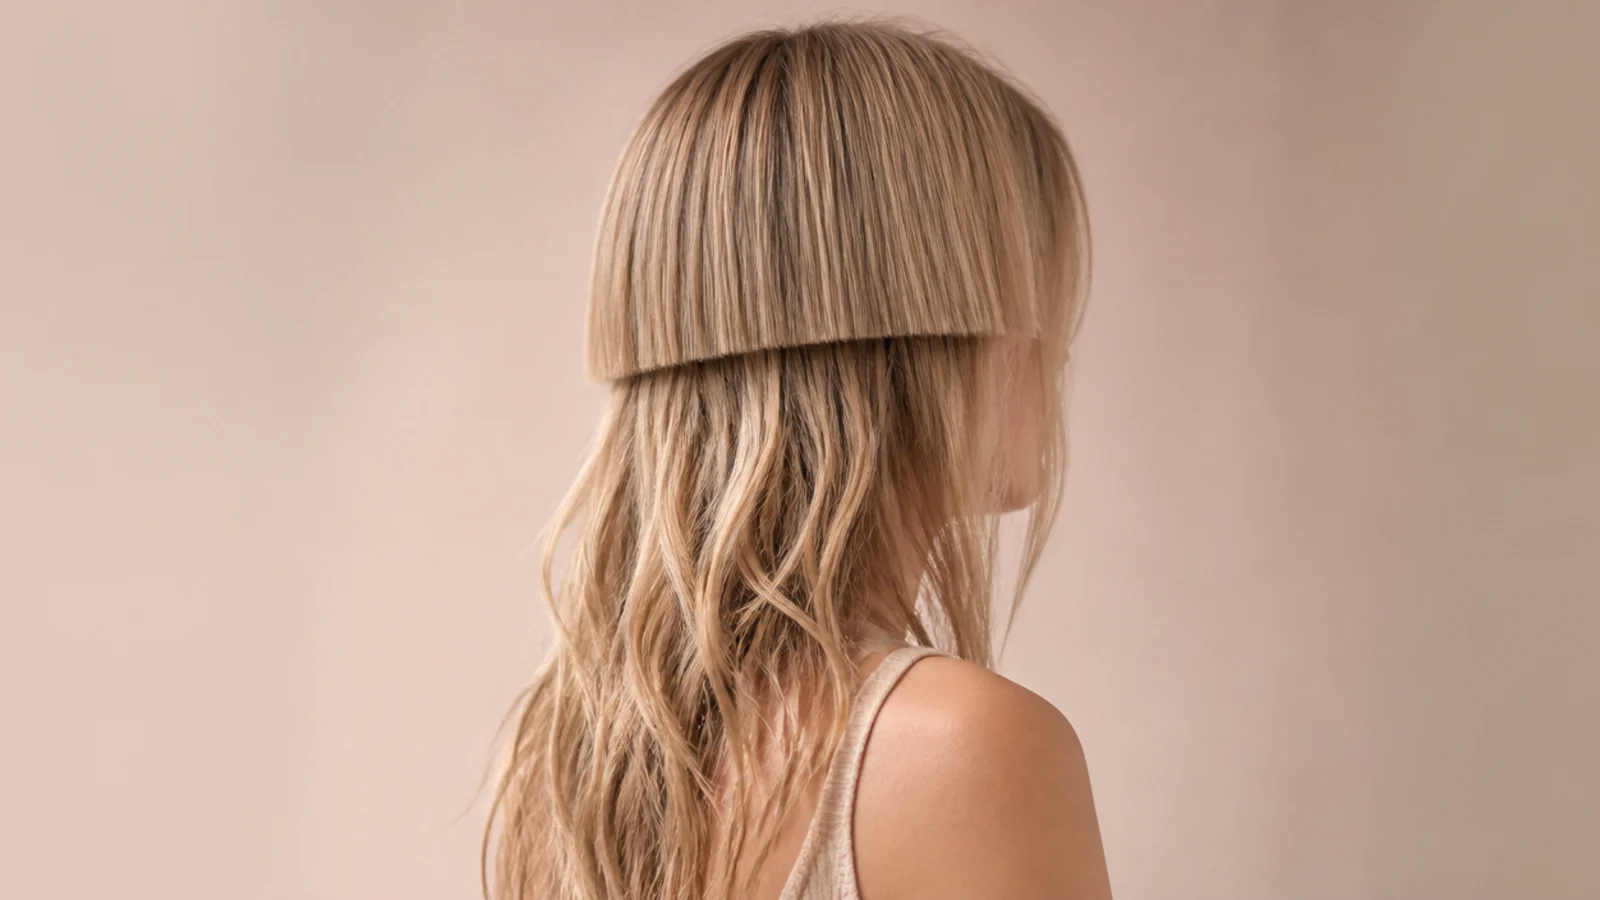
Braiding the lengths damp and sleeping on them sets a wave without heat, because hydrogen bonds reform in whatever shape the hair dries in. Start the braid below the hem, or the short tier picks up a kink it has no length to grow out of.
6. Half Up Bun
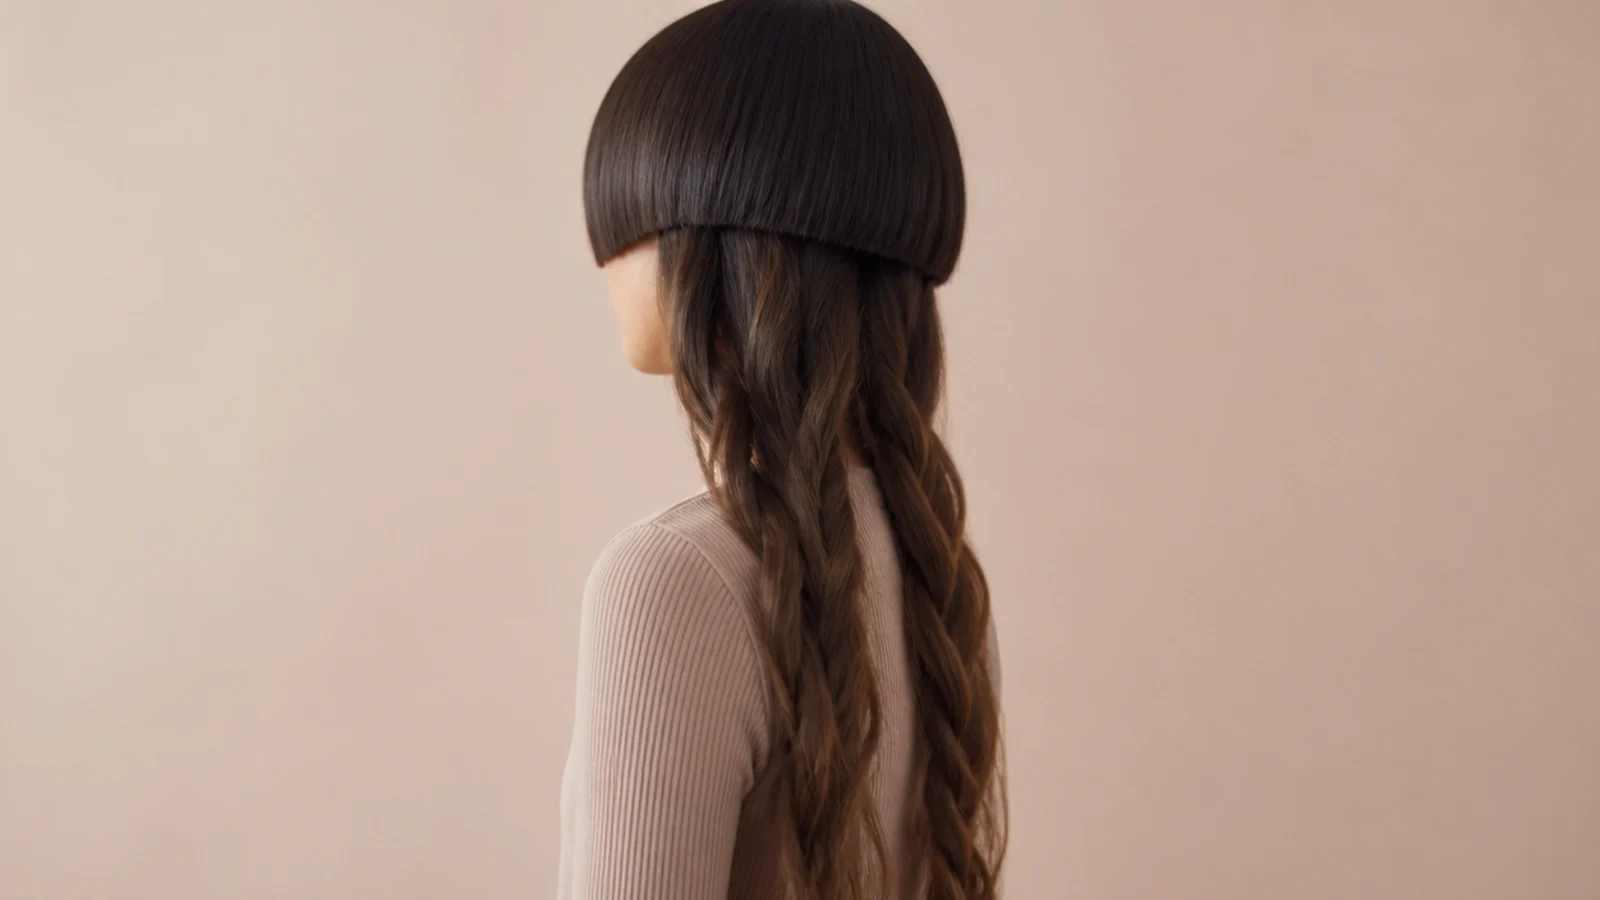
The bell is already a separate section, so a half up bun works with the cut rather than against it. Gathering the upper tier leaves the long lengths hanging clean, and the short pieces that slip out at the front read as intentional face framing.
7. Low Ponytail Under the Bell
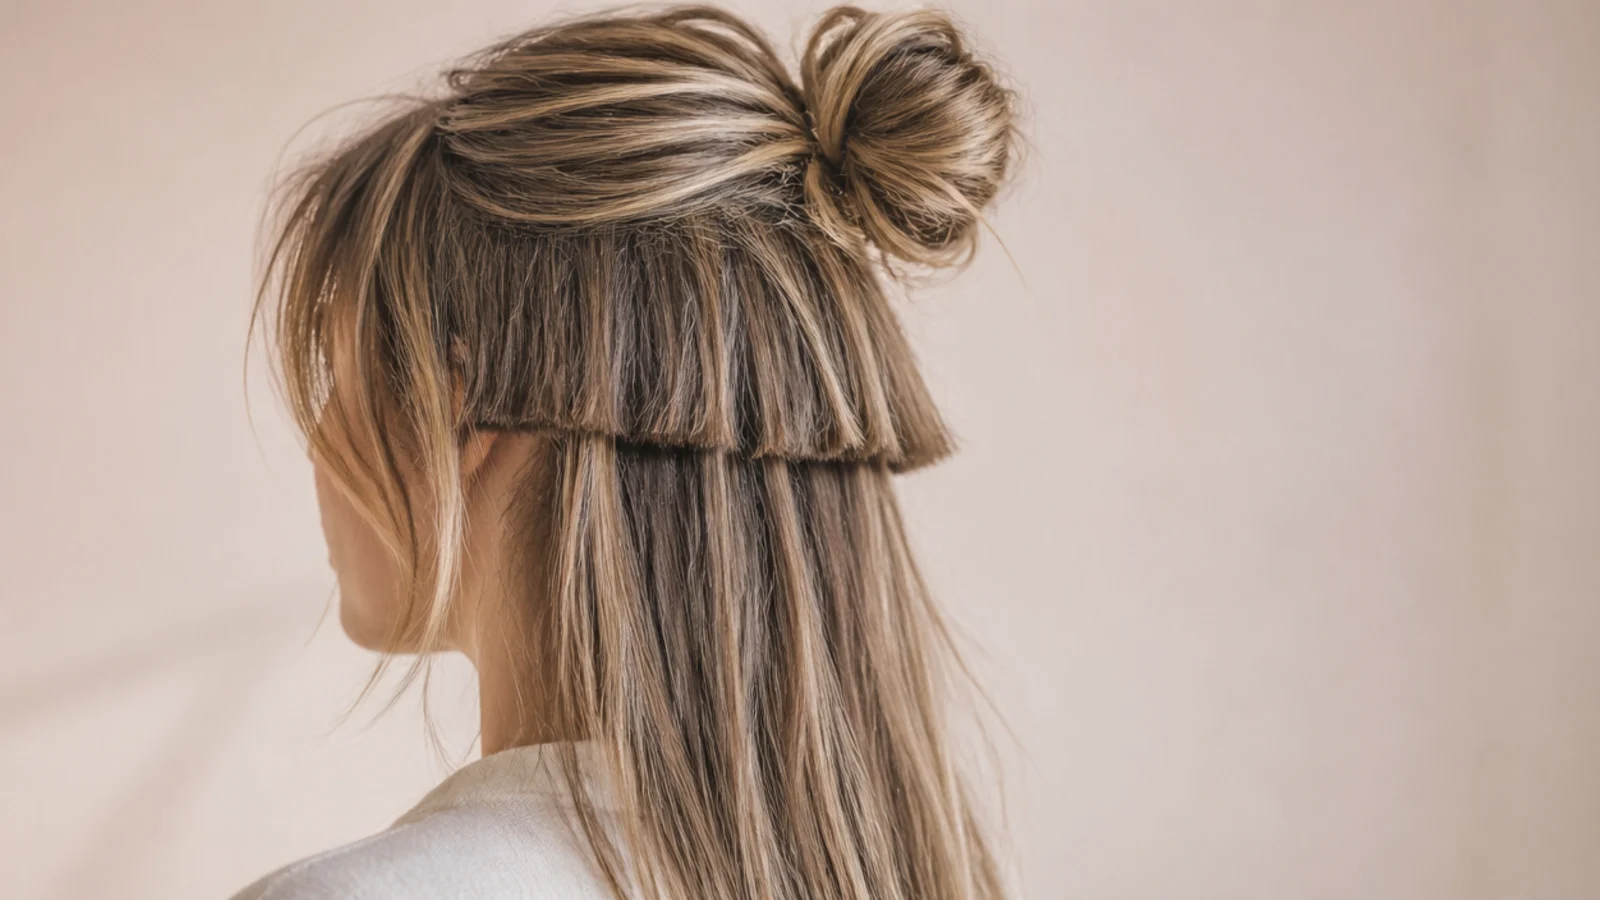
Gathering only the long tier at the nape and leaving the bell out solves the ponytail problem before it starts. The short layer cannot reach an elastic anyway, so excluding it deliberately turns escaping hair into a frame around the face.
8. Dutch Braids in the Lengths
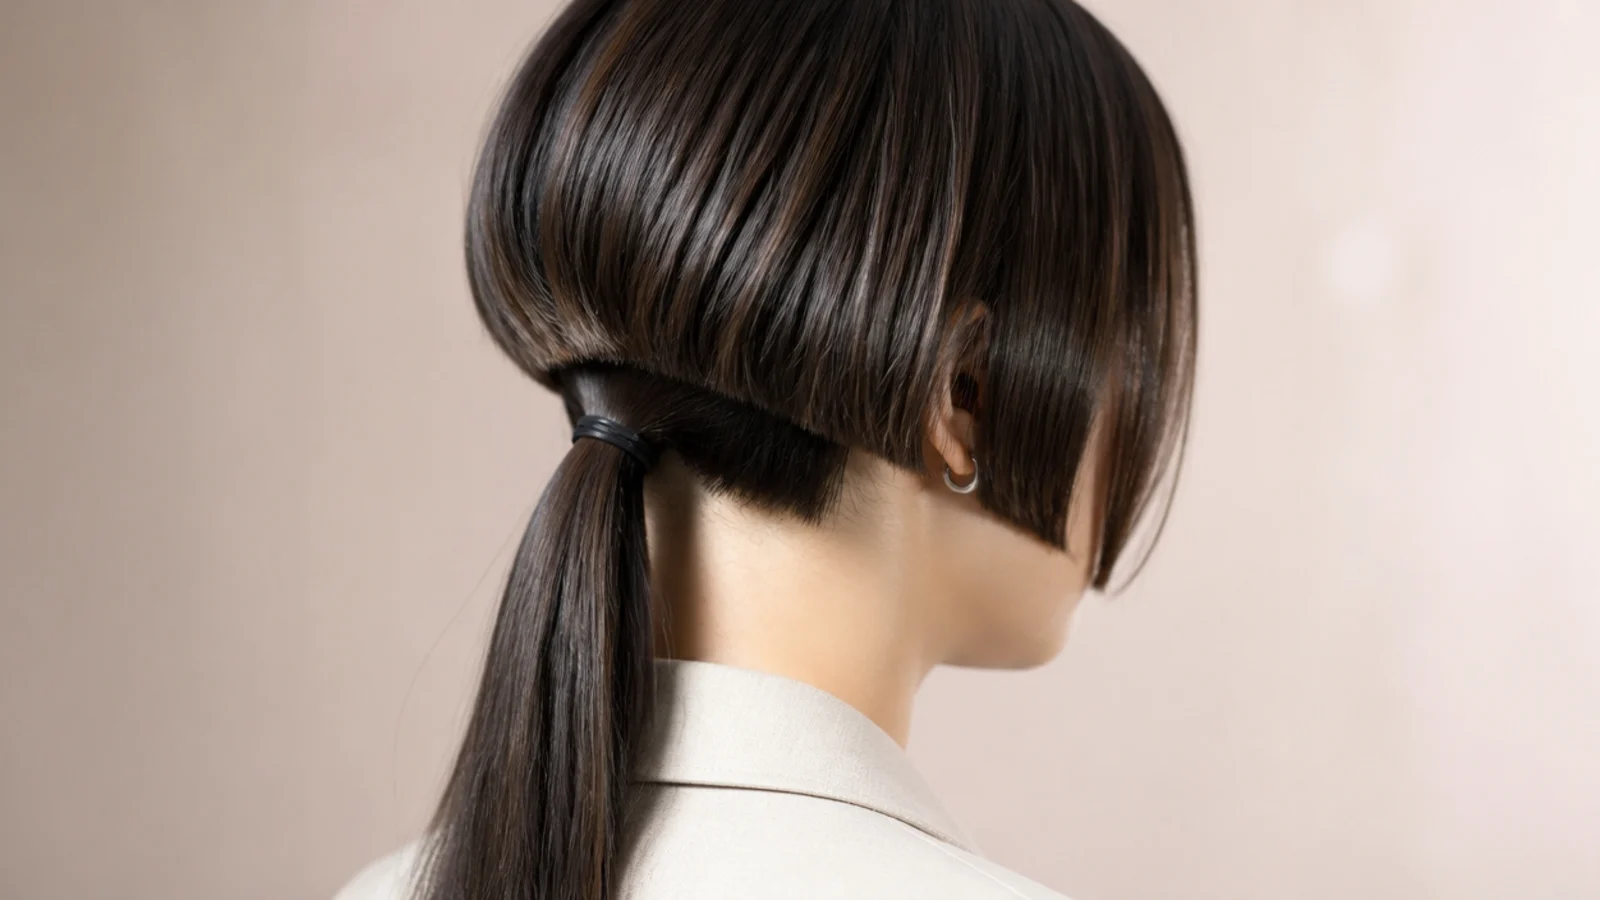
Two Dutch braids taken from below the hem keep the long tier controlled while the bell stays loose above them. Braiding from higher up instead pulls short pieces in and straight back out all day, because there is no length there to hold a crossover.
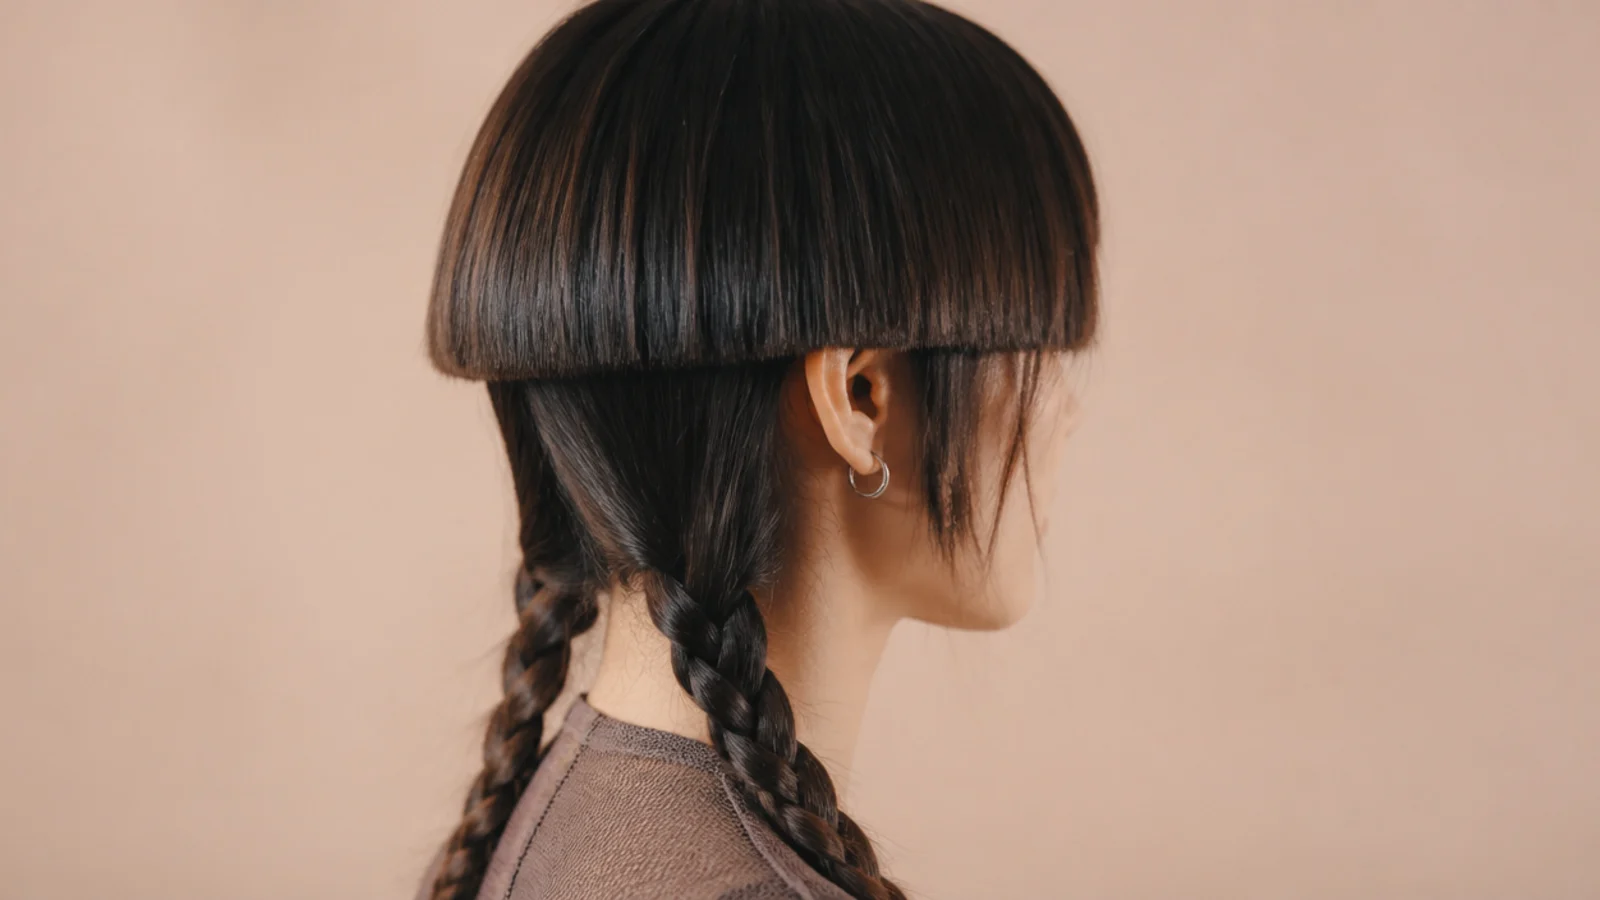
9. Wet Look Bell
Gel worked through the upper tier only sets it into one glossy surface and pins the hem exactly where the cut put it. The contrast against dry matte lengths underneath is stronger than anything curl or colour can produce on a shape like this.
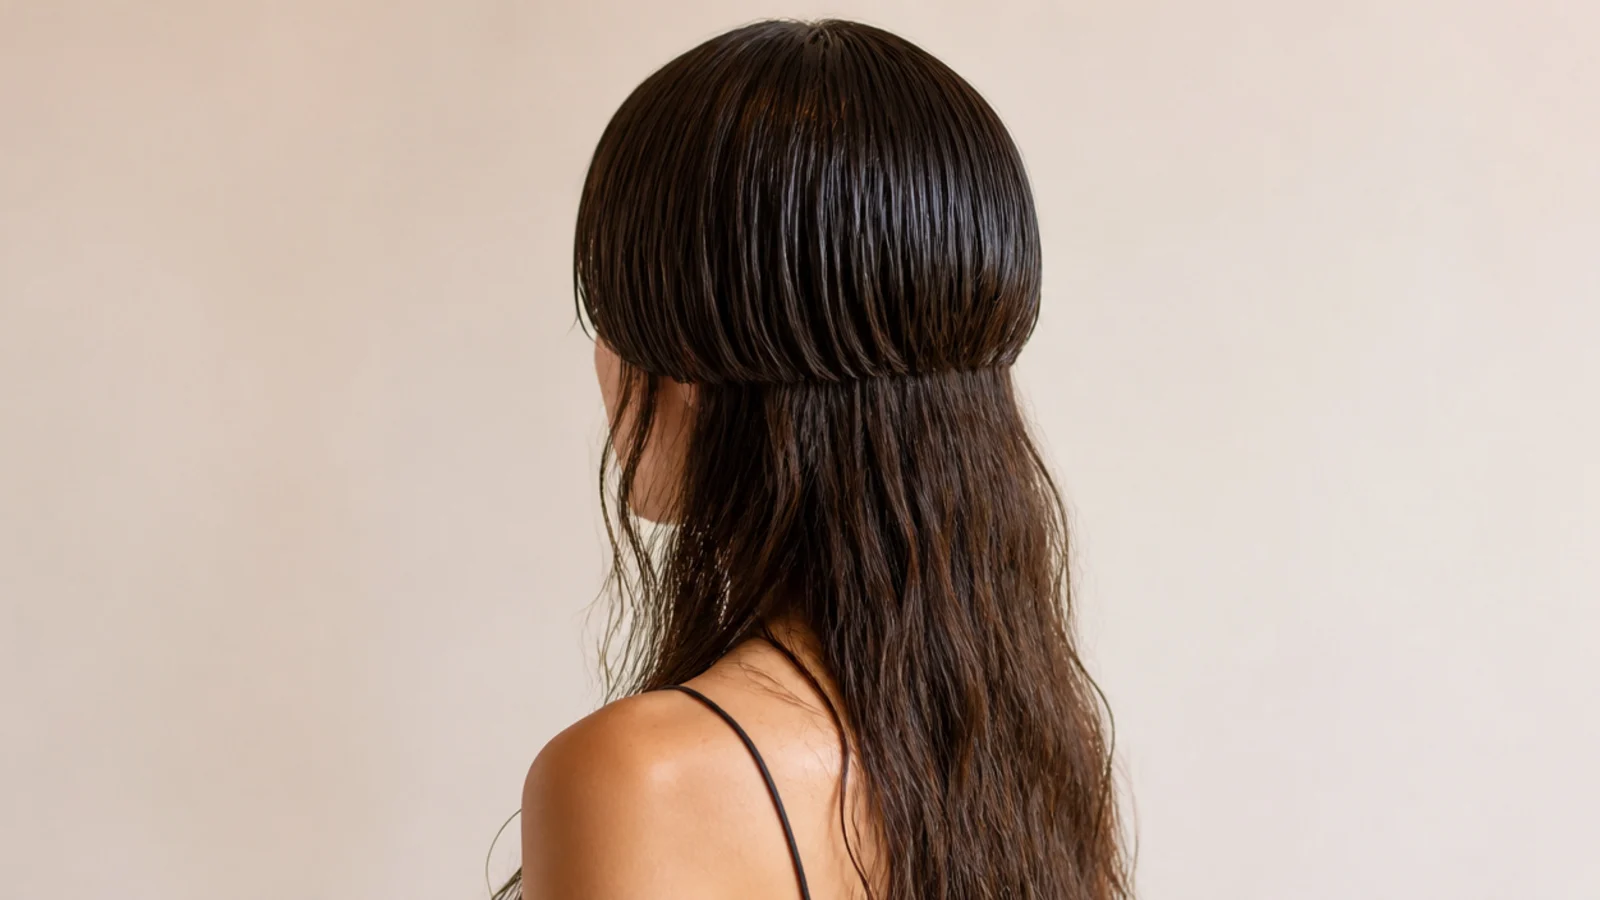
10. Tucked Behind the Ears
Tucking the bell exposes the full run of the hem line and shows exactly how level the cut is. It is the most honest presentation of the shape, which makes it flattering in precise proportion to how carefully the perimeter was cut.
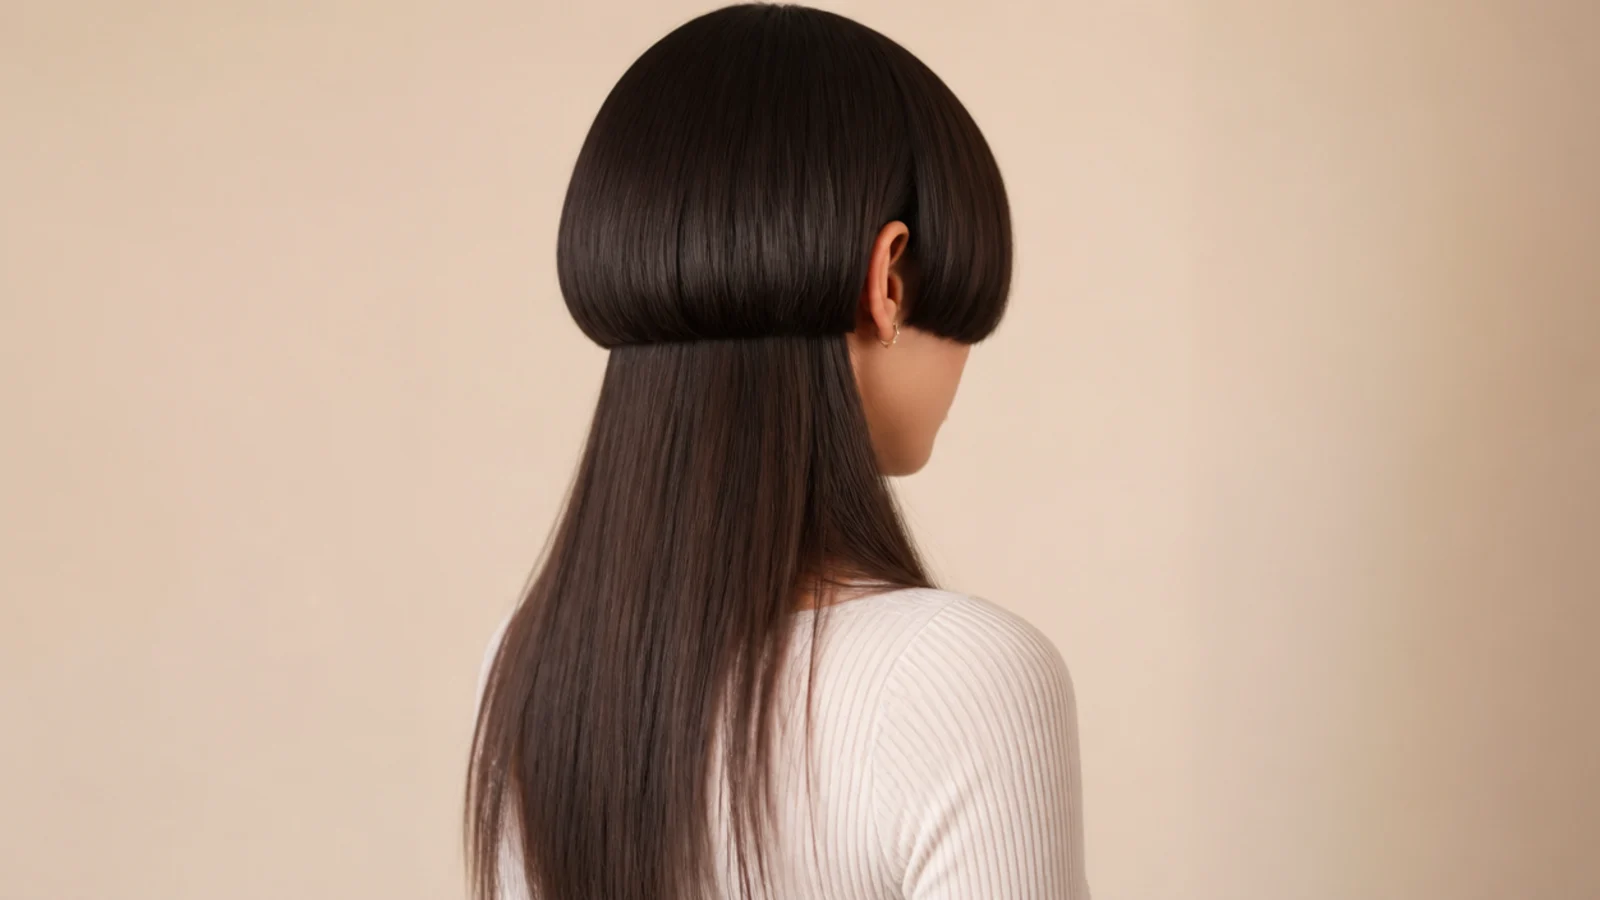
11. Round Brush Blowout
A round brush bends the hair over a heated barrel, and the shape locks as the section cools rather than while it heats. Hold the brush still at the hem for several seconds after the dryer stops and the curve keeps its position all day.
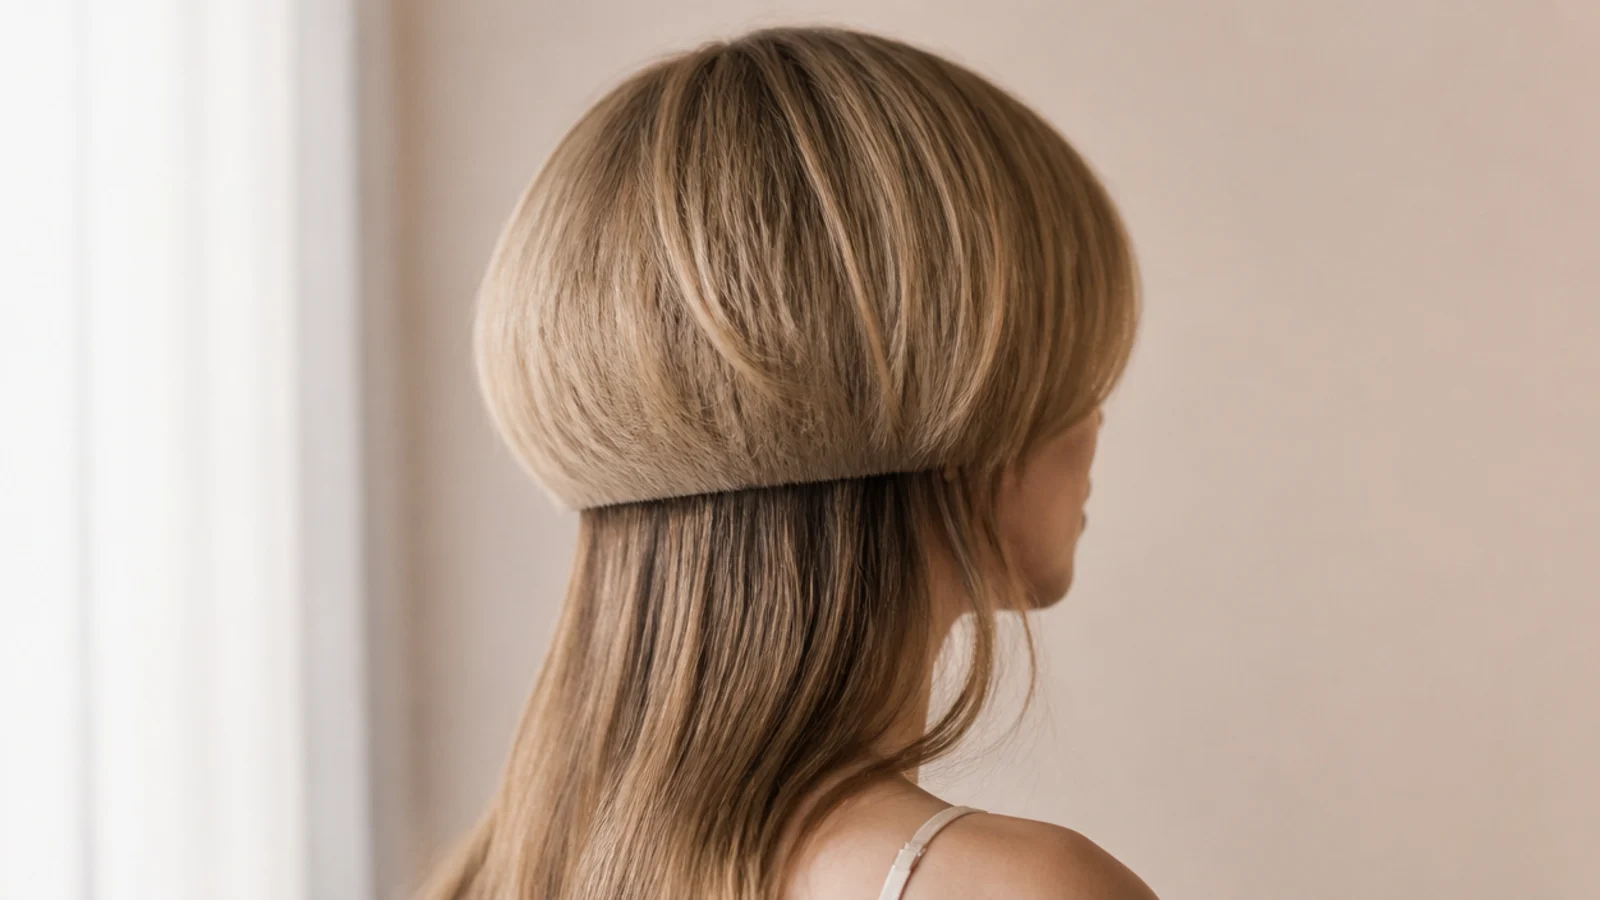
12. Curtain Flick on the Bell
The two front pieces are turned away from the face while the rest of the hem stays under, so the outline opens at the cheekbones. That one directional change breaks the closed bowl and stops the shape reading as a helmet.
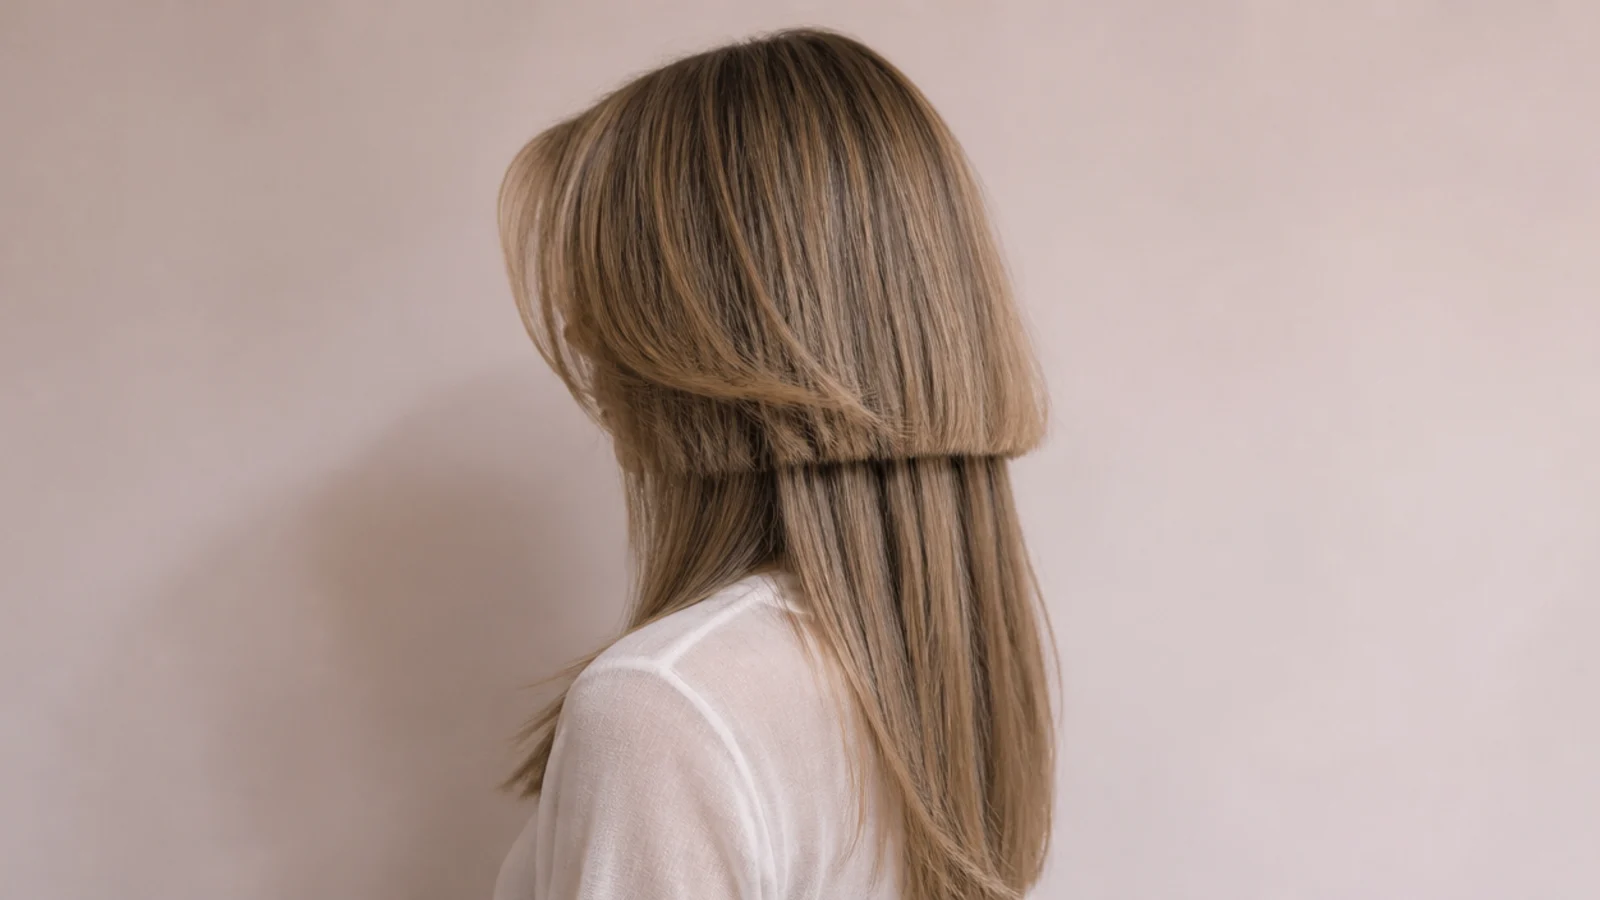
13. Deep Side Part
Moving the part off centre drops more of the bell onto one side, which converts a level hem into a diagonal across the face. That asymmetry gives a round face a long line to follow and costs nothing beyond a comb.
14. Claw Clip Twist
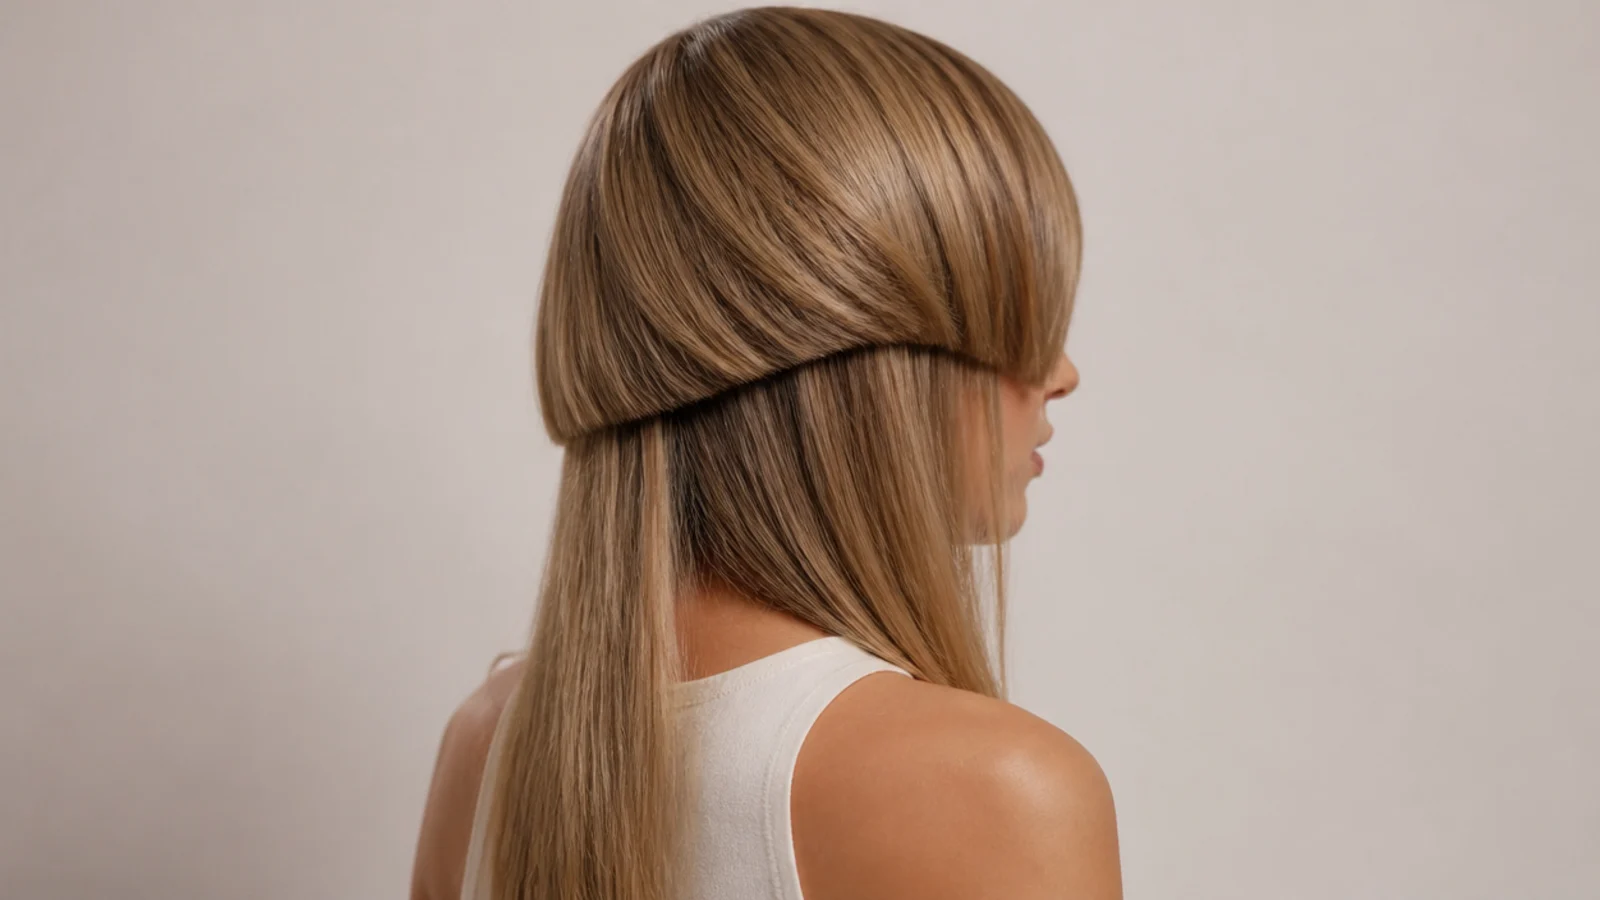
Twisting the long tier up into a clip and leaving the bell down makes the cut look genuinely short from the front. The tiers are already separated, so the clip only has to hold one of them and the grip does not slip.
15. Second Day Texture
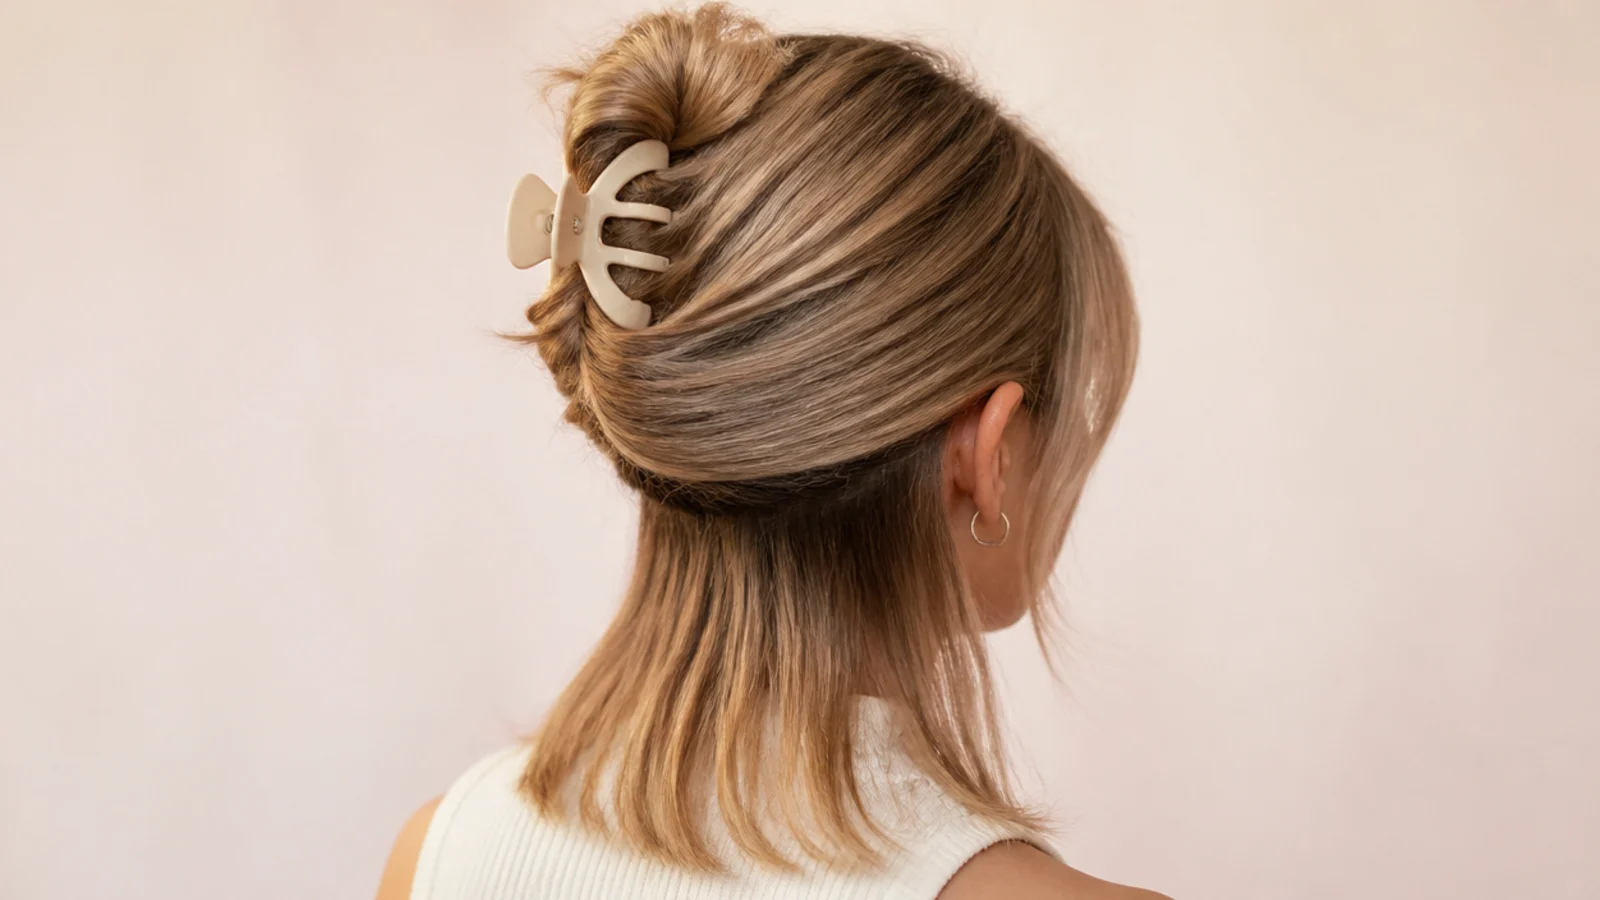
Day two is when the bell has softened enough to sit closer to the head and the lengths have picked up a bend of their own. Refresh only the hem with damp fingers, since rewetting the whole bell removes the shape and puts you back at the dryer.

How to Blow Dry a Jellyfish Haircut
Step 1. Prep on Damp Hair
Start at roughly eighty percent dry rather than soaking. A round brush cannot grip waterlogged hair and a fully dry section has already set, so the workable window sits between those two states. Work heat protectant through both tiers before anything hot goes near them.
Step 2. Section the Bell
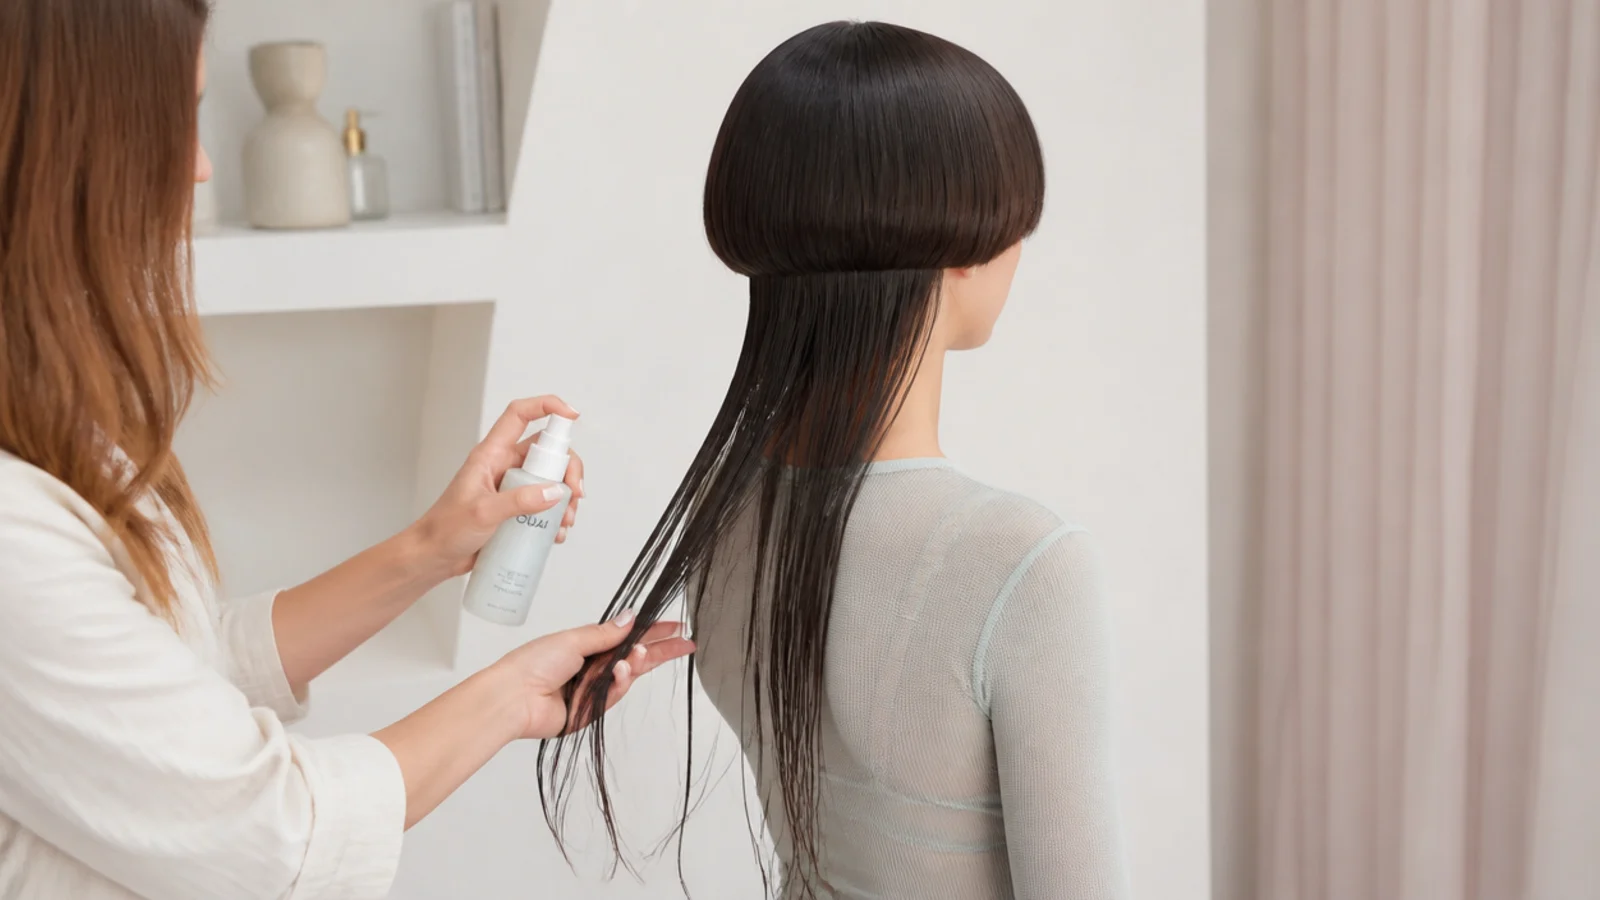
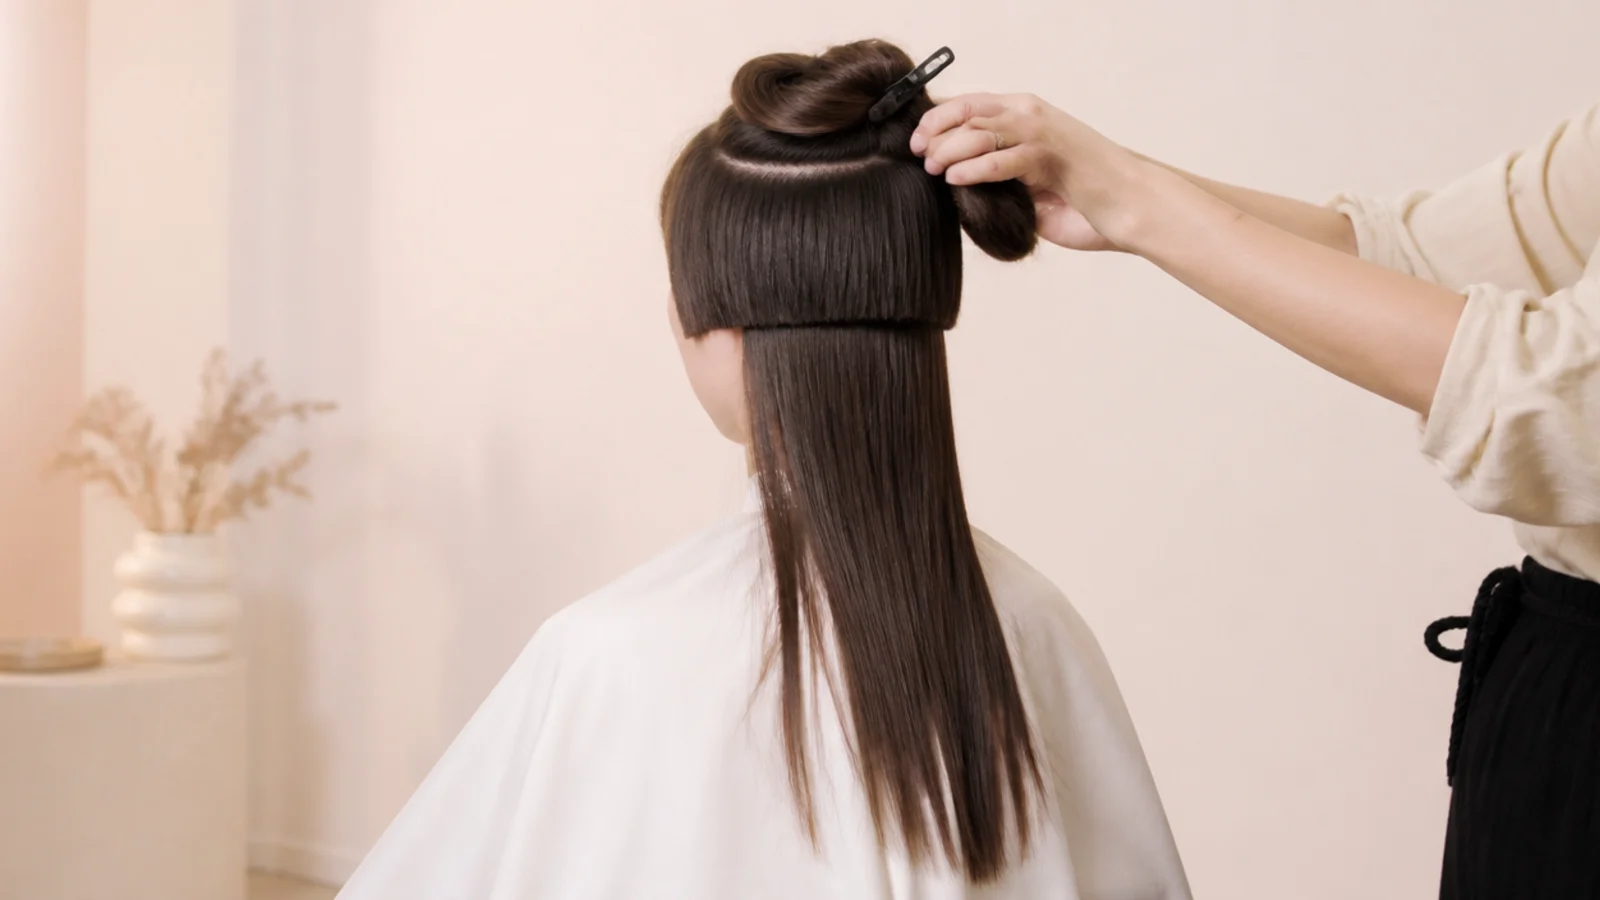
Clip the upper tier away along the same line the stylist cut it. The two tiers dry at very different rates because one is far shorter, so drying them together leaves the bell overworked while the lengths are still wet.
Step 3. Rough Dry the Lengths
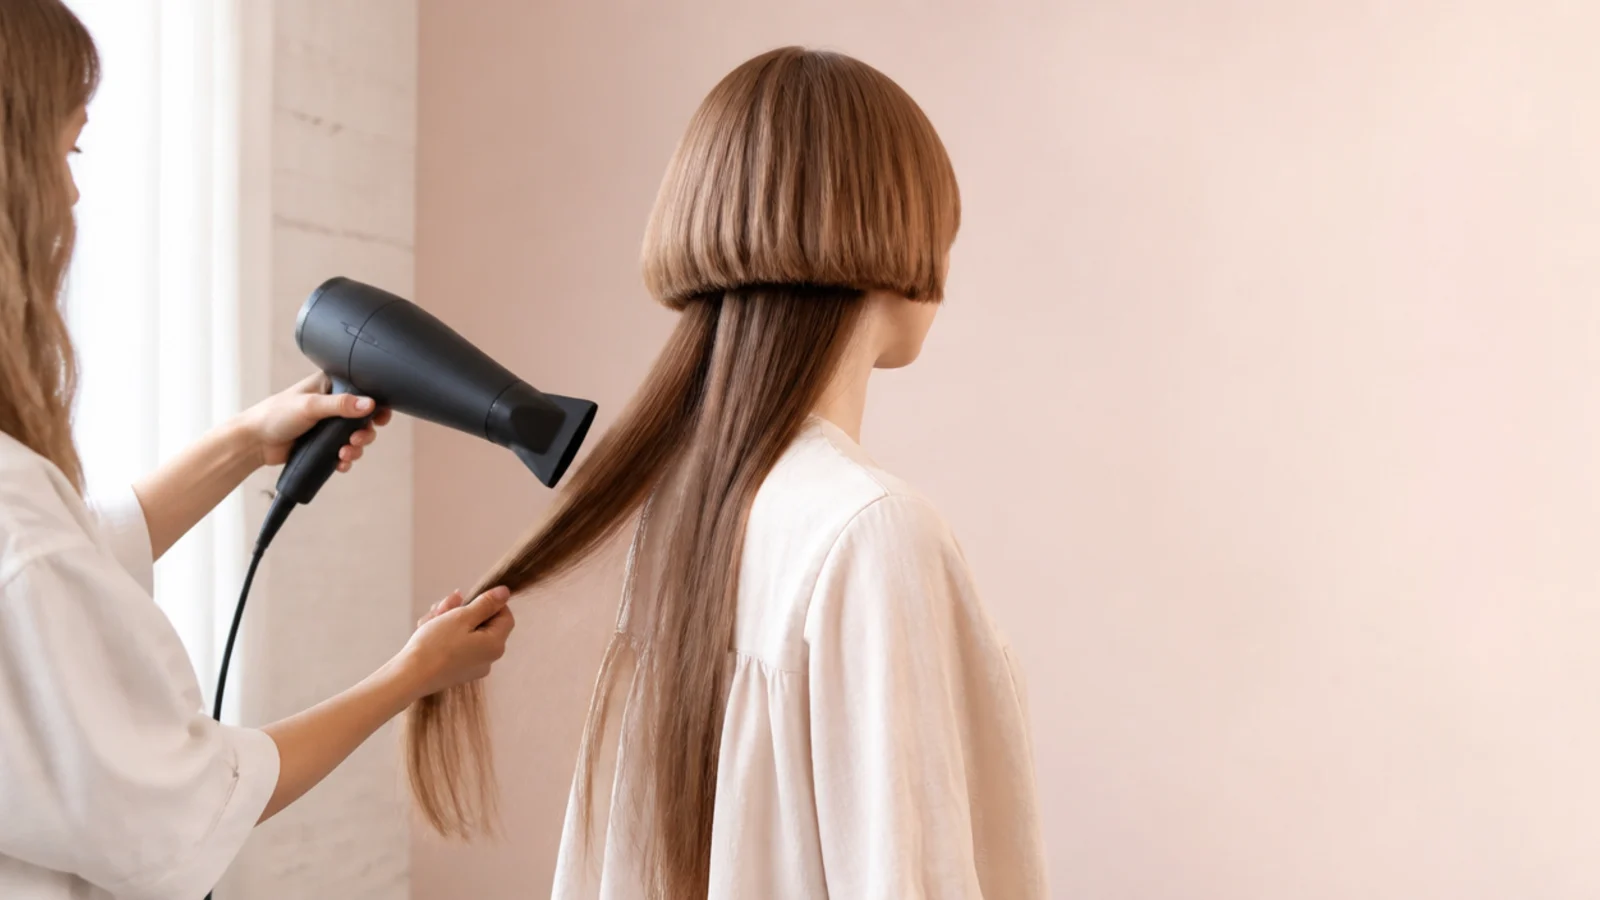
Take the long tier down first and dry it with fingers rather than a brush, aiming the nozzle down the shaft. Fingers leave the texture that will contrast with the smooth bell, and downward airflow keeps the cuticle lying flat while it happens.
Step 4. Round Brush the Bell
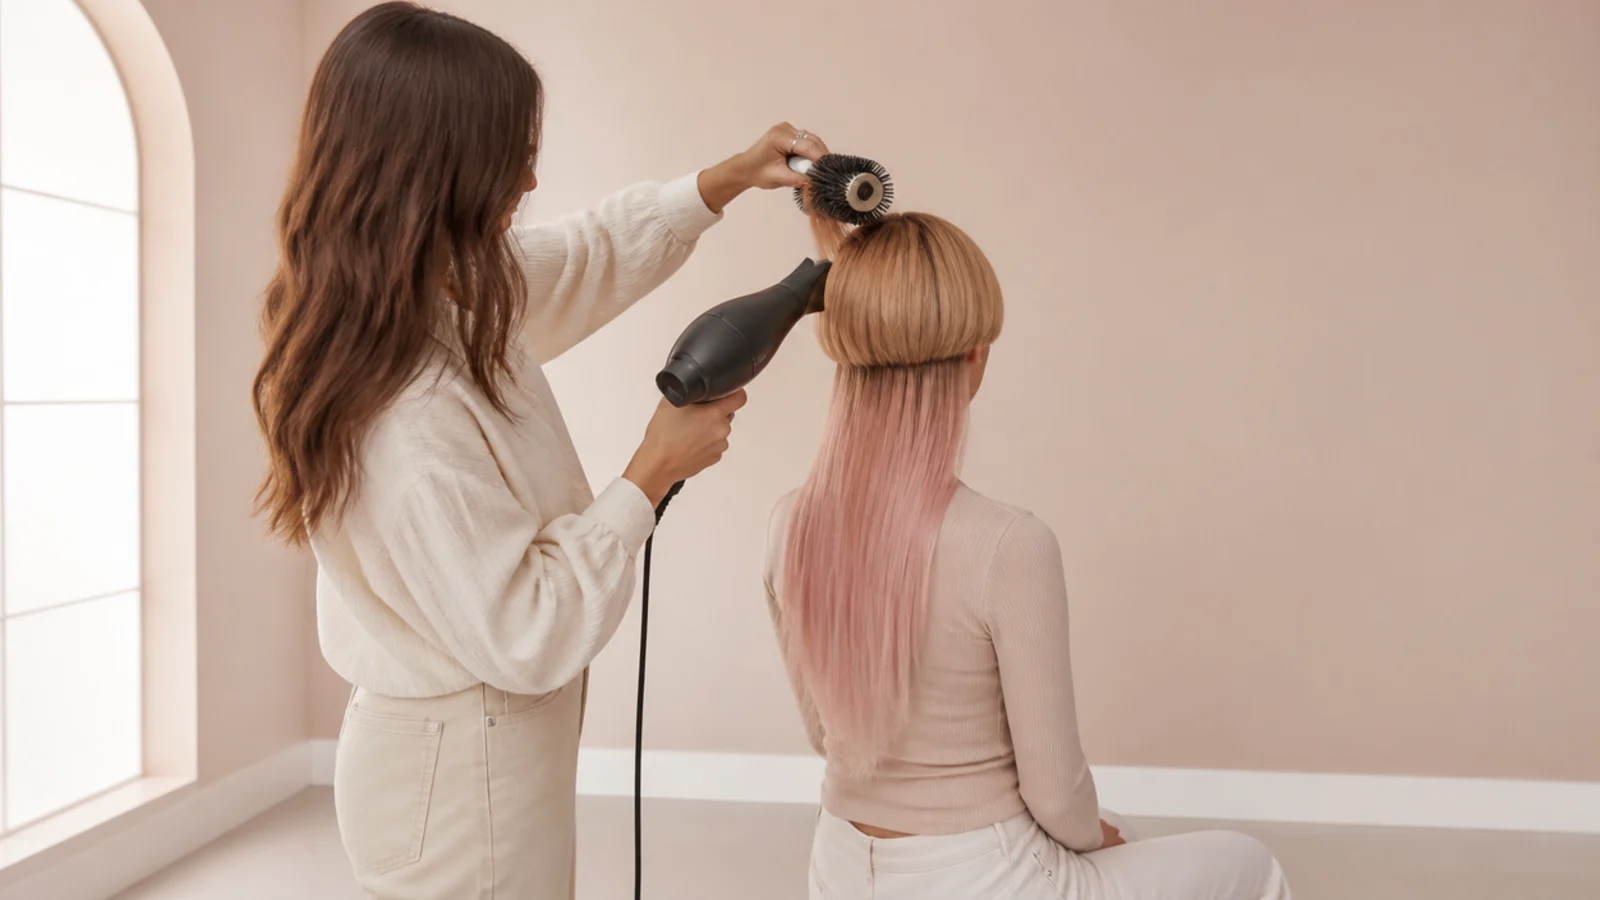
Release the upper tier and work in sections no wider than the brush itself. A section wider than the barrel only touches the bristles in the middle, so the outer ends dry unbent and the hem finishes uneven however long you spend on it.
Step 5. Shape the Ends
Decide the hem direction now and commit to it across the whole bell. Under, out, or split at the front are all correct choices, but mixing two of them along one hem is what makes a jellyfish cut look grown out rather than styled.
Step 6. Texture and Smooth
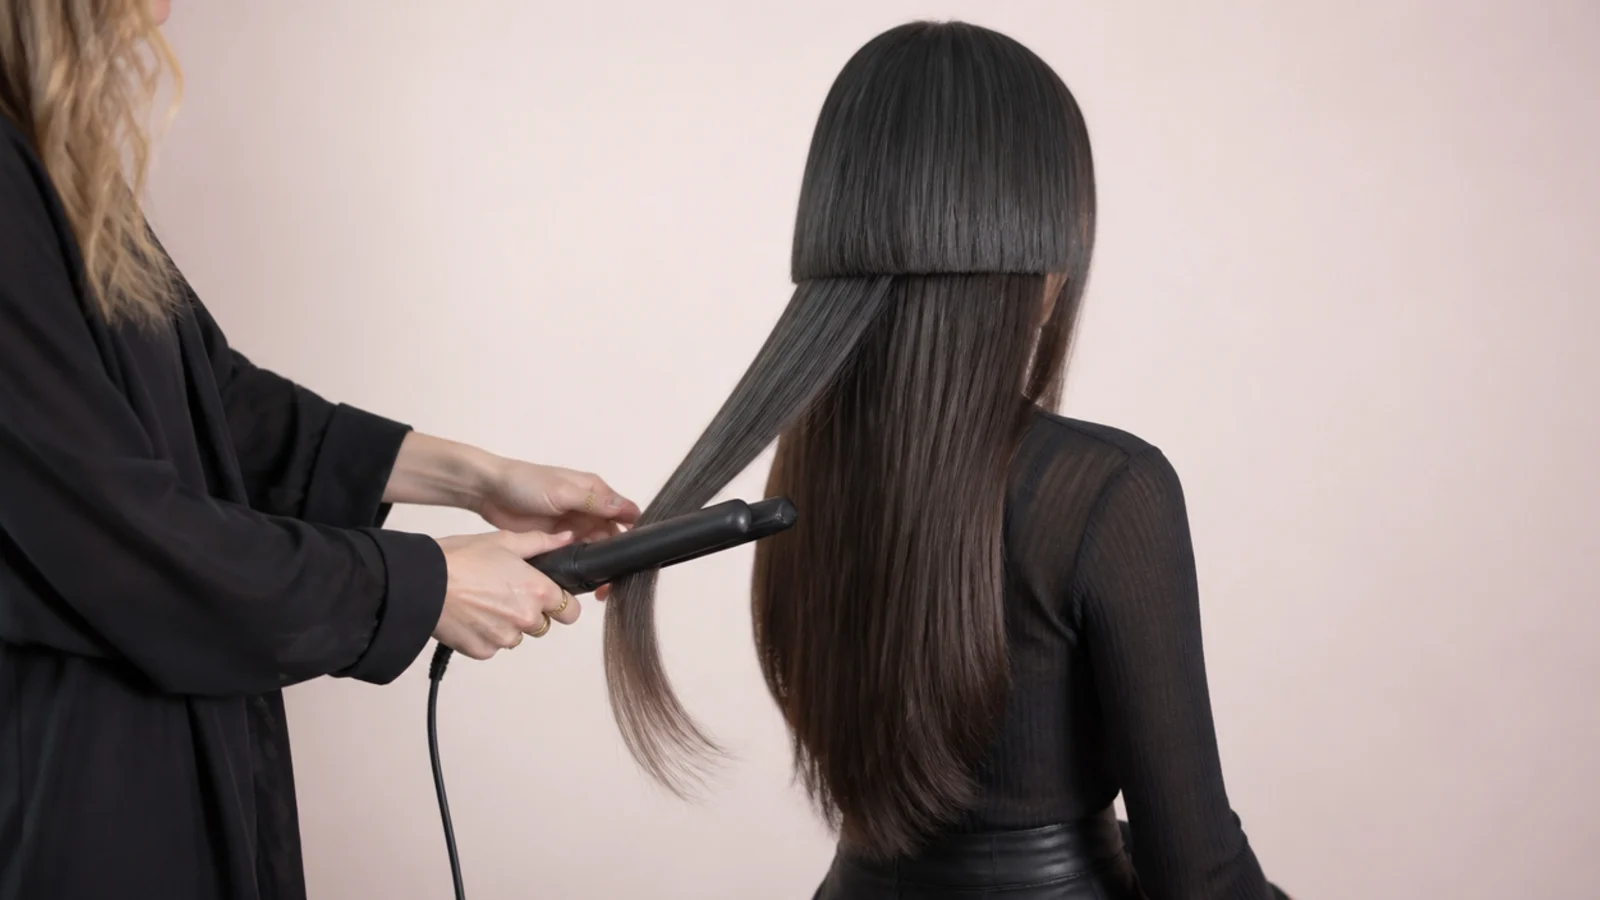
Texture spray goes in the long tier and a single drop of serum on the bell, in that order and never the reverse. Texture spray on the bell roughens the surface the whole shape depends on, and serum in the lengths flattens the movement you just built.
Step 7. Set and Check the Back
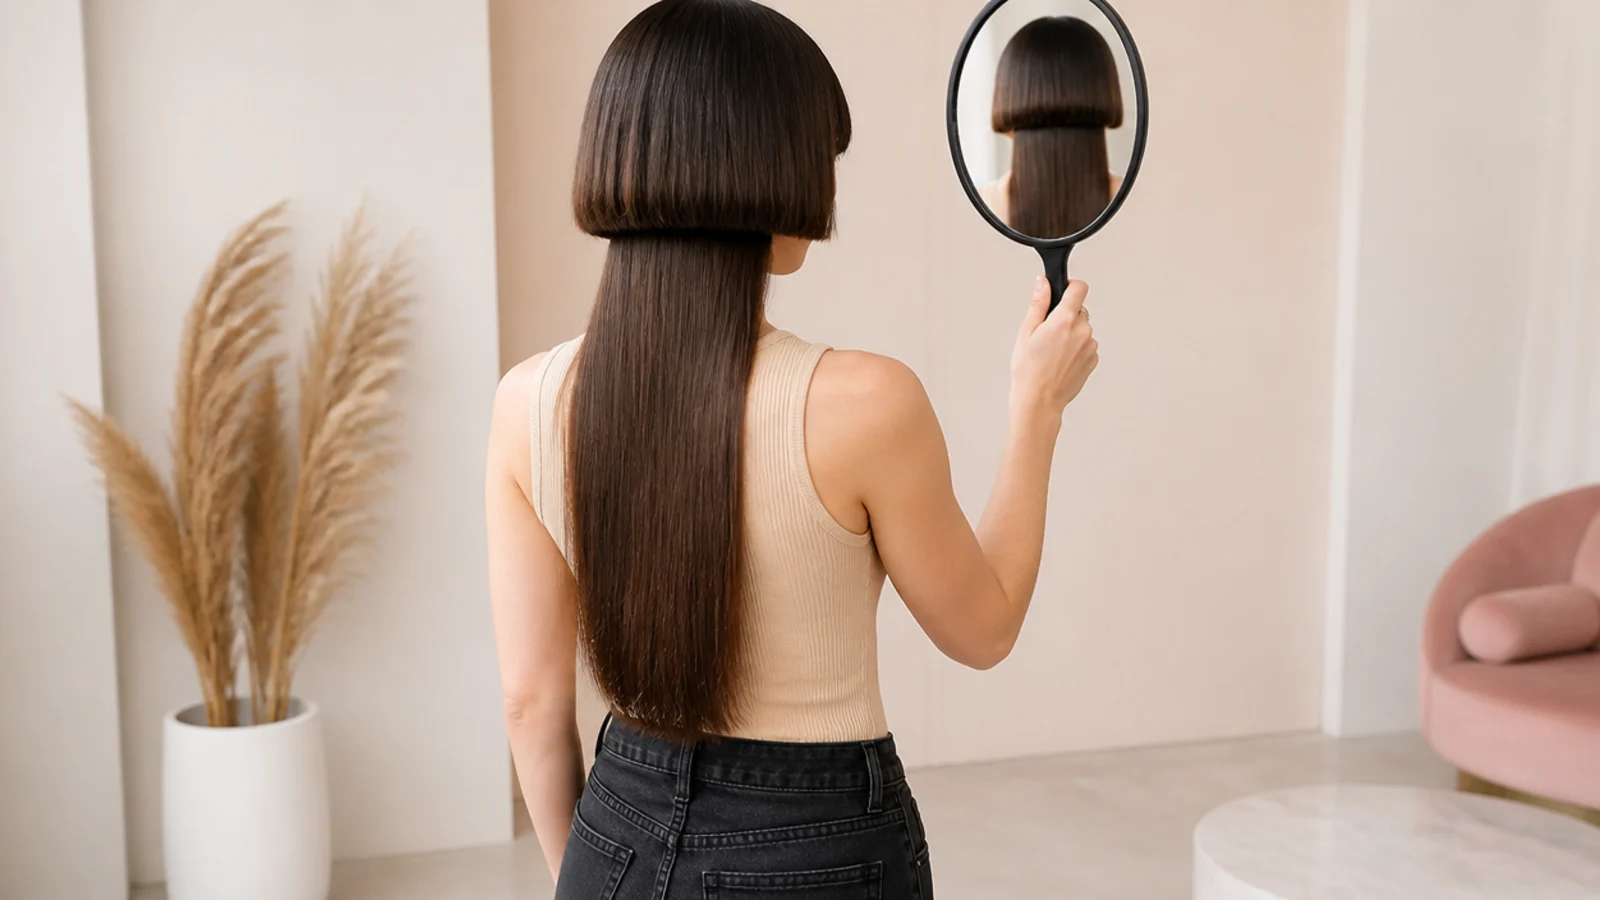
Let everything cool completely before touching it, because hair holds the shape it was in as it returned to room temperature. Then check the hem in a hand mirror, since the back of the bell is the part you never see and everybody behind you does.
Final Thoughts
Style the two tiers separately or do not bother styling at all. Every one of the fifteen looks above works by giving the bell and the lengths different surfaces, and every jellyfish cut that reads as an accident got exactly the same treatment top and bottom.
If you change one habit, change which product goes where. Serum on the bell and texture spray in the lengths takes the same thirty seconds as doing it backwards, and it is the difference between two visible tiers and one flat sheet of hair. For the full range of the cut see the jellyfish haircut guide, and for the other two tier shape see how to style a butterfly haircut. More in Mullet and Wolf Cut.



