25 Stylish Hoco Ponytails That Look Expensive
A ponytail reads expensive for three reasons — the elastic is hidden, the surface has no lumps in it, and the ends are finished. Twenty five versions built on those three things, with the mechanics that keep each one up all night.
In this article · 32
- What Makes a Ponytail Look Expensive
- Choosing Your Height and Base
- The 25 Hoco Ponytails
- 1. The High Sleek Pony
- 2. The Bubble Pony
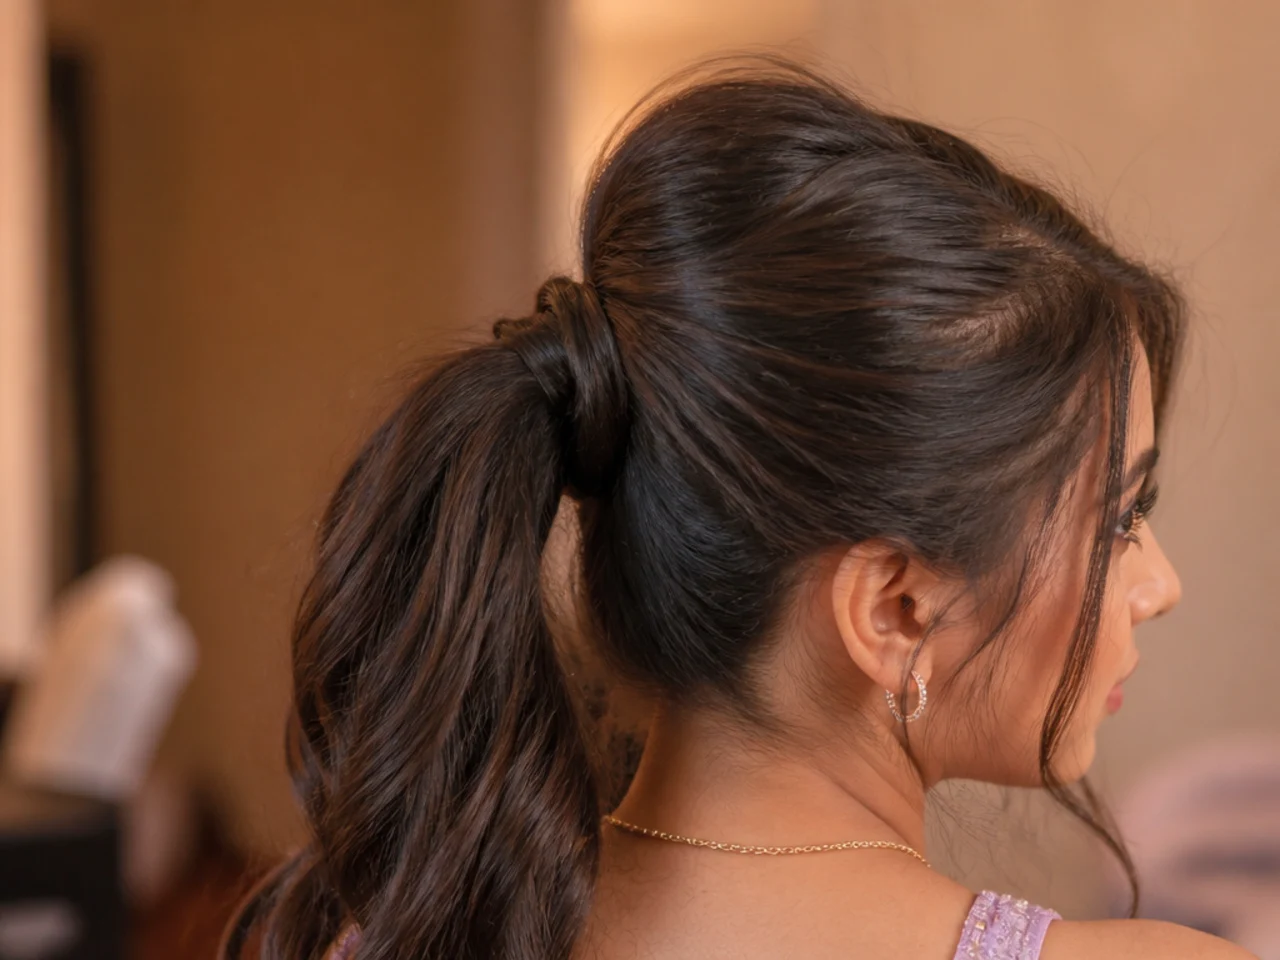
- 3. The Wrapped Base Pony
- 4. The Low Chignon Pony
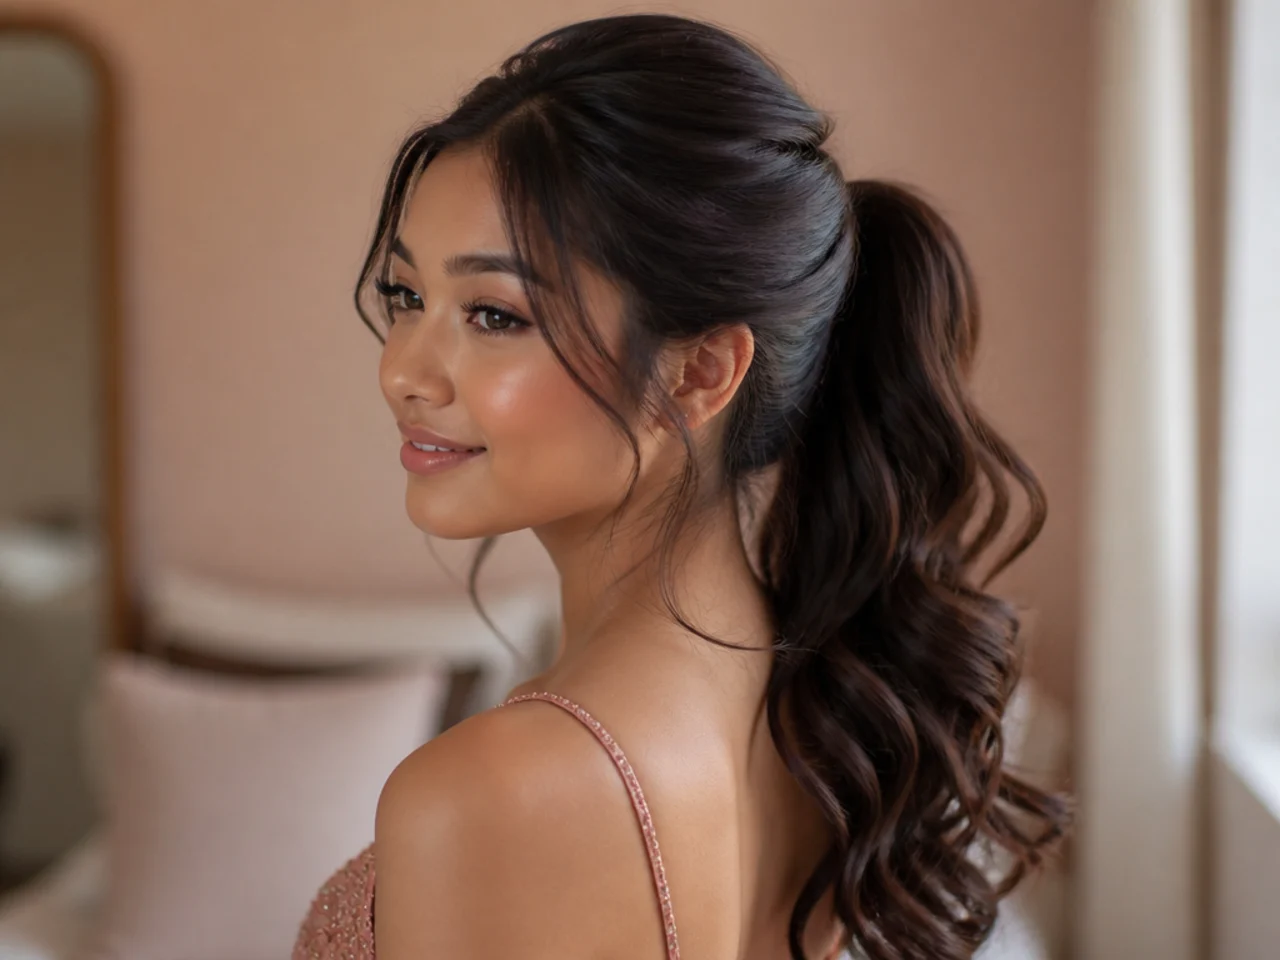
- 5. The Half Up Pony
- 6. The Braided Base Pony
- 7. The Curled High Pony
- 8. The Double Stacked Pony
- 9. The Face Framing Pony
- 10. The Pin Straight Pony
- 11. The Textured Low Pony
- 12. The Bow Tied Pony
- 13. The Ribbon Wrapped Pony
- 14. The Crown Volume Pony
- 15. The Slick Back Pony
- 16. The Deep Side Part Pony
- 17. The Twisted Rope Pony
- 18. The Bubble and Braid Pony
- 19. The Voluminous Curly Pony
- 20. The Extended Pony
- 21. The Pearl Pinned Pony
- 22. The Bouffant Pony
- 23. The Middle Part Sleek Pony
- 24. The Tousled Undone Pony
- 25. The Cuffed Pony
- Styling and Upkeep
- Mistakes to Avoid
- FAQ
- Final Thoughts
Most homecoming ponytails fail in the same two places — a lump at the base and an elastic on show.
Grip is friction, not tension. Pulling harder flattens the crown and still lets the base slide. Grit at the roots is what holds a gather in position for six hours.
The tail is what people see at eye level. Ends that taper into wisps undo a base you spent twenty minutes on, so the last thing you style is the first thing anyone notices.
What Makes a Ponytail Look Expensive
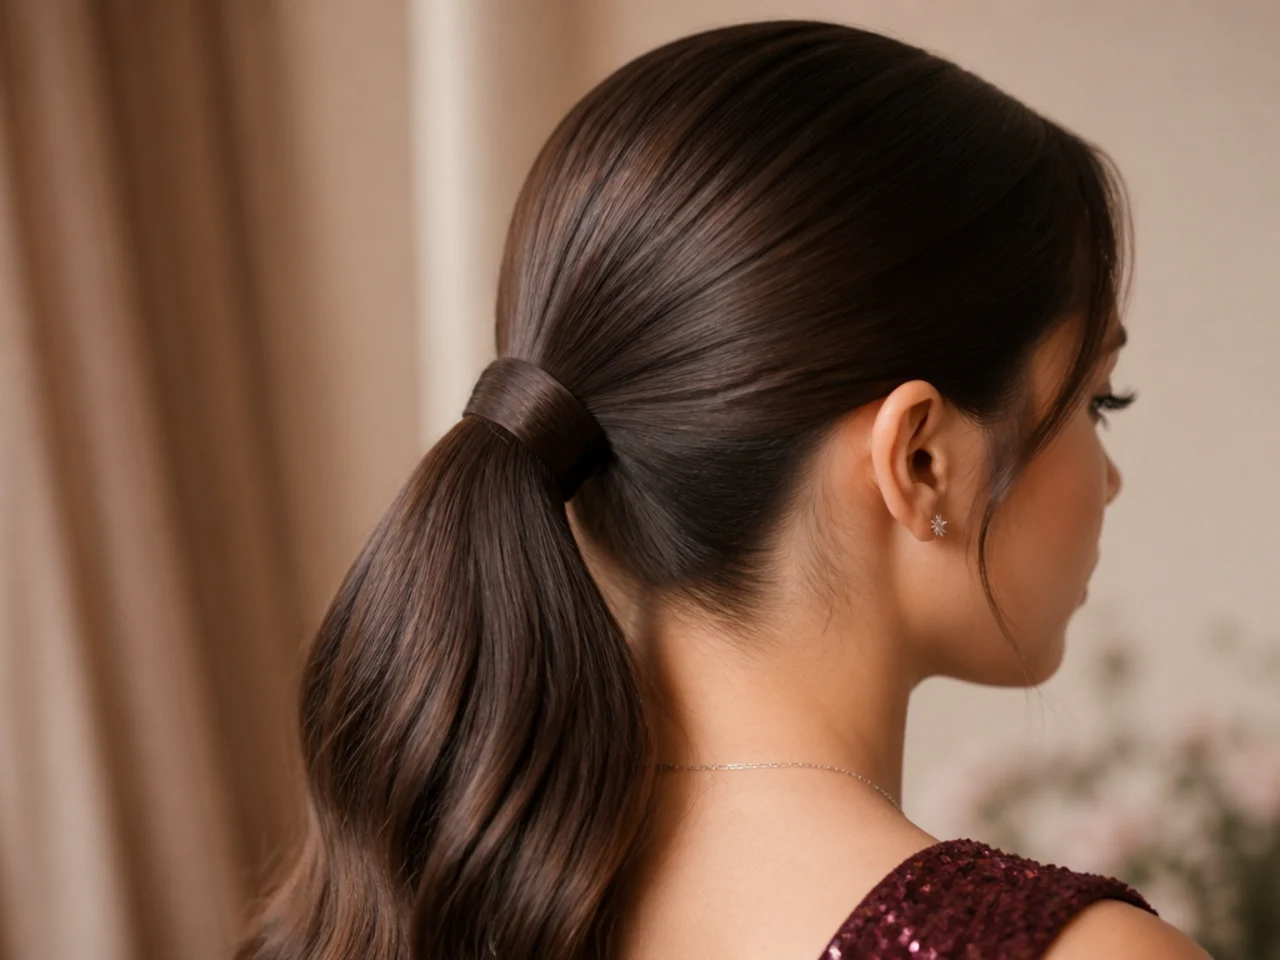
No visible hardware. An elastic is the one detail that reads as everyday. A strand wound over it takes half a minute and changes the whole impression.
One plane, no lumps. A lump is a section of hair escaping the surface. Brushing the gather in a single direction keeps every strand travelling the same way, which is why a salon pony looks glassy.
A base that does not travel. The elastic holds the ends together, but the base stays put because the roots grip each other. Product at the roots does more for longevity than any amount of pulling.
Finished ends. Curled, ribboned or cut level, the tail needs a defined stopping point. Ends that thin out gradually make the whole style look grown out.
Choosing Your Height and Base
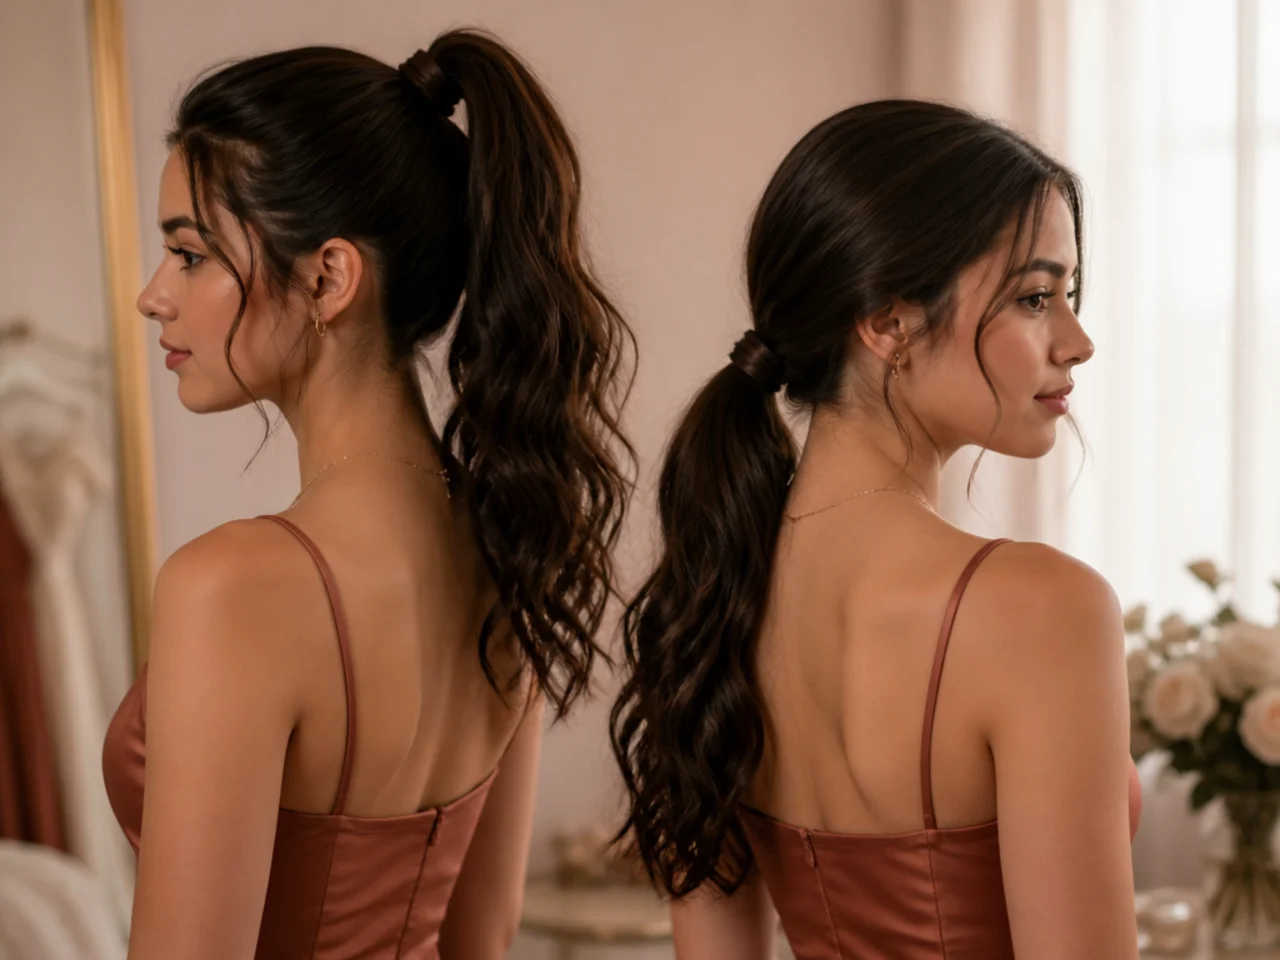
High lifts the outline, low carries weight. A high gather takes the perimeter hair up with it, which raises the shape at the temples. A low one leaves that hair where it falls.
Pick the height off the dress, not the photo. A high ponytail leaves the neck and shoulders completely bare, so it belongs with a neckline that has something to show.
Heavy hair sits lower than you tie it. A dense tail migrates down over a few hours, so gather a centimetre or two above the target and let gravity finish the placement.
Set the parting before you gather. A parting made after the hair is tied has to be dragged through a fixed shape, and it will lift away from the scalp for the rest of the night.
The 25 Hoco Ponytails
1. The High Sleek Pony
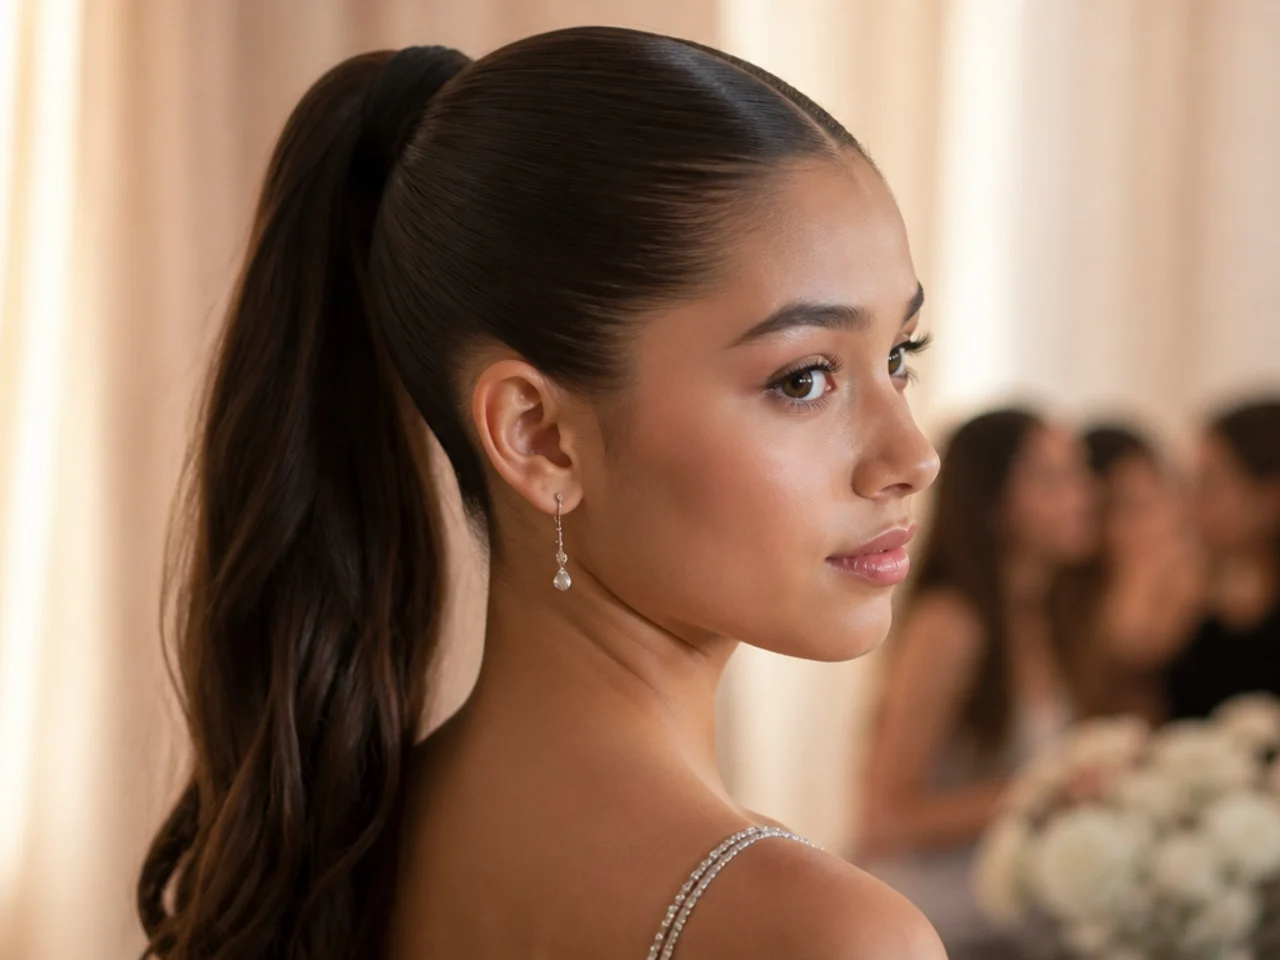
Gathered at the crown and brushed flat, this is the version that lives or dies on surface. Every strand has to travel in one direction, because shine is simply light bouncing off a flat plane, and a single raised section breaks the reflection into two.
2. The Bubble Pony
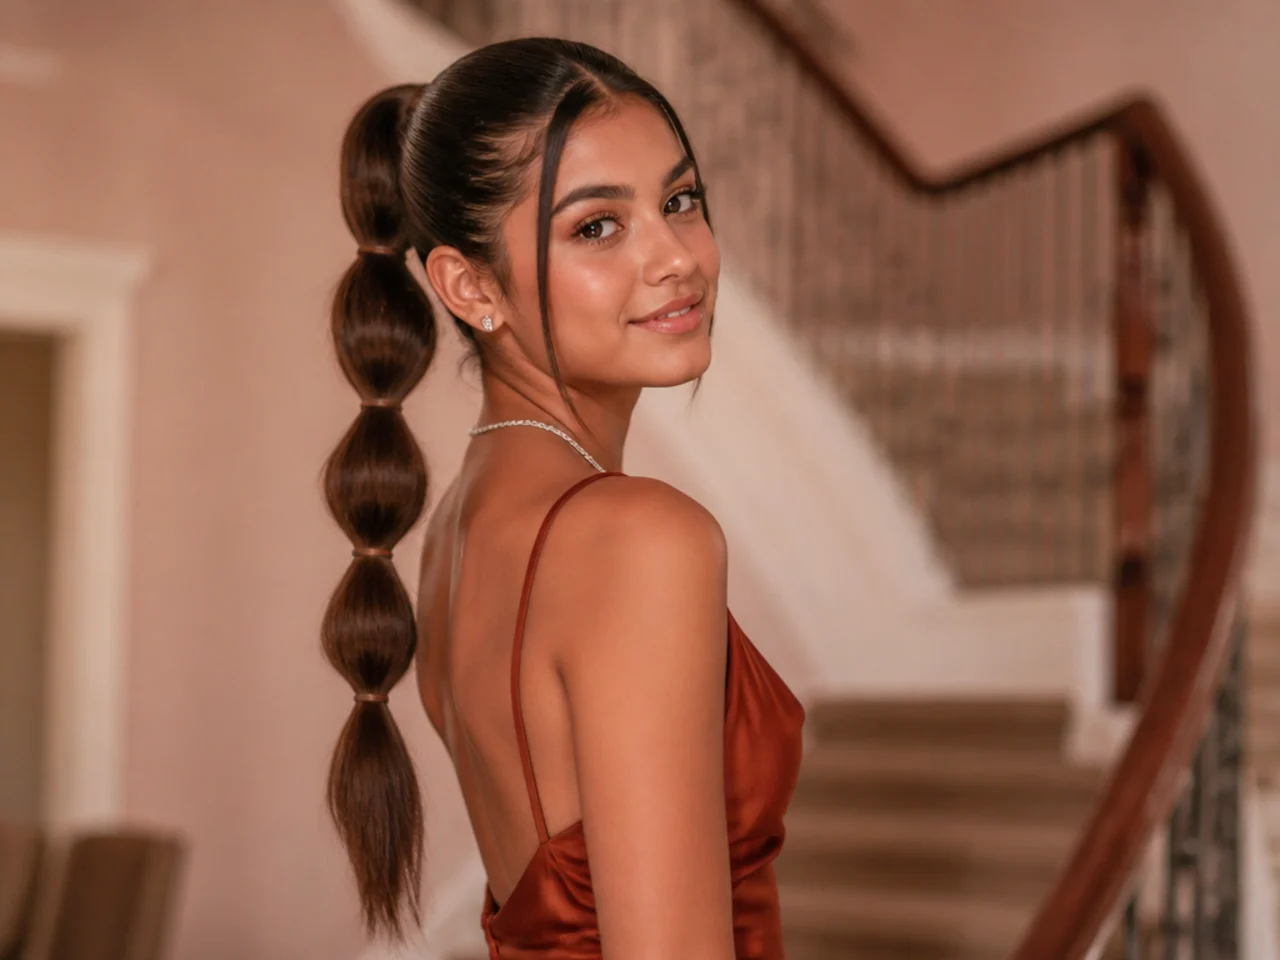
Elastics placed every few inches down the tail, with each section pulled outward between them. The bubble holds its shape because the elastic below fixes the length, so the hair can only expand sideways when you tug at it.
3. The Wrapped Base Pony
A section taken from underneath the tail, wound over the elastic and pinned. Pin from below and angle the pin up into the elastic so it catches the band rather than loose hair, which is the difference between a wrap that lasts an hour and one that lasts the night.
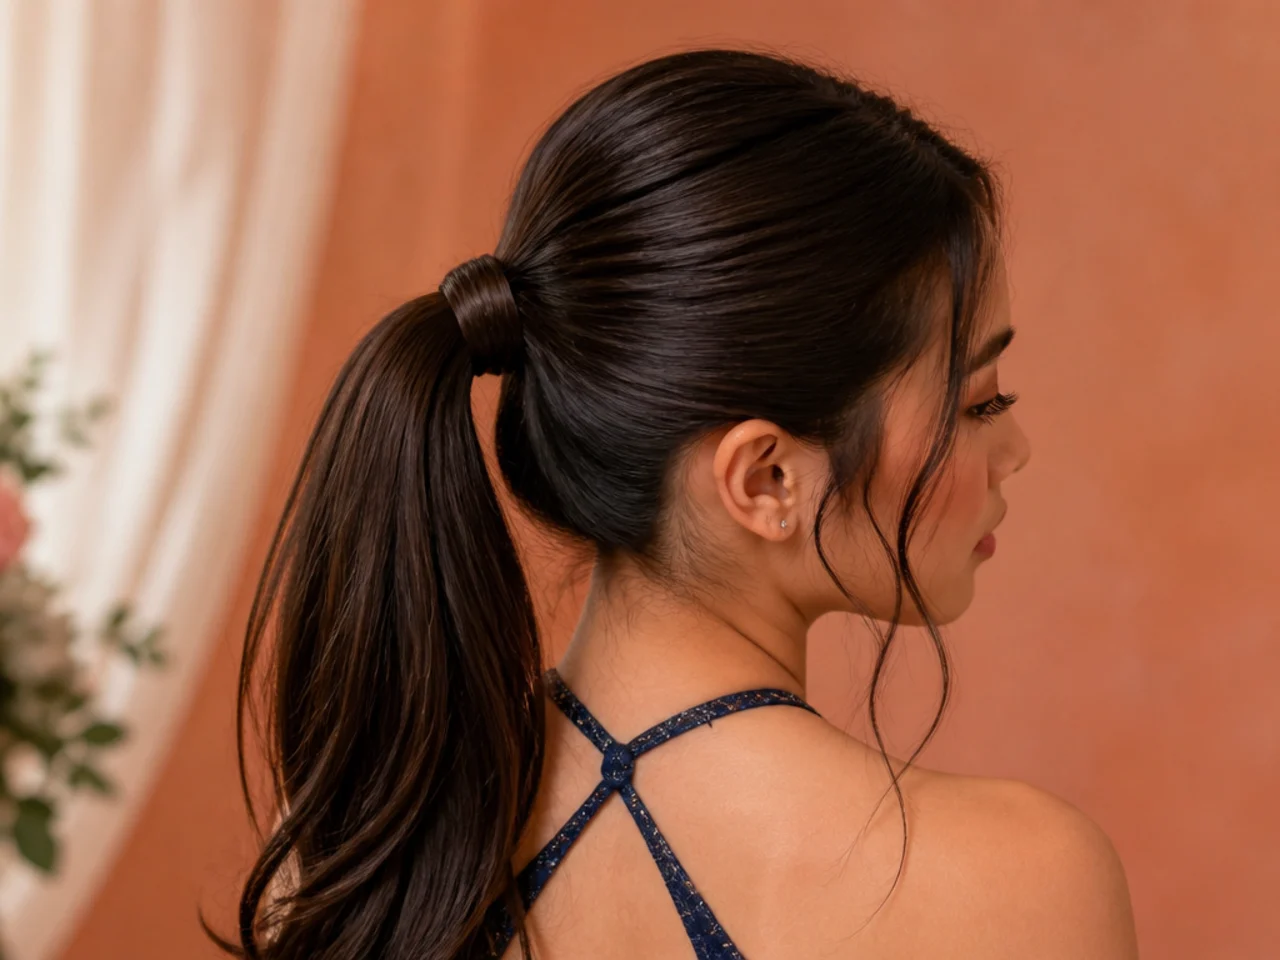
4. The Low Chignon Pony
Tied at the nape with the tail looped once and pinned into a soft curve. The loop redistributes the weight sideways instead of letting it hang straight down, which is what stops a low gather from sagging away from the scalp.
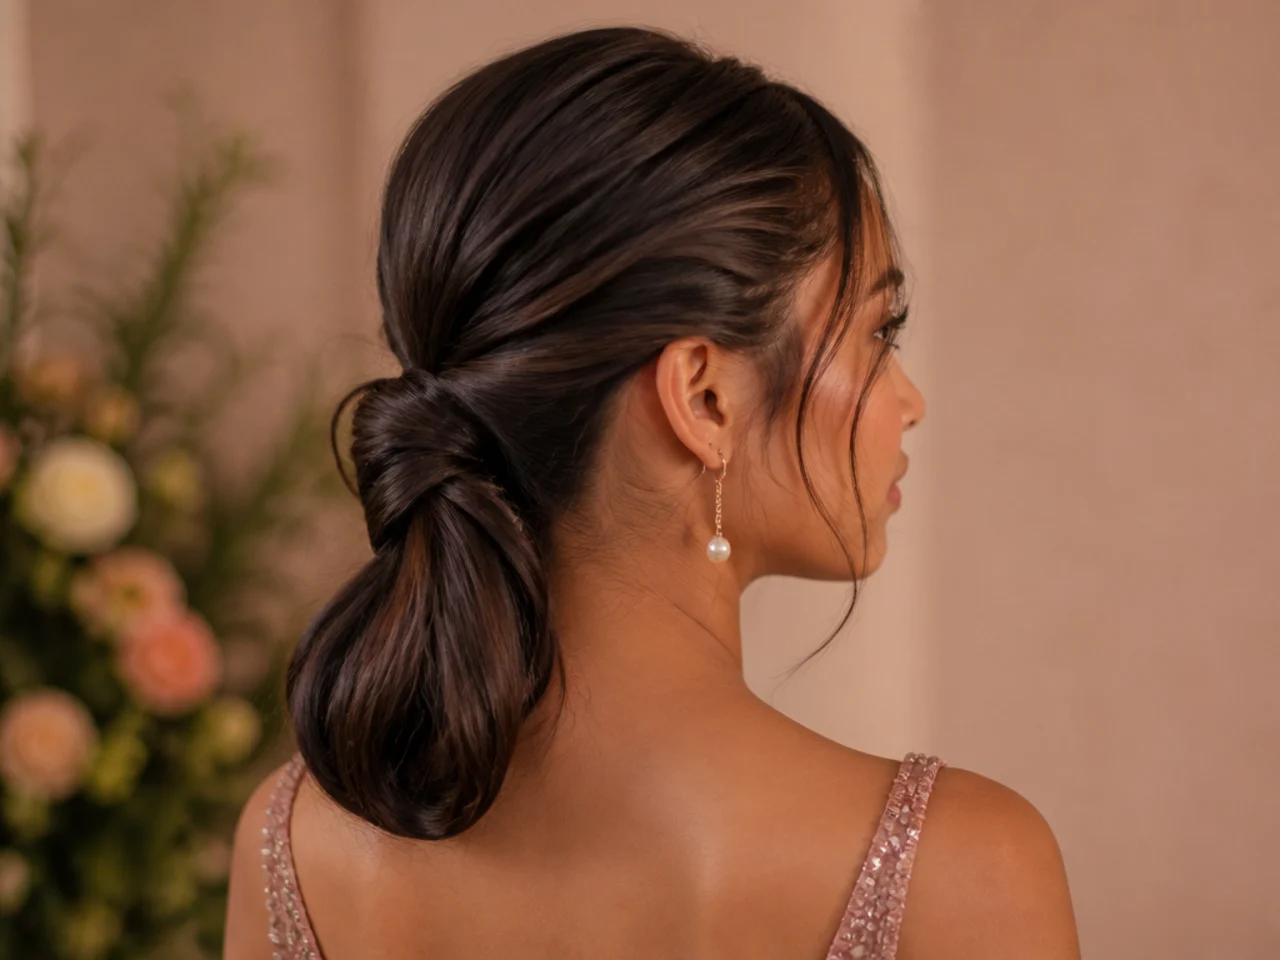
5. The Half Up Pony
Only the top section is gathered, so the elastic is holding a fraction of the weight and sits far more securely than a full pony at the same height. Take the section from temple to temple, because anything wider drags the sides up and leaves a gap behind the ear.
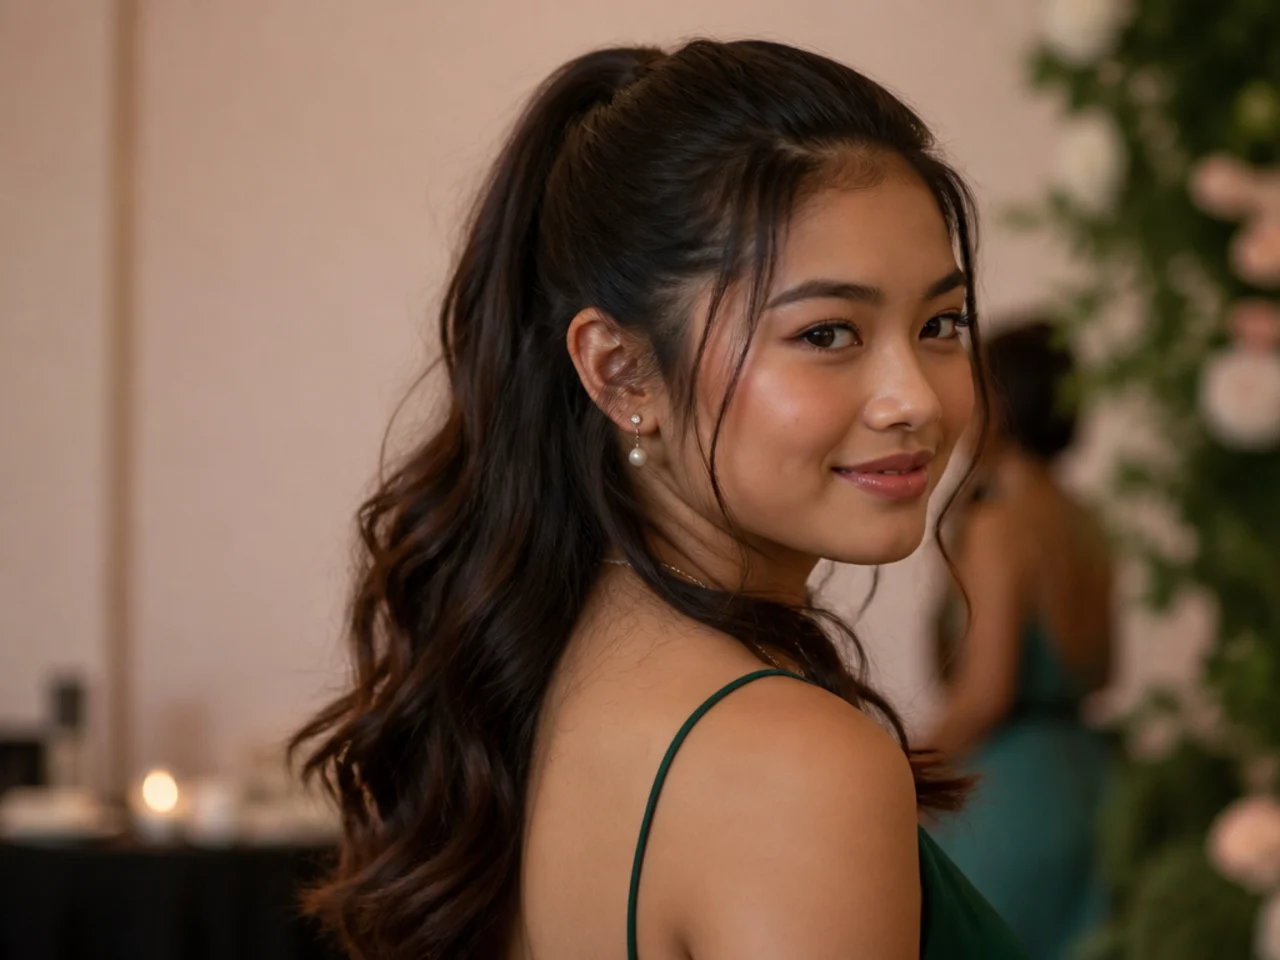
6. The Braided Base Pony
A braid worked up the back of the head into the gather. It stops the nape section sagging, because that hair is the furthest from the elastic and has the least support pulling it upward.
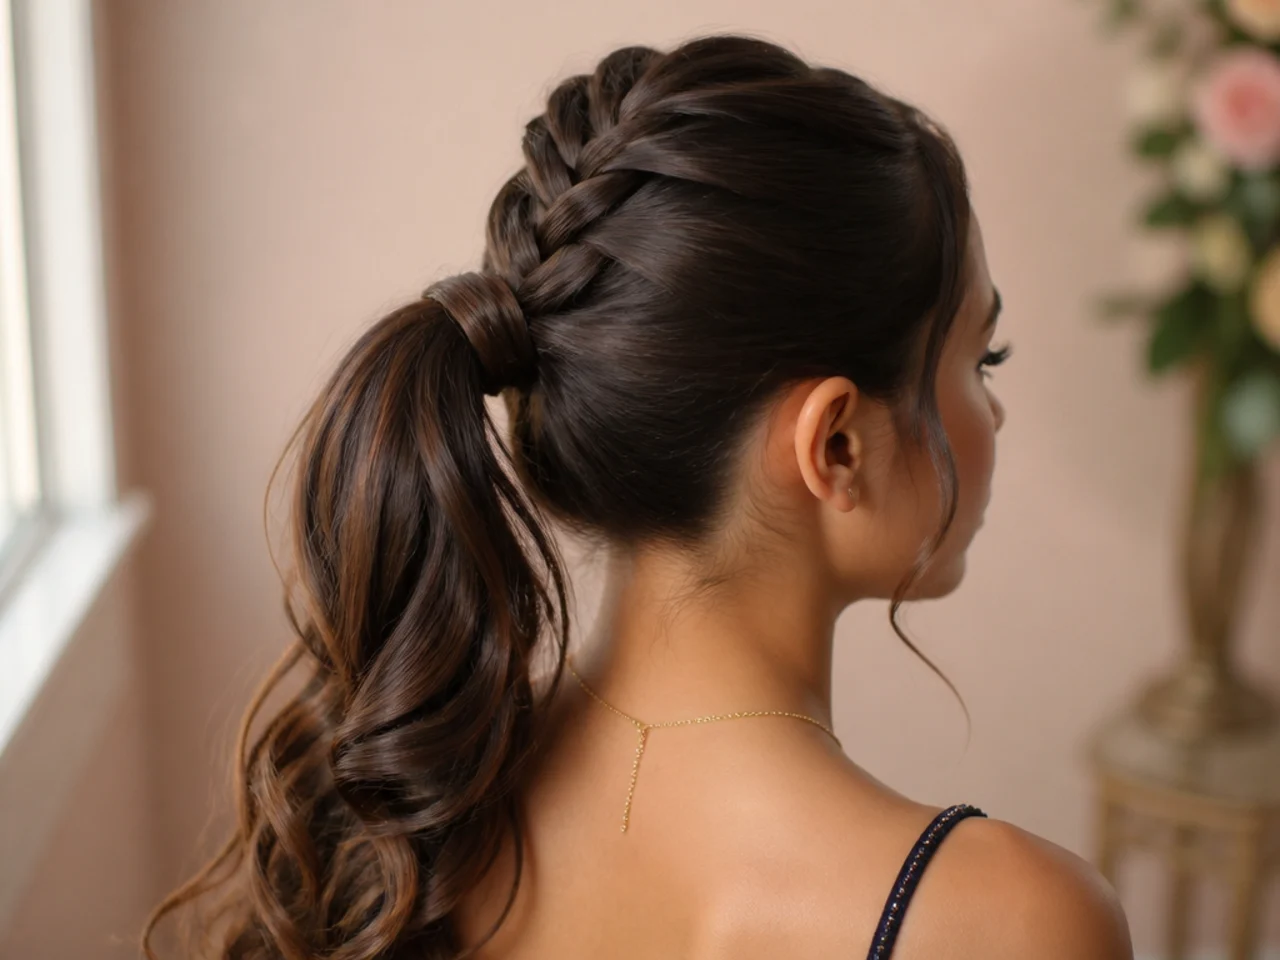
7. The Curled High Pony
Curl the tail after it is tied, never before. Curling first means the gather crushes the pattern where the elastic sits, and the curl then starts halfway down instead of reading from the base.
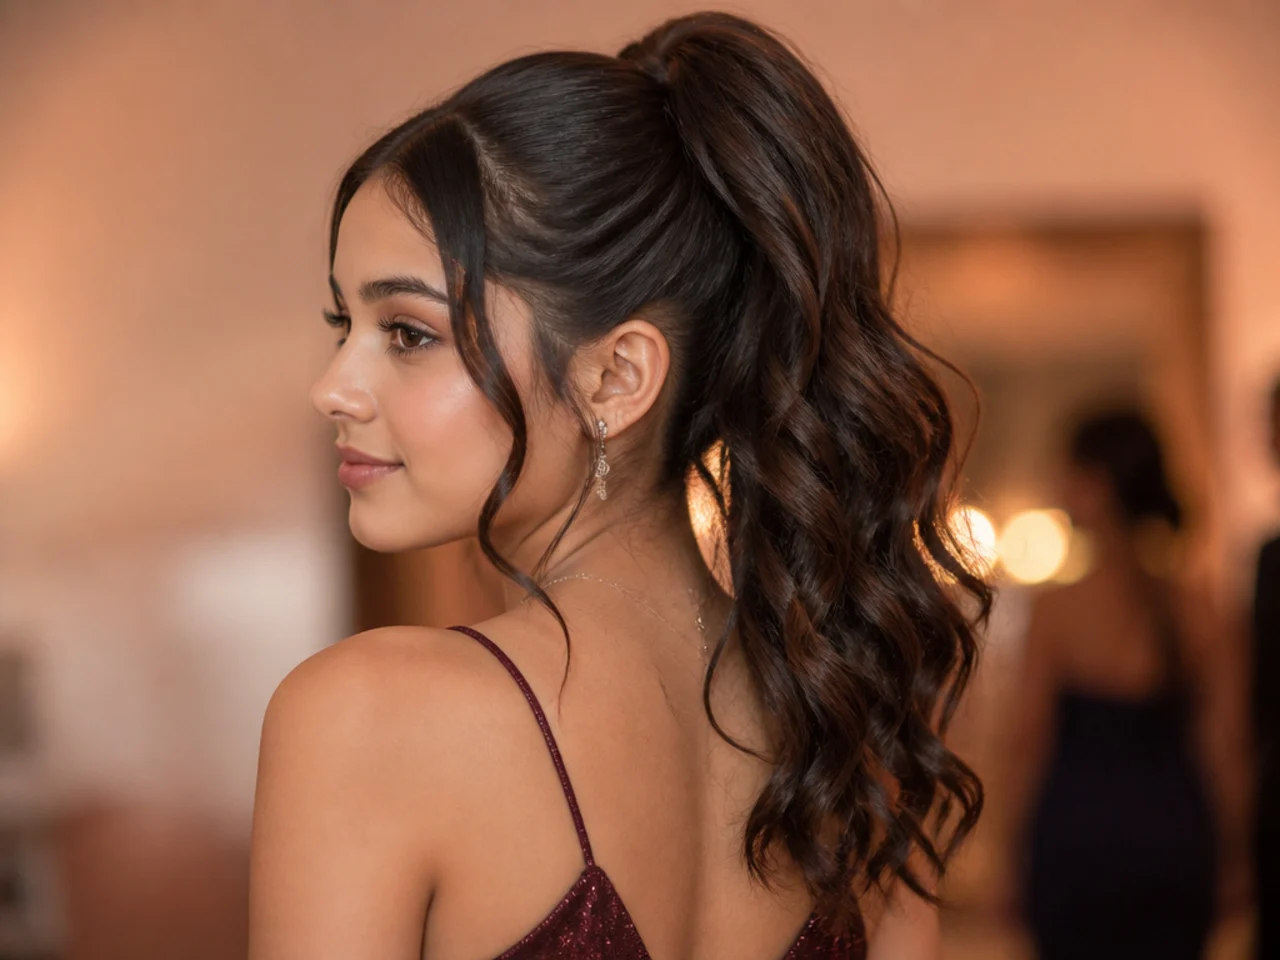
8. The Double Stacked Pony
Two ponytails, one above the other, with the upper tail falling over the lower to read as one very long piece. The upper elastic carries only the top section, so neither band takes the full weight and neither slides.
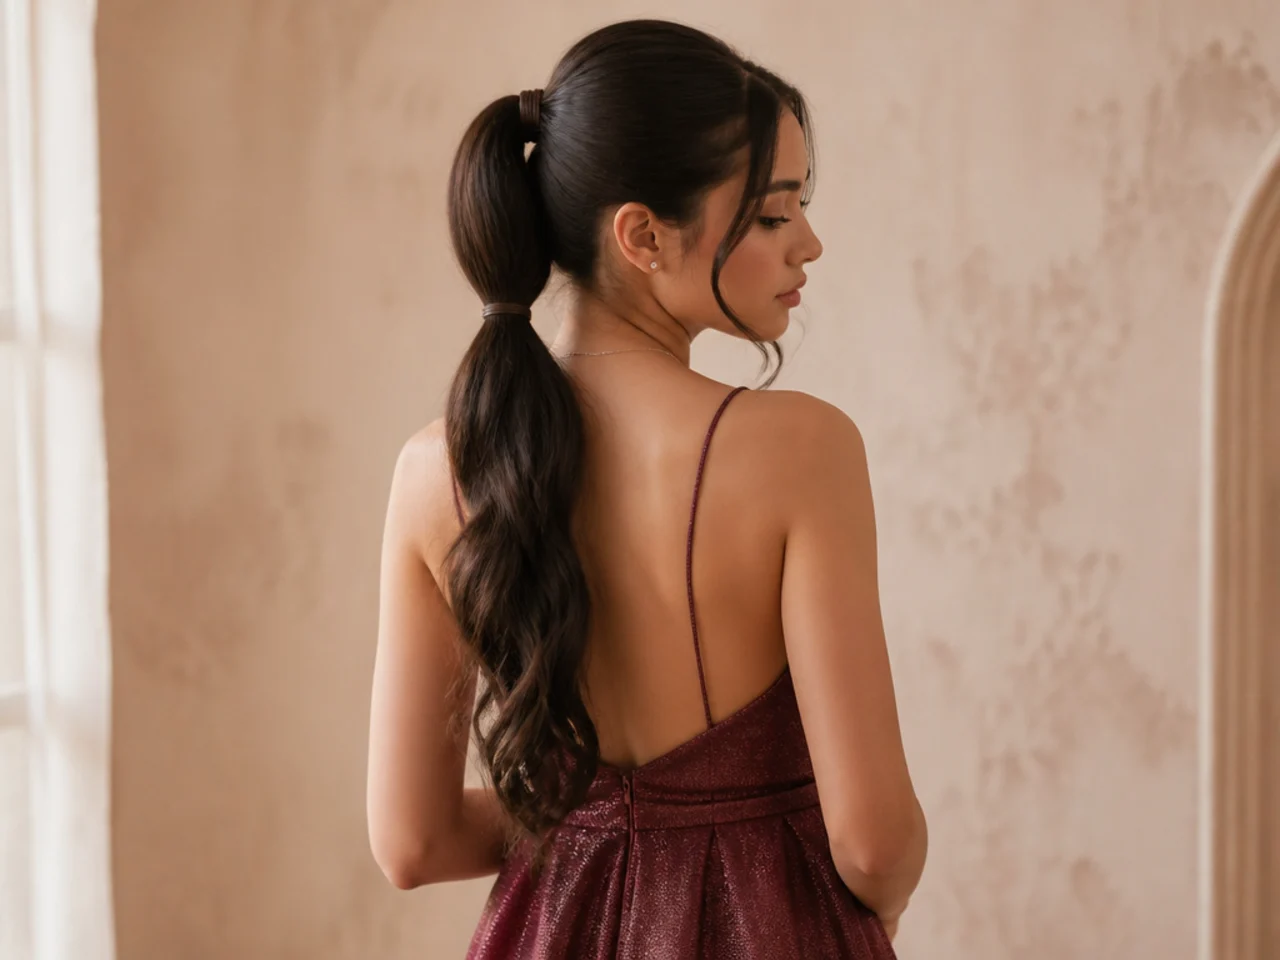
9. The Face Framing Pony
Two pieces left out at the front and curled away from the face. Pull them before you spray the rest, because dragging strands out of a set style breaks the surface and leaves a kink where they were held.
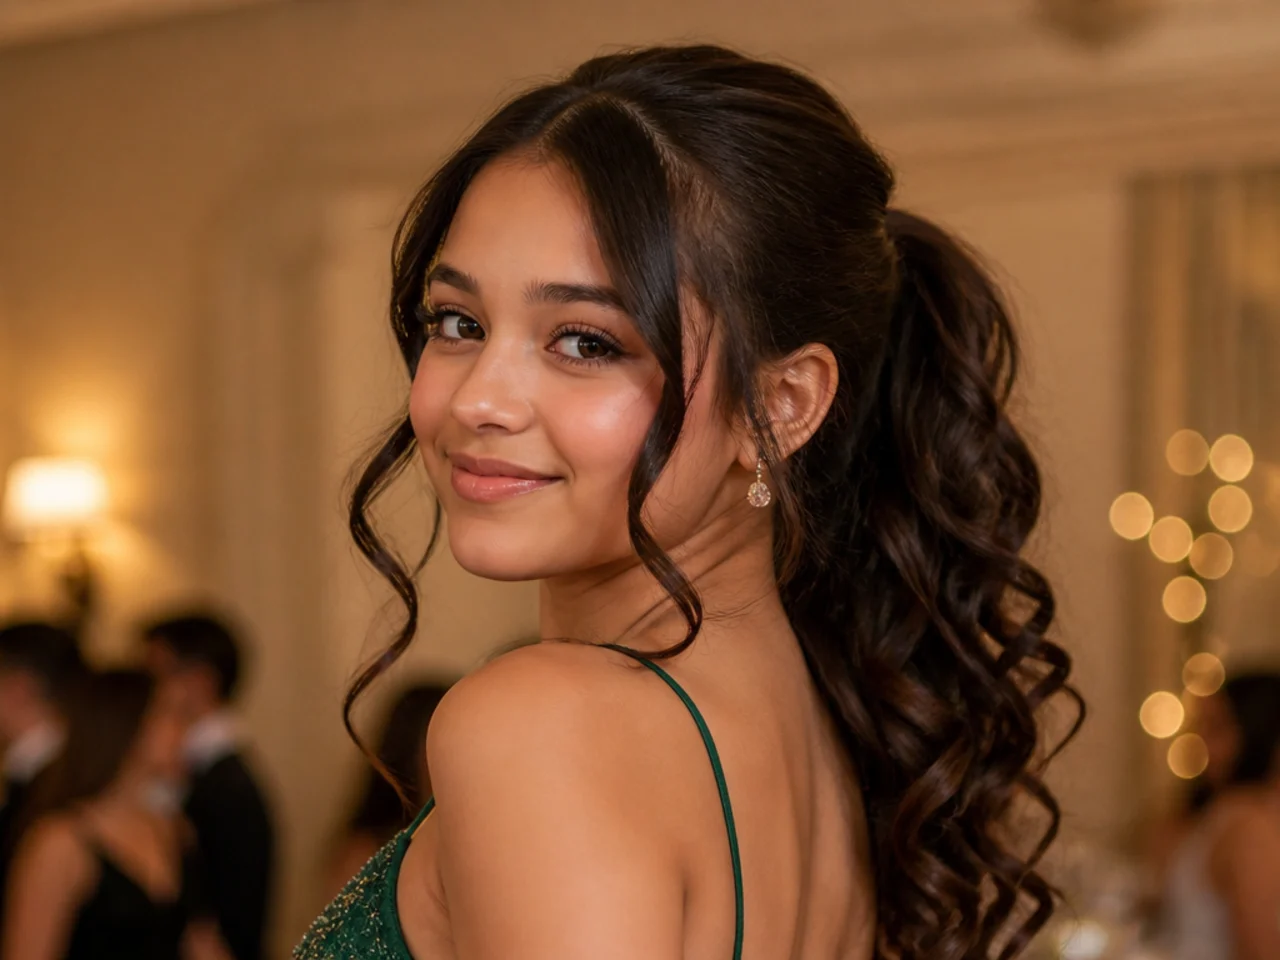
10. The Pin Straight Pony
Ironed in sections before gathering, so the tail hangs as a single sheet. Straighten first and gather second, because running an iron over hair already held in an elastic leaves a bend exactly where the band was.
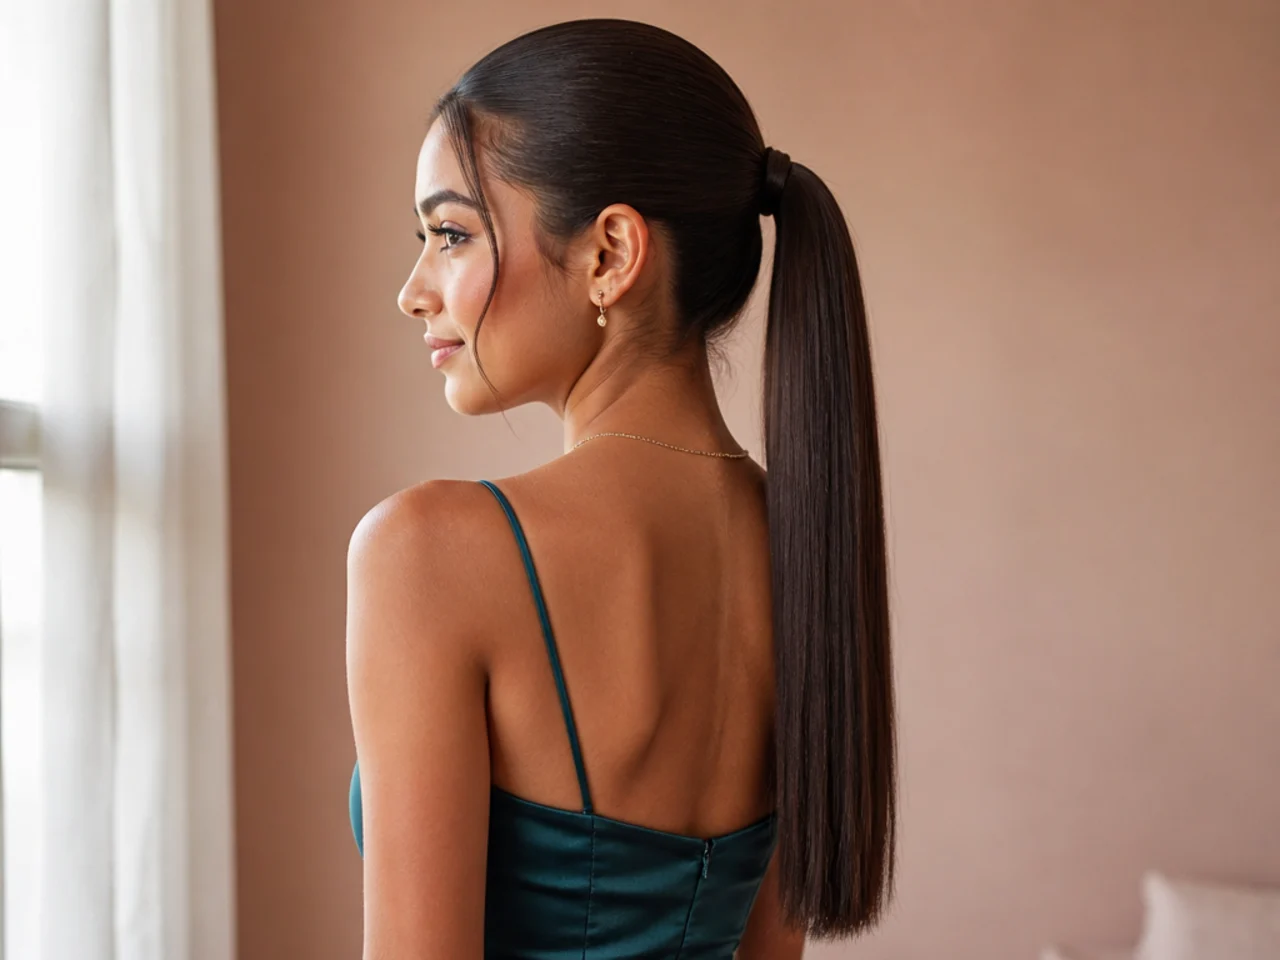
11. The Textured Low Pony
Deliberately undone, built on day two hair with texture spray through the mid lengths. The roughened surface is what holds the loose pieces in place, so freshly washed hair will not do it — a smooth cuticle has nothing for the product to catch on.
12. The Bow Tied Pony
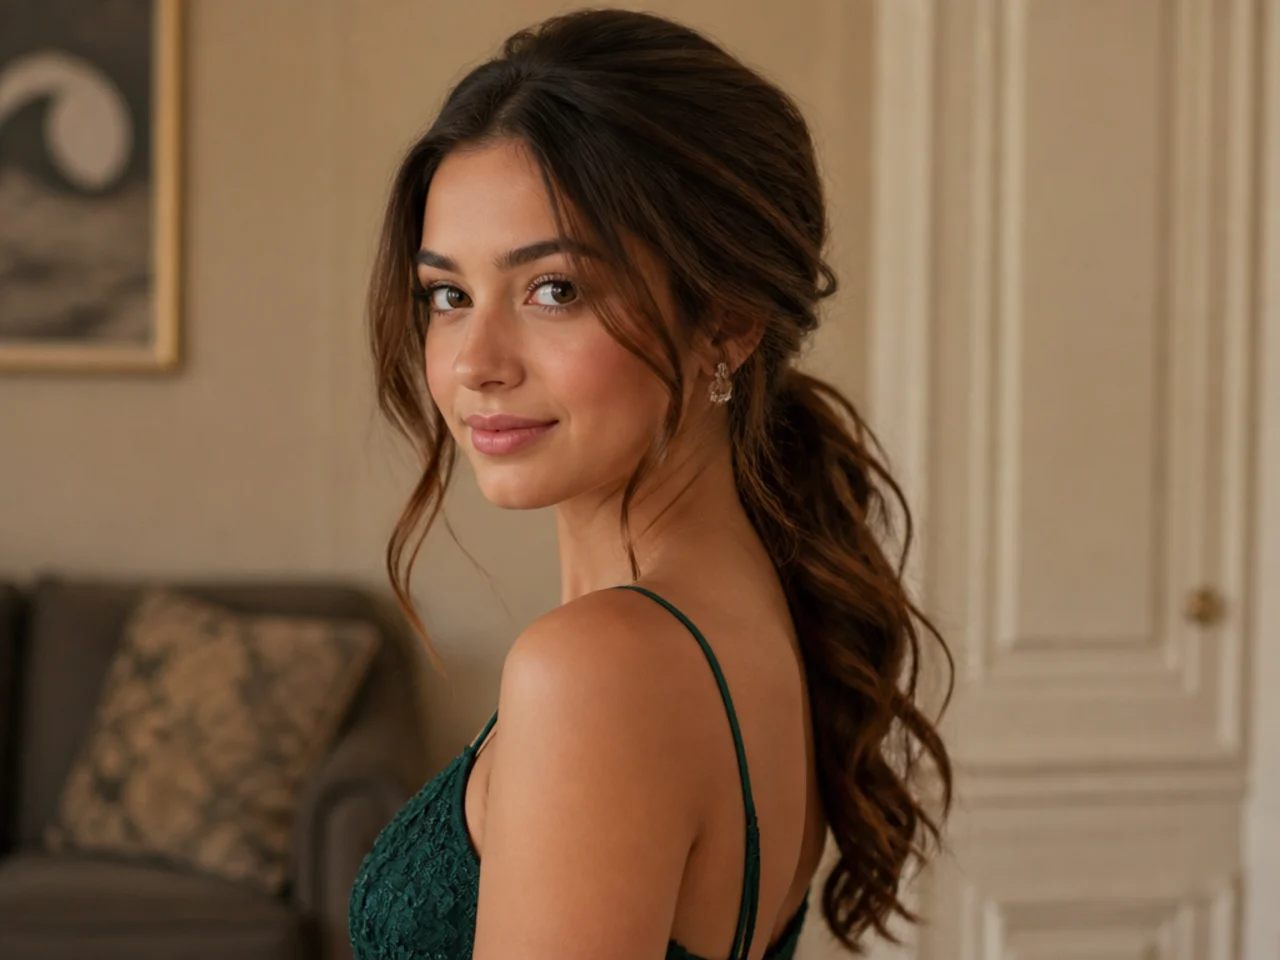
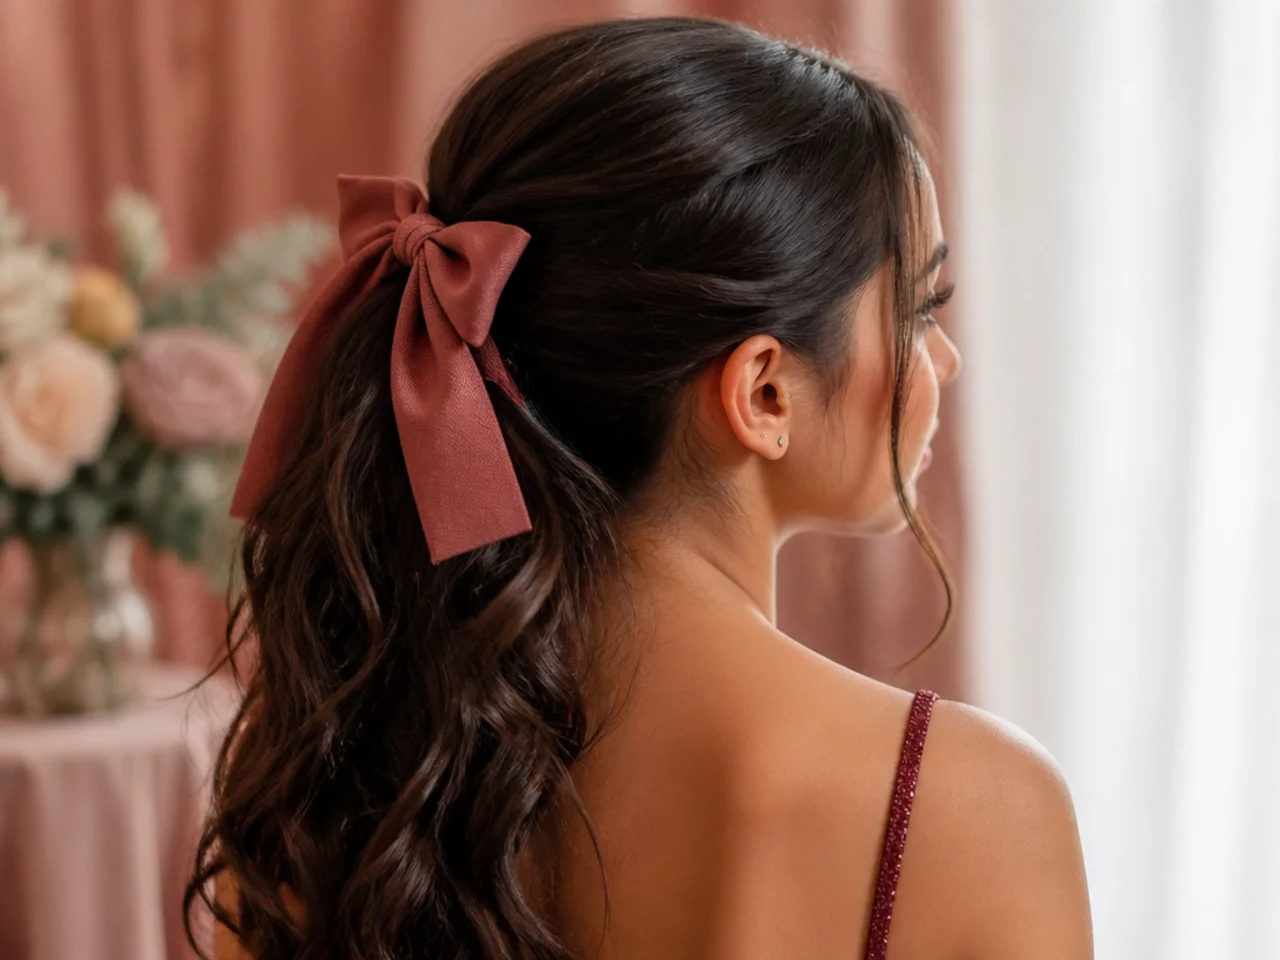
A fabric bow fixed over the elastic. Tie it around the band itself rather than around hair, because a bow knotted onto loose strands slides down the tail as the hair settles and ends up halfway to the ends.
13. The Ribbon Wrapped Pony
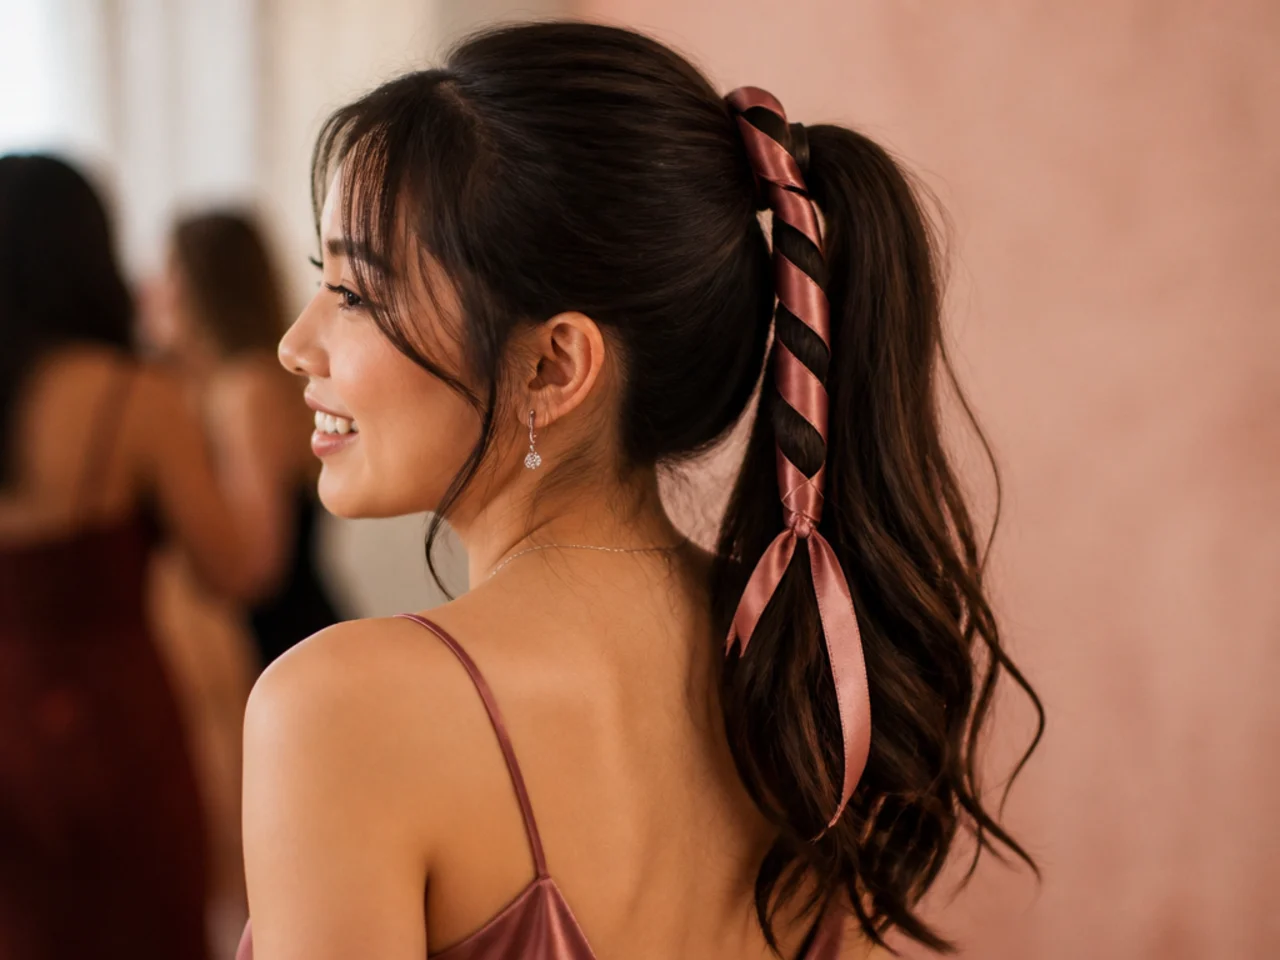
Satin ribbon wound down the first few inches of the tail and tied off. Anchor the first turn with a pin, because satin has almost no friction against hair and the whole wrap unwinds from the top if it has nothing to hold it.
14. The Crown Volume Pony
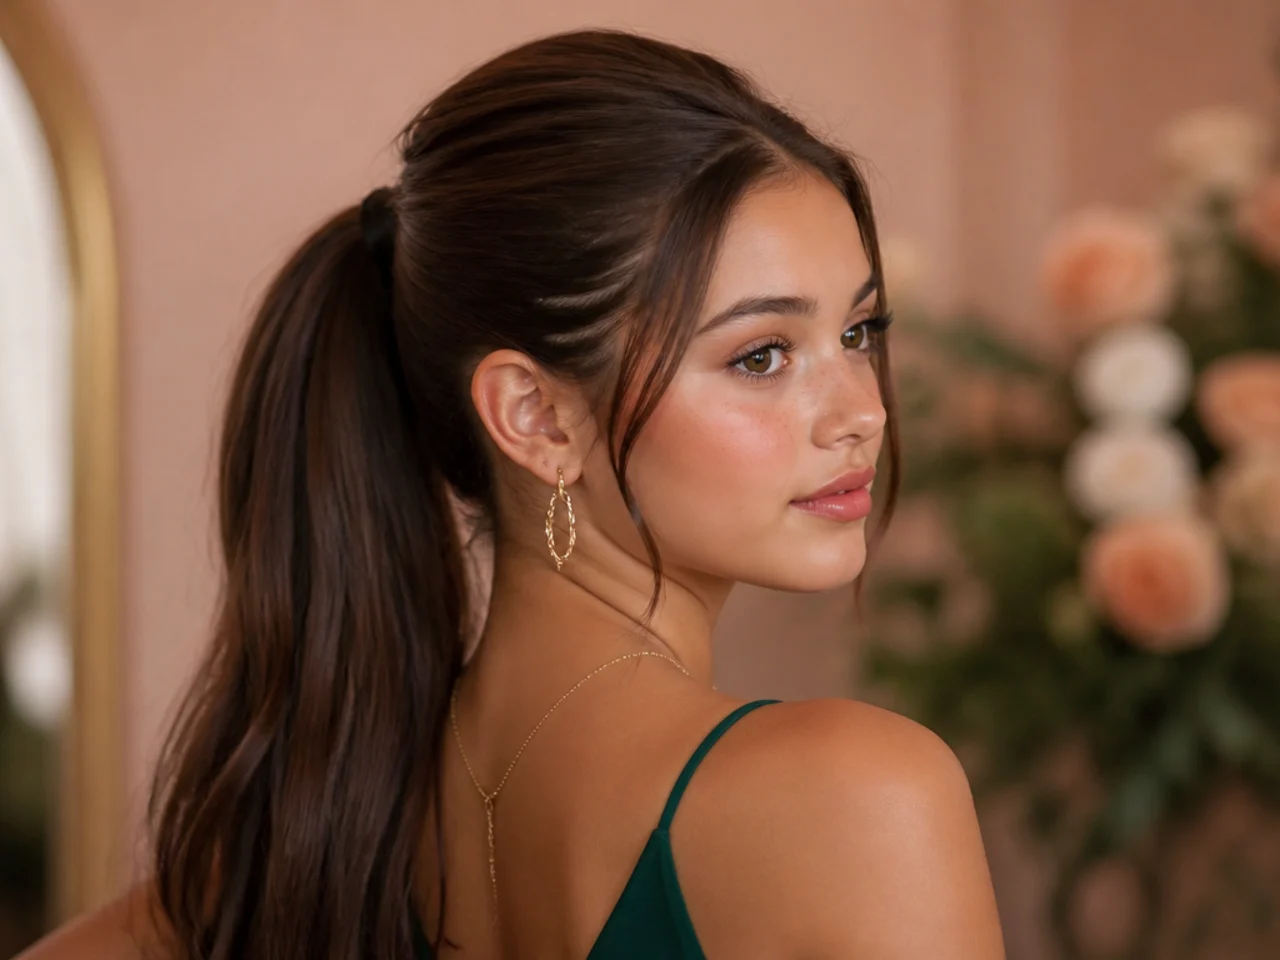
Backcombed at the crown before gathering, so the top has height while the tail stays sleek. Tease three narrow sections rather than one wide one, since the smoothing layer laid over the top needs enough undisturbed hair to cover the mess underneath.
15. The Slick Back Pony
Gel or a strong hold cream worked through the top from the hairline back. Apply it to damp hair, because product spread over dry hair sits on the surface in streaks instead of coating each strand evenly.
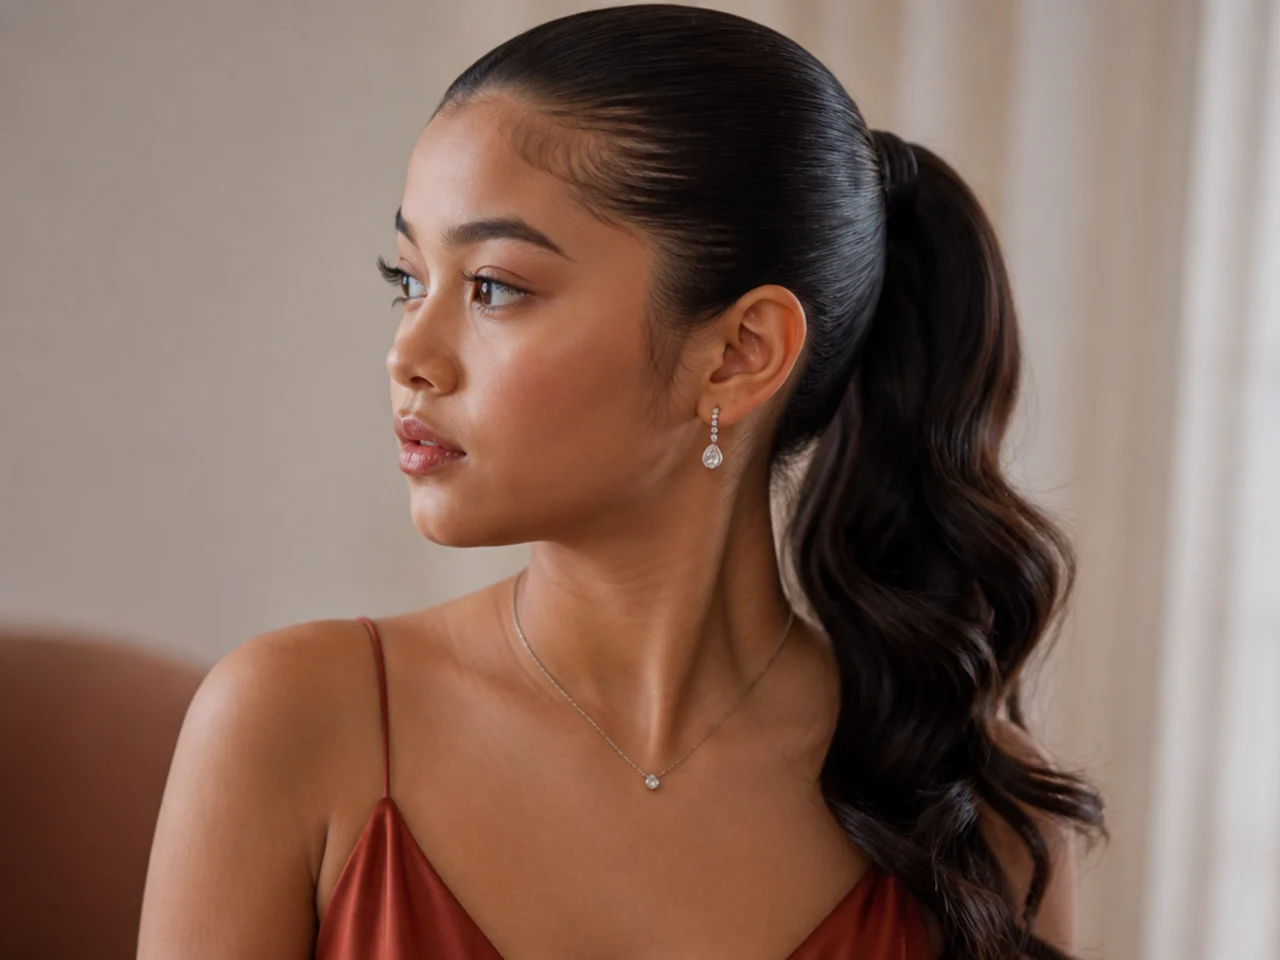
16. The Deep Side Part Pony
The parting cut low on one side, sweeping across before the gather. The diagonal carries the eye sideways, which lets the ponytail sit lower and still read as lifted.
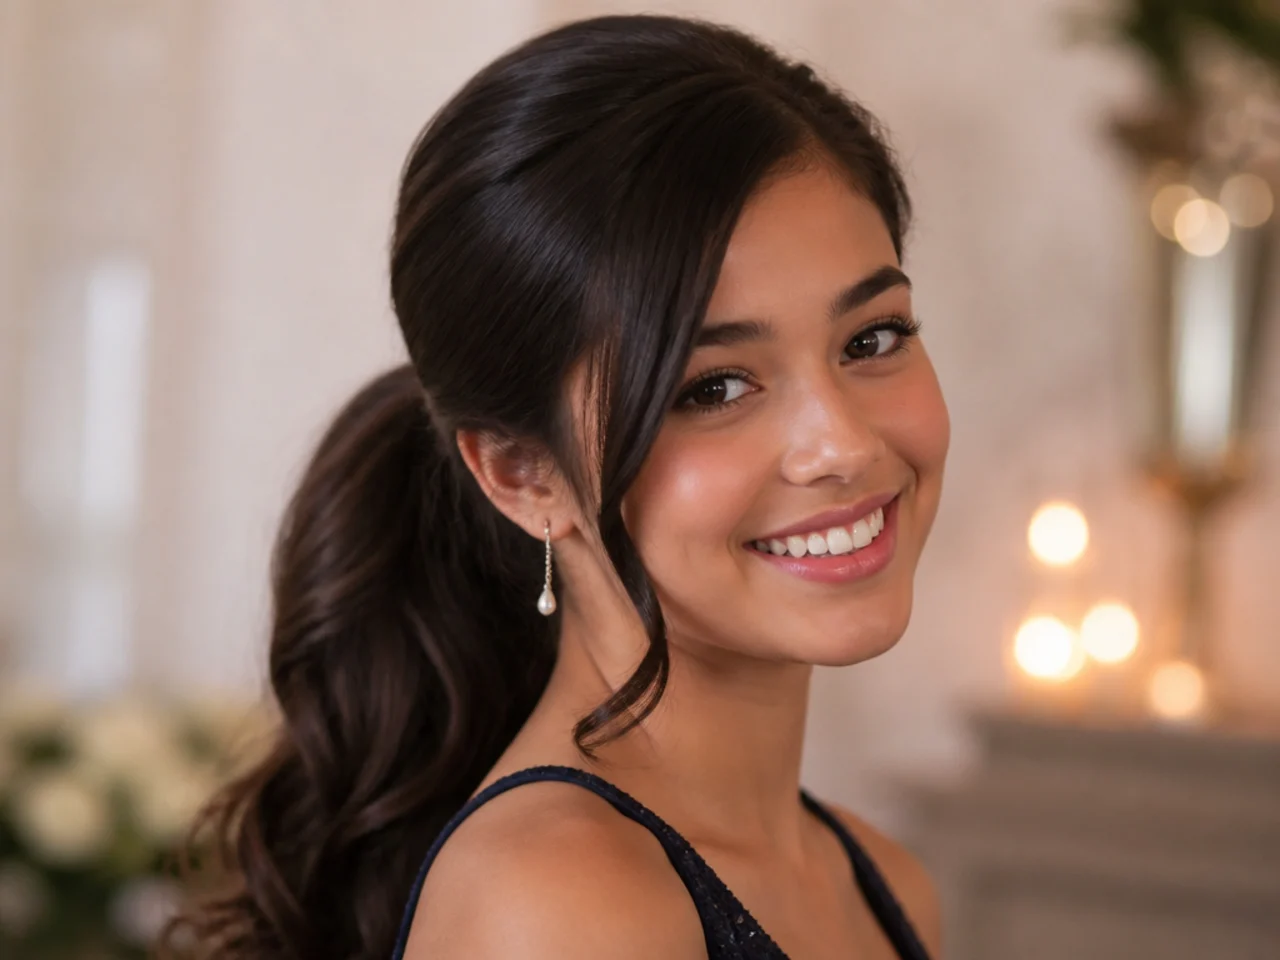
17. The Twisted Rope Pony
The tail split in two, each half twisted in the same direction, then wound around each other the opposite way. The two opposing directions lock against each other, which is why a rope twist holds without an elastic doing all the work.
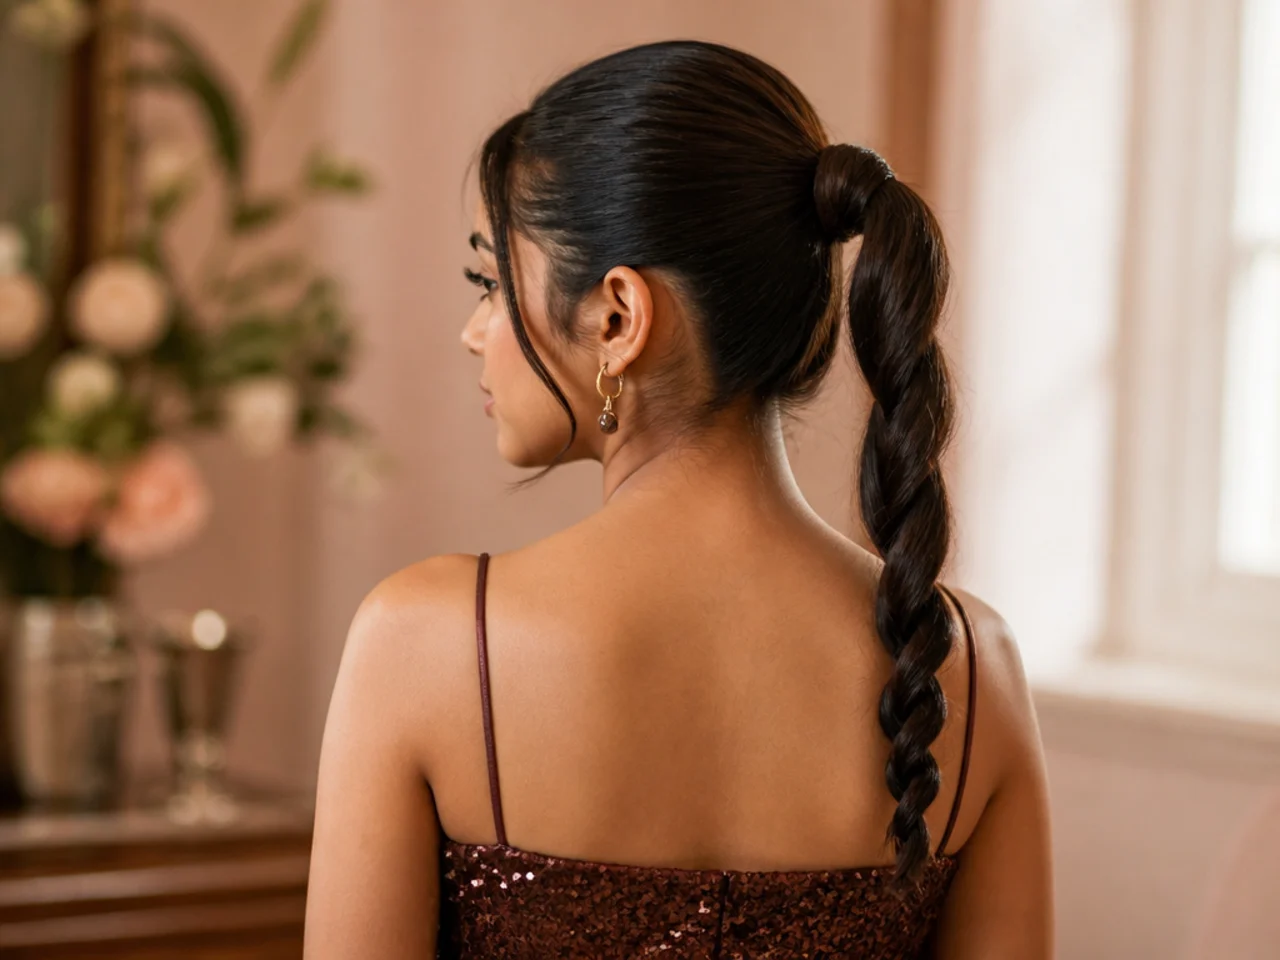
18. The Bubble and Braid Pony
Alternating bubbles and short braided runs down the tail. Braid the sections that carry the most weight, because a braid distributes tension along its length while a bubble concentrates it at the elastic above it.
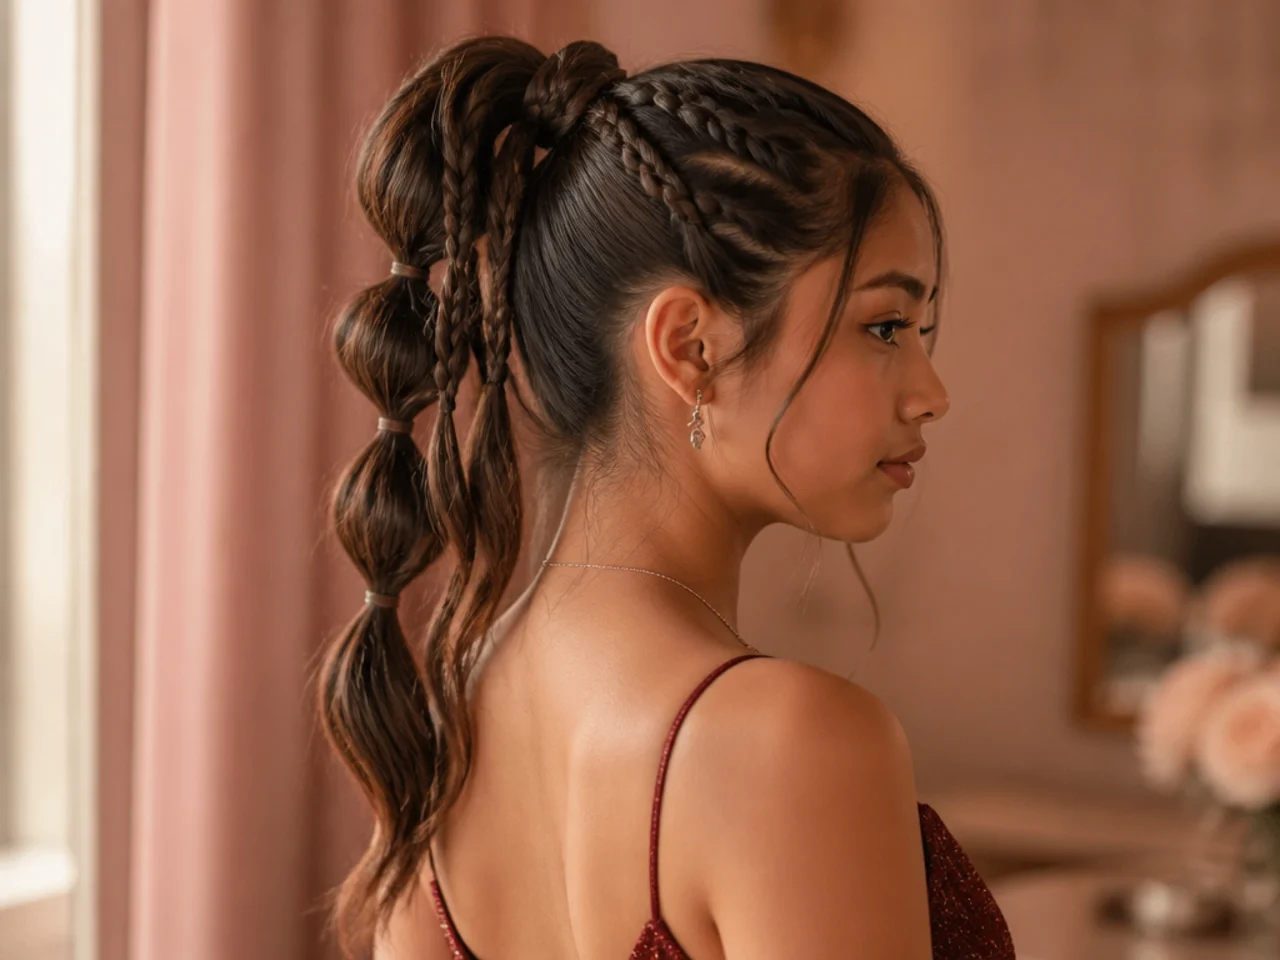
19. The Voluminous Curly Pony
Natural curl gathered high with the pattern left intact. Gather with your fingers rather than a brush, since a brush pulls the curl clumps apart into frizz and the volume you were gathering for disappears.
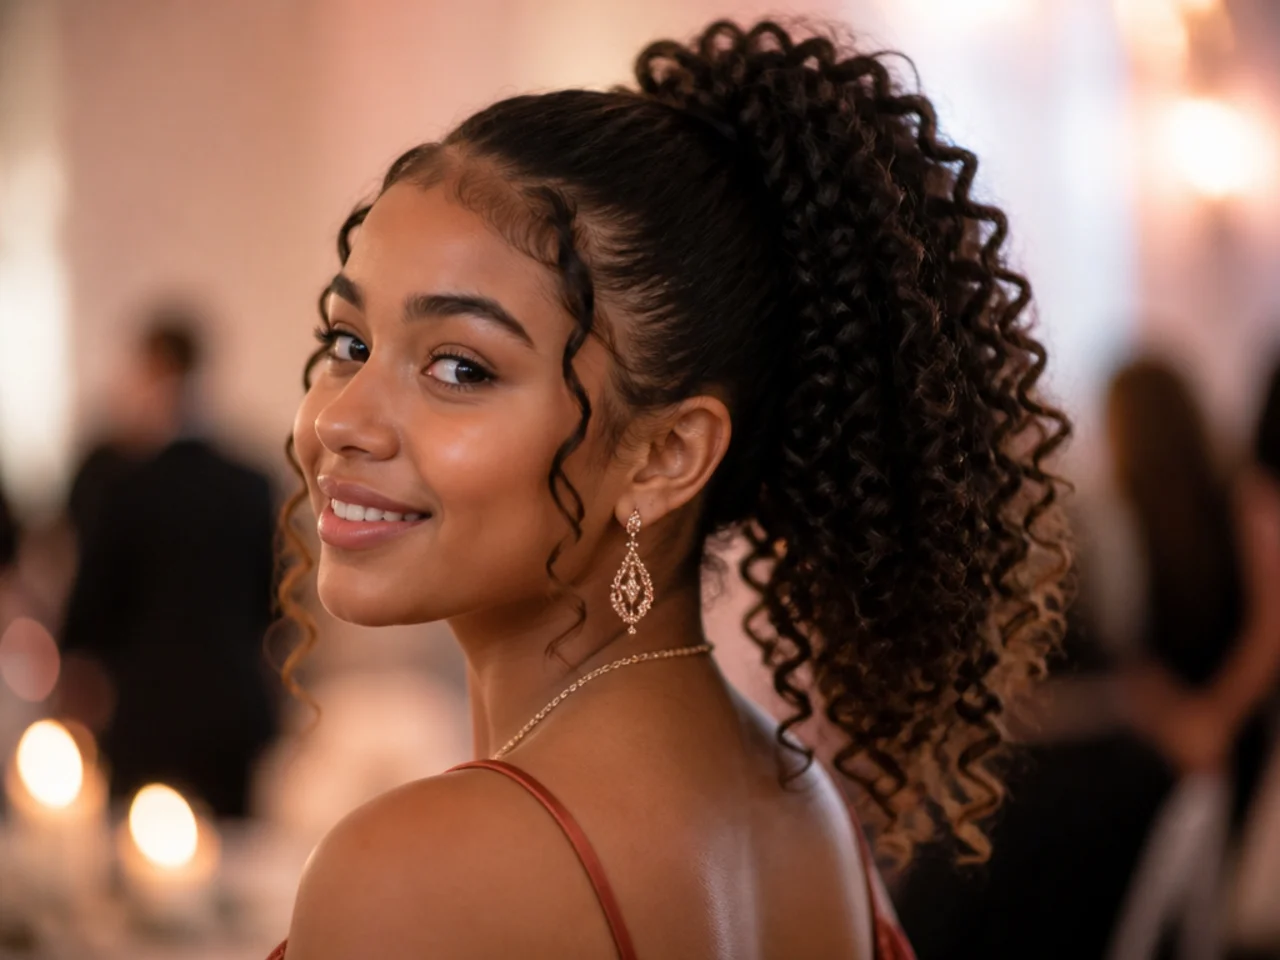
20. The Extended Pony
Added length clipped in beneath the natural tail. Cross two pins under the elastic to transfer the extra weight onto the scalp hair, or the base slides backwards over the course of the night and takes the shape with it.
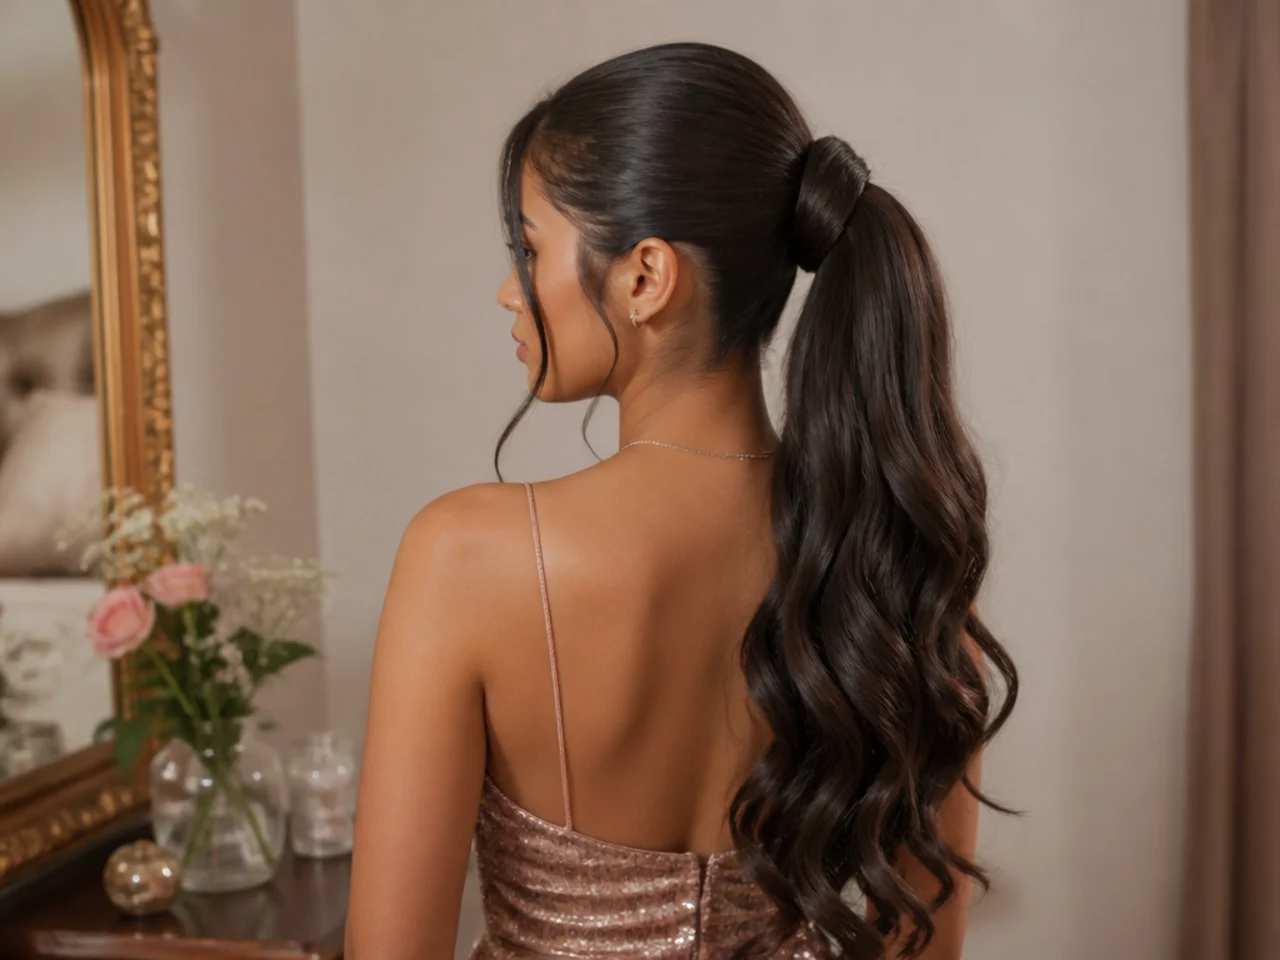
21. The Pearl Pinned Pony
Pearl pins set along the line where the hair sweeps into the gather. Follow the direction of the hair rather than dotting them randomly, because a line of pins reads as a deliberate detail and scattered ones read as an accident.
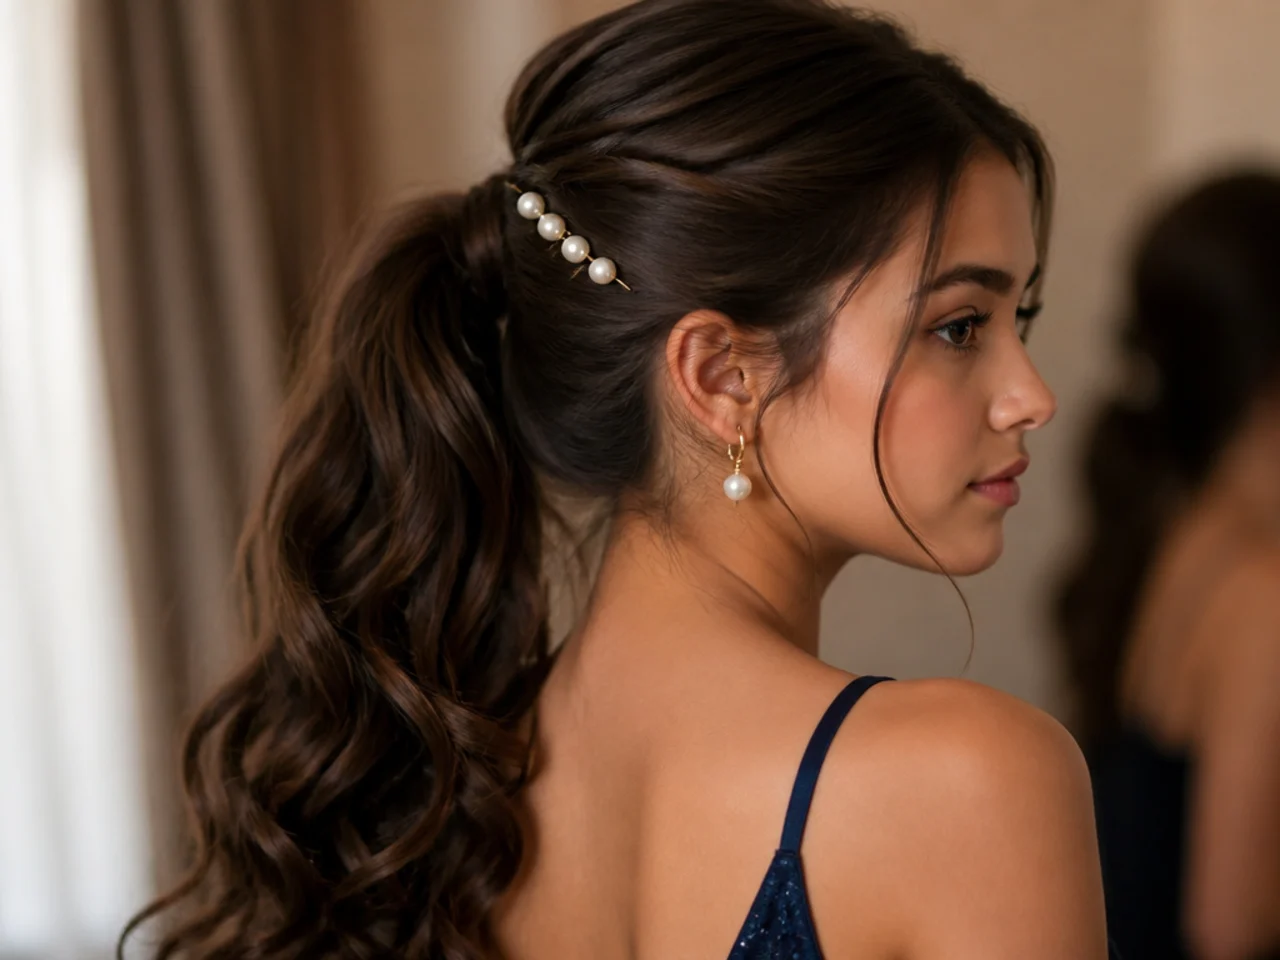
22. The Bouffant Pony
Height built across the whole top rather than just the crown, then smoothed over. The smoothing layer must be taken before you tease, since hair that has already been backcombed cannot be brushed flat again without collapsing the lift underneath.
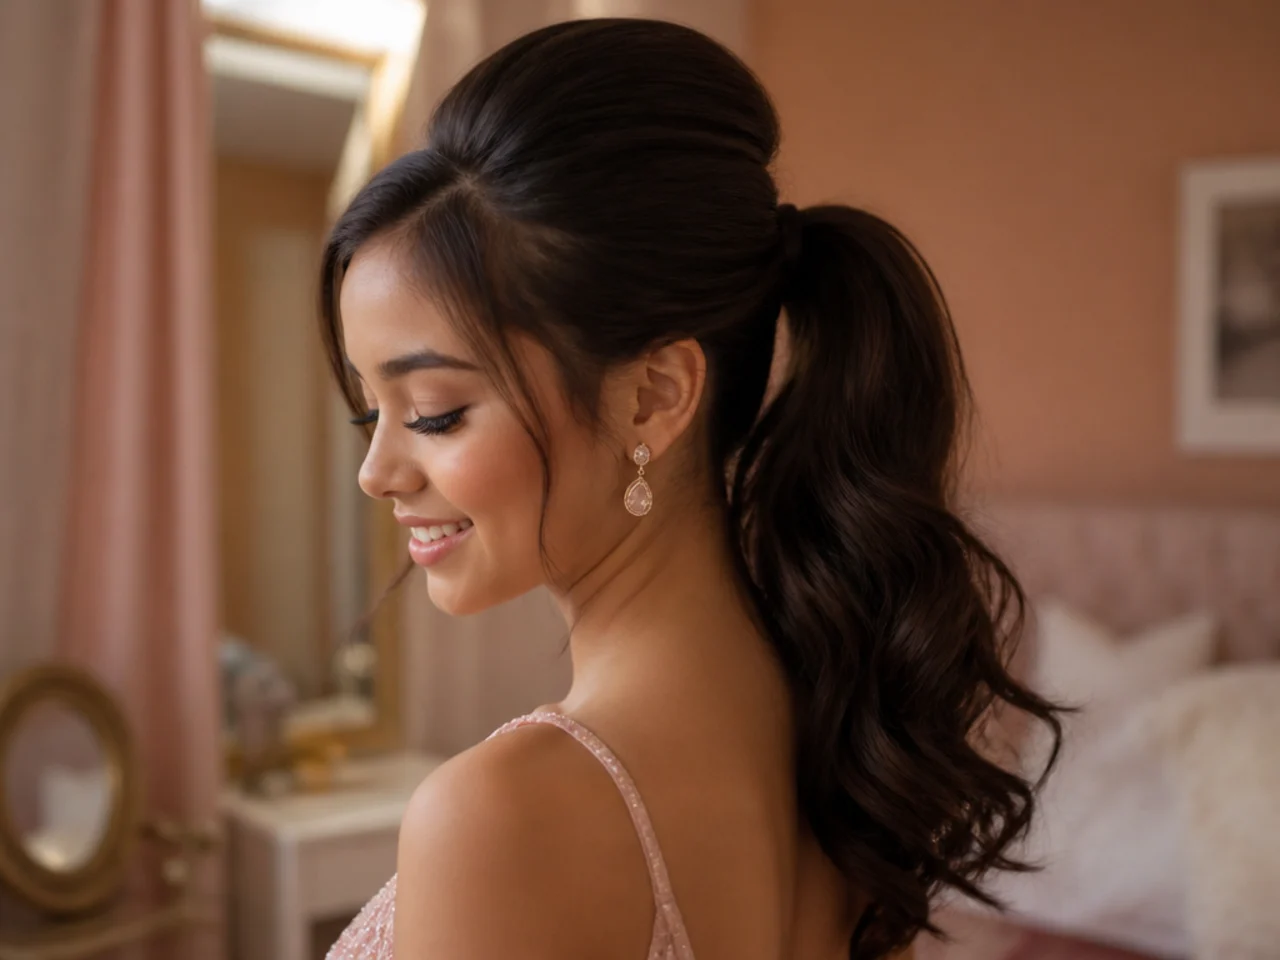
23. The Middle Part Sleek Pony
A centre parting taken all the way to the gather, both sides brushed flat. The parting has to be dead straight, because two symmetrical halves make any wander in the line obvious in a way a side part never does.
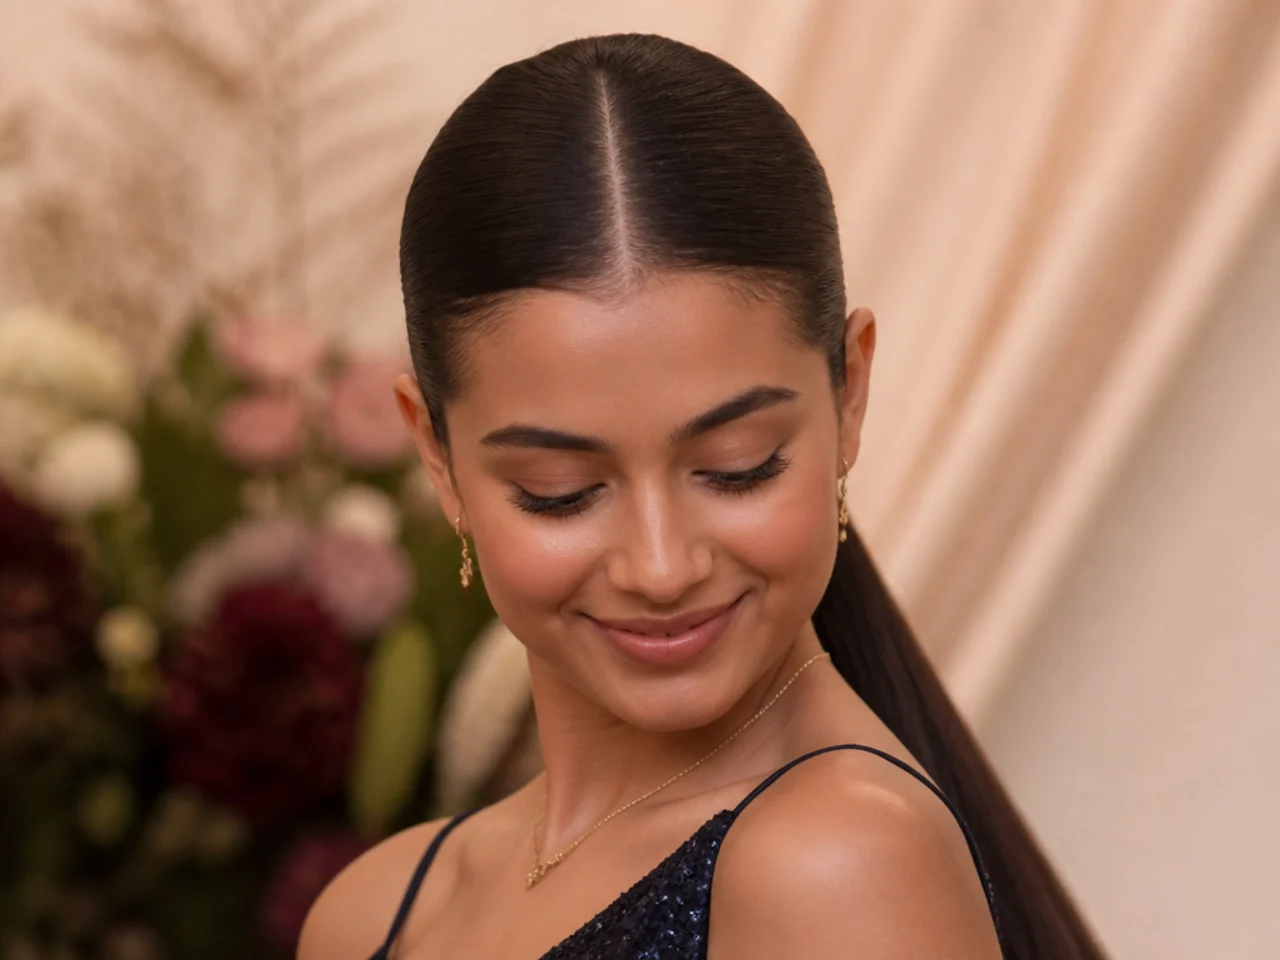
24. The Tousled Undone Pony
Loose at the base with pieces pulled out around the hairline. Pull from the top layer only, because pieces released from underneath fall out of the elastic entirely and the tail starts shedding sections.
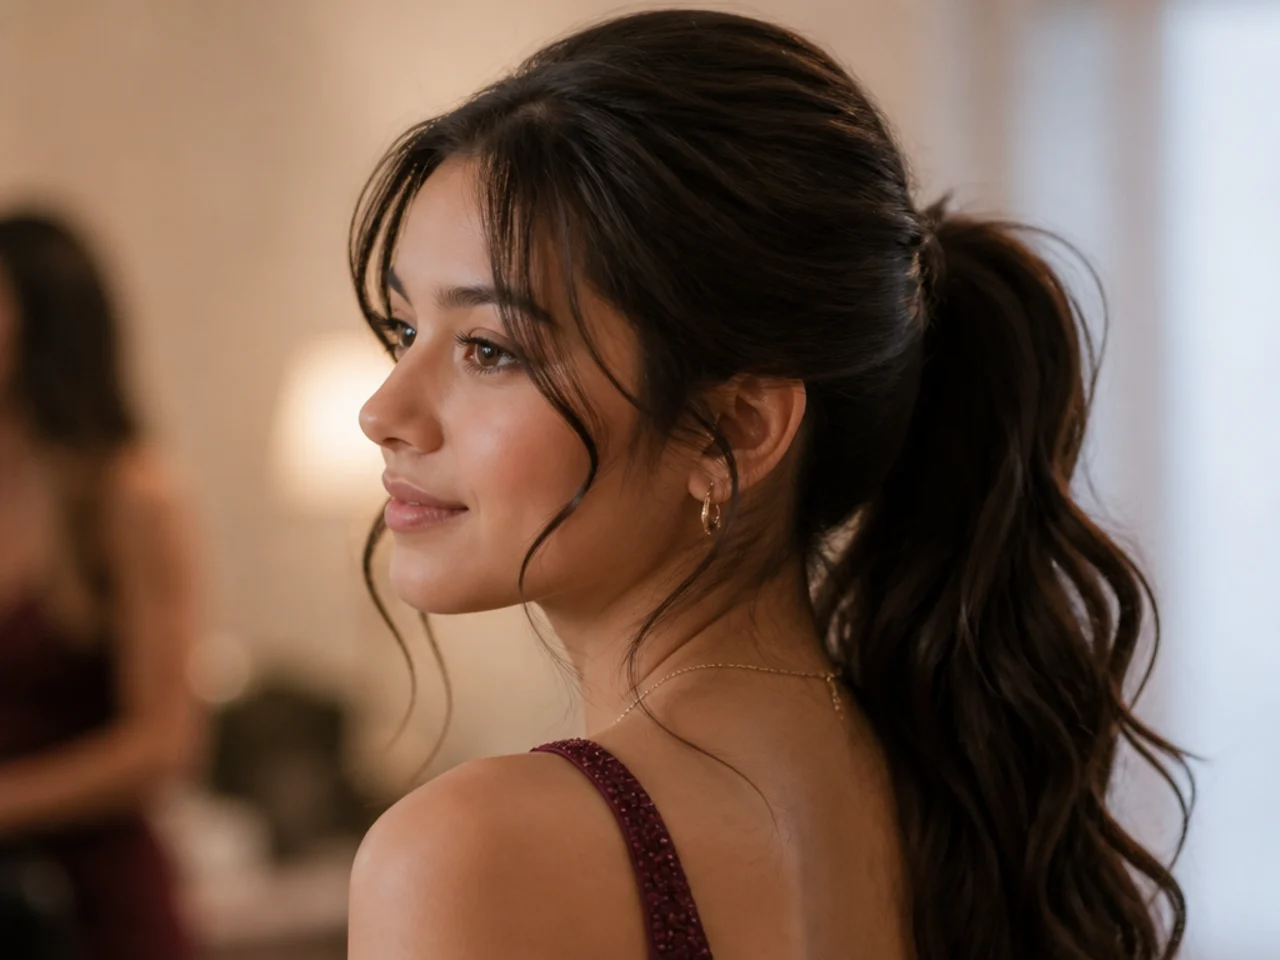
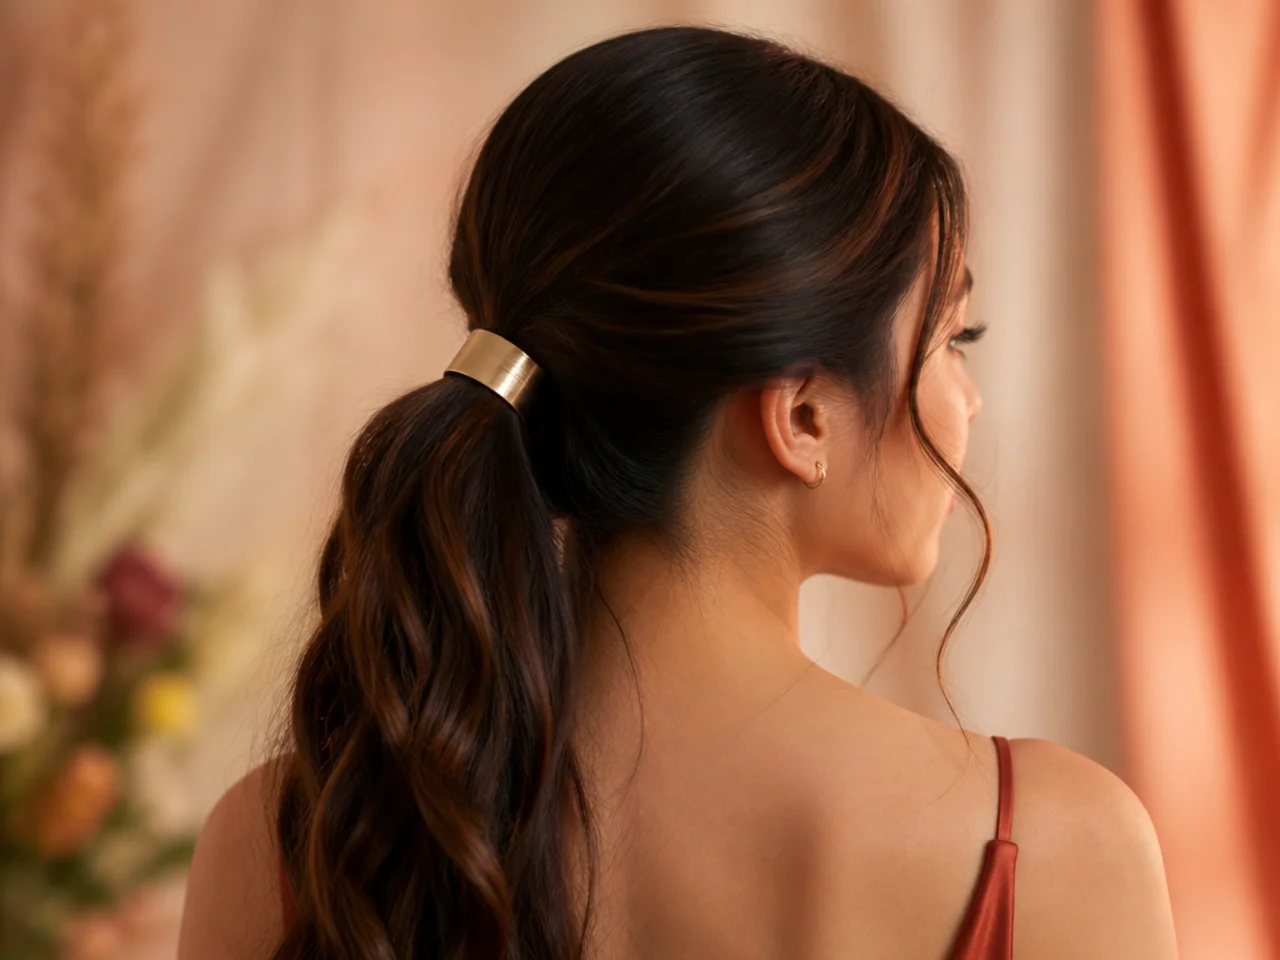
25. The Cuffed Pony
A metal cuff fitted over the elastic. Choose one that closes rather than one that slides on, since an open cuff relies on the tail staying exactly as thick as it was when you fitted it and hair loosens all evening.
Styling and Upkeep
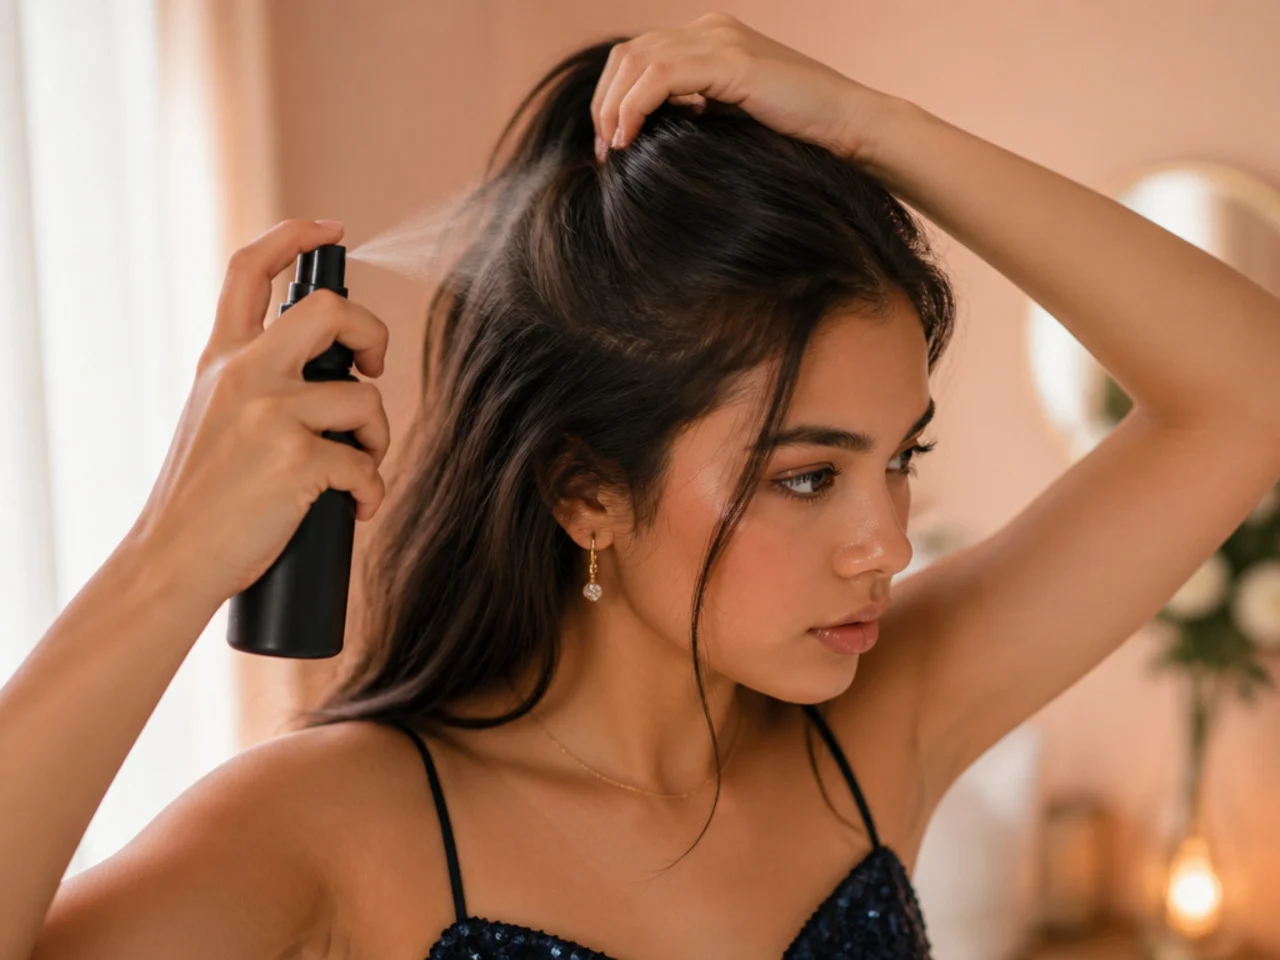
Grit the roots before you gather. Dry texture spray or dry shampoo raises friction between strands, and friction is what holds a base in place.
Use two elastics on a heavy tail. The first holds the gather, the second sits a few inches down and stops the weight dragging on the first.
Wrap the elastic every time. It is thirty seconds and it is the single detail that separates a done style from a tied one.
Spray from a distance and in light passes. Hairspray held close lands as droplets that dry into visible flecks on a flat surface.
Carry two pins and one spare elastic. A base can be reset in a bathroom mirror in a minute if you have the hardware, and not at all if you do not.
Mistakes to Avoid
Pulling tighter instead of adding grip. Tension flattens the crown, strains the hairline and still lets the base slide once the hair settles.
Gathering with your chin dropped. The pony ends up sitting lower than intended, because the neck hair shifts as soon as you lift your head.
Curling before tying. The elastic crushes the pattern at the base and the curl reads as starting halfway down the tail.
Pinning into the scalp instead of the elastic. A pin anchored in loose hair works its way out. Angled up into the band, it has something solid to hold.
Doing it on freshly washed hair. A clean cuticle is smooth and slippery, so nothing grips. Style on day two hair or fake it with texture spray.
FAQ
Why does my ponytail drop? The base has no friction. Grit the roots before gathering.
How do I hide the elastic? Wrap a strand from underneath and pin up into the band.
High or low? Match it to the neckline of the dress rather than to a photo.
Final Thoughts
Almost everything that makes a ponytail look expensive happens before the elastic goes on. Grit at the roots, one brushing direction, a parting decided in advance, then thirty seconds spent hiding the band.
For more height options see high ponytail hairstyles, and for the versions that survive a full evening see easy high ponytail hairstyles. More in Occasion Hair.
Frequently asked questions
Related posts
See all posts
15 Graduation Hair Ideas for the Updo Versus Down Decision
Read more
15 Straight Hair Wedding Looks to Save
Read more
20 Gorgeous Prom Looks for Straight Hair
Read more