20 Steps To Do Your Own Hoco Hair In 30 Minutes
Thirty minutes buys one setting and one shape, and the order is fixed. Twenty steps in sequence, what each one is actually doing, and what breaks if you skip it or take it out of turn.
In this article · 27
- What Thirty Minutes Actually Buys You
- Choosing a Style You Can Reach
- The 20 Steps
- 1. Wash the Night Before Not the Morning Of
- 2. Lay Out Every Tool First
- 3. Split the Thirty Minutes Into Four Blocks
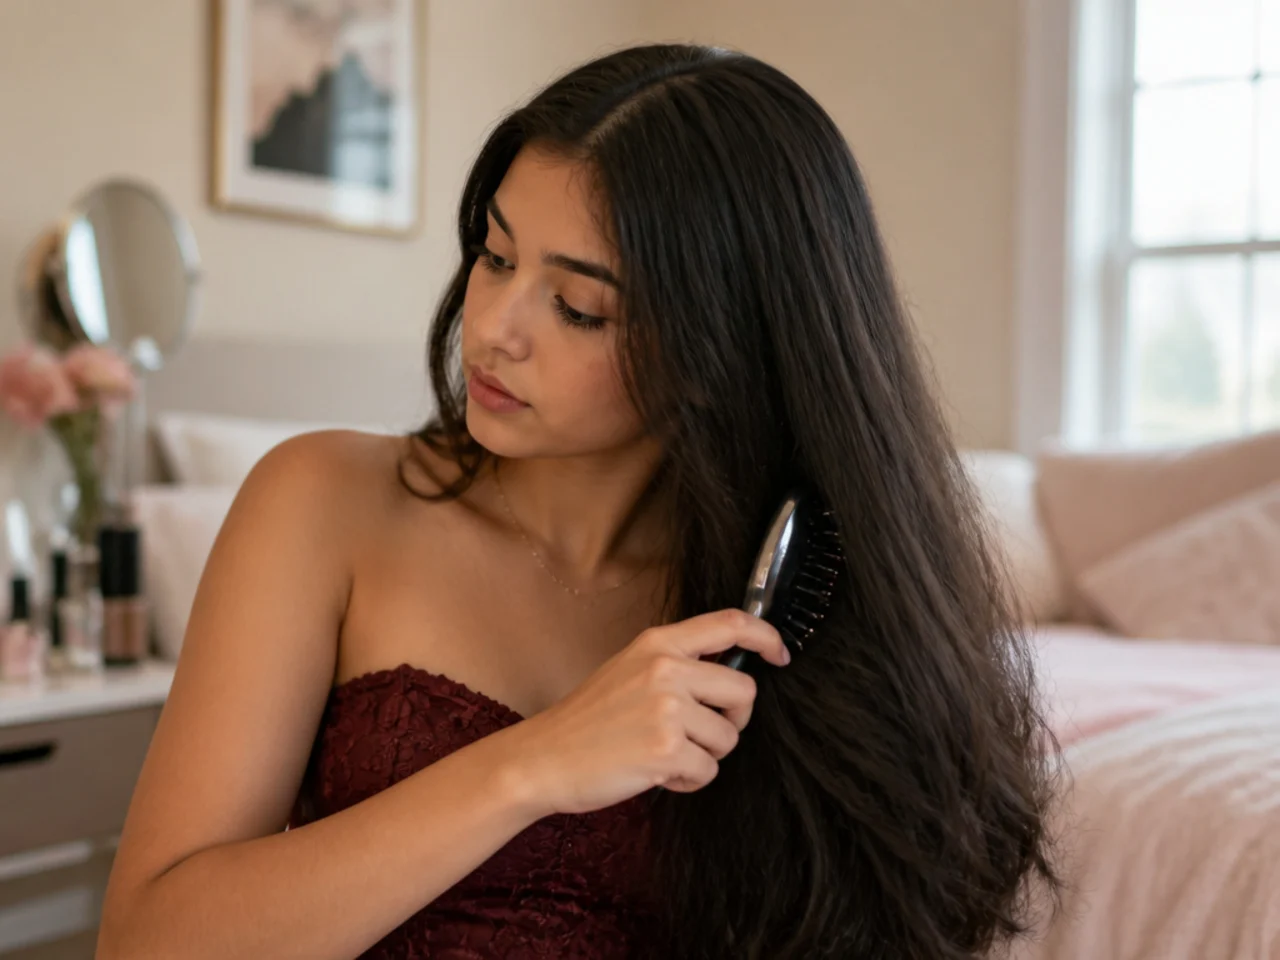
- 4. Detangle From the Ends Upward
- 5. Mist Heat Protectant Before Anything Hot
- 6. Flat Iron the Top Layer Only
- 7. Curl in One Direction Away From Your Face
- 8. Pin Each Curl to Cool
- 9. Wait Ten Minutes Before You Touch Them
- 10. Brush the Curls Out With Fingers
- 11. Set Your Parting Before You Gather
- 12. Backcomb the Crown in Three Small Sections
- 13. Smooth the Surface Without Flattening It
- 14. Grip the Base With Dry Texture Spray
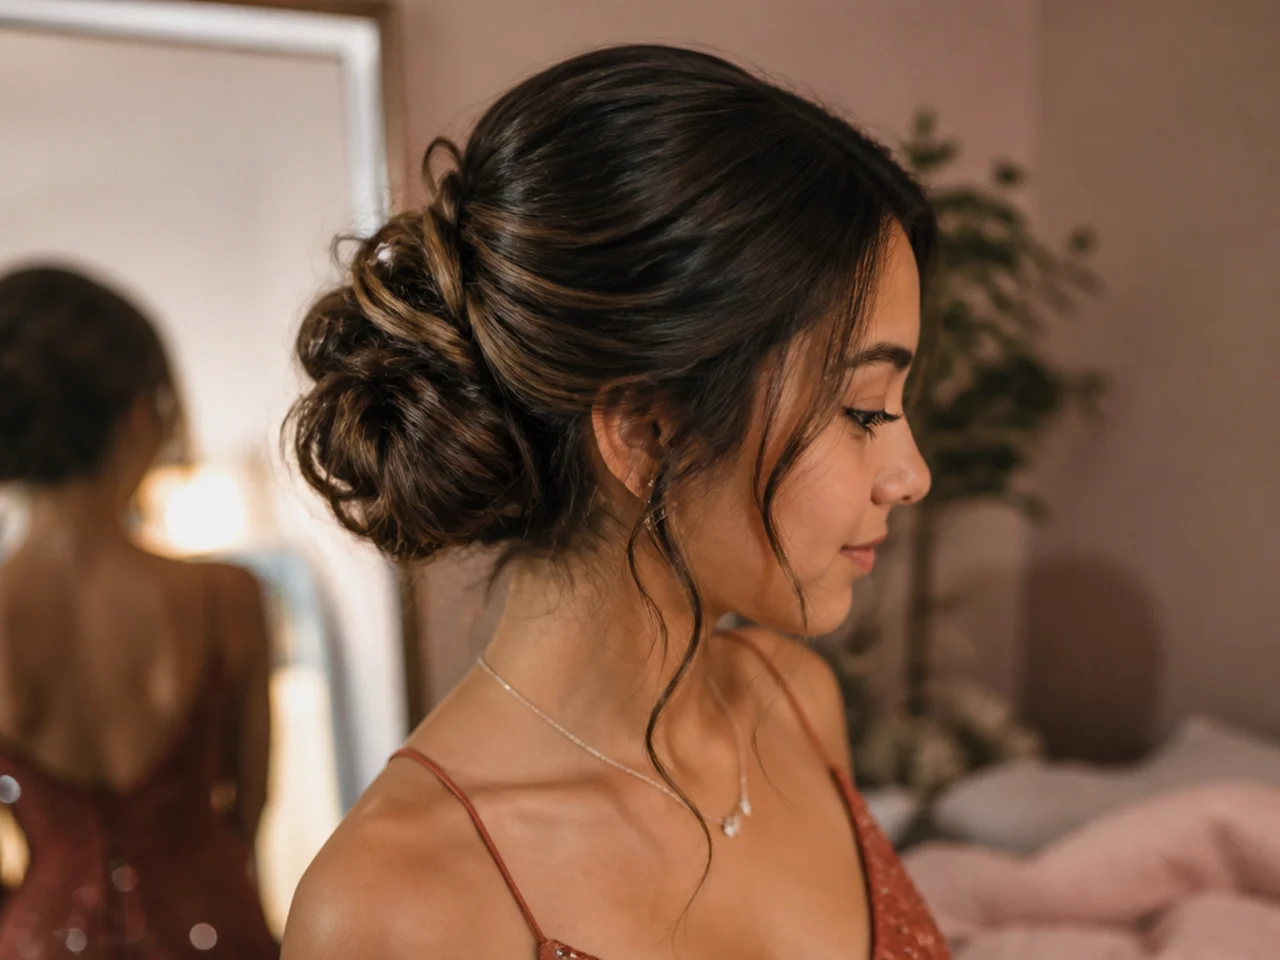
- 15. Gather at the Angle You Want It to Sit
- 16. Anchor With Two Elastics Not One
- 17. Wrap a Strand Over the Elastic
- 18. Pin Every Wrap From Underneath
- 19. Release the Face Framing Pieces Last
- 20. Set It With Flexible Hold Spray
- Styling and Upkeep
- Mistakes to Avoid
- FAQ
- Final Thoughts
Doing your own hair for a dance fails on sequence far more often than on skill.
The order is fixed. Heat before product, product before pinning, pinning before spray. Every one of those out of order costs a restart, and a restart is the thirty minutes.
Most of the half hour is waiting. Hair sets as it cools, not as it heats, so the cooling block is the part that decides whether the style is still there at ten o'clock.
What Thirty Minutes Actually Buys You
One setting and one shape. Curl or straighten, then gather. Two heat passes and an updo do not fit, and trying to fit them is how people end up leaving with wet ends.
Ten minutes of it is cooling. That block feels like dead time and it is the only reason the style survives. Use it to do makeup rather than to touch the curls.
Washing is not part of the thirty. It happens the night before, both for time and because clean hair will not hold anything.
The reachable version of a style is the one to do. Anything that needs a second mirror behind your head takes three times as long and comes out uneven anyway.
Choosing a Style You Can Reach
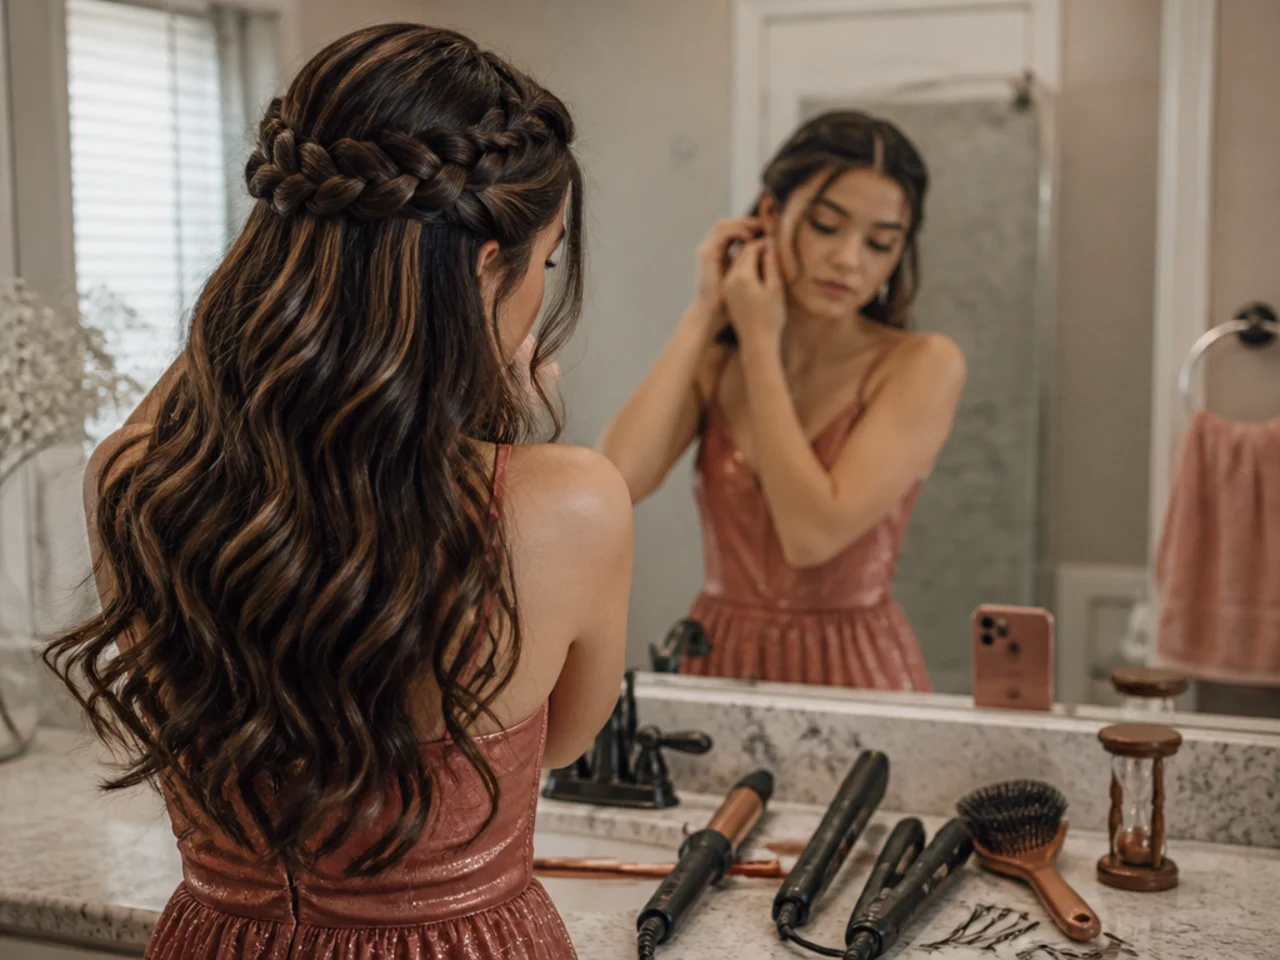
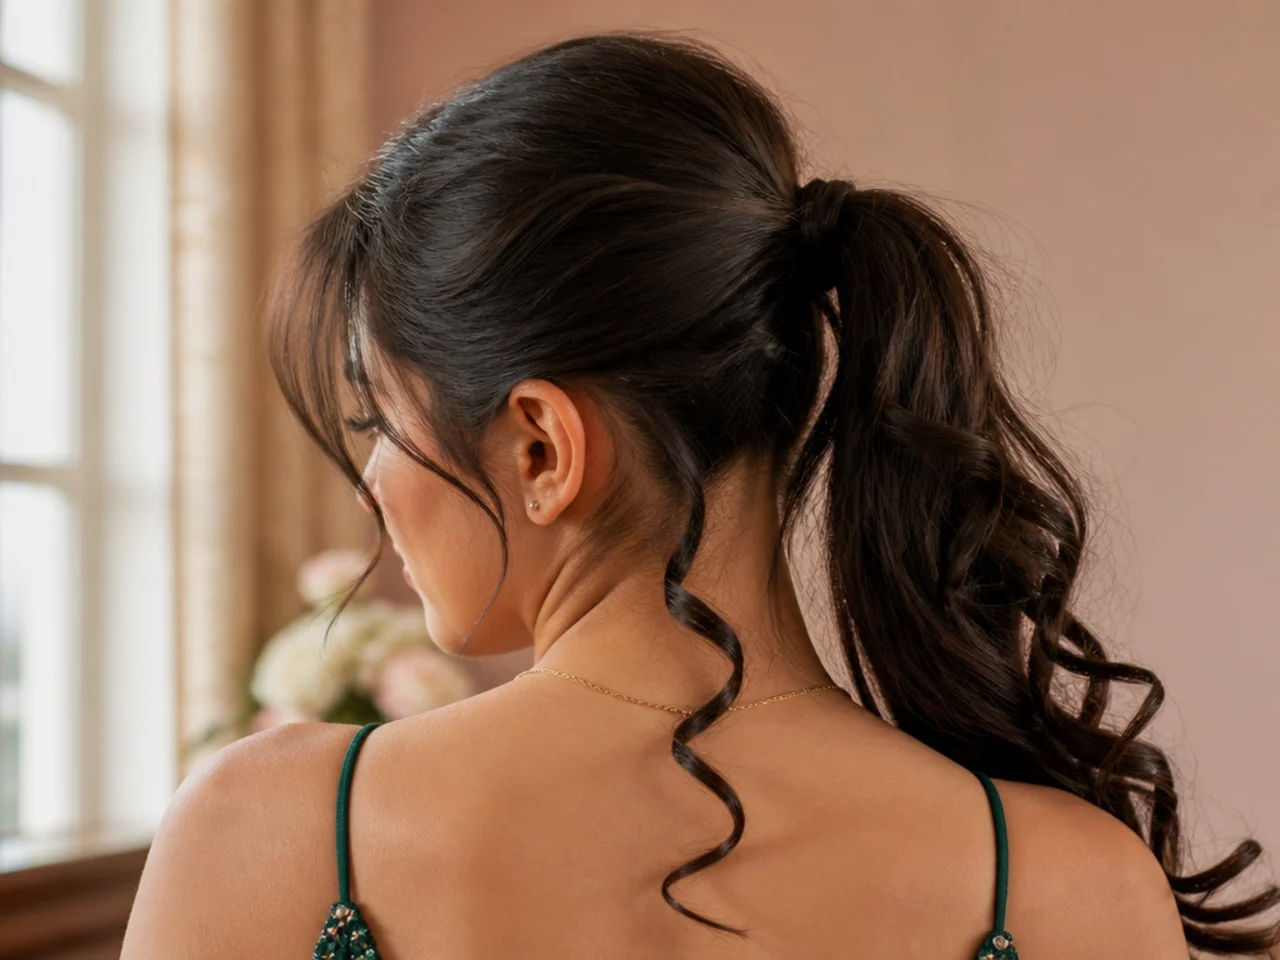
Front facing shapes beat back facing ones. A half up, a ponytail or a twisted crown is built where you can see it. A woven back needs someone else.
Count the hardware before you start. Two elastics, six pins and a comb covers most styles. Discovering you need more mid style means letting go of a section, and a released section falls.
Match it to your hair honestly. Fine hair will not hold a heavy bun without backcombing, and thick hair will not sit in a single small elastic.
Do it once on an ordinary evening. The first attempt at anything takes double, so the run through is what turns thirty minutes into a real number rather than a hope.
The 20 Steps
1. Wash the Night Before Not the Morning Of
Freshly washed hair has a smooth closed cuticle with nothing for a pin to catch on, so the hardware slides and curls unwind. A night of natural oils gives the strands friction against each other. Skip this and you spend the whole half hour fighting hair that physically cannot hold a shape.
2. Lay Out Every Tool First
Pins, two elastics, a fine tooth comb, heat protectant and spray, all within arm's reach of the mirror. Reaching for something mid style means letting go of a section you were holding, and once a section drops it never falls back into the same place.
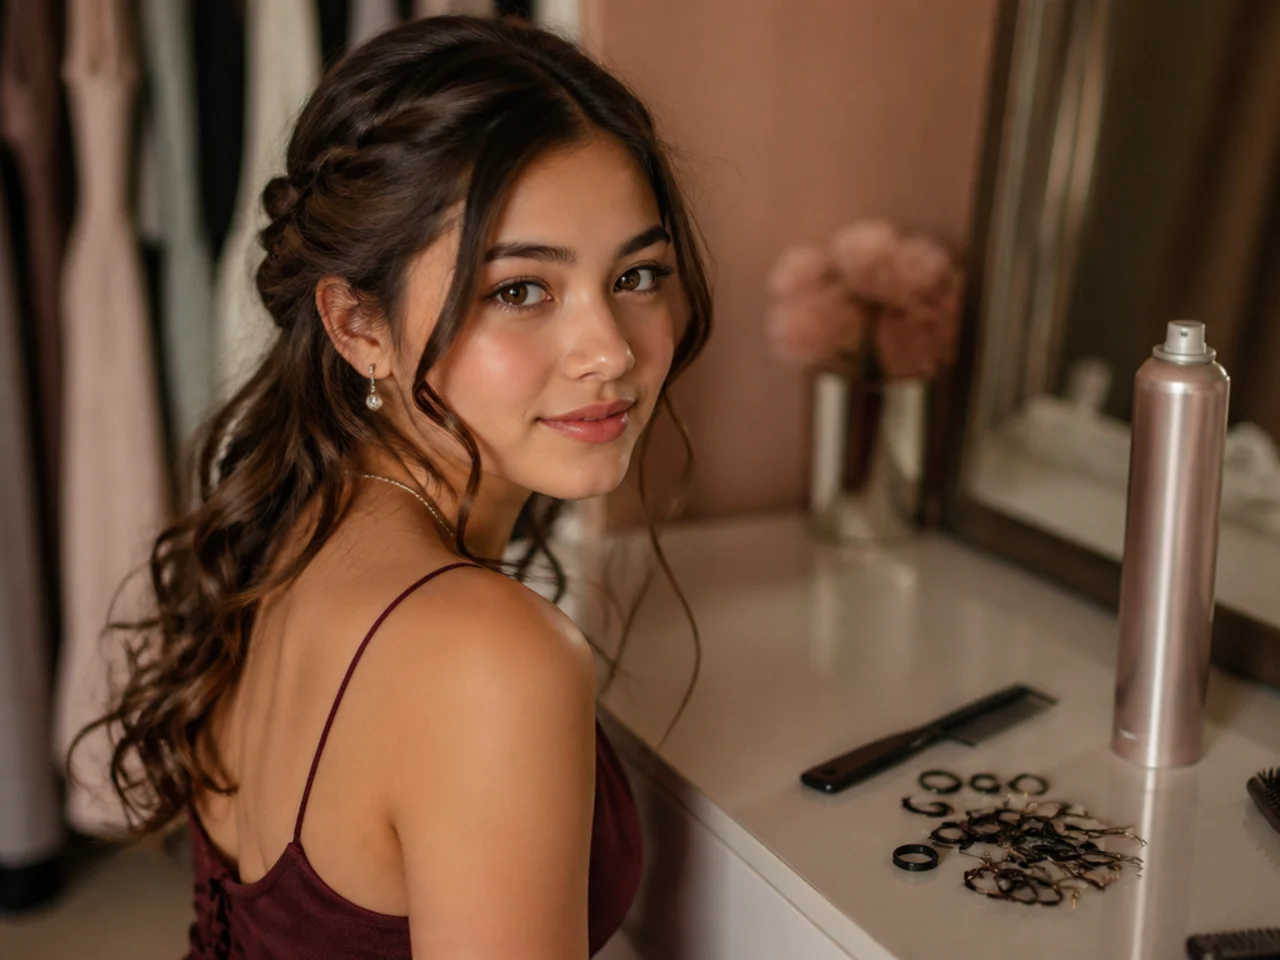
3. Split the Thirty Minutes Into Four Blocks
Ten to heat, ten to cool, five to shape, five to set. Hair remembers whatever shape it was in as it cooled, so borrowing from the cooling block is borrowing from the only part that makes the style last. Curls unpinned warm are curls that drop before you arrive.
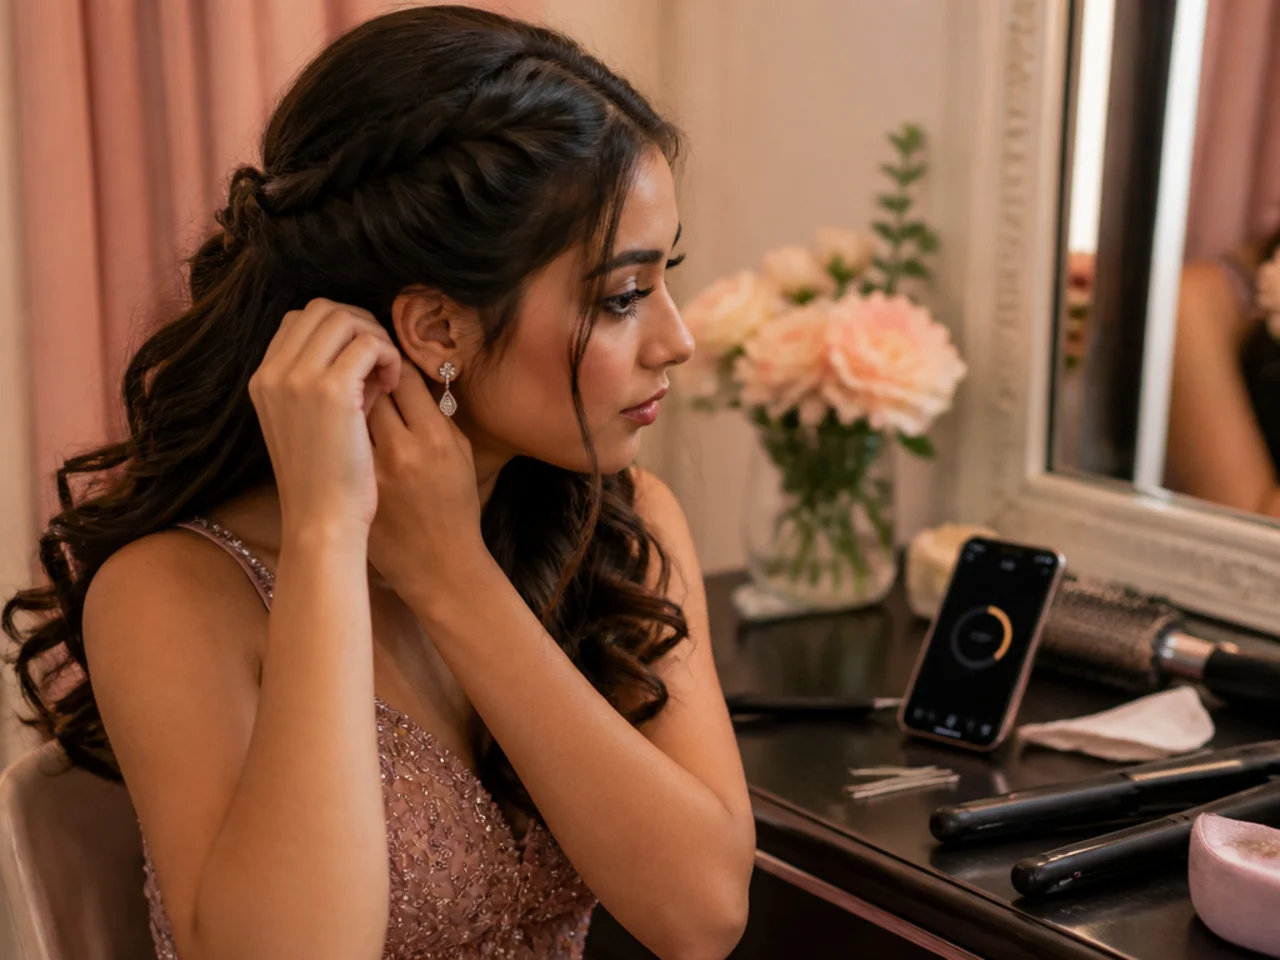
4. Detangle From the Ends Upward
Start a few inches from the ends and work up in short sections. Brushing from the roots down pushes every knot ahead of the bristles into one larger knot at the ends, and forcing through that is where hair actually snaps.
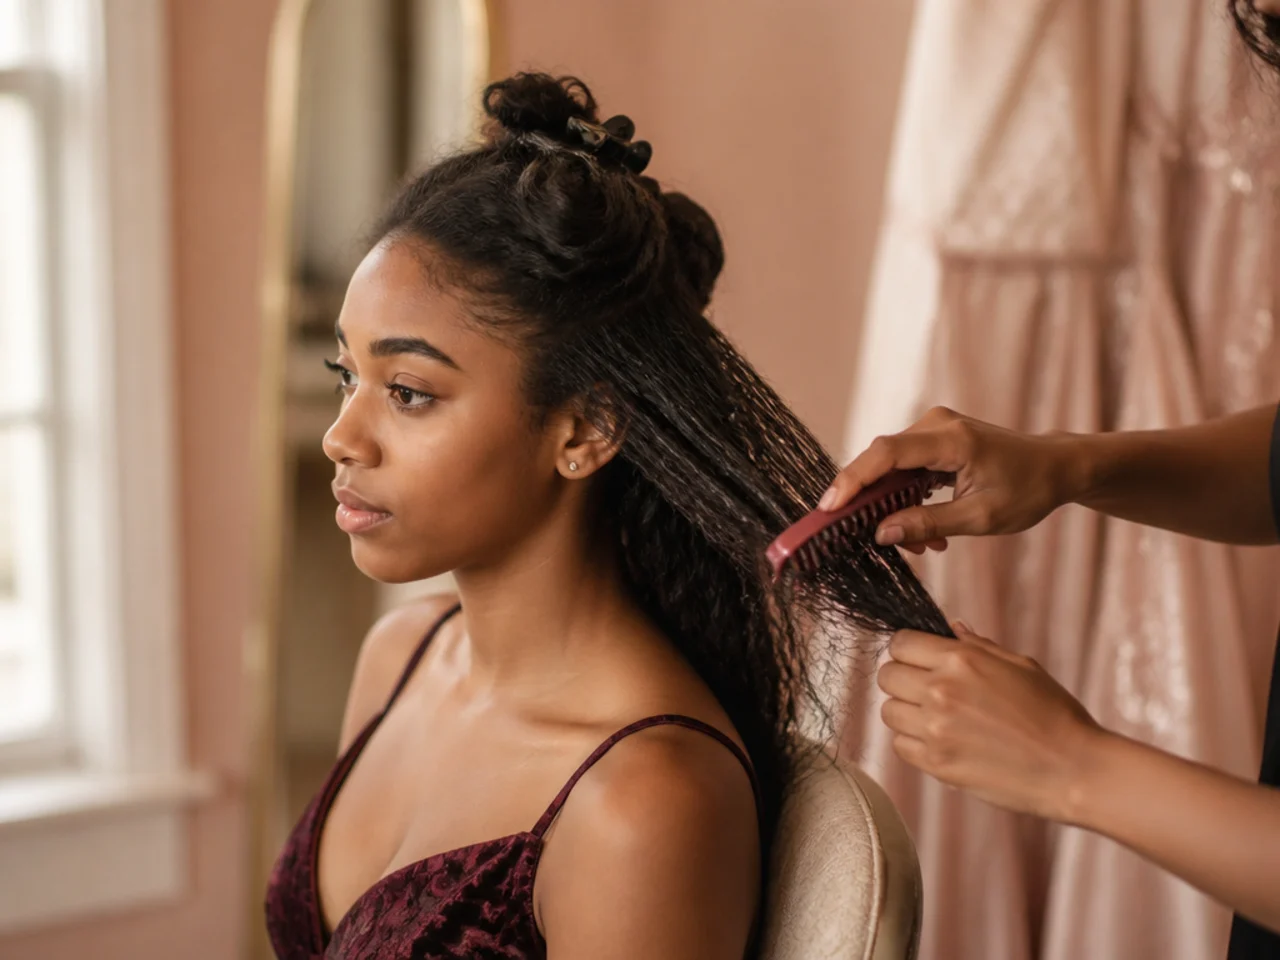
5. Mist Heat Protectant Before Anything Hot
A light mist over dry hair, not a soaking. Without it the iron pulls moisture straight out of the cuticle, and while the hair still takes the curl it goes dull and rough, which photographs as flat no matter how good the shape is.
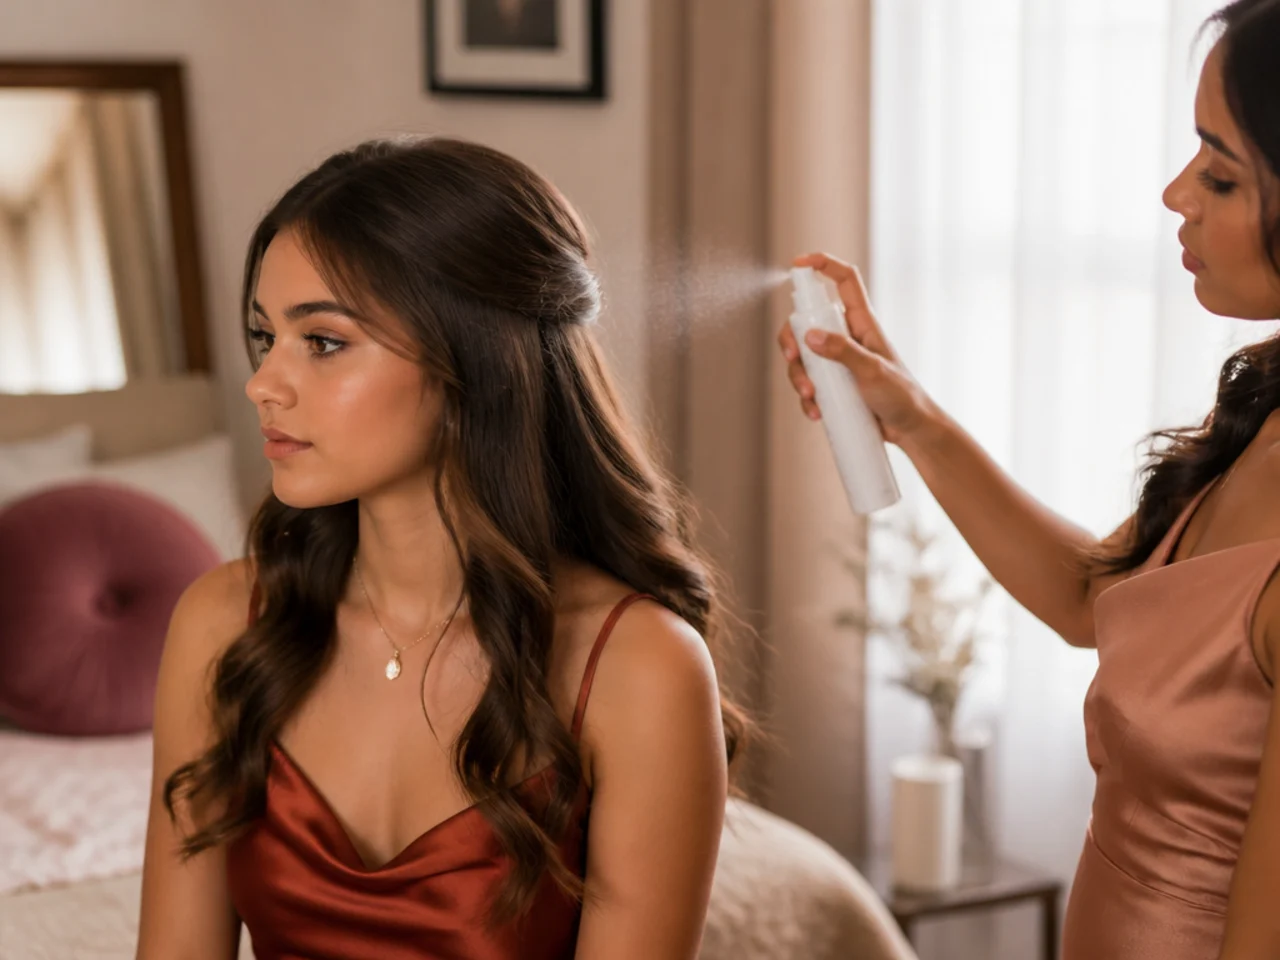
6. Flat Iron the Top Layer Only
The surface layer is the only part anyone sees, so smoothing it buys the whole style a finished look in a fraction of the passes. Ironing every section underneath spends ten of your thirty minutes on hair that ends up inside the shape.
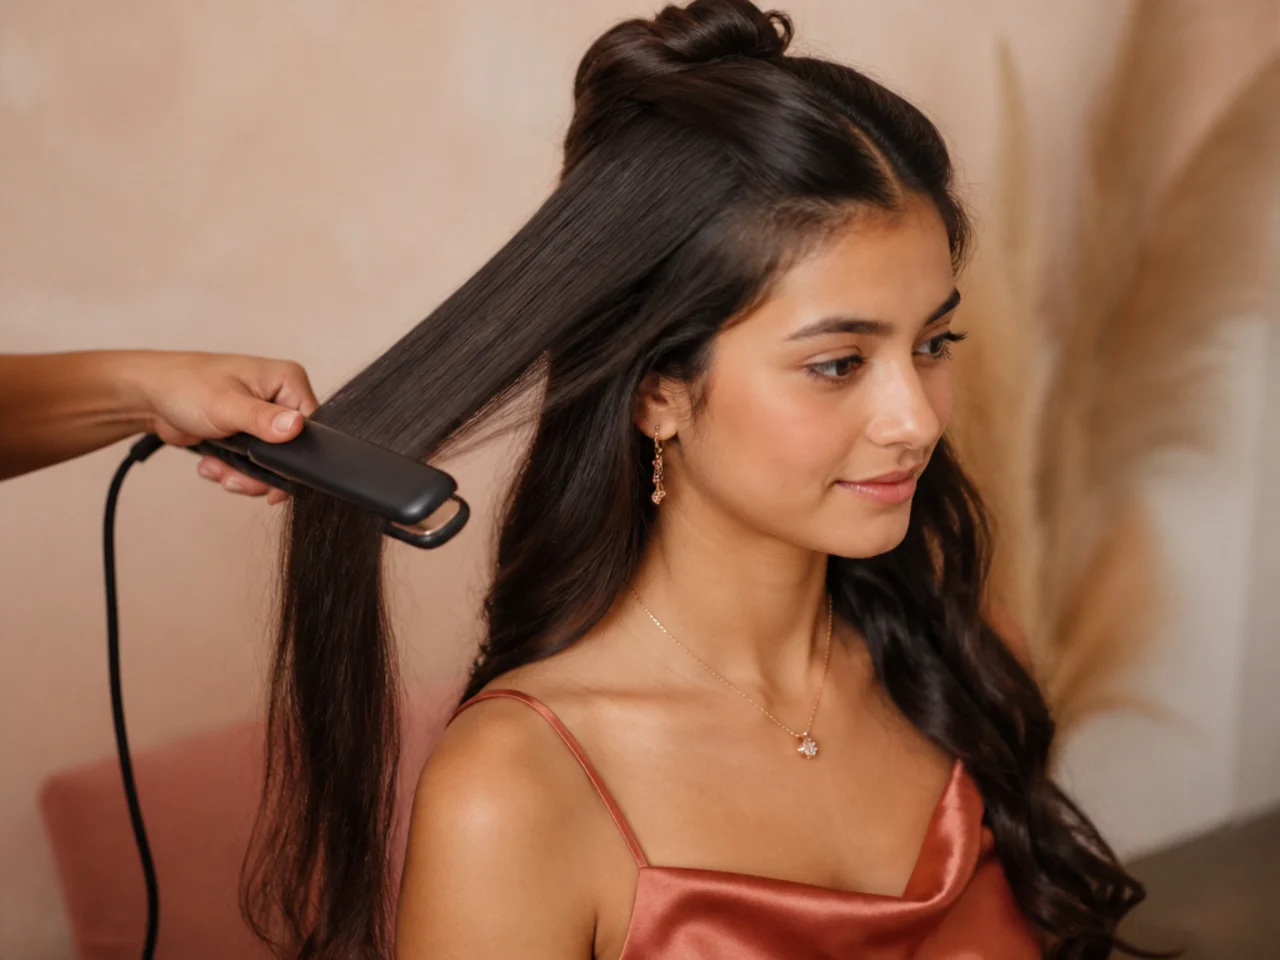
7. Curl in One Direction Away From Your Face
Every section wound the same way stacks into one continuous wave. Alternating directions makes neighbouring curls interlock, and interlocked curls read as frizz rather than as a set. Winding toward the face drops a curl across the cheek all evening.
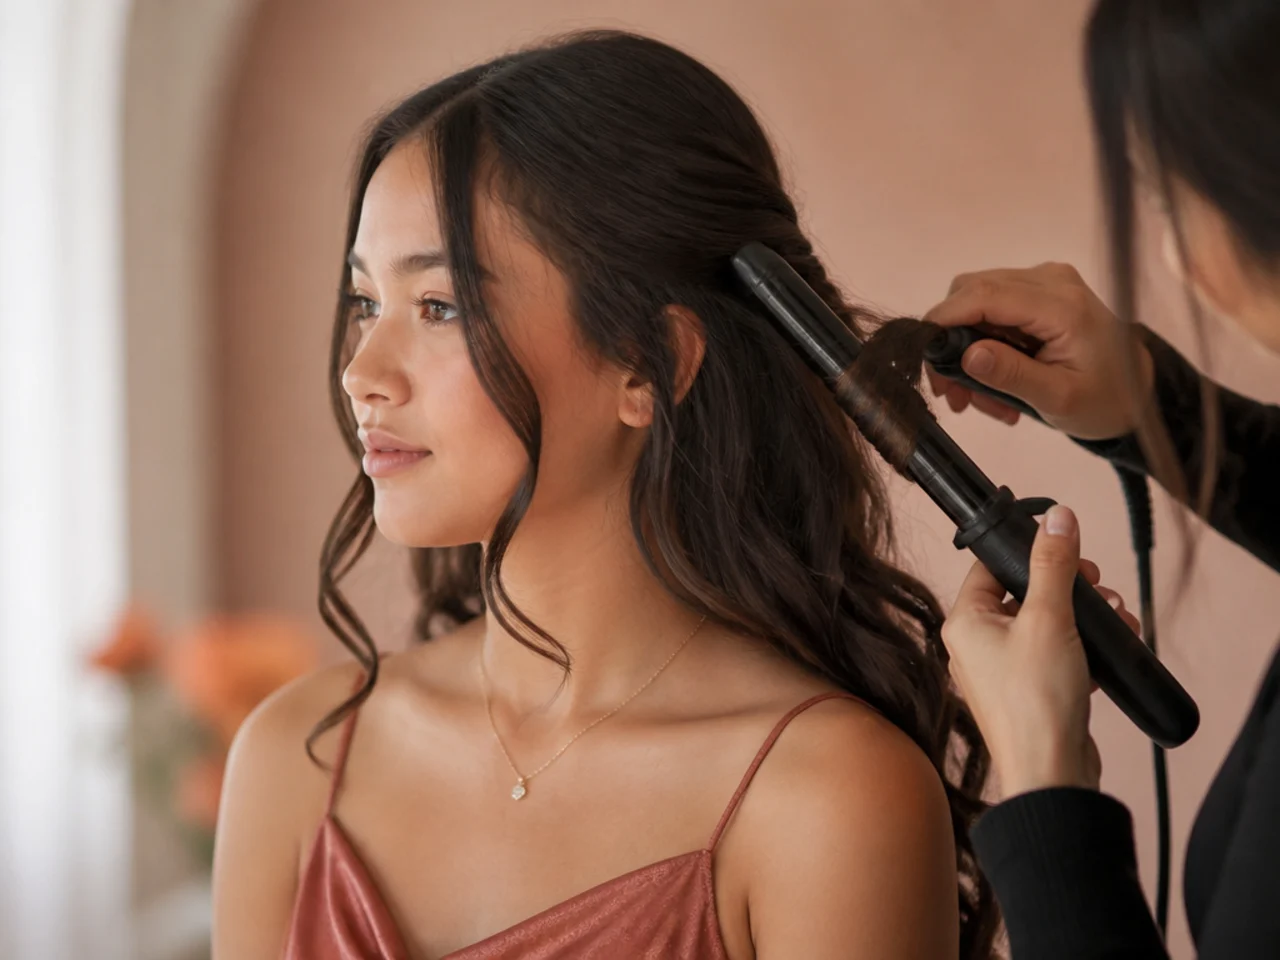
8. Pin Each Curl to Cool
Roll each finished curl up to the root and clip it flat against the head. Left hanging, the curl's own weight pulls the spiral open while it is still soft, which is why curls look tight in the mirror and loose an hour later.
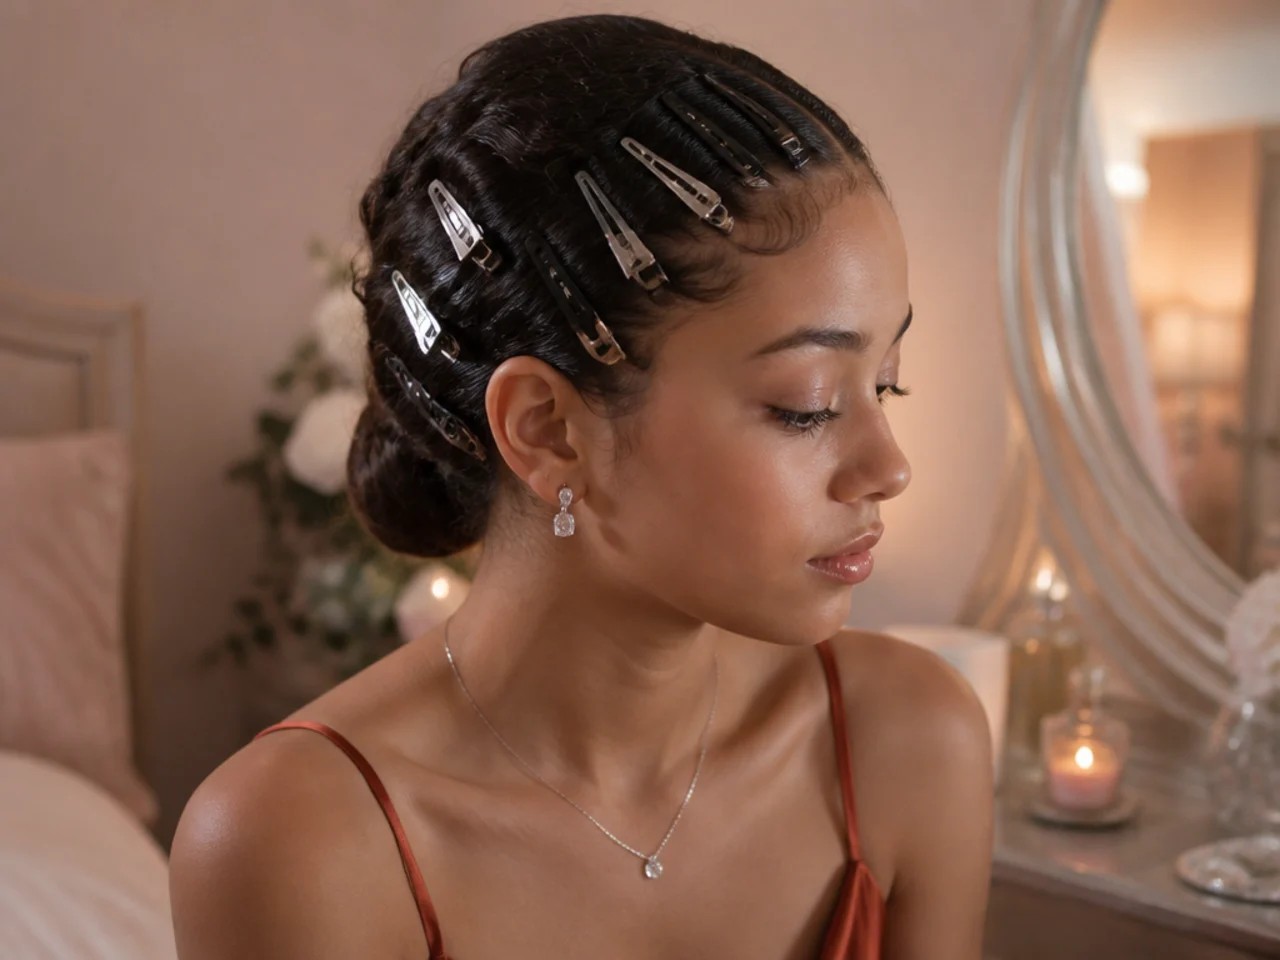
9. Wait Ten Minutes Before You Touch Them
The shape sets as the hair returns to room temperature, and that takes longer than it feels like it should. Unpin at five minutes and the curl relaxes to about half the size you wound, which is a different style from the one you planned.
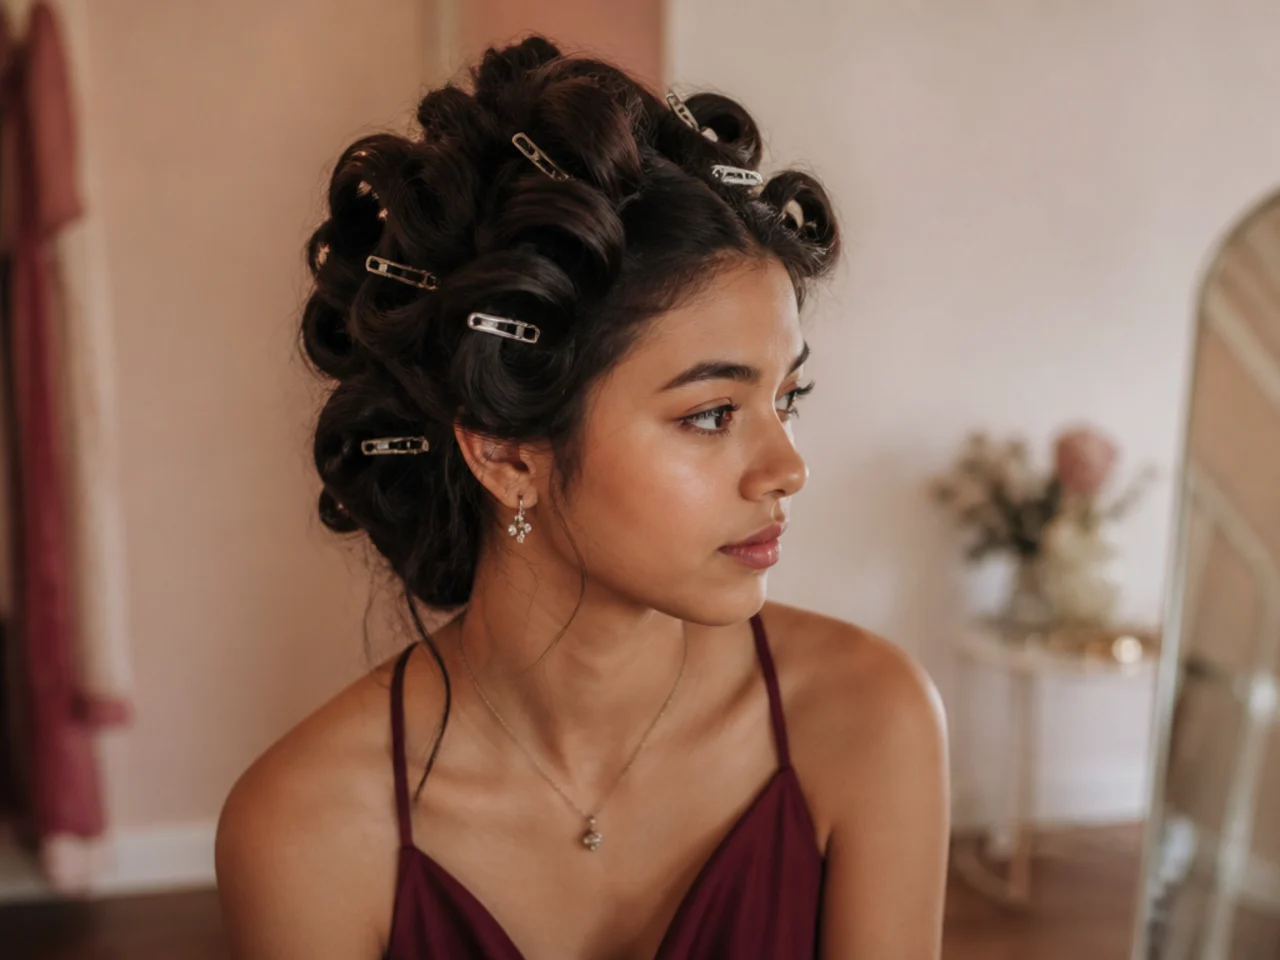
10. Brush the Curls Out With Fingers
Separate each cooled curl into two or three pieces by hand. A brush pulls every strand apart from its neighbours and turns a set curl into frizz, while fingers break the clump just enough to soften ringlets into waves.
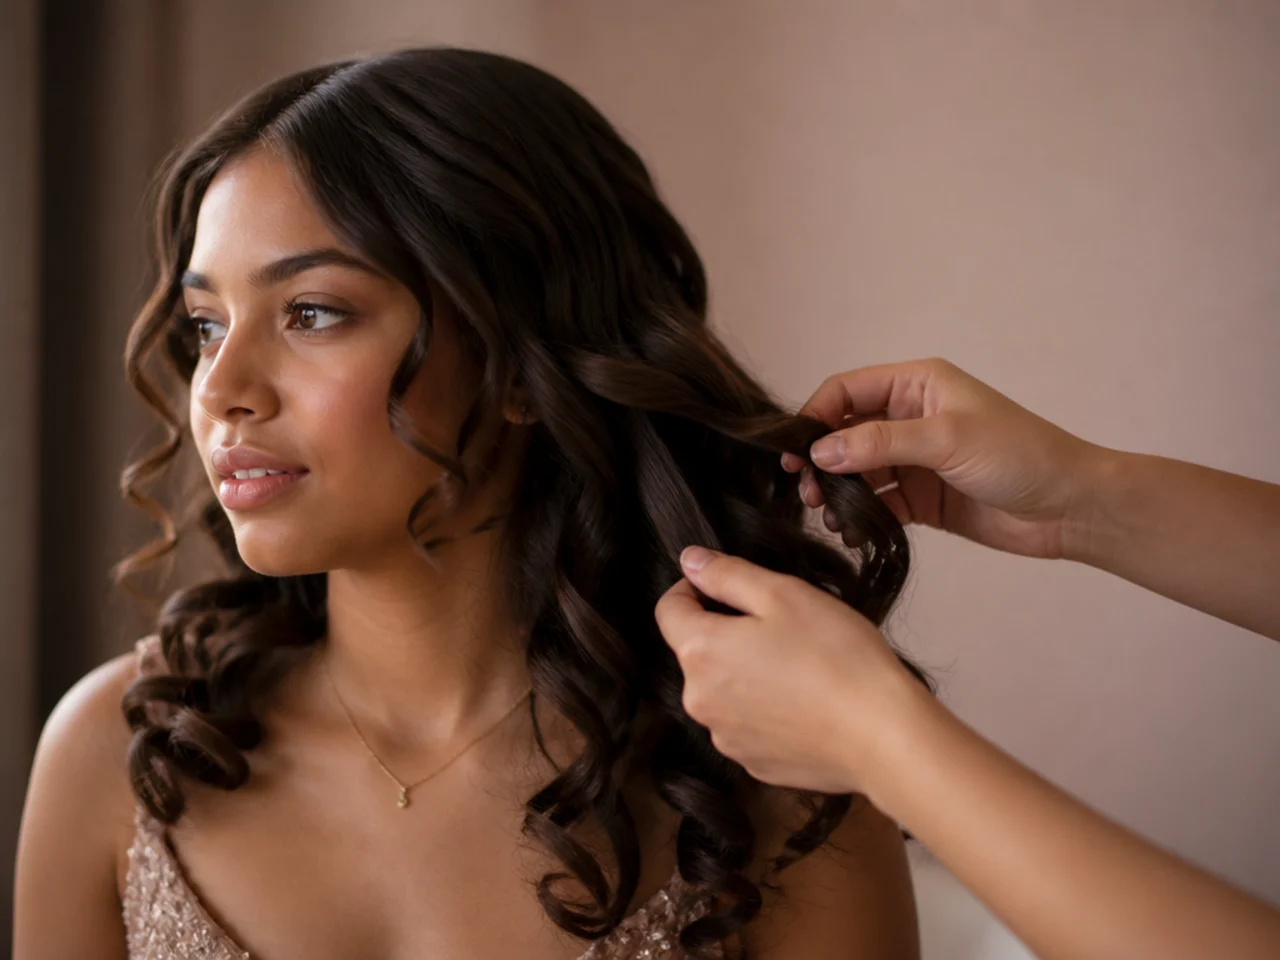
11. Set Your Parting Before You Gather
Comb the parting in while everything is still loose. A parting made after the hair is tied has to be dragged through a shape that is already fixed, so it lifts away from the scalp and shows a gap for the rest of the night.
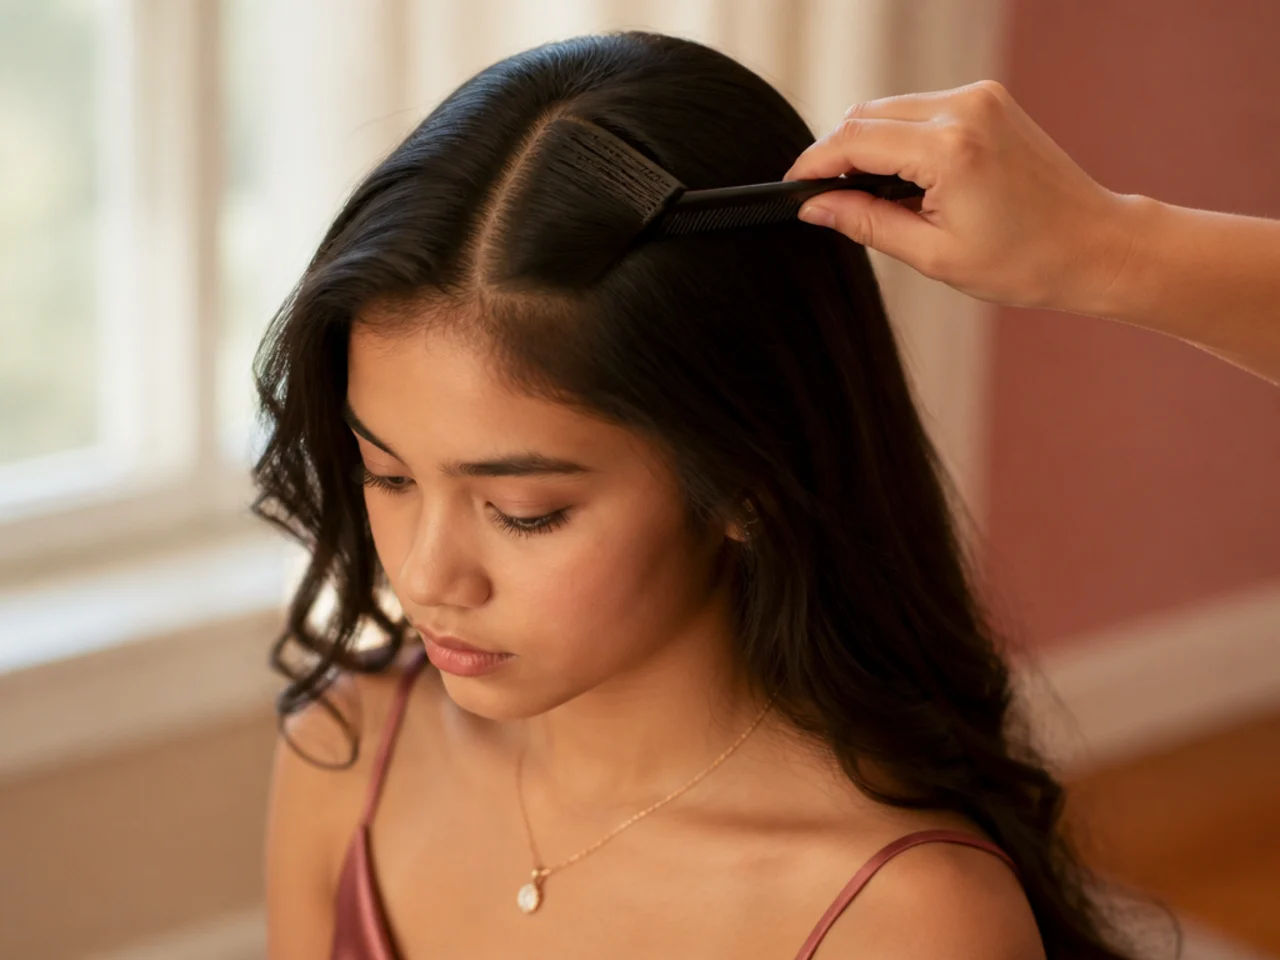
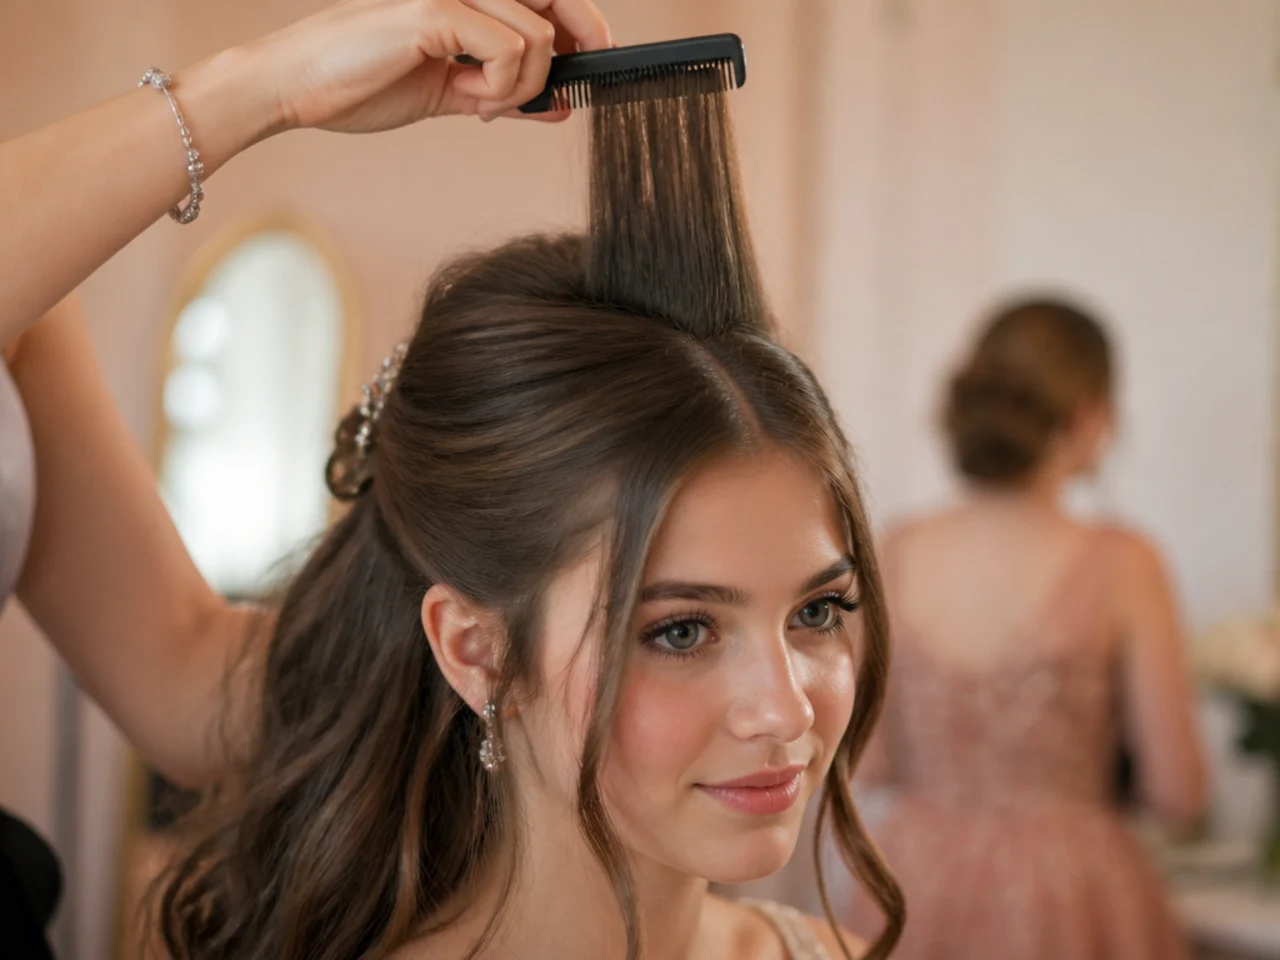
12. Backcomb the Crown in Three Small Sections
Lift a narrow section, comb down toward the root three times, drop it and repeat. One wide section makes a single lump that collapses under its own weight, while three narrow ones build a base that holds the surface up.
13. Smooth the Surface Without Flattening It
One light pass with a soft brush over the top layer only. Press harder and the bristles drag the backcombed hair out from underneath, which drops the crown straight back to where it was before you started.
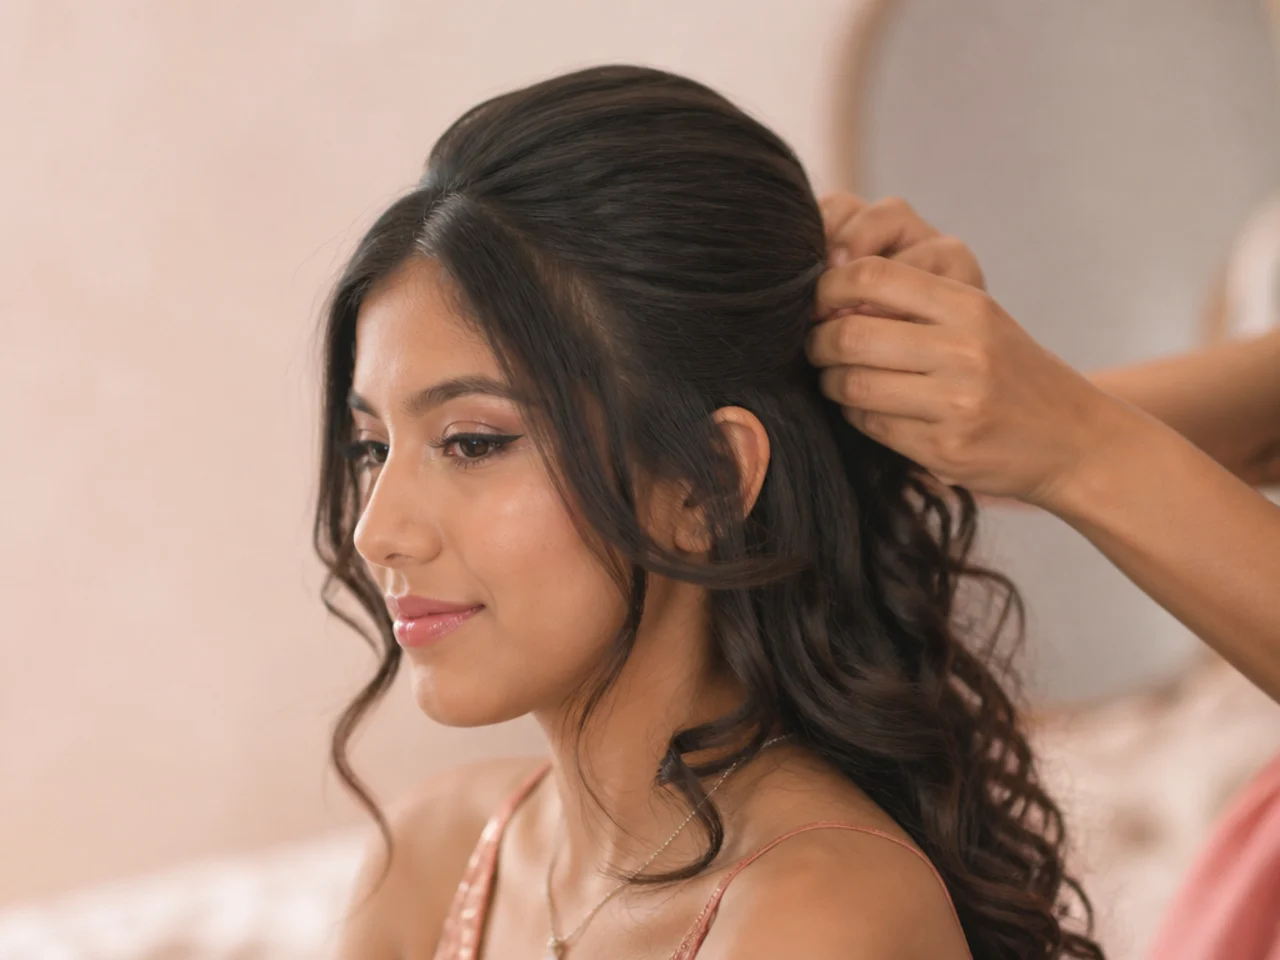
14. Grip the Base With Dry Texture Spray
Spray at the roots wherever the elastic or the pins are going to sit. Hardware holds far better against roughened strands than against smooth ones, and without it the entire base migrates downward within the first hour.
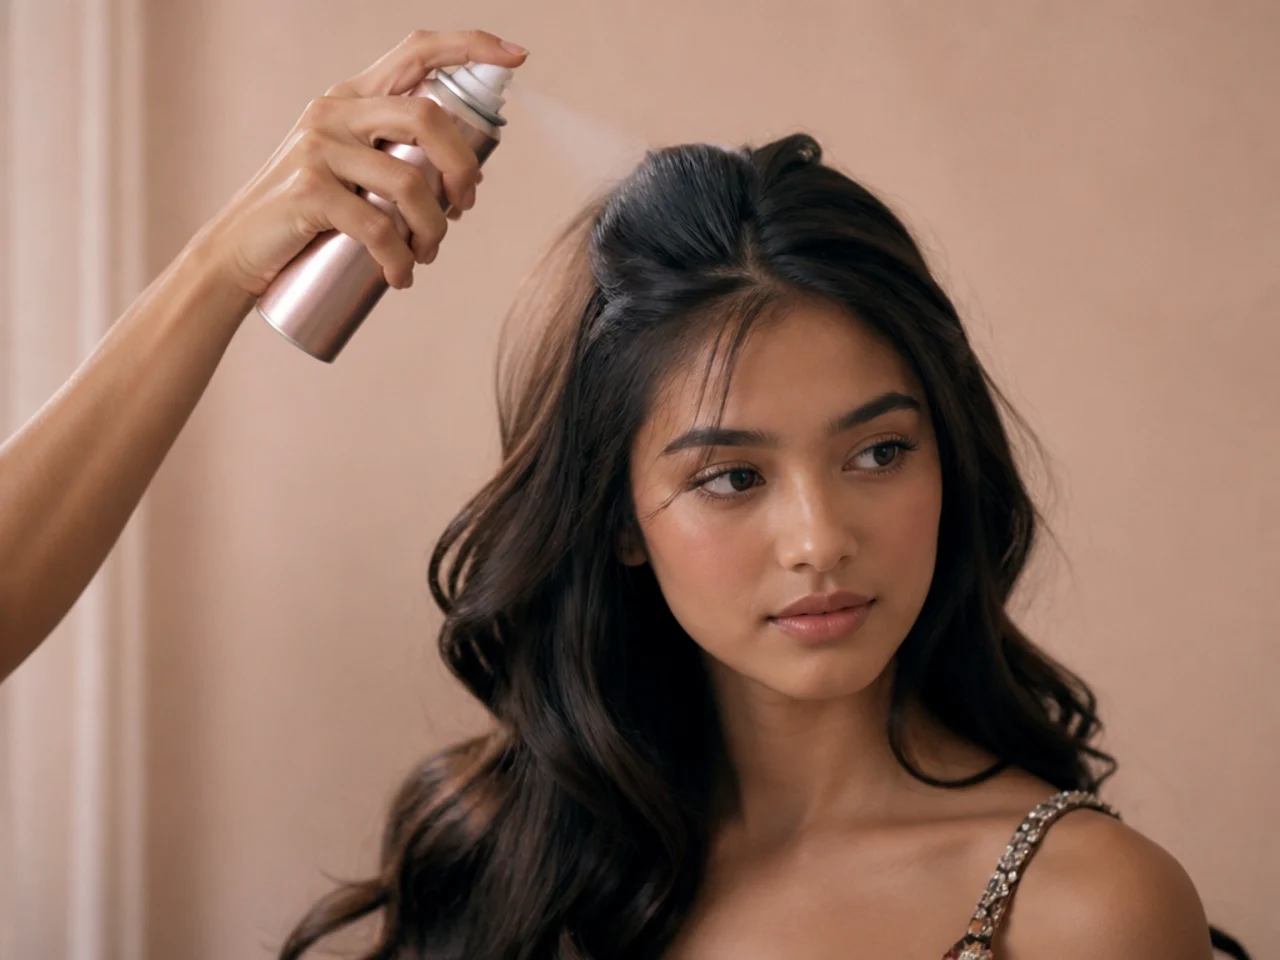
15. Gather at the Angle You Want It to Sit
Chin level, eyes forward, then gather. Tipping your head back while you tie it means the neck hair is stretched, and it slides back down as soon as you look straight ahead, dropping the whole style lower than you set it.
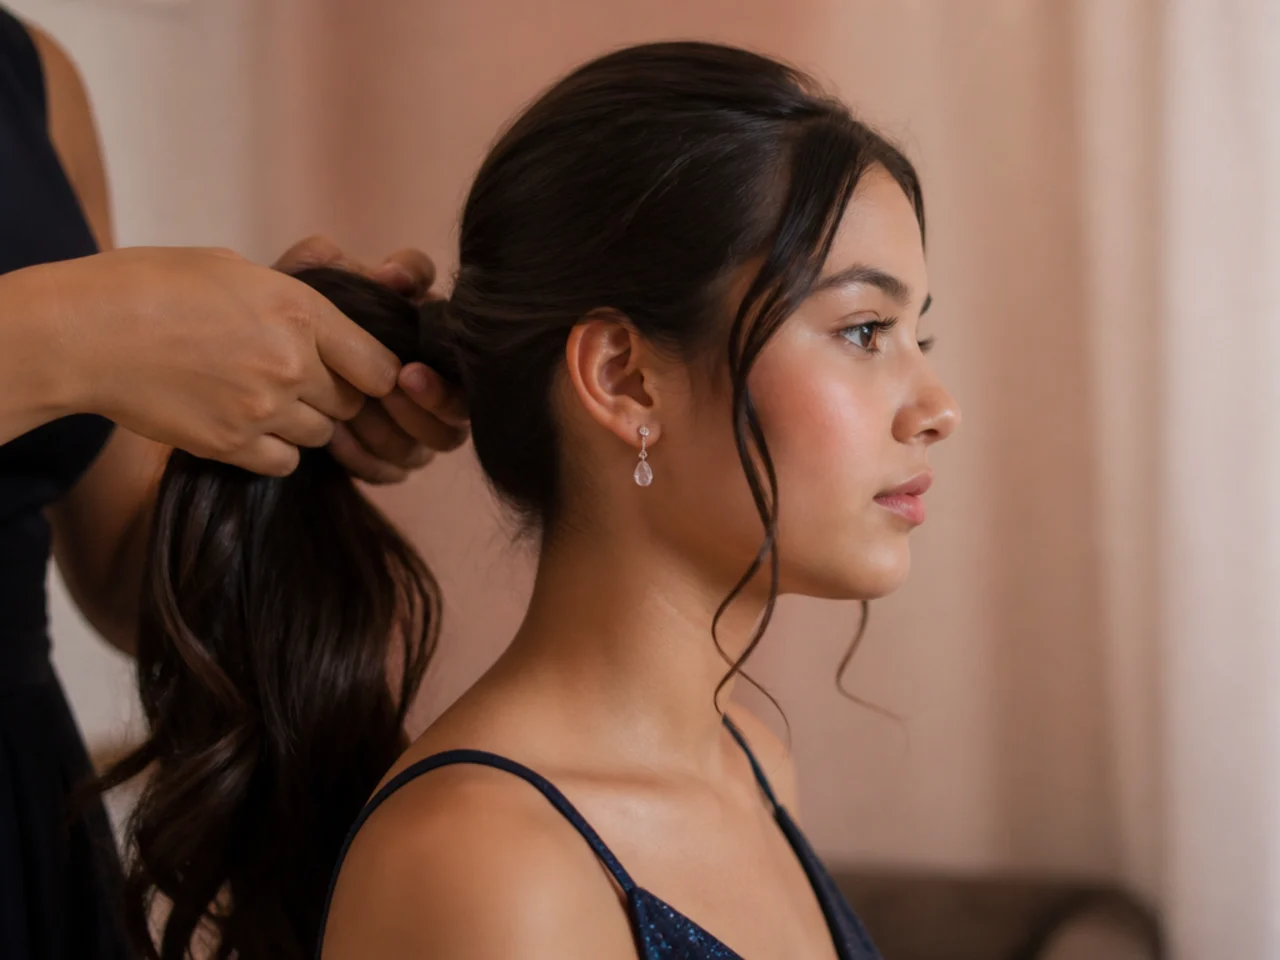
16. Anchor With Two Elastics Not One
The first elastic holds the gather and the second sits below it on a tail, or around the base of a bun. A single band concentrates the whole weight at one point, and that point works loose long before anything else fails.
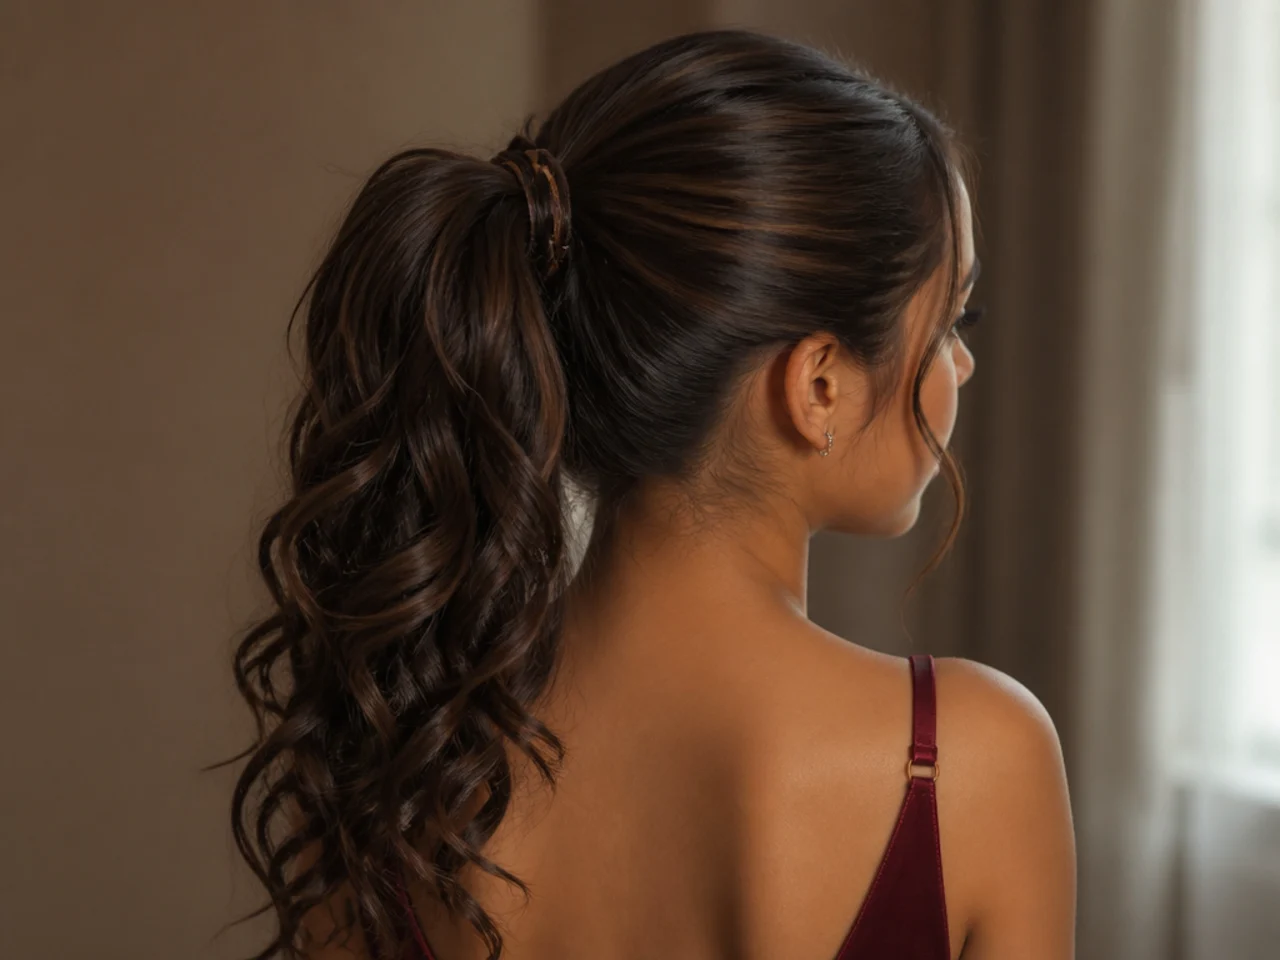
17. Wrap a Strand Over the Elastic
Take a thin section from underneath the gathered hair, wind it around the band and tuck the end. Taking that section from the top instead leaves a visible channel in the smooth surface exactly where you were trying to make it look finished.
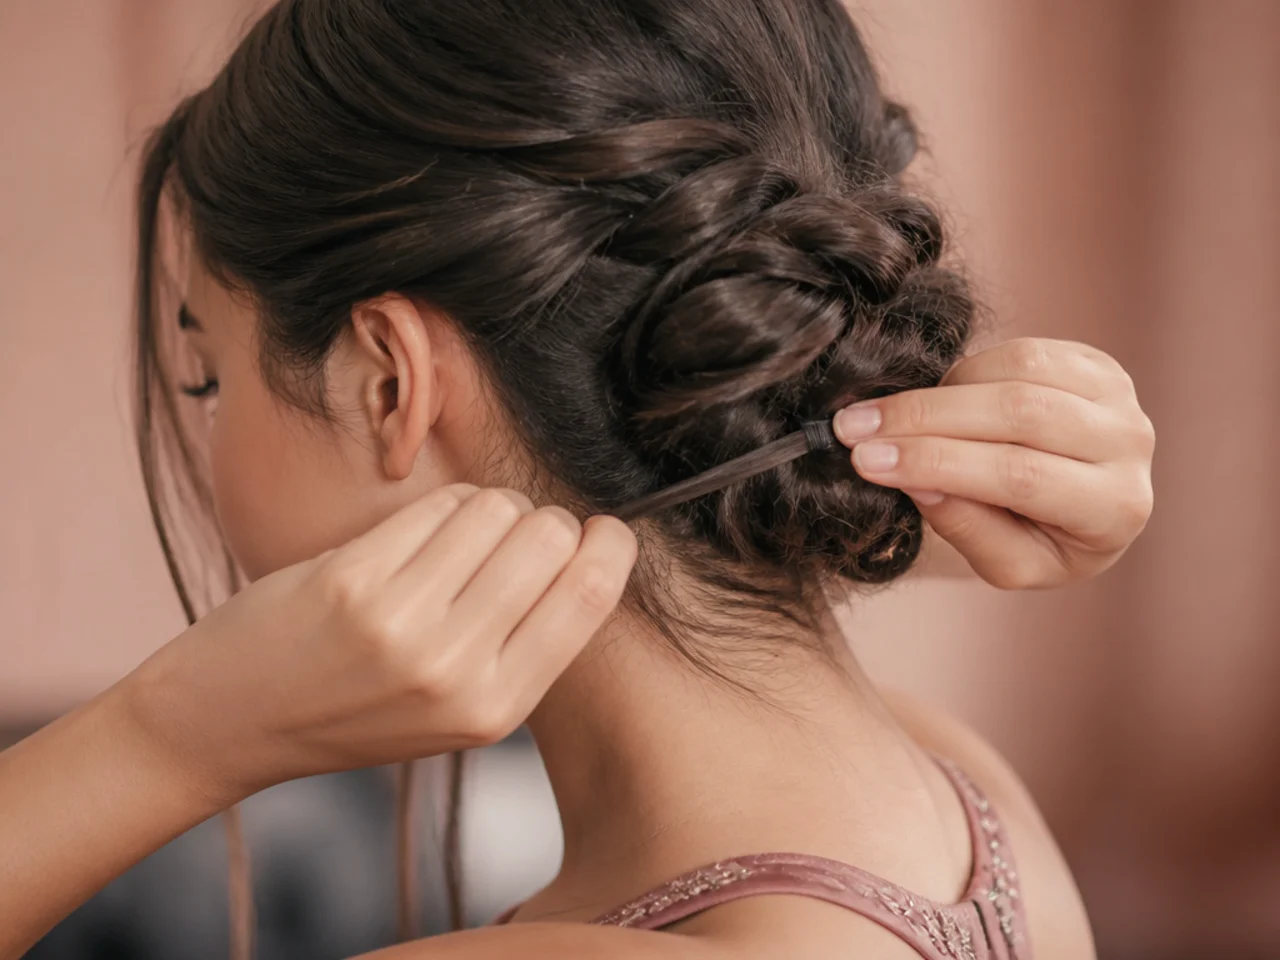
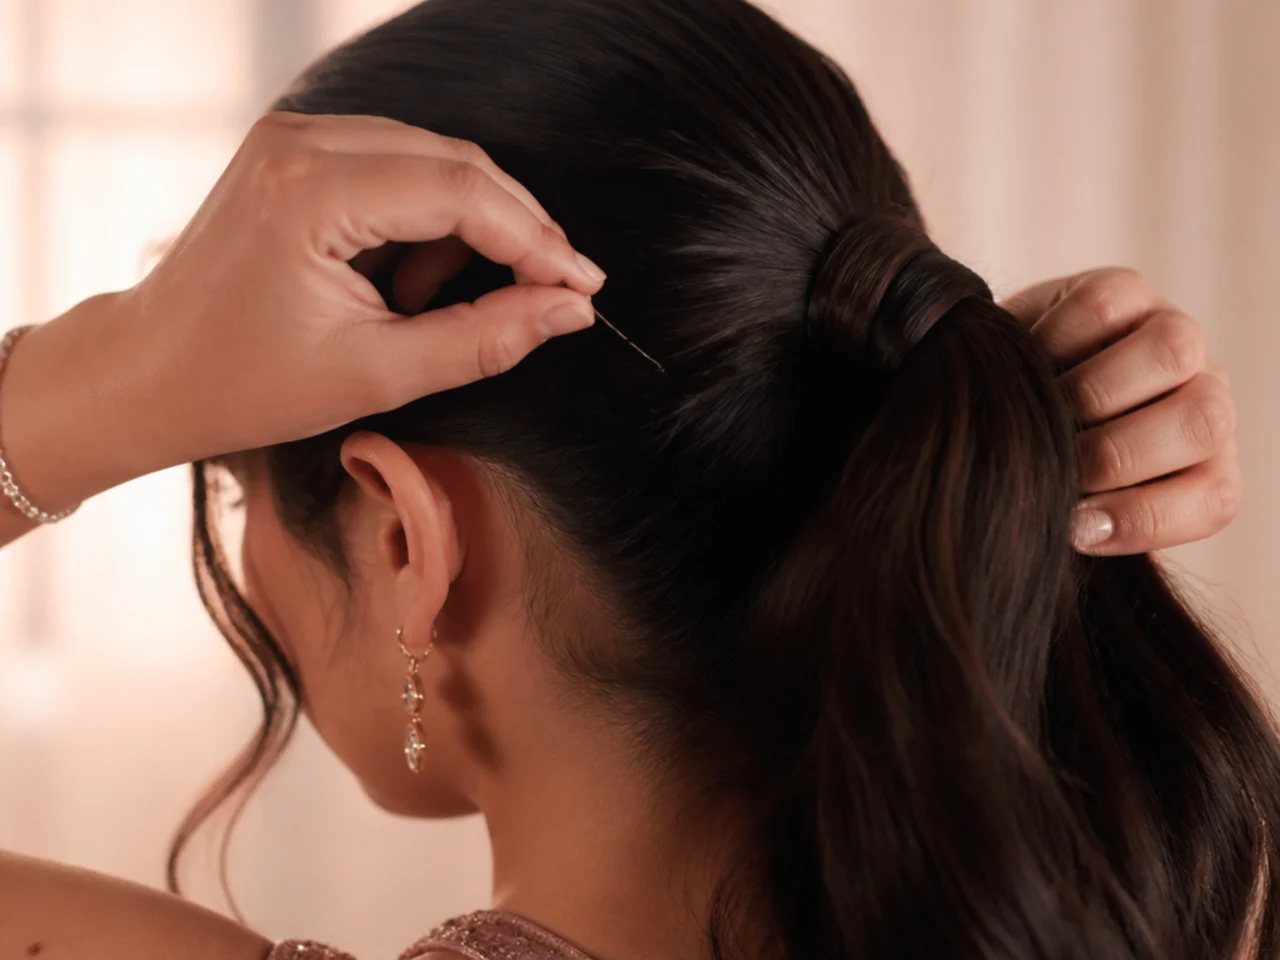
18. Pin Every Wrap From Underneath
Push the pin upward into the elastic with the ridged side against the scalp, so it grips the band rather than loose hair. Laid flat into surface hair, a pin walks itself out with every movement of your head.
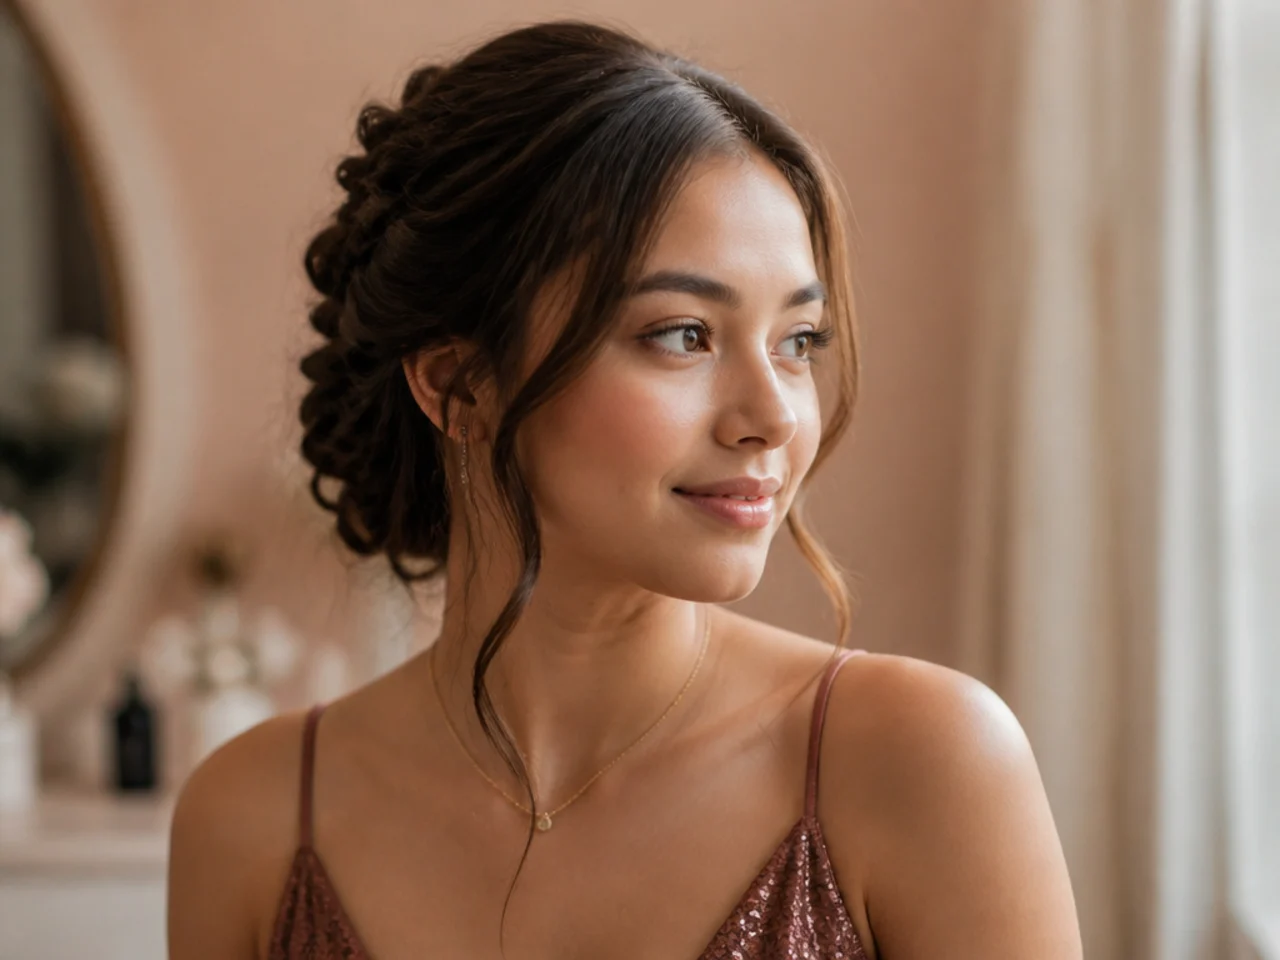
19. Release the Face Framing Pieces Last
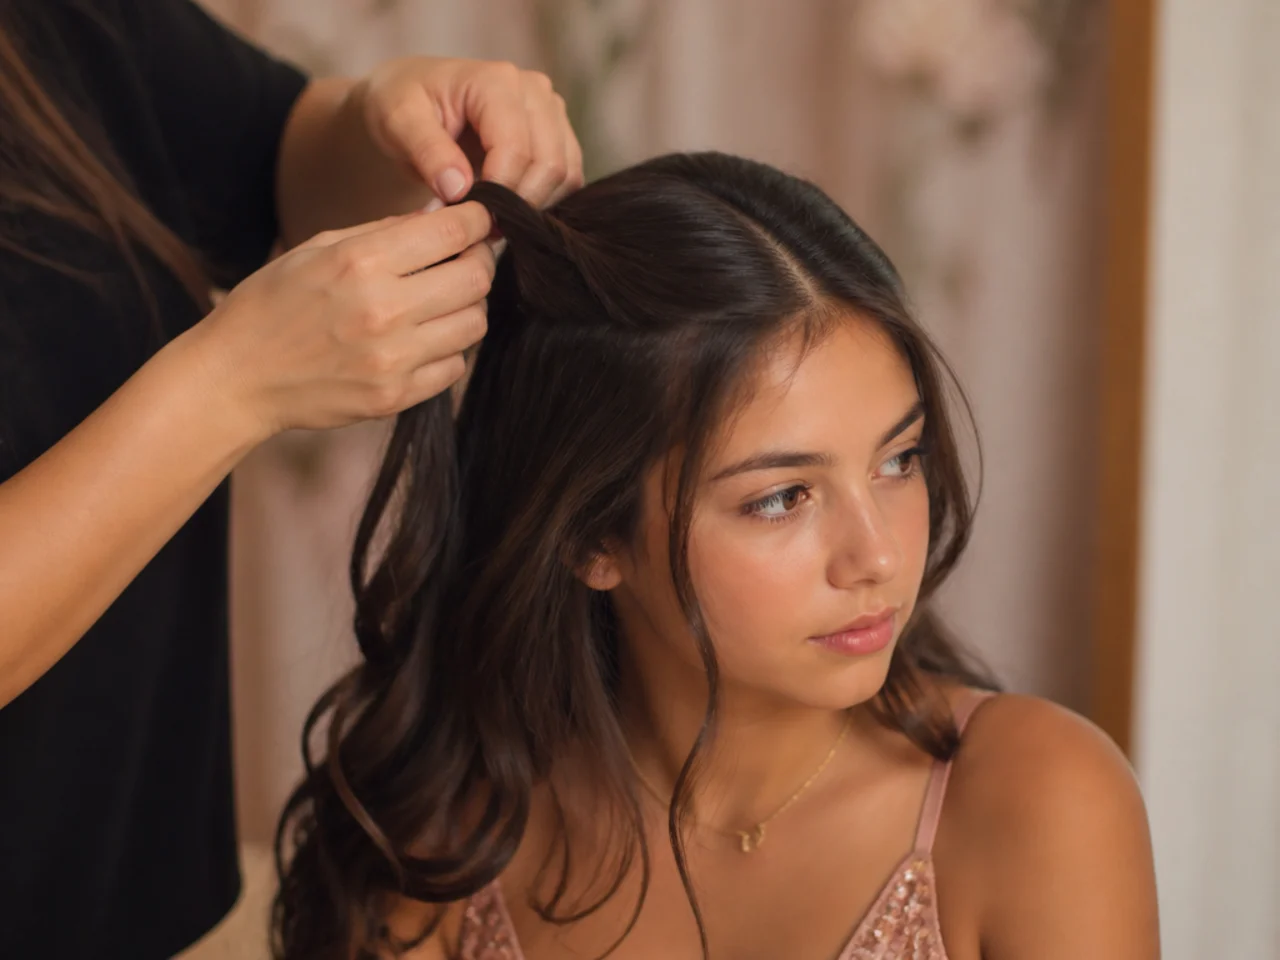
Pull two pieces at the temples once the shape is finished but before the final spray. Pulling them afterwards drags set hair out of a set structure, and they come out with a kink at the point where they were held.
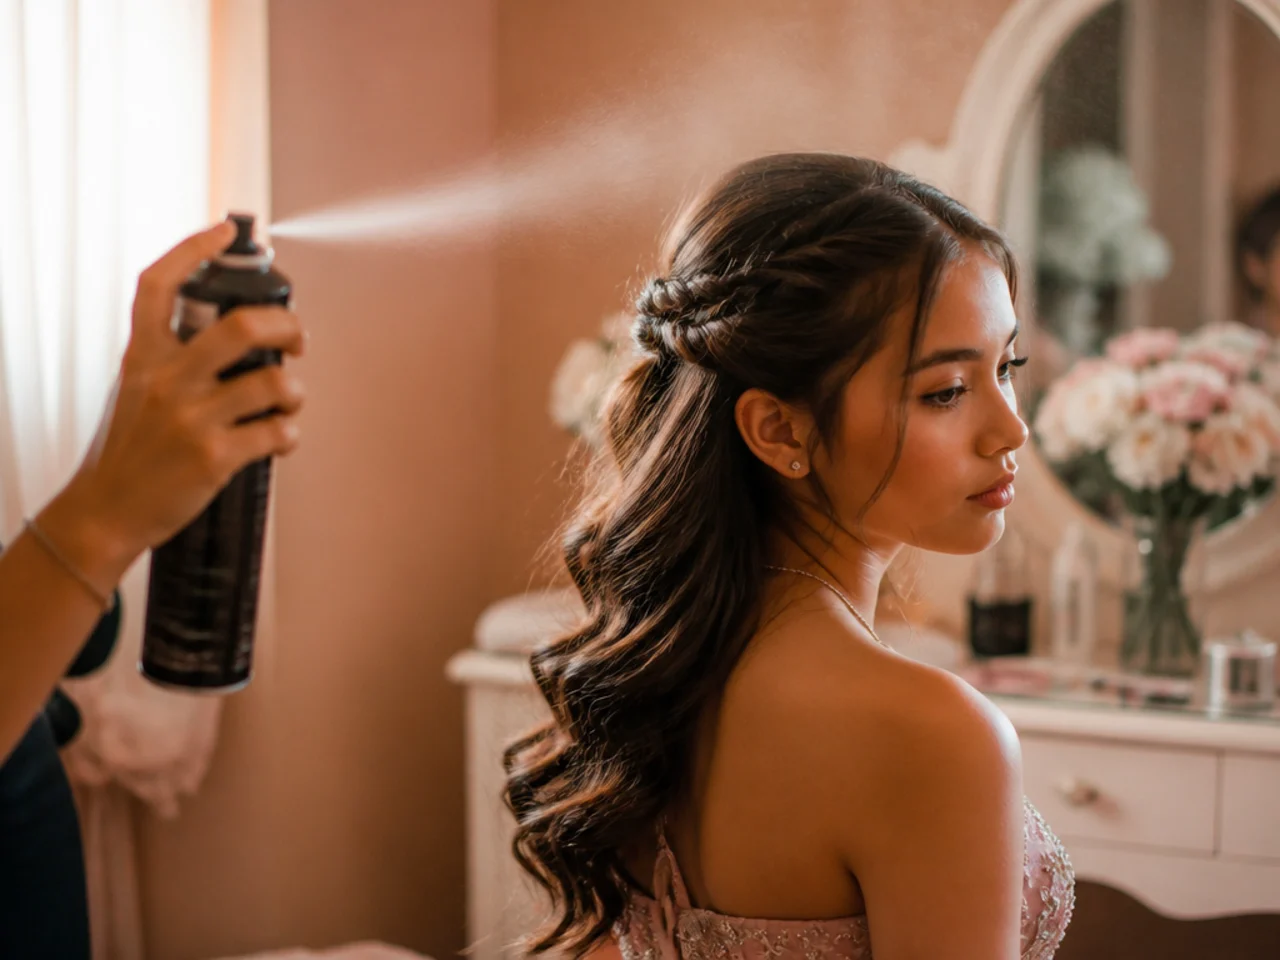
20. Set It With Flexible Hold Spray
Two light passes from roughly an arm's length, never one heavy one. Held close, the spray lands as droplets that dry into white flecks on a smooth surface, and a soaked style goes rigid so nothing can be adjusted later in the evening.
Styling and Upkeep
Take a photograph as soon as you finish. It is the reference for repairs later, and it tells you where a piece has moved.
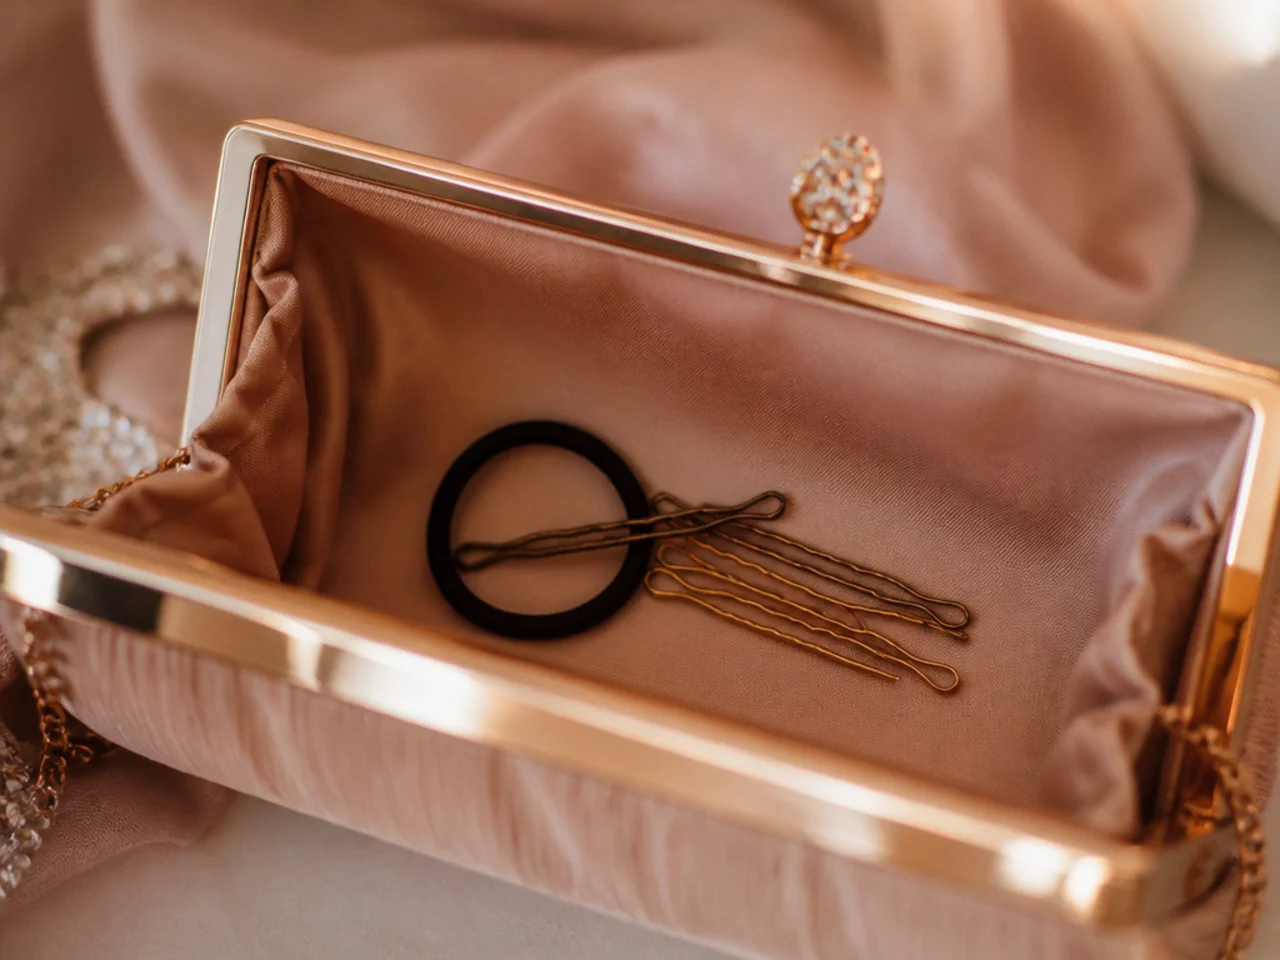
Put two pins and a spare elastic in your bag. Every failure that happens during an evening is fixable in a minute with the right hardware and not at all without it.
Do not re spray a style that has dropped. Spray on top of spray builds a stiff shell. Reset the base instead, then spray once.
Keep the iron off already set hair. Reheating hair that has cooled into shape releases it, and it will not take a second set without cooling again.
Sleep on a smooth pillowcase the night before. Less friction overnight means fewer surface flyaways to smooth out in the morning.
Mistakes to Avoid
Washing the morning of. Clean hair is smooth hair, and smooth hair holds nothing. This single decision undoes more homecoming styles than any technique.
Unpinning curls while they are warm. The set happens during cooling. Everything before that is temporary.
Backcombing the surface layer. Once the top layer is teased there is nothing smooth left to lay over it, and the whole crown reads as damage rather than volume.
Choosing a style you cannot see. A shape built behind your head takes three times as long and finishes uneven, because you are working from feel alone.
Leaving the parting until the end. By then the hair is fixed in position and a new parting will not lie down against the scalp.
FAQ
Do I need to wash it first? No. Wash the night before so the hair has enough grip to hold.
How long do curls need to cool? Ten minutes pinned. Less and they relax to half the size.
What if it drops during the night? Reset the base with two pins rather than adding more spray.
Final Thoughts
The half hour works because nothing in it is optional and nothing is out of order. Wash the night before, heat only the top layer, let it cool properly, then build the shape once.
For more shapes that work without help see easy hoco hair, and for the natural texture version see hoco hairstyles for curly hair. More in Occasion Hair.
Frequently asked questions
Related posts
See all posts
15 Graduation Hair Ideas for the Updo Versus Down Decision
Read more
15 Straight Hair Wedding Looks to Save
Read more
20 Gorgeous Prom Looks for Straight Hair
Read more