15 Easy Mermaid Braids and the Two Section Method
Fifteen easy mermaid braids and a seven step method, built on the fact most people get wrong — a fishtail is simpler than a three strand plait, because you hold one section in each hand and nothing ever changes hands. The pattern is finer, but there is less to remember.
In this article · 31
- What Is a Mermaid Braid
- By Length and Thickness
- The Fix for Fine Slippery Hair
- The Pancaking Technique
- Waves Accessories and a Boho Finish
- Making It Last
- The 15 Easy Mermaid Braid Ideas
- 1. Day Two Hair
- 2. Side Over the Shoulder
- 3. Half Up in Five Minutes
- 4. Fine Slippery Hair
- 5. The Two Strand Cheat
- 6. Shoulder Length Hair
- 7. From a Low Ponytail
- 8. Dutch Down the Back
- 9. Clip In Extensions
- 10. Boho Face Framing
- 11. Curly Type 3 Hair
- 12. Double Pigtails
- 13. Crown Braid
- 14. Ribbon Woven
- 15. Overnight Waves
- How to Braid a Mermaid Braid
- Step 1. Texture Spray
- Step 2. Brush and Part
- Step 3. Two Sections
- Step 4. The Crossover
- Step 5. Even Tension
- Step 6. Clear Elastic
- Step 7. Pancaking
- Final Thoughts
Most people avoid a fishtail because it looks like the harder braid. It is the easier one, and the reason is in how your hands are holding the hair.
Two sections, and nothing changes hands. A three strand plait moves a section across at every step. A fishtail keeps one half in the left hand and one half in the right for the entire braid.
The only skill is piece size. Every crossover is a visible segment, so the braid shows exactly how big each pinched piece was. Keep the pieces the same and the braid is even.
What Is a Mermaid Braid
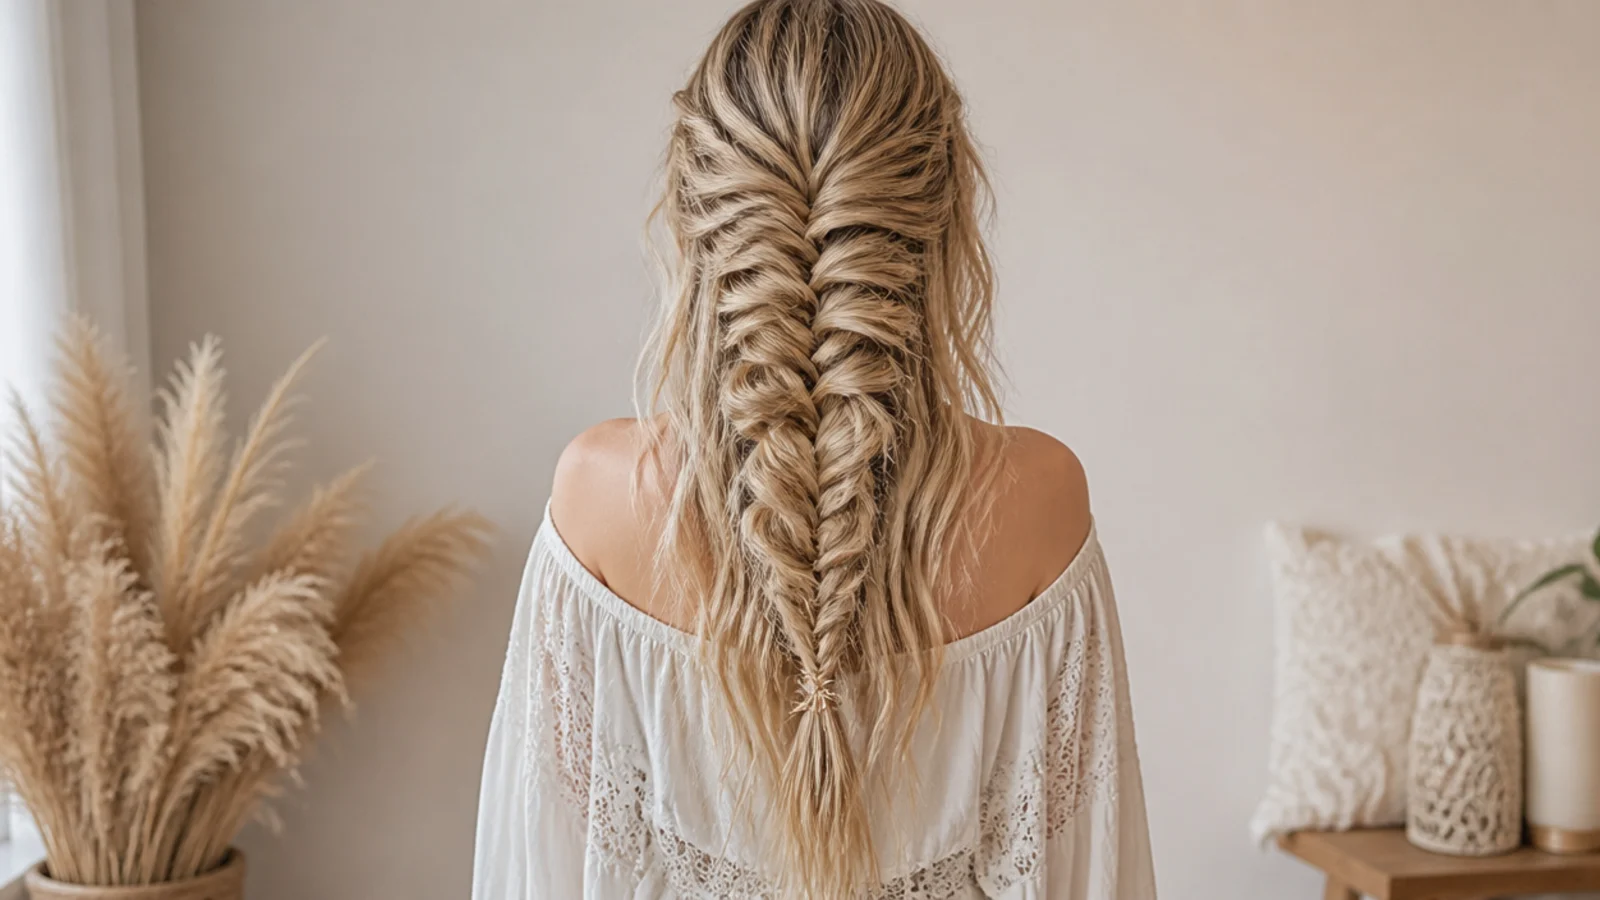
A fishtail with the length left loose. Only the top section is braided, so the braid appears to lie on the hair rather than gather it up.
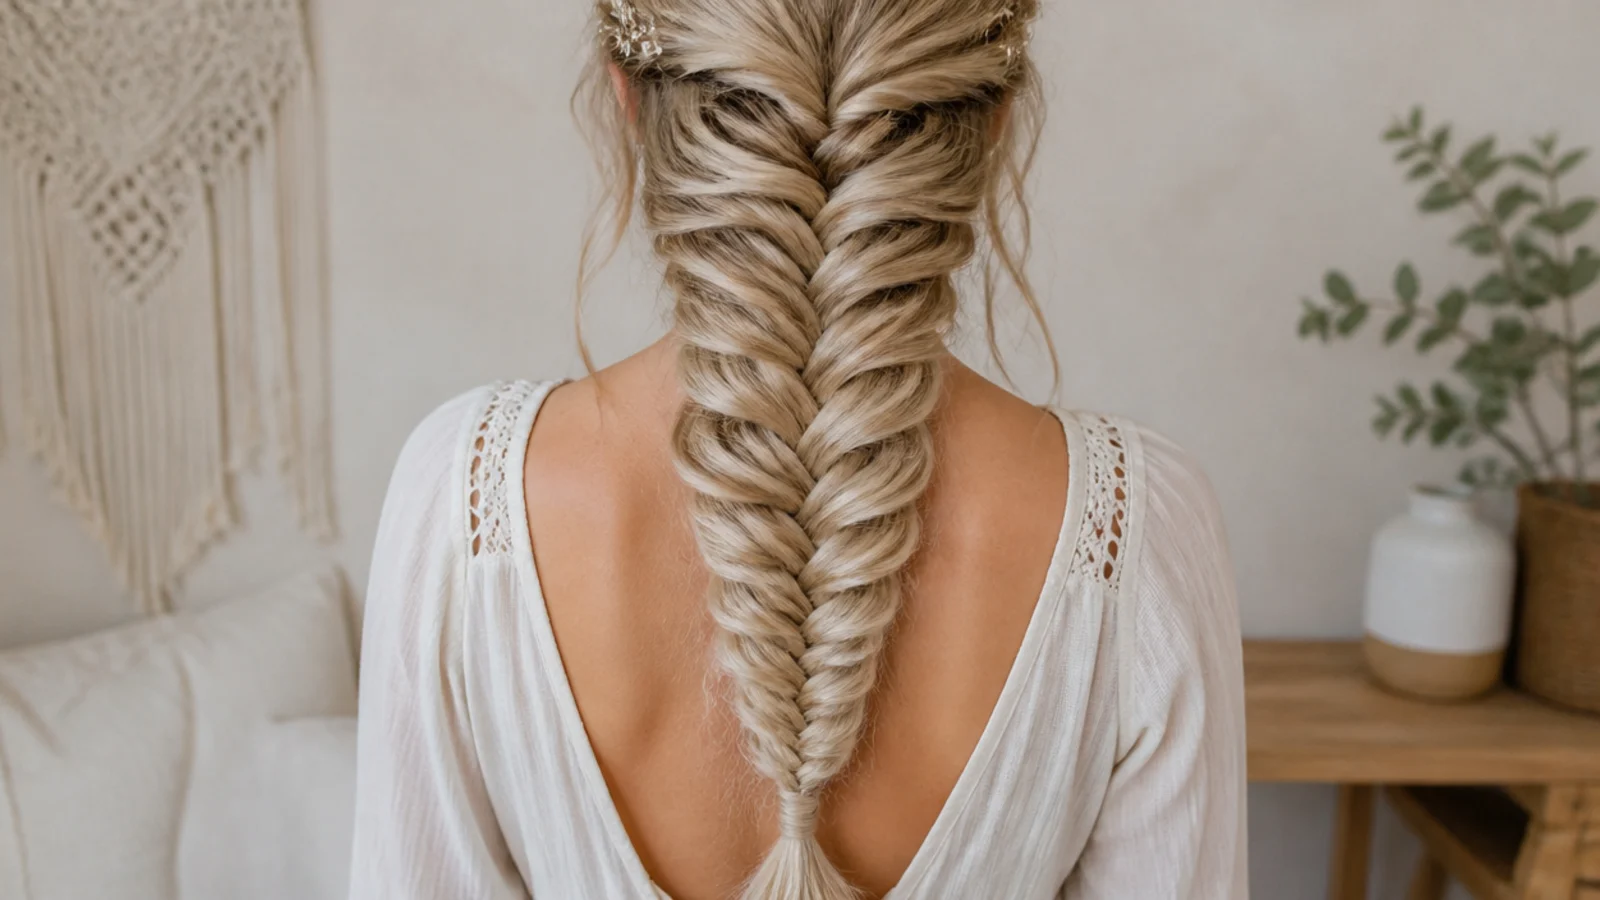
Two sections rather than three. A thin piece travels from the outer edge of one section to the inside of the other, and that thin piece is what makes the fine herringbone.
The pattern repeats about every inch. Which is why the braid needs a decent run of length before it reads as a weave rather than as a rope.
Half up is the standard version. Taking a third of the hair from the crown leaves the rest hanging loose beneath the braid, which is the arrangement the name describes.
By Length and Thickness
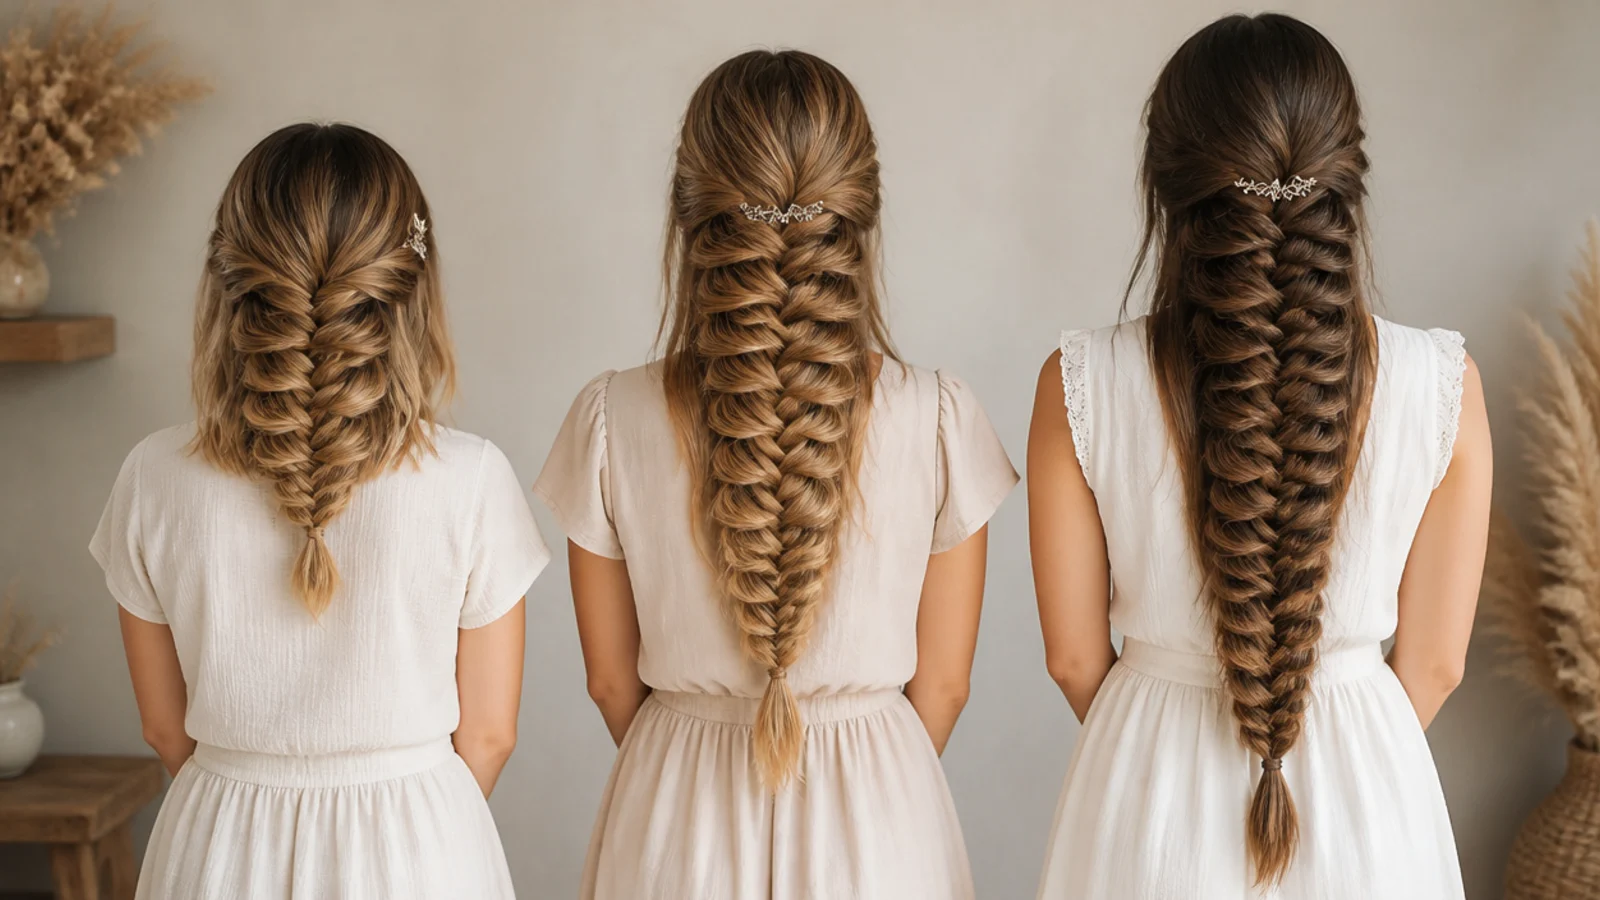
Past the shoulder is where it starts working. Above that there are too few repeats for the pattern to register, and the braid reads as a twist.
Shoulder length uses the top half only. Braid down to the shoulder and stop, so there is still tail below the last crossover to weight it.
Thick hair does better as two braids. A single fishtail on very thick hair becomes a solid tube and the herringbone disappears inside it.
Fine hair needs length or mass added. Clip ins, or a shorter braid — both work because a crossover has to carry enough hair to hold its own position.
Curl counts as thickness. A type 3 crossover is bulky before anything is widened, so stretch the hair first or the braid ends before the pattern begins.
The Fix for Fine Slippery Hair
The problem is mass, not grip. A thin crossover has too little hair in it to stay where you put it, so it slides back toward the centre of the braid.
Texture spray goes on before the brush, not after. Spraying a braided or half brushed head puts the grit where it cannot reach the sections that need it.
Braid on second day hair. Natural oil and a day of movement roughen the surface enough for sections to catch on each other.
Two clear elastics, not one. The top one stops the tension you release while widening from travelling up and unlocking the first crossovers.
Braid tighter than the result you want. Everything soft about the finished braid is added afterwards, and there is nothing to add it to if the base is already loose.
The Pancaking Technique
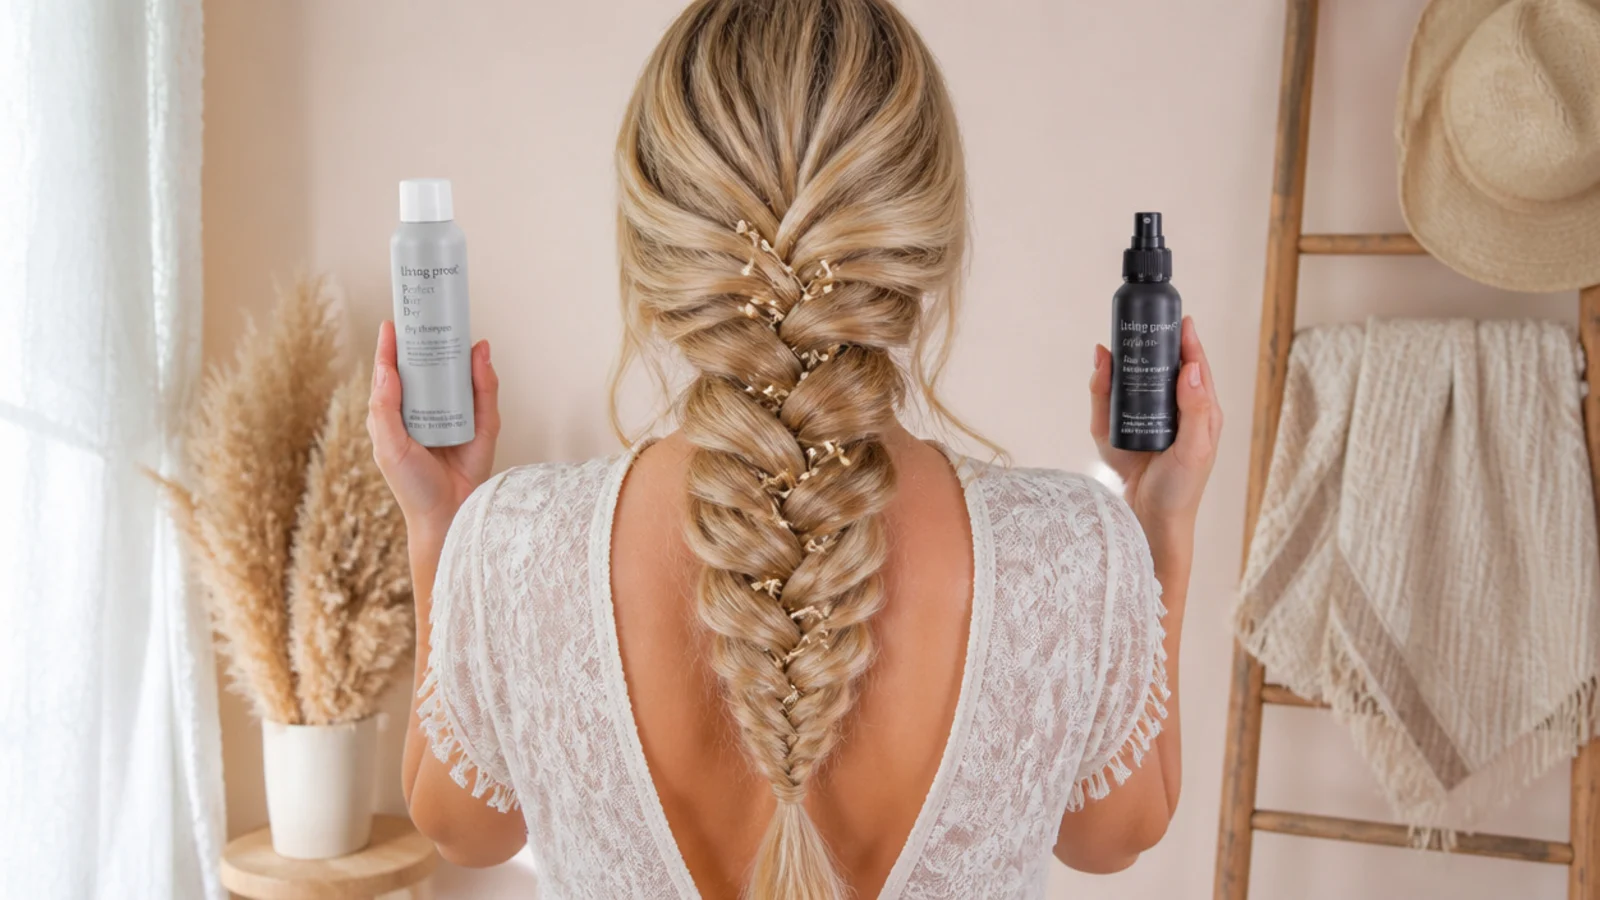
Pull the outer edge, never the whole segment. The outer edge carries all the slack in a crossover, and slack is the only place width can come from.
Work from the bottom of the braid upward. Widening the top first drives tension downward and closes every segment beneath it.
Secure the tail before you widen anything. Without an elastic there is nothing anchoring the loosened pieces, and the braid opens rather than widens.
Go slightly too wide. A pancaked braid settles closed over the first hour, so the version that looks a touch overdone in the mirror is the one that looks right later.
Waves Accessories and a Boho Finish
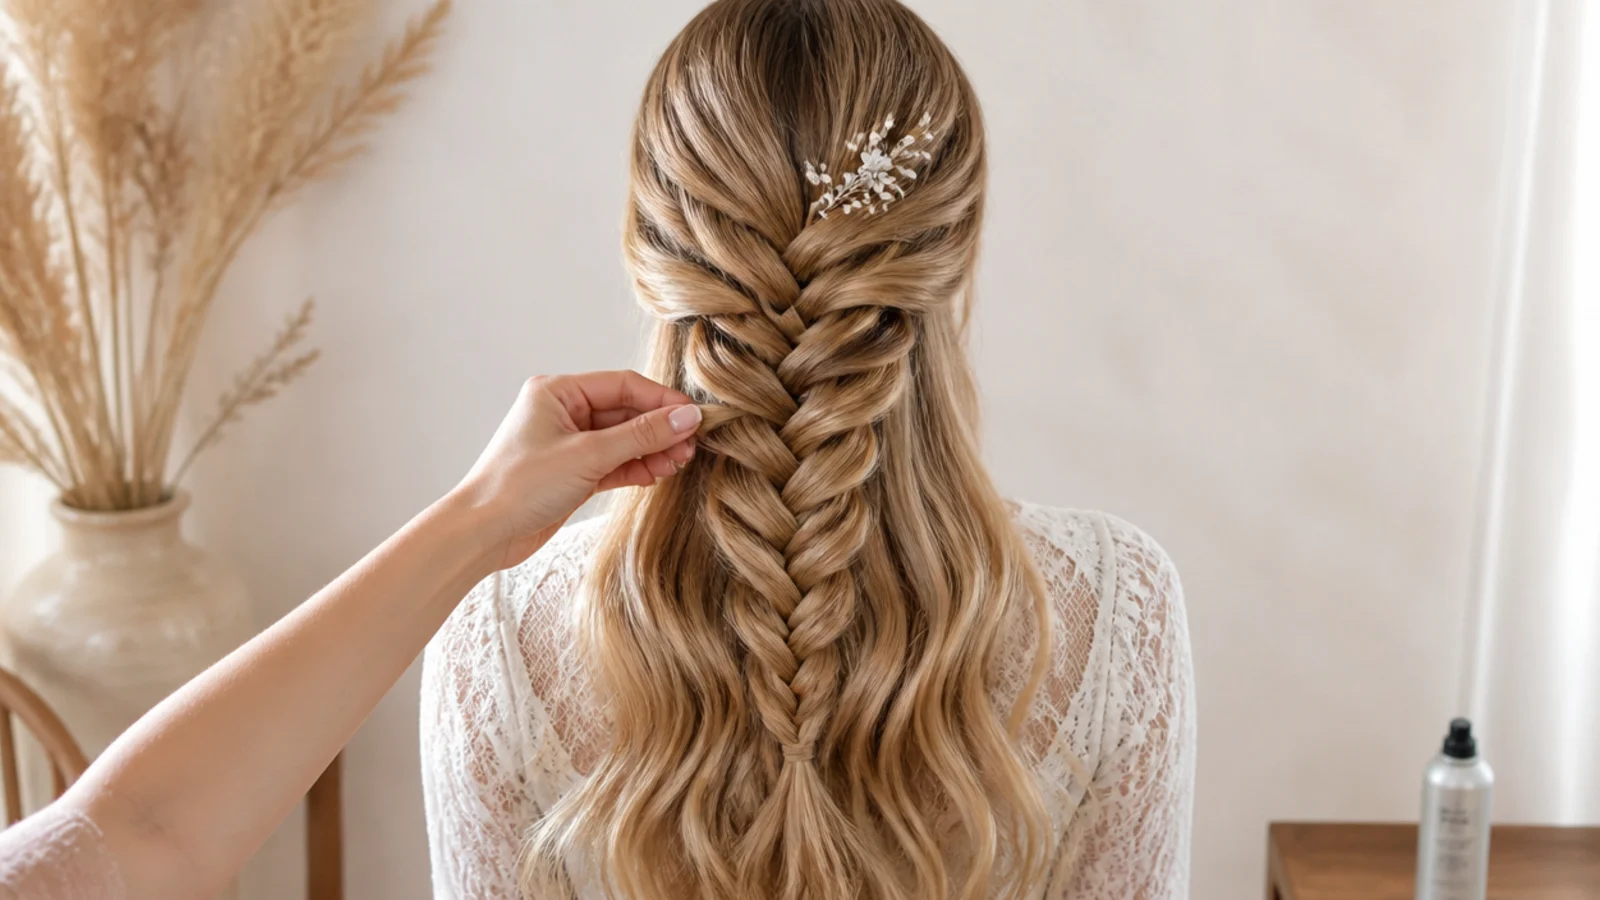
Wave the hair before braiding it. An iron cannot get inside a finished braid, and heat applied over a braid sets a crimp rather than a wave.
Weight is what holds width. Beads, cuffs and charms hung on the tail pull downward on every crossover above them, which keeps the segments open through the day.
Ribbon does structural work. Threaded through the crossovers it takes part of the tension, so the braid can be widened past what the hair alone would hold.
Face framing pieces are separated first. Clip them away before the first section is taken, because a piece braided in and pulled out later keeps a bend all day.
Keep one texture across the head. A smooth braid over waved loose hair reads as two hairstyles rather than one.
Making It Last
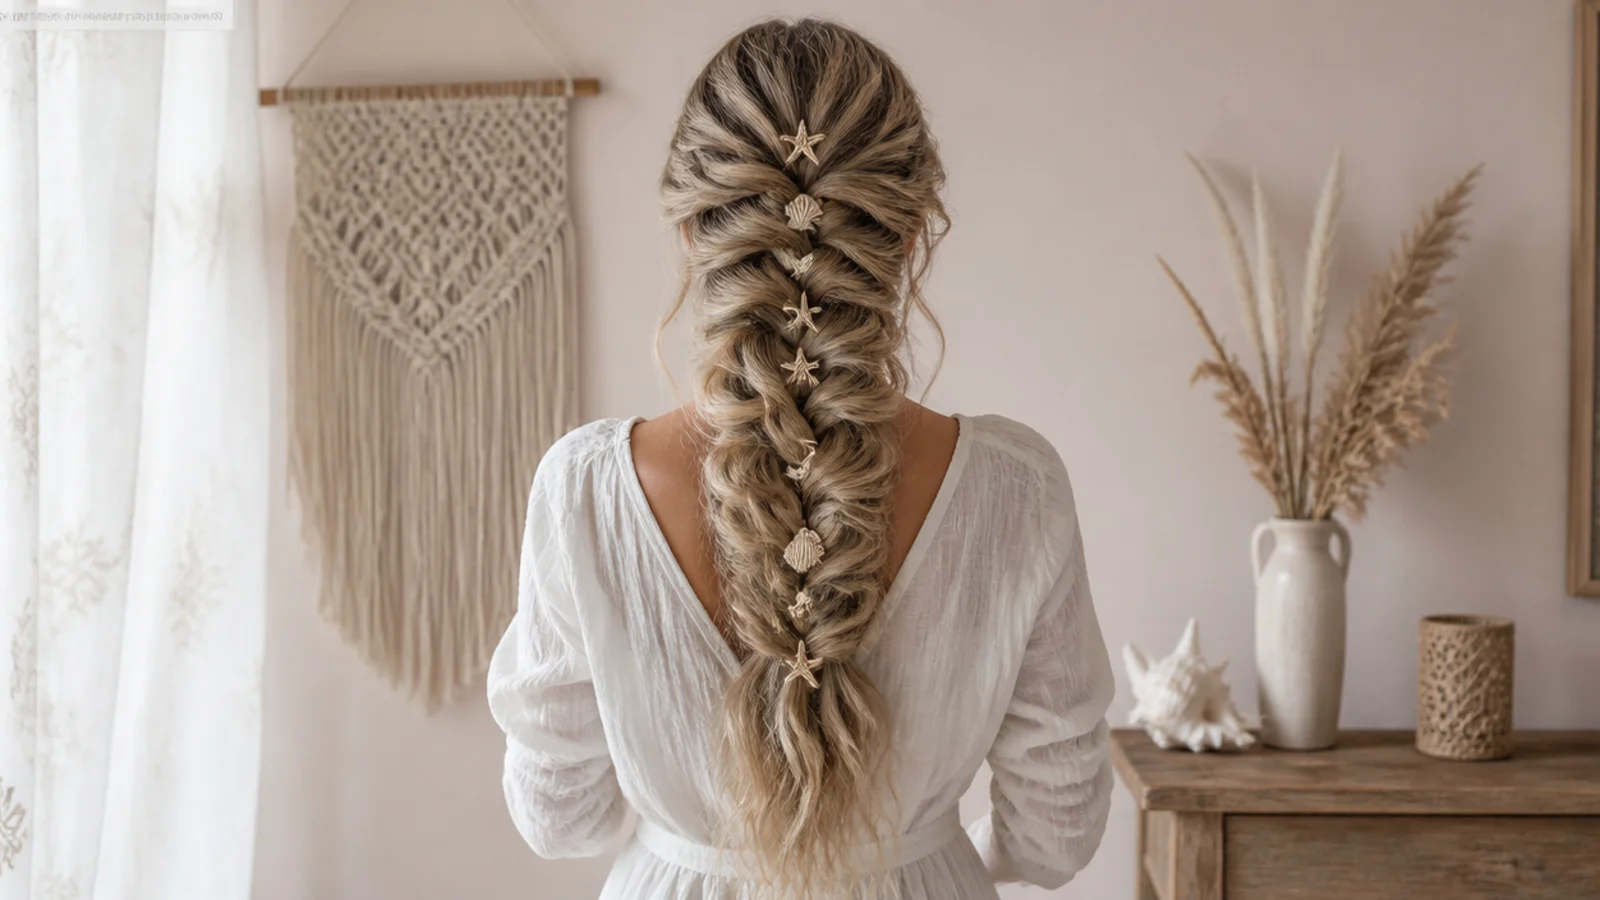
Sleep in a scarf rather than a plait. A pillow drags widened edges back toward the centre, and a scarf removes that friction without restricting the braid.
Widen it again in the morning. A braid that closed overnight is still braided, and pulling on the edges for ten seconds restores it.
Keep dry shampoo off the braid itself. Powder settles into the crossovers and dulls exactly the edges that make the pattern visible.
Two good days is realistic. Day one is the sharpest and day two is usually the softer, better looking one, and by day three the crossovers no longer hold an open position.
The 15 Easy Mermaid Braid Ideas
1. Day Two Hair
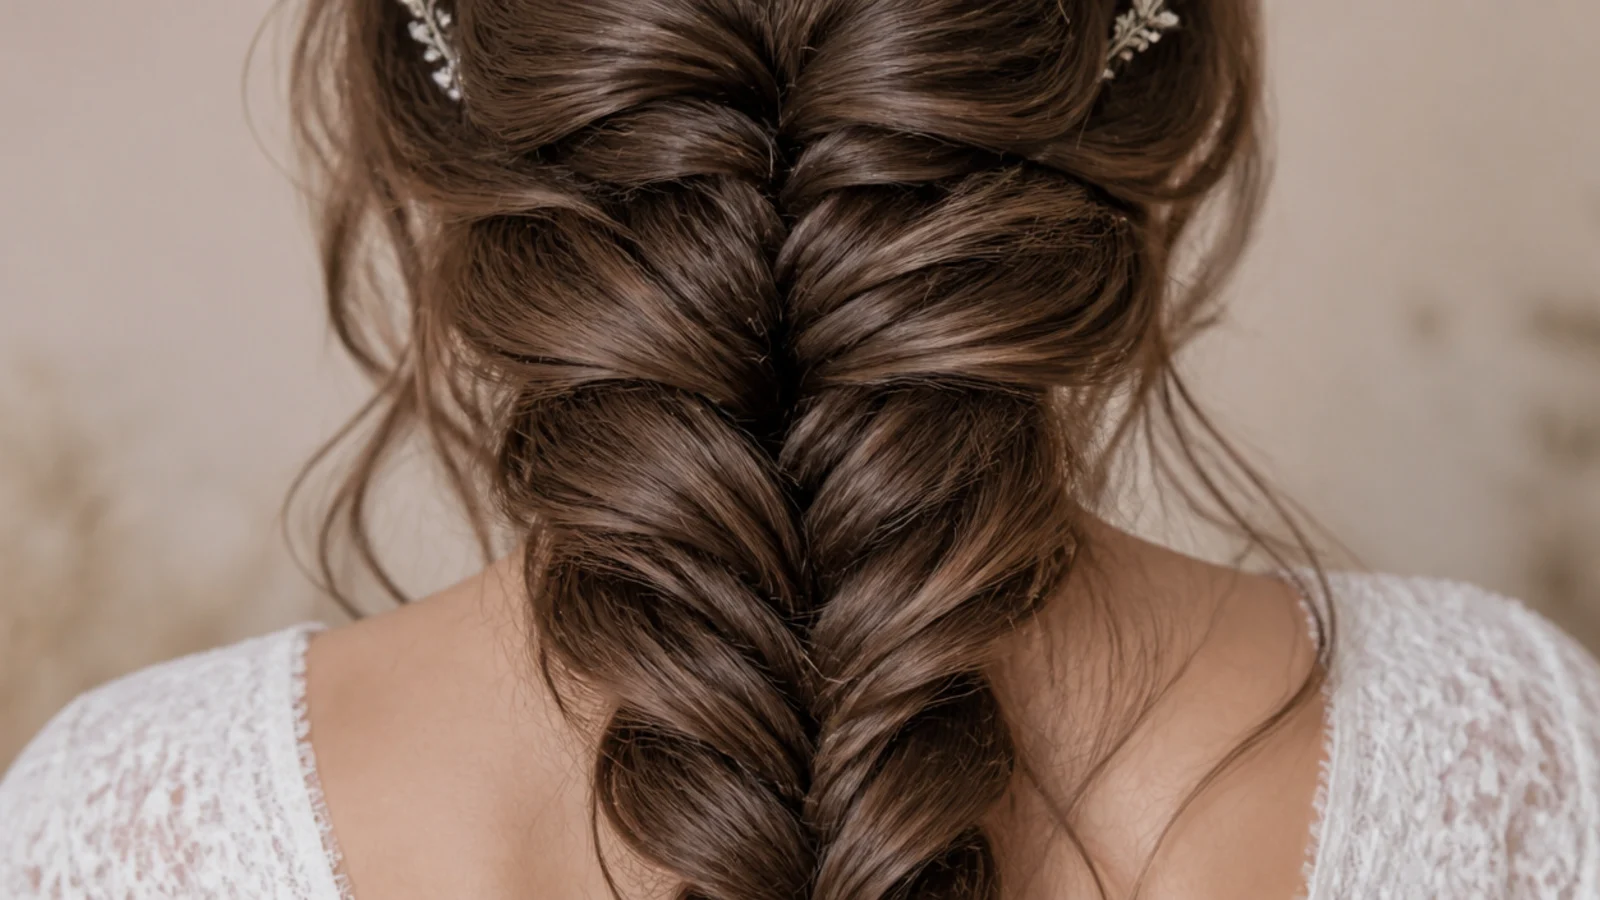
Clean hair is the hardest thing to braid, because a smooth cuticle lets sections slide straight past each other. A day of natural oil and movement raises the friction between pieces, which is why a braid started on day two holds its width with no product at all.
2. Side Over the Shoulder
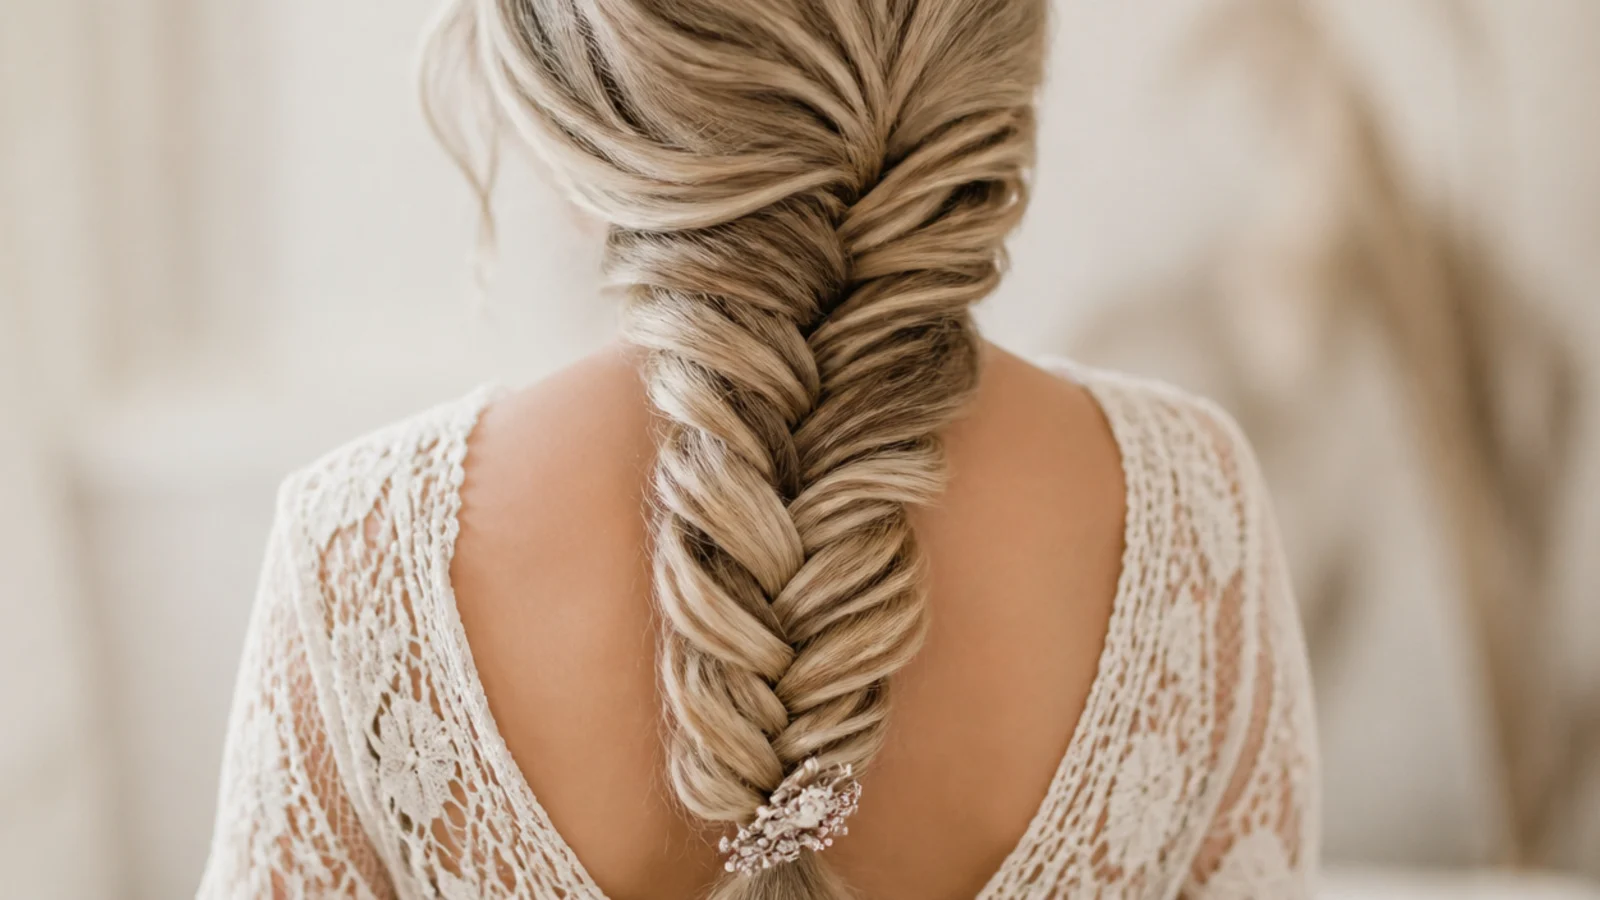
Bringing the braid forward is the only position where you can watch your own hands, which halves the difficulty of learning the movement. It also means you braid downward instead of backward, so your elbows drop and your arms last far longer.
3. Half Up in Five Minutes
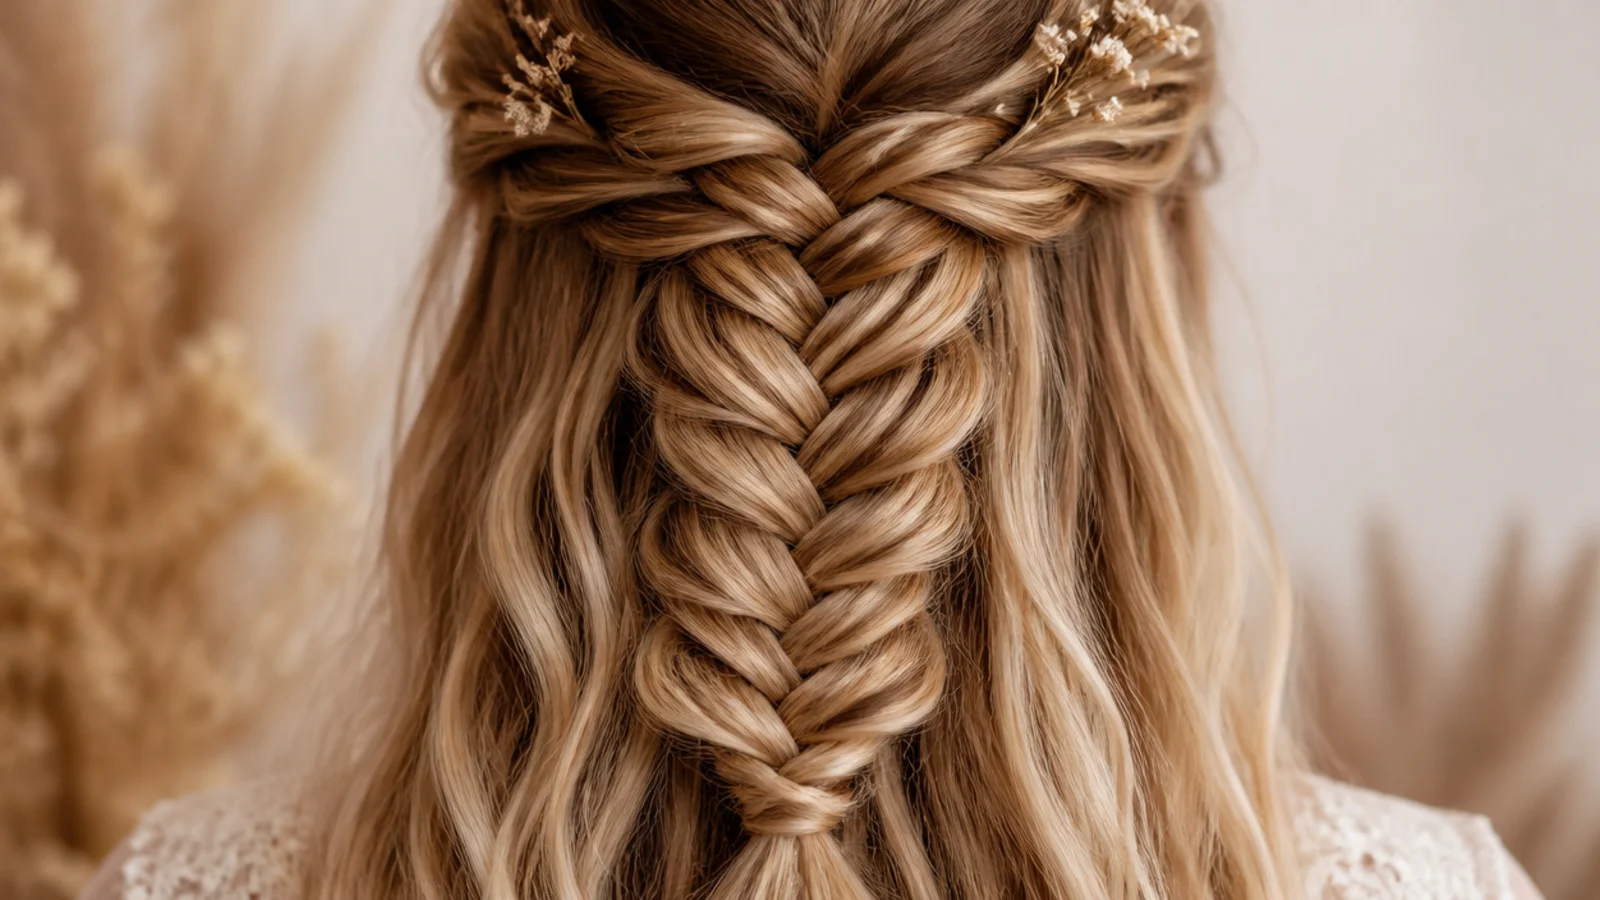
Braiding only the top third roughly halves the number of crossovers you have to make. It also removes the hardest stretch of a full braid, which is holding even tension once the work has travelled below your shoulder blade.
4. Fine Slippery Hair
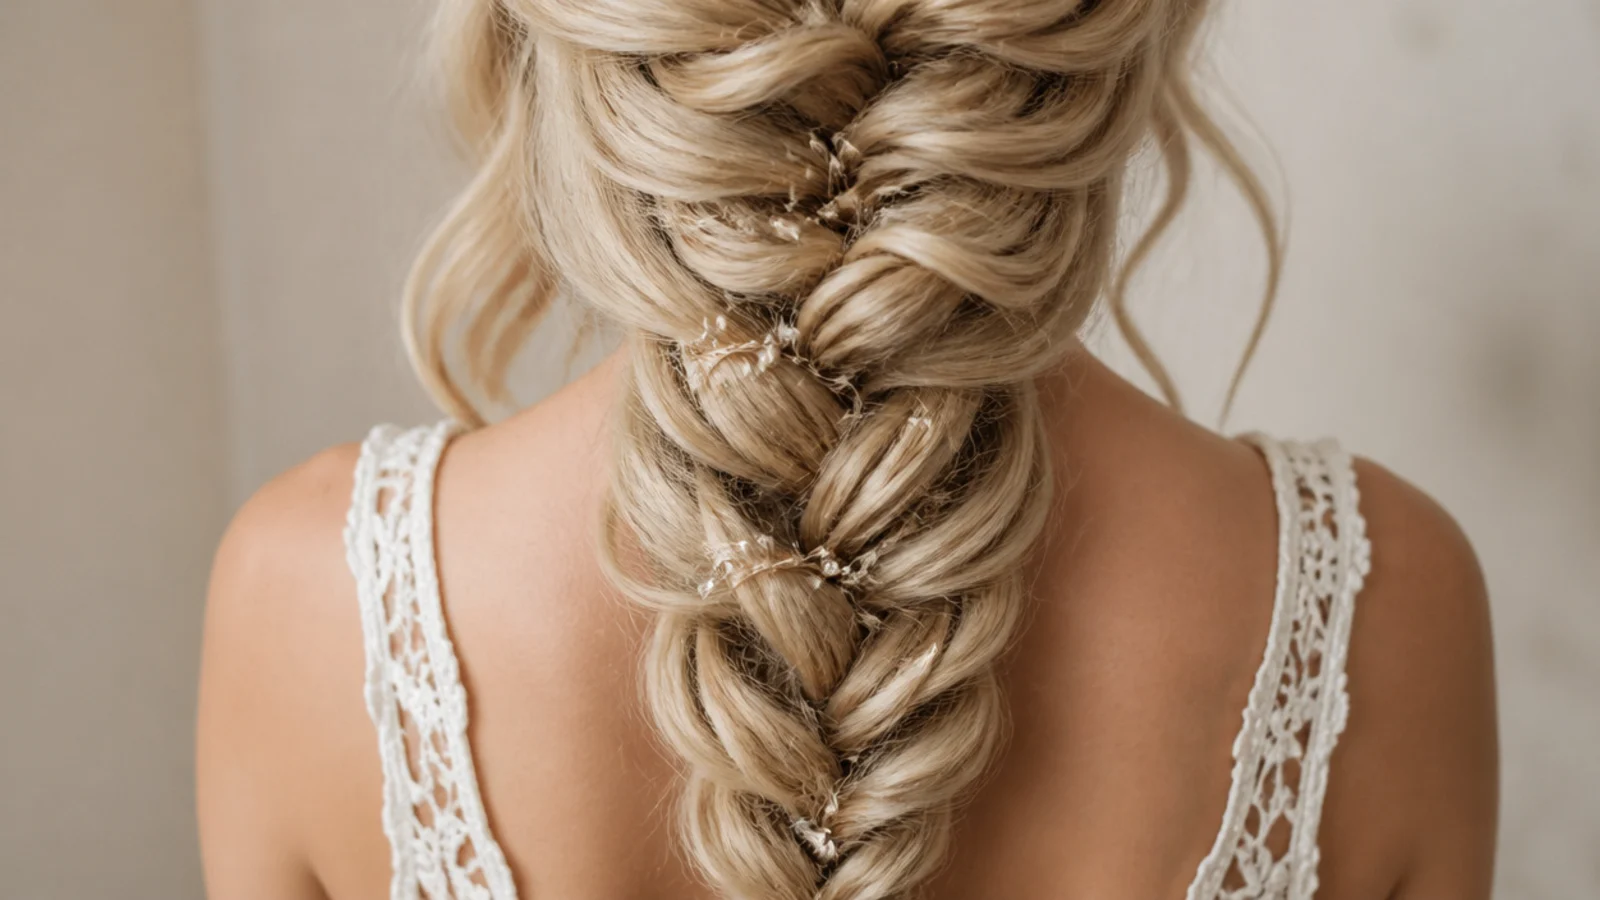
Each crossover here carries too little mass to stay put, so it sags back toward the middle and the braid closes. Texture spray through the roots and mid lengths before parting raises the friction between sections, which is the only thing holding the segments open.
5. The Two Strand Cheat
Twist each of the two sections in the same direction, then wind them around each other the opposite way. The two twists work against each other and lock, producing a repeating diagonal that reads as a fishtail at any distance and takes a third of the time.
6. Shoulder Length Hair
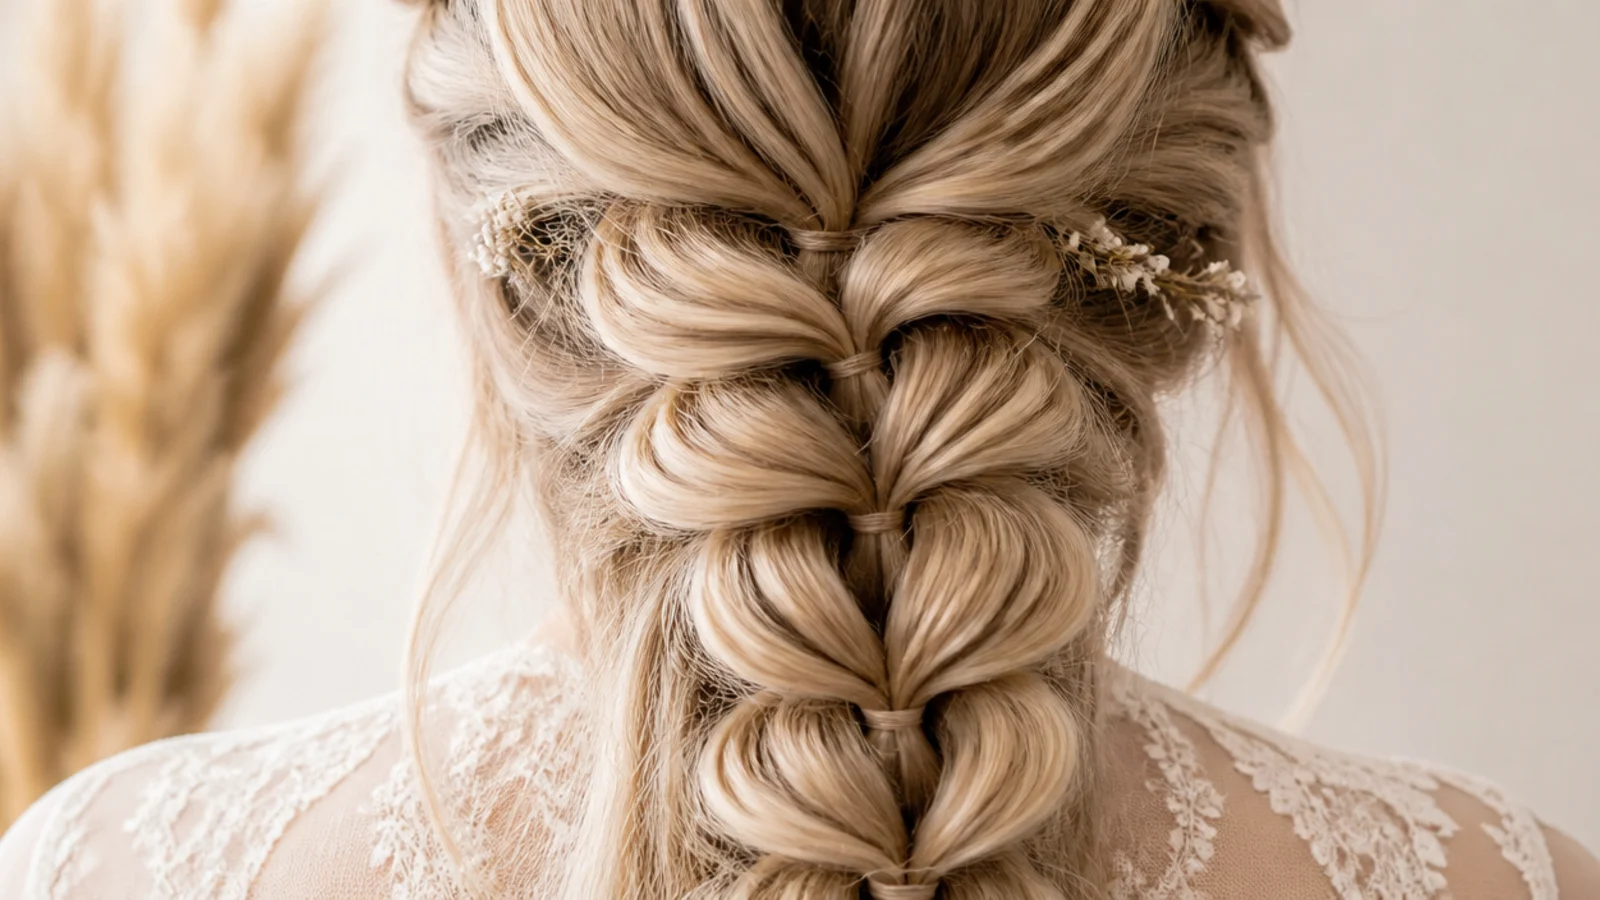
Braid to the very ends and secure with two elastics, because a short braid has no tail weight to keep the segments open. Widen only the upper half, so the small amount of length you have stays anchored while you pull.
7. From a Low Ponytail
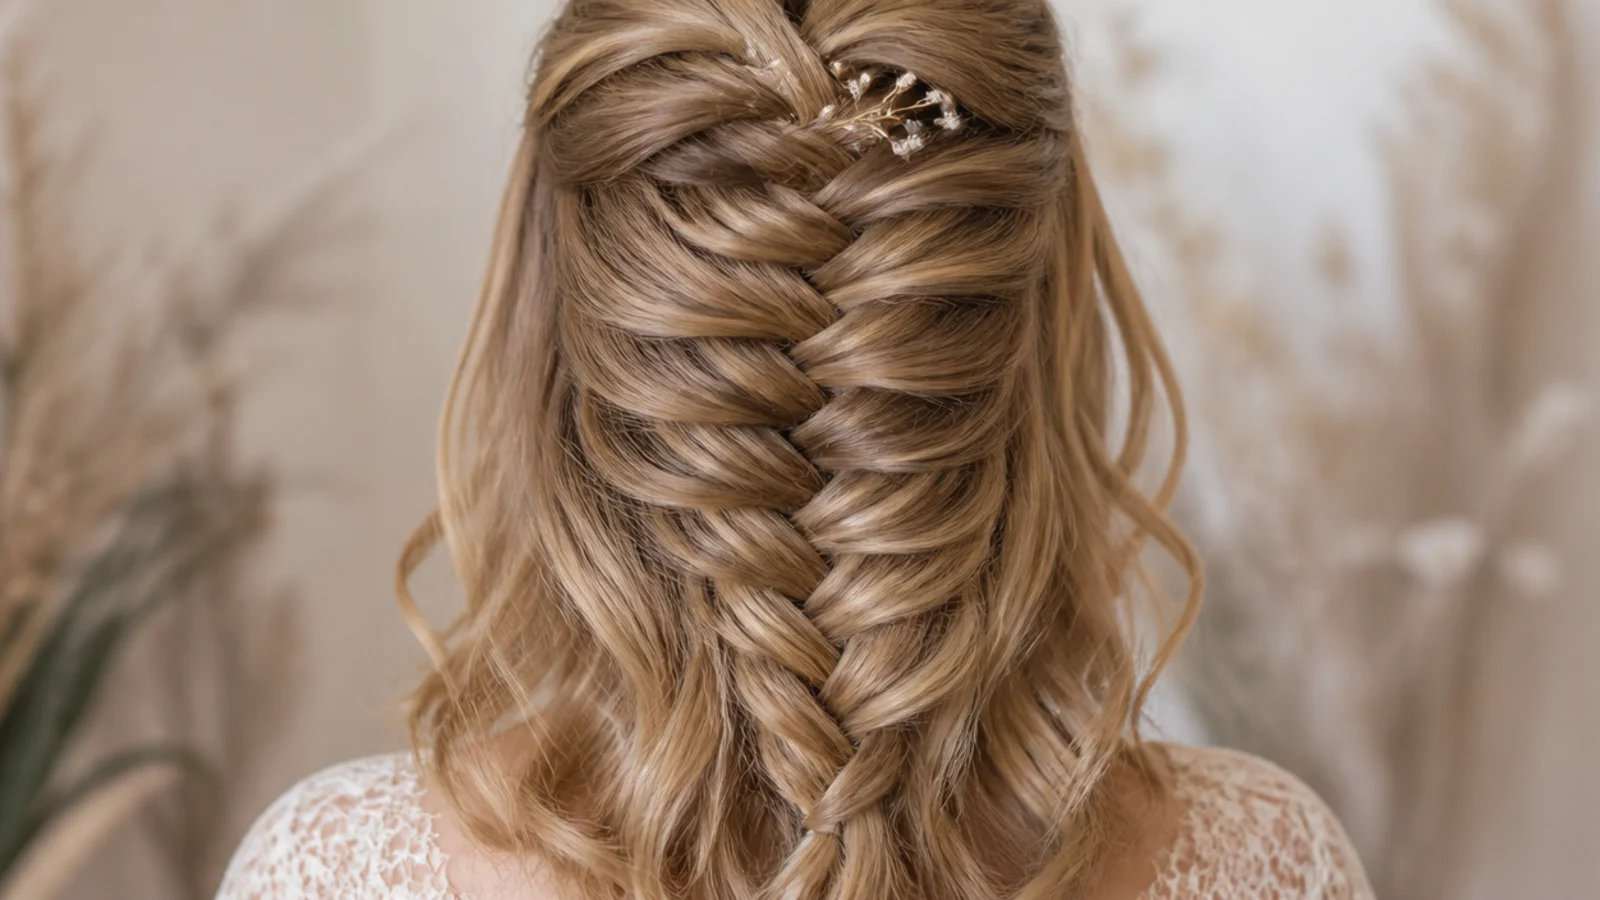
Gathering into an elastic first removes the hardest part of the job, which is holding a whole head of hair together while your fingers are busy. The braid then starts from a contained section, so nothing escapes at the sides and the tension is set before you begin.
8. Dutch Down the Back
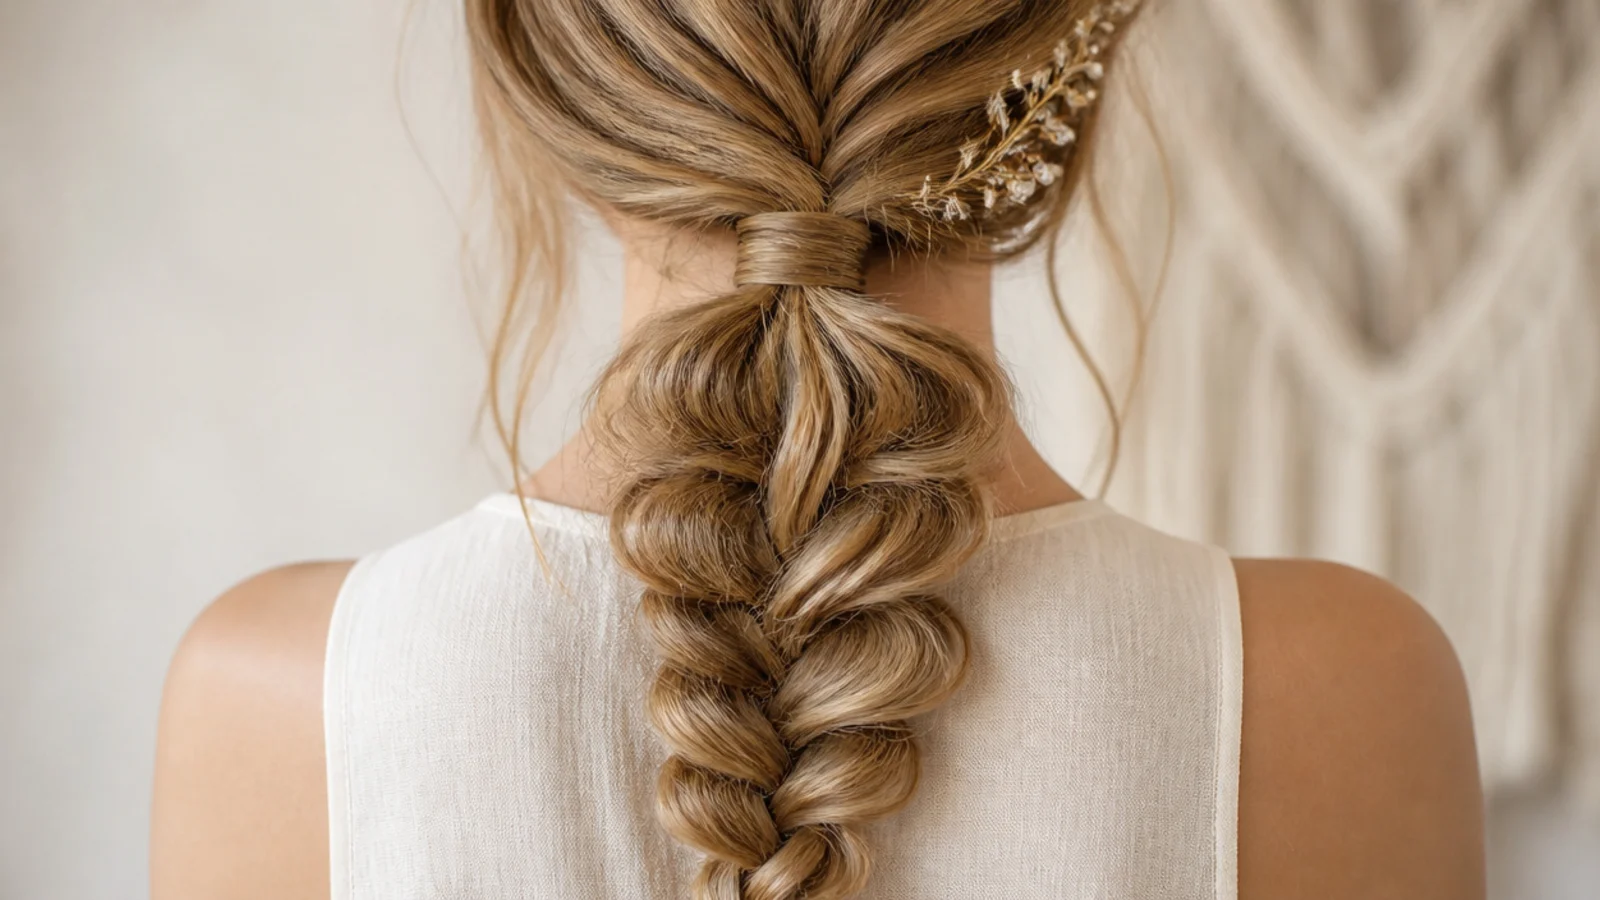
New hair is picked up at every crossover rather than braiding only the tail. Because the added sections pull from the scalp, the braid sits raised on the surface instead of hanging off the back of the head, which is why it survives an active day.
9. Clip In Extensions
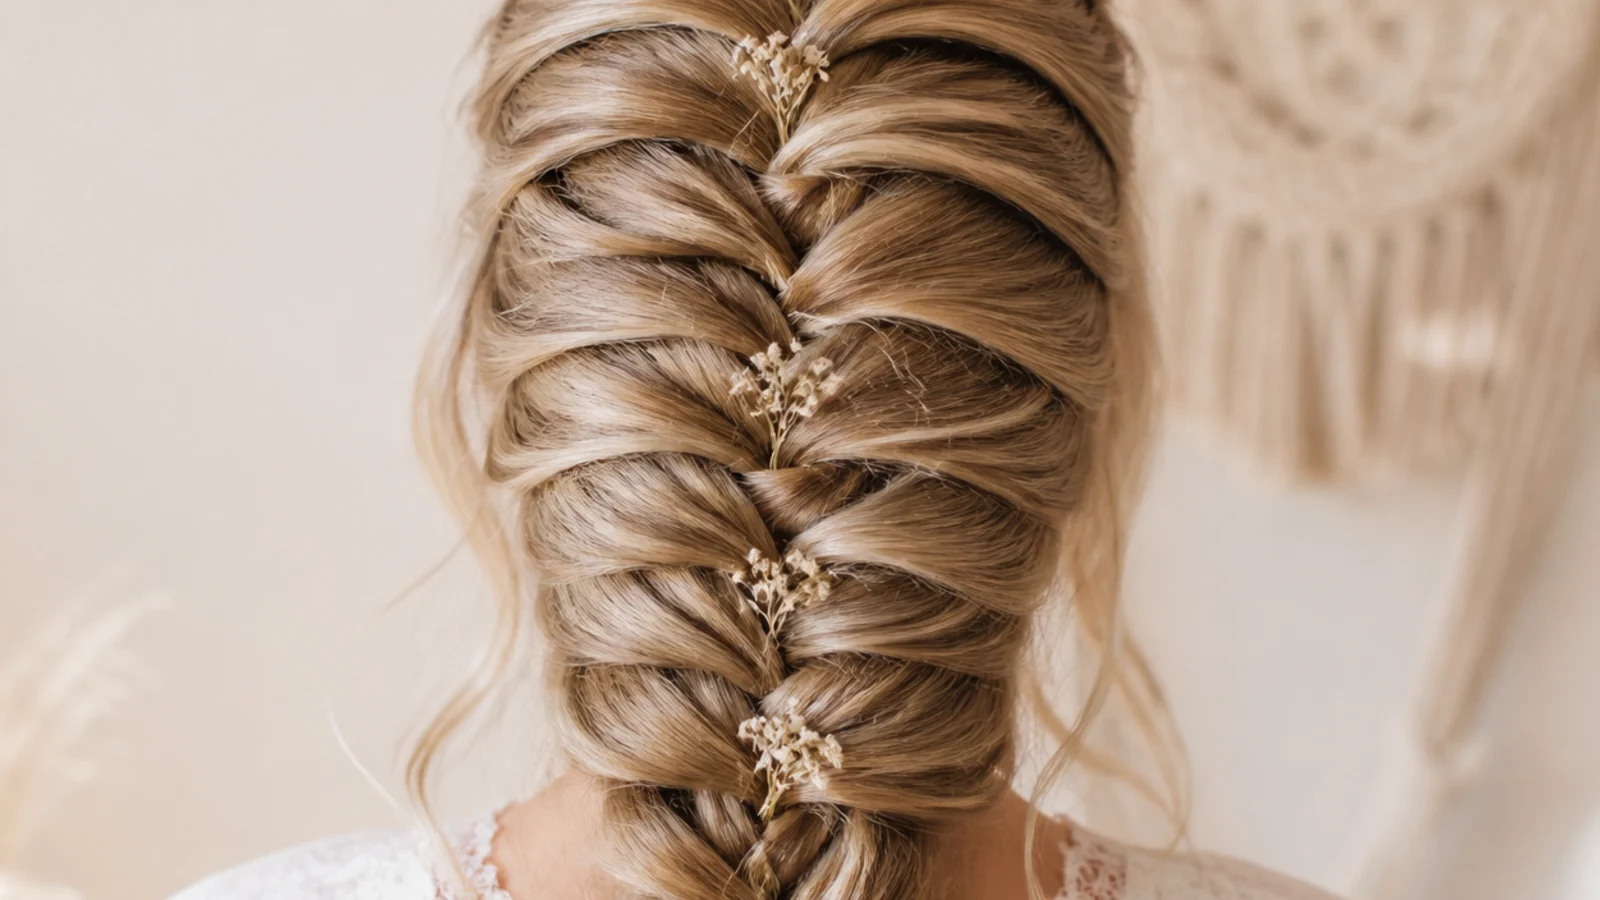
Wefts add length and mass, and mass is what most beginner braids are short of. Clip them a couple of inches below the crown so the join sits inside the braided section where the crossovers hide it, rather than under loose hair where it shows.
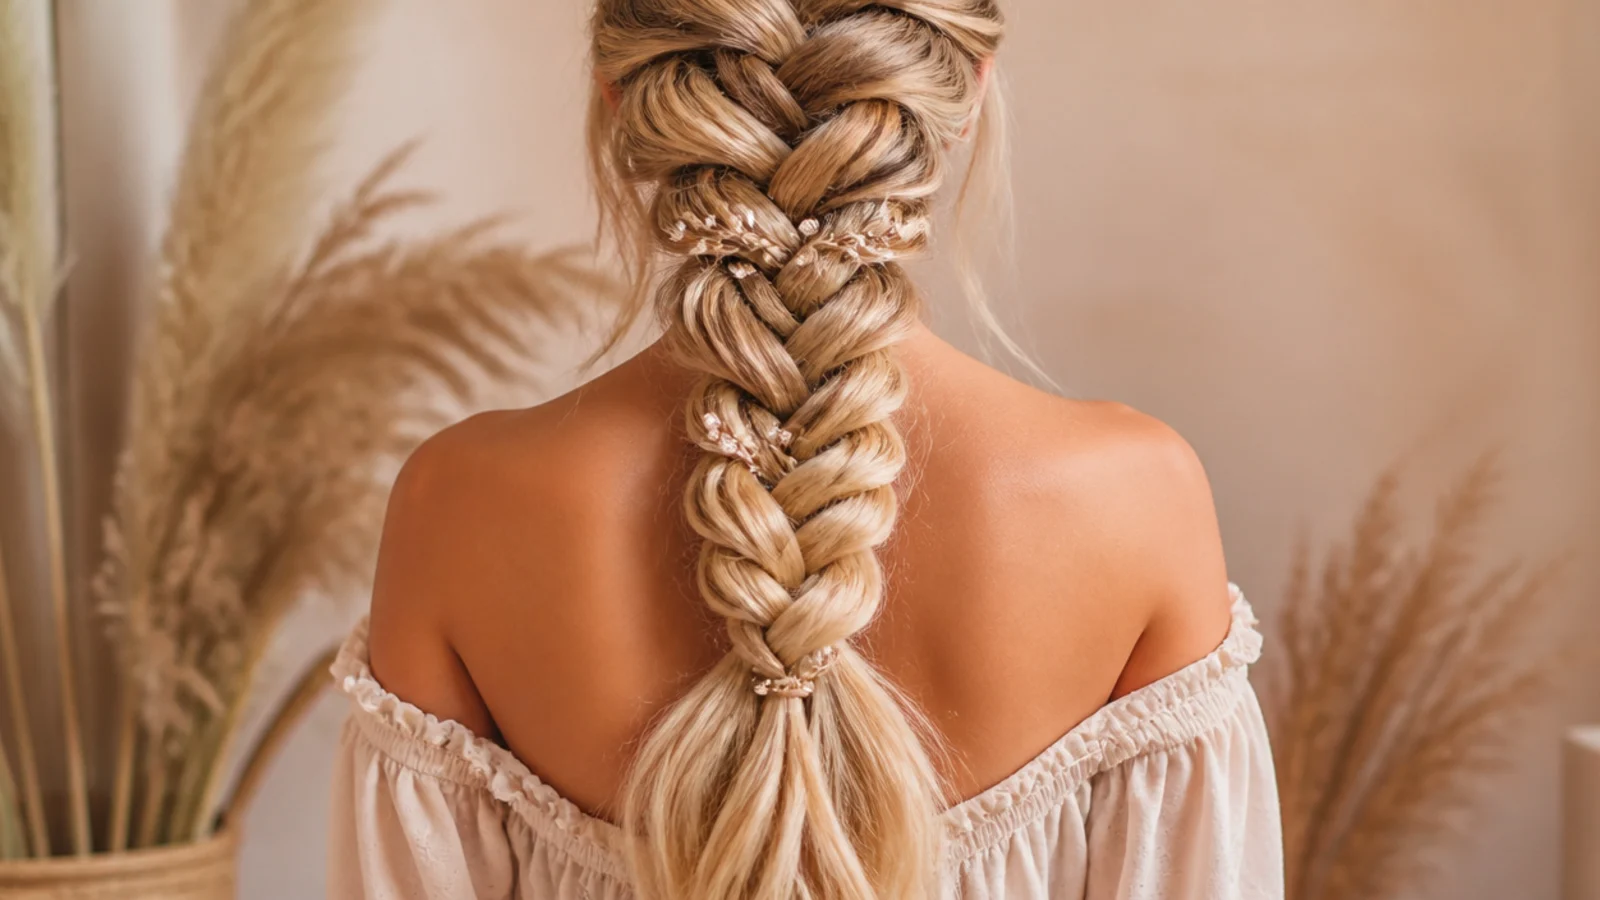
10. Boho Face Framing
The two pieces at the temples are separated and clipped away before the first section is taken. Braided in and pulled out at the end they hold a bend from the crossover they sat in, which is the difference between soft and untidy.
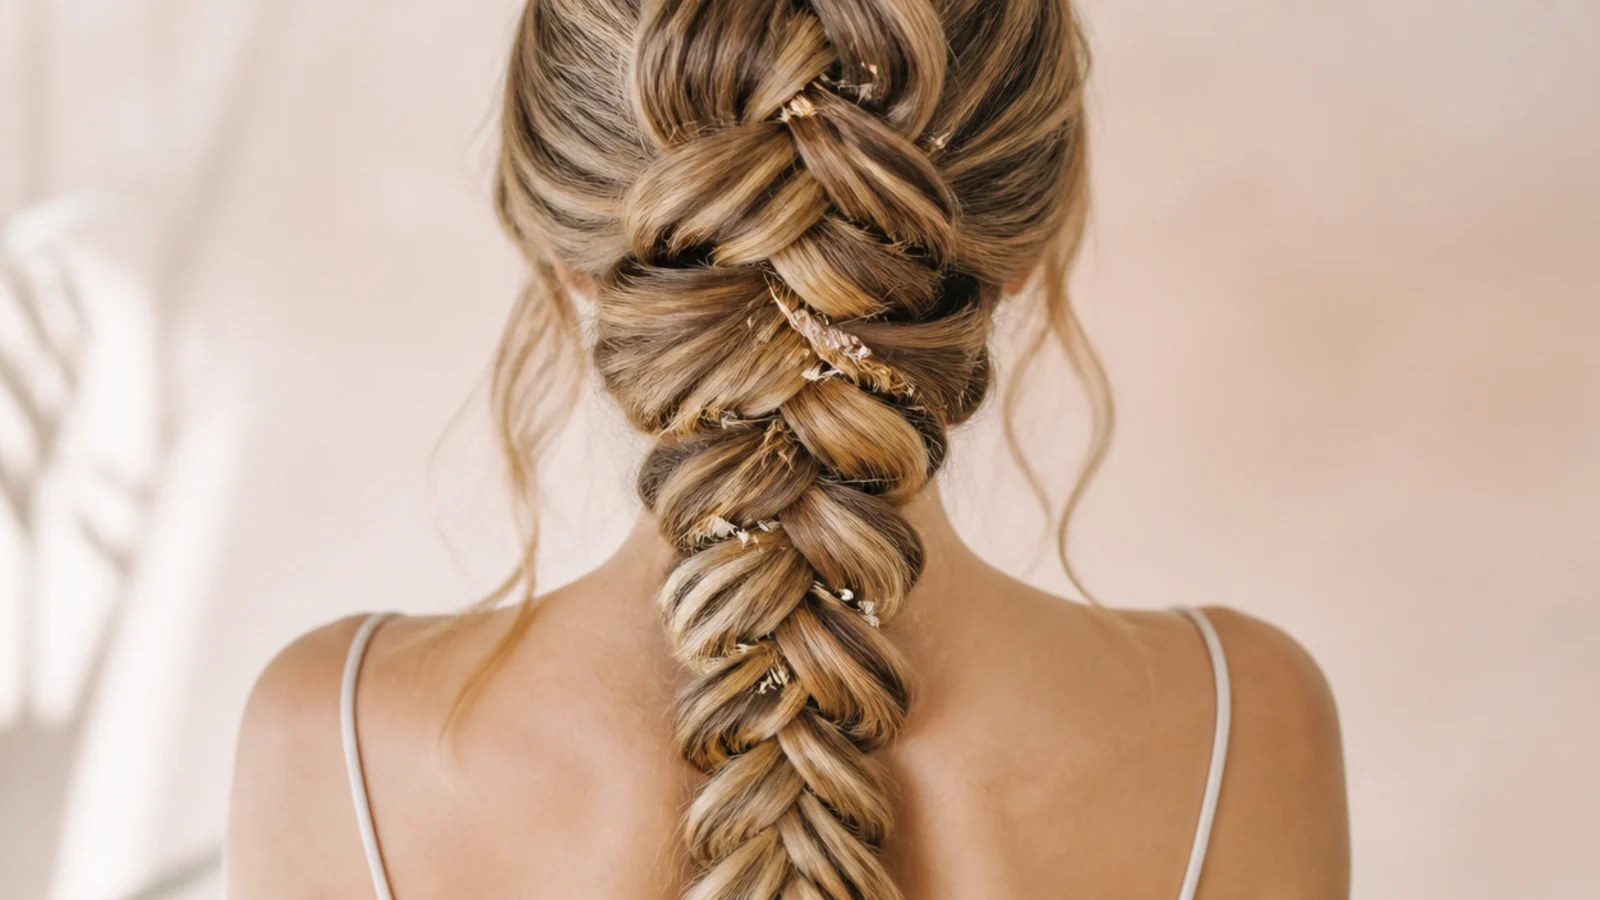
11. Curly Type 3 Hair
Curl gives every crossover natural bulk, so a type 3 fishtail is wide before it is pancaked at all. Stretch the hair first with a low blow dry or overnight banding, because unstretched curl gives up so much length that the pattern never repeats enough to read.
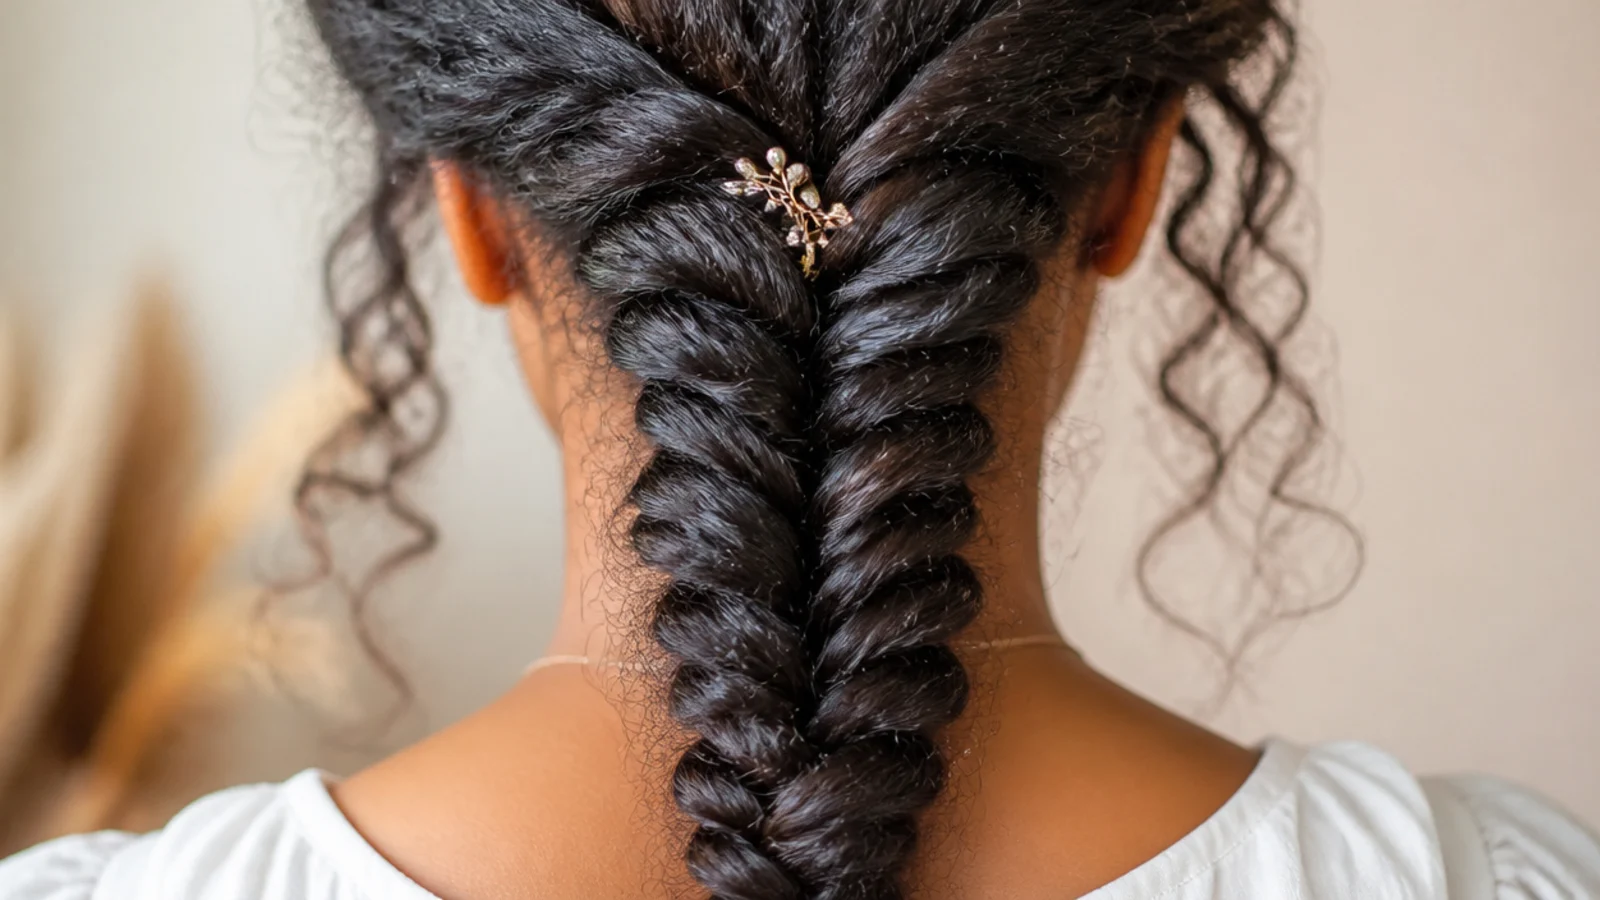
12. Double Pigtails
Splitting the hair halves the mass in each braid, which makes the crossovers thinner and the pattern finer. Two braids are also easier to learn on than one, because each hand works over its own shoulder rather than reaching blind behind the head.
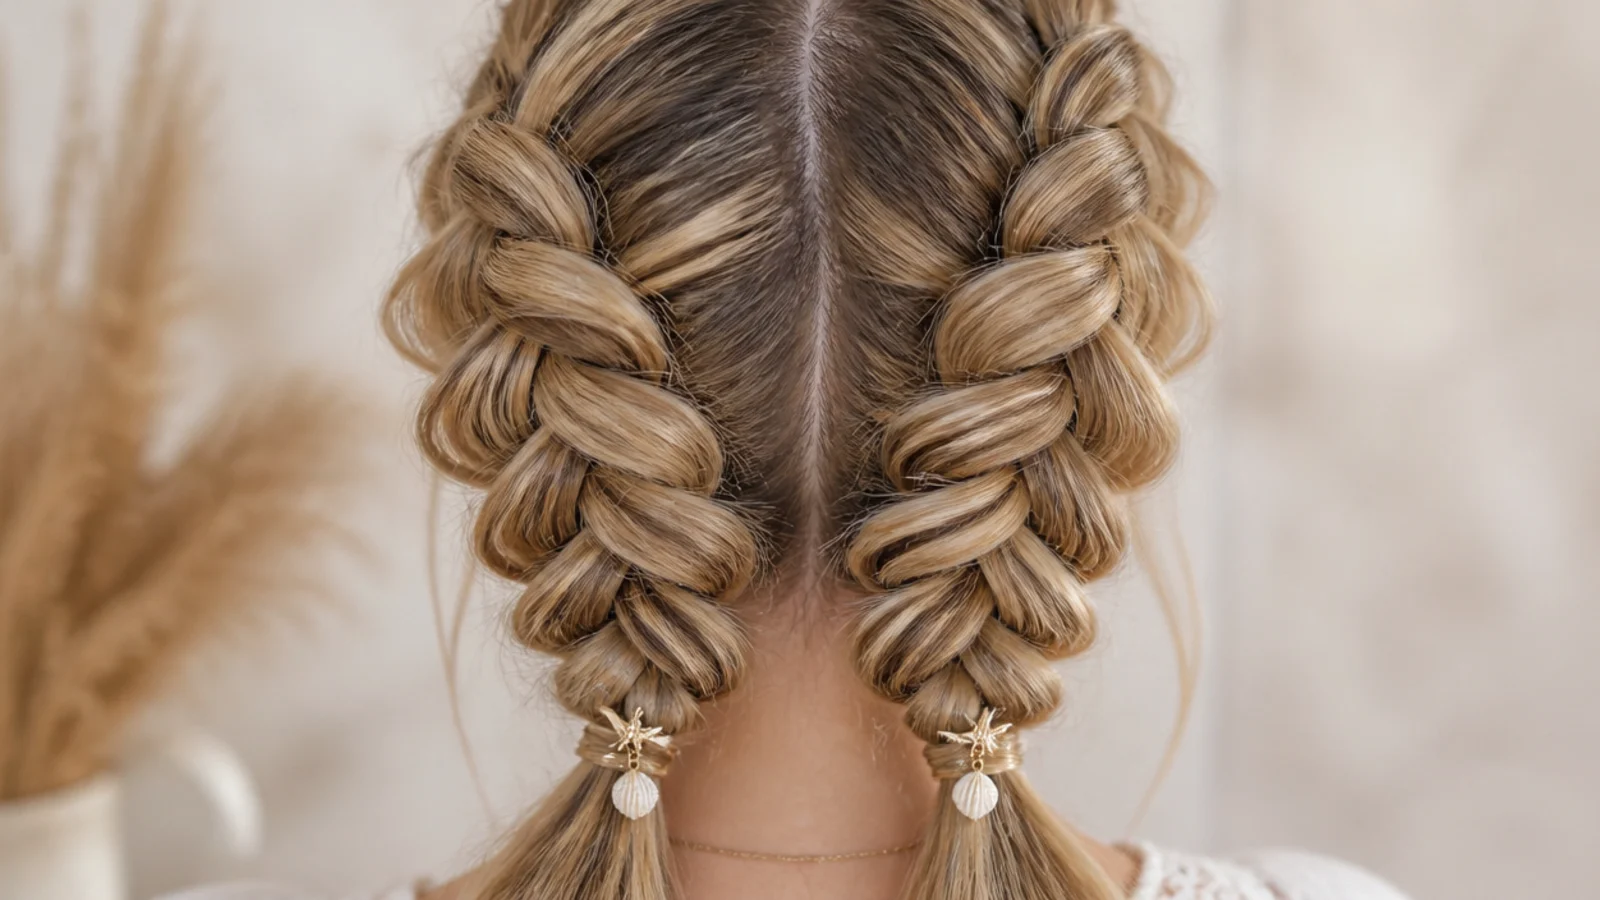
13. Crown Braid
Taken around the head above the ear and pinned at the back. Because it lies flat on the scalp there is no weight hanging below to even the tension out, so consistency has to be there from the first crossover rather than corrected later.
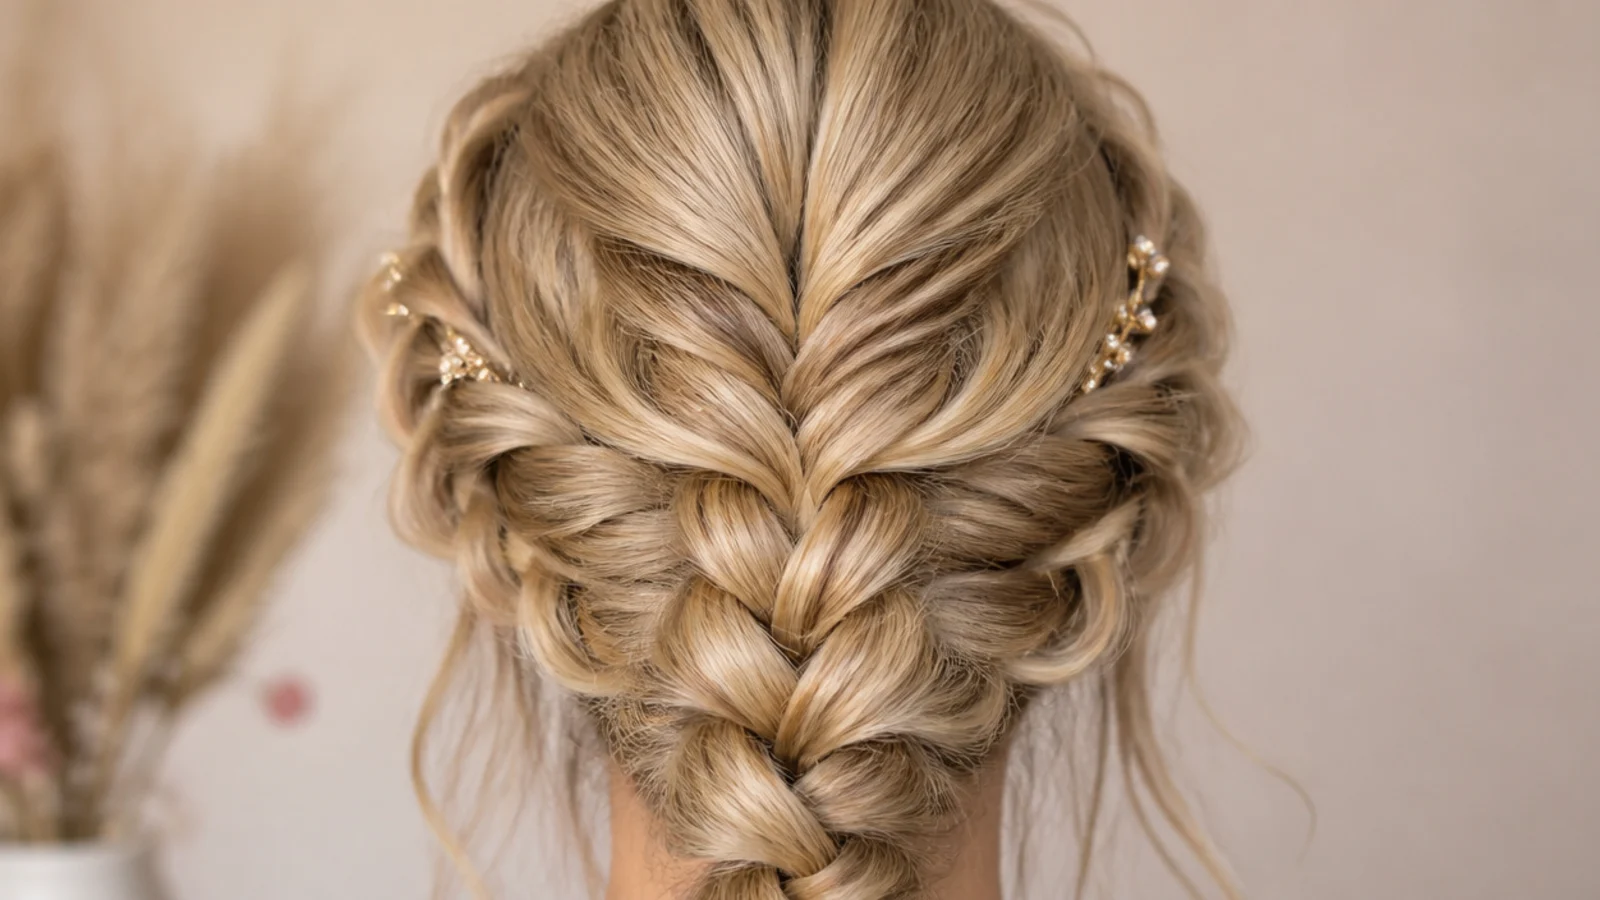
14. Ribbon Woven
A ribbon threaded through the crossovers carries part of the tension, which lets a beginner braid be widened past what the hair alone would hold. It also gives your fingers something firm to hold, and even tension is much easier to feel than to see.
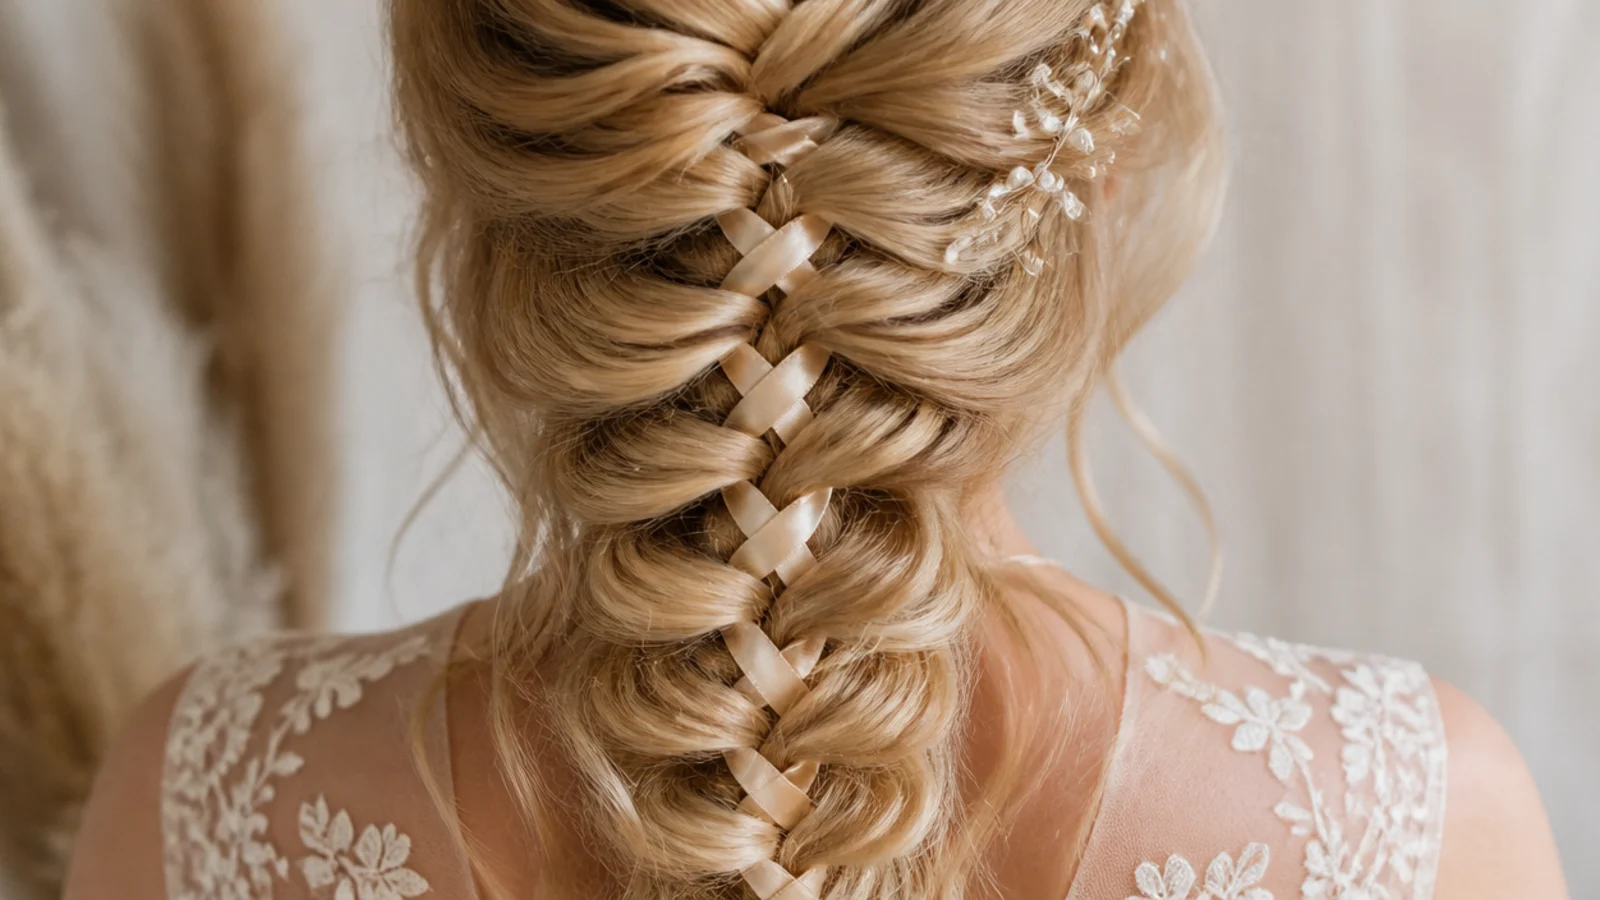
15. Overnight Waves
A fishtail slept in and taken down in the morning leaves a fine repeating bend rather than the wide S a three strand plait gives. Braid it damp rather than wet, because hair still soaking at bedtime will not be dry by morning and holds nothing at all.
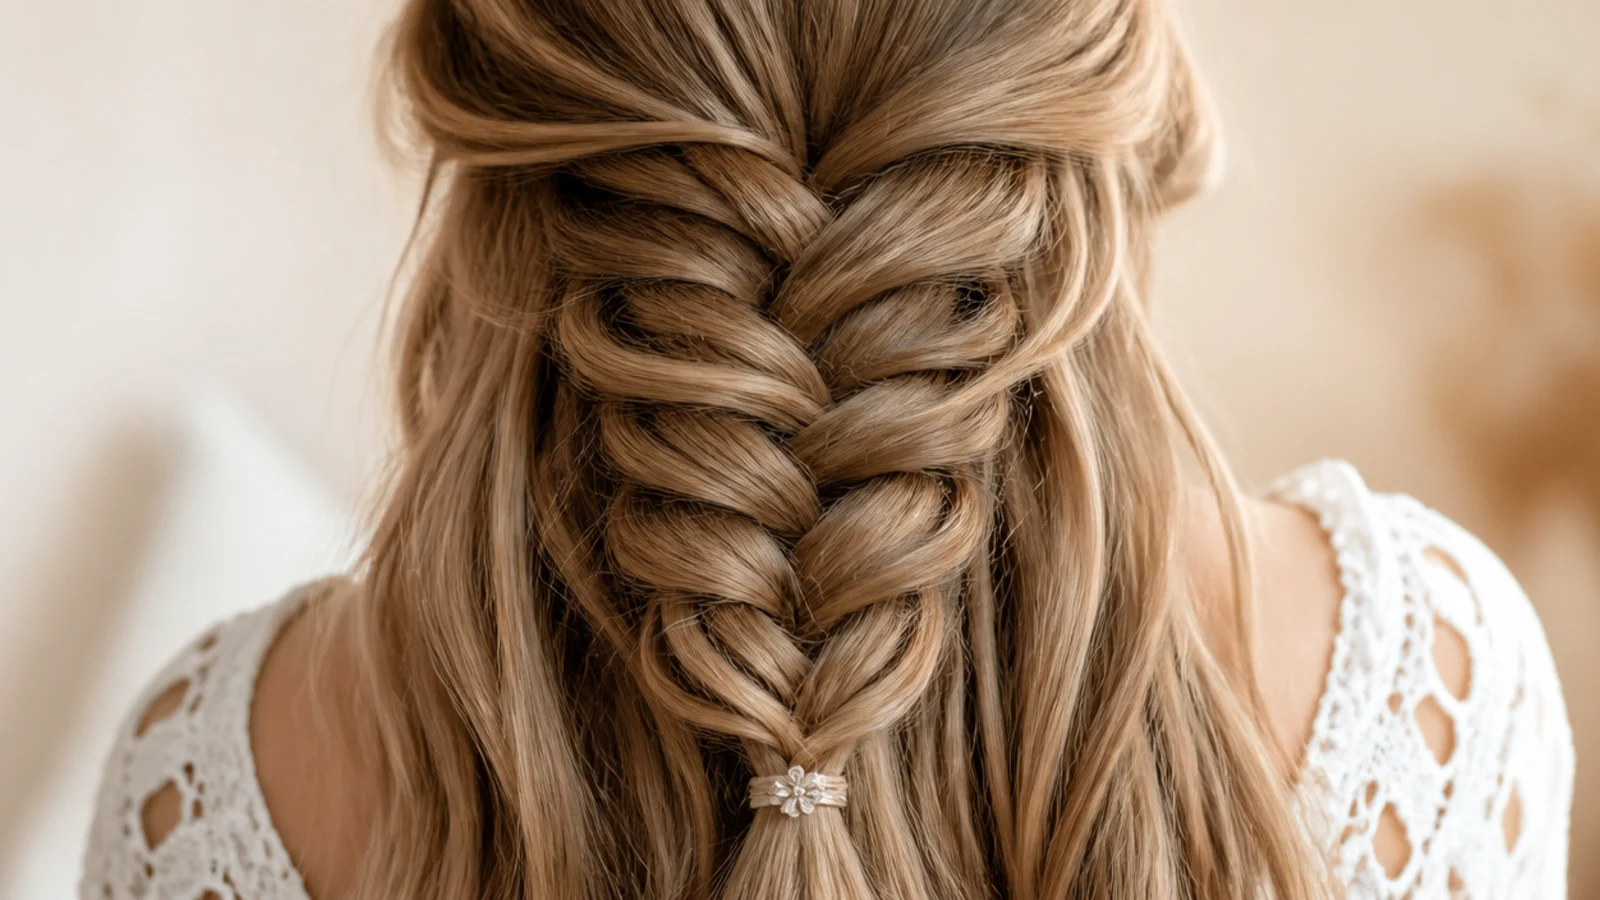
How to Braid a Mermaid Braid
Step 1. Texture Spray
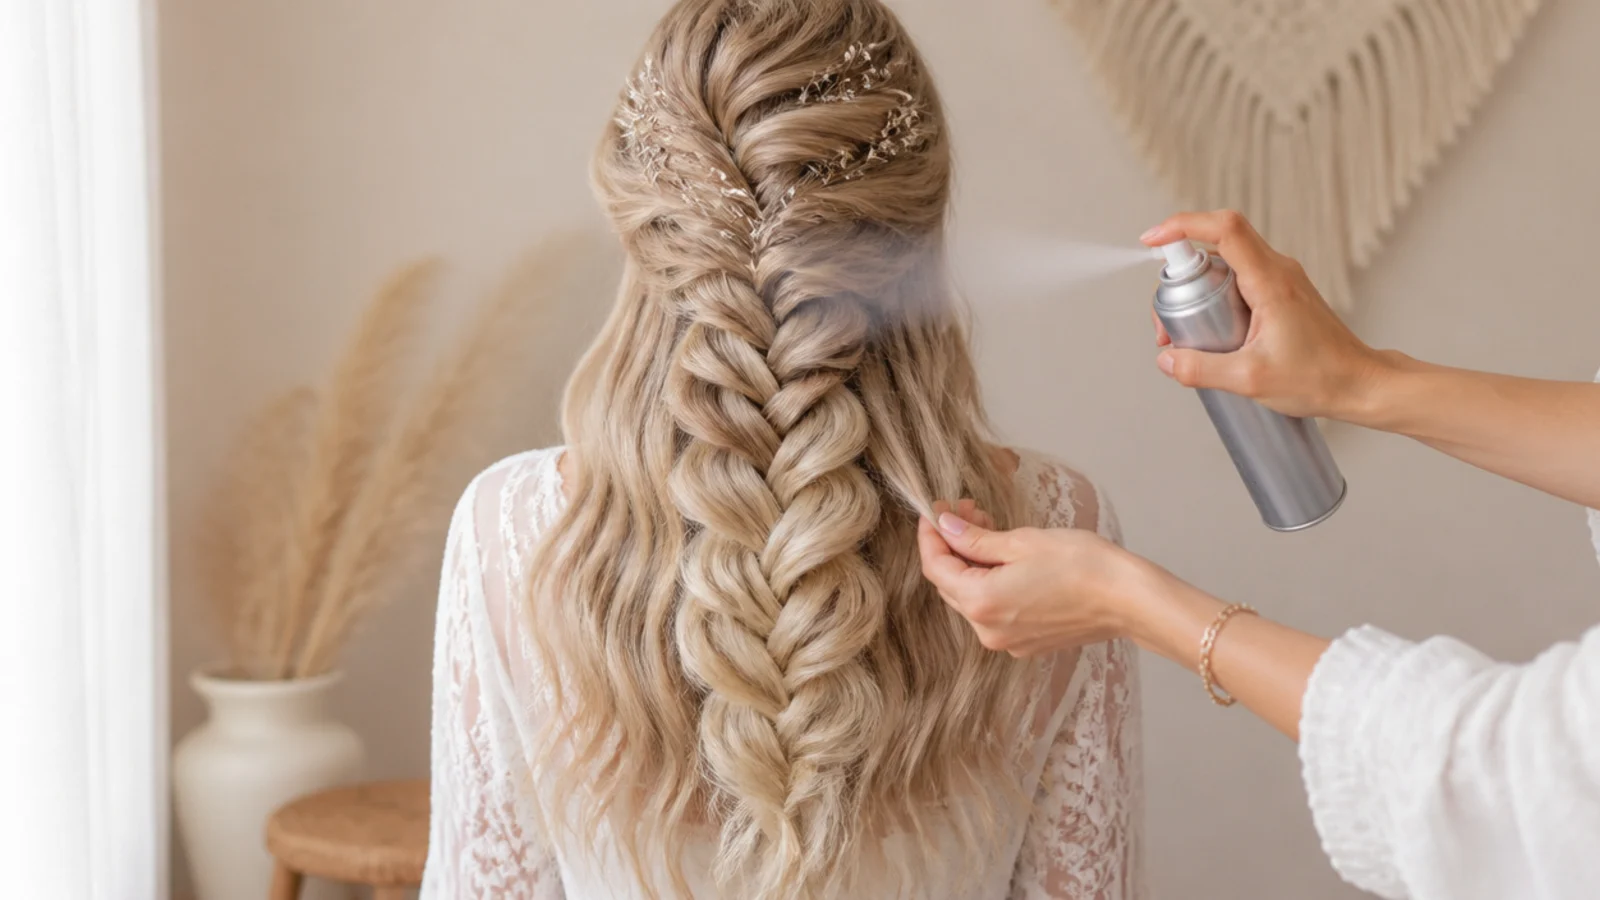
Spray through the roots and mid lengths of dry hair before you pick up a brush. Friction between sections is what holds a fishtail together, and freshly washed hair has almost none of it — this is the step people skip and then blame their hands for.
Step 2. Brush and Part
Brush from the ends upward until there is no resistance anywhere, then take your parting. A single knot halfway down will stop a crossover dead, and once the braid is underway there is no way to get a brush back into it.
Step 3. Two Sections
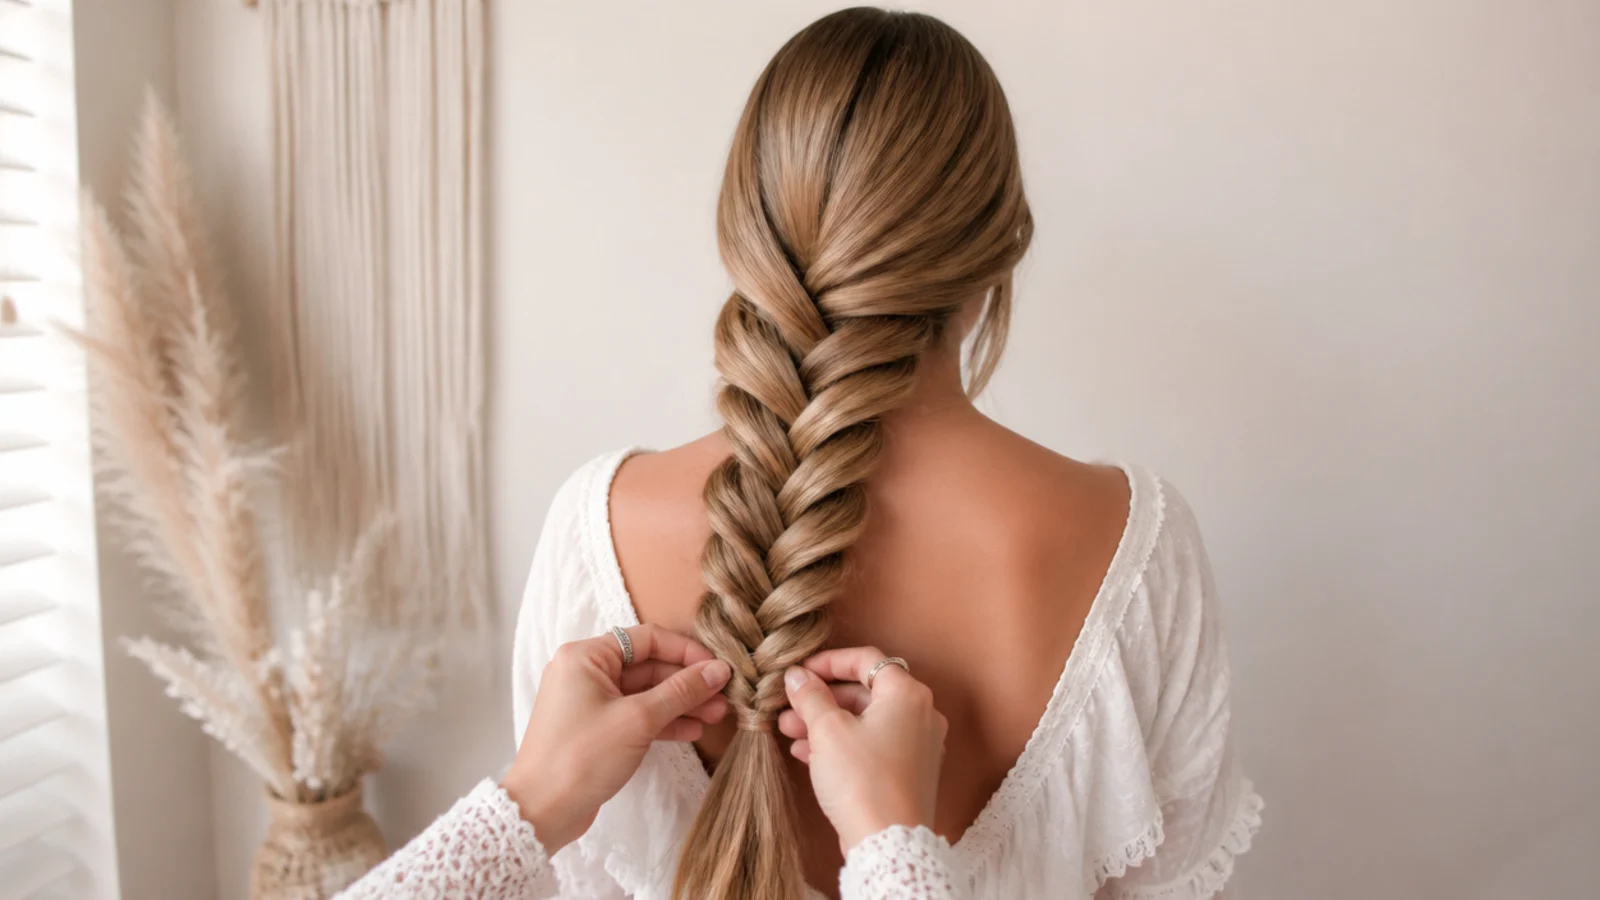
Split the hair into two equal halves and take one in each hand. Nothing changes hands from this point onward, which is the entire reason a fishtail is easier to learn than a plait despite looking more complicated.
Step 4. The Crossover
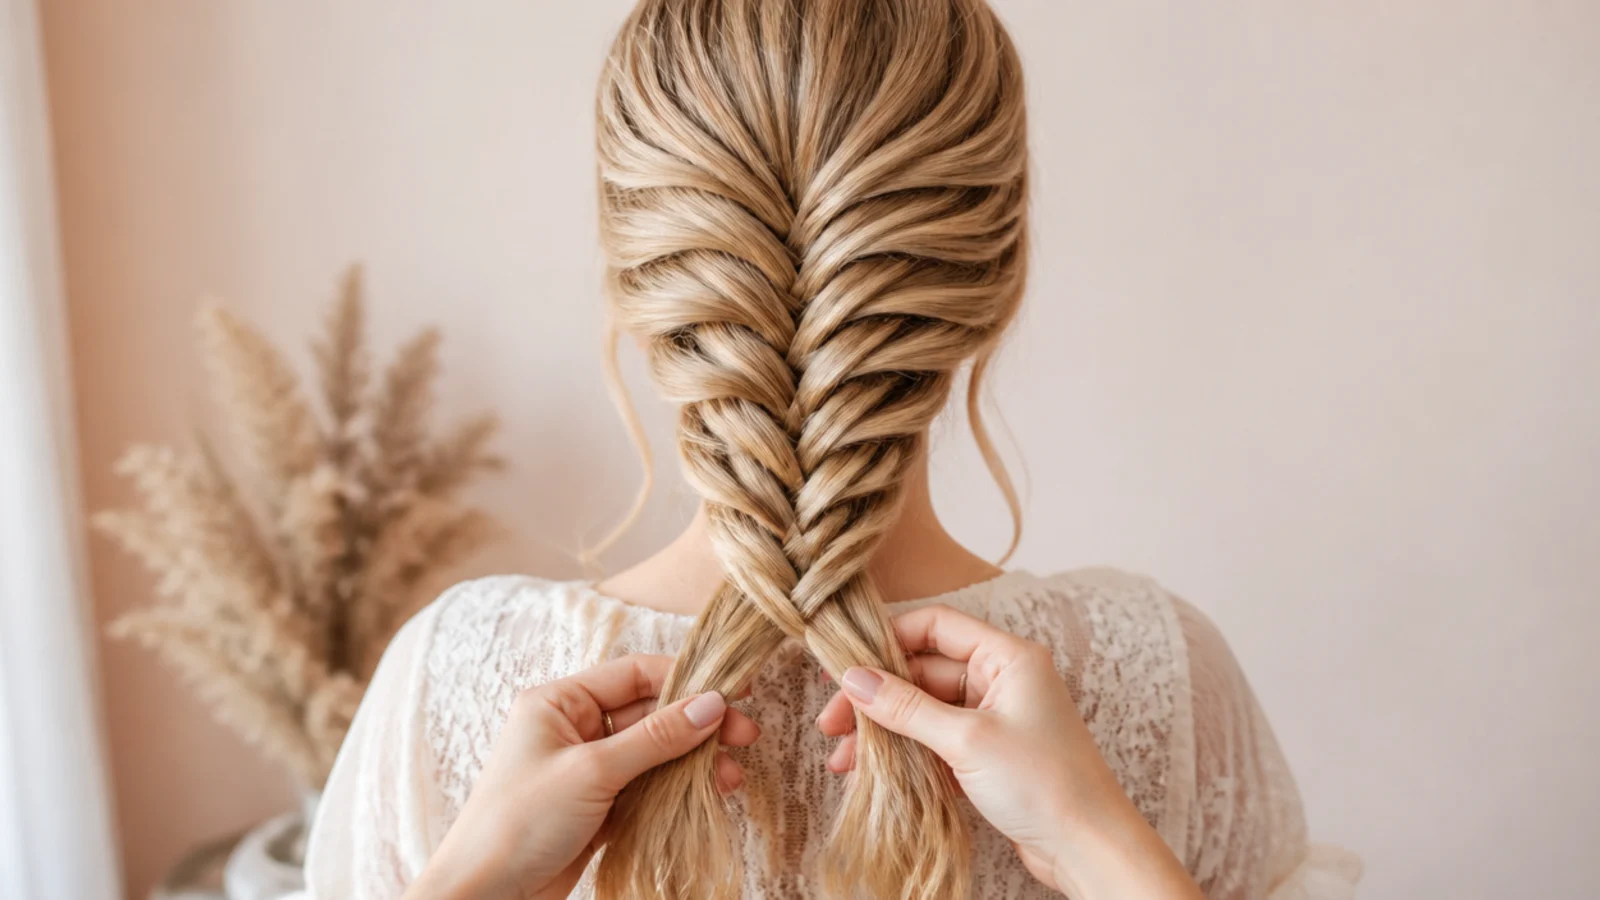
Take a thin piece from the outer edge of the right section and cross it over to join the inside of the left, then repeat from the left. Thin pieces give the fine herringbone this braid is known for, and thick ones give you something closer to a plait.
Step 5. Even Tension
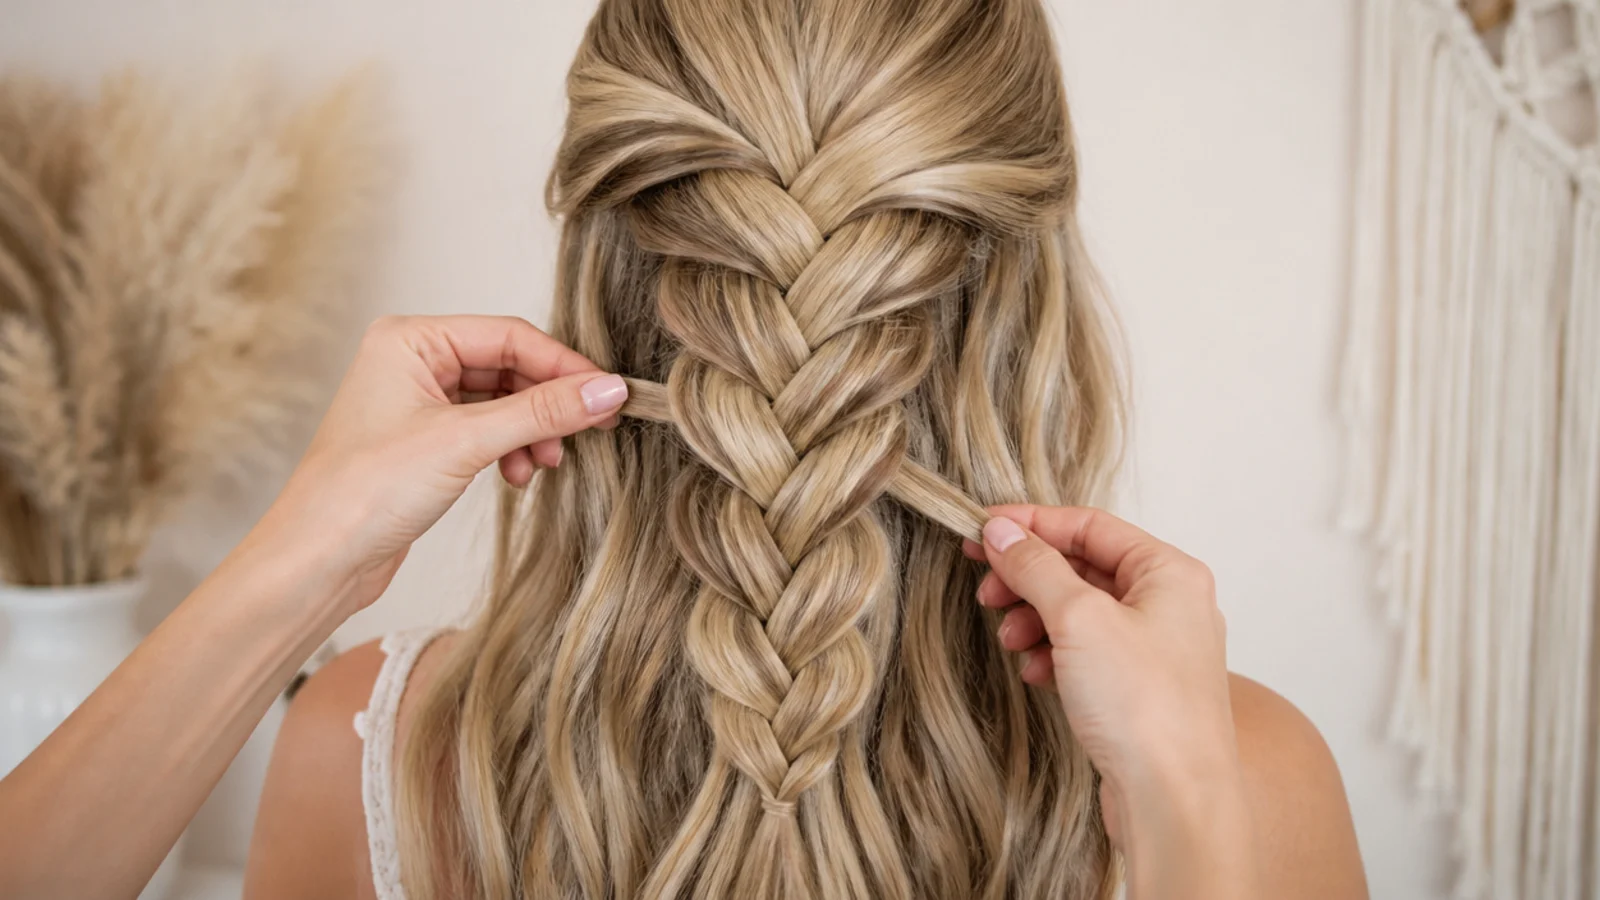
Draw both sections down and outward after each crossover with the same pull every time. A fishtail displays inconsistency directly because every segment is separately visible, so the target is repeatable rather than tight.
Step 6. Clear Elastic
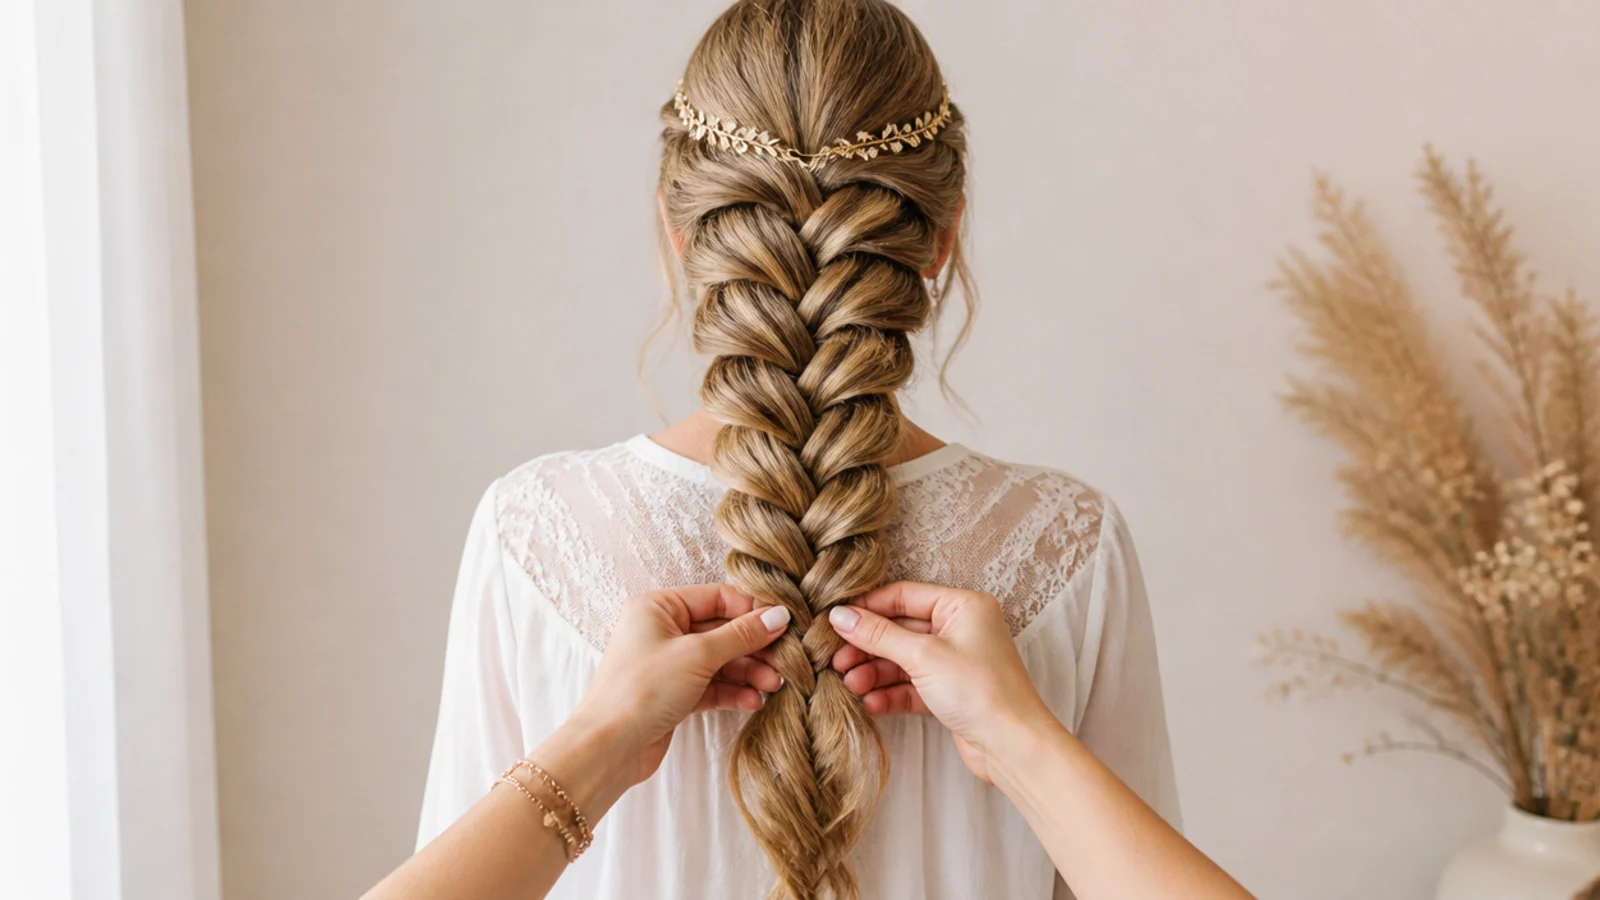
Secure the tail with a clear elastic, and add a second at the top of the braid if the hair is fine. The top elastic stops the tension you release while widening from travelling upward and unlocking the first few crossovers.
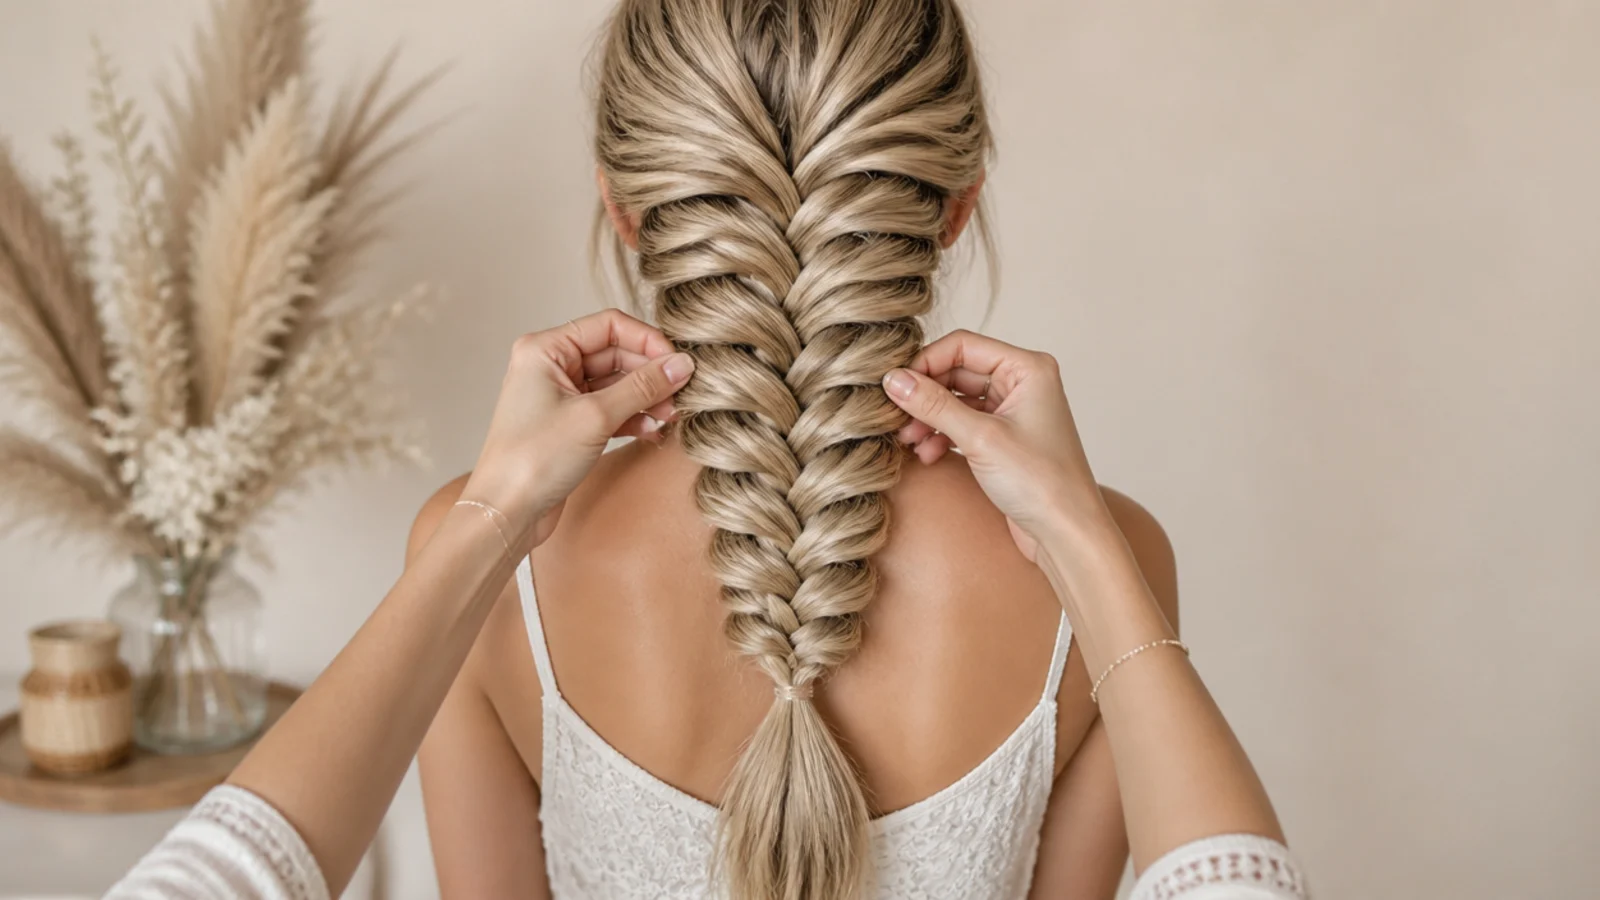
Step 7. Pancaking
Pull the outer edge of each crossover outward, working from the bottom of the braid up to the top. Only that outer edge has slack in it, and going bottom to top means the tension you release cannot close the segments below.
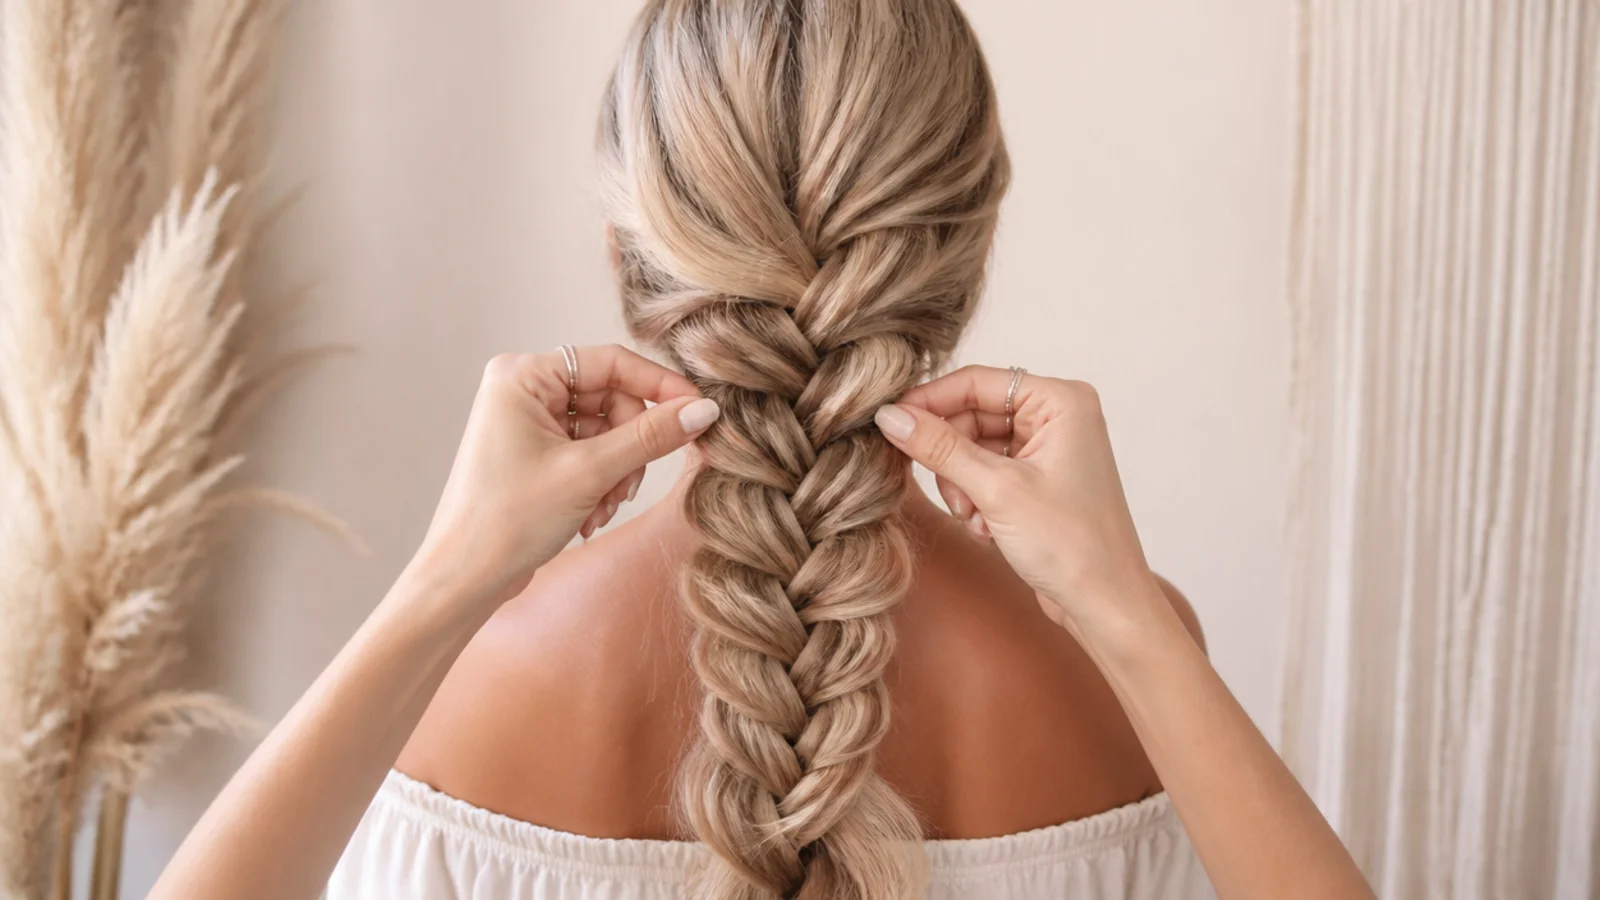
Final Thoughts
Learn it over your shoulder, on second day hair, with a texture spray already in. Those three conditions remove almost everything that makes a first fishtail frustrating, and none of them has anything to do with the braiding itself.
Once the movement is automatic the only variable left is piece size, and that is the one thing worth being fussy about. More in Braids and Protective Styles. See also the blonde version and the boho version.
Frequently asked questions
Related posts
See all posts
20 Waterfall Mermaid Braid Ideas That Hold
Read more
15 Side Mermaid Braid Ideas That Sit Right
Read more
20 Side Part Medium Knotless Braids I Saved
Read more