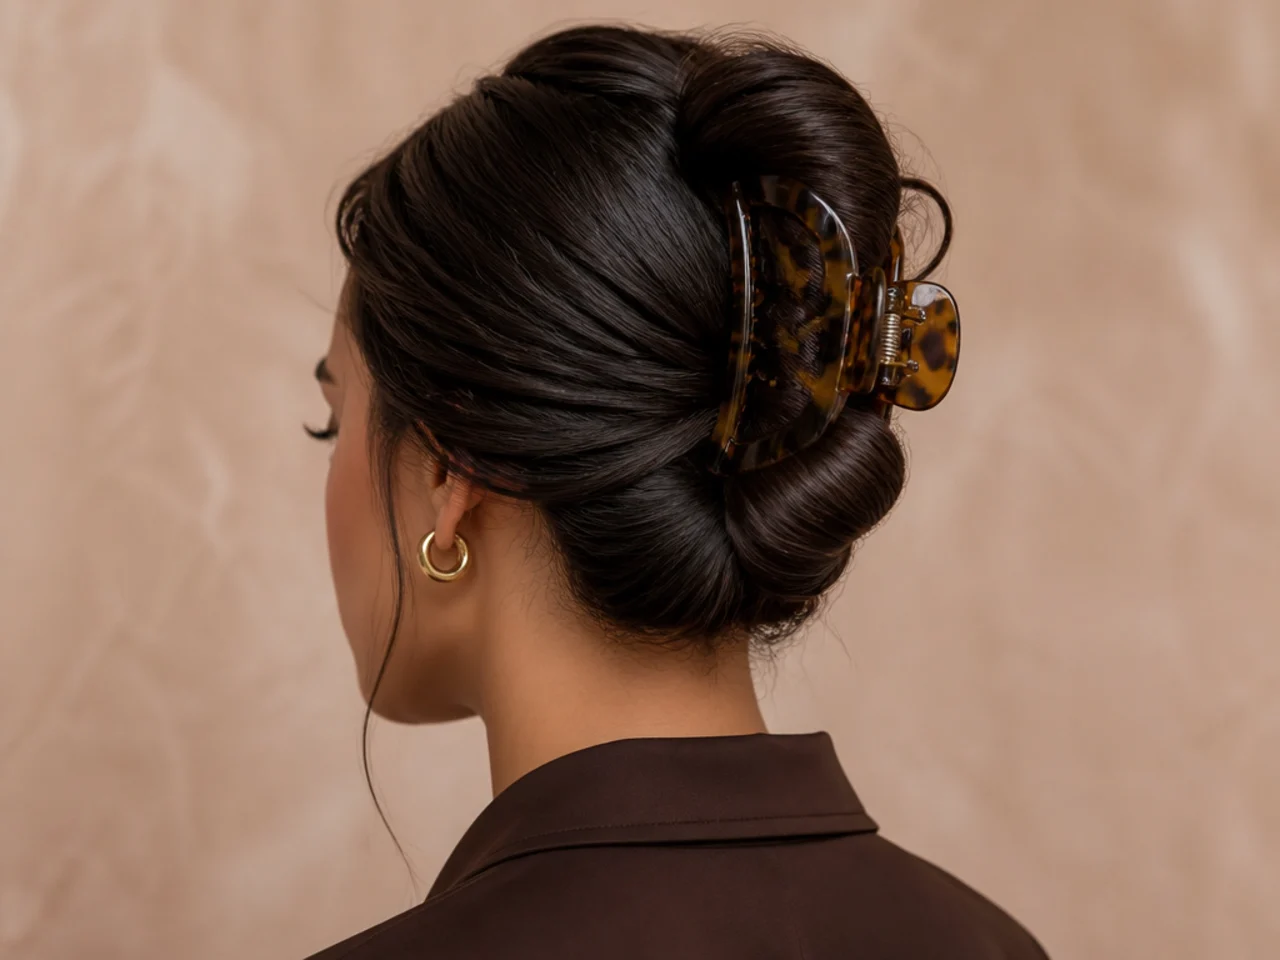
15 Ways to Style a Claw Clip
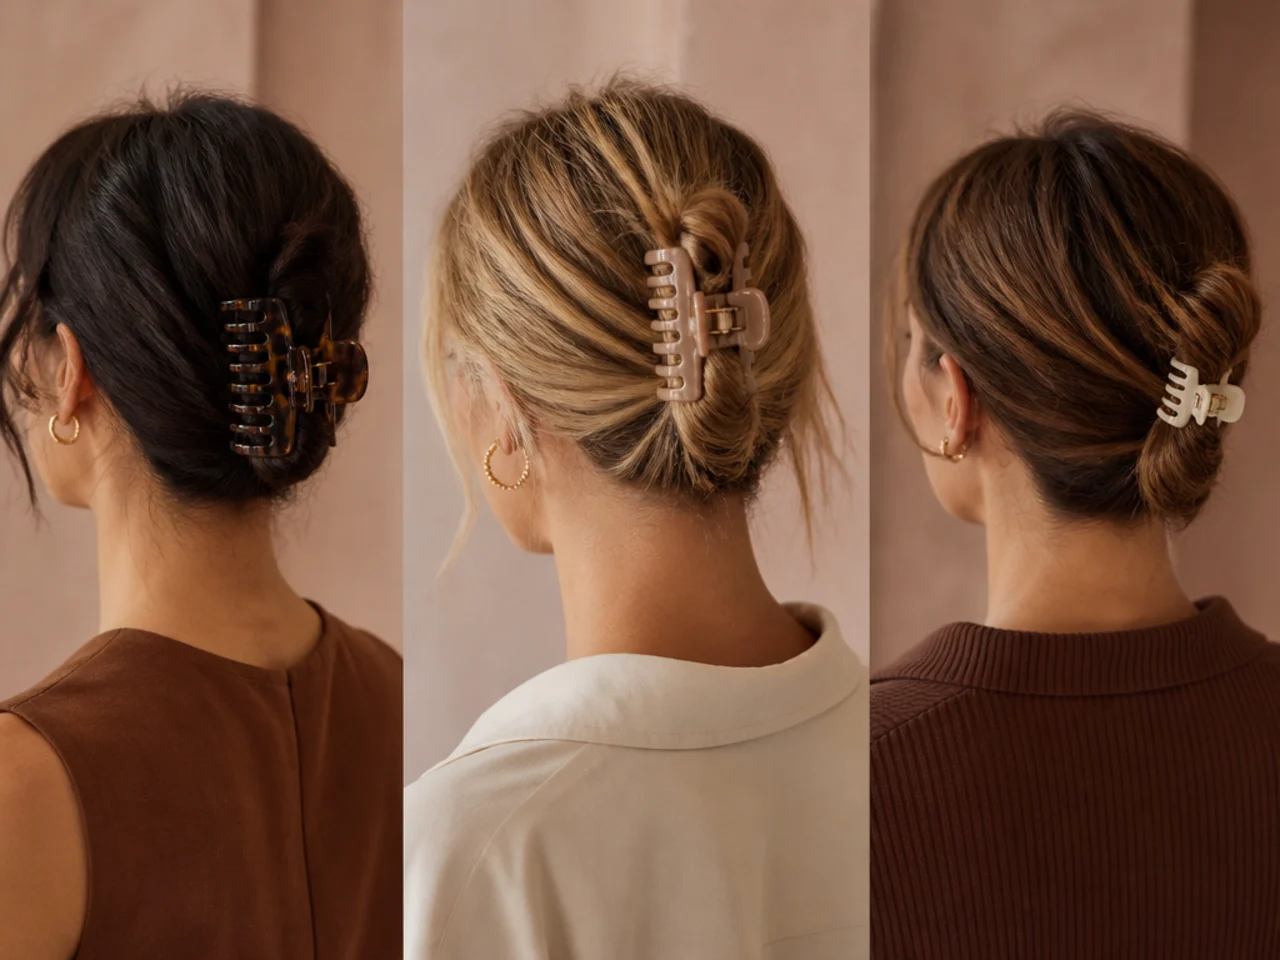
Fifteen ways to choose and use a claw clip — because most clip failures are equipment failures. The wrong size clip slides out of any hairstyle, and almost everyone is wearing one two sizes off.
In this article · 22
- Getting the Size Right
- Teeth, Material and Grip
- The 15 Ways to Use One
- 1. The Twist and Fold
- 2. Clip Vertically, Not Horizontally
- 3. Catch the Roots, Not the Ends
- 4. Leave the Ends Out
- 5. The Half-Up Clip
- 6. Two Small Clips Instead of One Large
- 7. Twist Away From the Face
- 8. The Low Nape Clip
- 9. Backcomb First on Fine Hair
- 10. Texture Spray Before Clipping
- 11. Clip Over a Hair Tie
- 12. The Front Section Clip
- 13. Angle It Slightly Off-Centre
- 14. Re-Clip Rather Than Tighten
- 15. Match the Clip to the Day
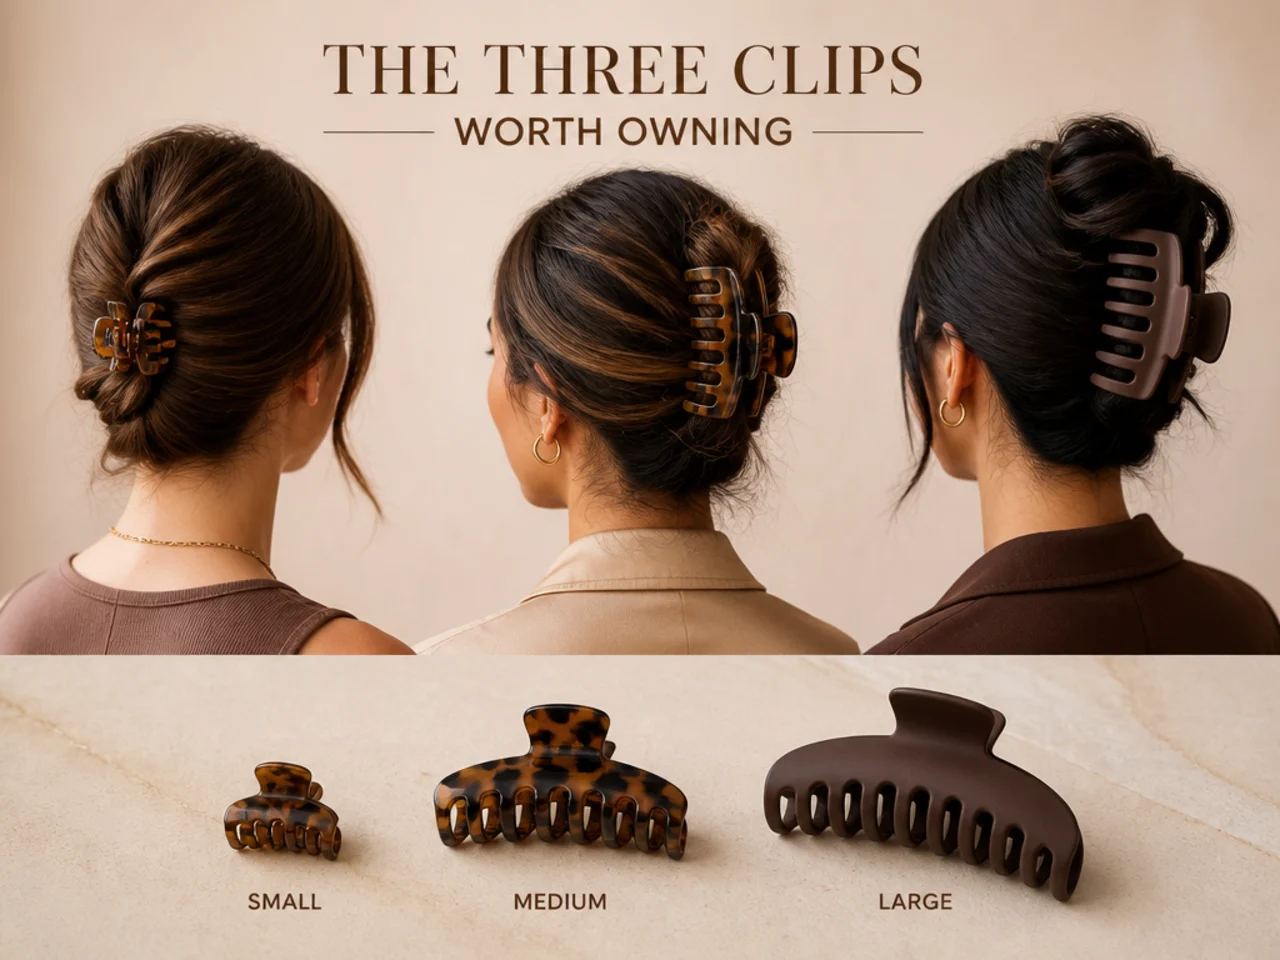
- The Three Clips Worth Owning
- Mistakes to Avoid
- FAQ
- Final Thoughts
Most claw clip failures are not technique failures. They are equipment failures — the wrong clip, on the wrong amount of hair, doing a job it physically cannot do.
That is worth knowing before you learn another twist method, because no technique rescues a clip that is closing on empty space.
Getting the Size Right
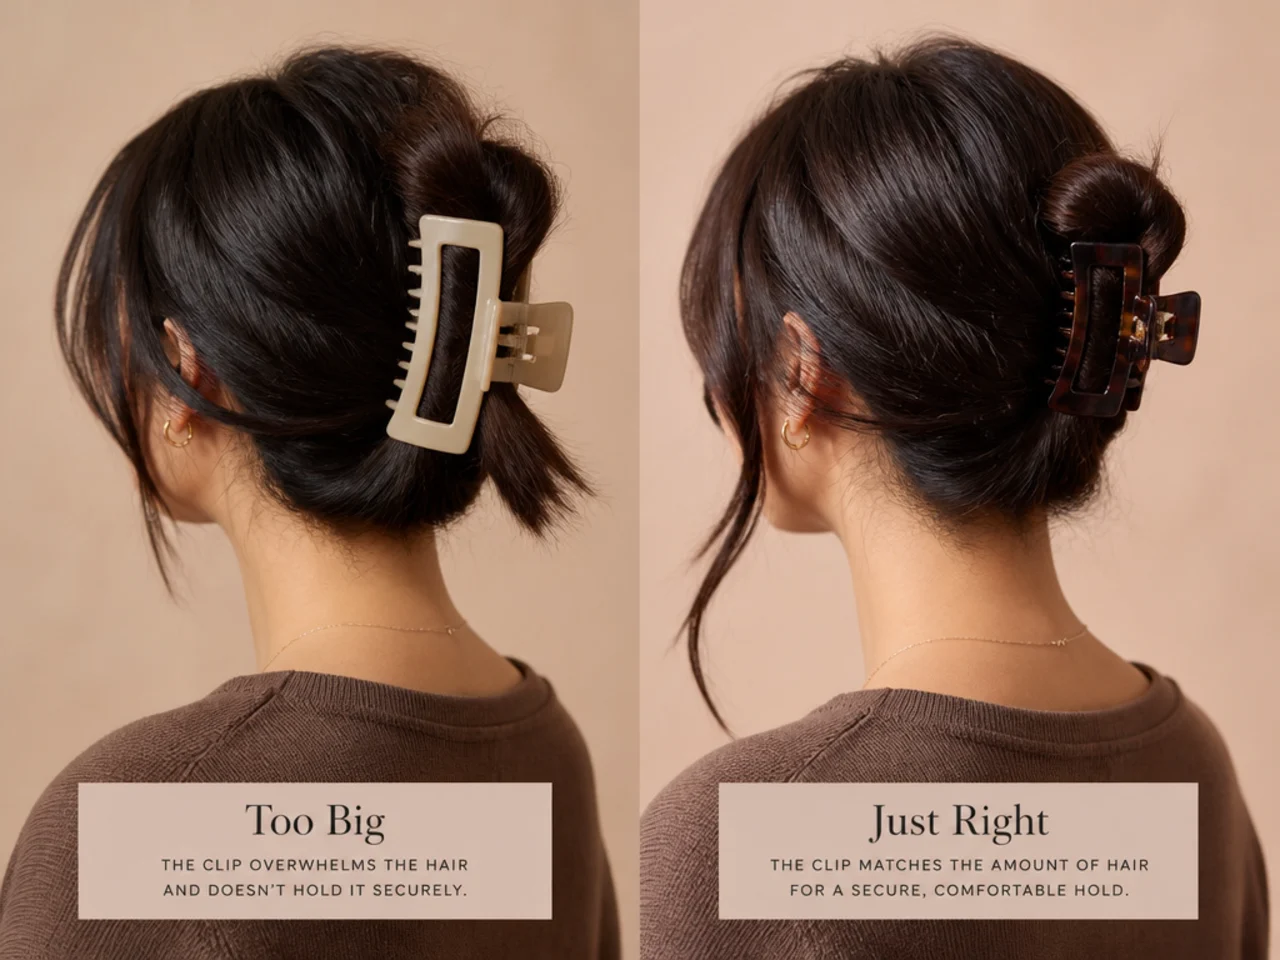
The clip should be roughly as long as the twisted section is wide.
That sounds obvious and almost nobody does it. The common error is buying a large clip because you have a lot of hair — but a big clip on a section that does not fill it closes on air at both ends, so only the middle two or three teeth are gripping anything. It then works loose from the outside in.
The opposite error is a small clip on thick hair, where the jaws cannot close far enough to lock, so it sits half-open under tension and pops off within the hour.
Fine or short hair: small to medium, 7–9cm. Average thickness, shoulder length: medium, 9–11cm. Thick or very long: large, 11–13cm, or two medium clips instead of one large.
Two medium clips genuinely outperform one large one on thick hair, because each is fully packed rather than partly empty.
Teeth, Material and Grip
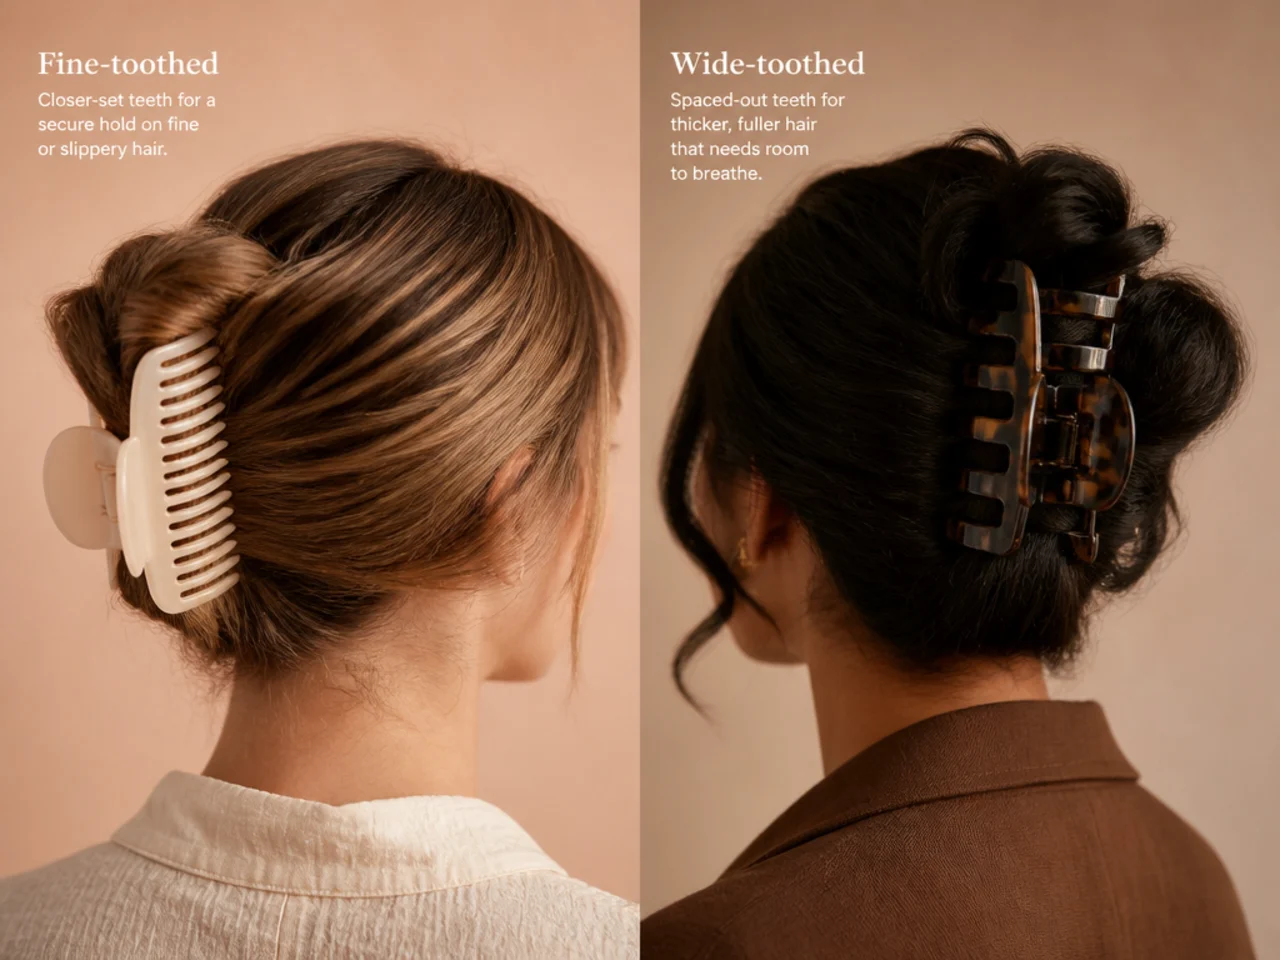
Teeth count. More, closer-spaced teeth grip fine hair; fewer, wider teeth suit thick and curly hair, where narrow teeth cannot get through the bulk. A fine-haired person using a wide-toothed clip is the second most common mismatch after size.
Material. Matte beats polished for grip. Shiny acrylic looks better and slides more, particularly on clean or fine hair. If you like the look of a polished clip, keep it for day-two hair.
Spring strength. Squeeze it before buying. A weak spring is the single clearest sign of a clip that will not hold, and it is the one thing you can test in a shop in two seconds.
Interior ridges. The good clips have small ridges or bumps inside the jaws. Smooth-interior clips rely entirely on pressure, which fails as the spring ages.
The 15 Ways to Use One
1. The Twist and Fold
Twist the length, fold it up against the head, clip across the fold. The base method everything else varies.
2. Clip Vertically, Not Horizontally
Teeth running up and down rather than across. It catches more hair against the scalp and holds far better.
3. Catch the Roots, Not the Ends
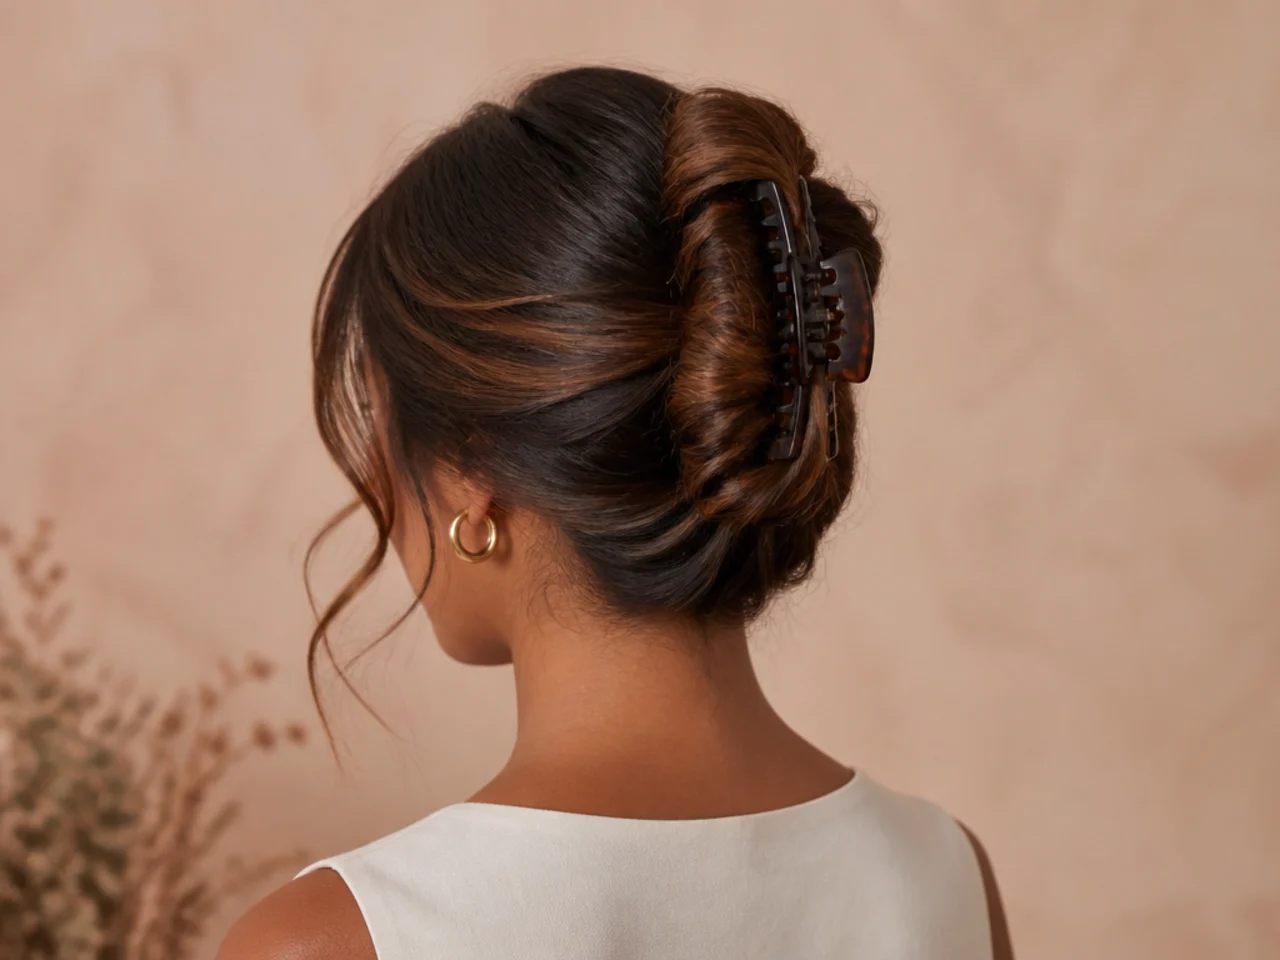
The teeth should close near your scalp. A clip gripping only the length has nothing anchoring it.
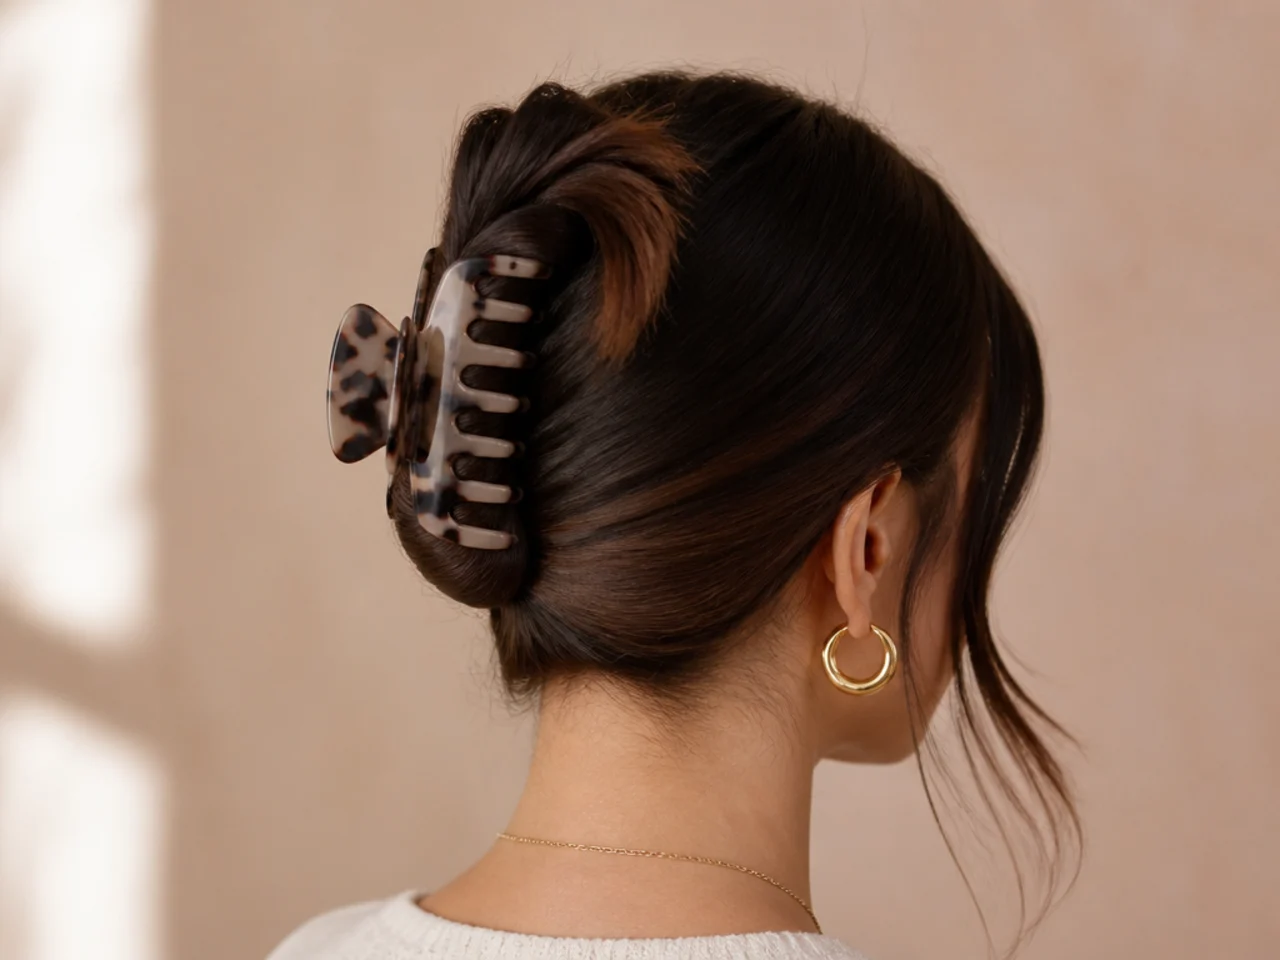
4. Leave the Ends Out
Do not tuck everything in. Ends left showing keep the shape from looking solid.
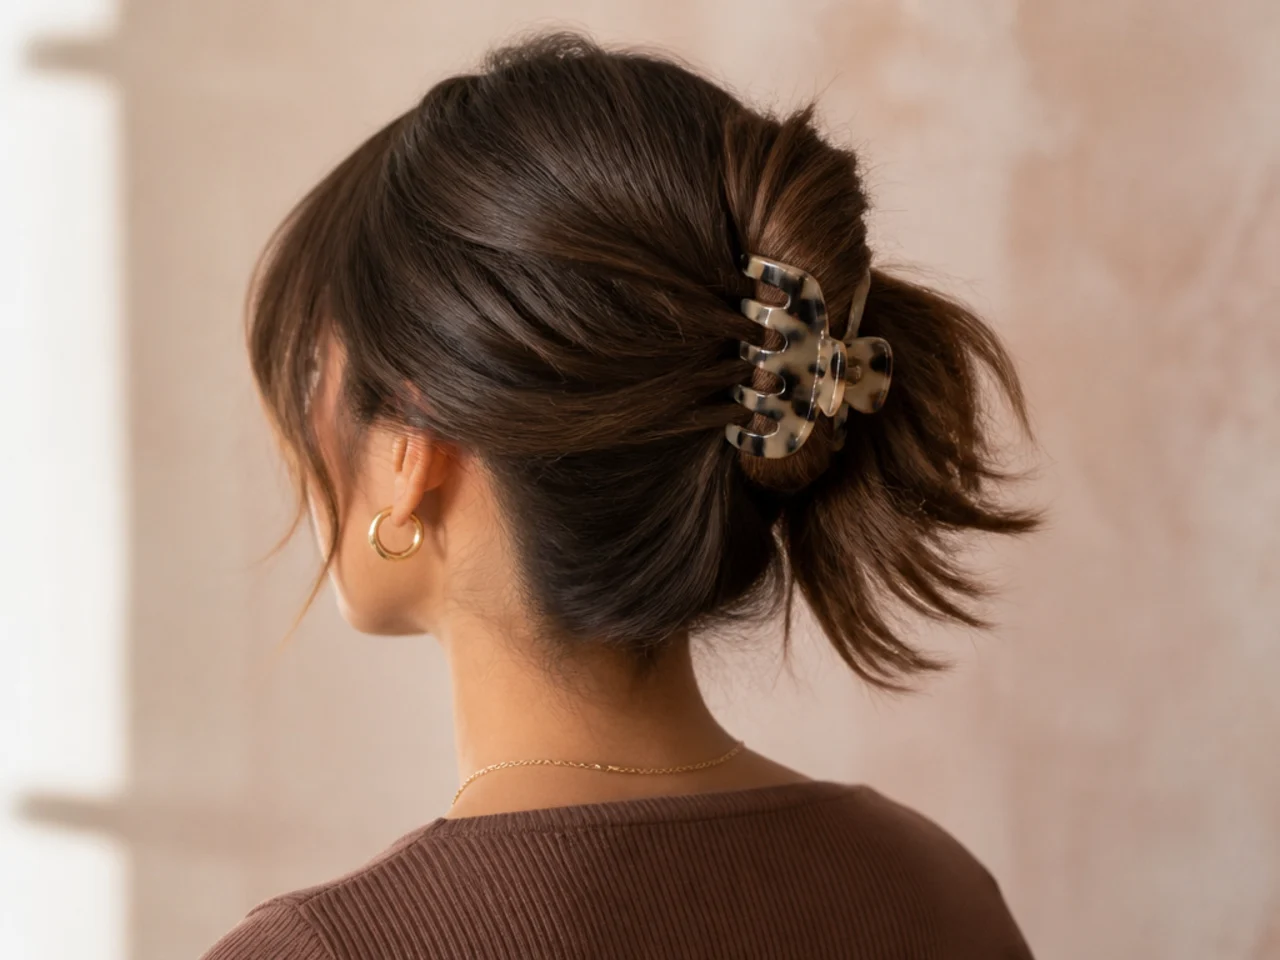
5. The Half-Up Clip
Top third only, gathered and clipped. The fastest formal-adjacent style there is.
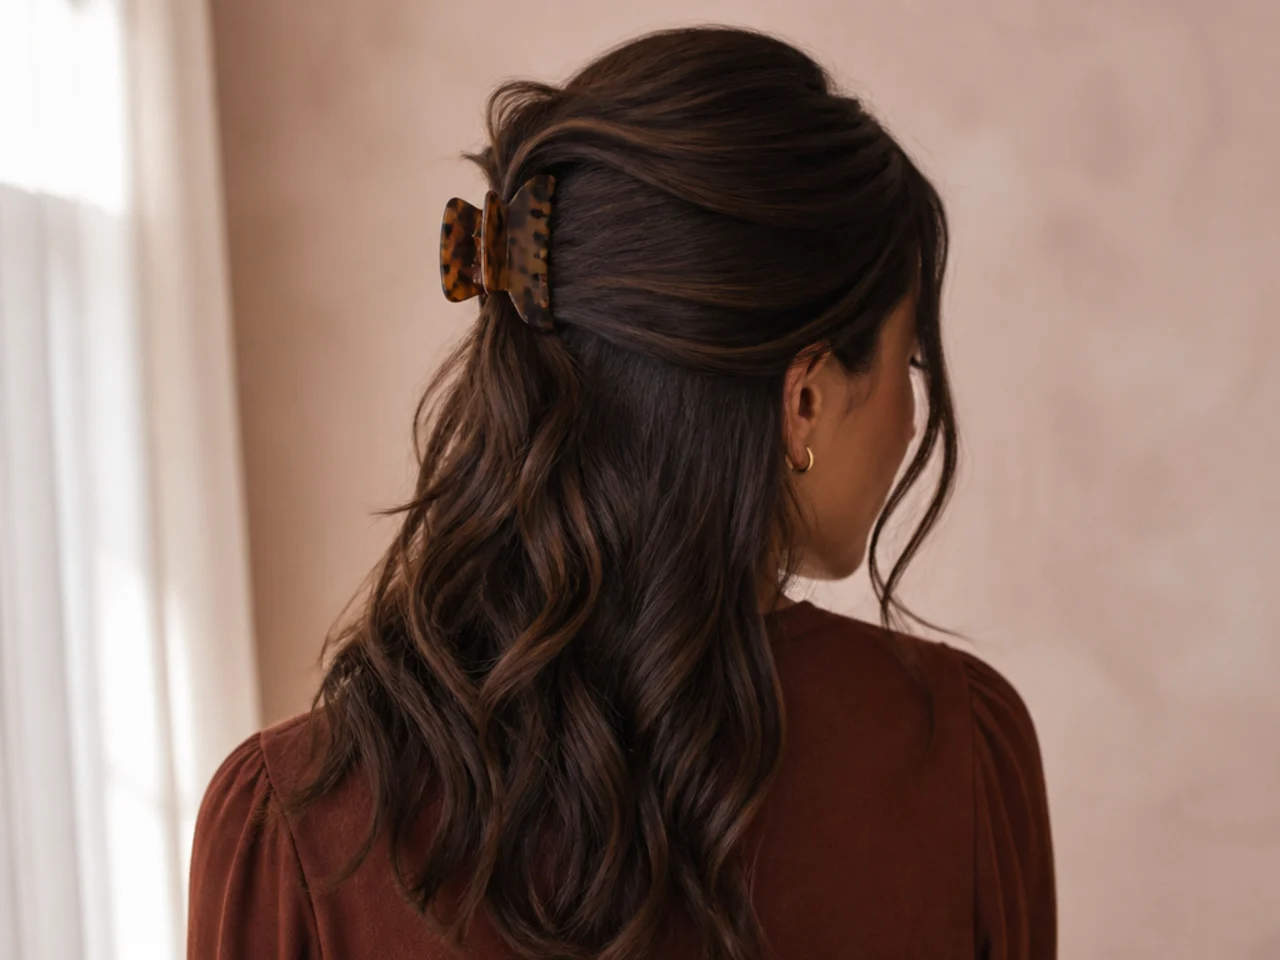
6. Two Small Clips Instead of One Large
Split thick hair and clip each half. Each clip is fully packed and neither slides.
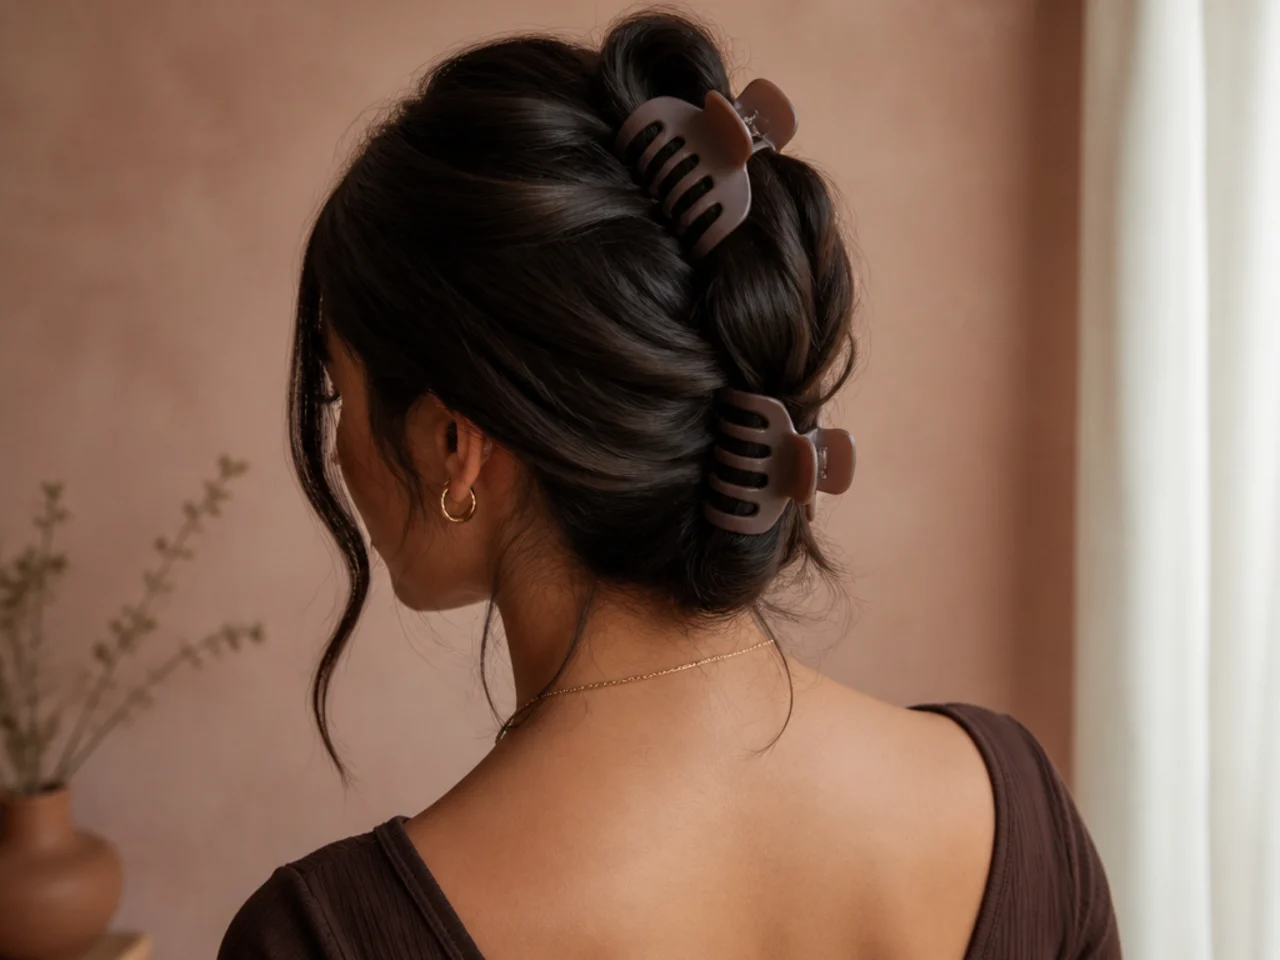
7. Twist Away From the Face
Twisting outward rather than inward sets the shape away from your hairline and looks tidier from the front.
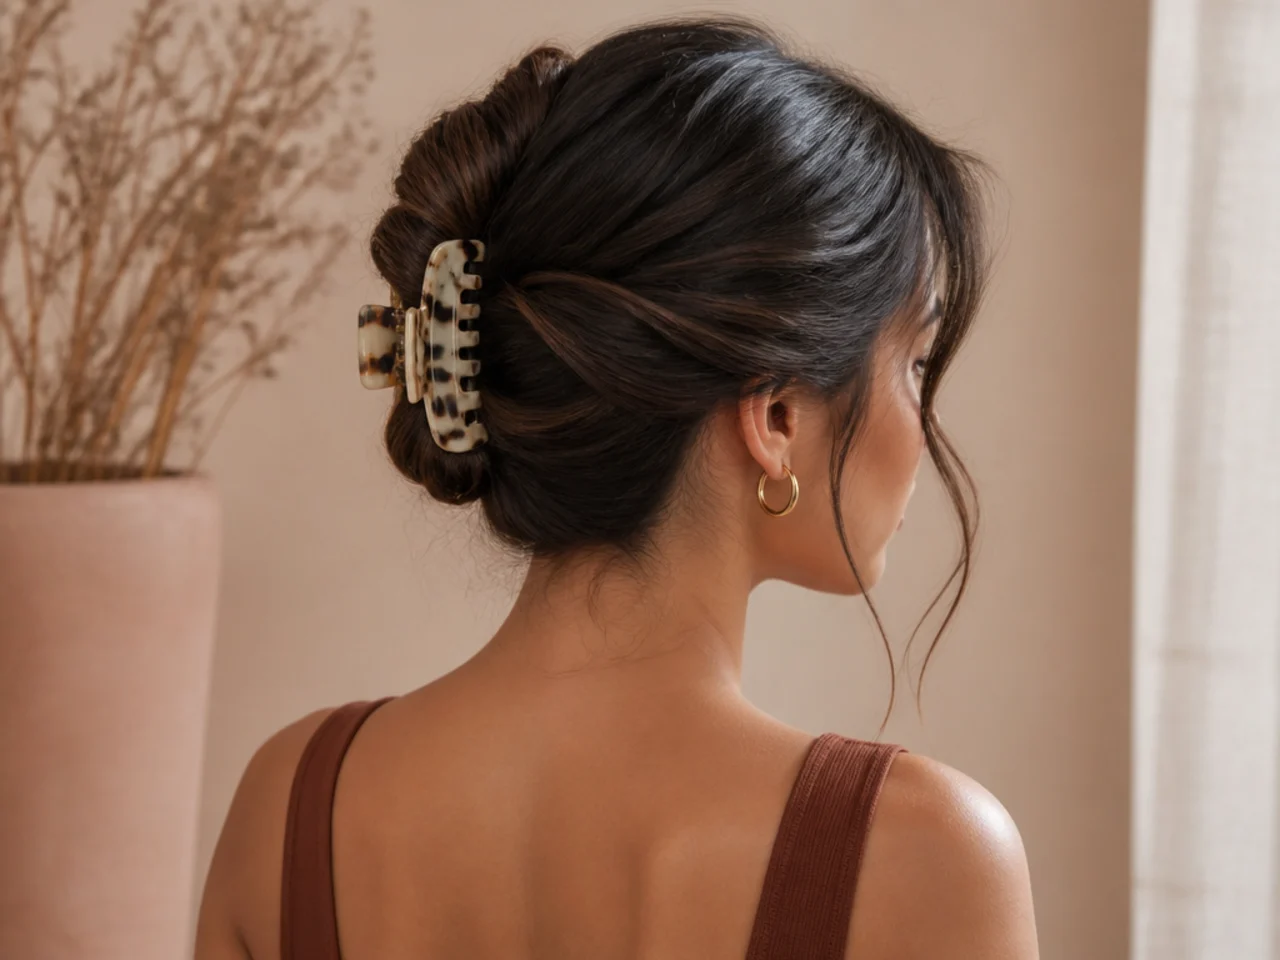
8. The Low Nape Clip
Everything gathered low and clipped at the neck. The most secure position, because there is least weight below it.
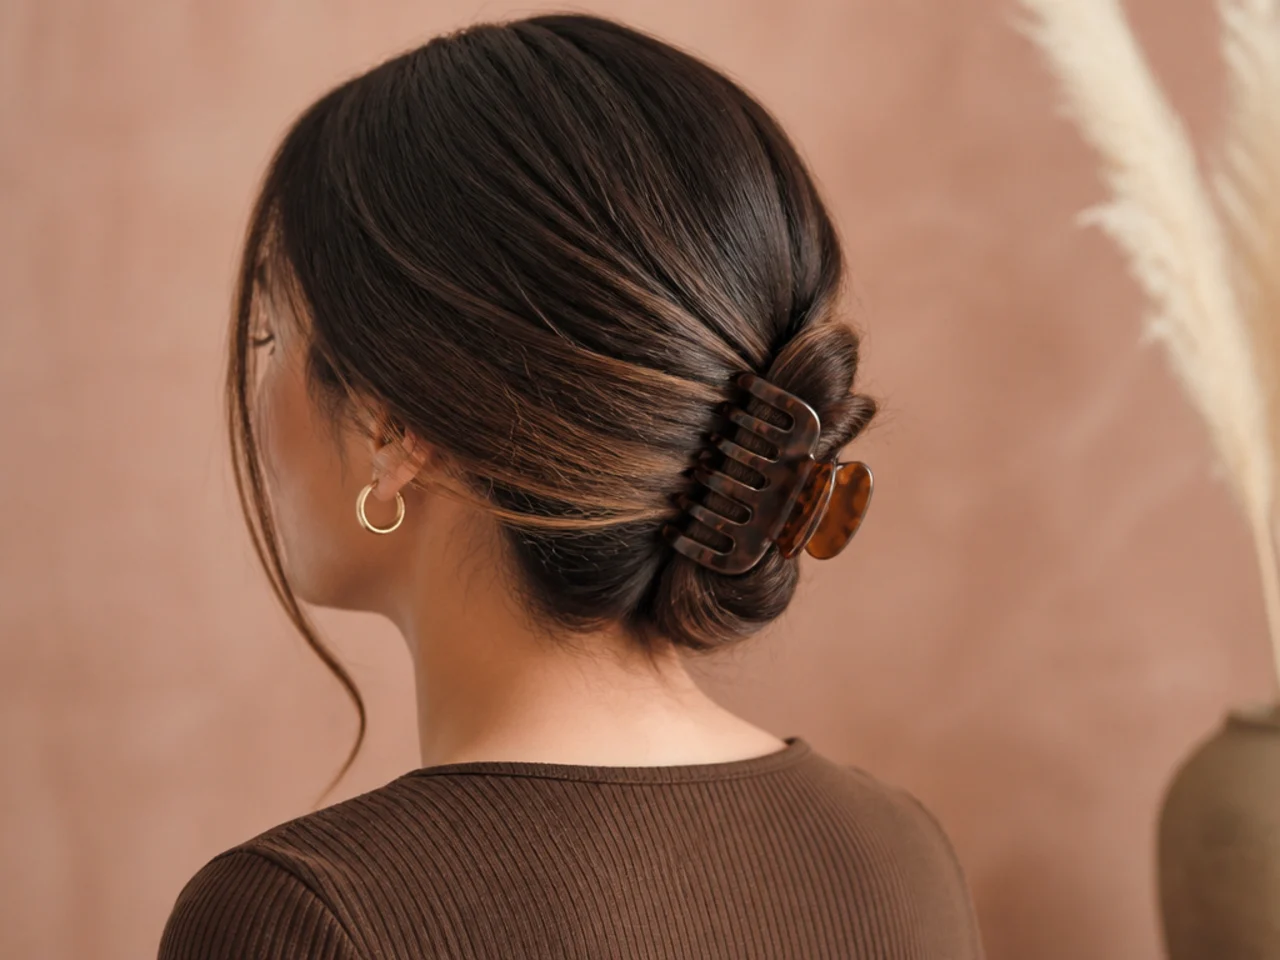
9. Backcomb First on Fine Hair
Three light passes at the crown gives the teeth something to bite into.
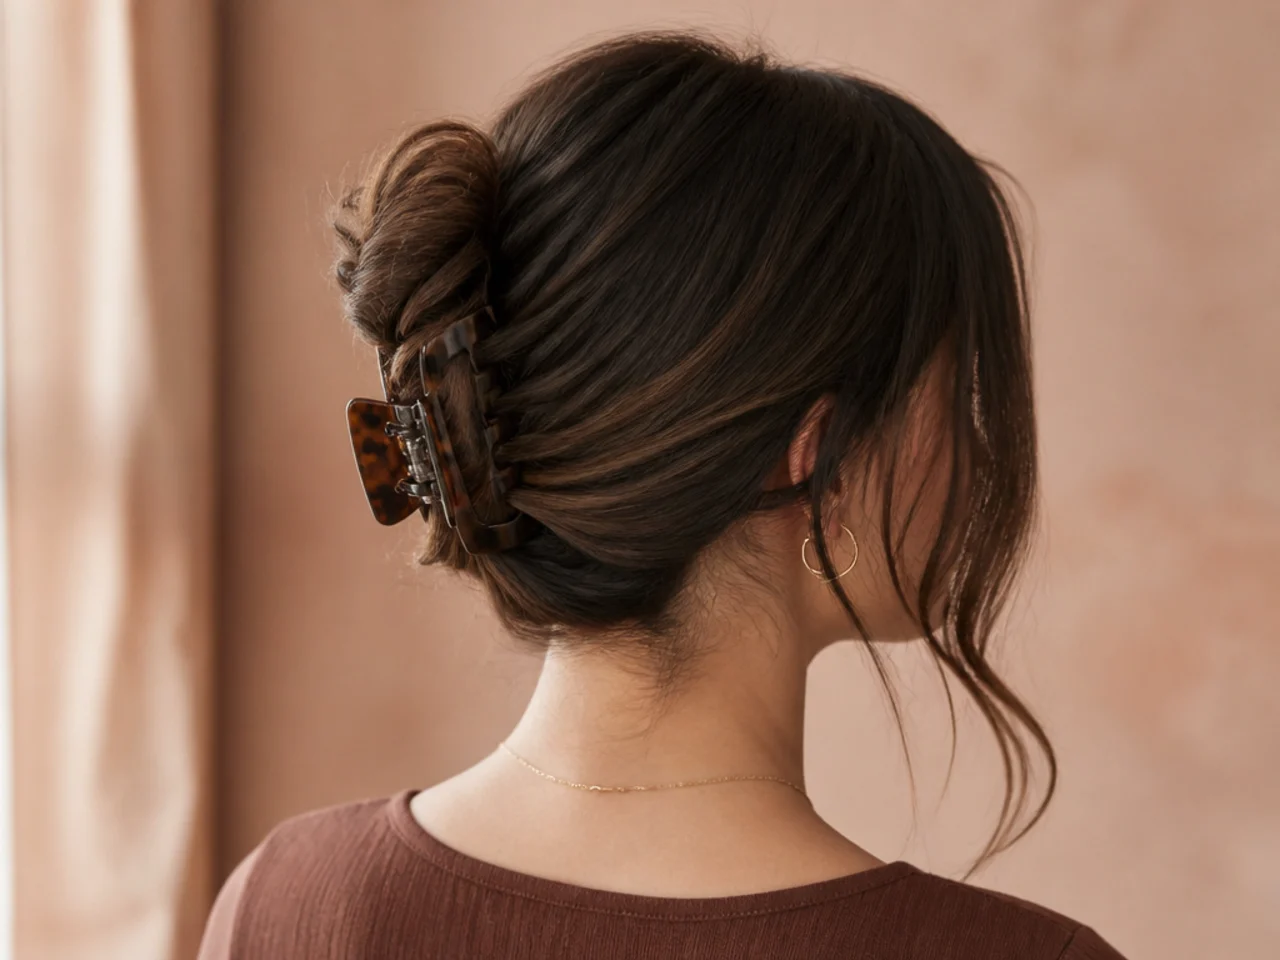
10. Texture Spray Before Clipping
Clean hair is too slippery for any clip. A quick mist doubles the hold.
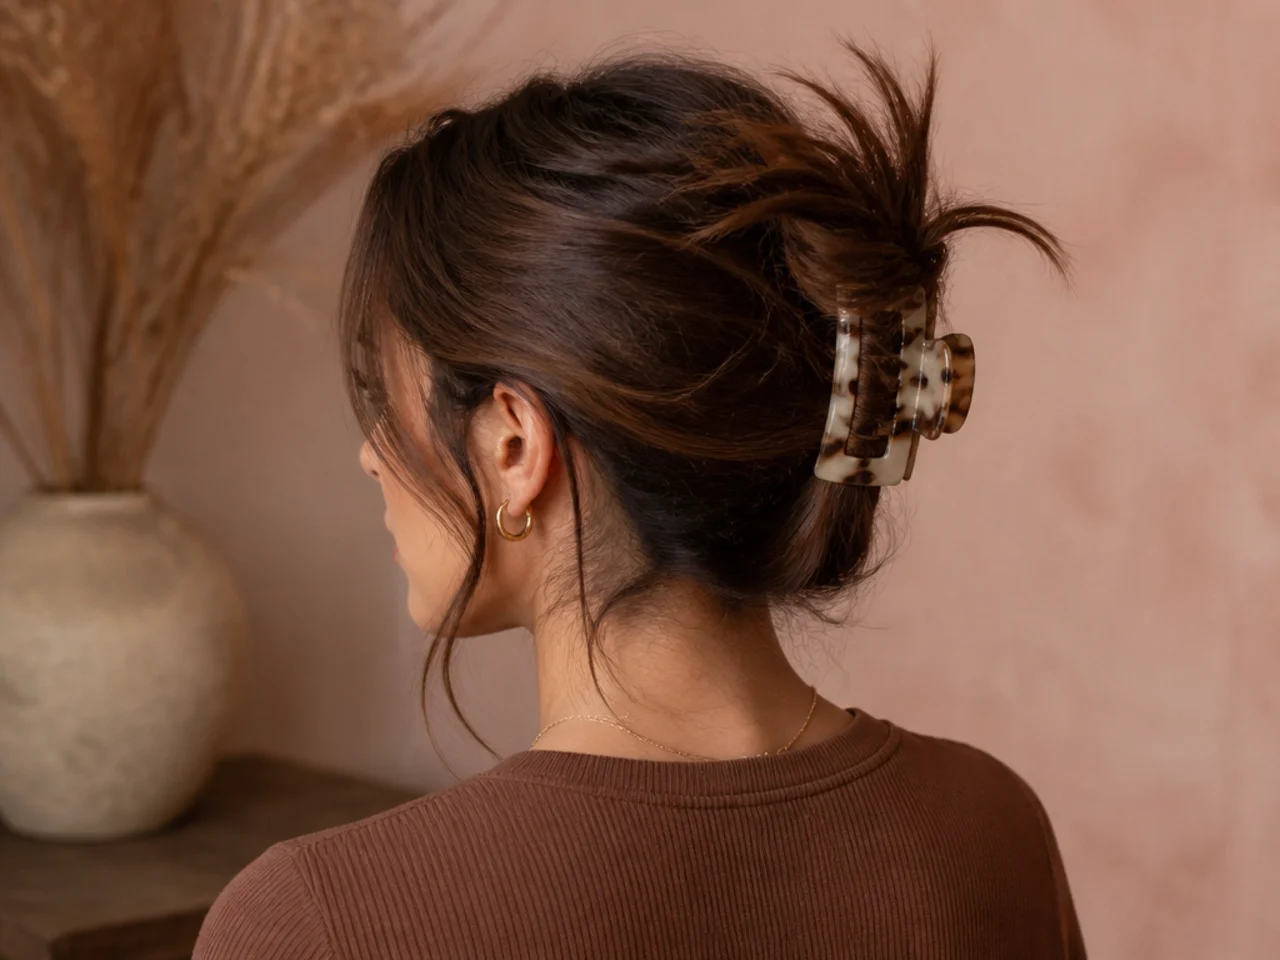
11. Clip Over a Hair Tie
Secure a loose ponytail first, then clip over it. The tie takes the weight and the clip does the shaping.
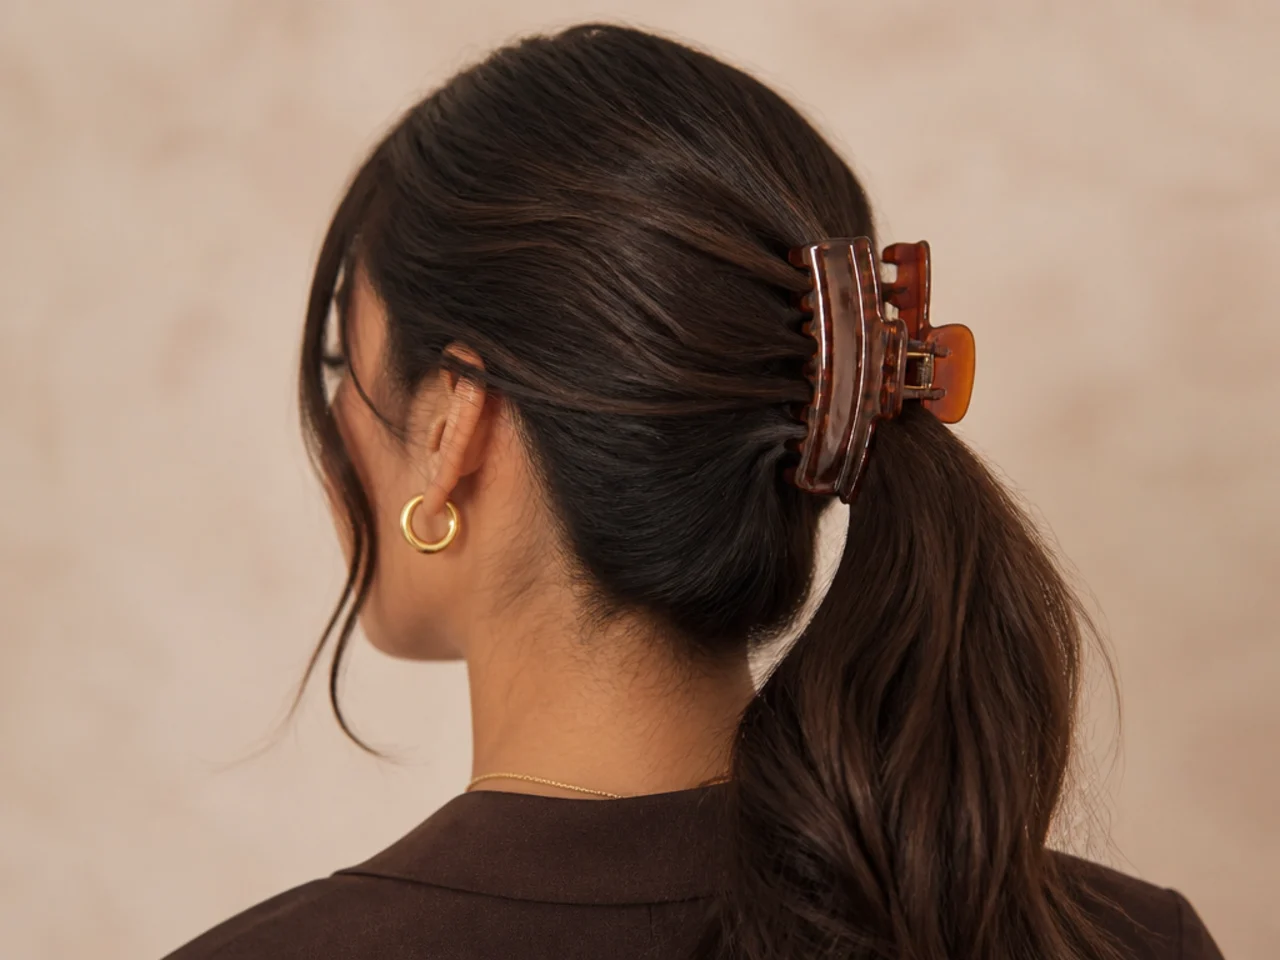
12. The Front Section Clip
Two small clips holding face-framing pieces back. Nothing else touched.
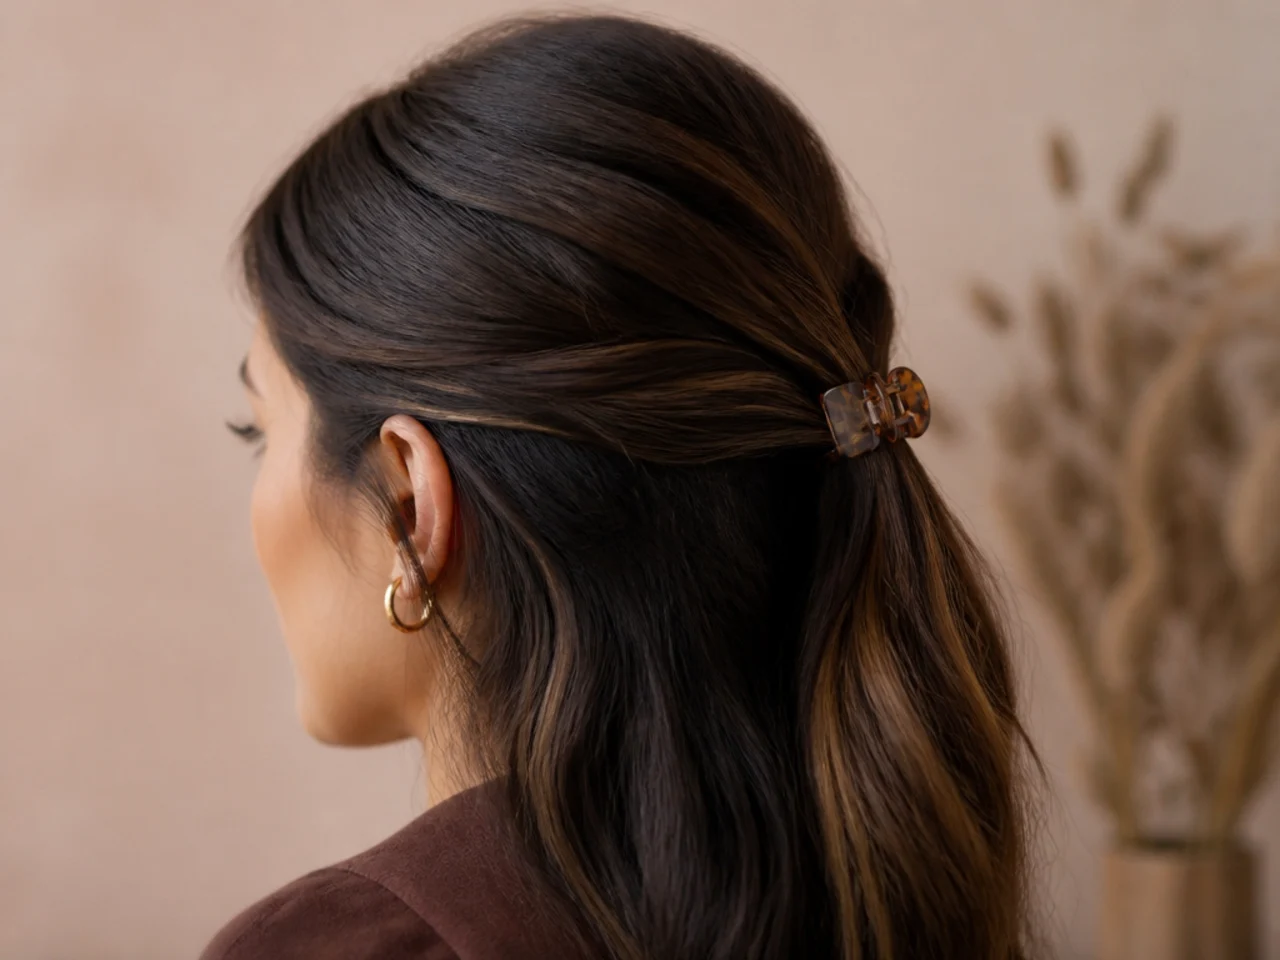
13. Angle It Slightly Off-Centre
A clip set dead centre reads as functional. Two centimetres off looks intentional.
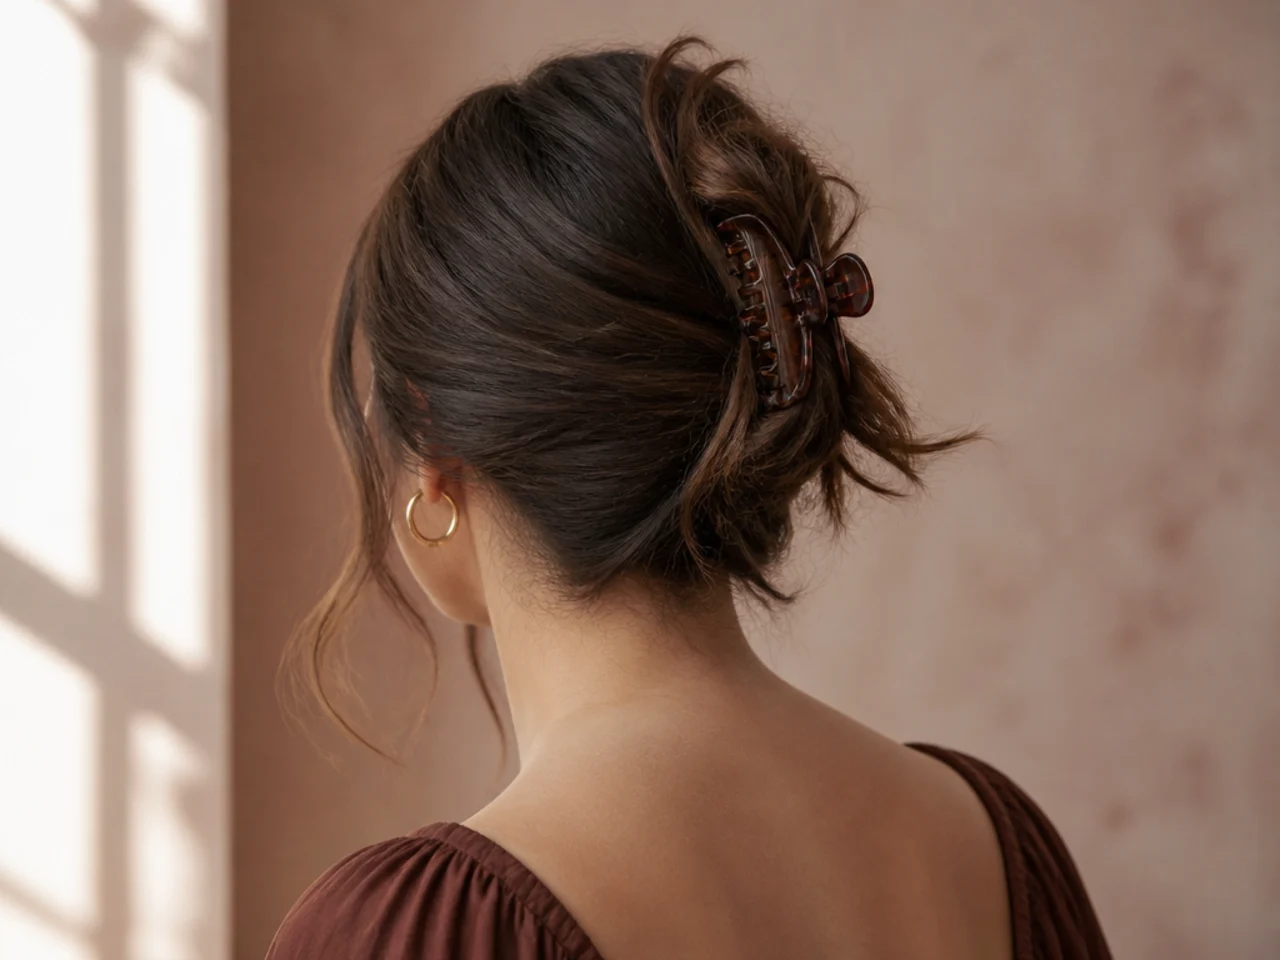
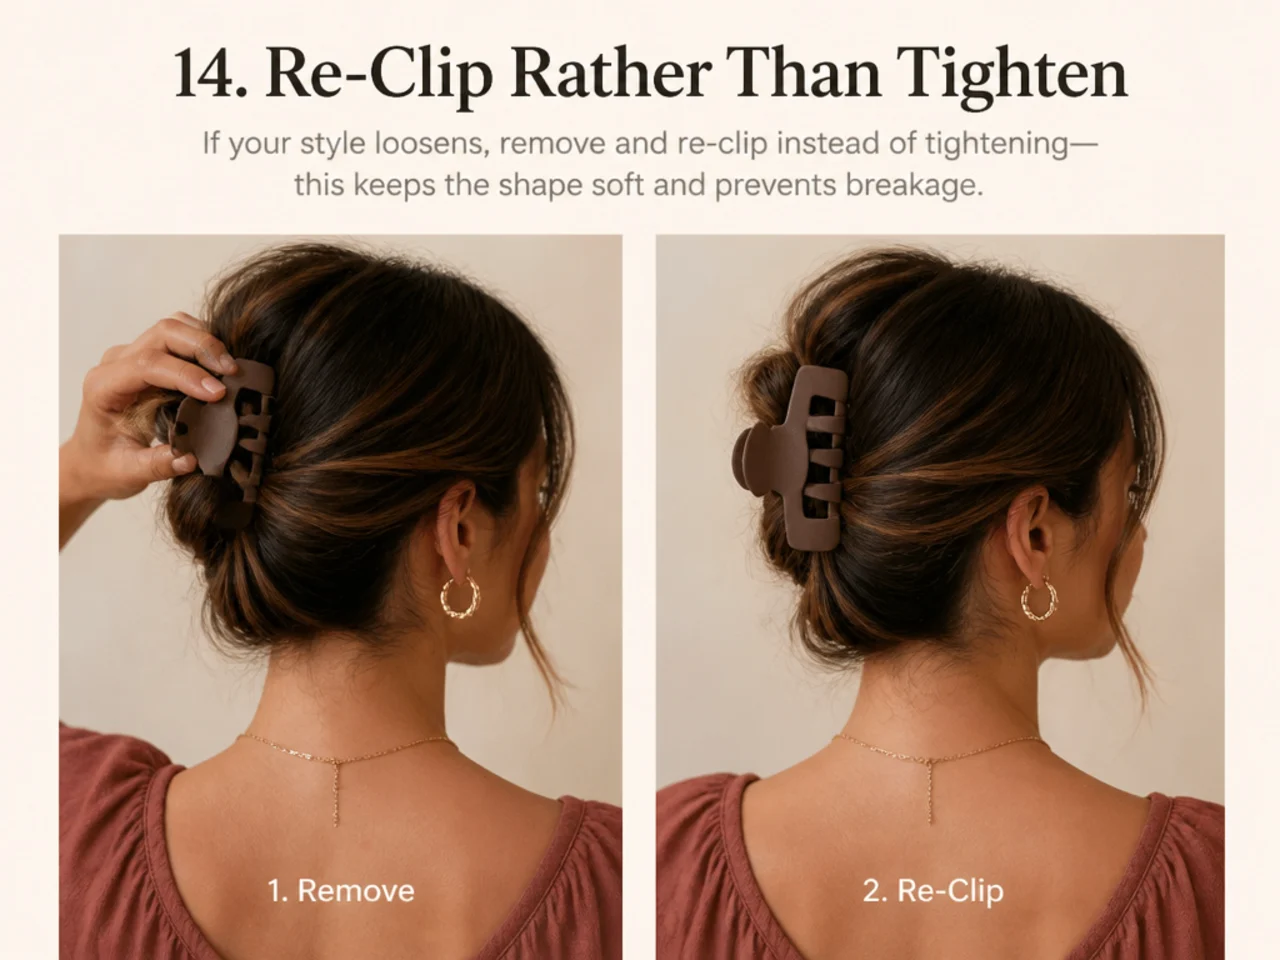
14. Re-Clip Rather Than Tighten
When it loosens, take it out and redo it. Pushing a slipping clip further in never works.
15. Match the Clip to the Day
Matte for clean hair, polished for day two, small for a half-up, large for everything. Owning three is enough.
The Three Clips Worth Owning
One medium matte, 9–11cm. The everyday clip. Does eighty per cent of the work.
One small, 7cm. For half-ups, front sections, and fine hair.
One large or a second medium. For full updos on thick hair, or to pair with the first medium.
That is the whole collection. Buying ten clips in one size is the usual mistake, and it leaves you with nine clips for a job you were already doing.
Mistakes to Avoid
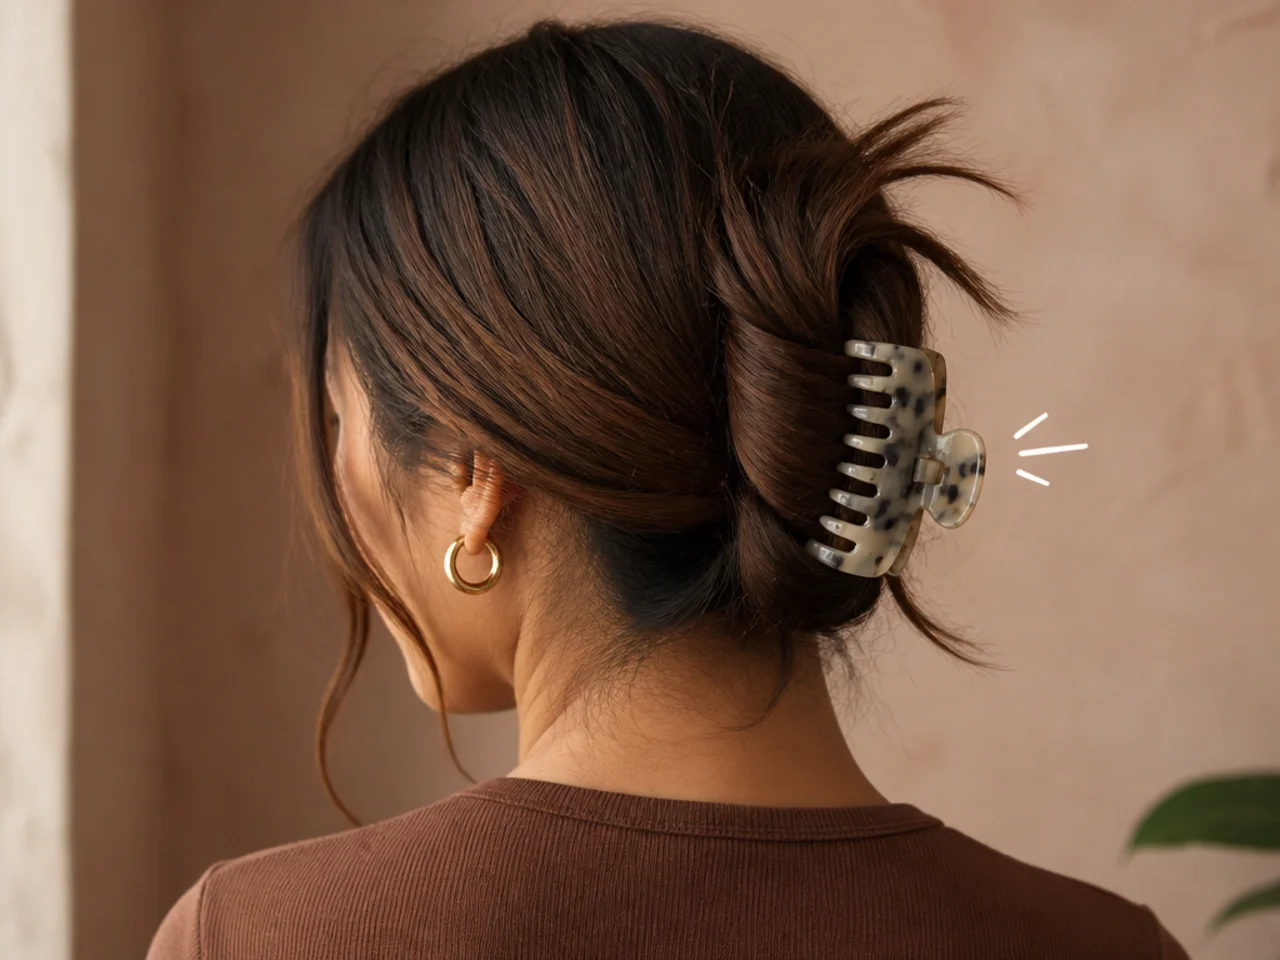
A clip too large for the section. It closes on air at both ends and works loose from the outside in.
Wide teeth on fine hair. Nothing to grip between them.
Polished acrylic on clean hair. Two slick surfaces against each other.
Clipping horizontally. Vertical catches far more hair against the scalp.
Pushing a slipping clip tighter. Take it out and start again — it has already lost its grip.
FAQ
What size should I use? About as long as the twisted section is wide.
Why does it slip? Usually too big for the hair, or teeth too wide for how fine it is.
Matte or shiny? Matte, for grip. Shiny slides on clean hair.
Final Thoughts
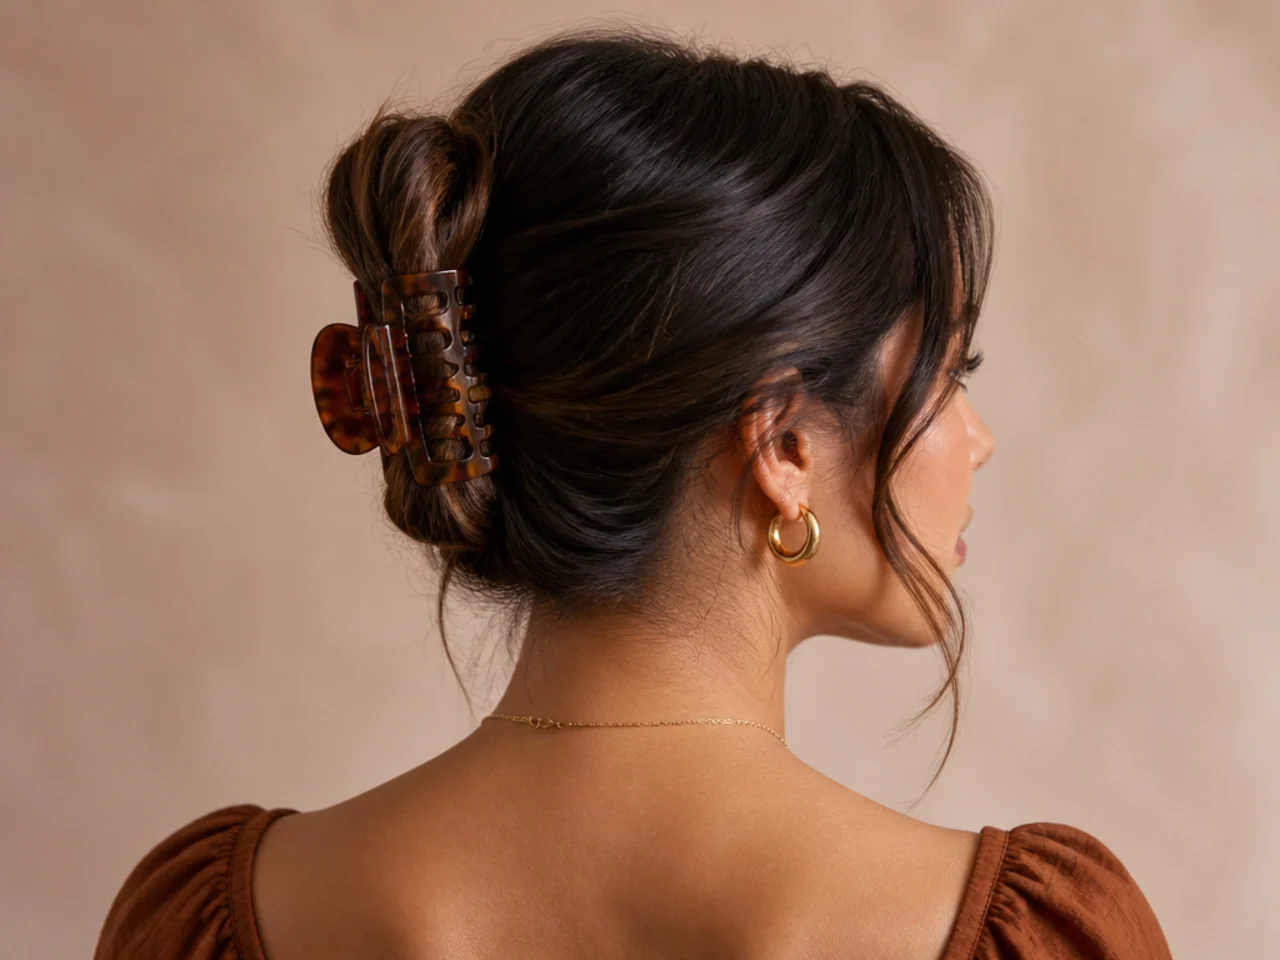
Before learning another twist, check the clip. Match its length to the width of your twisted section, choose matte over polished, and squeeze the spring before you buy — most clip problems are solved at the shop rather than at the mirror.
For the styles themselves see 25 easy claw clip hairstyles, and for a full updo see 20 steps to an easy claw clip updo. More in Updos & Clips.