20 Steps to an Easy Claw Clip Updo
One claw clip updo, broken into twenty steps — the twist direction, the fold, and the exact moment to open the clip. Once the sequence is muscle memory it takes under thirty seconds.
In this article · 27
- What You Will Need
- Before You Start
- The 20 Steps
- 1. Brush It Through
- 2. Decide Your Parting
- 3. Pull Out Two Face-Framing Pieces
- 4. Gather Everything Else Loosely
- 5. Hold at the Occipital Bone
- 6. Twist Away from Your Face
- 7. Keep Twisting to the Ends
- 8. Fold the Twist Upward
- 9. Let the Ends Poke Out
- 10. Hold the Fold Flat Against Your Head
- 11. Open the Clip Fully
- 12. Position the Teeth at the Fold
- 13. Scoop Upward as You Close
- 14. Close It in One Movement
- 15. Check It Holds by Nodding
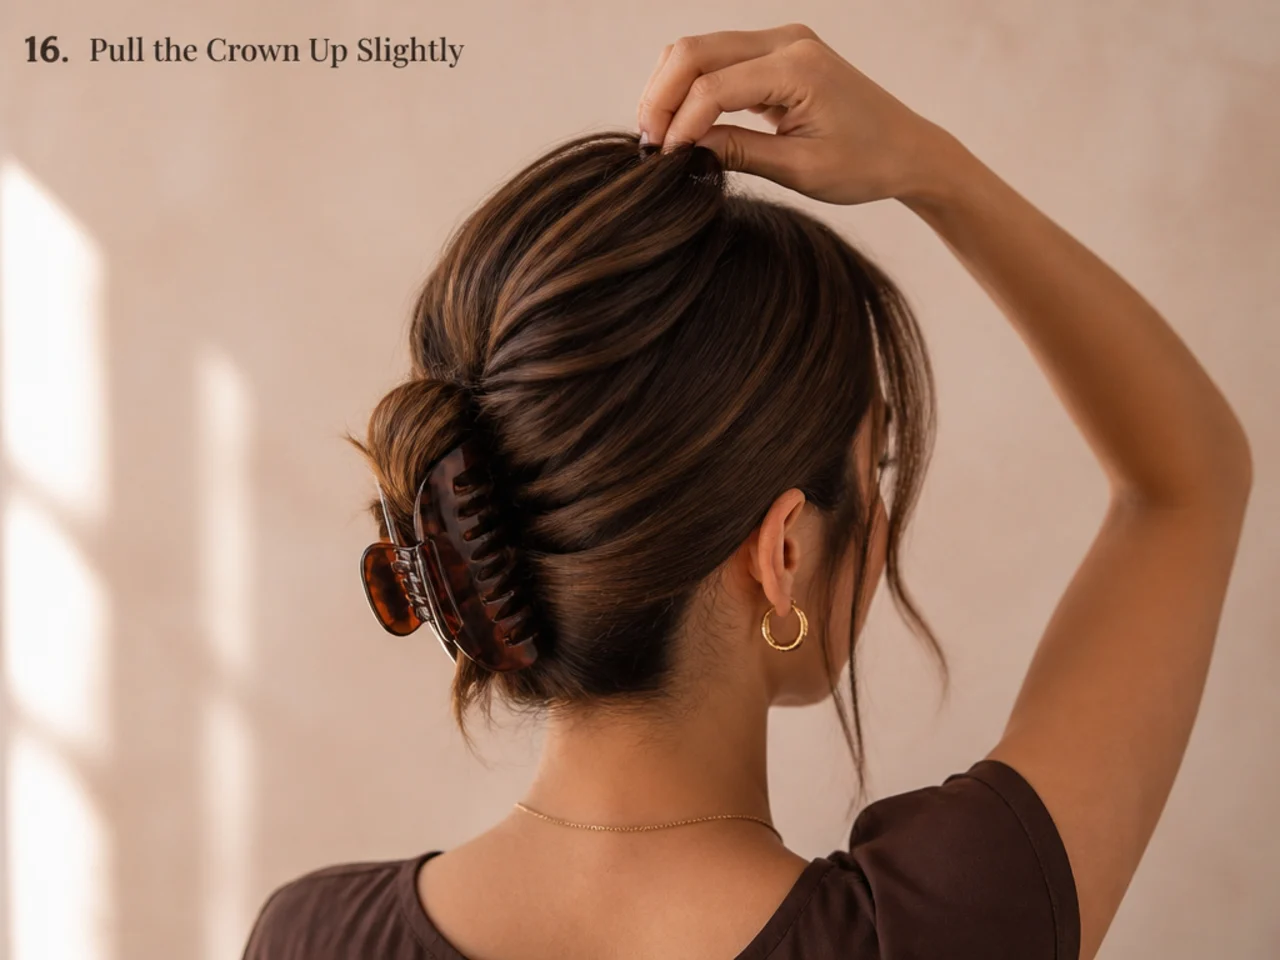
- 16. Pull the Crown Up Slightly
- 17. Loosen the Sides
- 18. Leave Escaping Layers Alone
- 19. Adjust the Angle if It Pulls
- 20. Leave It Alone
- Aftercare and Upkeep
- Troubleshooting
- FAQ
- Final Thoughts
This is one updo, taught properly, rather than twenty different ones. Learn the sequence and it becomes a thirty-second habit that holds through a full day.
What You Will Need
One claw clip sized to your hair — 3 to 4 inches for fine or short, 5 inches or more for thick or long. Optionally a texture spray if your hair is freshly washed. Nothing else.
Before You Start
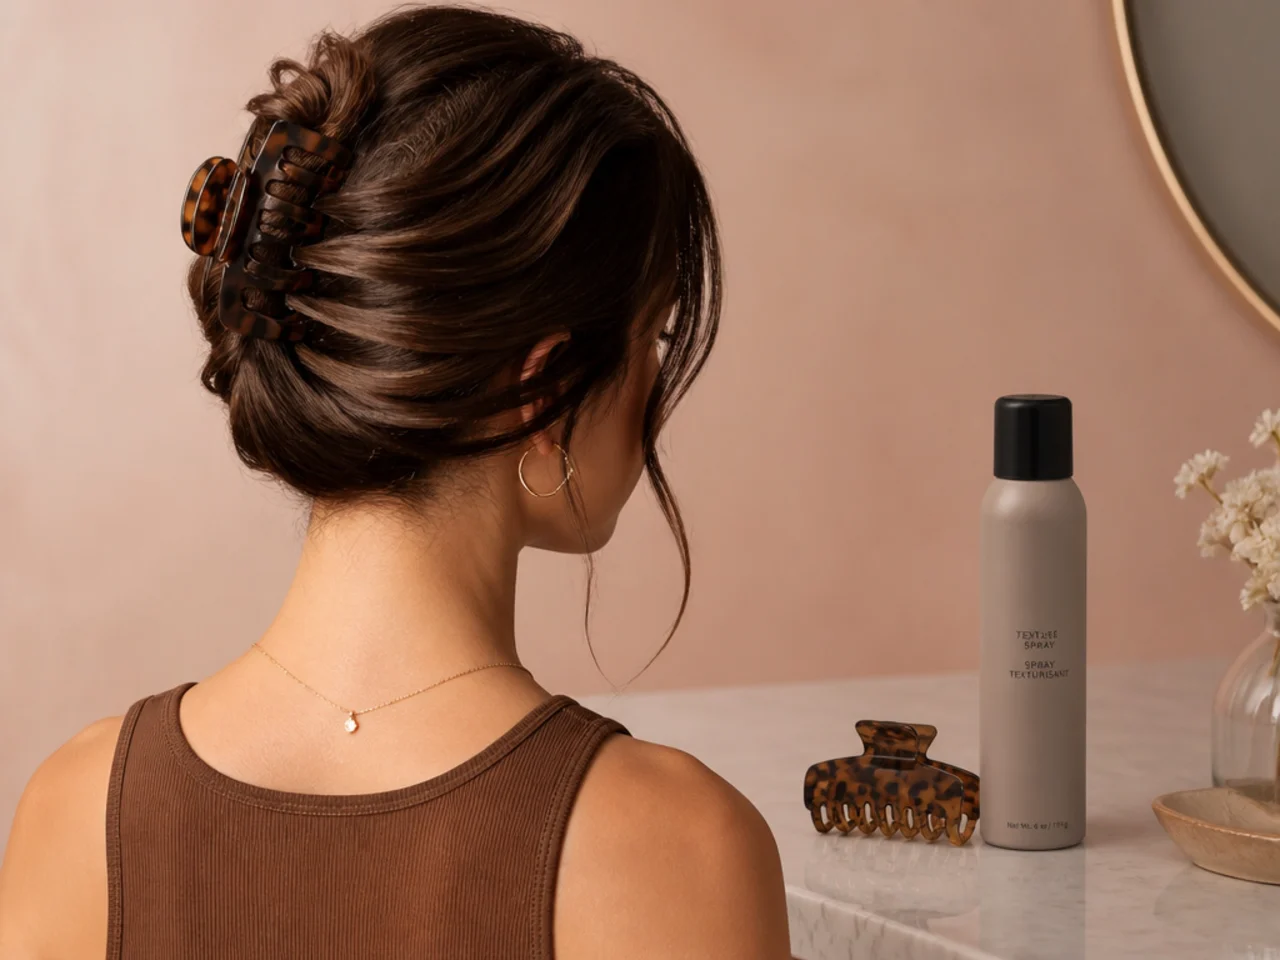
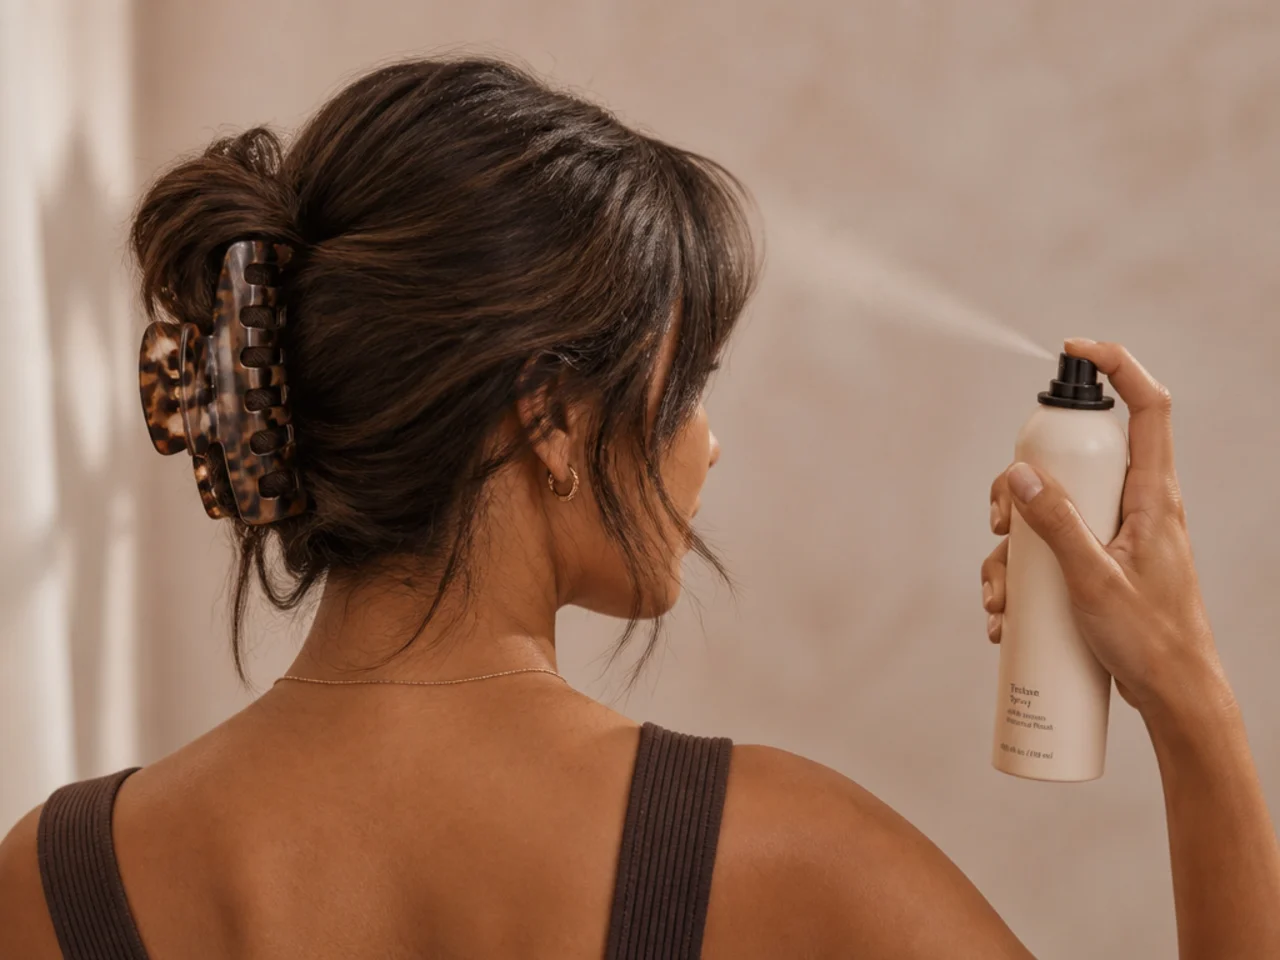
Use day-two hair if you can. Clean hair is slippery and no technique fully compensates. If it must be clean, mist texture spray through the mid-lengths and shake it out first.
The 20 Steps
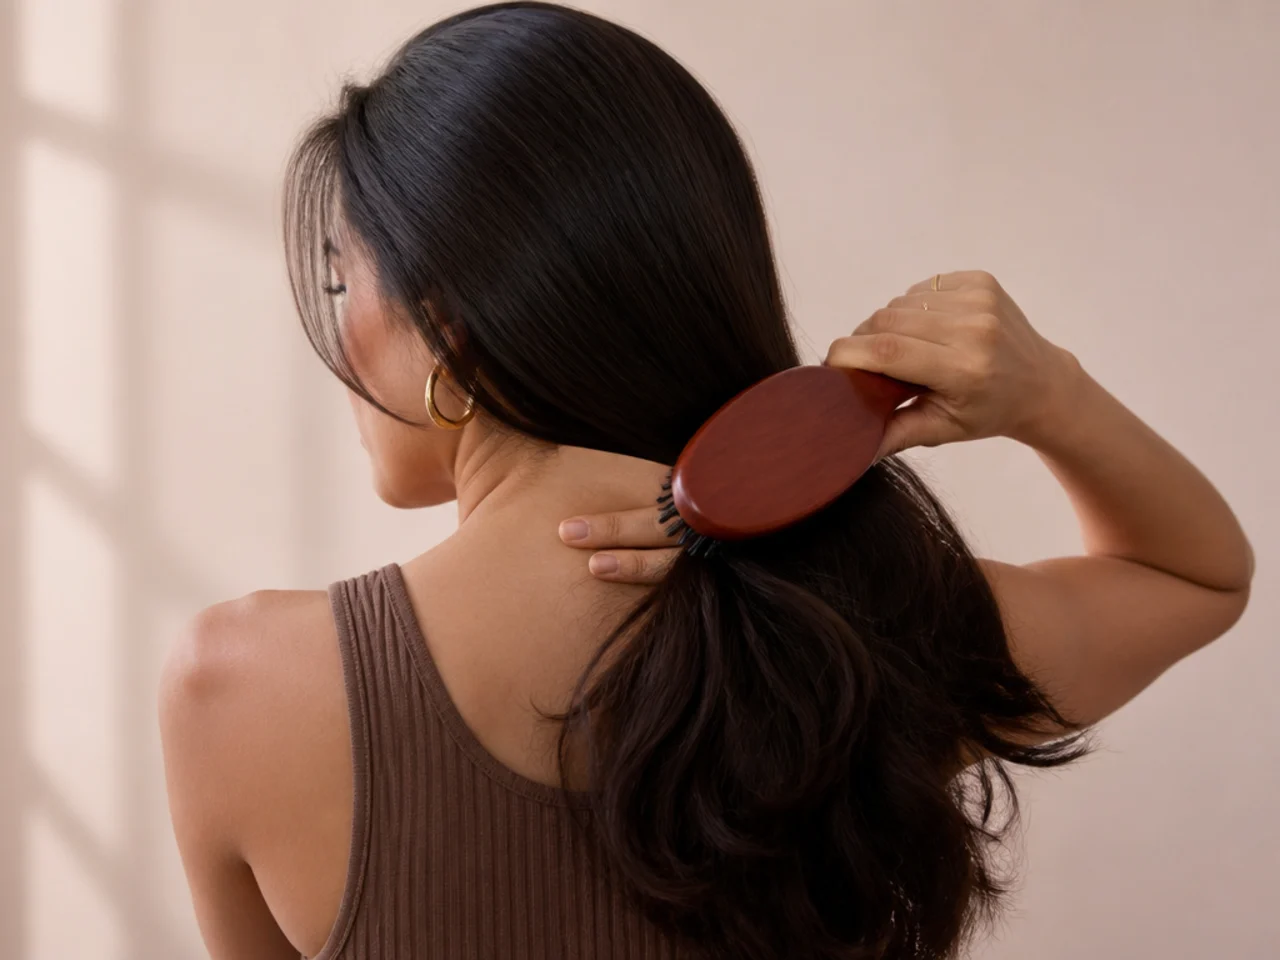
1. Brush It Through
Remove tangles first. A knot inside a twist becomes a lump you can see.
2. Decide Your Parting
Whatever you normally wear. The updo will not change it.
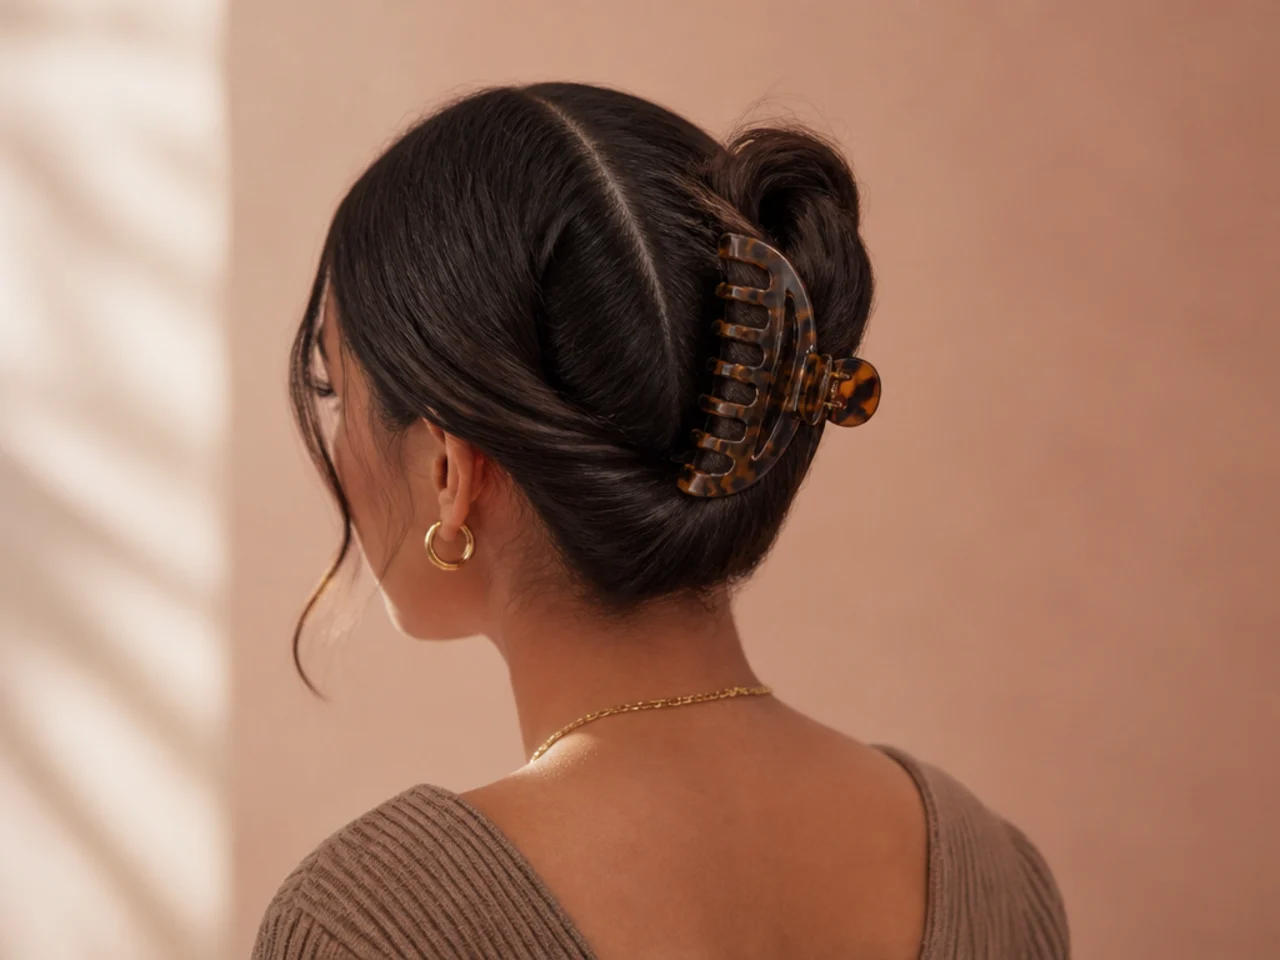
3. Pull Out Two Face-Framing Pieces
Do this now, before gathering. Pulling them out afterwards loosens everything.
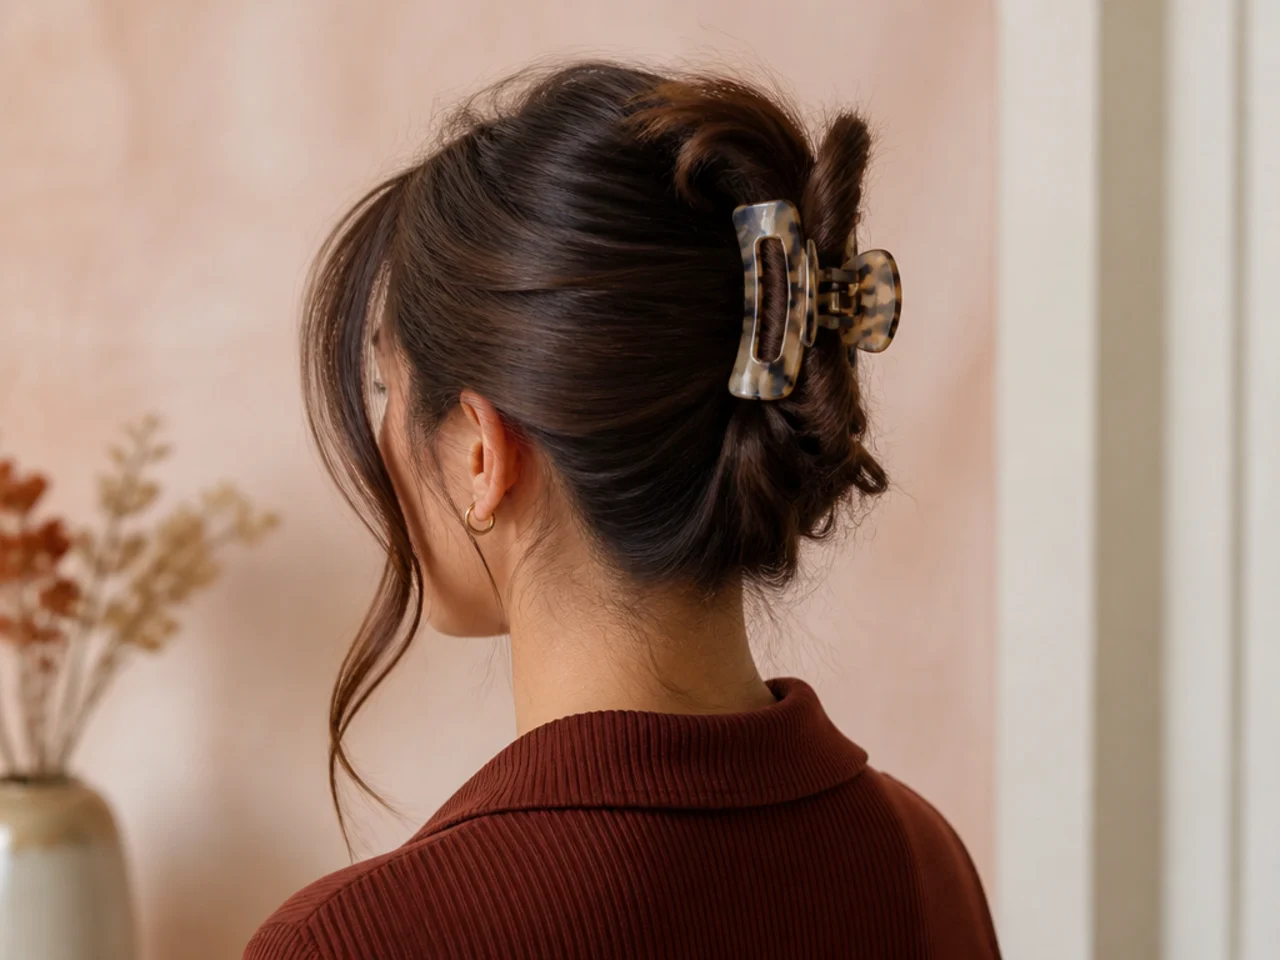
4. Gather Everything Else Loosely
One hand at the nape, hair collected but not tight.
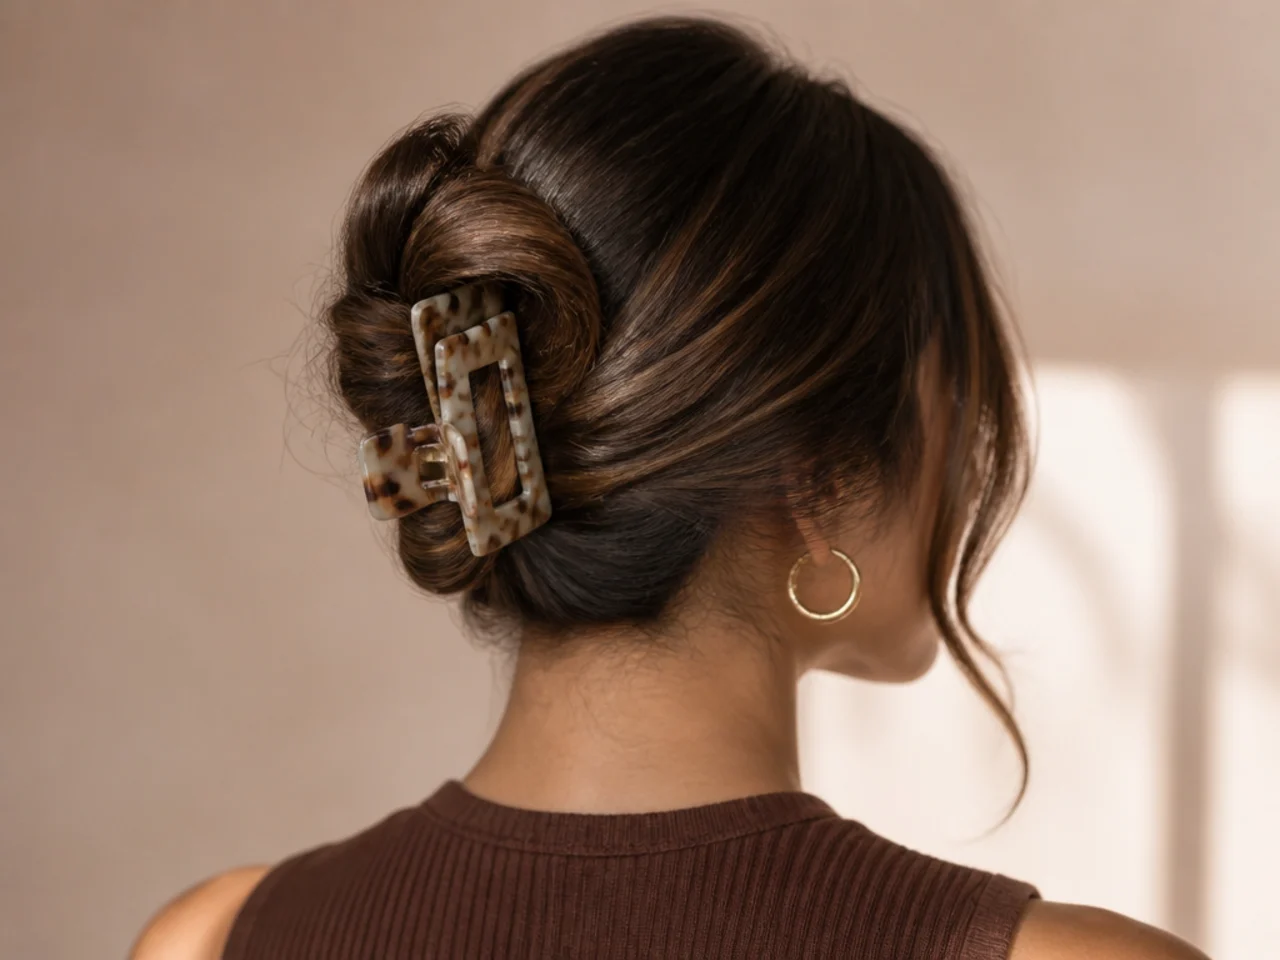
5. Hold at the Occipital Bone
The bump at the back of your skull. This is the height that holds comfortably.
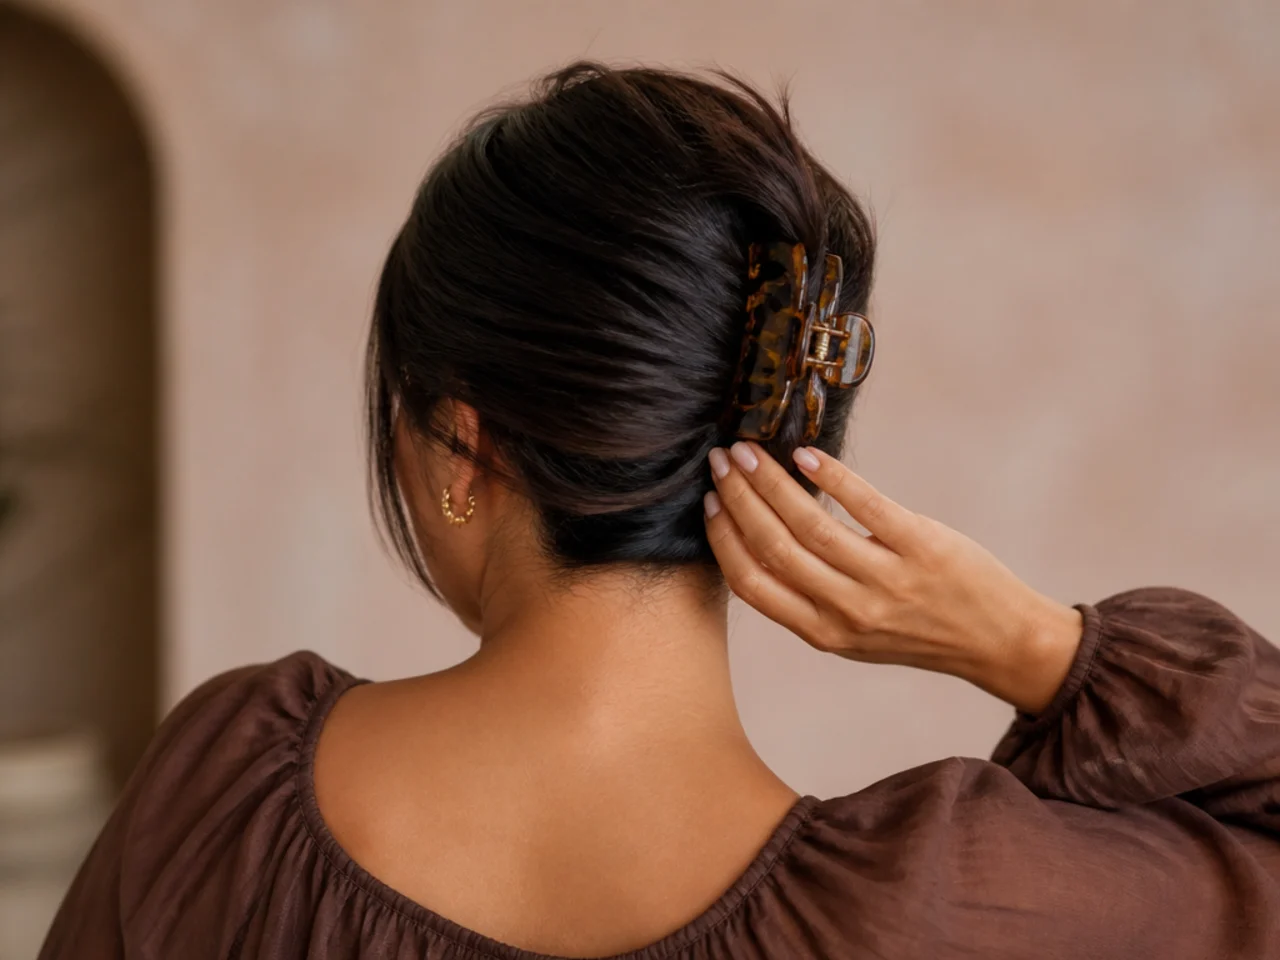
6. Twist Away from Your Face
Rotate the gathered length away from the side you are working on.
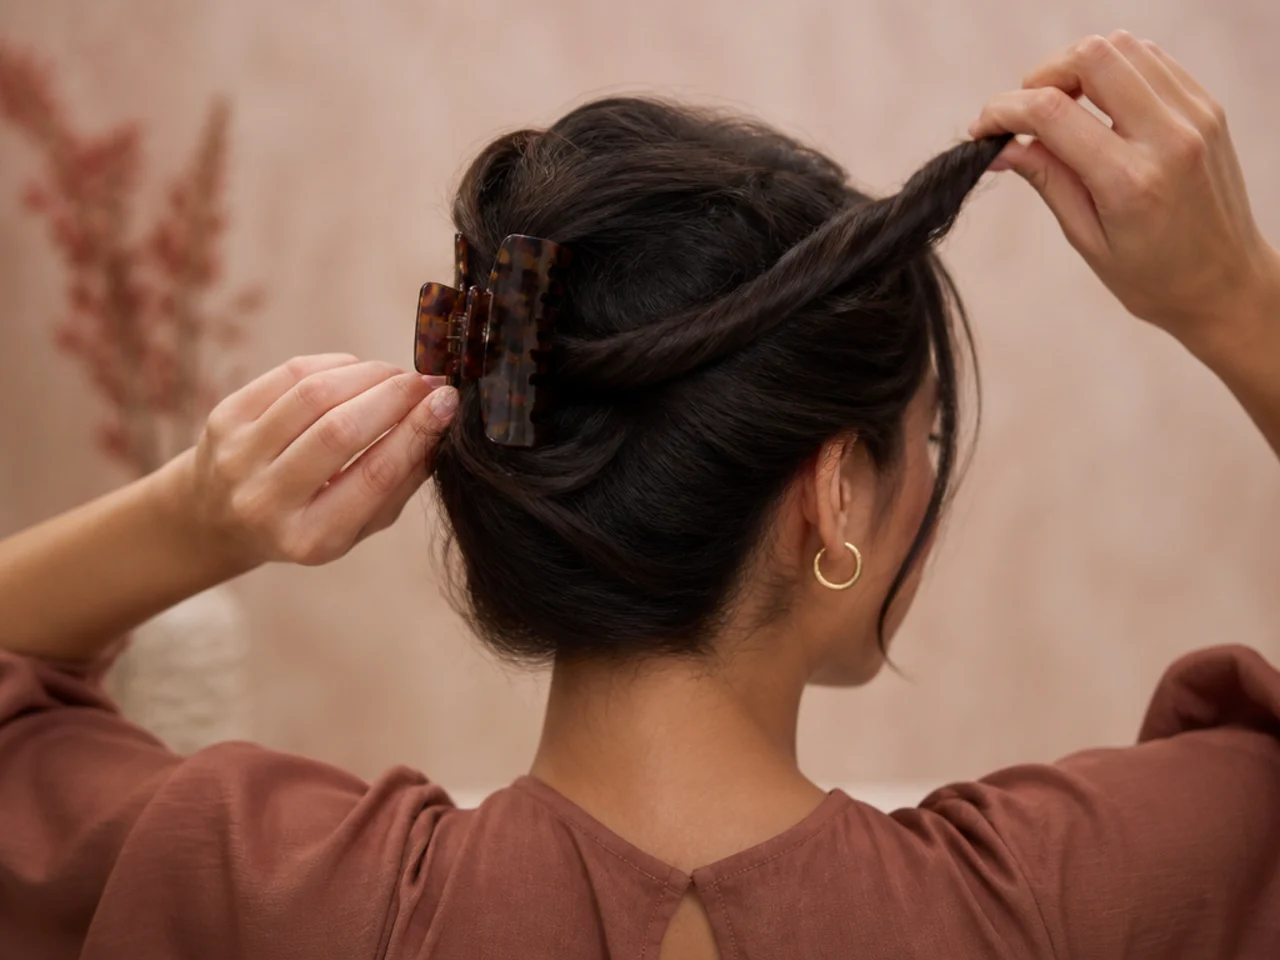
7. Keep Twisting to the Ends
Until the whole length is a firm rope. Firm, not tight.
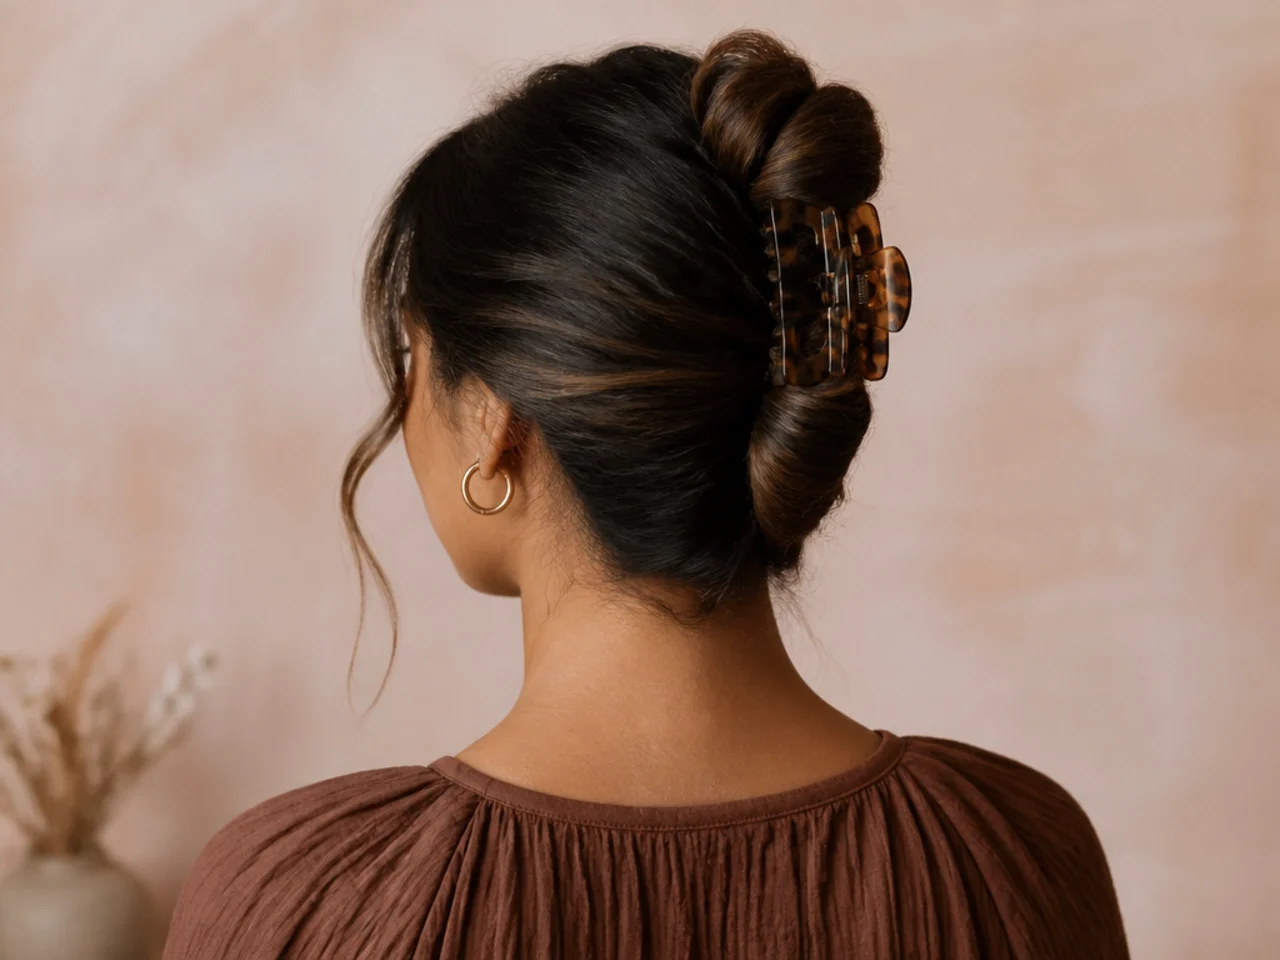
8. Fold the Twist Upward
Bring the ends up toward the crown so the rope doubles on itself.
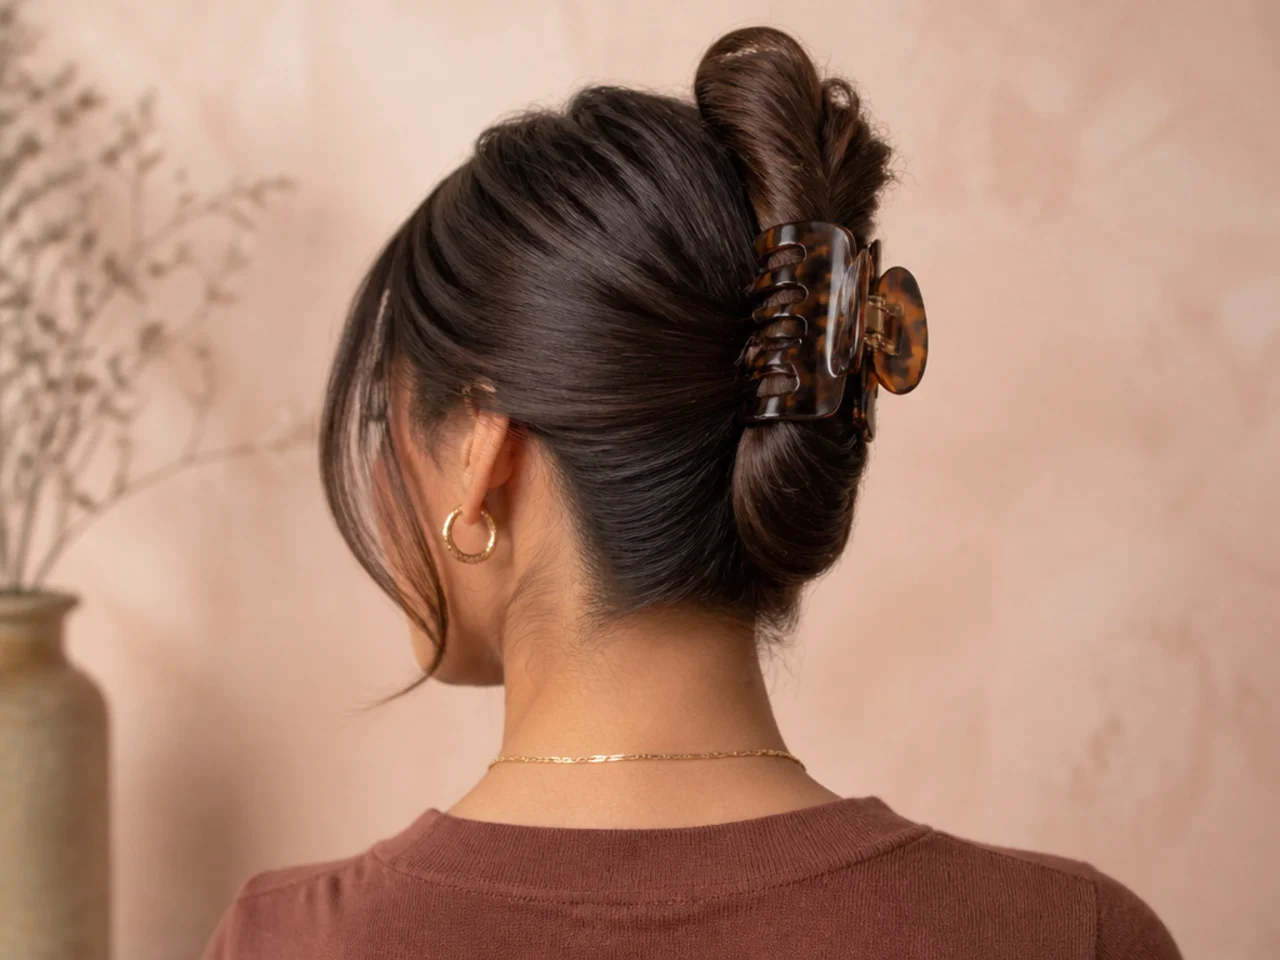
9. Let the Ends Poke Out
Do not tuck them. Tucking creates a bulge the clip cannot close over.
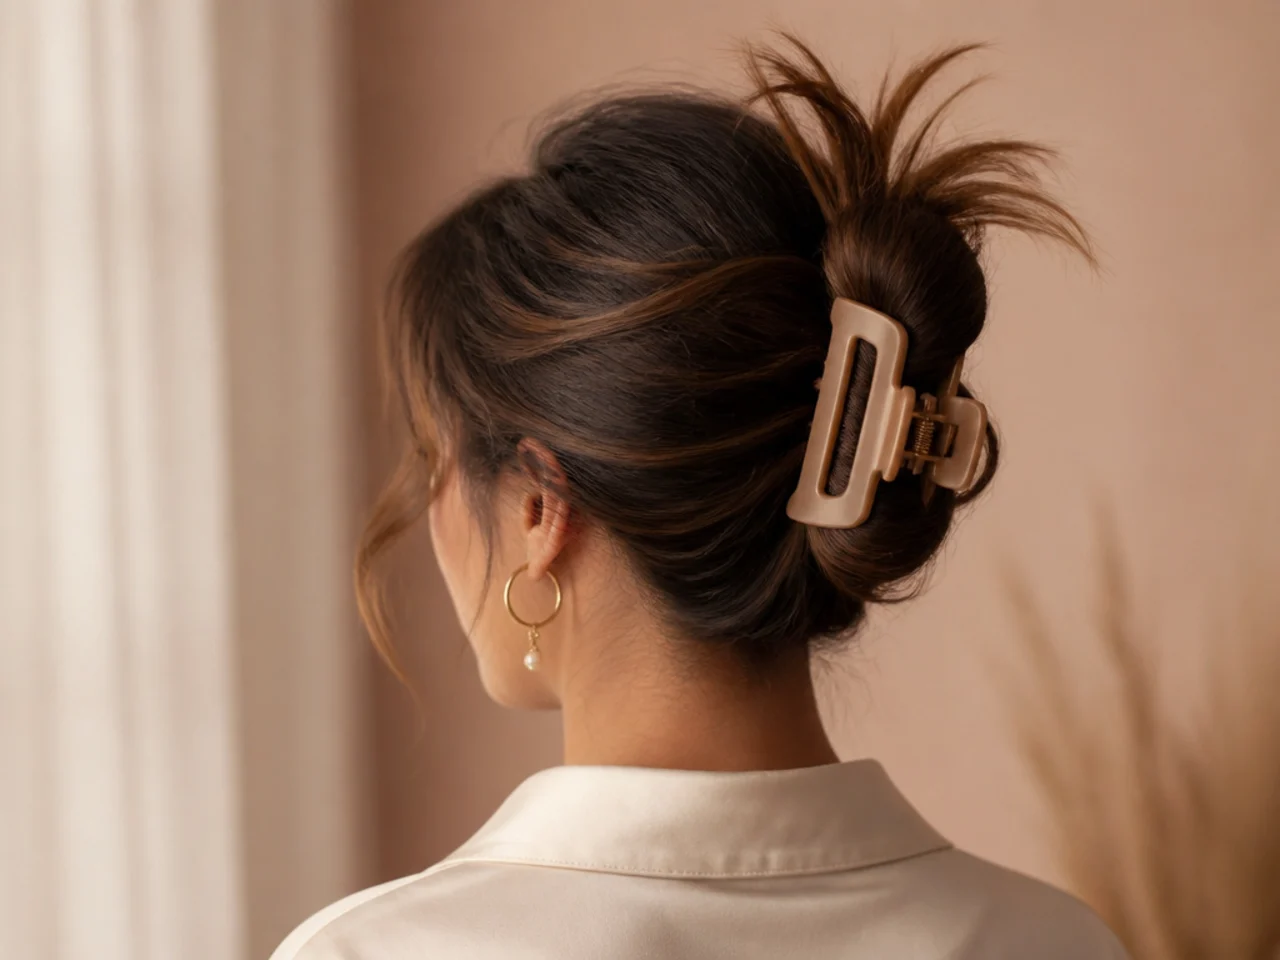
10. Hold the Fold Flat Against Your Head
Press it in place with one hand.
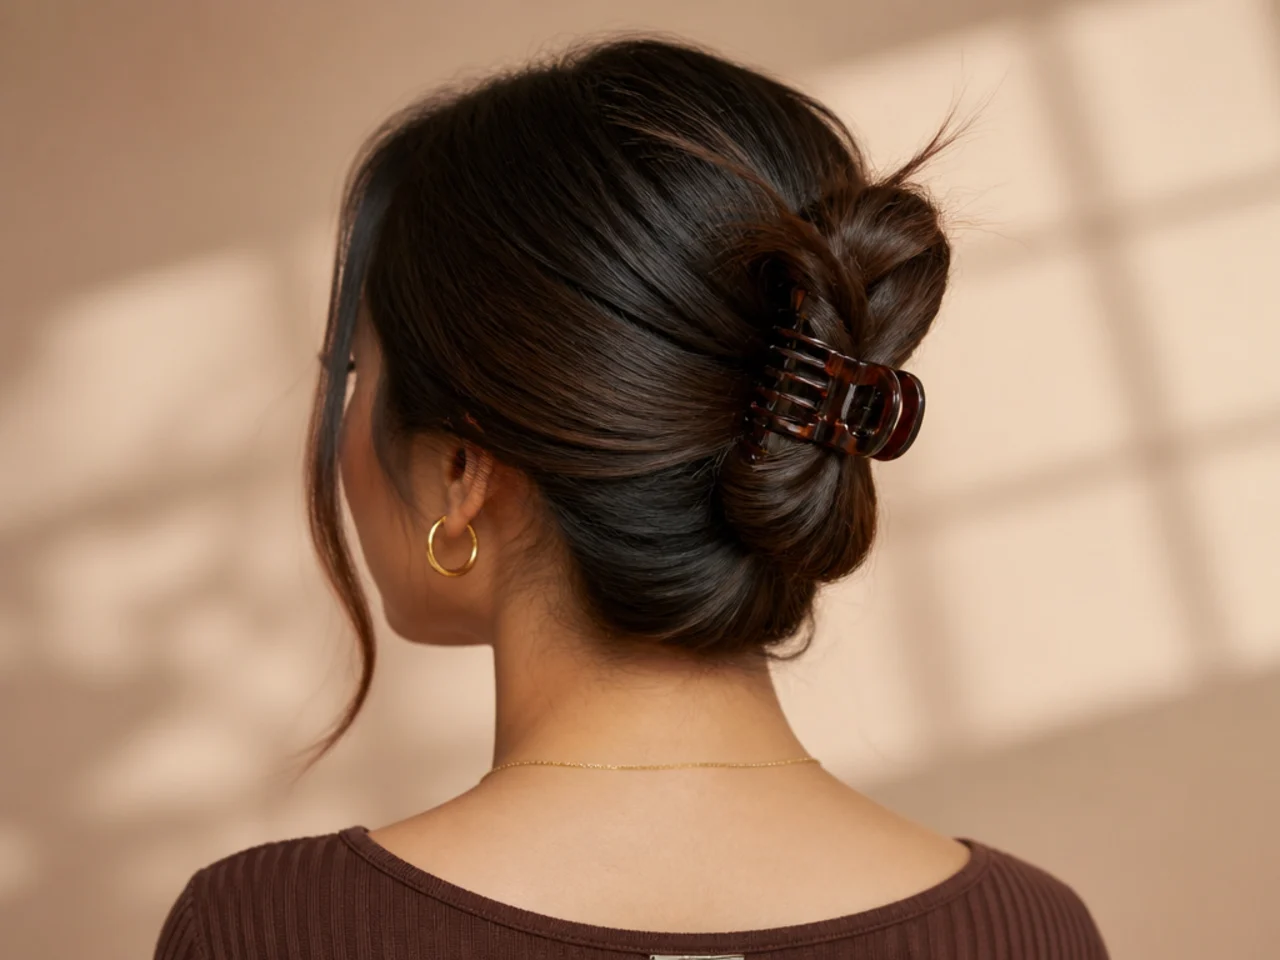
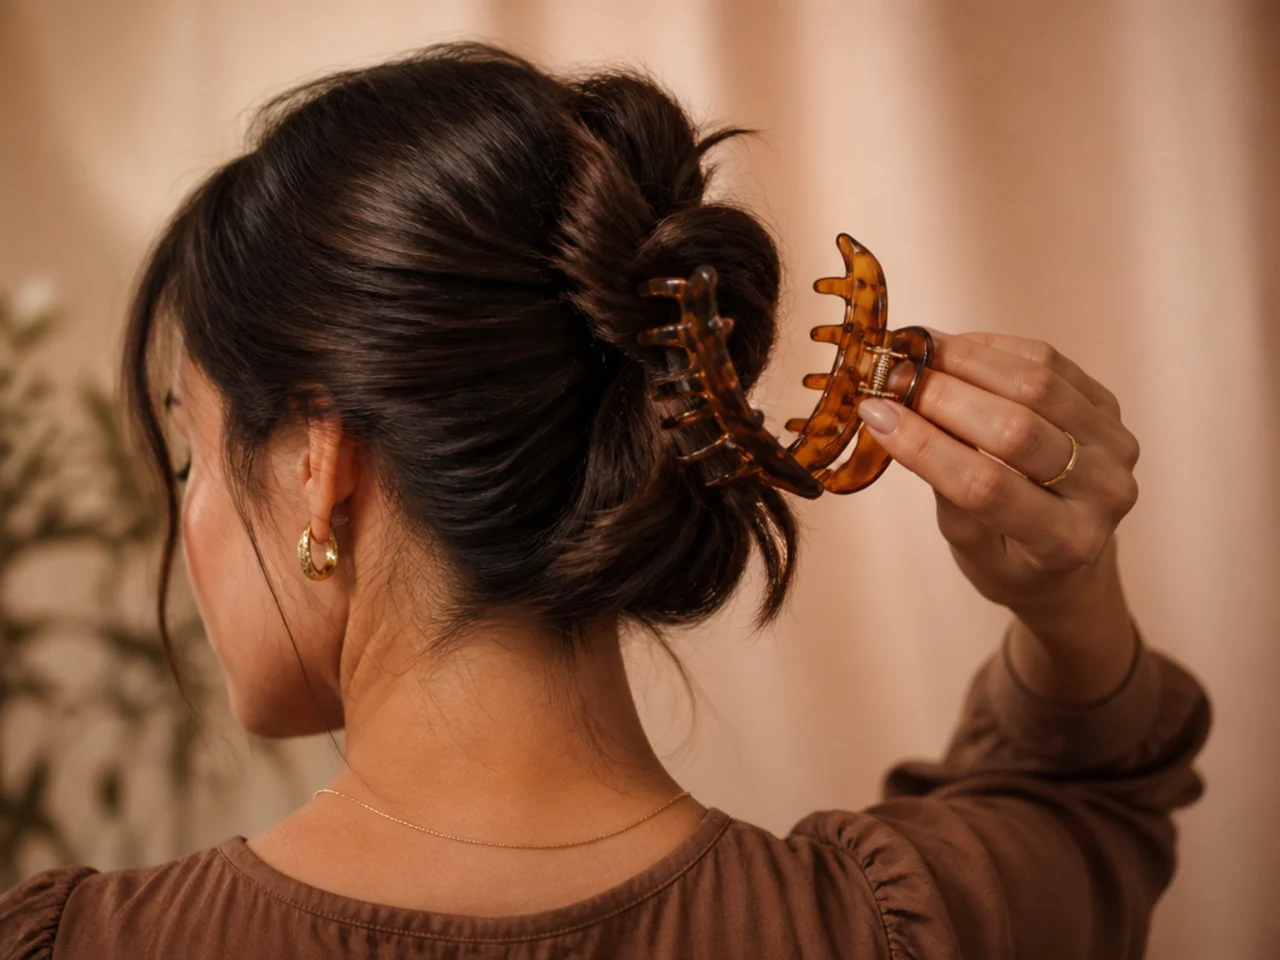
11. Open the Clip Fully
All the way. A half-open clip only catches the surface.
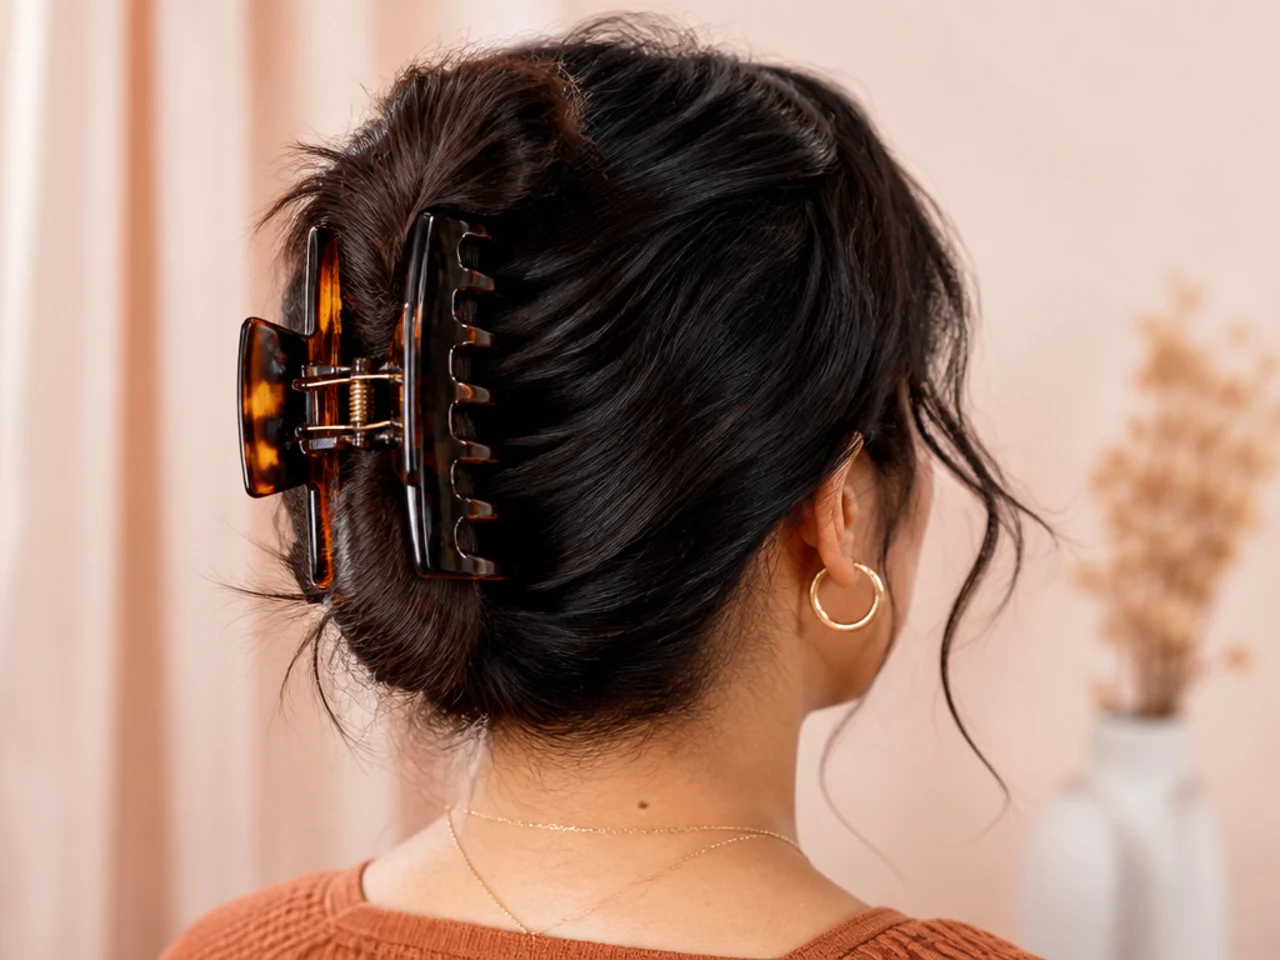
12. Position the Teeth at the Fold
The lower jaw should sit under the fold, not over the ends.
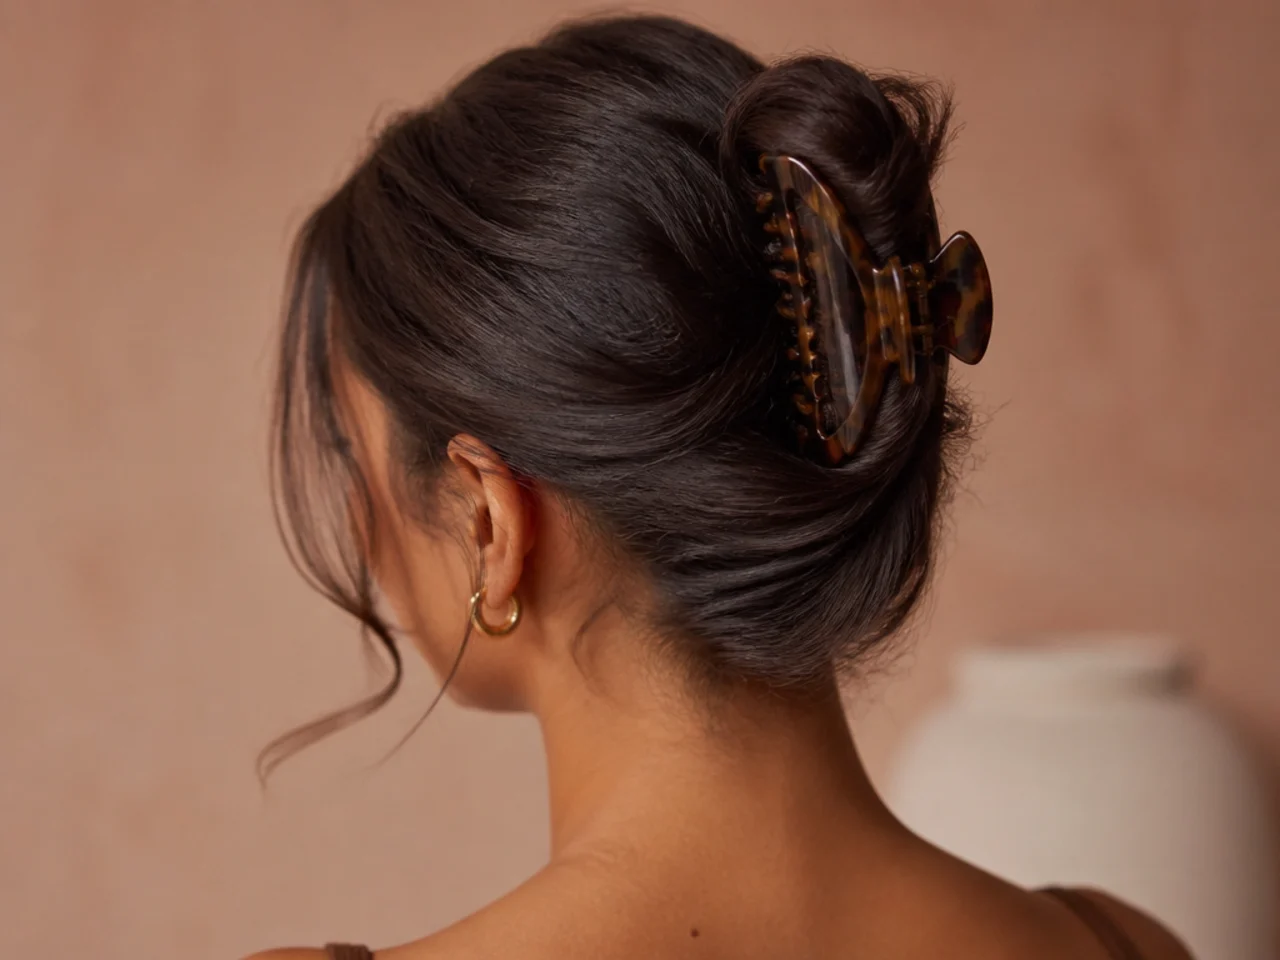
13. Scoop Upward as You Close
Push the clip slightly up into the fold while closing, not straight in.
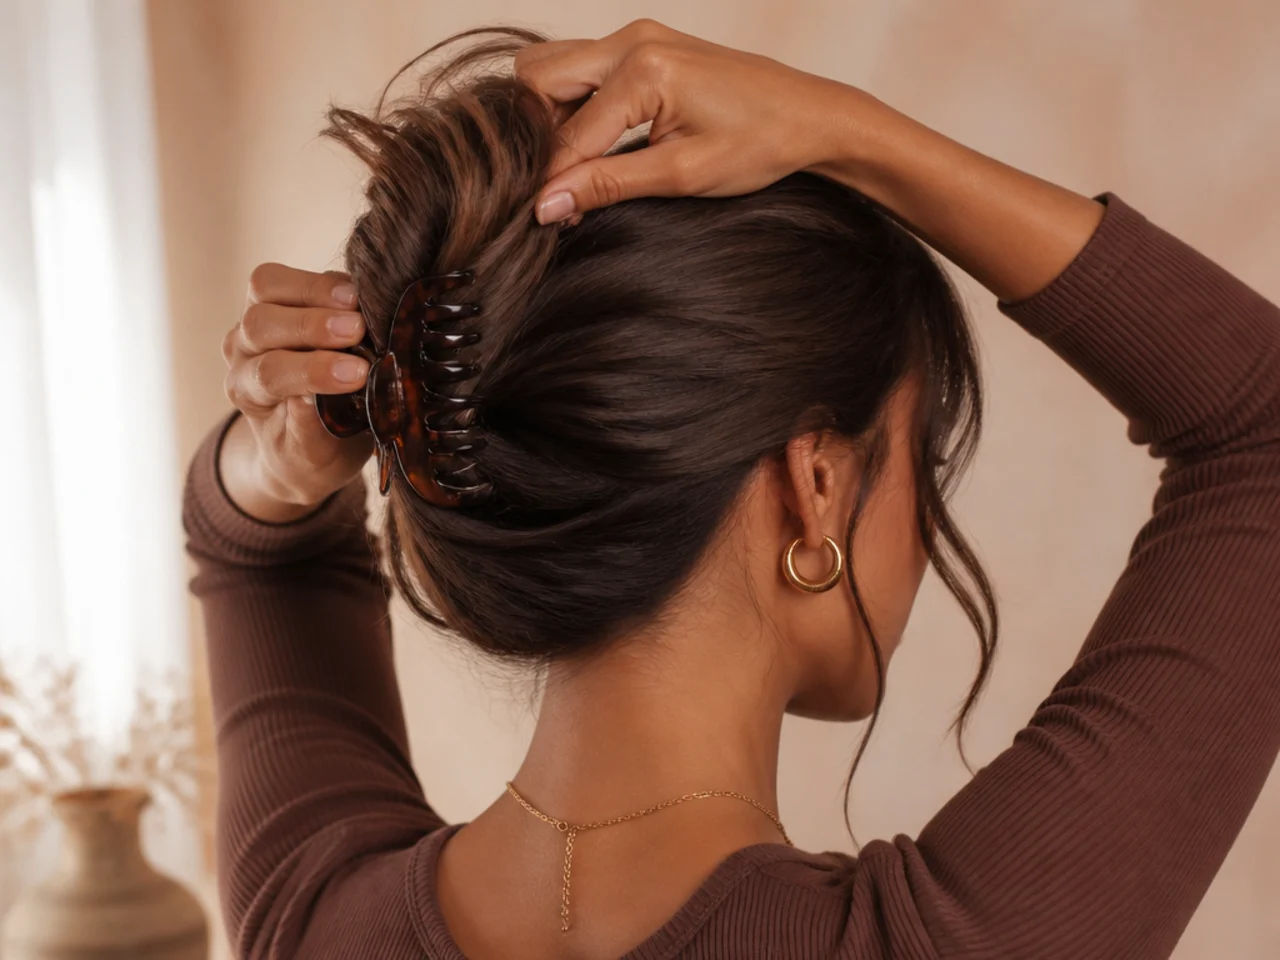
14. Close It in One Movement
Hesitating lets hair slide free before the teeth engage.
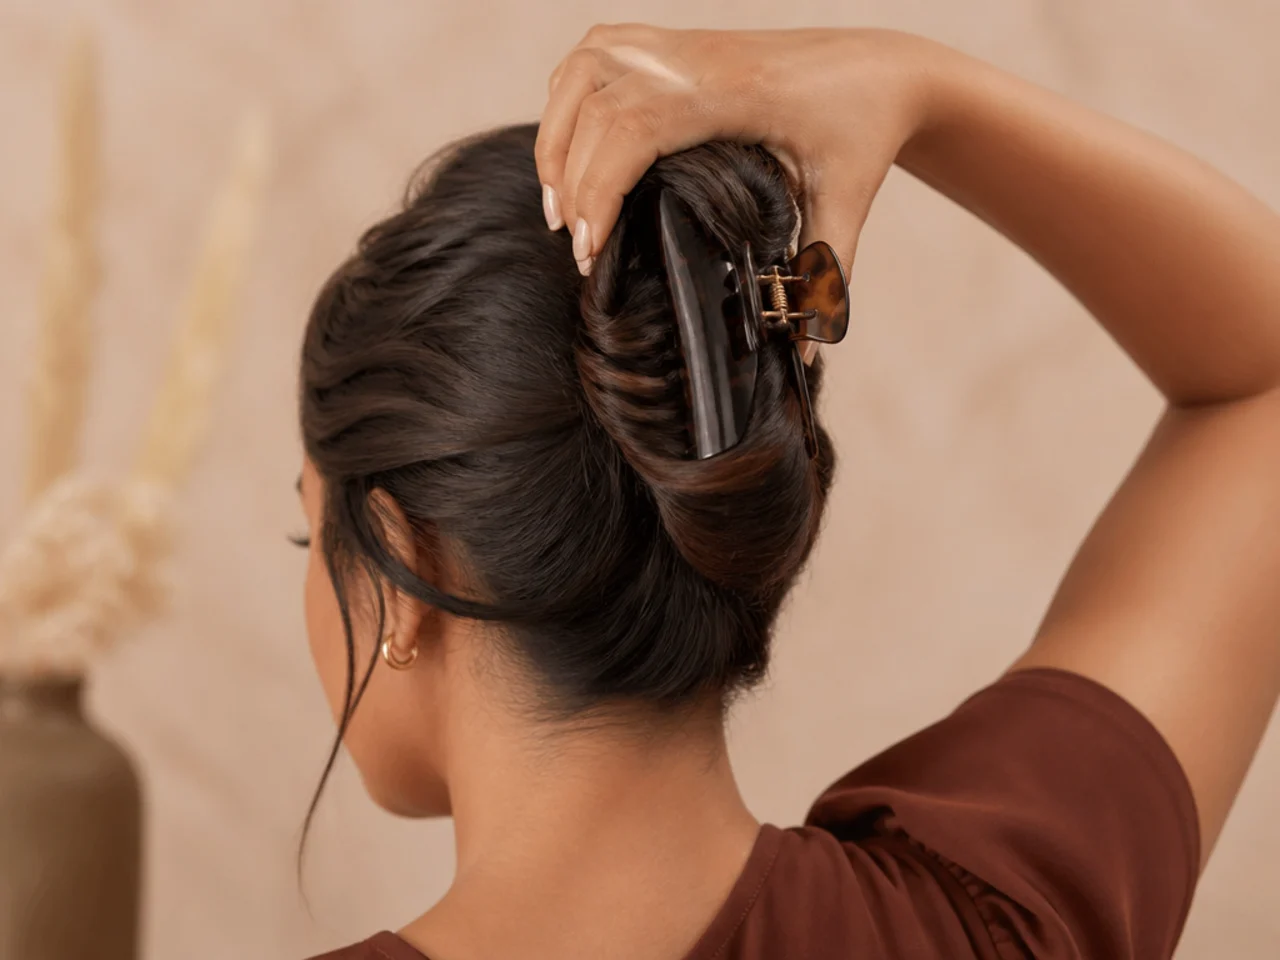
15. Check It Holds by Nodding
Nod once. If it moves, it will not survive the day.
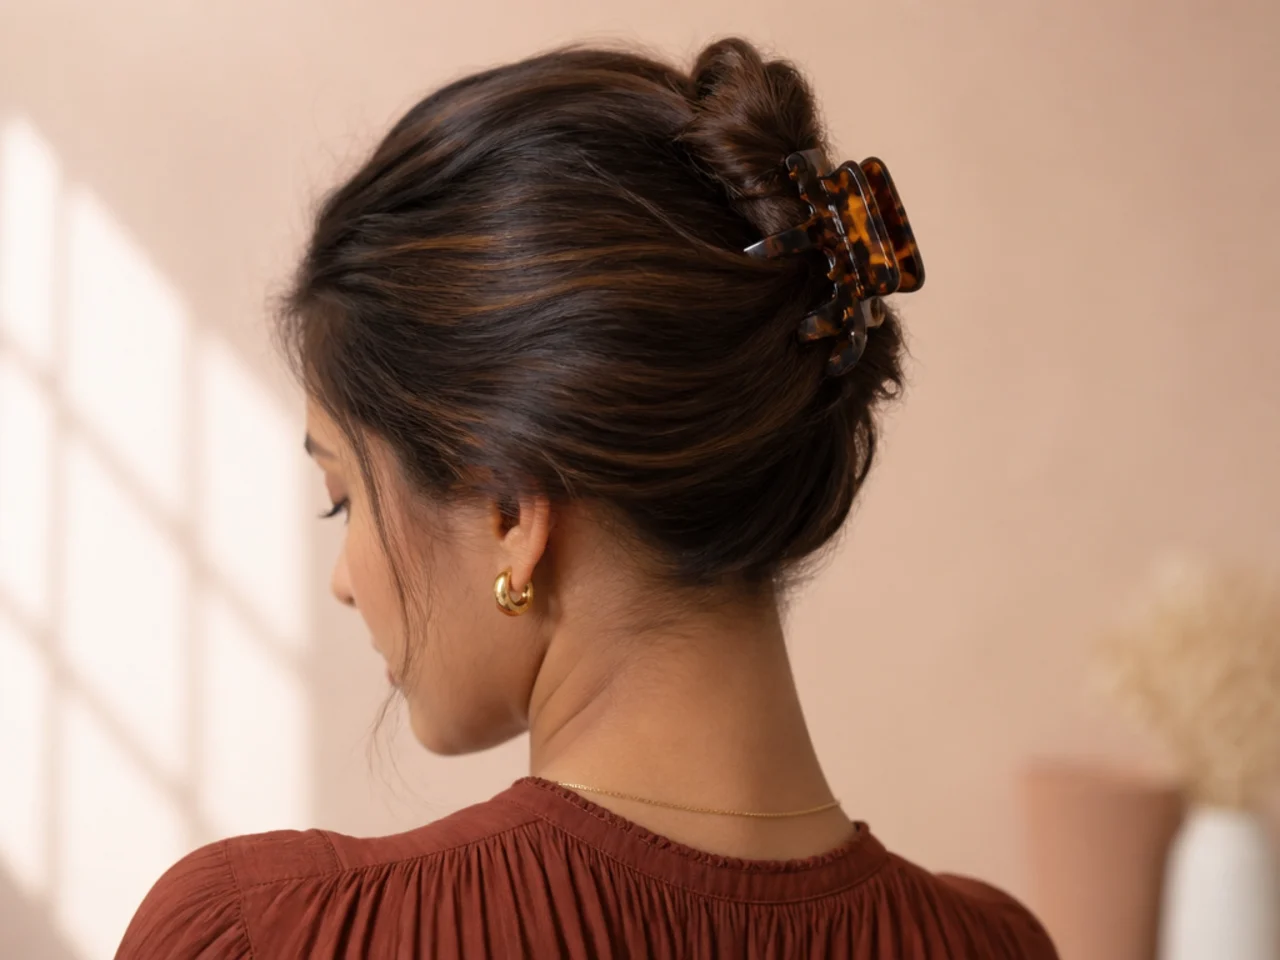
16. Pull the Crown Up Slightly
Tug a few pieces at the crown for volume.
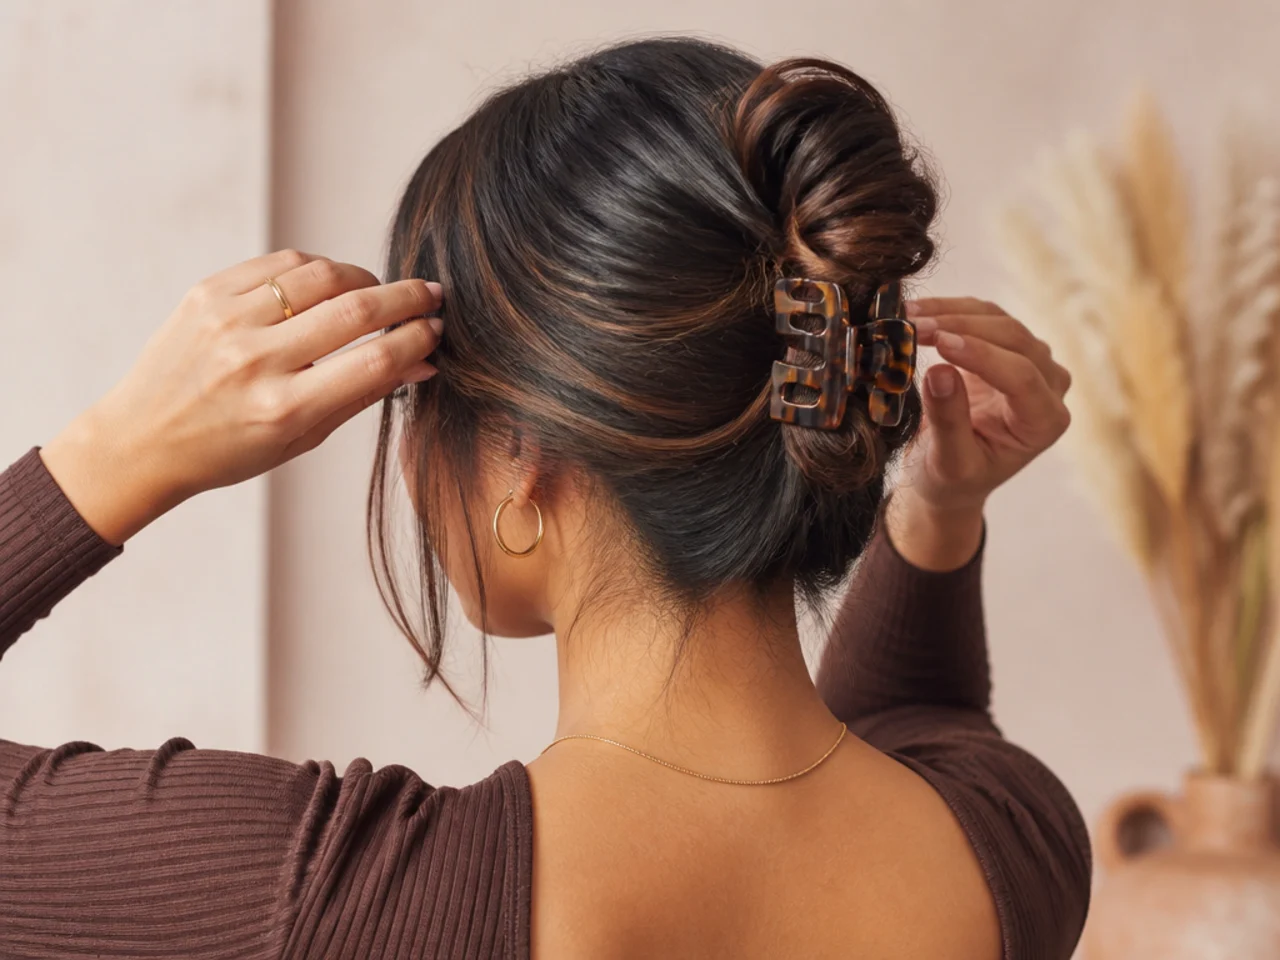
17. Loosen the Sides
Ease the hair above your ears with a fingertip so it does not look pulled.
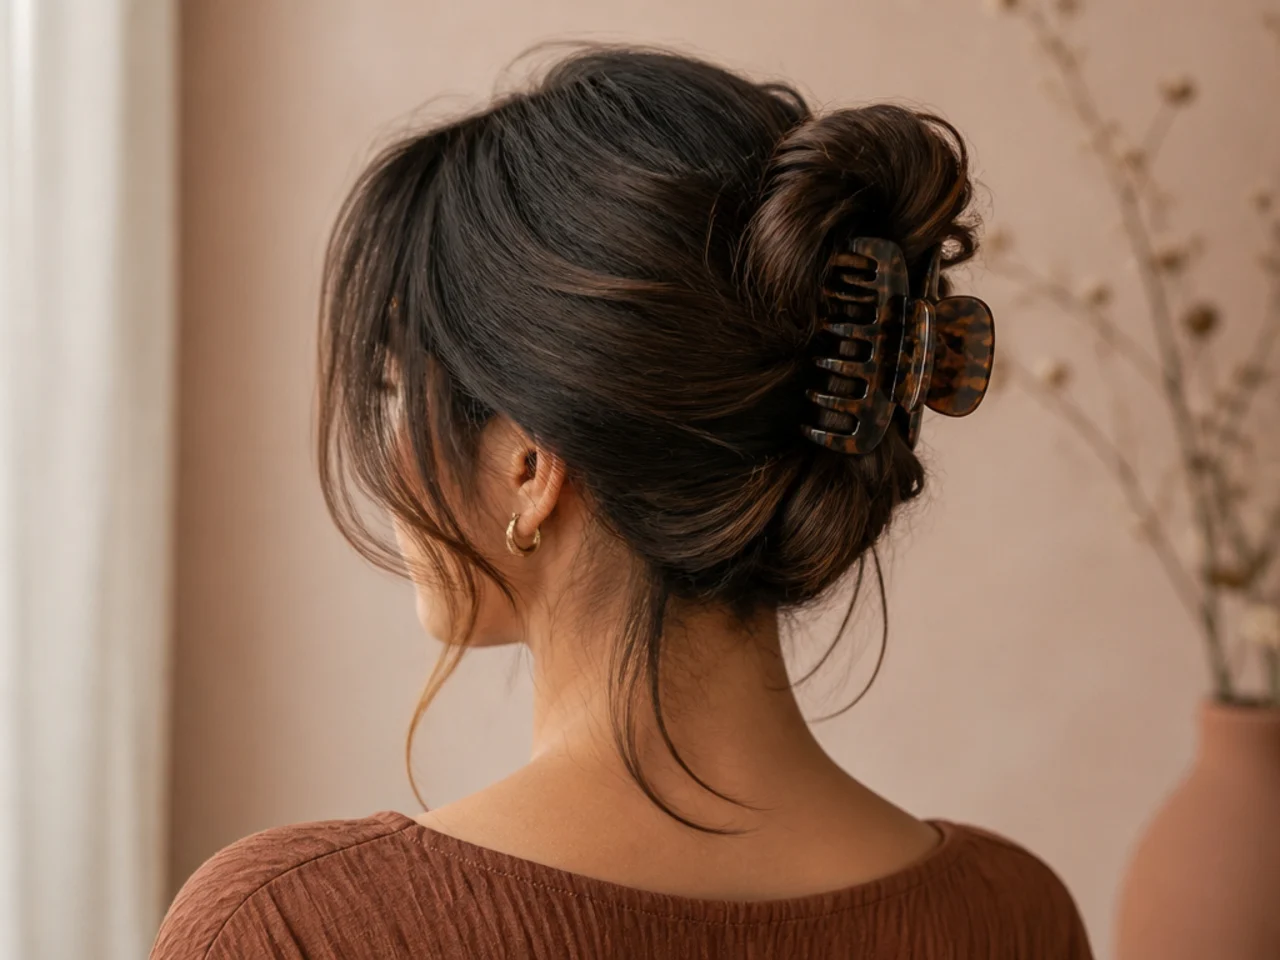
18. Leave Escaping Layers Alone
Short layers falling out is the finish, not a fault.
19. Adjust the Angle if It Pulls
A clip that tugs is usually sitting too high. Redo it lower.
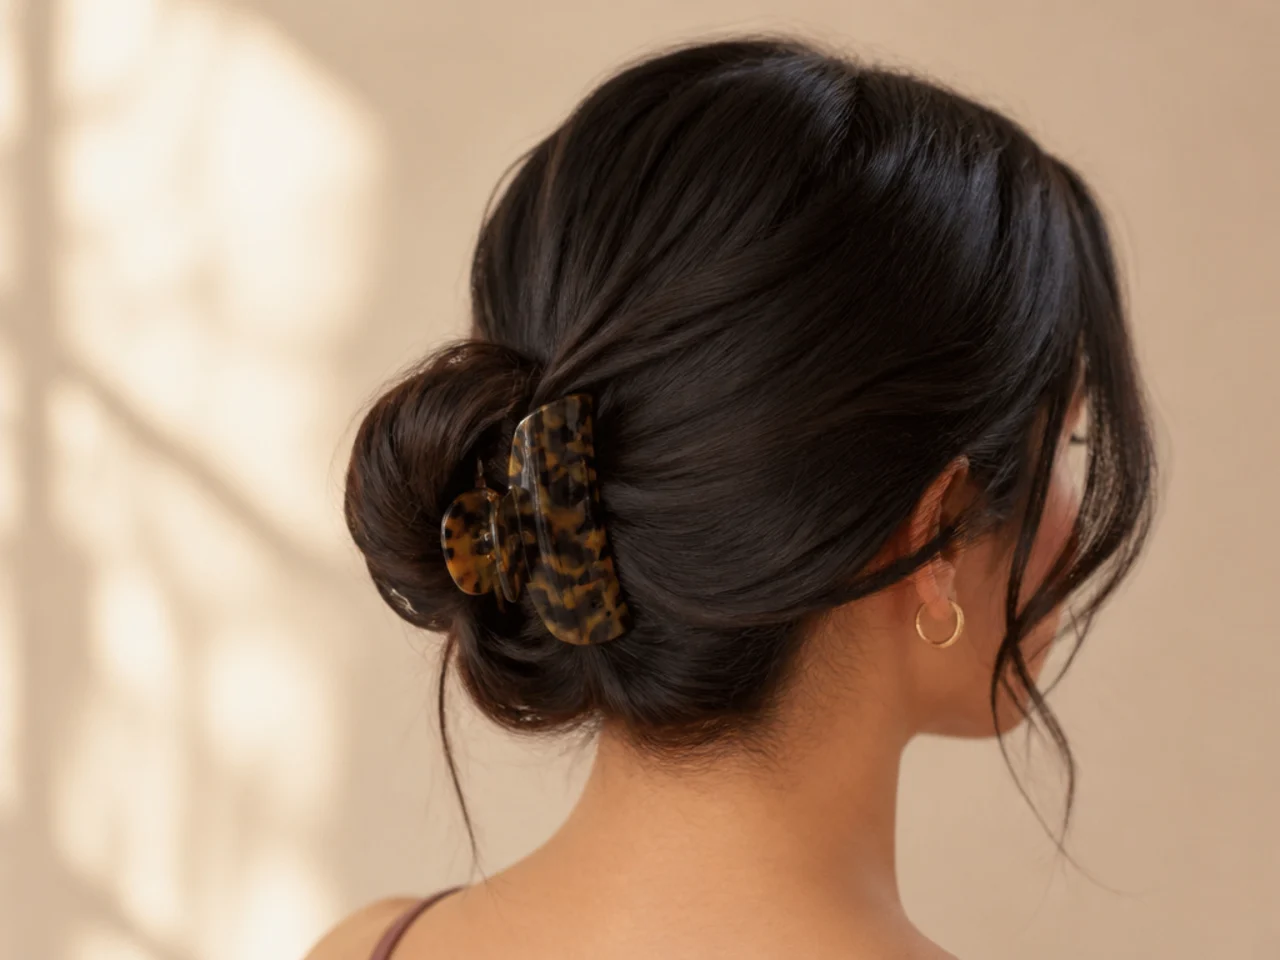
20. Leave It Alone
Every readjustment loosens it. Once it holds, stop touching it.
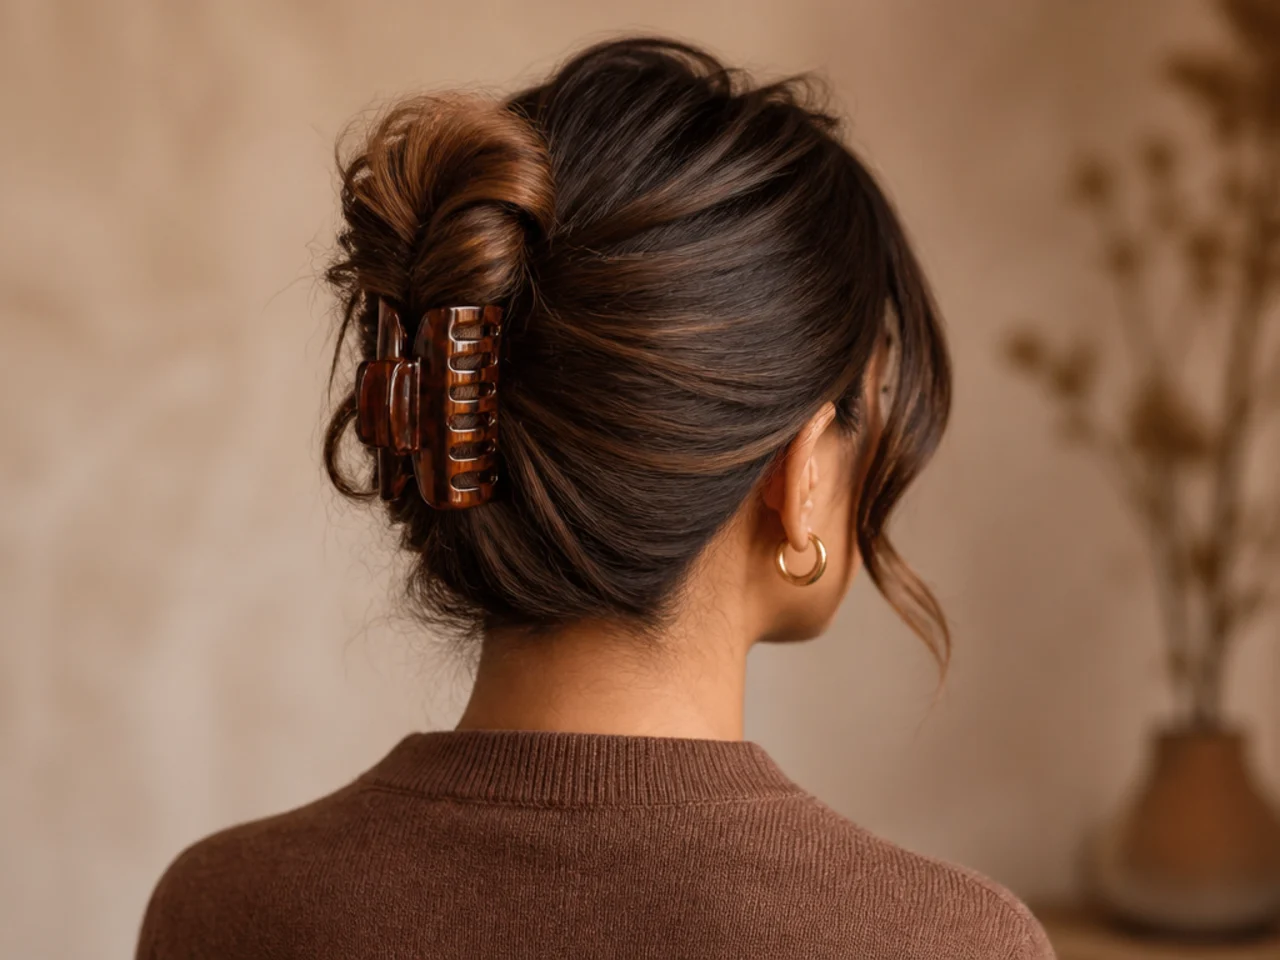
Aftercare and Upkeep
Take it out by opening the clip fully rather than pulling it free — dragging a closed clip out is what causes breakage at the mid-lengths.
Brush through afterwards to release the twist rather than leaving it set overnight.
Troubleshooting
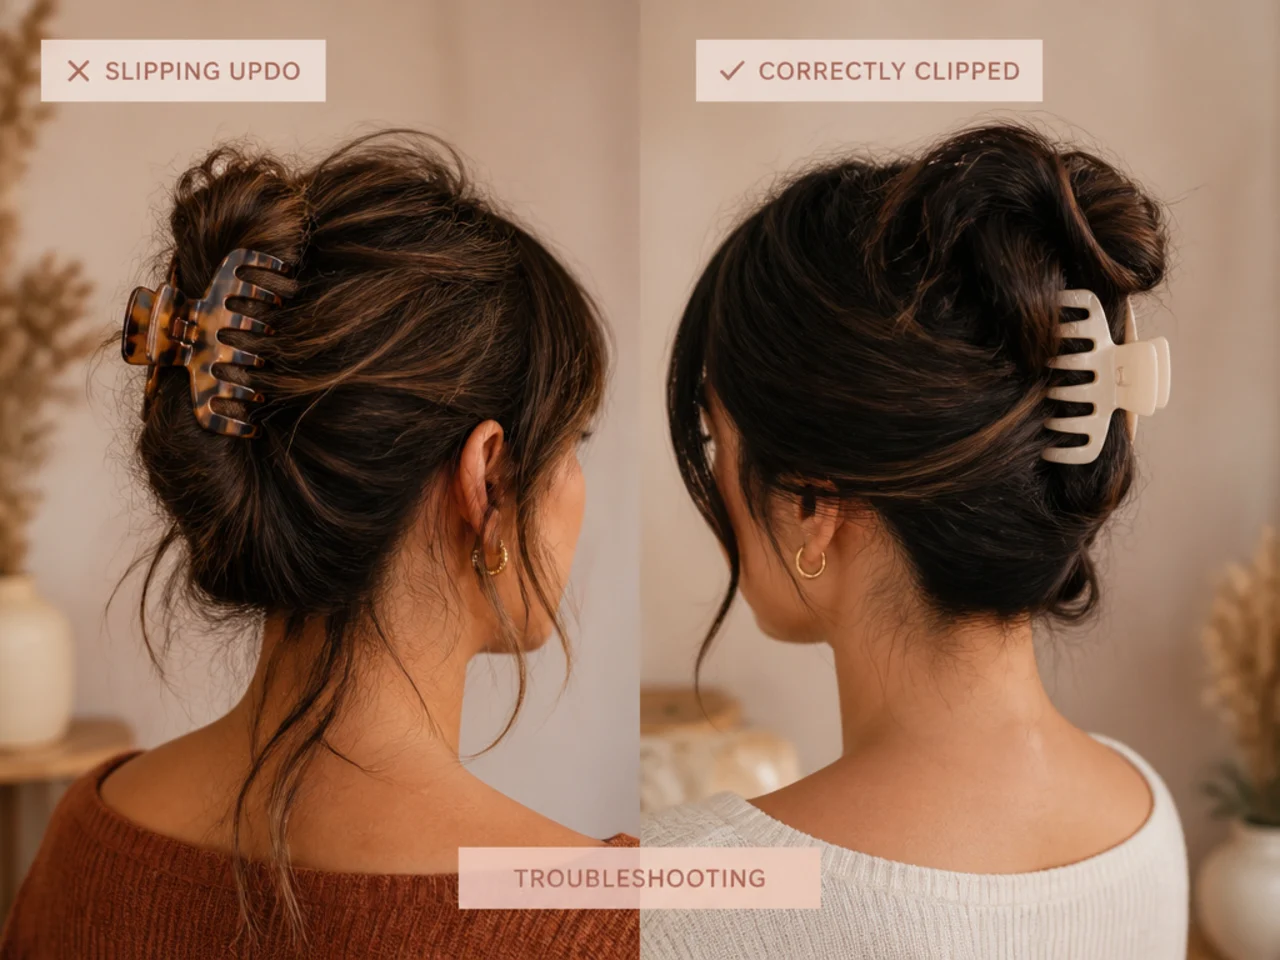
Slides out within an hour. Clip too small, or you clipped the ends instead of the fold.
Pulls at the scalp. Sitting too high. Move it down to the occipital bone.
Looks flat. Pull a few crown pieces up after clipping.
Will not hold on clean hair. Texture spray, or wait a day.
FAQ
Which direction to twist? Away from your face — toward-the-face twists unwind.
How high should the clip sit? At the occipital bone, between crown and nape.
What about layers that fall out? Leave them. That is the intended finish.
Final Thoughts
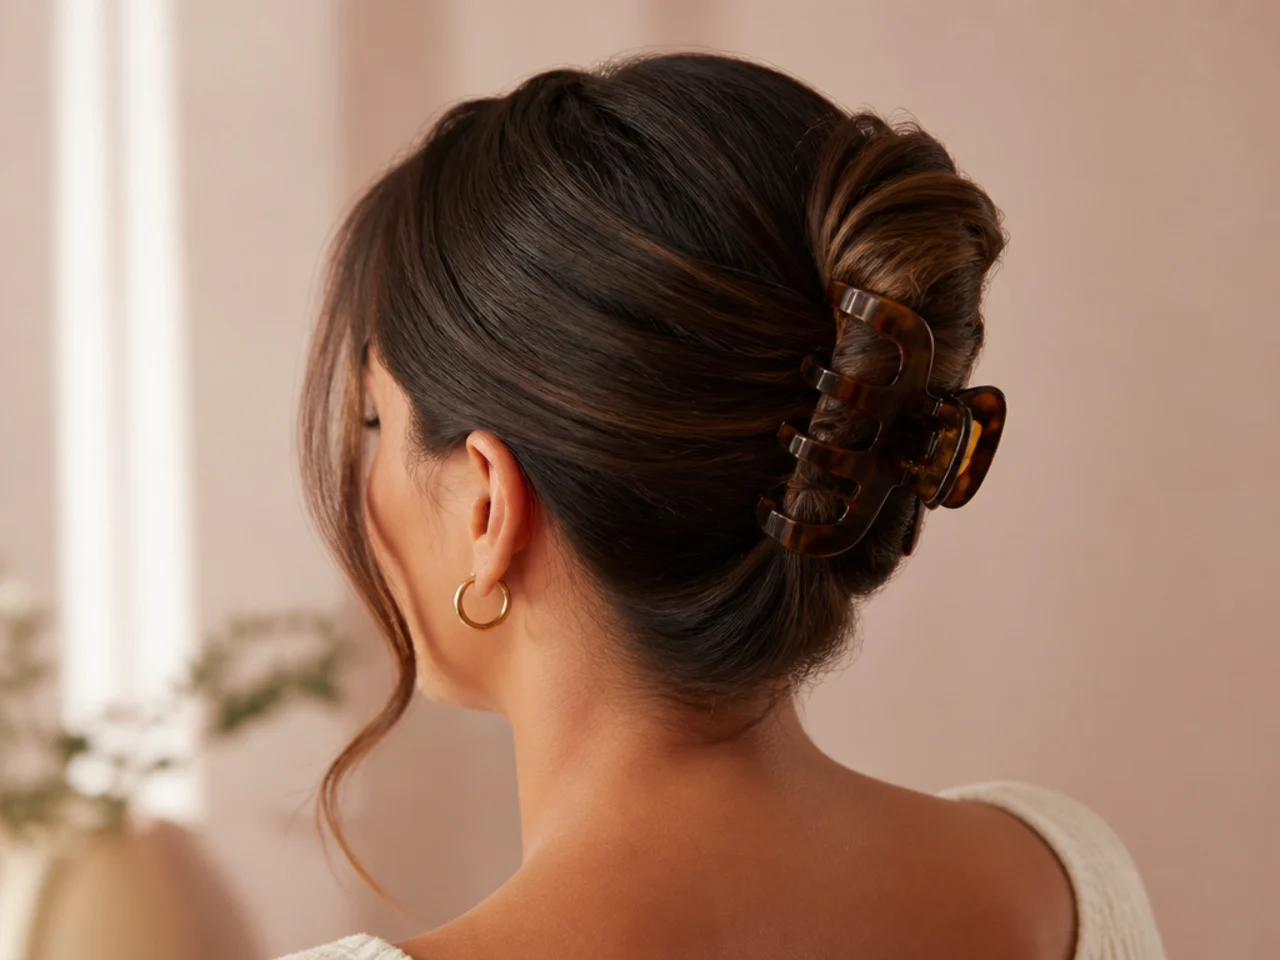
Twist away, fold up, clip the fold, scoop as you close. Four moves, thirty seconds, and it holds all day once your hands know it.
For twenty-five styles built on this technique see 25 easy claw clip hairstyles. More in Updos & Clip Styles.