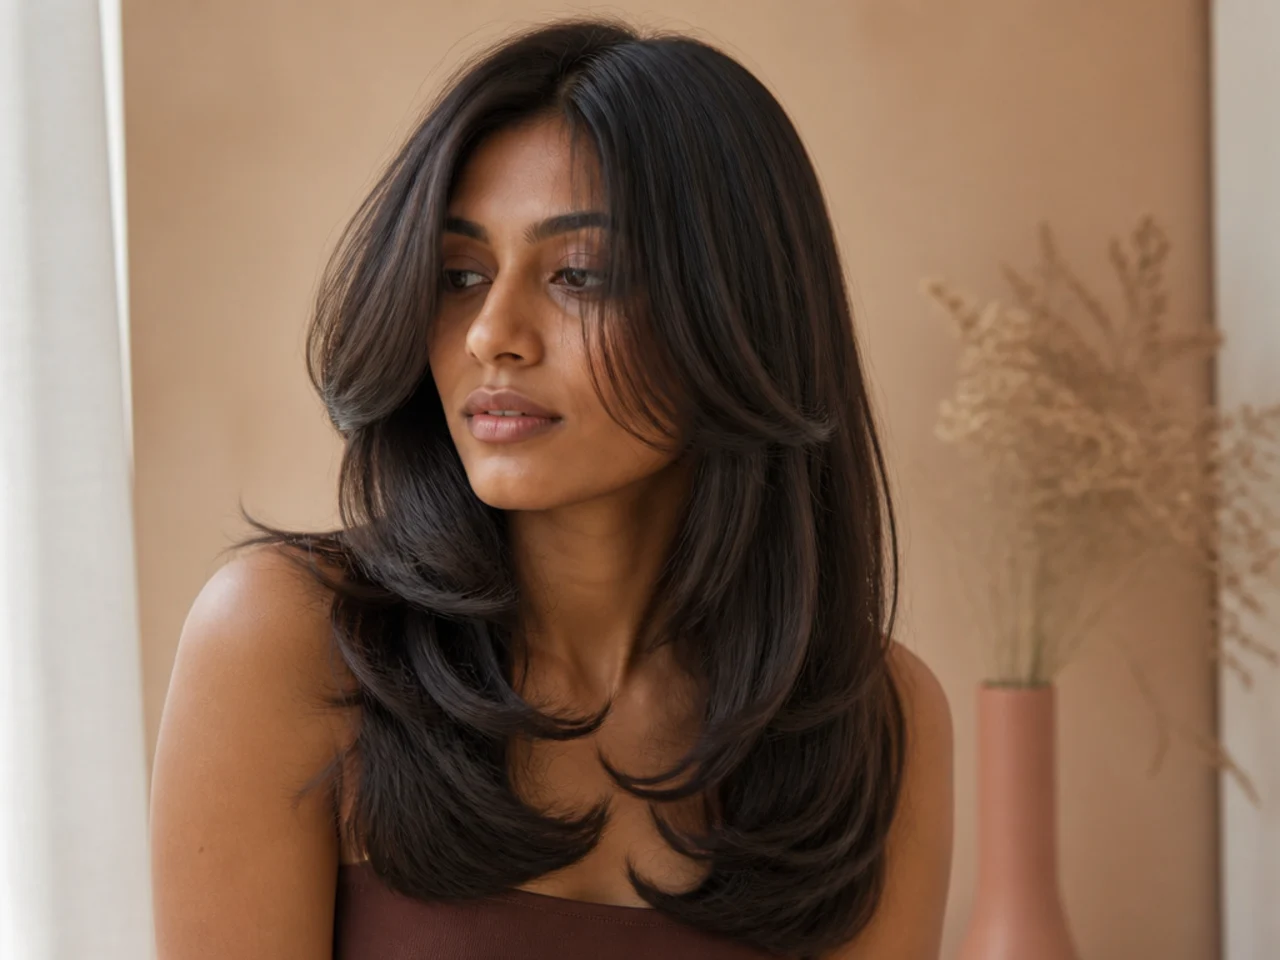
25 Stunning Butterfly Haircut Ideas For Long Hair
Twenty-five butterfly cuts for long hair, and the thing that makes the shape work — a deliberate gap between a short face framing layer and the long perimeter. Close that gap and it stops being a butterfly and becomes layers.
In this article · 32
- What Makes It a Butterfly Cut
- Choosing Where the Short Layer Sits
- The 25 Butterfly Haircut Ideas for Long Hair
- 1. The Cheekbone Short Layer
- 2. The Chin Length Short Layer
- 3. The Collarbone Short Layer
- 4. The Mid Back Butterfly
- 5. The Waist Length Butterfly
- 6. The Butterfly With a Curtain Fringe
- 7. The Butterfly With a Wispy Fringe
- 8. The Butterfly Without a Fringe
- 9. The Blow Dried Butterfly
- 10. The Air Dried Butterfly
- 11. The Butterfly on Straight Long Hair
- 12. The Butterfly on Wavy Long Hair
- 13. The Butterfly on Curly Long Hair
- 14. The Butterfly on Coily Hair
- 15. The Butterfly on Fine Long Hair
- 16. The Butterfly on Thick Long Hair
- 17. The Heavily Overdirected Butterfly
- 18. The Softly Connected Butterfly
- 19. The Disconnected Butterfly
- 20. The Butterfly With a Blunt Perimeter
- 21. The Butterfly With a Money Piece
- 22. The Korean Layered Butterfly
- 23. The Wolf Cut Leaning Butterfly
- 24. The Butterfly at Ten Weeks
- 25. The Butterfly Grown Into Long Layers
- Styling and Upkeep
- Mistakes to Avoid
- FAQ
- Final Thoughts
A butterfly cut is not layers, it is a gap, and cutting it as ordinary long layers is why so many of them come out looking like nothing happened.
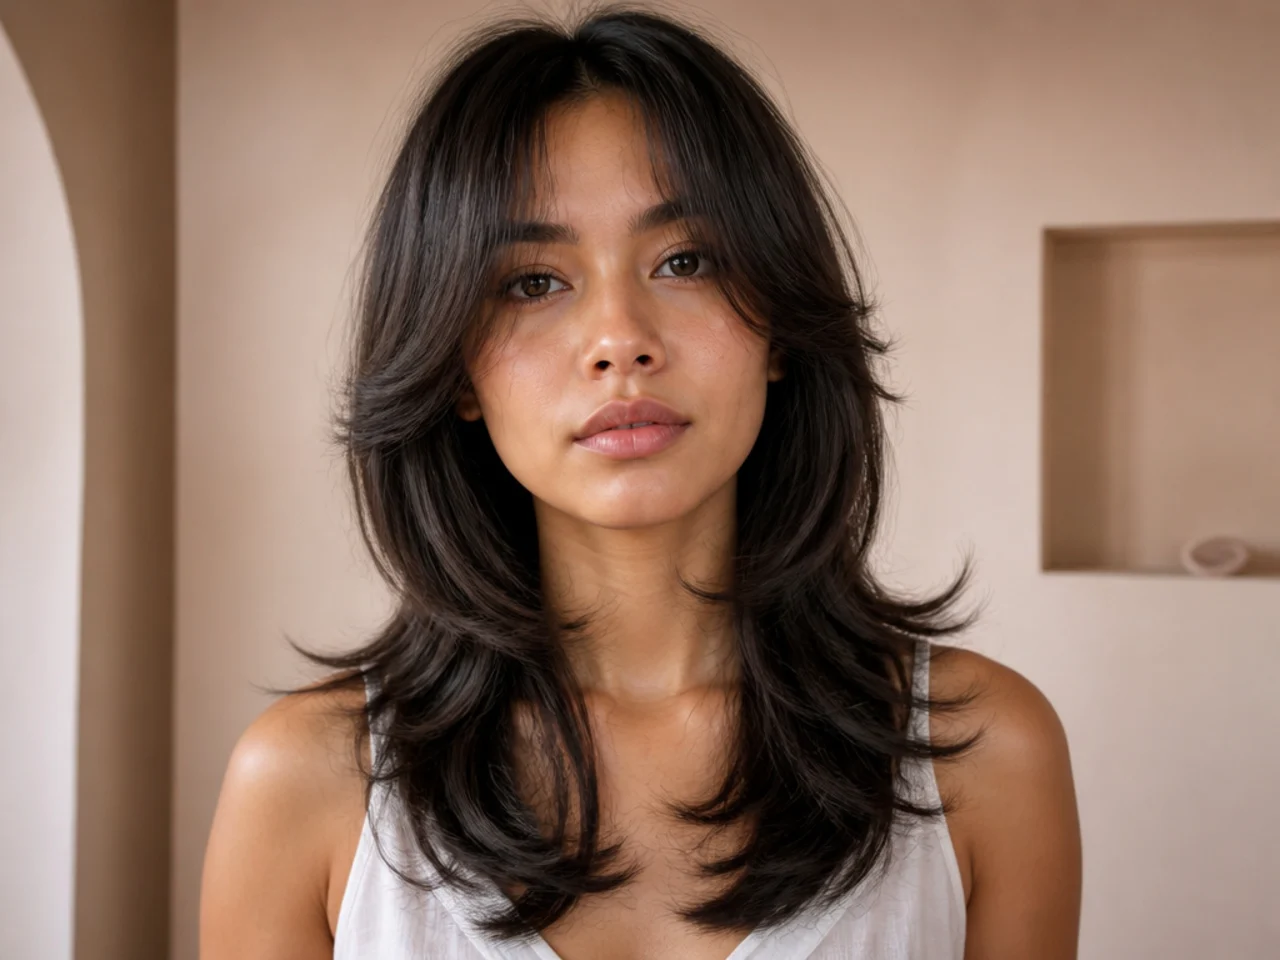
Two lengths, held apart on purpose. A short face framing layer sits well above the long perimeter, and the distance between them is what the eye reads.
The short layer has to bend outwards. That outward flick is what separates the two lengths visually. Without it the layer falls flat against the length and disappears into it.
What Makes It a Butterfly Cut
A gap, not a gradient. Long layers step down evenly from top to bottom. A butterfly leaves a visible jump between the short front layer and the length behind it.
Overdirection builds the sweep. The front sections are pulled forward before cutting, so each one behind finishes longer than the last, and the layer sweeps back rather than sitting level.
The perimeter is barely touched. All the shaping happens above the shoulders. The length below keeps its weight, which is what makes the cut read as long hair rather than as a mid length one.
It is a styled shape. The cut sets the lengths; the blow dry sets the direction. On straight hair the two are not optional halves.
Choosing Where the Short Layer Sits
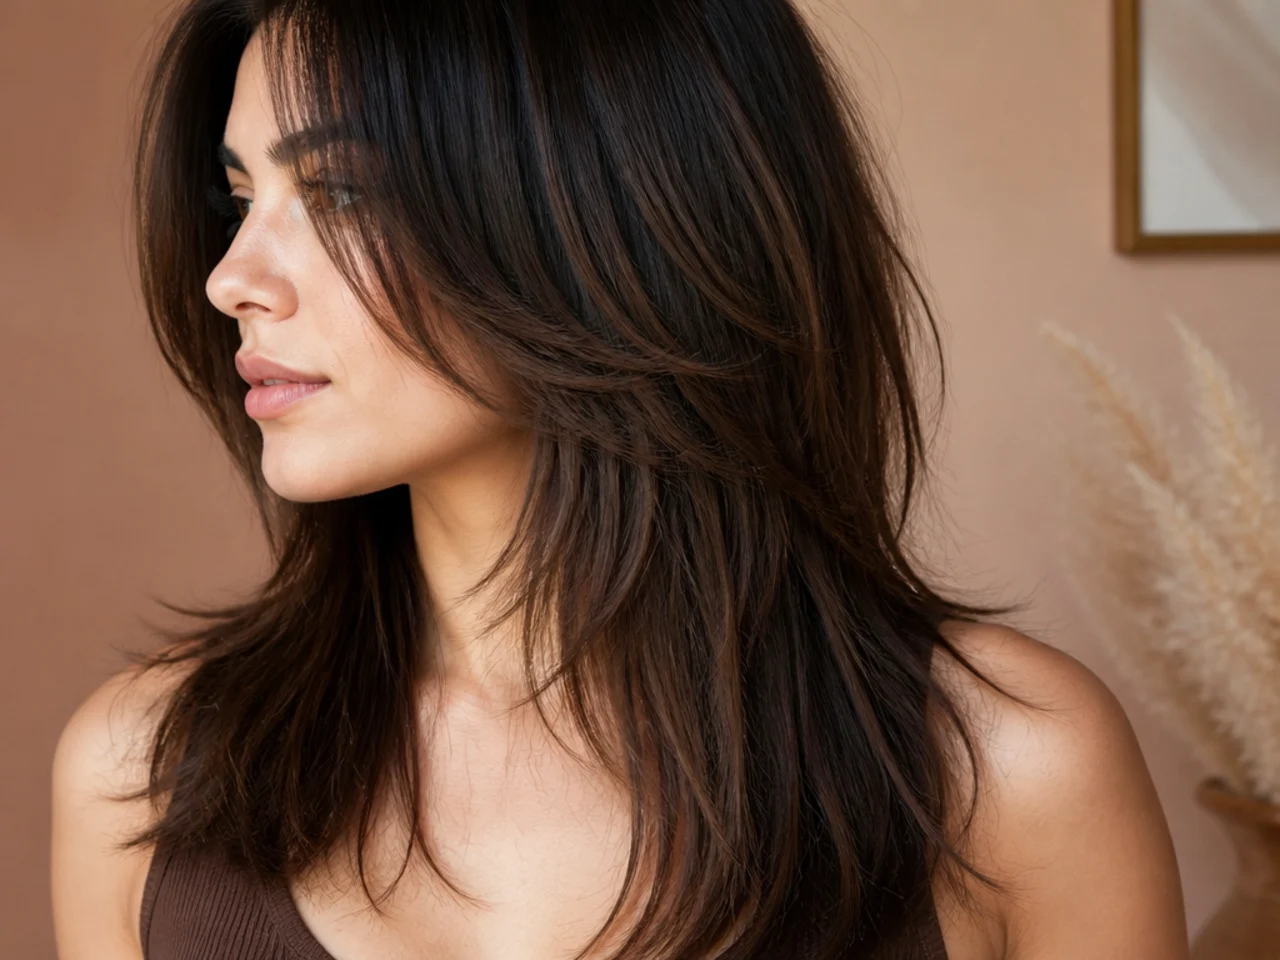
Set the short layer between chin and collarbone. Above the chin it stops connecting to the length. Below the collarbone the two layers sit too close to read as separate.
Match the gap to your length. Waist length hair can carry a chin length front layer. Hair that only reaches the shoulder blades needs the short layer lower, or the jump looks like a mistake.
Keep the front section shallow on fine hair. The short layer is taken from the surface, and every extra centimetre of depth is density removed from the length underneath.
Ask for it cut dry on curl or wave. Wet hair hangs at full stretch and rises once dry, and on a cut built from the distance between two lengths that rise changes the whole design.
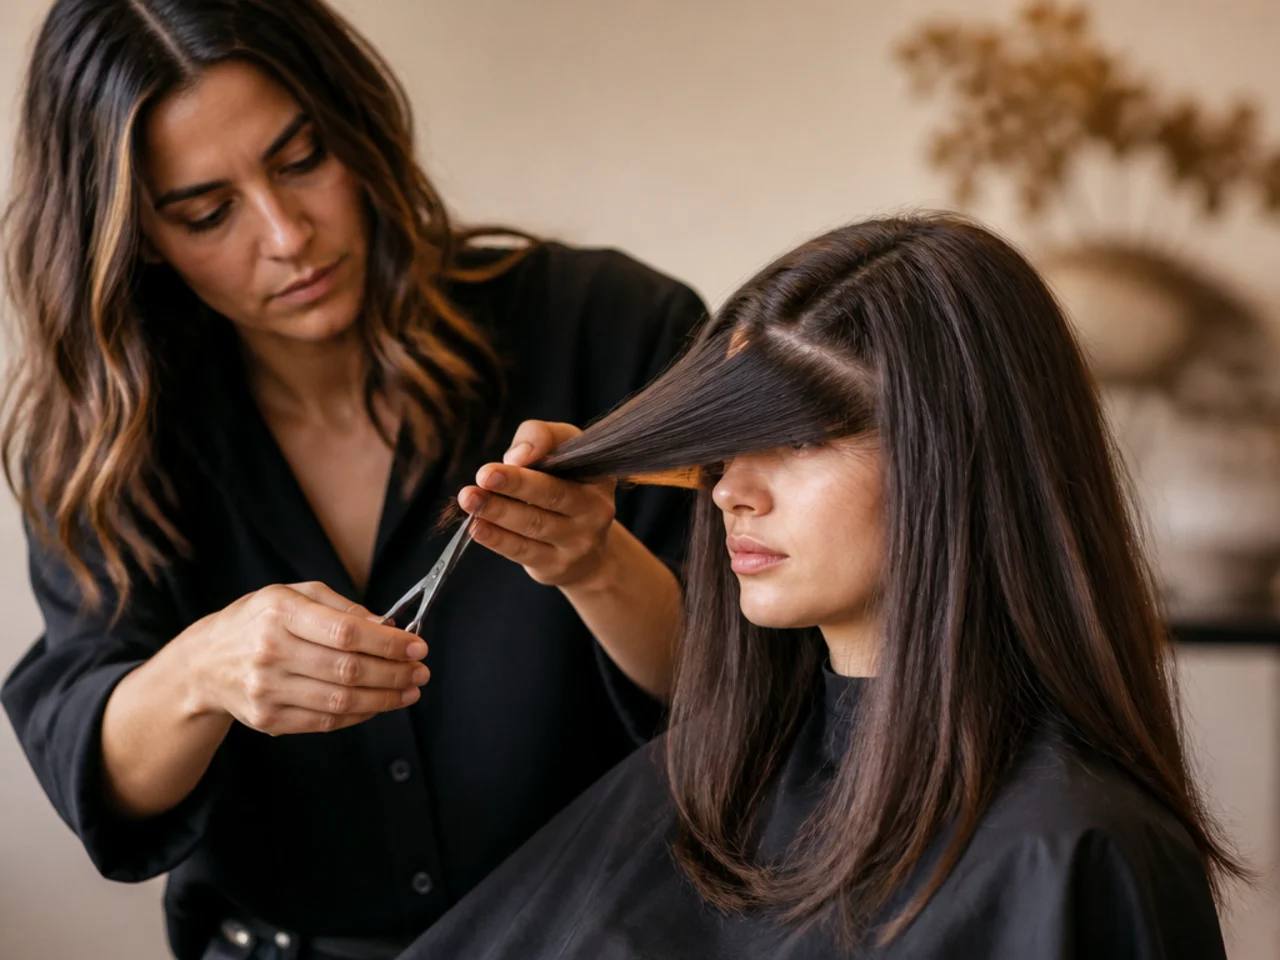
The 25 Butterfly Haircut Ideas for Long Hair
1. The Cheekbone Short Layer
The shortest version that still works, with the front layer finishing at the cheekbone. It gives the biggest gap against long hair, and it also needs the most styling, because a short piece has little weight to hold a bend.
2. The Chin Length Short Layer
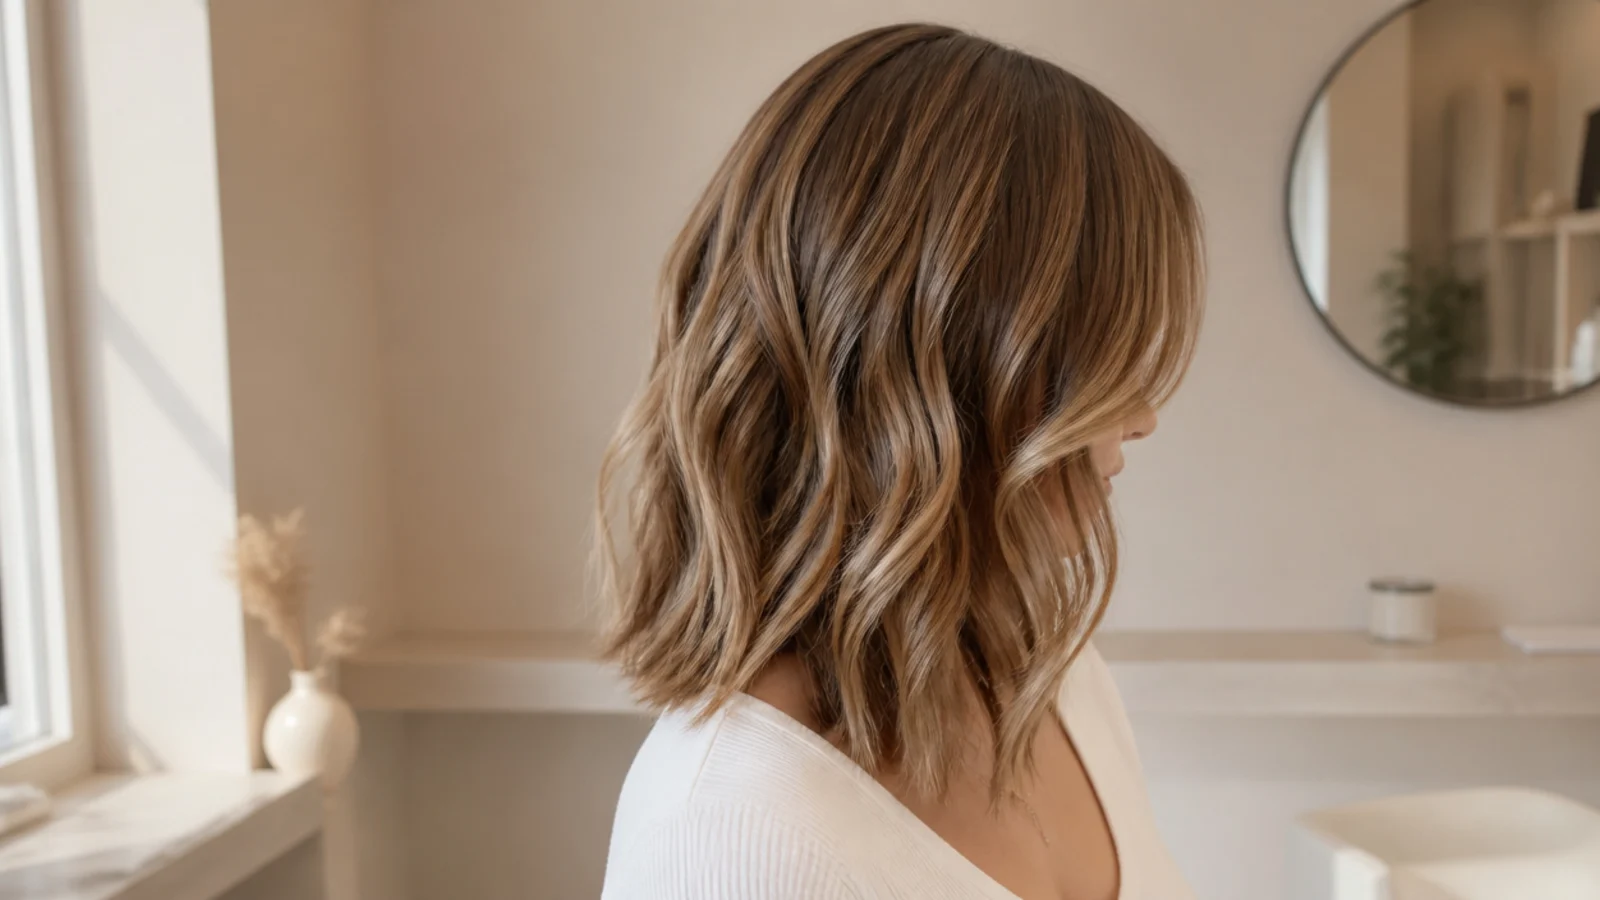
The standard proportion on long hair, close enough to the face to frame it and long enough to hold a curl through a day. It is also the length that merges into face framing layers most cleanly once it grows.
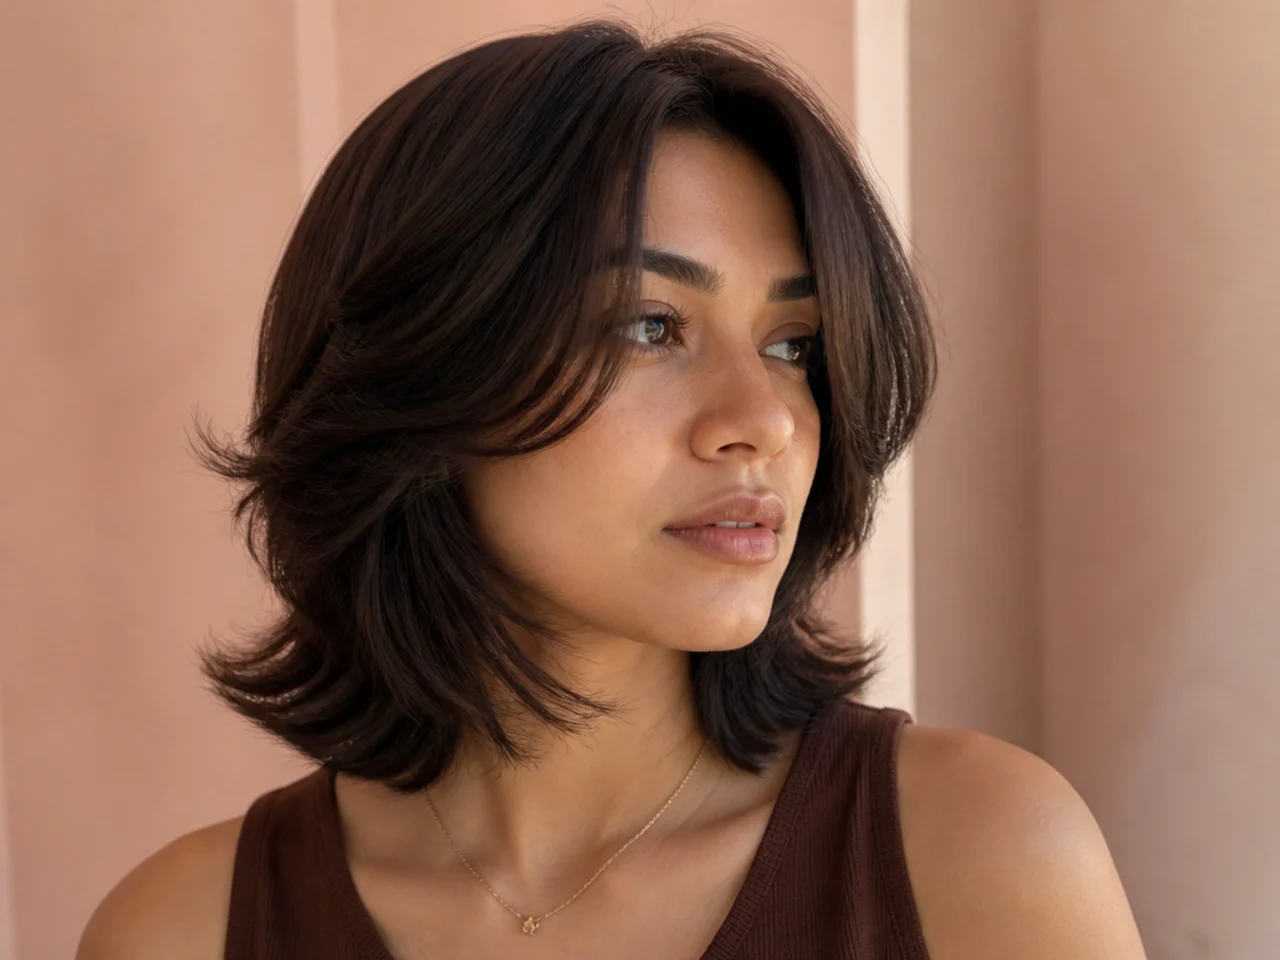
3. The Collarbone Short Layer
The softest version, with the short layer resting at the collarbone. There is more weight to hold the outward bend, but the gap against the perimeter narrows, so the two lengths need real distance below to stay legible.

4. The Mid Back Butterfly
Perimeter at the mid back with a chin length front layer, which is the shortest overall length the cut works on. Any shorter underneath and the two layers start looking like one uneven one.
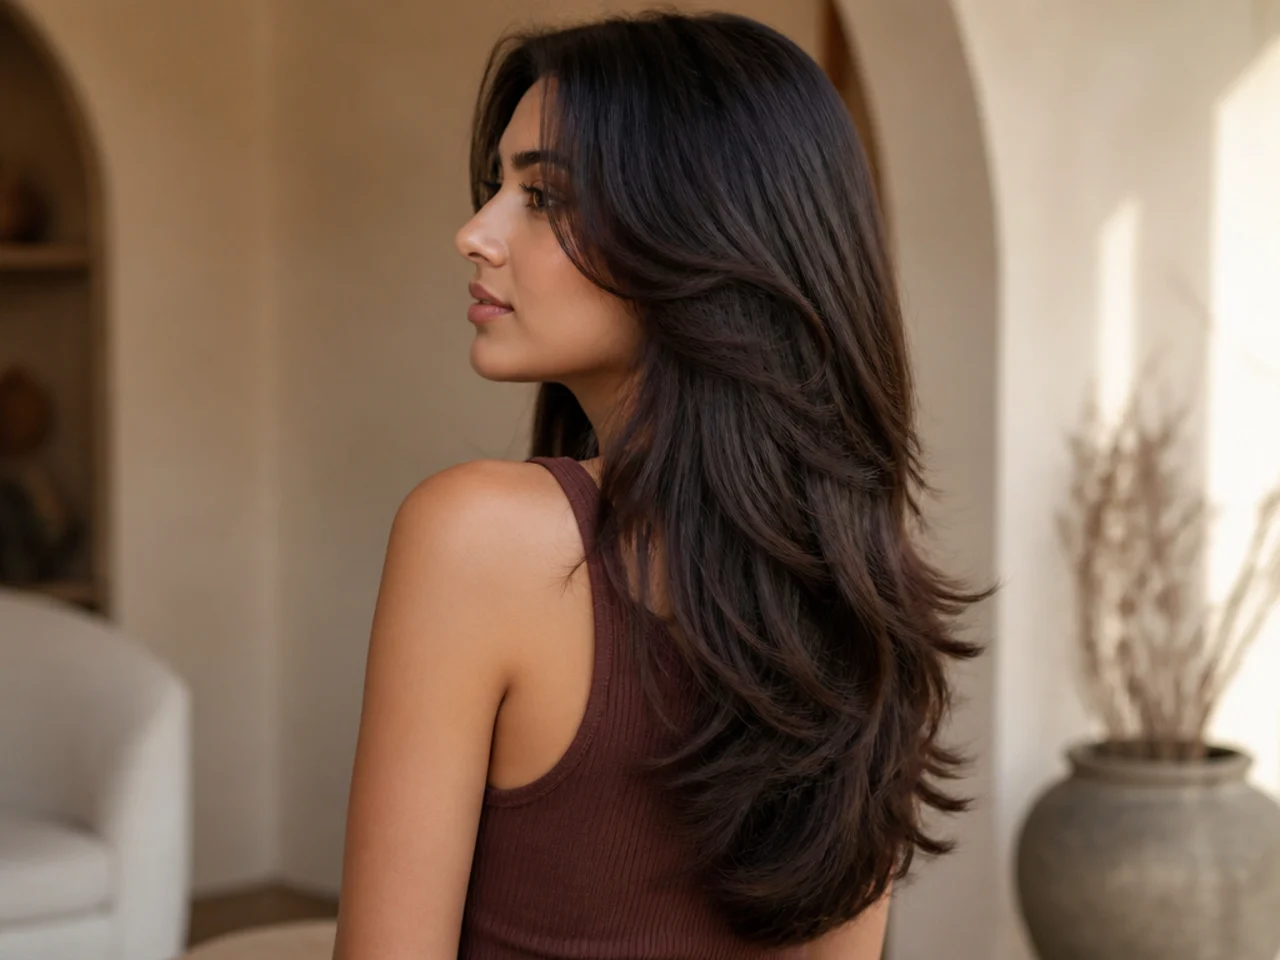
5. The Waist Length Butterfly
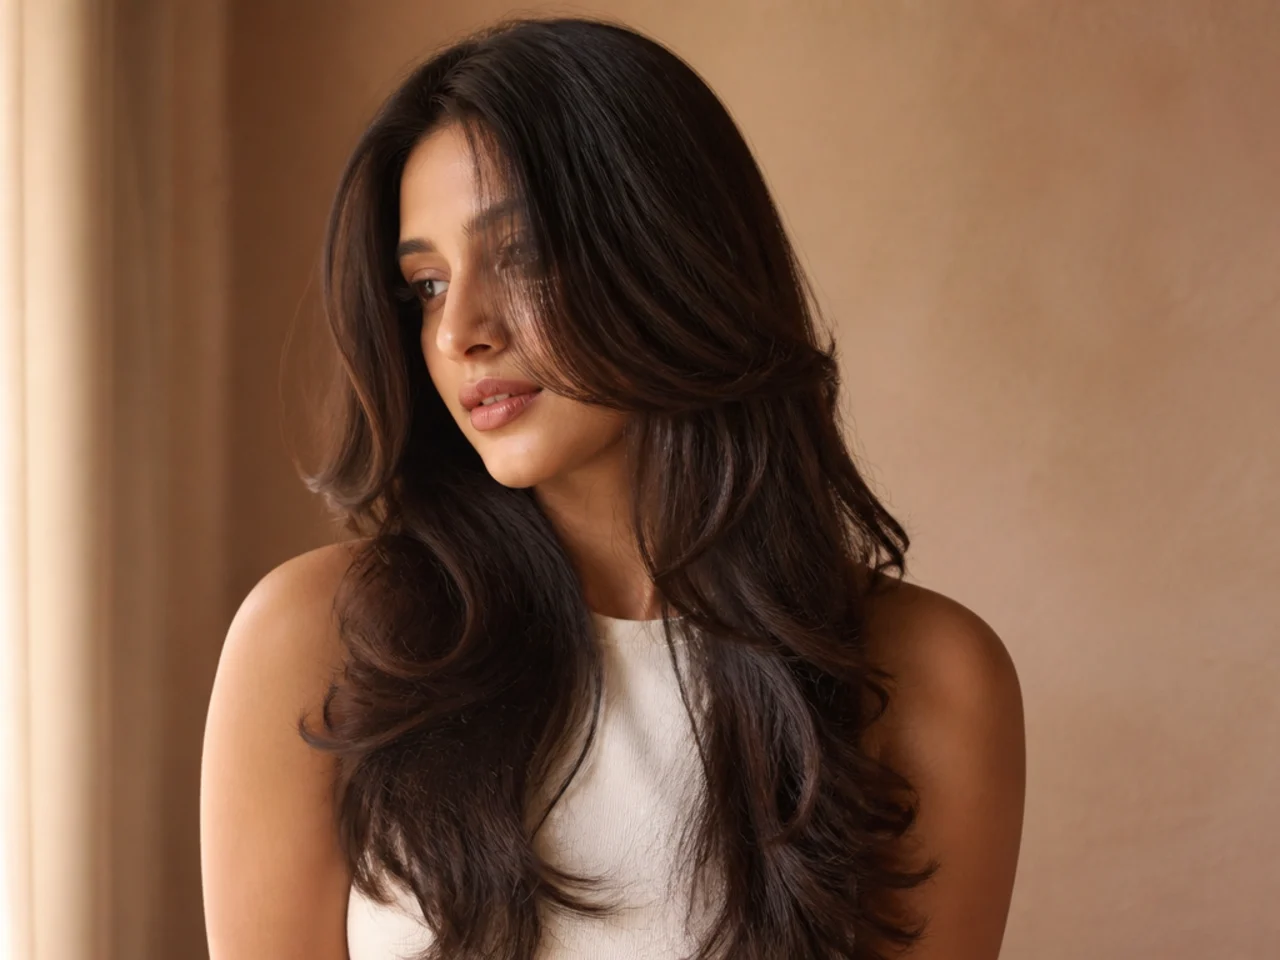
The largest distance the cut can carry, with the front layer at the chin and the perimeter at the waist. The bigger the gap, the more clearly the two lengths read, and the more the short layer needs shaping to look intentional.
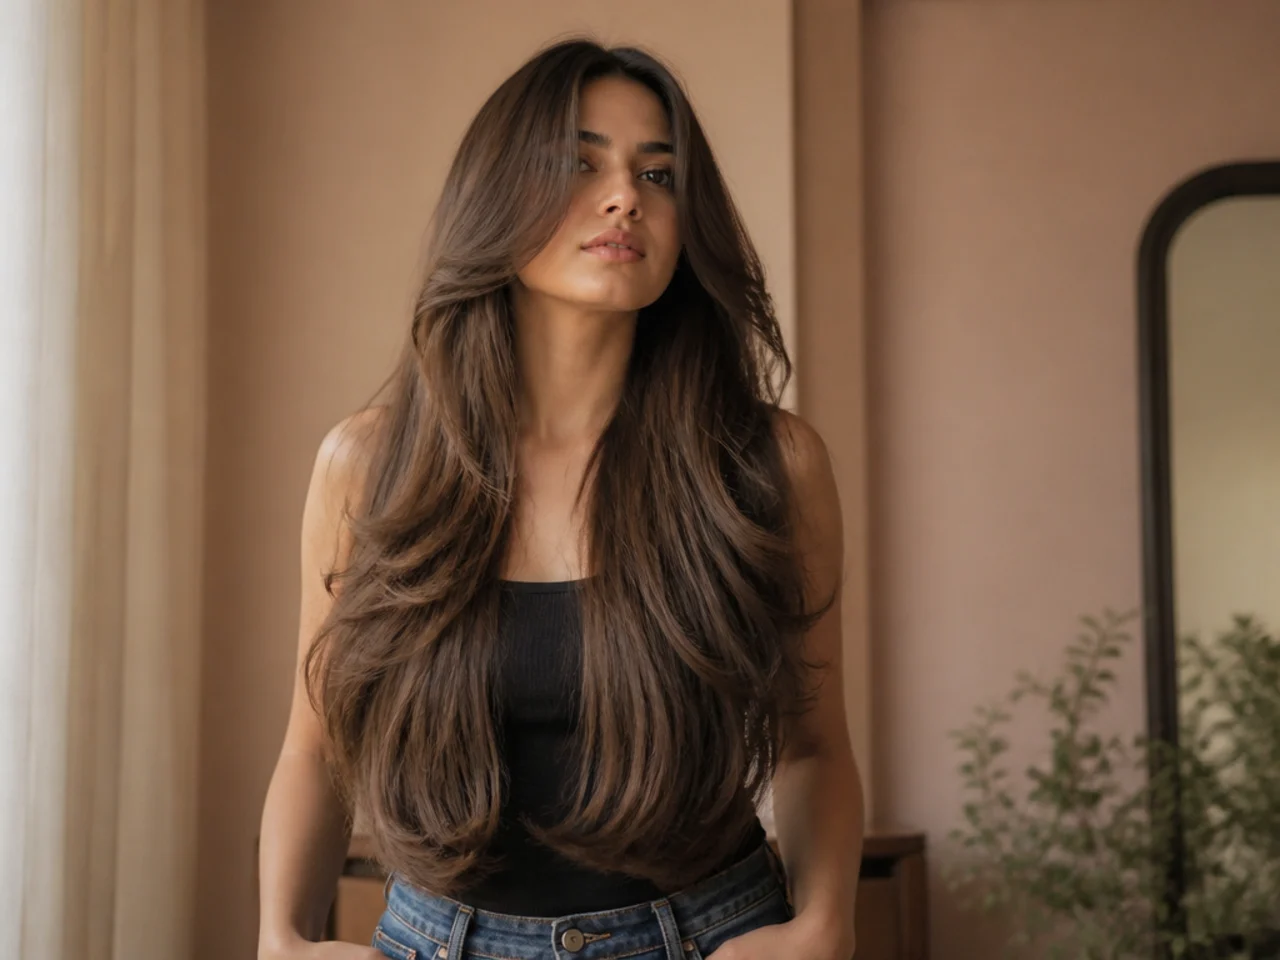
6. The Butterfly With a Curtain Fringe
A parted fringe continues the angle of the short layer forward, so the sweep starts at the face rather than at the cheekbone. Cut as one shape, otherwise the fringe meets the layer at a different angle and leaves a step.
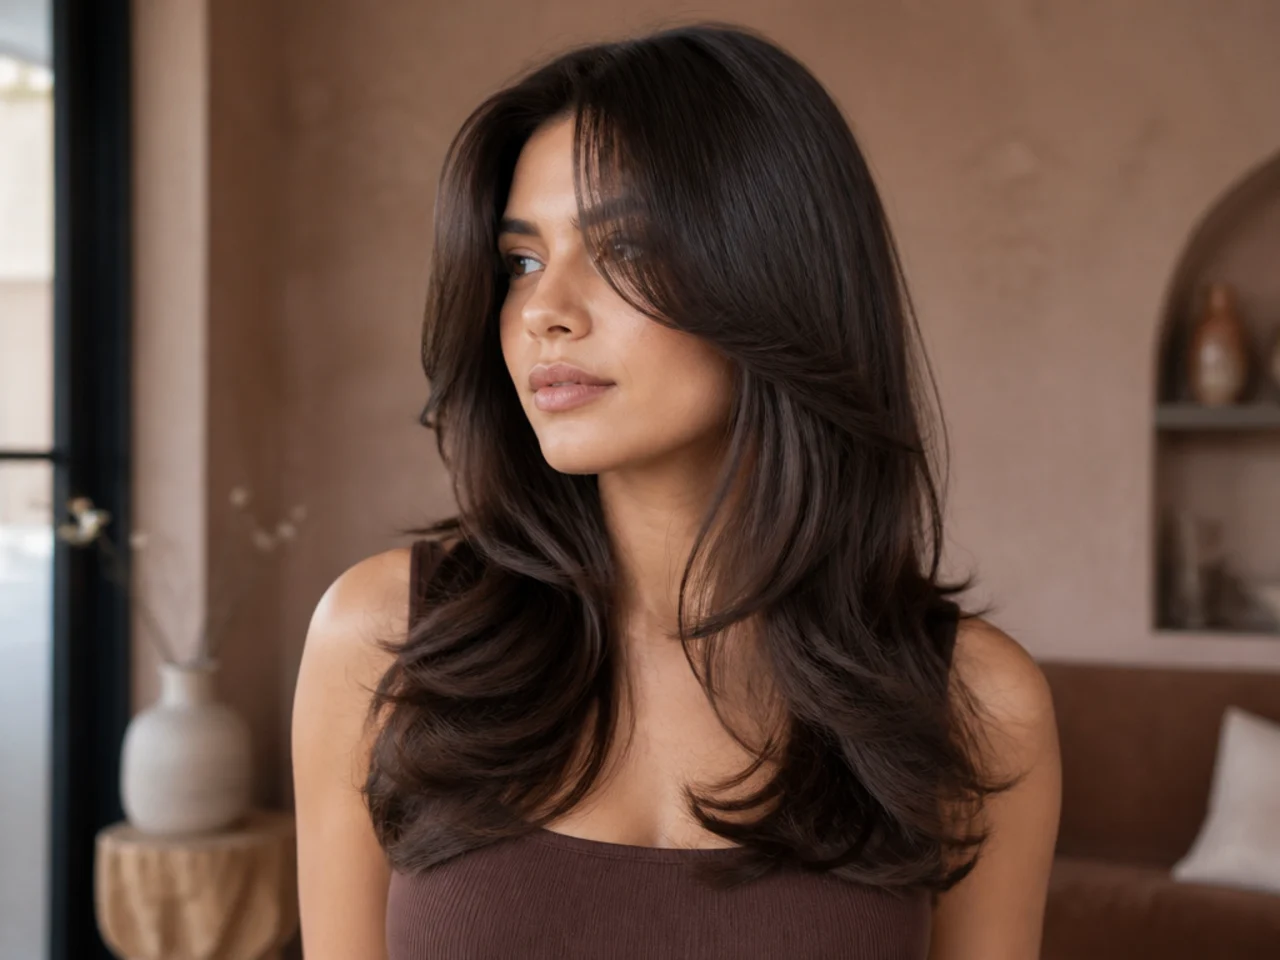
7. The Butterfly With a Wispy Fringe
A thin fringe cut into heavily at the ends, which sits lightly enough not to compete with the short layer behind it. On thick hair it is the only fringe that stays soft, since a dense front section reads as a solid block.
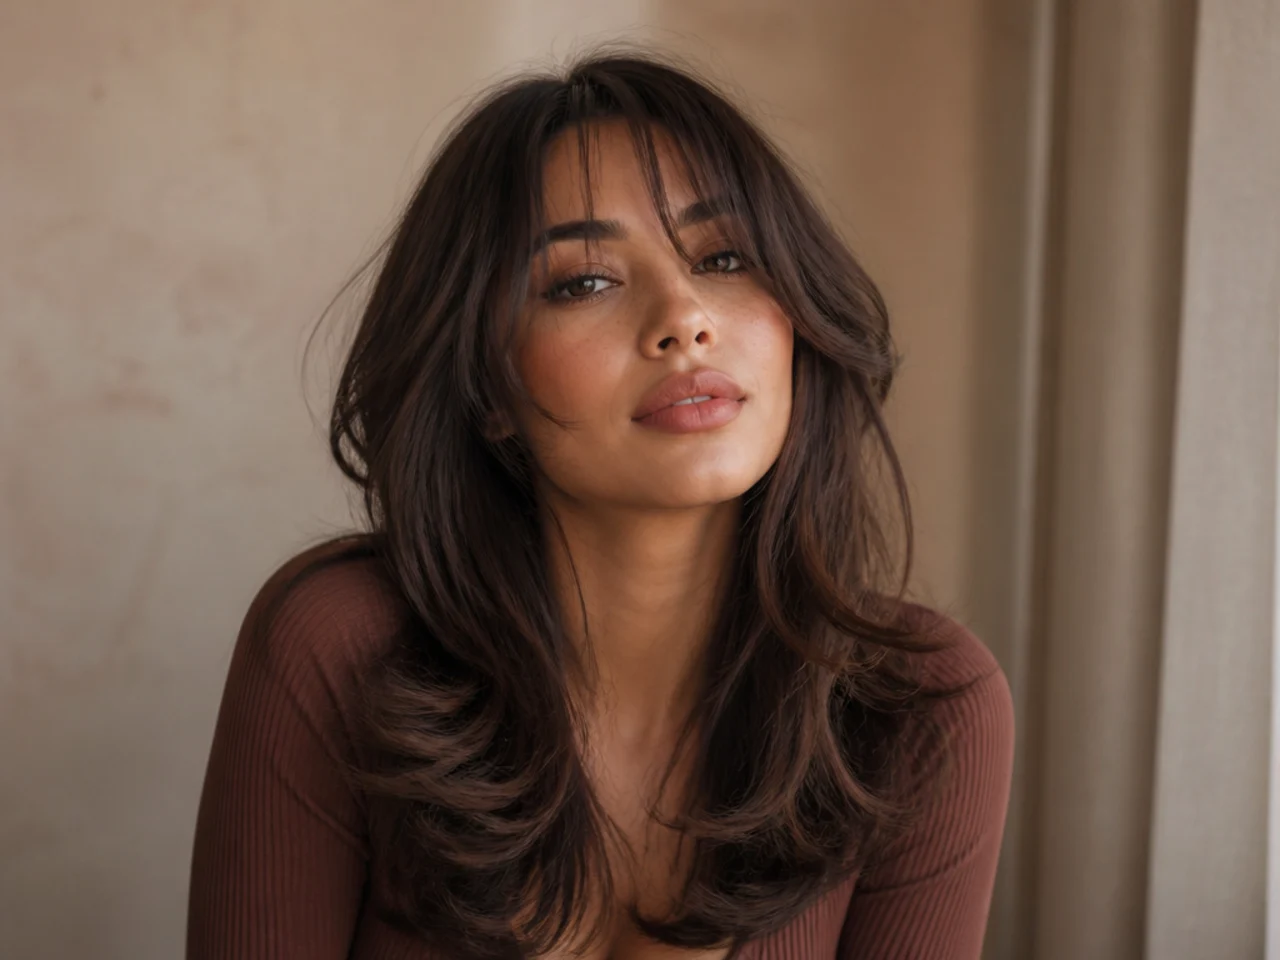
8. The Butterfly Without a Fringe
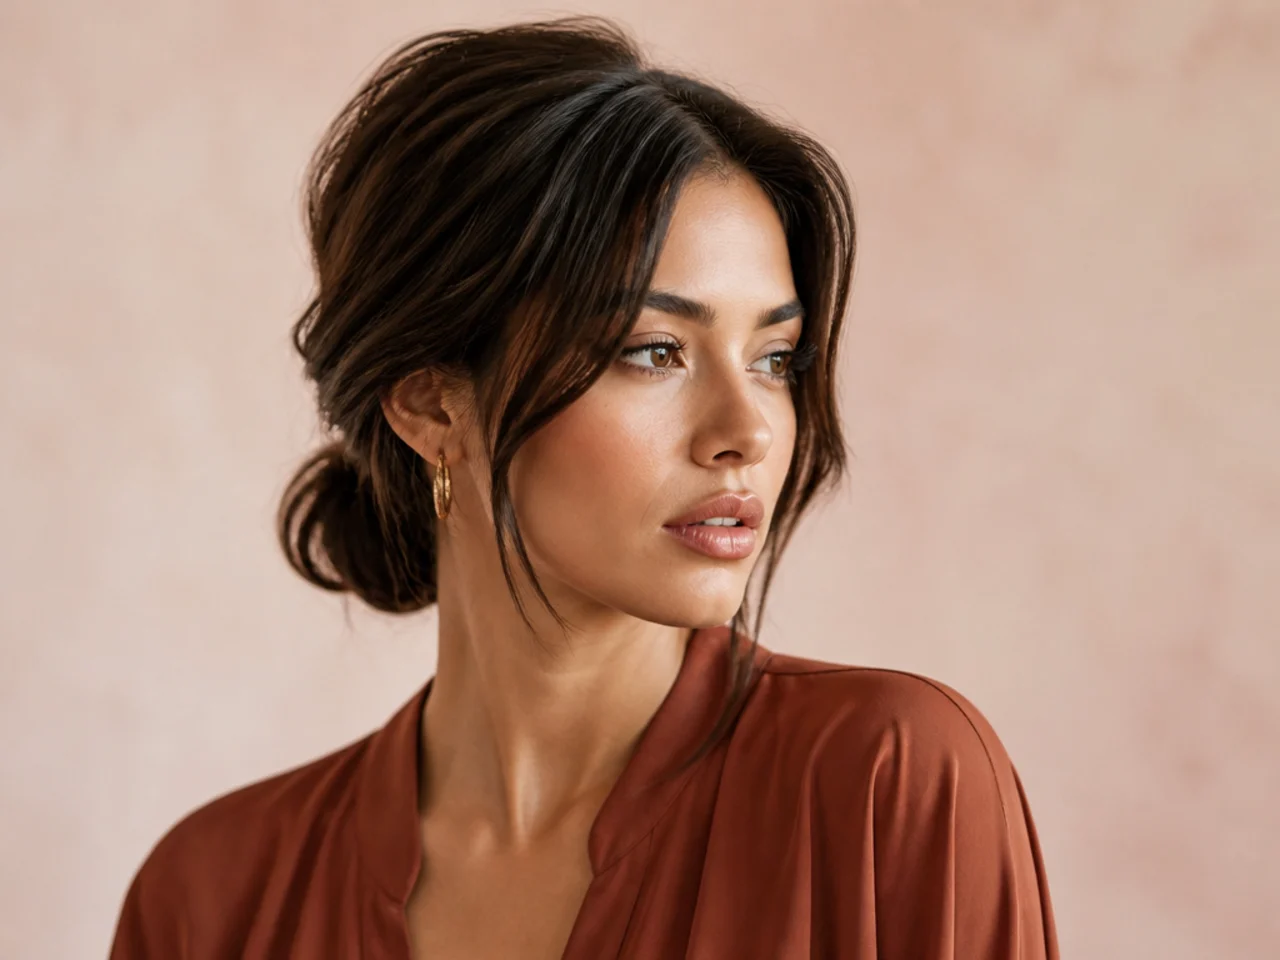
The short layer starting behind the hairline, so the face is framed by the sweep alone. It is the lowest maintenance version because there is no short front piece to restyle each morning.
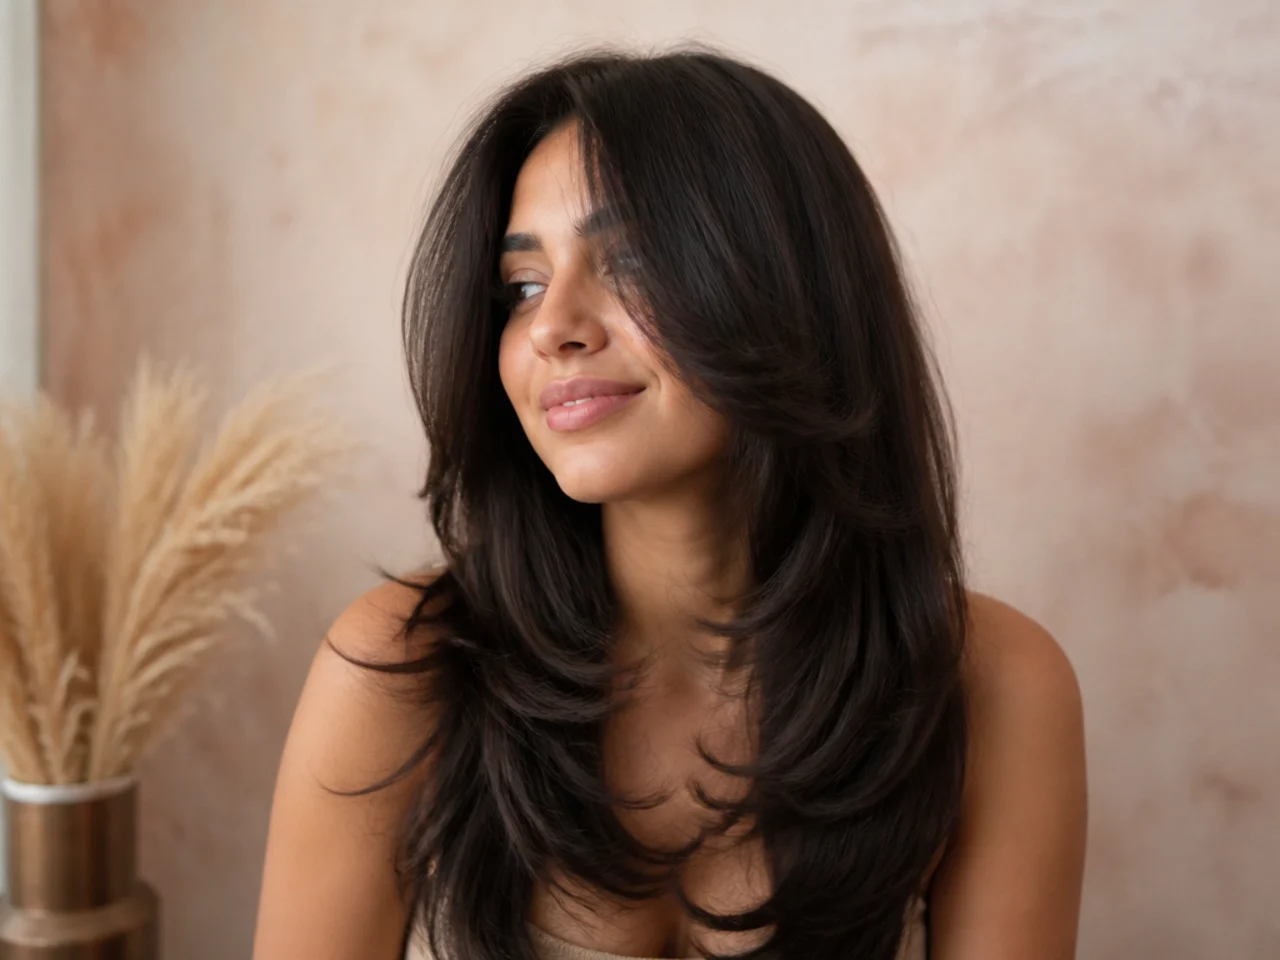
9. The Blow Dried Butterfly
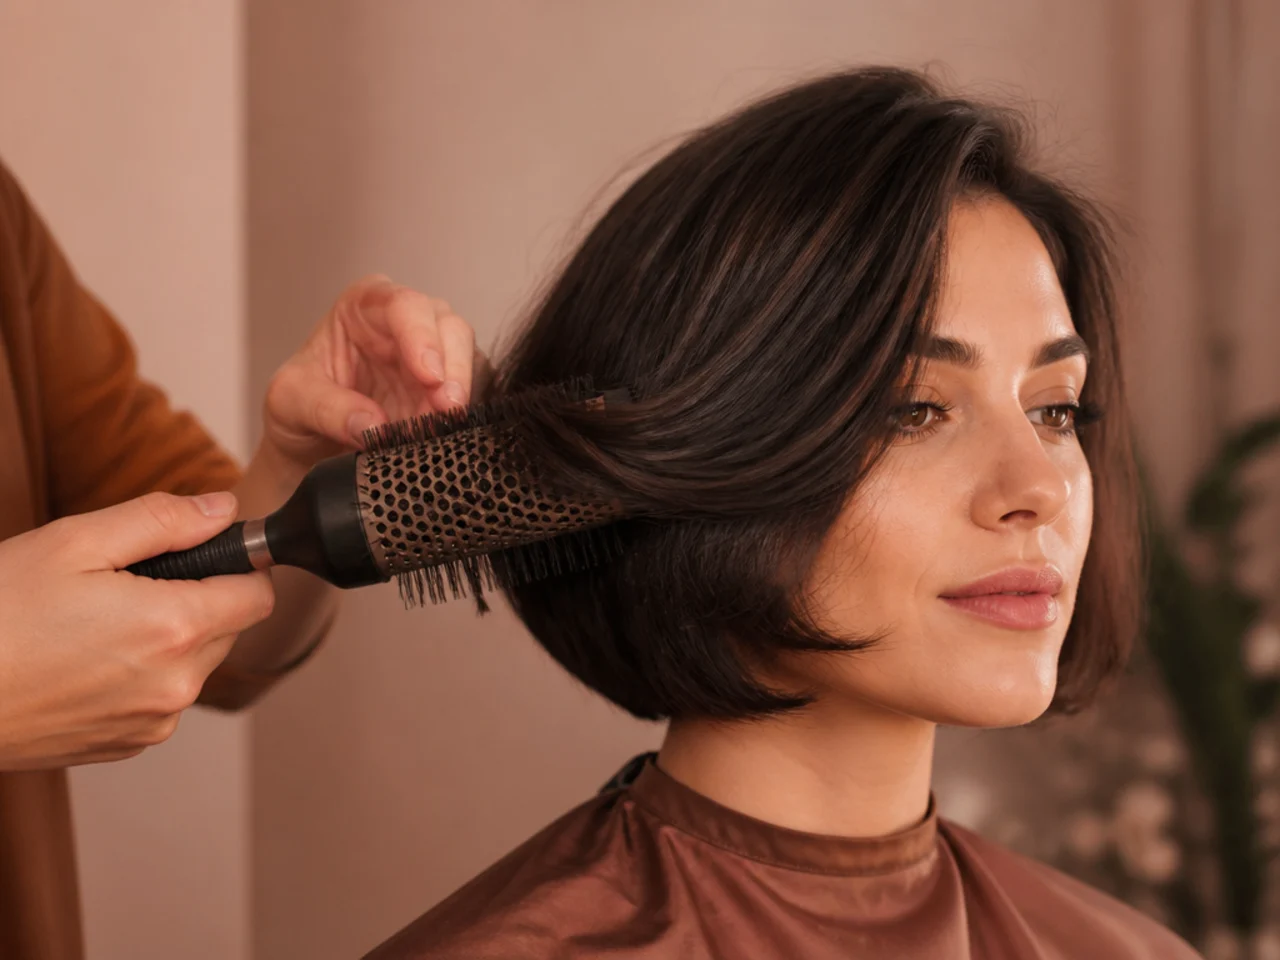
A round brush turned outwards at the ends of the short layer builds the bend the cut relies on. Heat forms the shape and cooling sets it, so letting each section cool on the brush is what makes it hold past lunchtime.
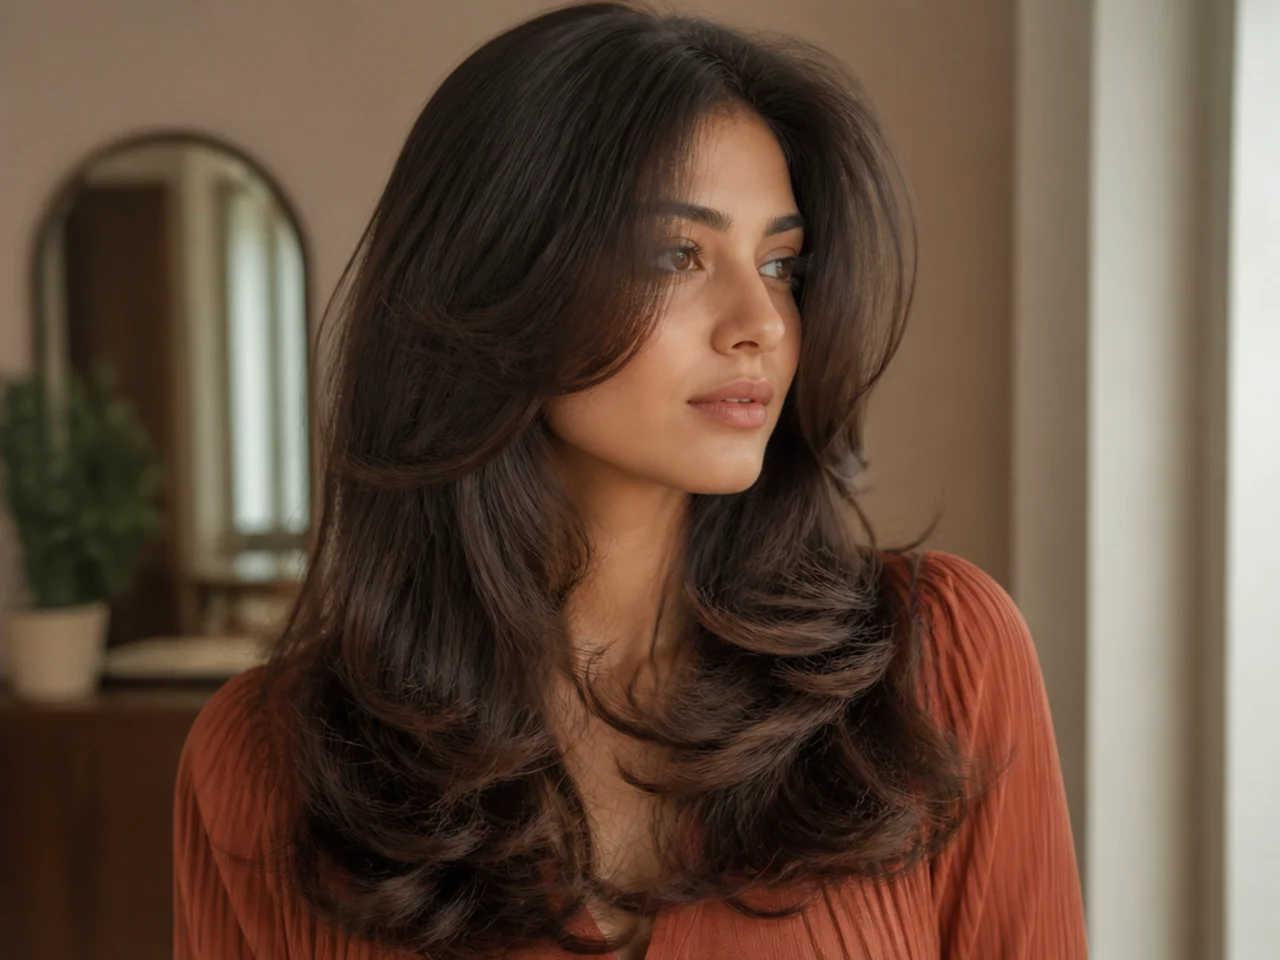
10. The Air Dried Butterfly
Left without heat, the short layer sits wherever the natural pattern puts it, which is flat on straight hair and flicked on wavy. It is the honest test of whether this cut suits your texture or needs a daily blow dry.
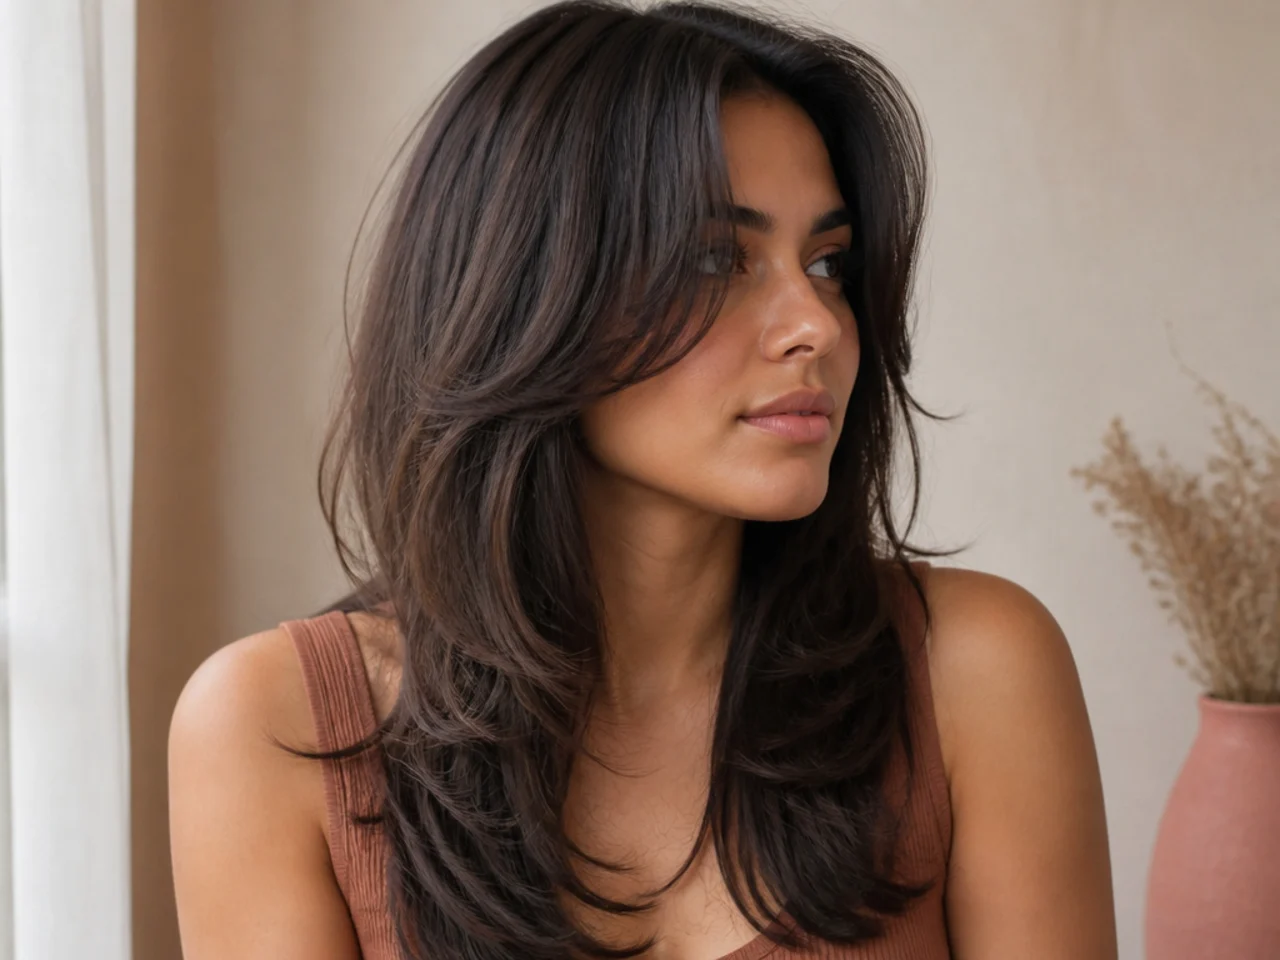
11. The Butterfly on Straight Long Hair
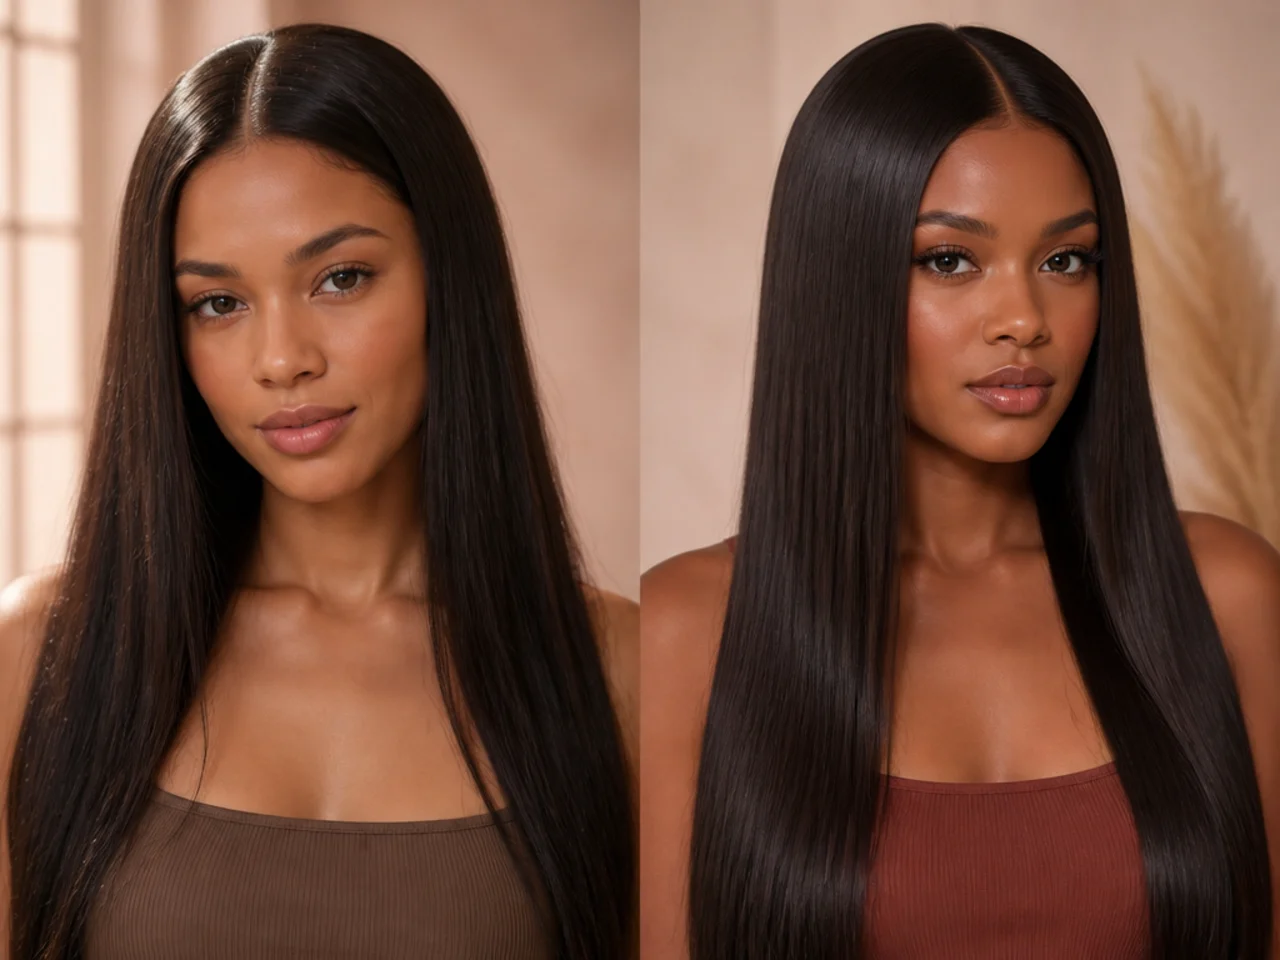
Straight strands lie in one plane and show the gap between the two lengths with total clarity, which is the cut at its most graphic. The same flatness means the outward bend has to be built with heat every time.
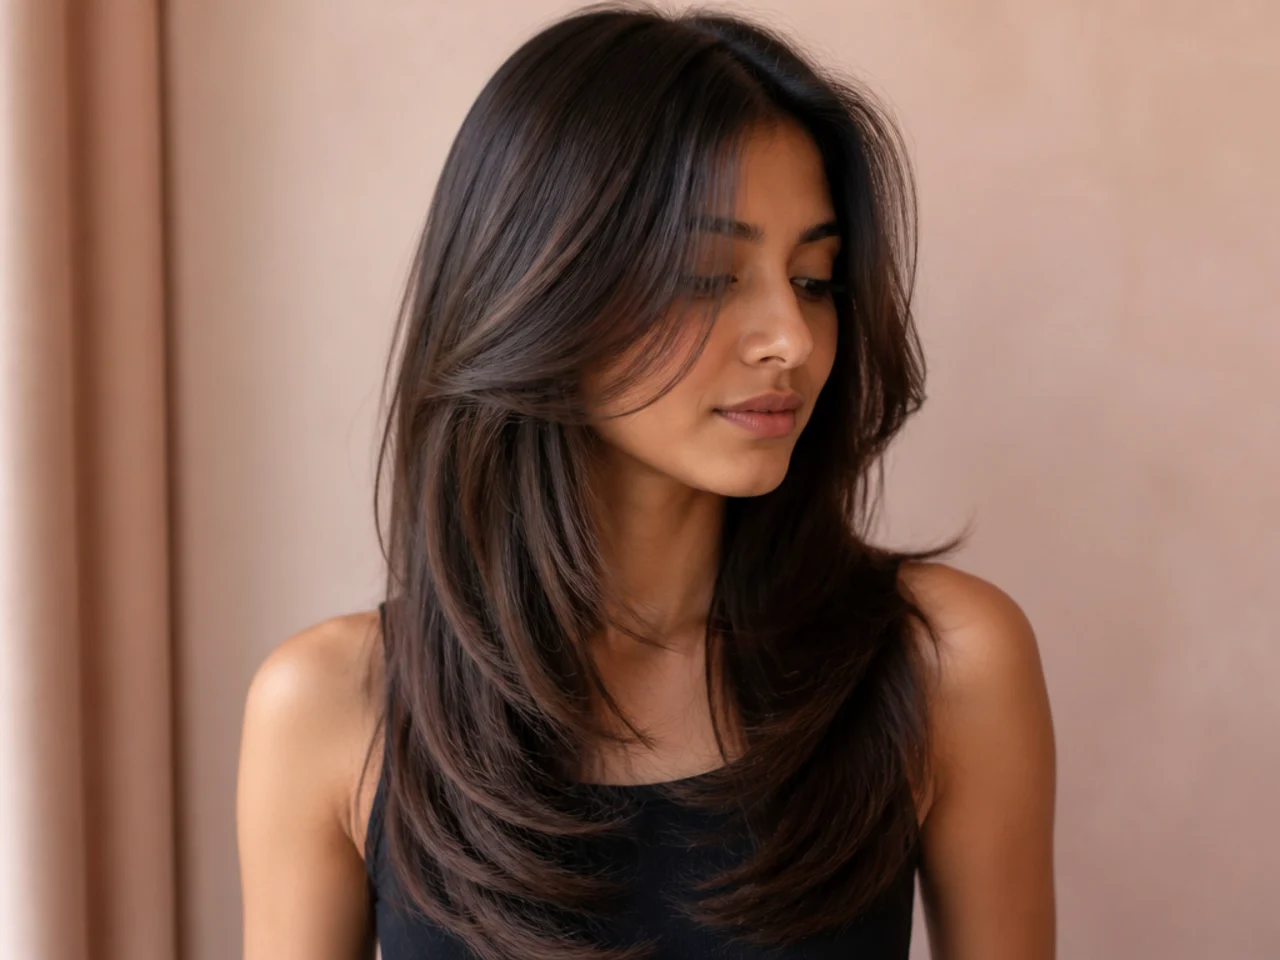
12. The Butterfly on Wavy Long Hair
A wave already turns outwards at the ends, which is exactly the direction the short layer needs, so wavy hair produces the shape with no styling at all. The trade is that the two sides rarely bend to the same degree.
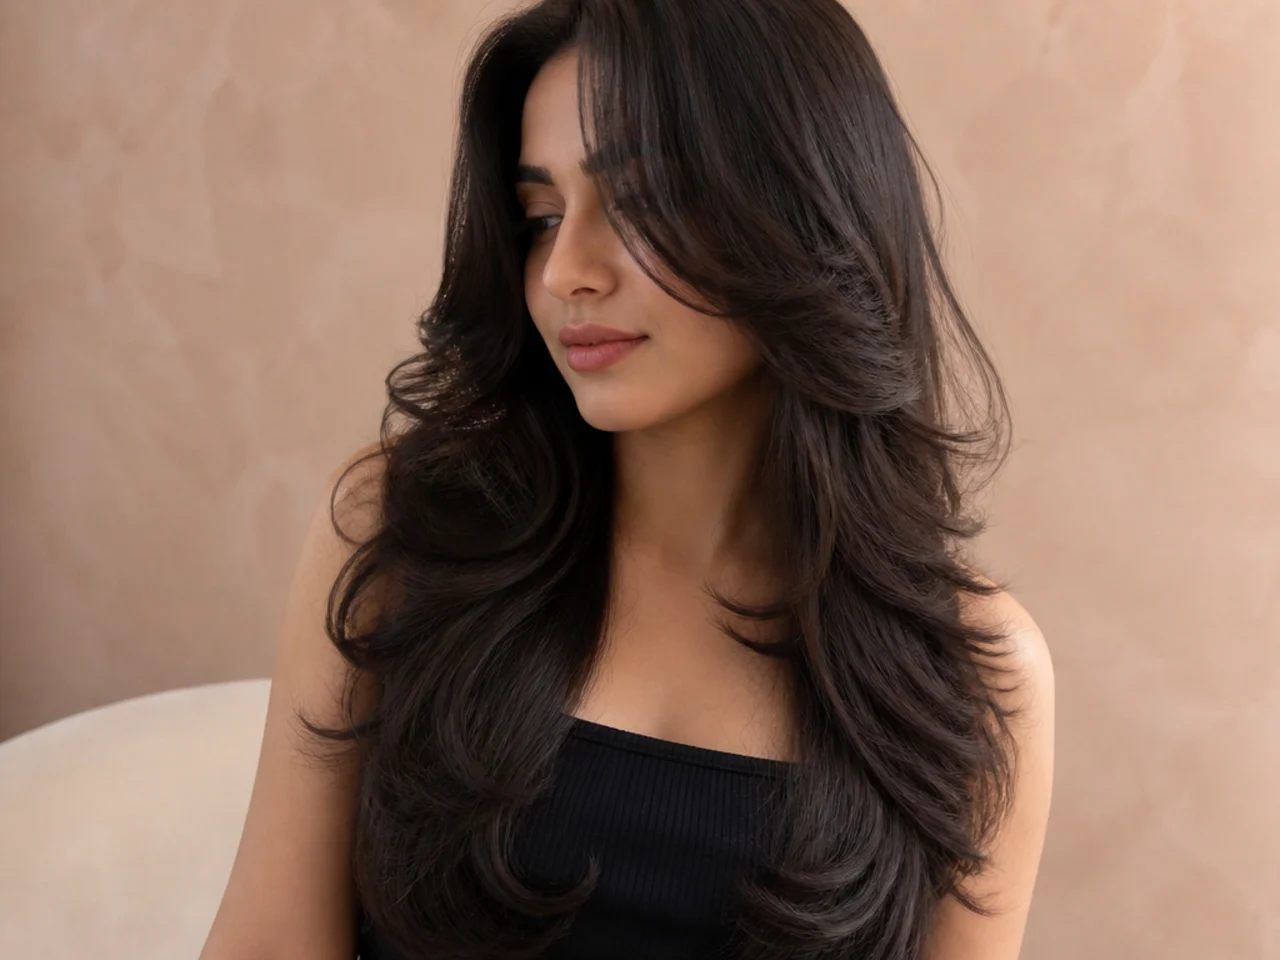
13. The Butterfly on Curly Long Hair
Curl provides the outward flick for free but shrinks the short layer well above where it was cut. Cut dry and set the short layer lower than you want it, since it will rise once released.
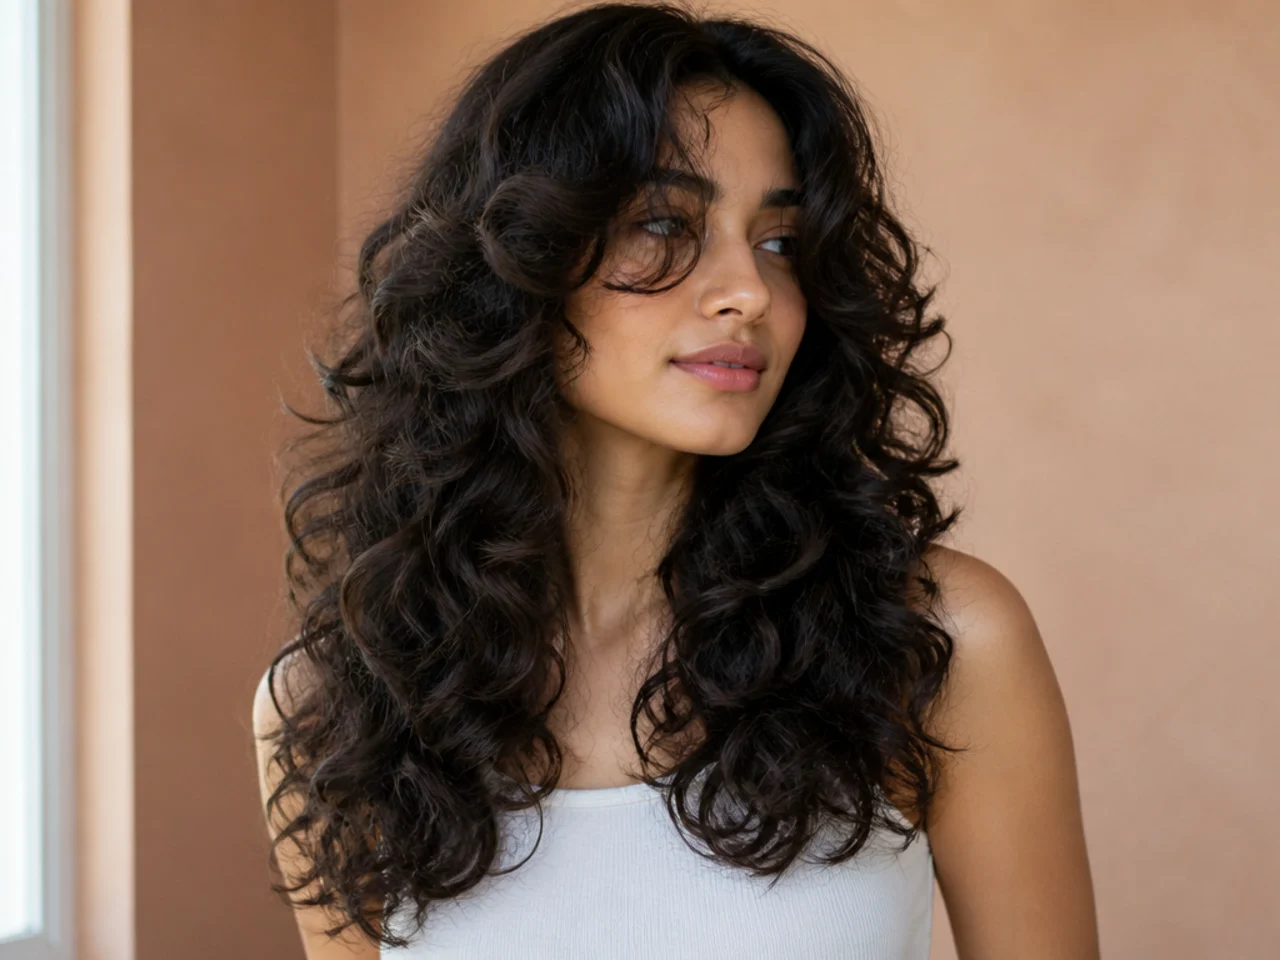
14. The Butterfly on Coily Hair
Coils shrink most of all, so the gap between the two lengths has to be cut far larger than it will finish. The upside is that coils hold their own direction, which means the shape survives without heat.
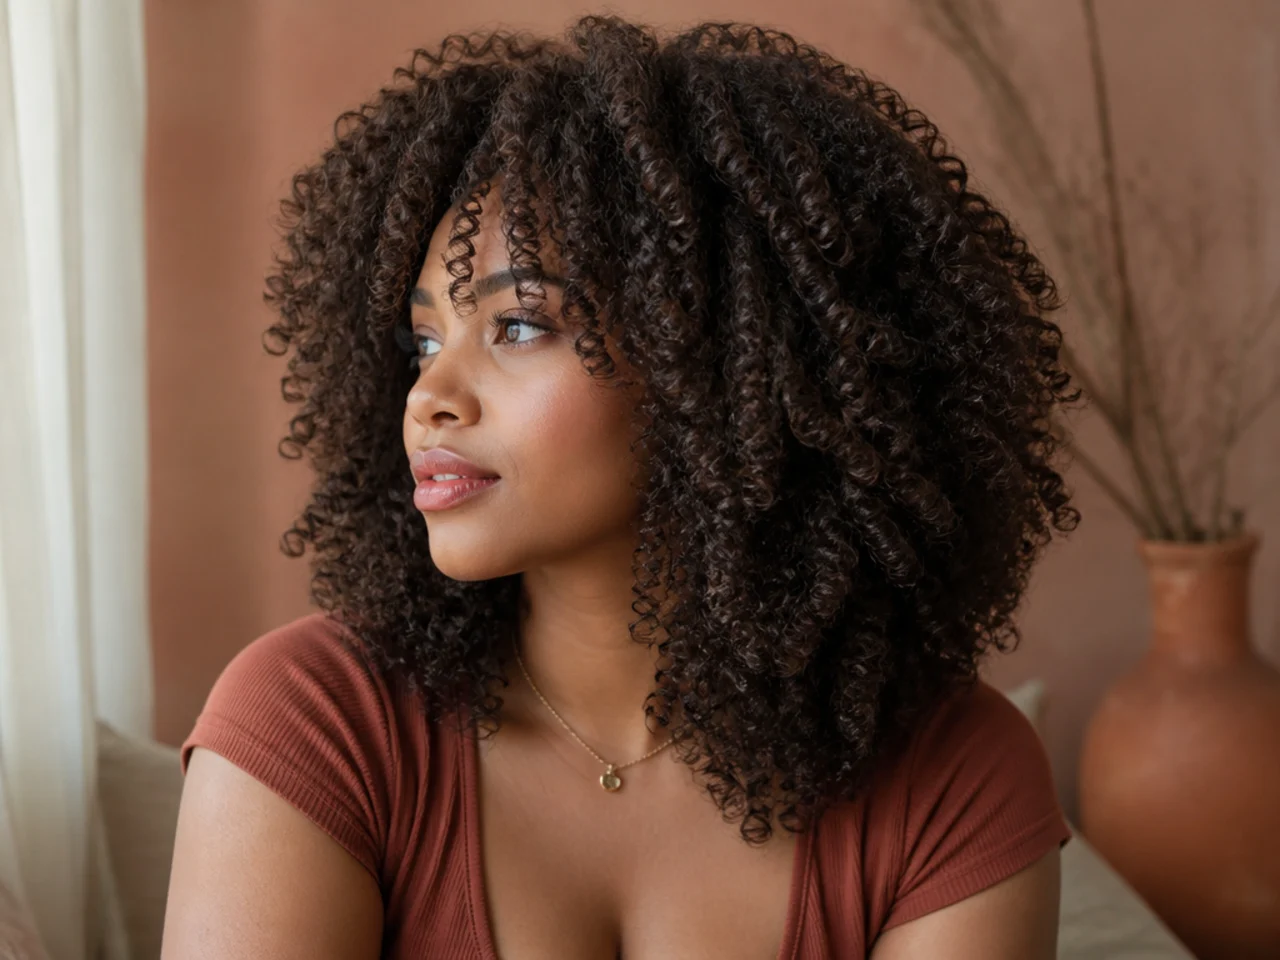
15. The Butterfly on Fine Long Hair
The short layer is taken from the surface, so on fine hair it thins the length underneath as well as itself. Keep the section shallow and the layer nearer the collarbone, where there is more weight to look full.

16. The Butterfly on Thick Long Hair
Two dense layers stacked on each other build width at the widest point of the head, so weight has to come out from inside the short layer. Take it internally and leave the ends alone, or the front edge frays.
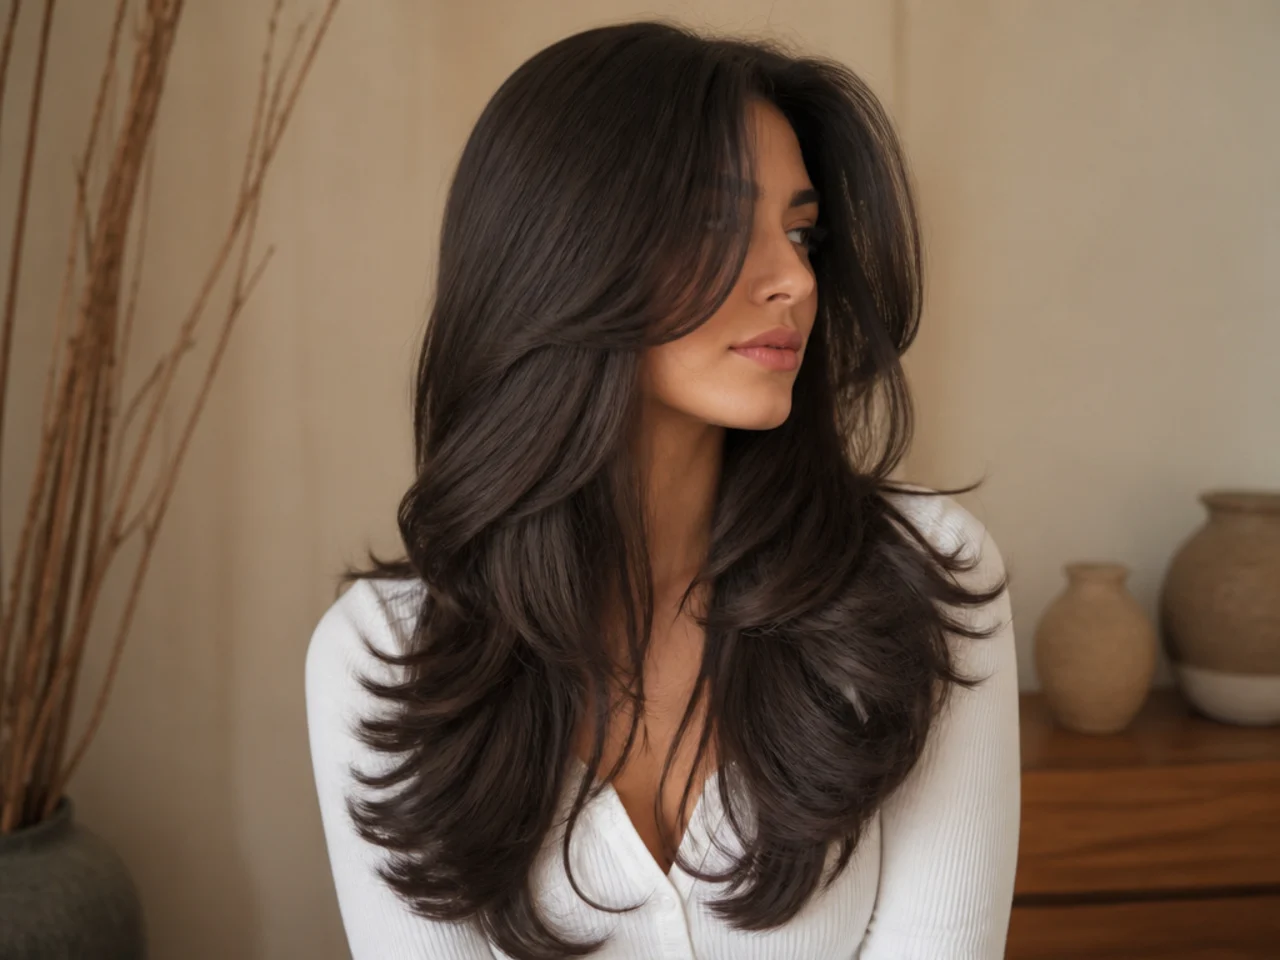
17. The Heavily Overdirected Butterfly
Front sections pulled far forward before cutting, which makes each section behind finish progressively longer and produces a steep backward sweep. The steeper the sweep, the more the short layer looks like wings rather than like a blunt shorter section.
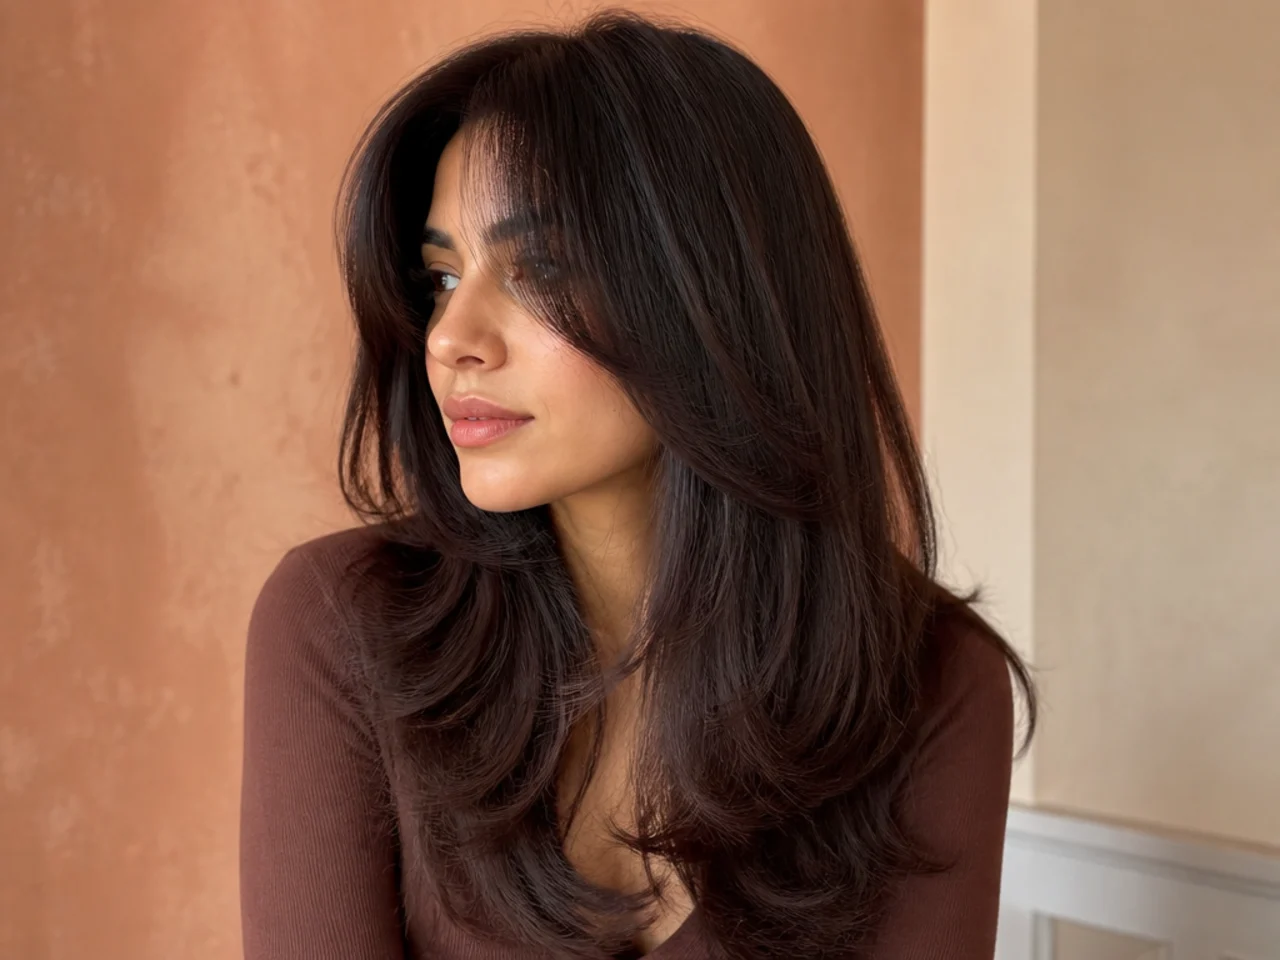
18. The Softly Connected Butterfly
A short middle layer bridging the gap between the front layer and the perimeter, so the jump becomes two smaller ones. It reads gentler and it survives growing out better, because no single step has to hold the shape.
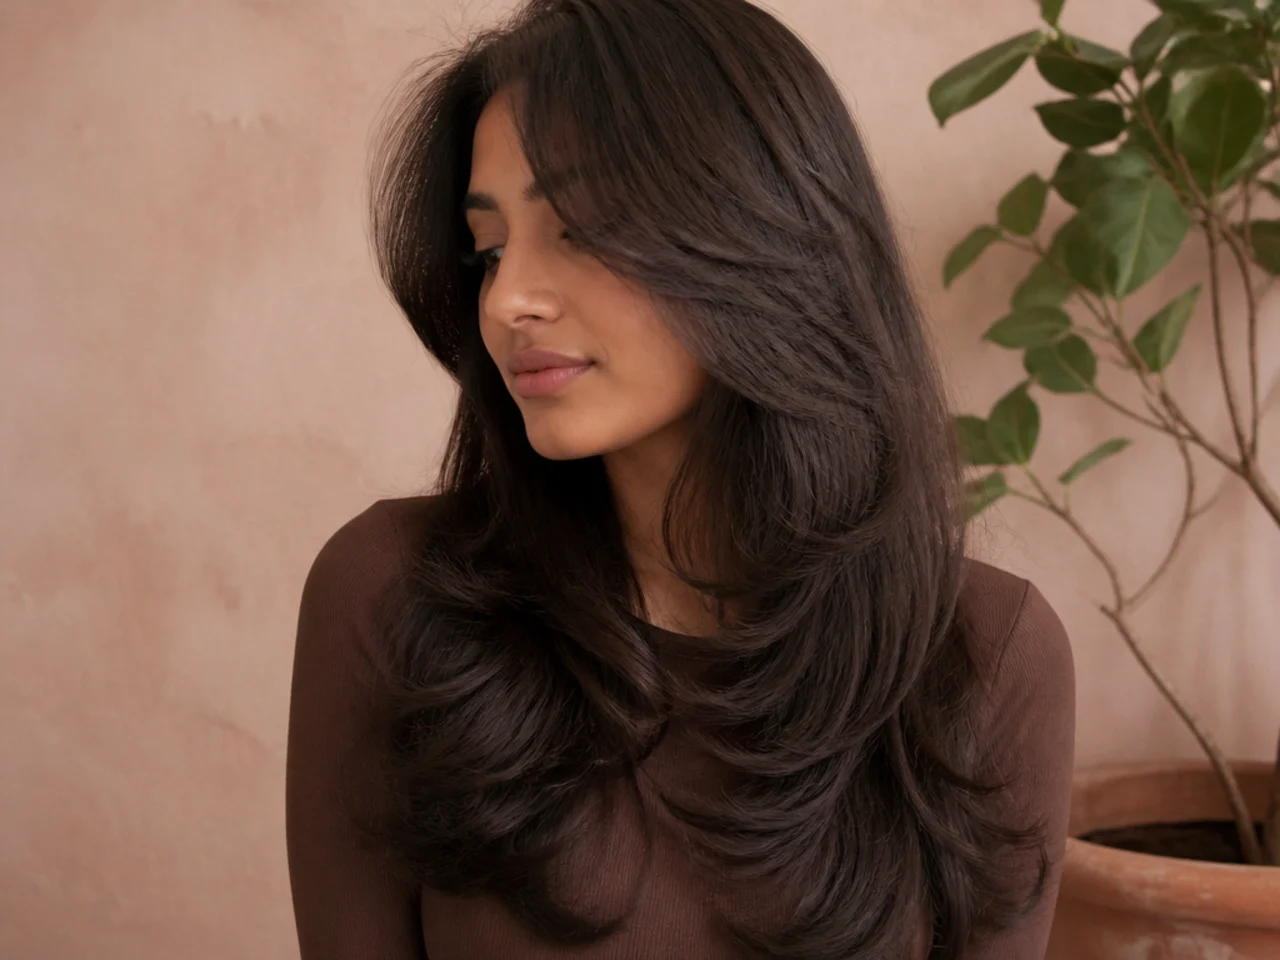
19. The Disconnected Butterfly
Nothing bridging the two lengths at all, so the short layer and the perimeter behave as separate haircuts. It gives the strongest version of the effect and needs enough density in the length below to stop the gap showing through.
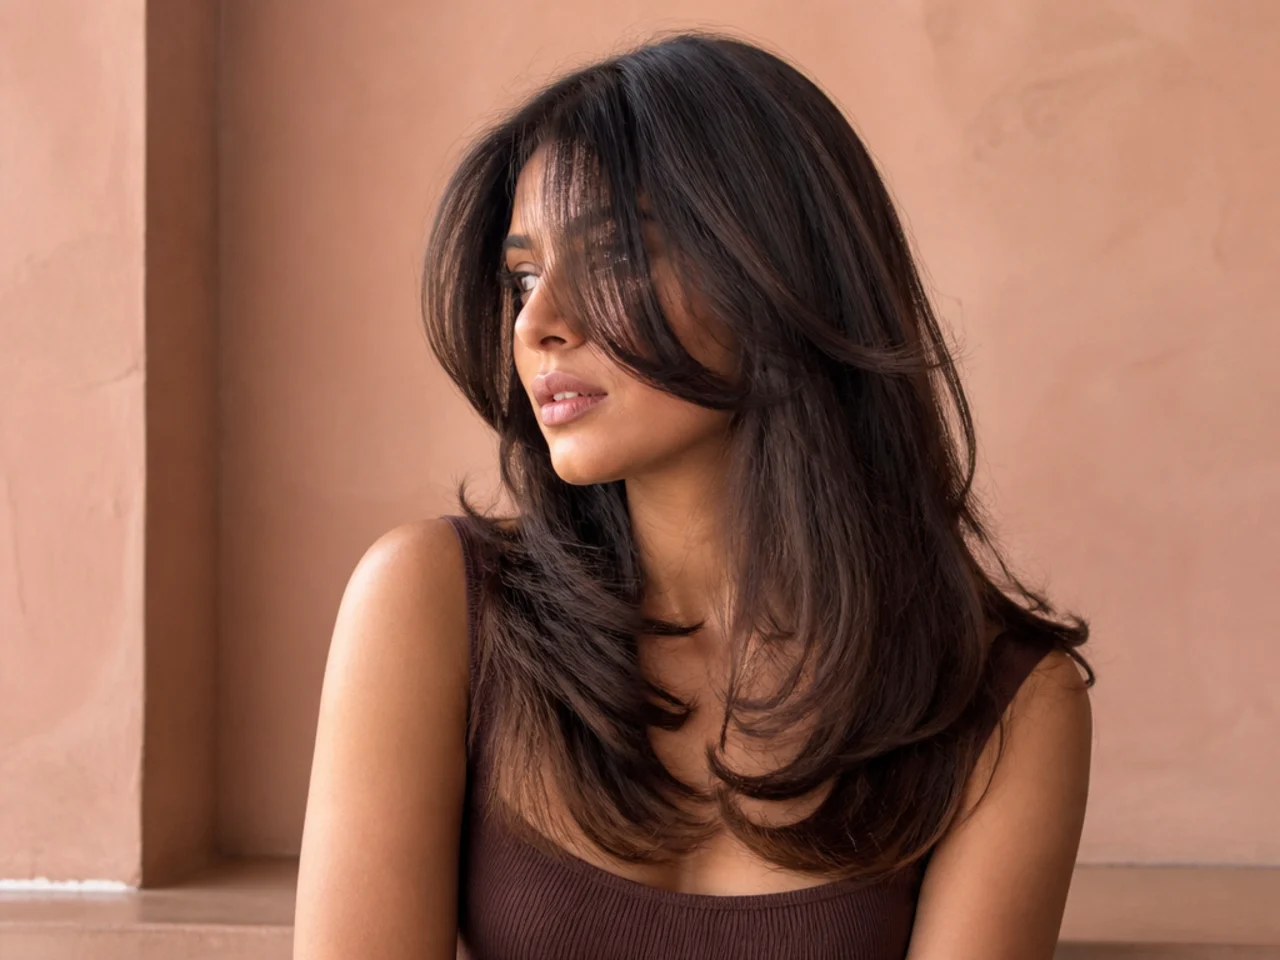
20. The Butterfly With a Blunt Perimeter
The bottom edge cut in one line, concentrating weight at the ends so the length still looks dense under a layered top. On fine hair this is the pairing that stops the cut tapering away to nothing.

21. The Butterfly With a Money Piece
Lightened sections placed on the shortest front pieces, which makes the two lengths legible at a glance because the eye reads a change in colour faster than a change in length. On dark hair it is often what rescues a cut that looks flat.
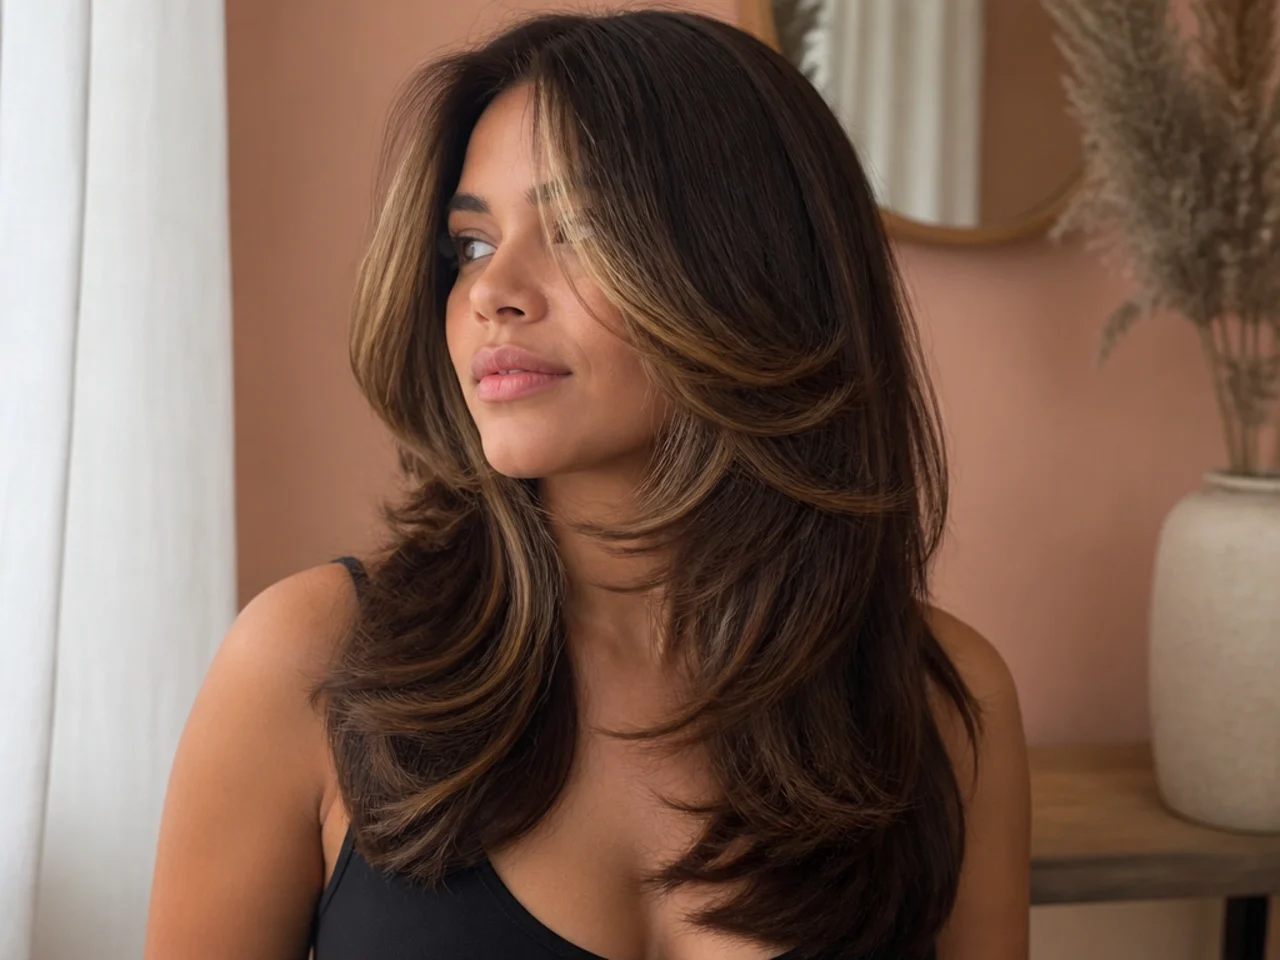
22. The Korean Layered Butterfly
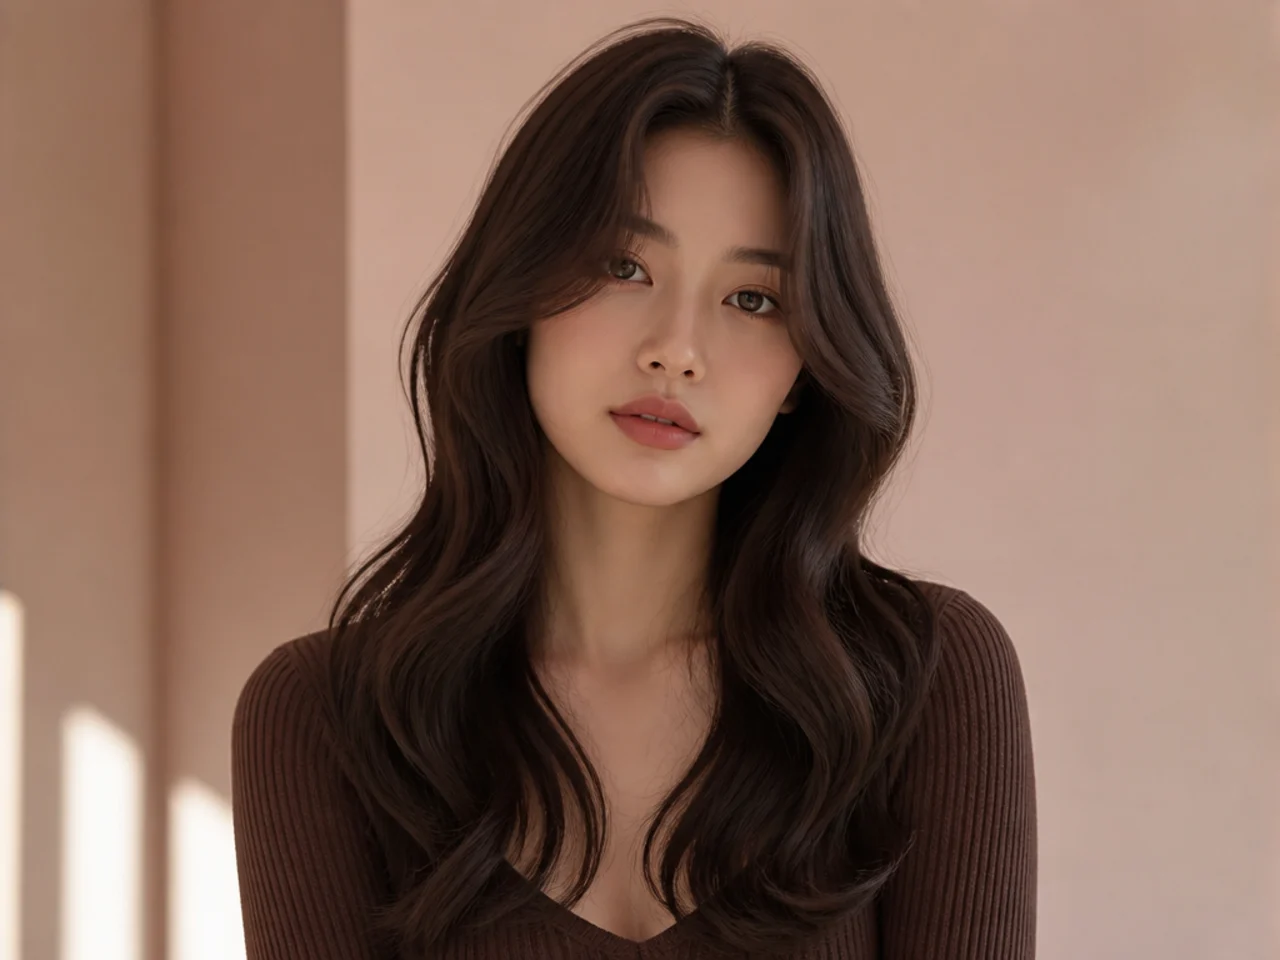
Rounder, softer layering with the short pieces curved rather than sharply stepped, and the ends kept smooth. It draws on the same construction as the long Korean haircut, where the layers are shaped to fall as one curve instead of separating.
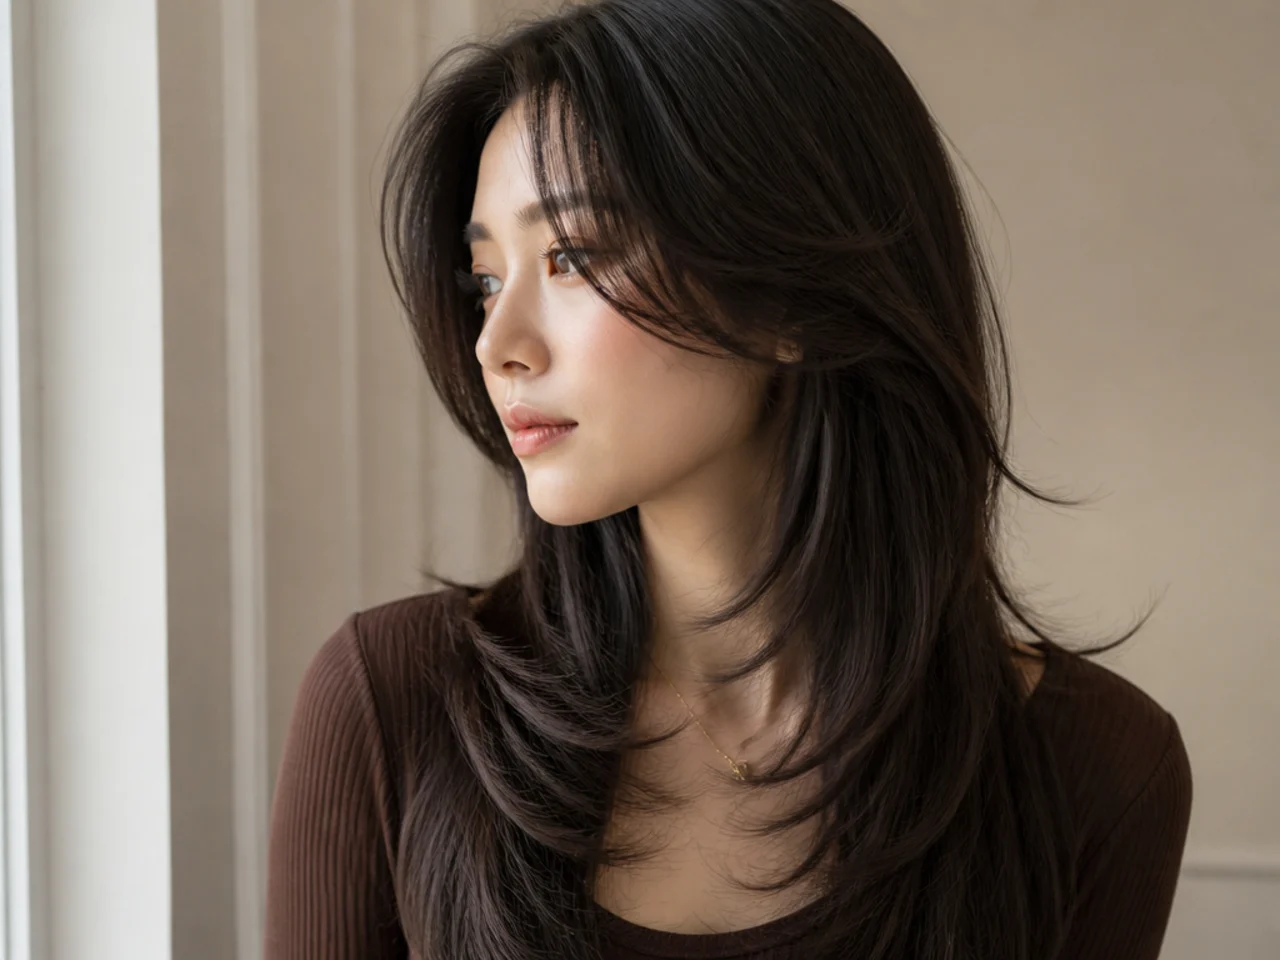
23. The Wolf Cut Leaning Butterfly
Layering carried up into the crown as well as the front, which adds lift on top of the two length structure. It is closer to the long wolf cut at that point, and it needs the crown layers kept long enough to still reach the length below.
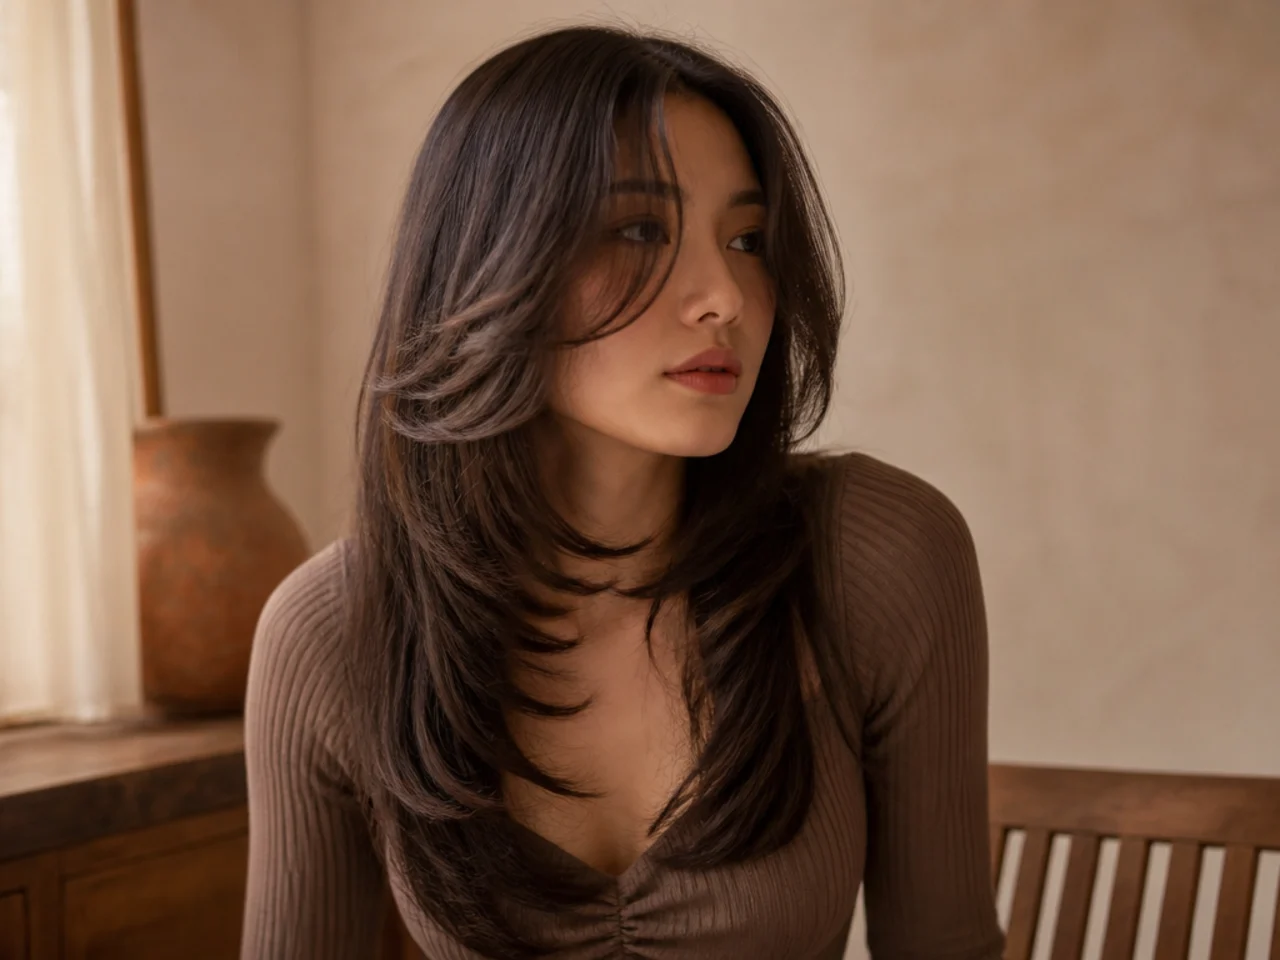
24. The Butterfly at Ten Weeks
Roughly two and a half centimetres of growth has narrowed the gap between the two lengths, so the structure has softened and the sweep has flattened. Trim the short layer only, because the perimeter is what you are growing.

25. The Butterfly Grown Into Long Layers
Left for five or six months the short layer reaches the perimeter and the cut becomes ordinary long layers. That soft ending is the argument for trying it, since there is no stage where the hair looks like it is recovering.
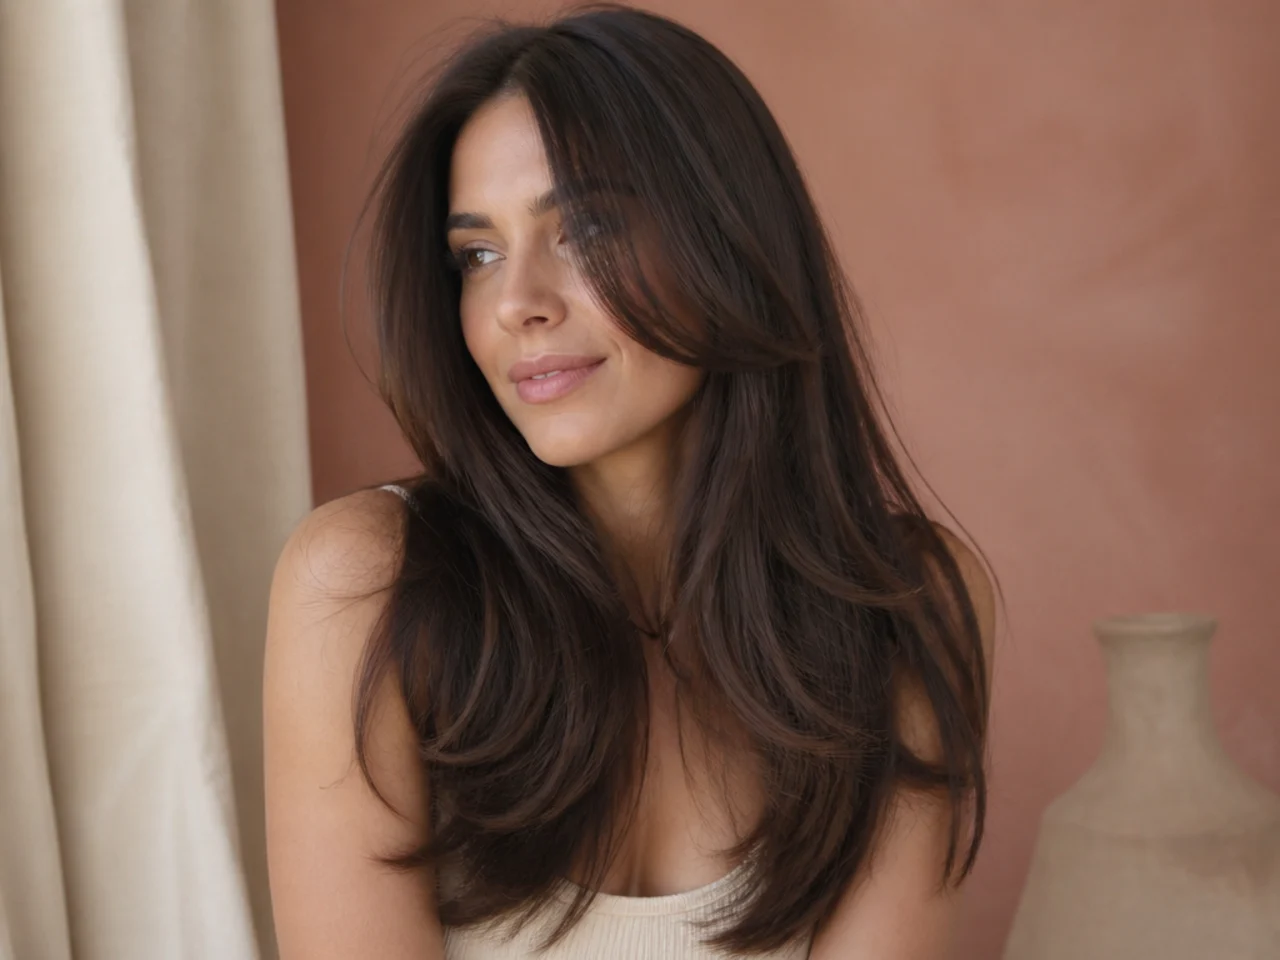
Styling and Upkeep
Turn the short layer outwards while drying. The bend has to be built at the ends of the front section, since that outward flick is what separates the two lengths.
Let each section cool on the brush. Heat forms the shape and cooling fixes it. Releasing a hot section undoes the bend before it has set.
Dry the length smooth. The contrast reads best when the perimeter is sleek and the short layer moves, so treating both the same way flattens the whole effect.
Trim the short layer every eight to ten weeks. That is where the gap closes. The perimeter can be left for six months if the length is being grown.
Keep heavy products off the front section. Weight at the ends of the short layer pulls the flick down, which is the only part of the cut that has to lift.
Mistakes to Avoid
Cutting it as ordinary long layers. A smooth gradient removes the gap, and the gap is the entire cut. Ask for two distinct lengths, not a graduation.
Setting the short layer above the chin on long hair. It loses its connection to the length below and reads as a separate short haircut sitting on top.
Taking the front section too deep on fine hair. The short layer comes out of the surface, so depth is density removed from the length underneath.
Trimming the perimeter at every appointment. The cut lives in the short layer. Cutting the length as well means paying to lose the contrast the shape depends on.
Judging it straight out of the wash. Air dried on straight hair the short layer lies flat, and the shape only appears once the ends are turned.
FAQ
Where does the short layer sit? Between the chin and the collarbone.
Layers or a gap? A gap, held apart on purpose.
How often trimmed? Short layer every eight to ten weeks.
Final Thoughts
The butterfly cut is a measurement between two lengths. Get that distance right for your hair and the shape appears on its own; close it up in the name of blending and you have paid for long layers.
For the shape at other lengths see the butterfly haircut. More in Women's Hairstyles.