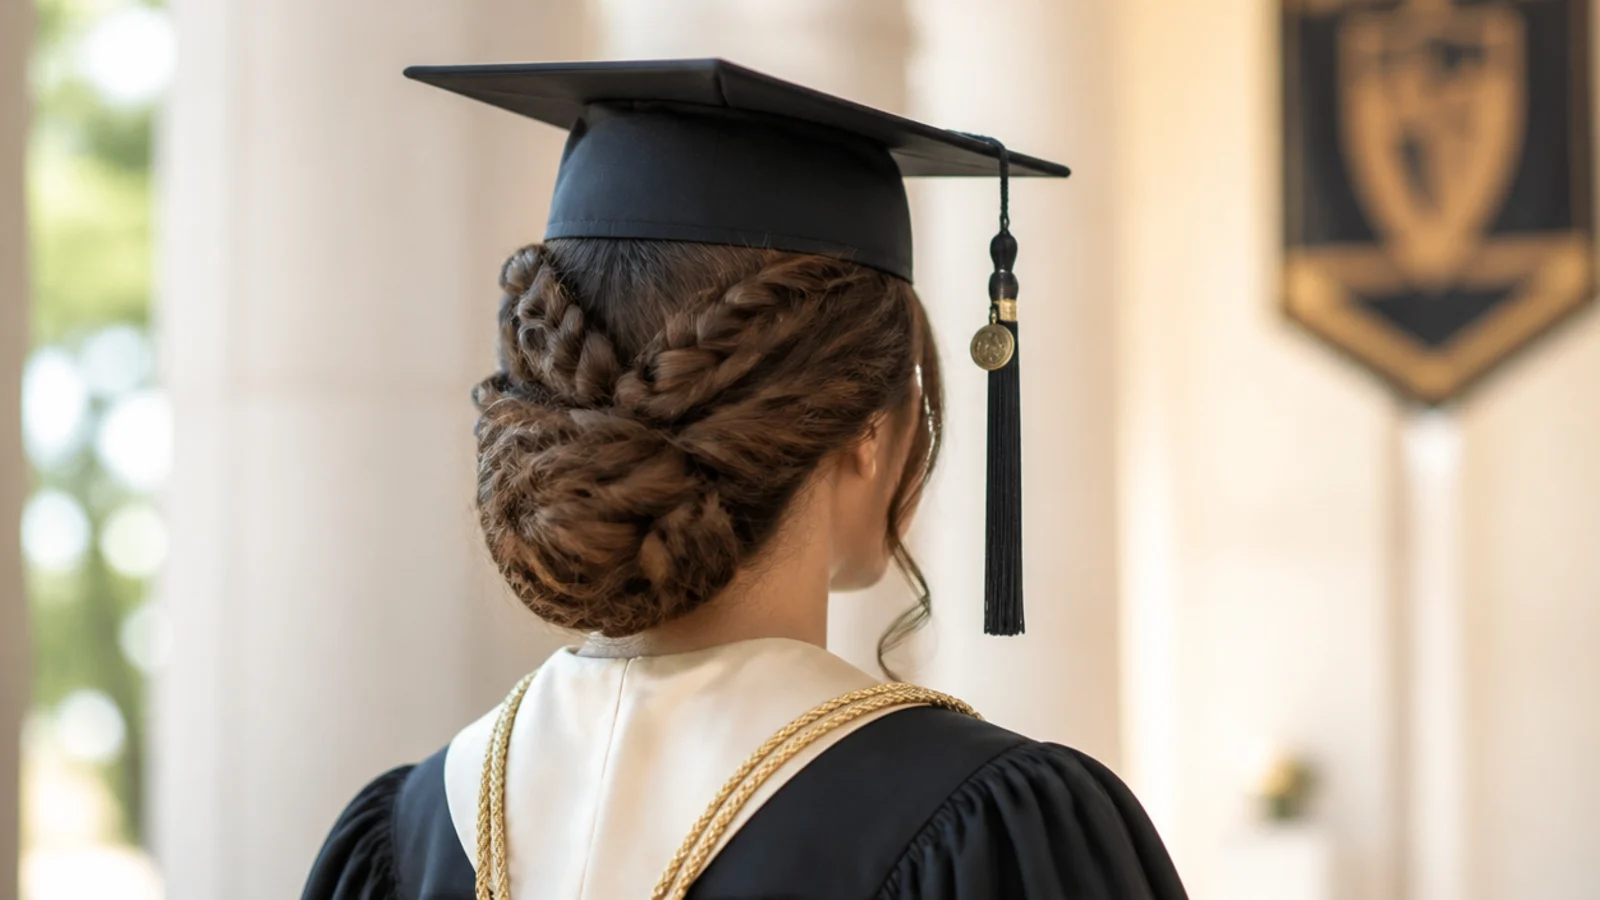
15 Braided Graduation Hairstyles That Hold Under the Cap
Fifteen braided styles built for a graduation cap, and the reason braids beat curls on the day — a curl is held by hydrogen bonds that a flat board crushes, and a braid is held by the strands themselves.
In this article · 23
- Braids That Fit Under a Cap
- Braids by Hair Length
- Braids You Can Do Yourself Ranked
- Timing the Morning Of
- All Day Braid Hold
- Cap Off Braid Recovery
- The 15 Braided Styles
- 1. Low Braided Bun
- 2. Double Dutch Braids
- 3. Crown Braid Behind the Cap Line
- 4. Side Fishtail Braid
- 5. Half Up Dutch Braid
- 6. Rope Braid Ponytail
- 7. French Braid Into a Low Roll
- 8. Two Cornrows Into a Low Bun
- 9. Knotless Braids Half Up
- 10. Boho Pancaked Braid
- 11. Low Milkmaid Braids
- 12. Waterfall Braid
- 13. Braided Low Ponytail
- 14. Fulani Braids With a Centre Part
- 15. Micro Accent Braids
- Final Thoughts
The hair decision that matters at a graduation is not which style photographs best, but which one is still there after a flat board has been pressed onto it for two hours.
A braid is held by its own structure. The strands are interlaced, so the shape does not depend on anything the weather or a cap can undo.
A curl is held by hydrogen bonds. Those bonds reformed as your hair dried, and pressure and warmth under a cap are enough to persuade them to reform somewhere flatter.
Braids That Fit Under a Cap
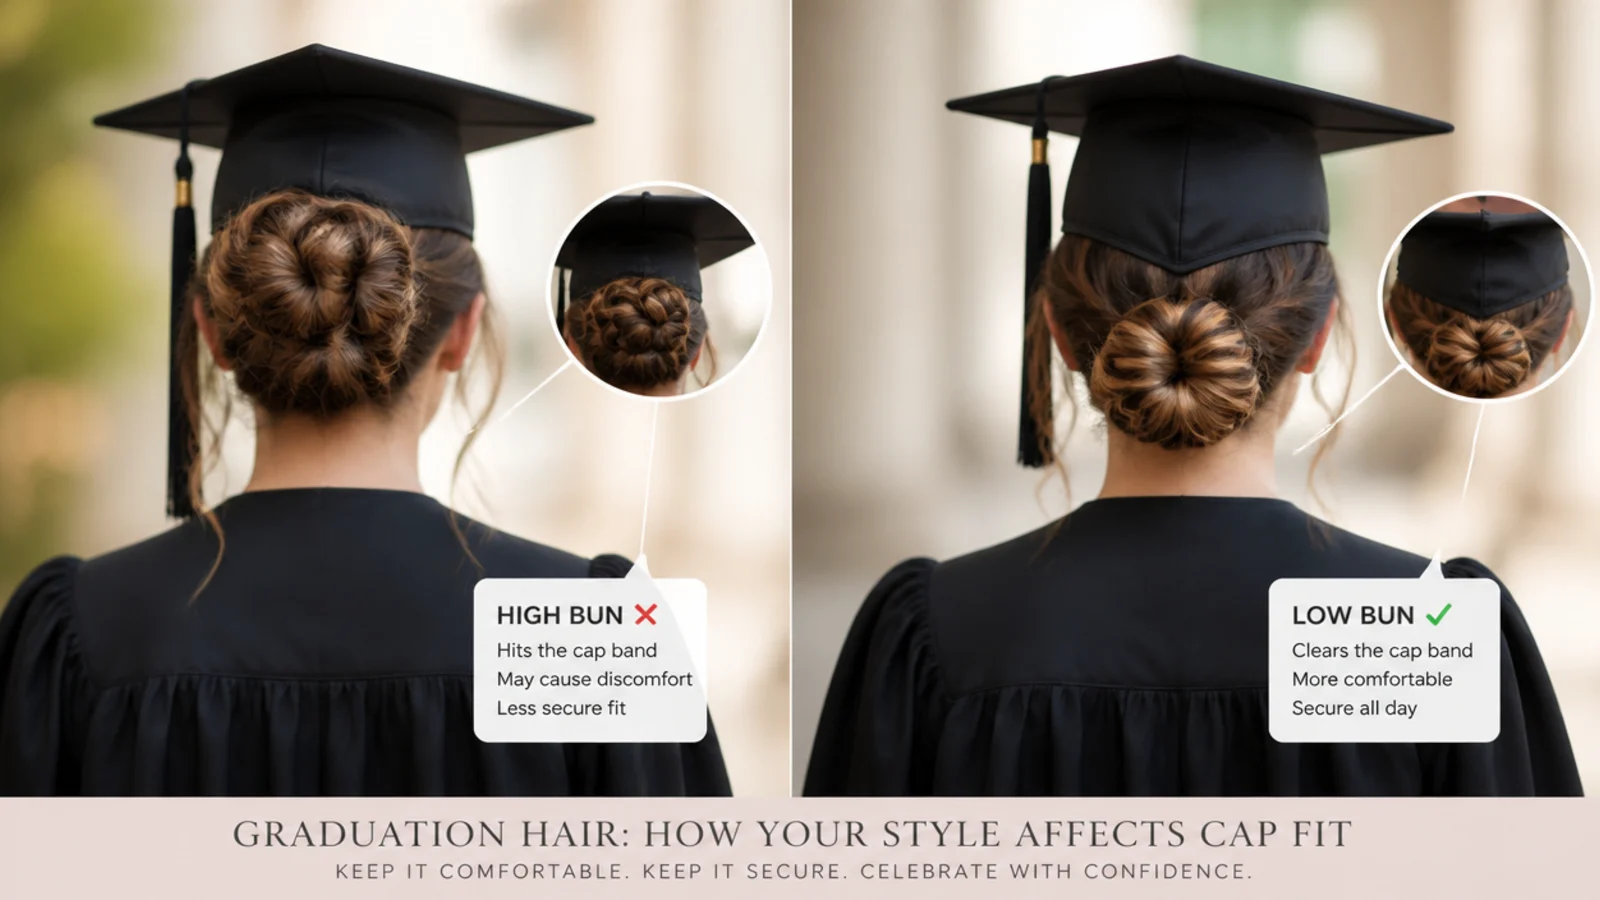
The cap grips the crown. A mortarboard is a flat square attached to a skullcap, and the skullcap is what holds it on. Bulk under that area lifts the whole board.
The front edge sits about an inch above the brows. Everything in front of that line is on display and everything behind it is being compressed.
Braids braided against the scalp are the flattest thing you can wear. Cornrows, French braids and flat crown braids add a fraction of an inch, where a bun at the crown adds three.
Dutch braids sit proud of the head. The strands cross underneath, which pushes the braid up onto the surface. That is fine at the sides and at the nape, and a problem across the crown.
The band needs a smooth even surface. A bump under one side tilts the board, and a tilted board slides for the rest of the ceremony.
Braids by Hair Length
Chin length and shorter. Two small braids from the hairline back, pinned behind the ears. There is not enough length for anything gathered, so the braid becomes decoration rather than structure.
Shoulder length. The most flexible length. A French braid down the back, a half up braid, or two braids into a low knot all work without extensions.
Mid back and longer. Weight becomes the issue rather than length, since a long braid pulls on its anchor all day. Split it into two, or pin the tail up so the load sits on the pins instead of the roots.
Layered hair. Shorter layers escape a smooth braid immediately, so choose a texture that already looks broken up, such as a fishtail or a pancaked braid.
Very fine hair. Braid on second day hair and pancake the braid to widen it, because a thin plait on a fine head reads as a rope rather than a style.

Braids You Can Do Yourself Ranked
Easiest first is a side braid. Everything happens in front of you where you can see it, which removes most of the difficulty in braiding your own hair.
Then a low braided bun. A three strand braid, coiled and pinned. No mirror work above eye level and nothing that has to be symmetrical.
Then a rope braid. Two sections twisted individually in one direction and wrapped in the opposite direction, which locks itself. It looks harder than a plait and is easier.
A French braid down the back is the first genuinely difficult one. You are working blind and adding sections evenly by feel.
Cornrows and a crown braid are the two to book. Tension has to be even along the whole row, and uneven tension is visible in every photograph.
Timing the Morning Of
Wash the night before, not the morning of. Clean hair has no grip, and a braid on freshly washed hair loosens within an hour.
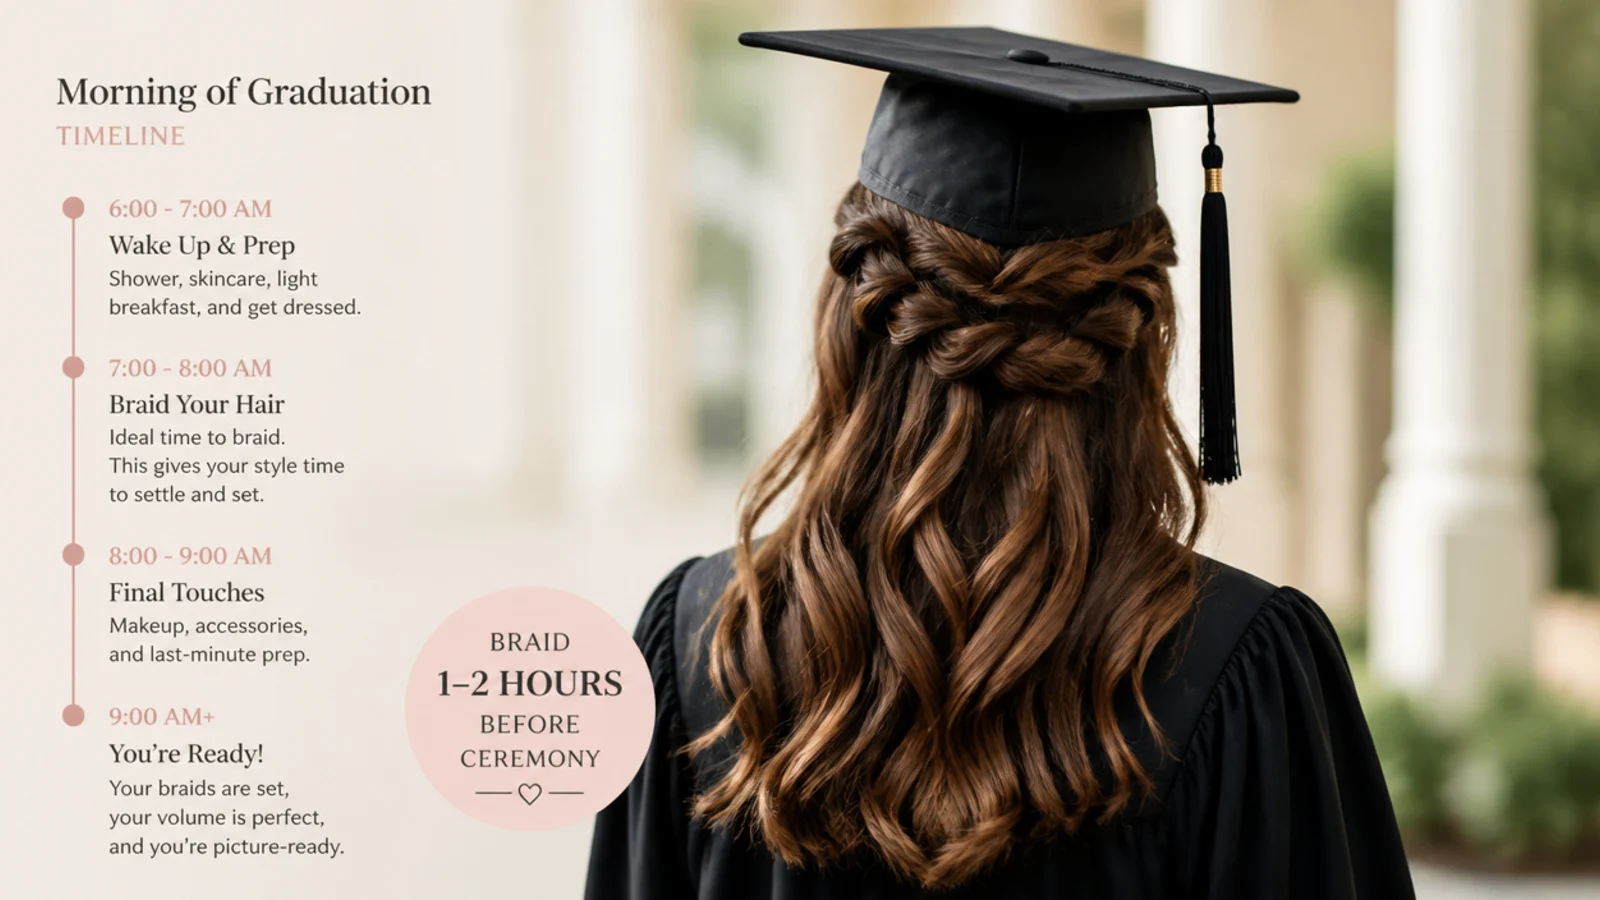
Braid at least ninety minutes before you leave. A fresh braid settles and drops slightly, and you want that to happen before the photographs rather than during them.
Allow twice the time you think for a French braid. Arms above your head tire fast, and a rushed second half is where the tension goes uneven.
Pin before you are dressed. Reaching over a gown collar to fix something is how a braid gets pulled loose.
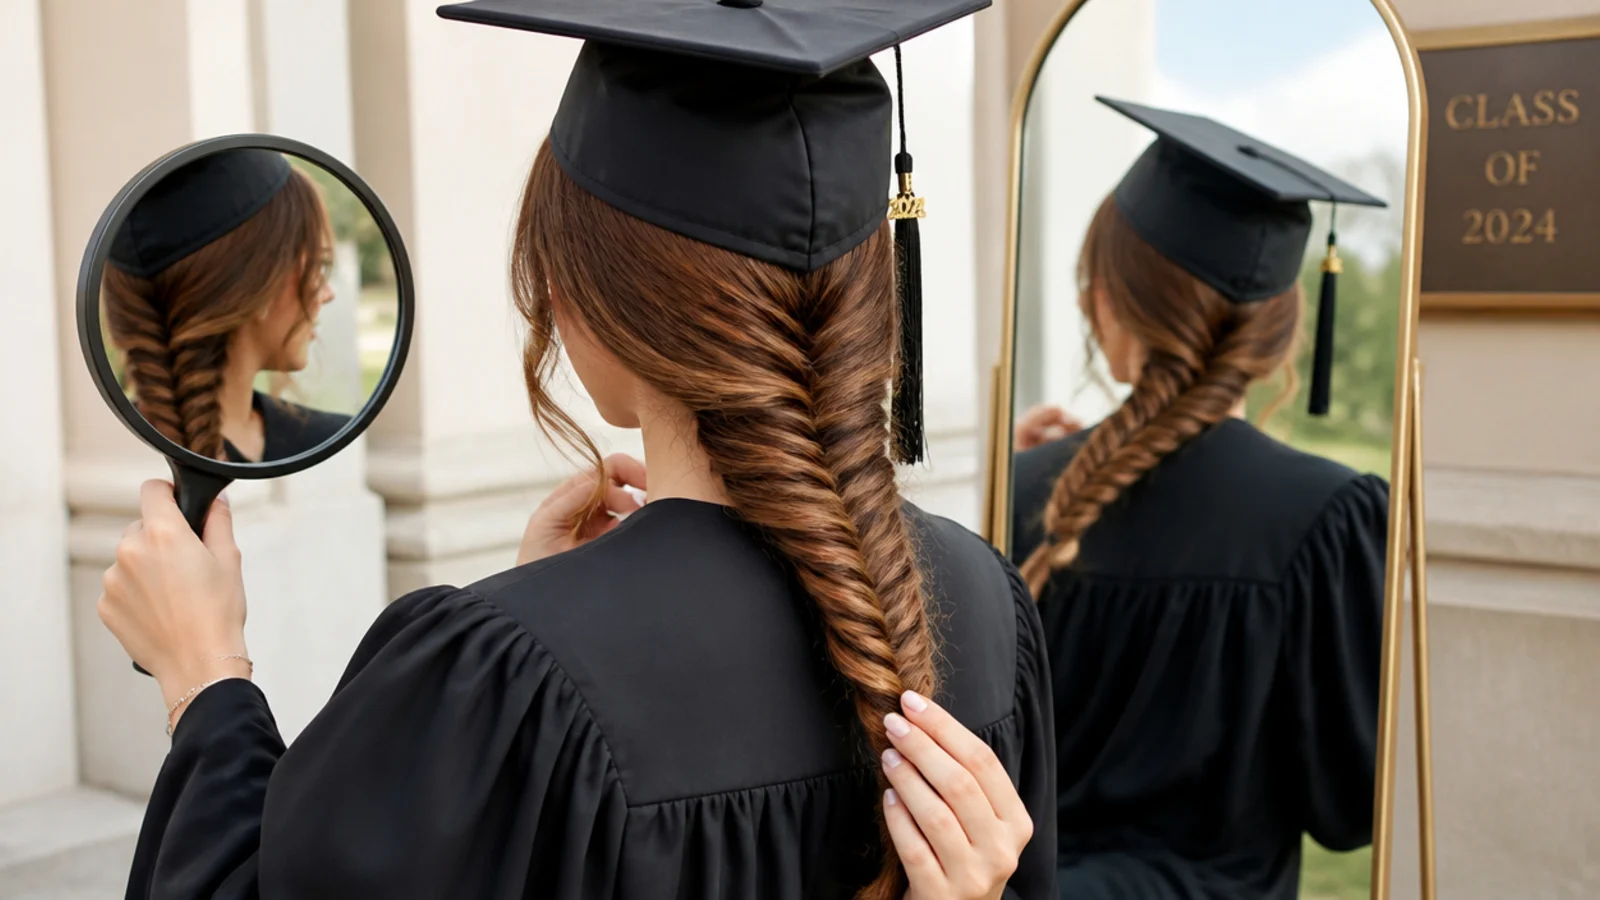
Take a photograph of the finished braid. You cannot see the back, and it is the only reference you will have if something needs fixing later.
All Day Braid Hold
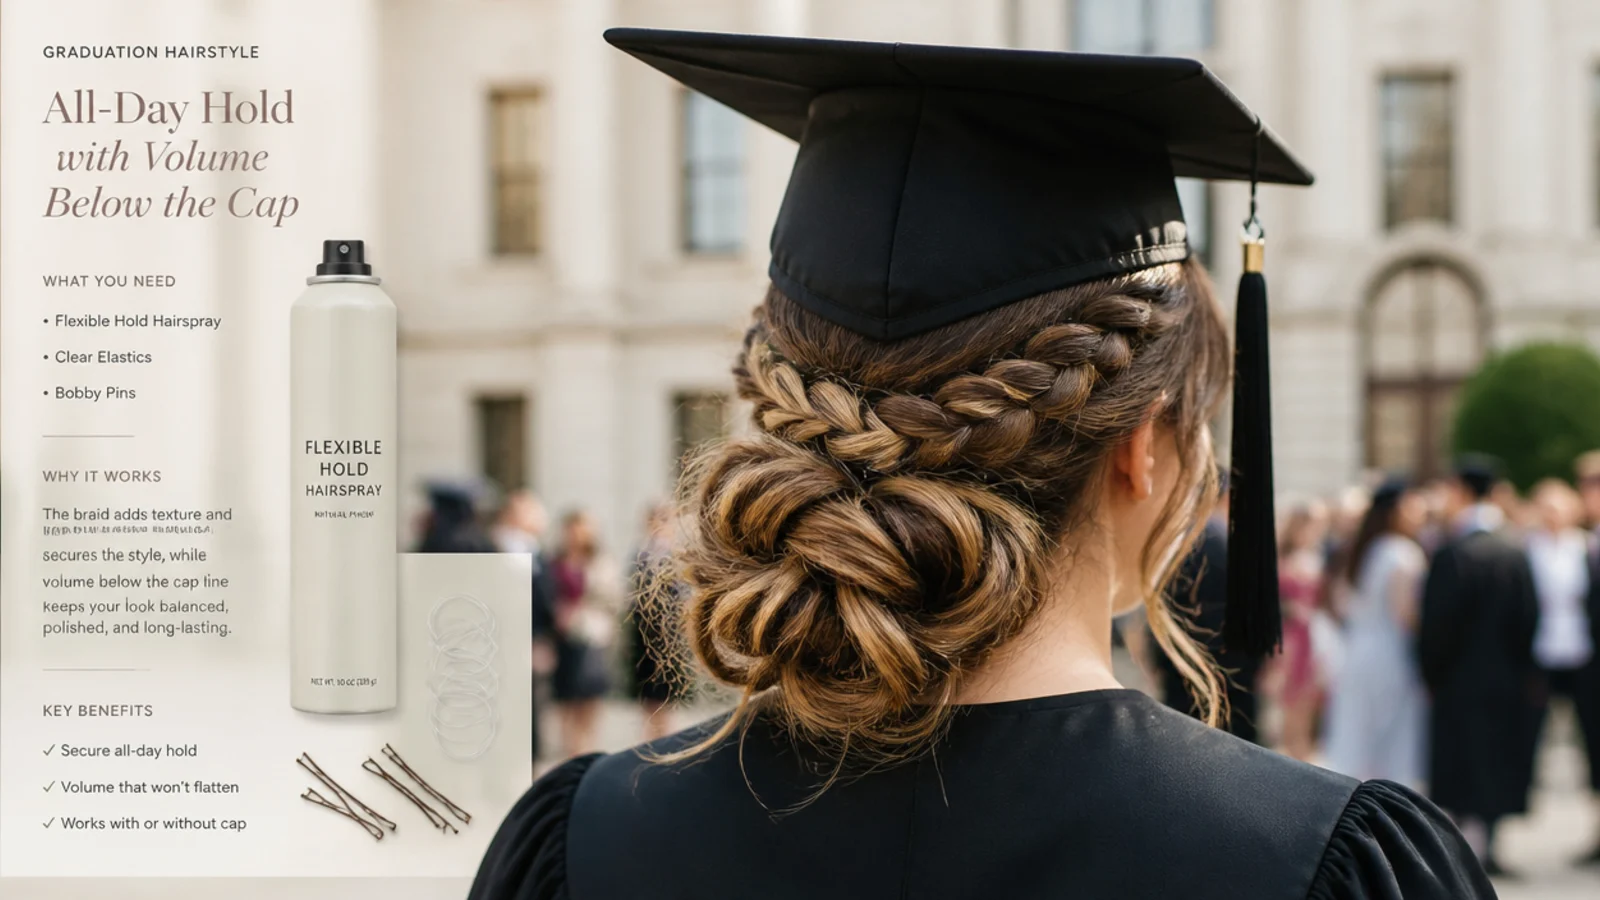
Grip comes from texture, not from product. Second day hair, or a light mist of dry shampoo through the roots, gives the sections something to hold onto.
Elastics at both ends. A clear elastic at the top of a French braid stops it creeping loose from the crown, which is where braids fail.
Cross your pins. Two bobby pins crossed in an X resist movement in two directions, where a single pin only stops movement across itself.
Wavy side of the pin against the head. The ridges are what grip. Sliding it in flat side down halves the hold for no reason.
Flexible hold spray, not firm. A braid moves with your head all day, and a rigid cast cracks and flakes rather than bending with it.
Cap Off Braid Recovery
A braid has almost nothing to recover. The interlacing does not care that a board sat on it, which is the entire argument for braiding on the day.
Fix the crown, not the braid. Any flattening is at the top surface where the skullcap sat, so lift the roots with your fingers rather than touching the plait.
Pancake after the cap comes off. Pulling the outer edges of each loop widens the braid and restores volume in seconds without undoing anything.
Loose pieces at the front are the look. Pull two fine sections down at the temples and the whole style reads as intentional rather than crushed.
Carry two spare pins and nothing else. That is the entire repair kit a braid needs.
The 15 Braided Styles
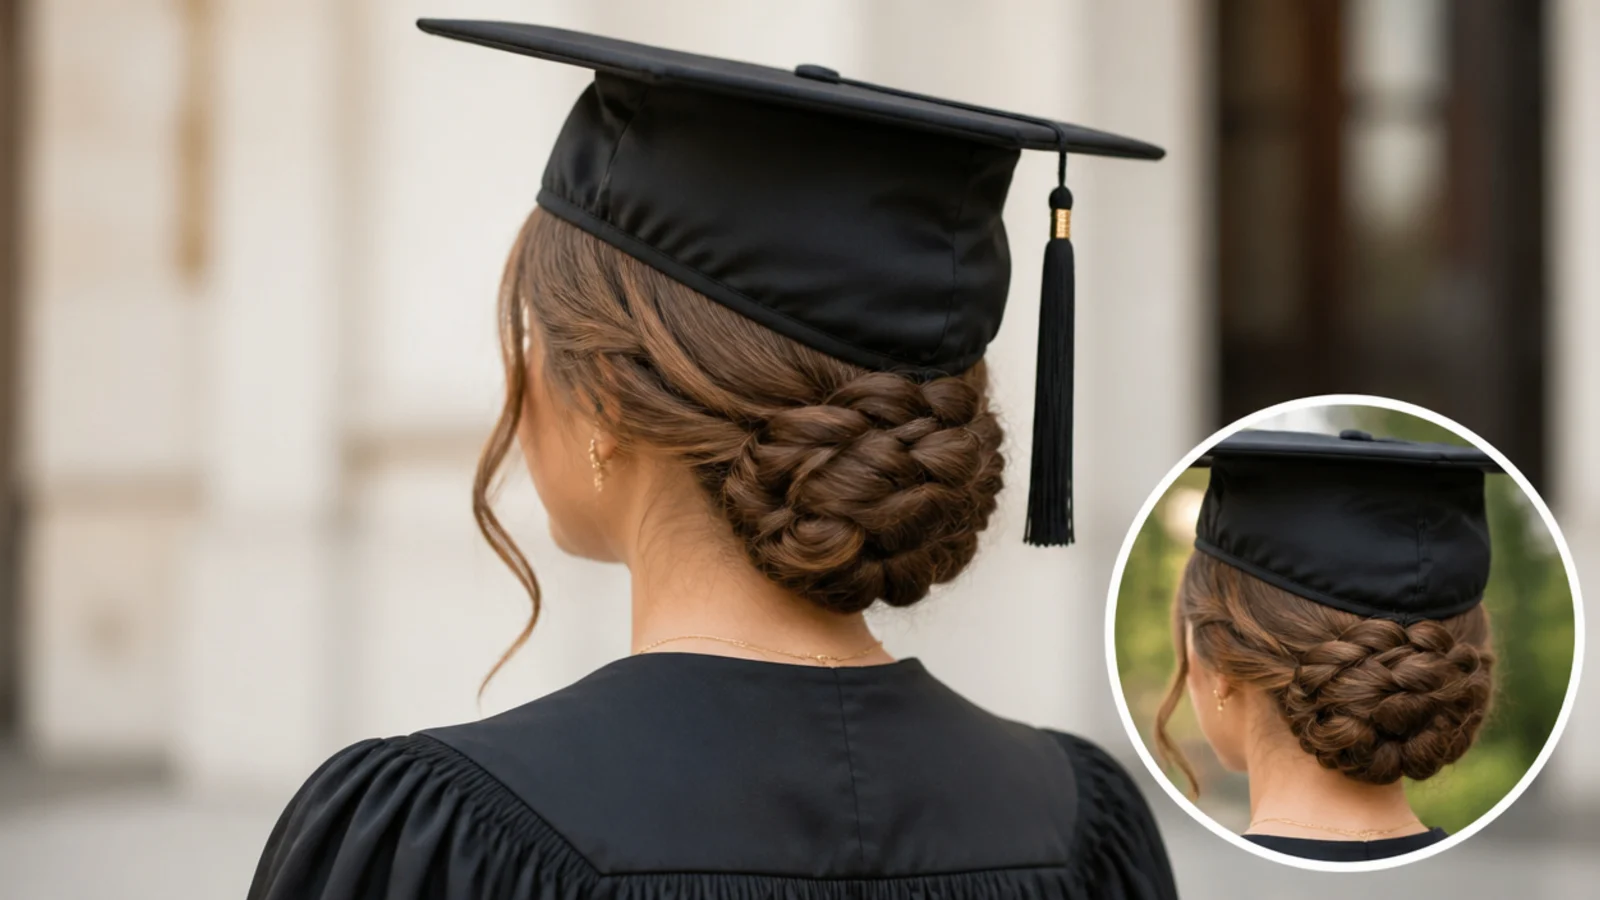
1. Low Braided Bun
The braid is plaited first and then coiled at the nape, so the bun is made of a structure that already holds itself. That means the pins are only locating the coil rather than carrying the whole style, which is why this survives a cap and a gown collar without loosening.
2. Double Dutch Braids
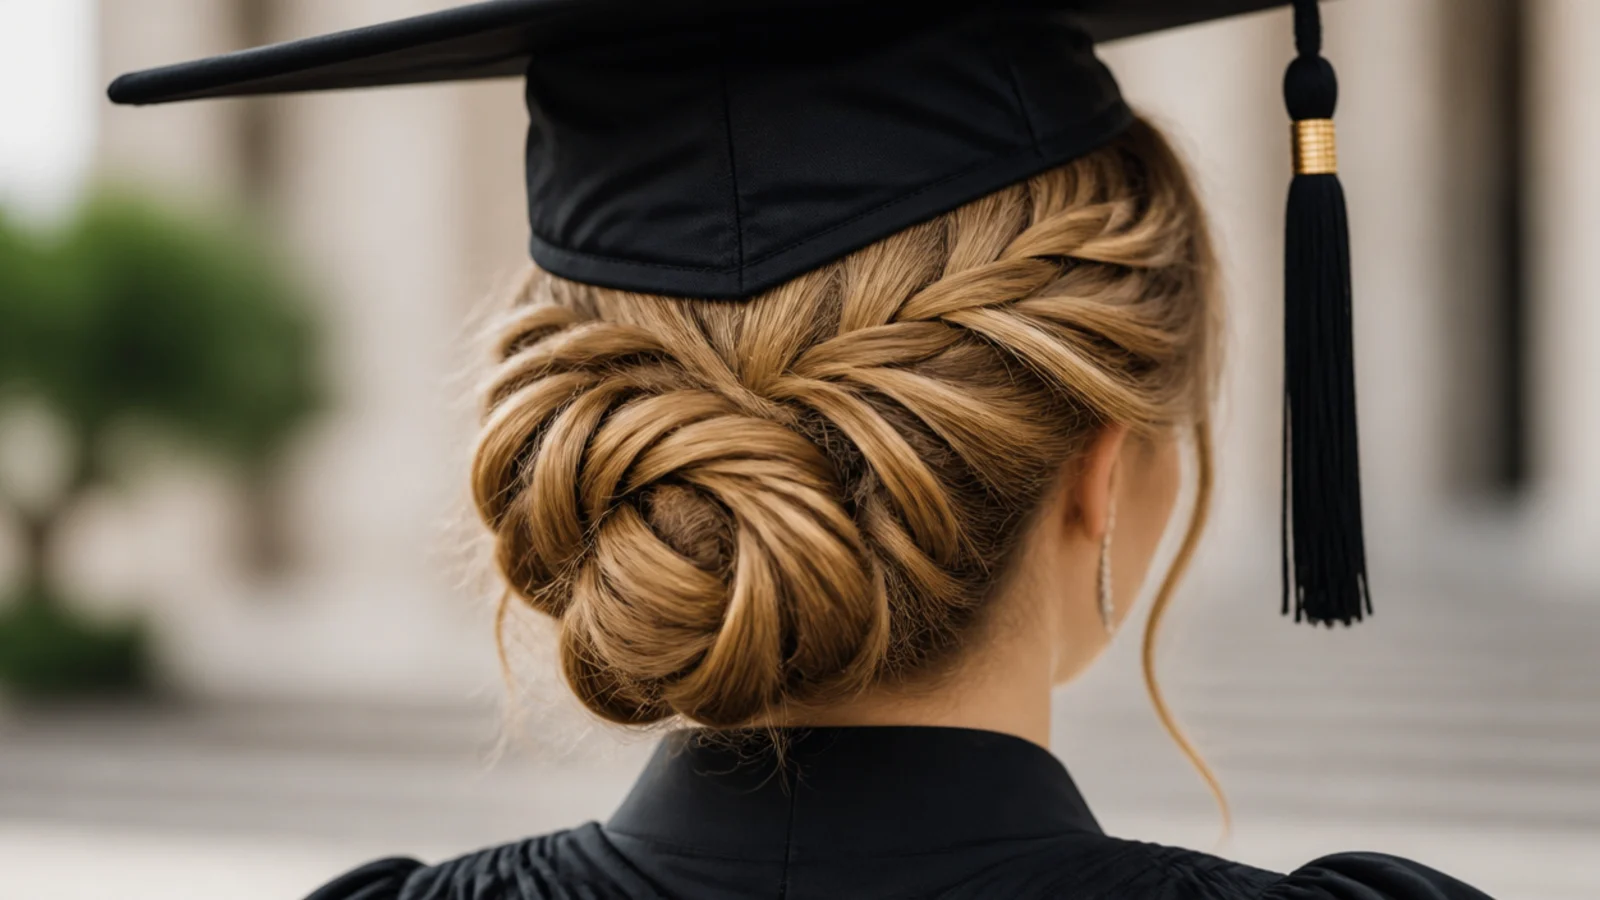
Crossing the strands underneath pushes each braid up onto the surface, which gives the definition Dutch braids are chosen for. Start them low enough that the raised rows clear the cap band, because a raised braid directly under the front edge is what tips a board backwards.
3. Crown Braid Behind the Cap Line
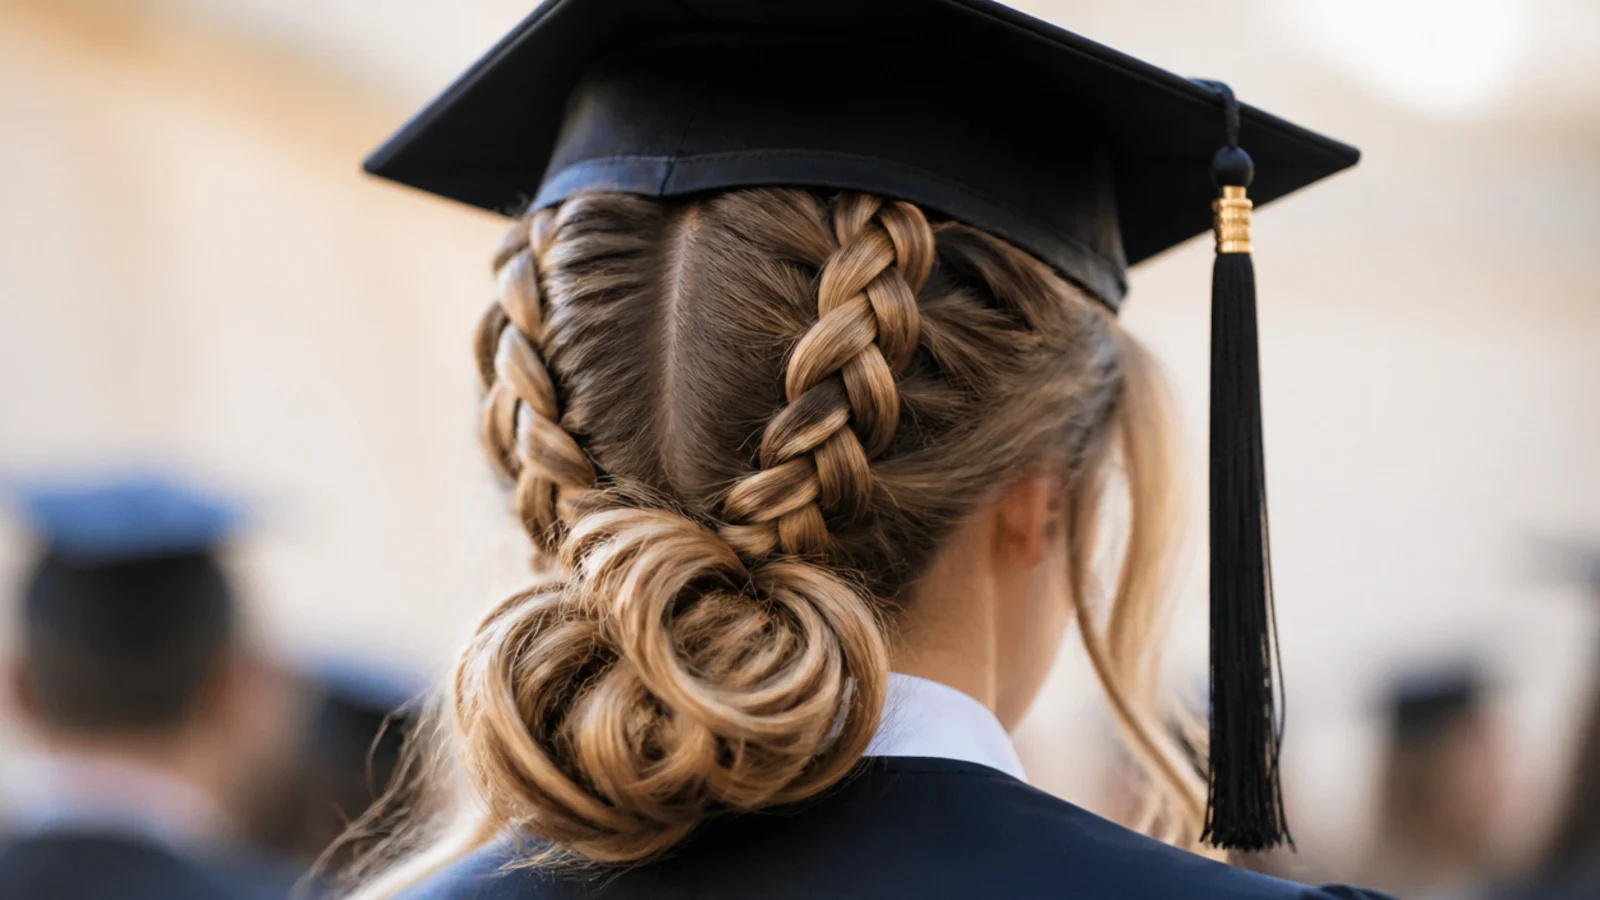
A crown braid is braided against the scalp, so it adds almost no height, and moving it behind the front edge means the cap band meets smooth hair. The board then sits level, which is what stops it sliding every time you turn your head.
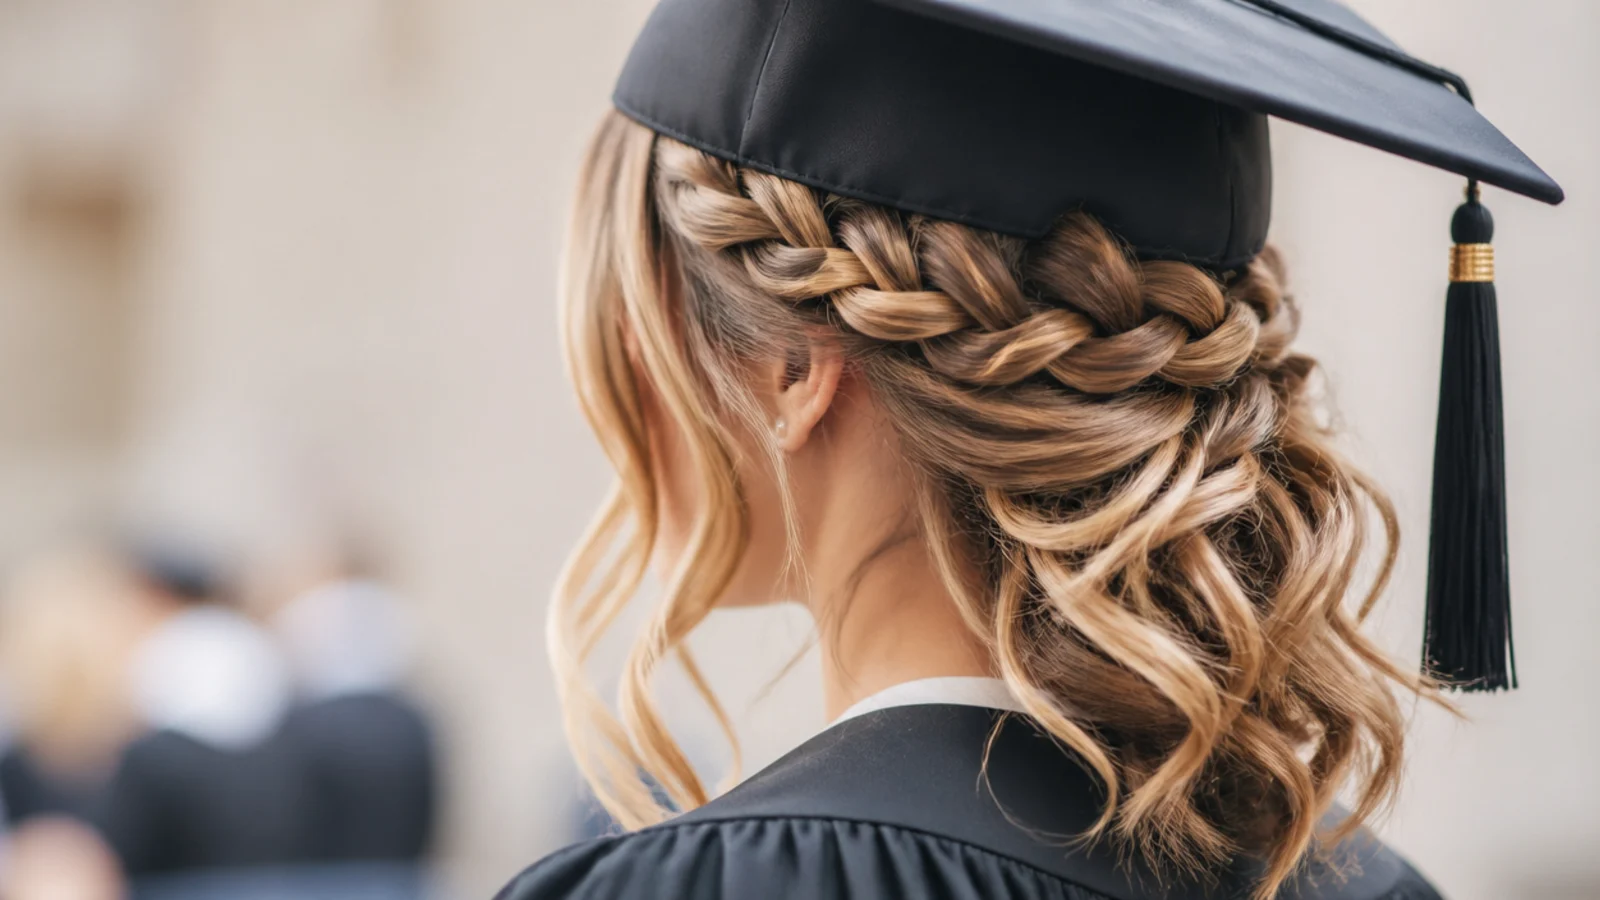
4. Side Fishtail Braid
A fishtail is built from two sections passing thin strands across, so there are far more crossing points per inch than a three strand plait. Those extra crossings are what let it hold its tension for hours while sitting entirely outside the area the cap touches.
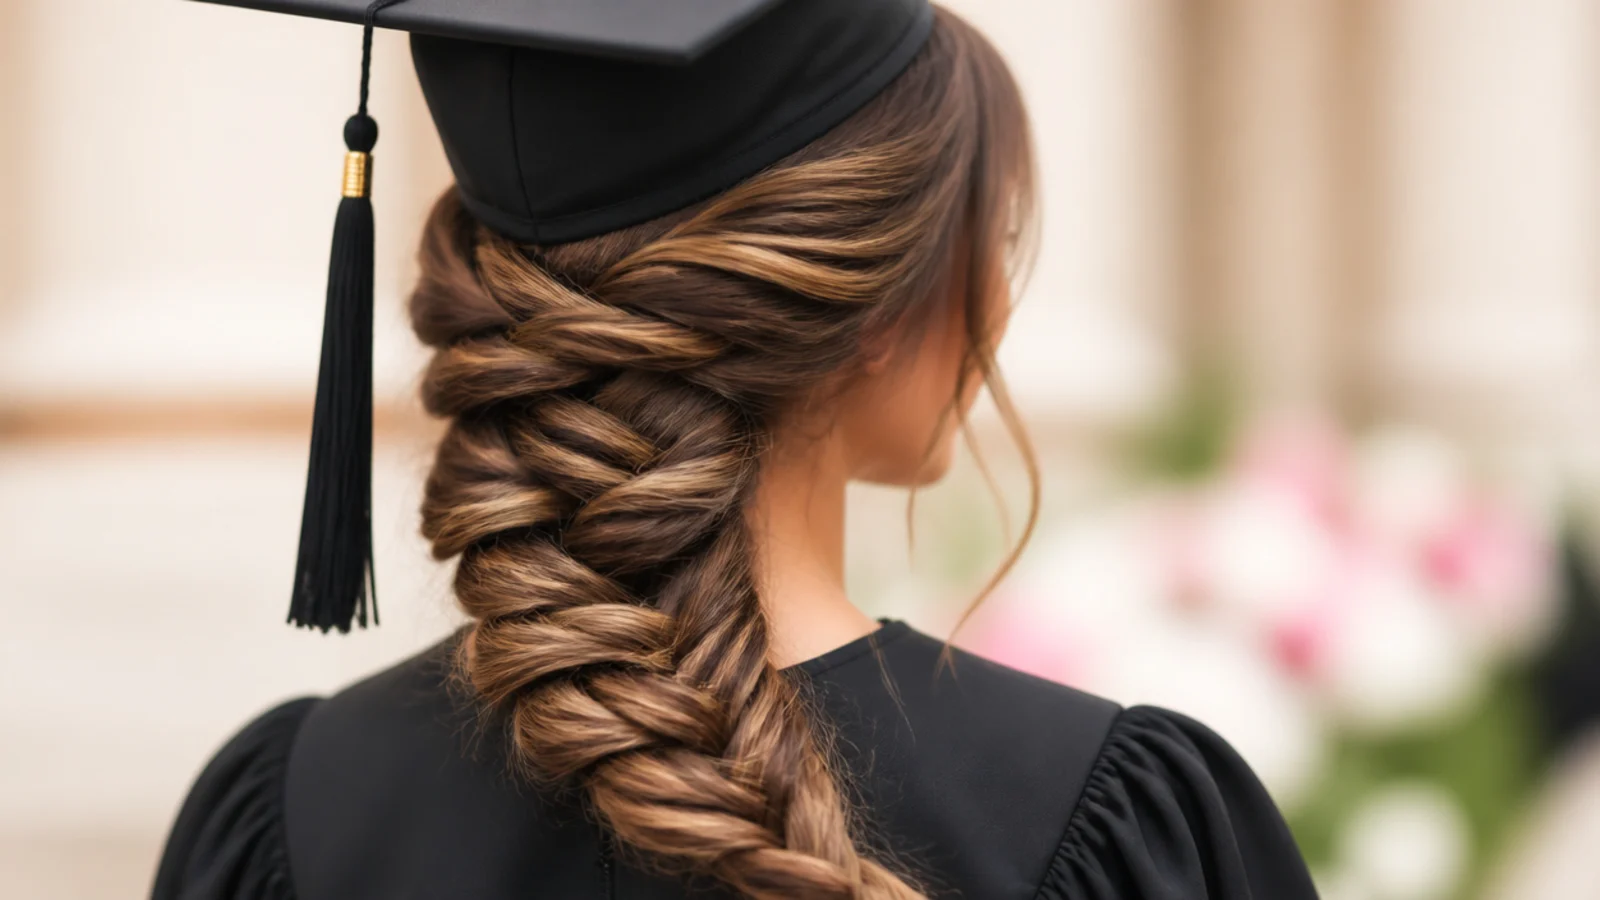
5. Half Up Dutch Braid
Braiding only the top section removes the exact hair the cap flattens and leaves the length loose for photographs. Keep the join at ear level or below, since a gathered join higher than that becomes a bump directly under the skullcap.
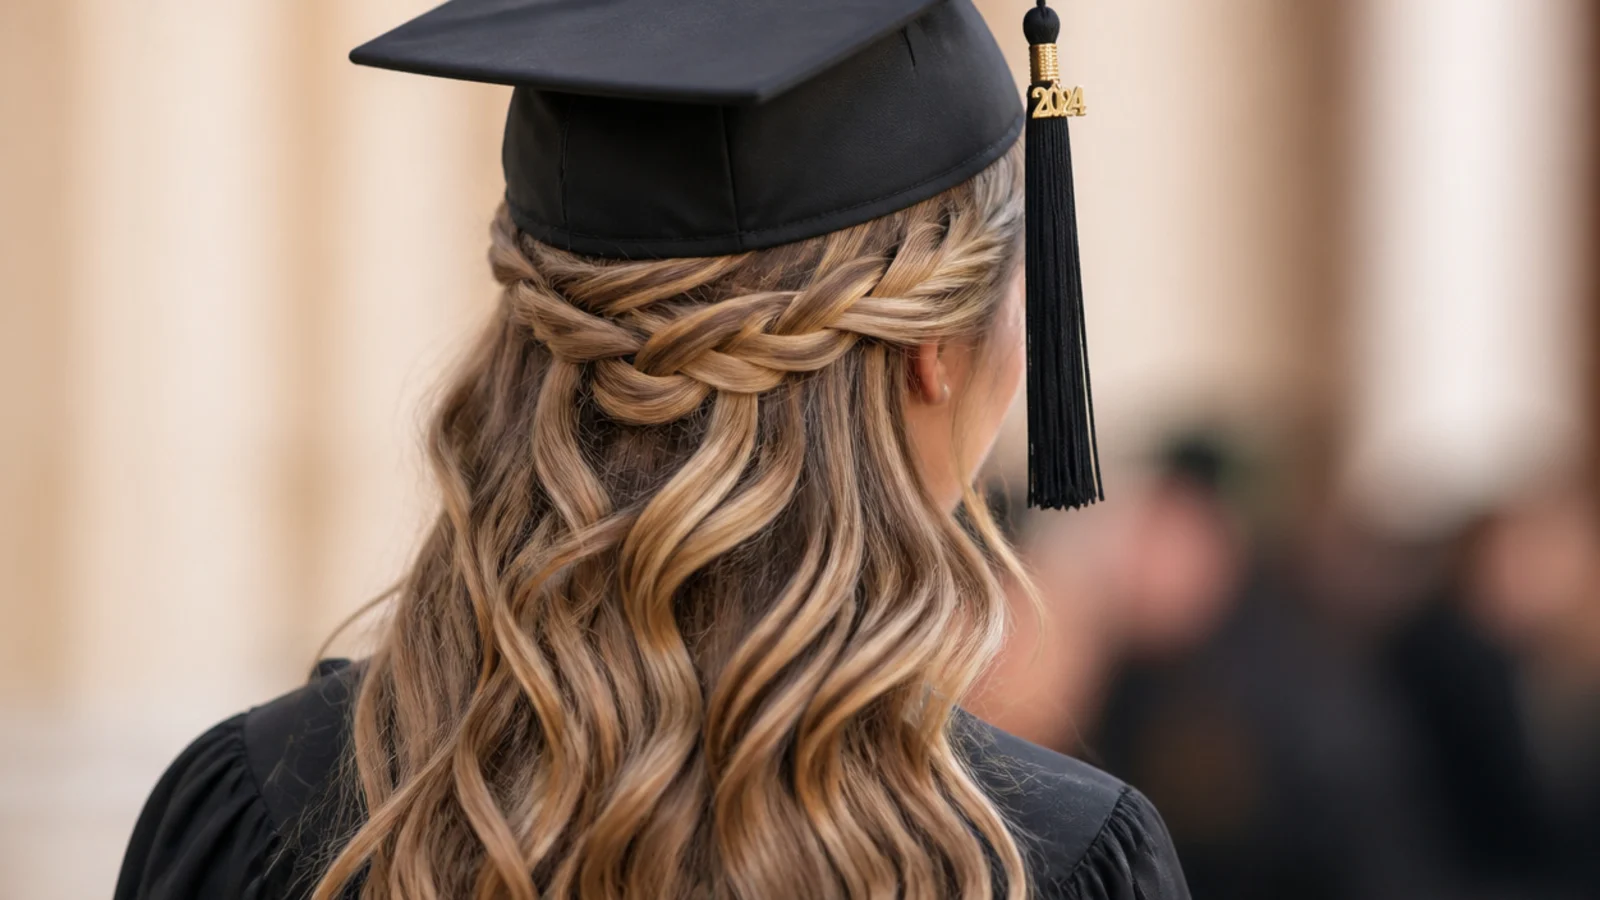
6. Rope Braid Ponytail
Two sections are twisted individually in one direction, then wrapped around each other in the opposite direction, and the opposing tension is what locks the rope shut. Twist both the same way and it unwinds within minutes, which is the single mistake that makes people think this style does not hold.
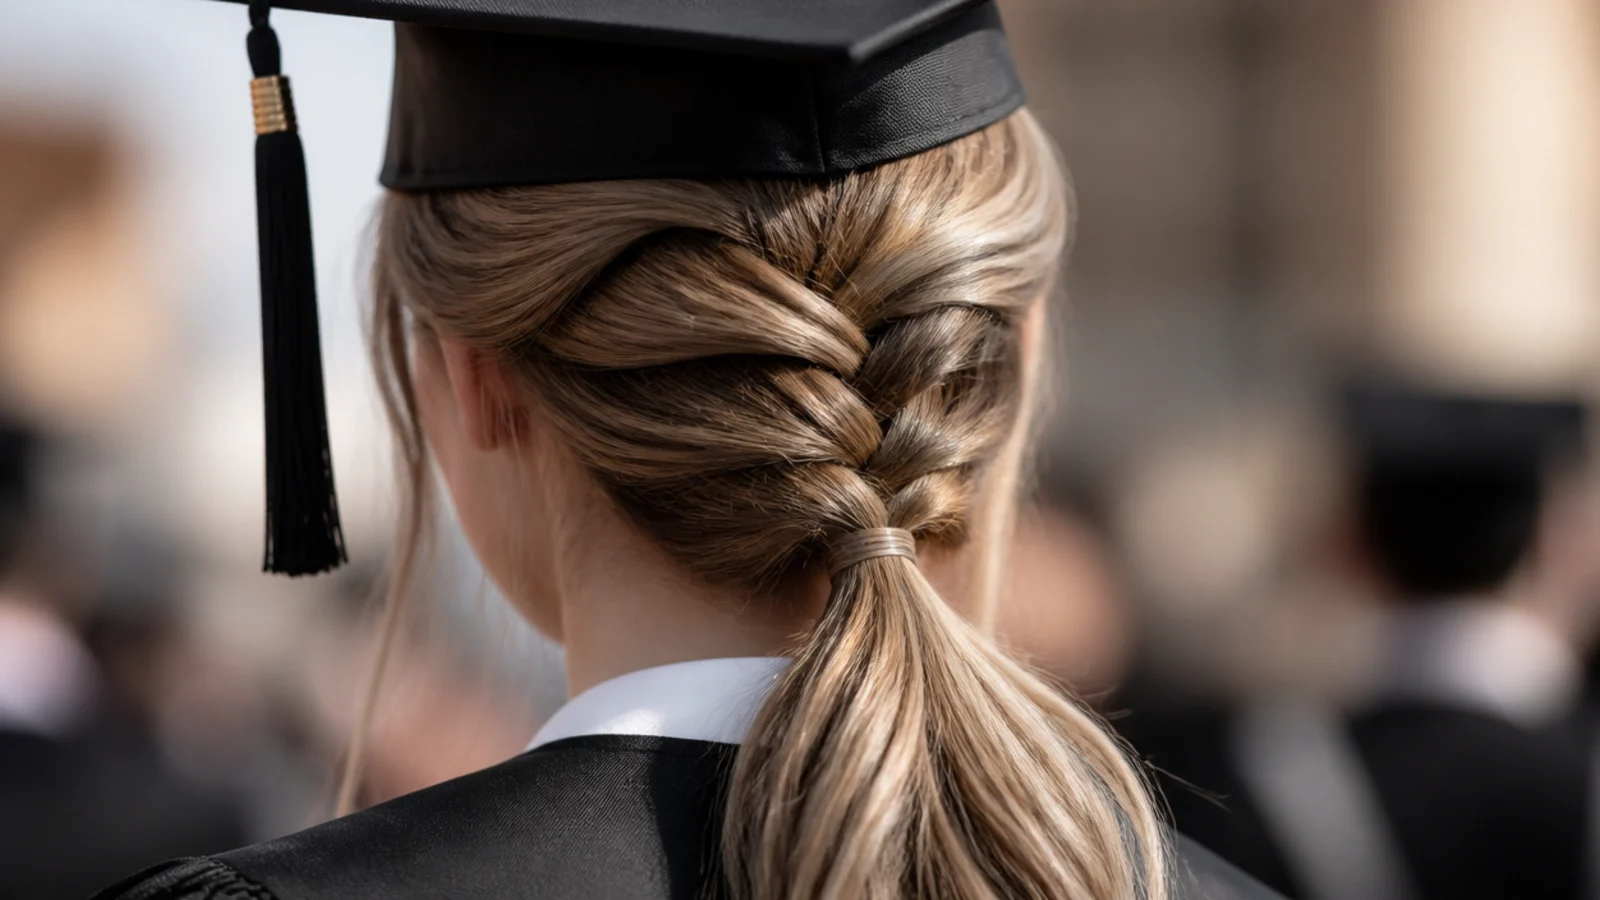
7. French Braid Into a Low Roll
The French braid takes the length down the back flat against the head, and rolling the tail under puts the bulk at the nape where there is no cap. The braid also carries most of the weight, so the roll needs only two or three pins to stay put.
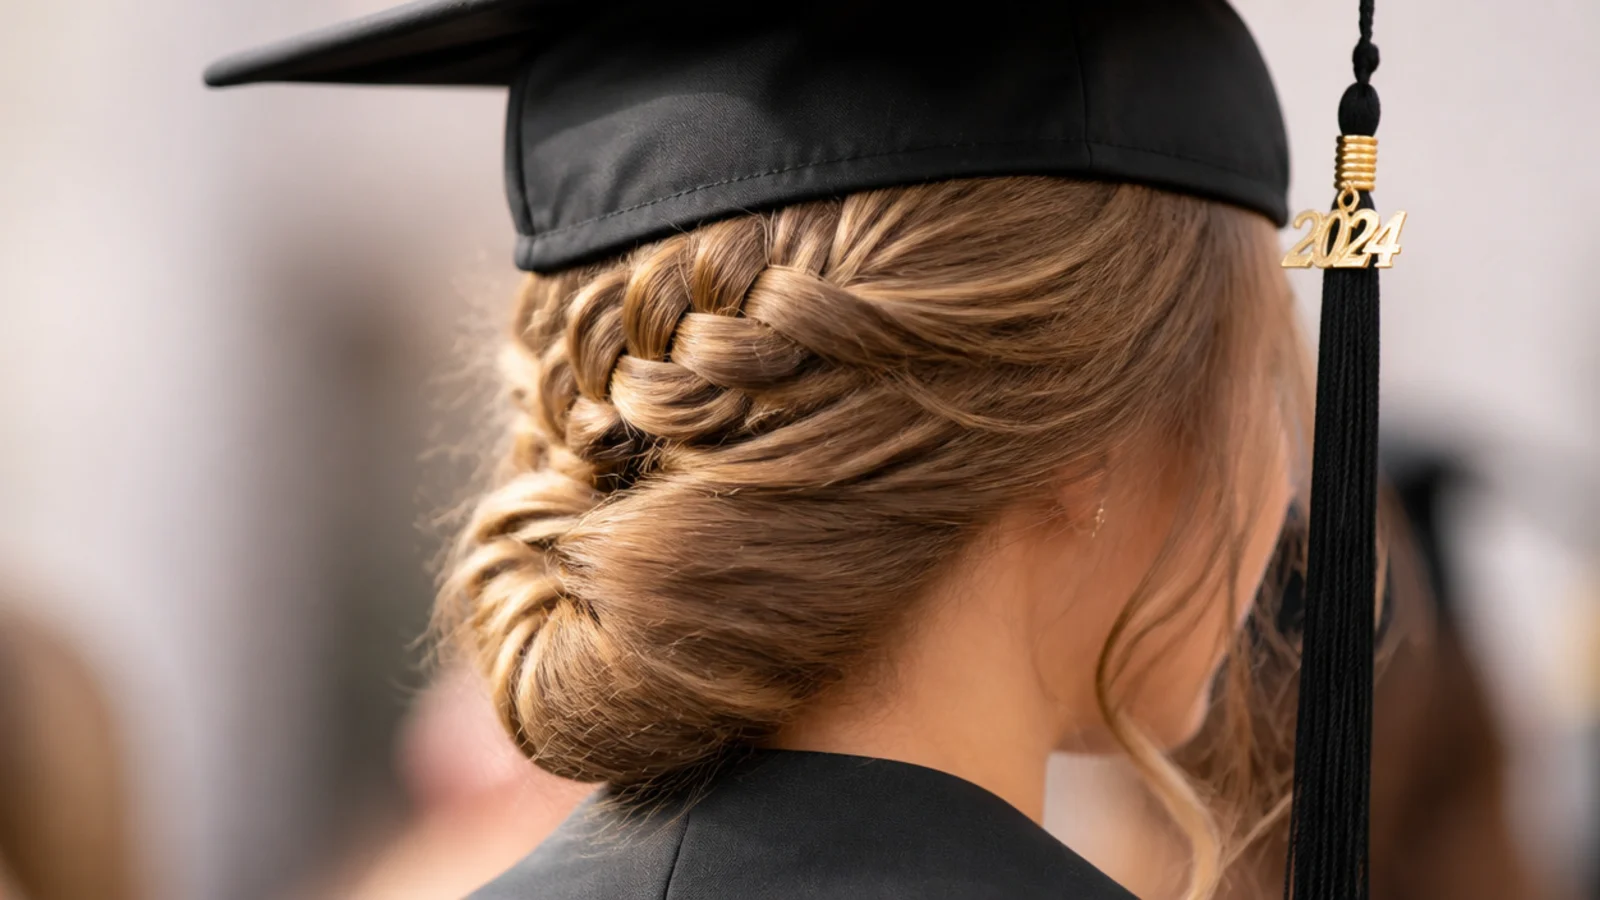
8. Two Cornrows Into a Low Bun
Cornrows lie directly against the scalp, so the cap meets a genuinely flat surface with no lift anywhere. All of the volume moves to the nape, and the rows themselves hold their tension for days rather than hours.
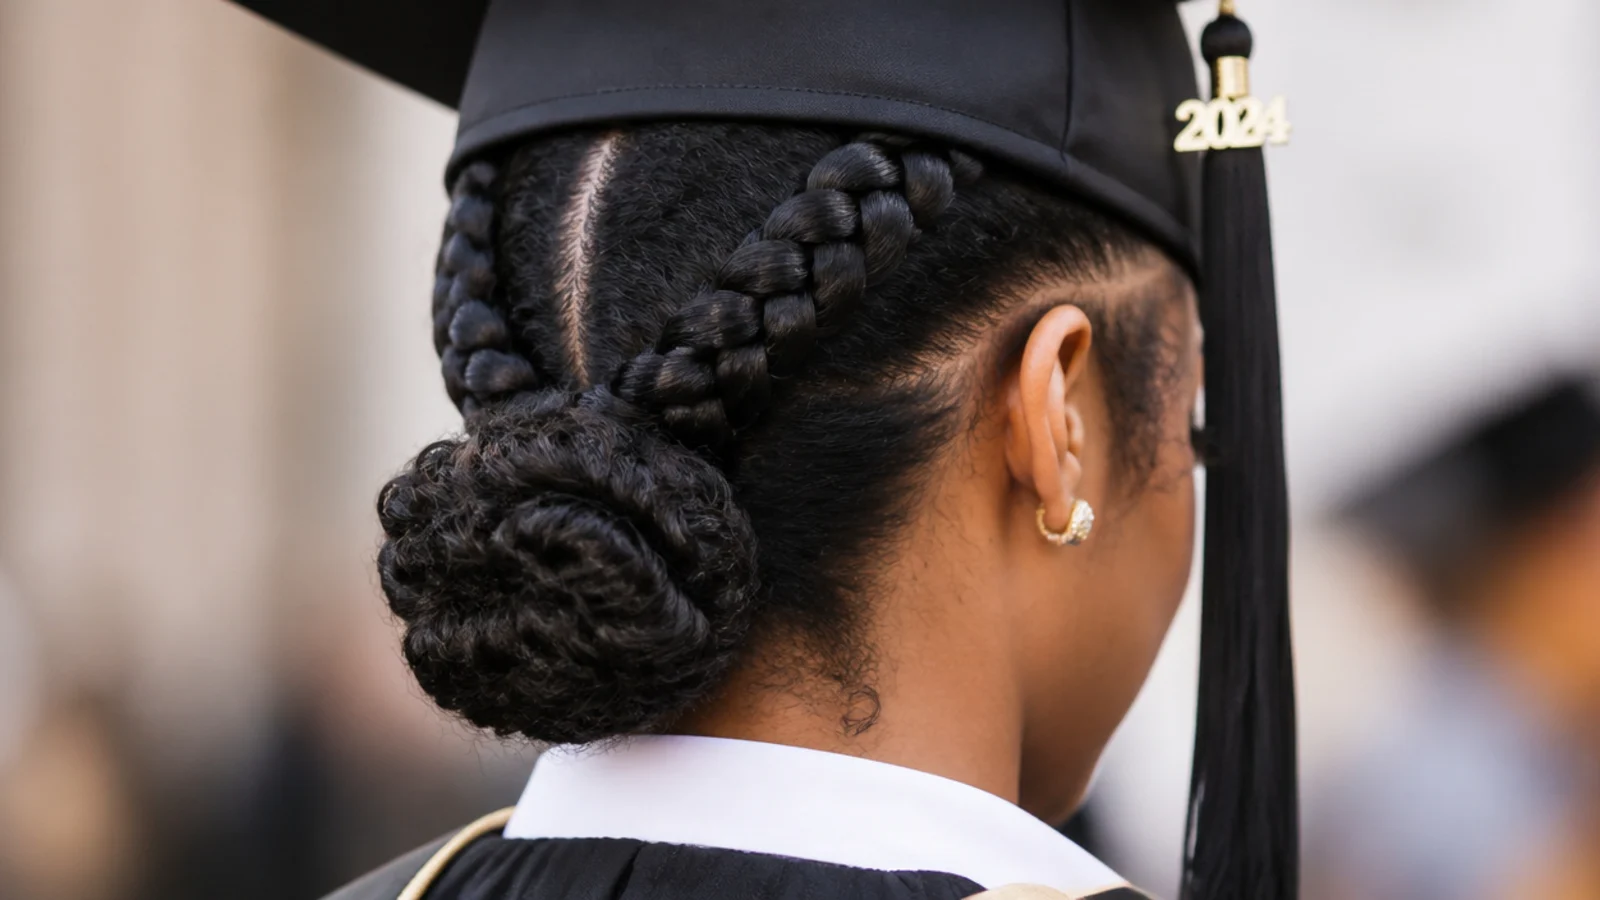
9. Knotless Braids Half Up
Knotless braids begin with your own hair and feed extensions in gradually, so there is no knot sitting at the root. That matters under a cap because a row of knots is a row of small bumps, and gathering half of the length up keeps the weight off the back of the neck.
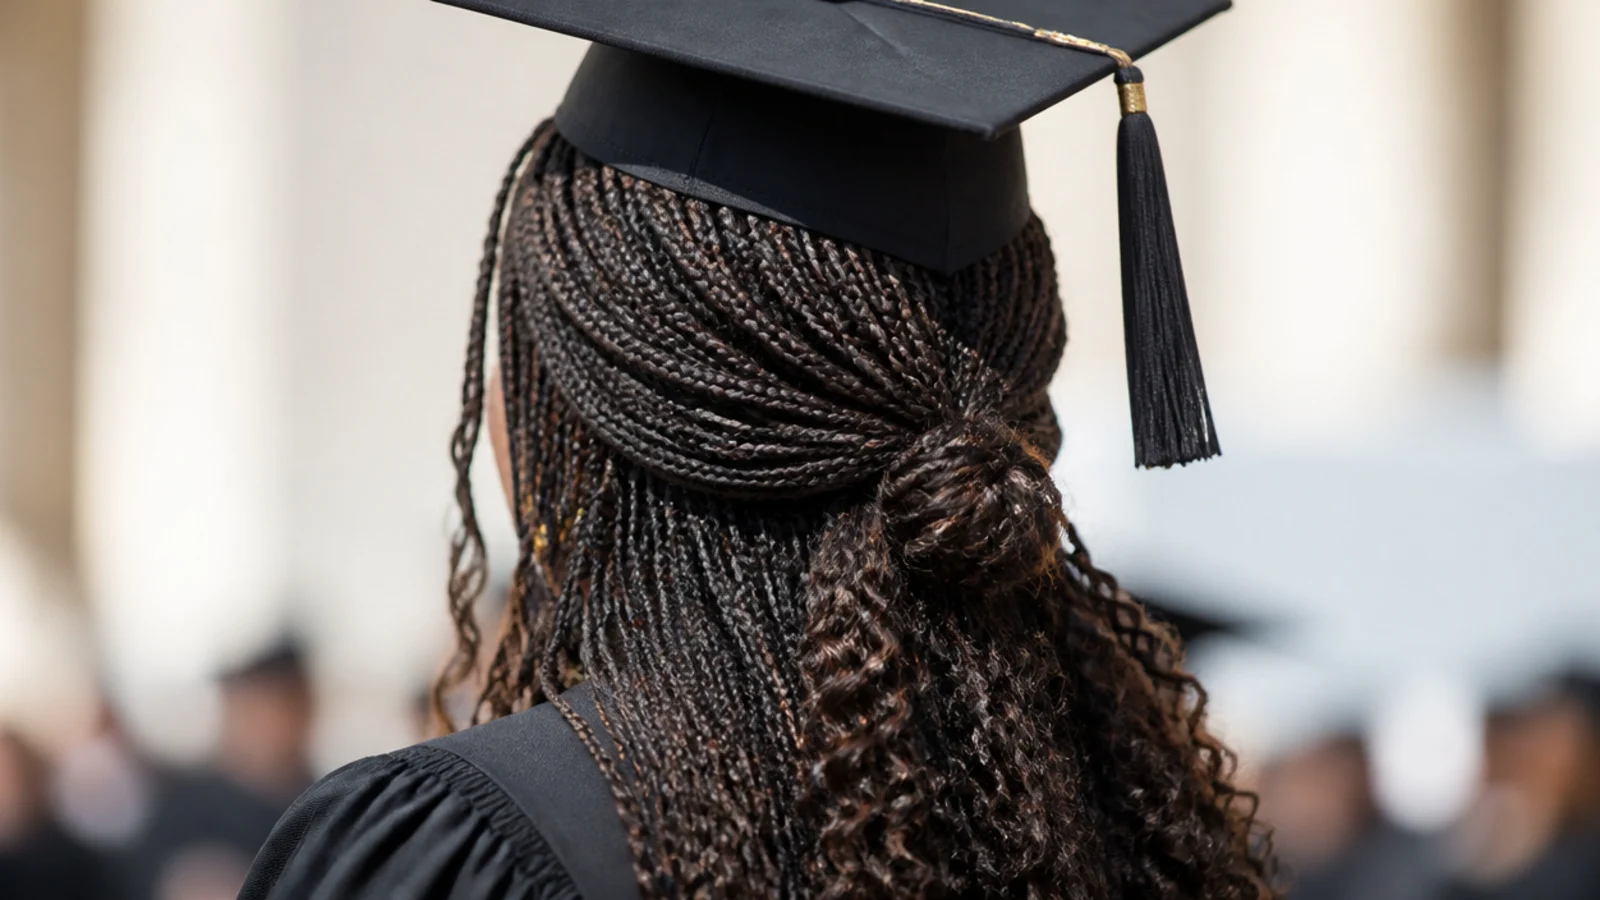
10. Boho Pancaked Braid
Pancaking means pulling the outer edge of each loop outward, which widens the braid without adding any height. Width is the one direction a cap allows, so this is how you get a braid that looks substantial in photographs and still disappears under the board.
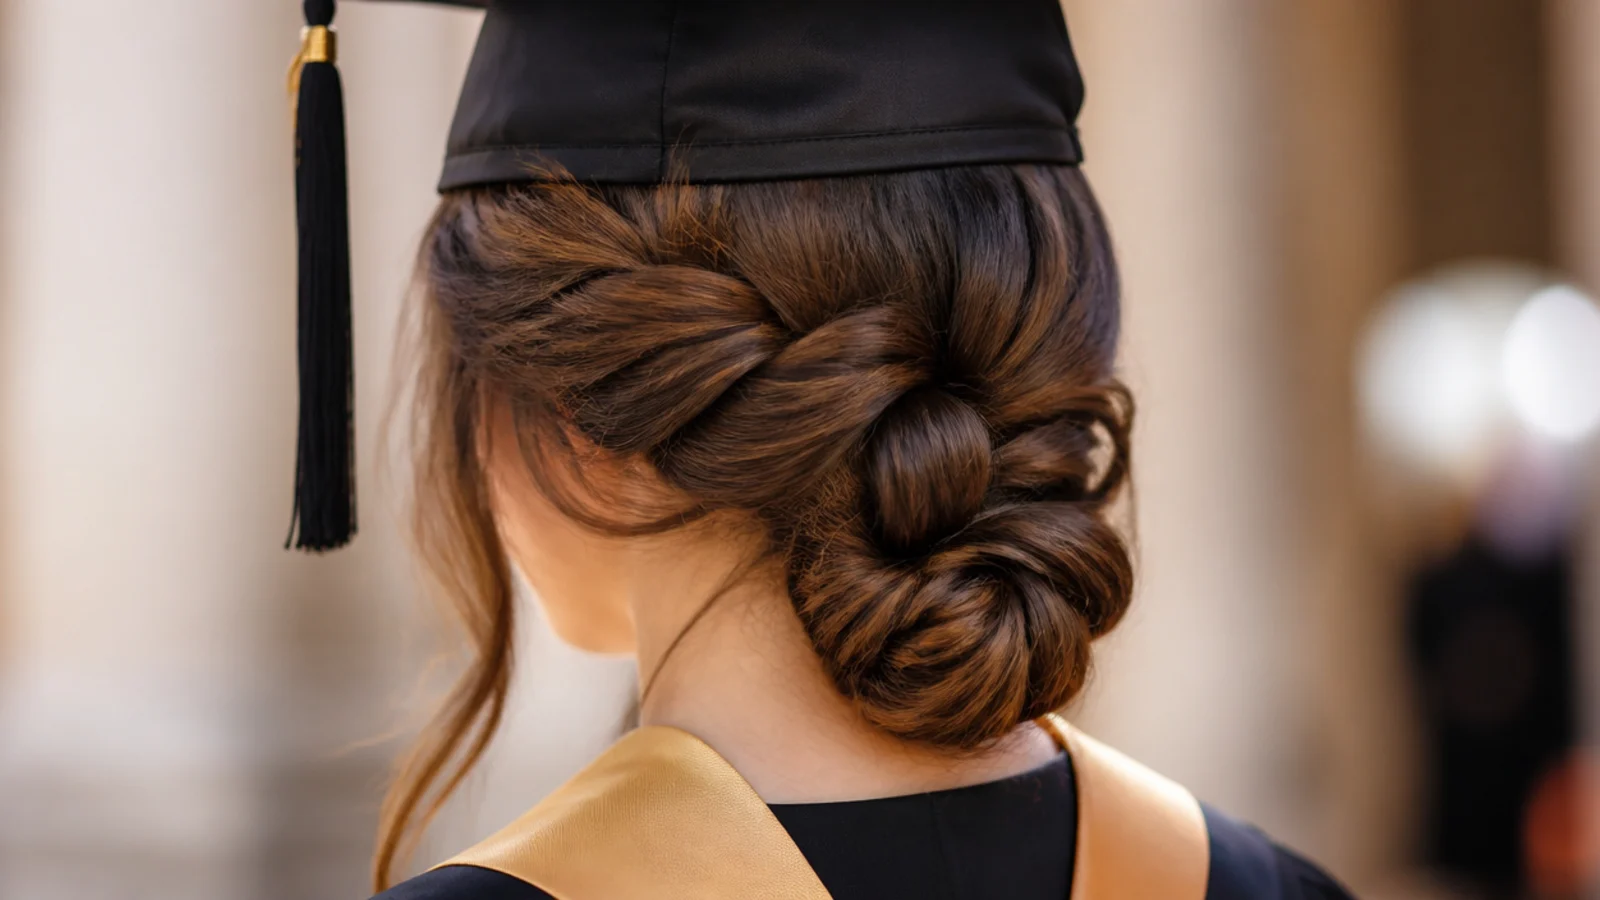
11. Low Milkmaid Braids
The usual milkmaid crosses two braids over the top of the head, which is precisely where the cap has to sit. Wrapping them lower, behind the ears and above the nape, keeps the same finished look while leaving the crown completely flat.
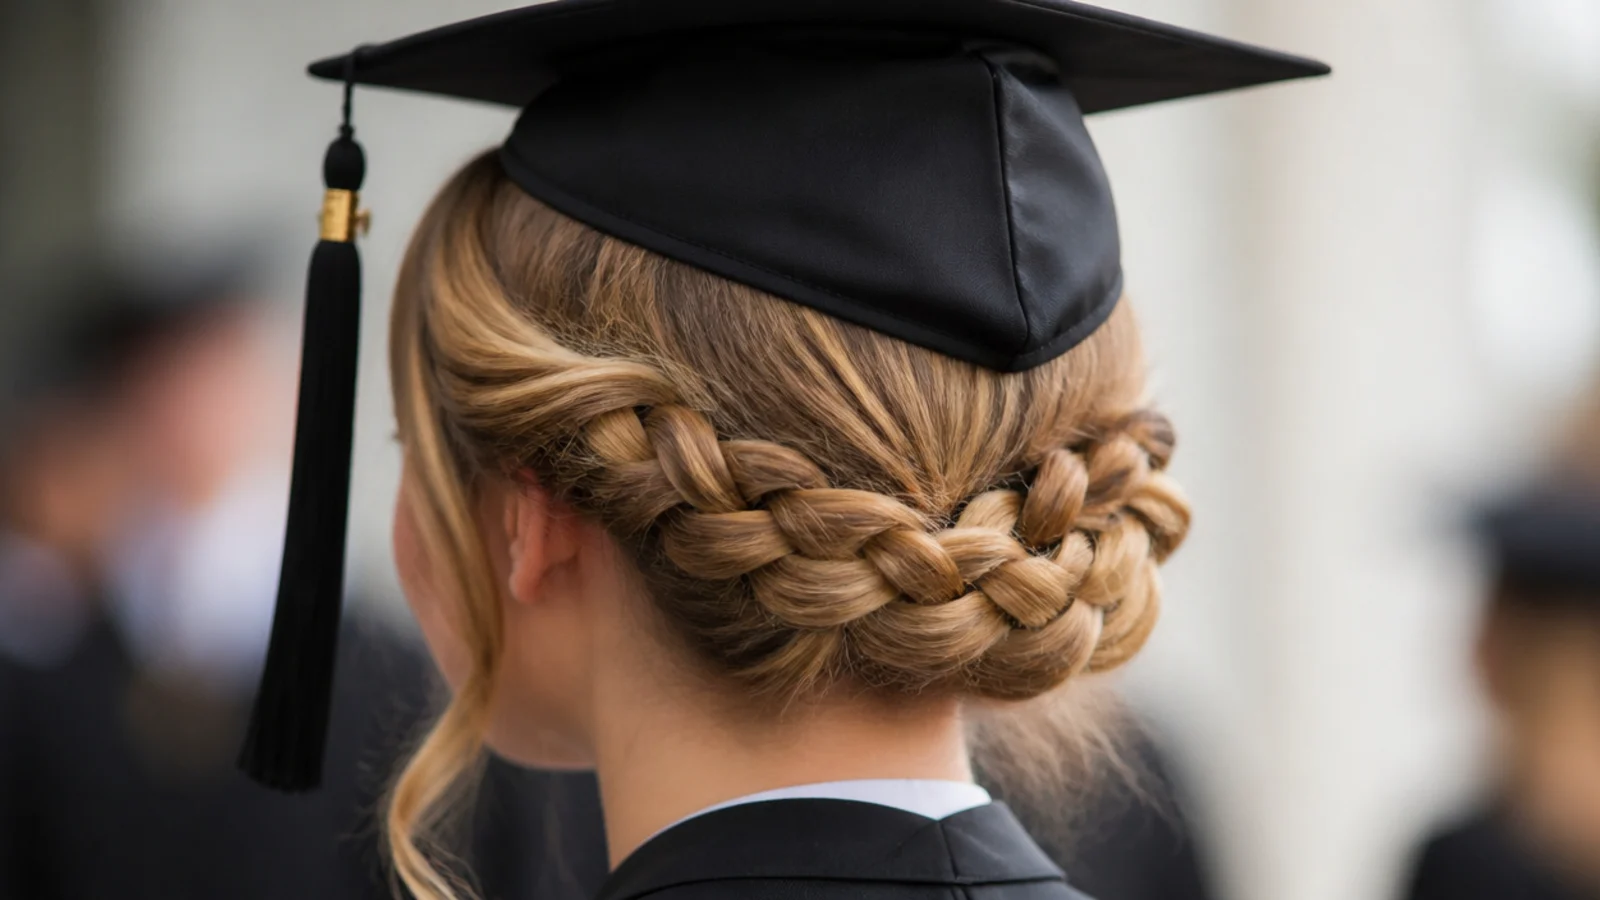
12. Waterfall Braid
Strands are dropped out of the braid at every pass, so it travels horizontally across the head while the length falls through it. It is decorative rather than structural and holds no weight, so it needs pinning at both ends and works best over hair that is otherwise loose.
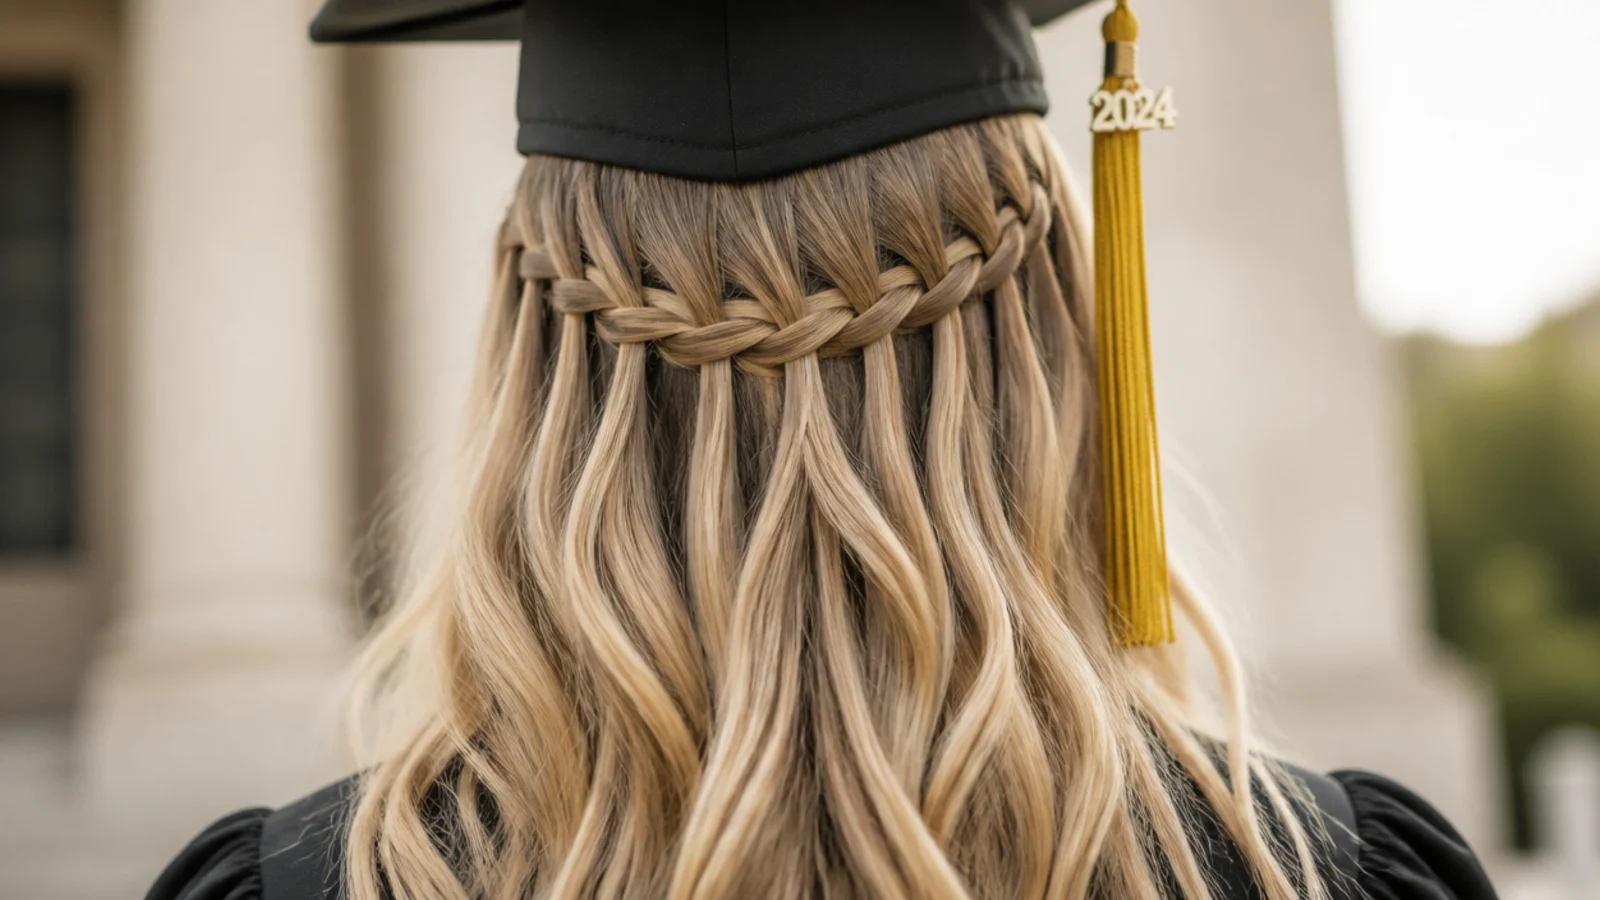
13. Braided Low Ponytail
Braiding the tail below the elastic solves the practical problem nobody warns you about, which is a loose ponytail tangling against a gown collar and a cap tassel all afternoon. The elastic carries the weight and the braid simply keeps the length contained.

14. Fulani Braids With a Centre Part
The cornrowed rows sit flat against the scalp with a clean centre part, so the cap band meets an even surface on both sides and the board sits level. Any beads or cuffs add their weight low down the length rather than at the crown.
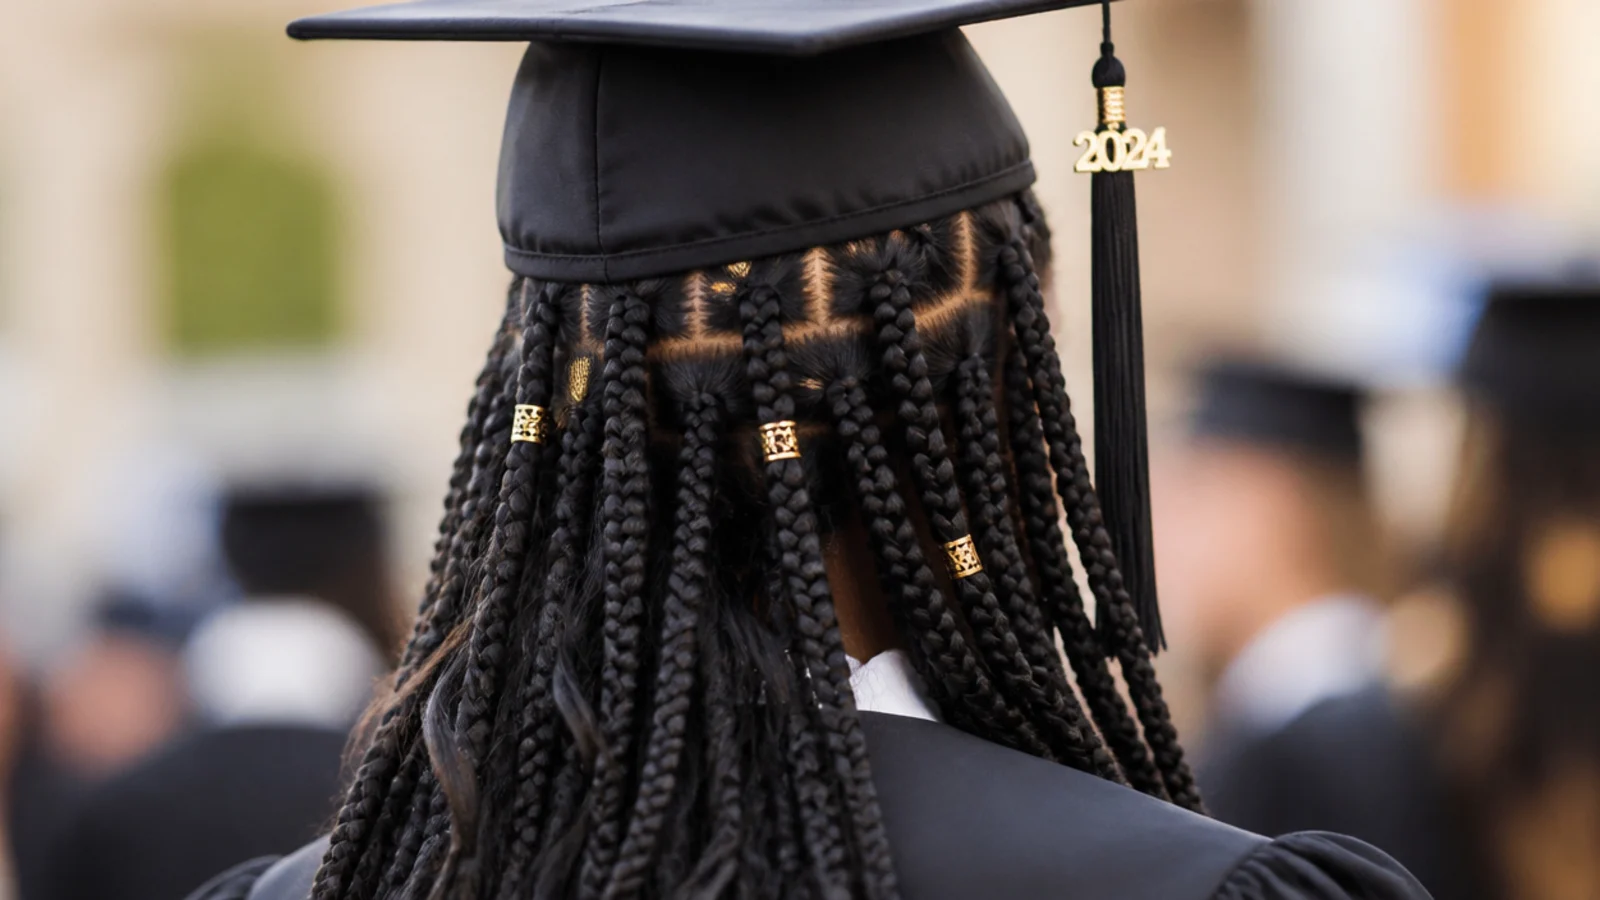
15. Micro Accent Braids
Two or three thin braids worked into otherwise loose hair add definition without changing the silhouette at all. They also hold when everything around them has been flattened, because a braid does not depend on a set the way a curl does.
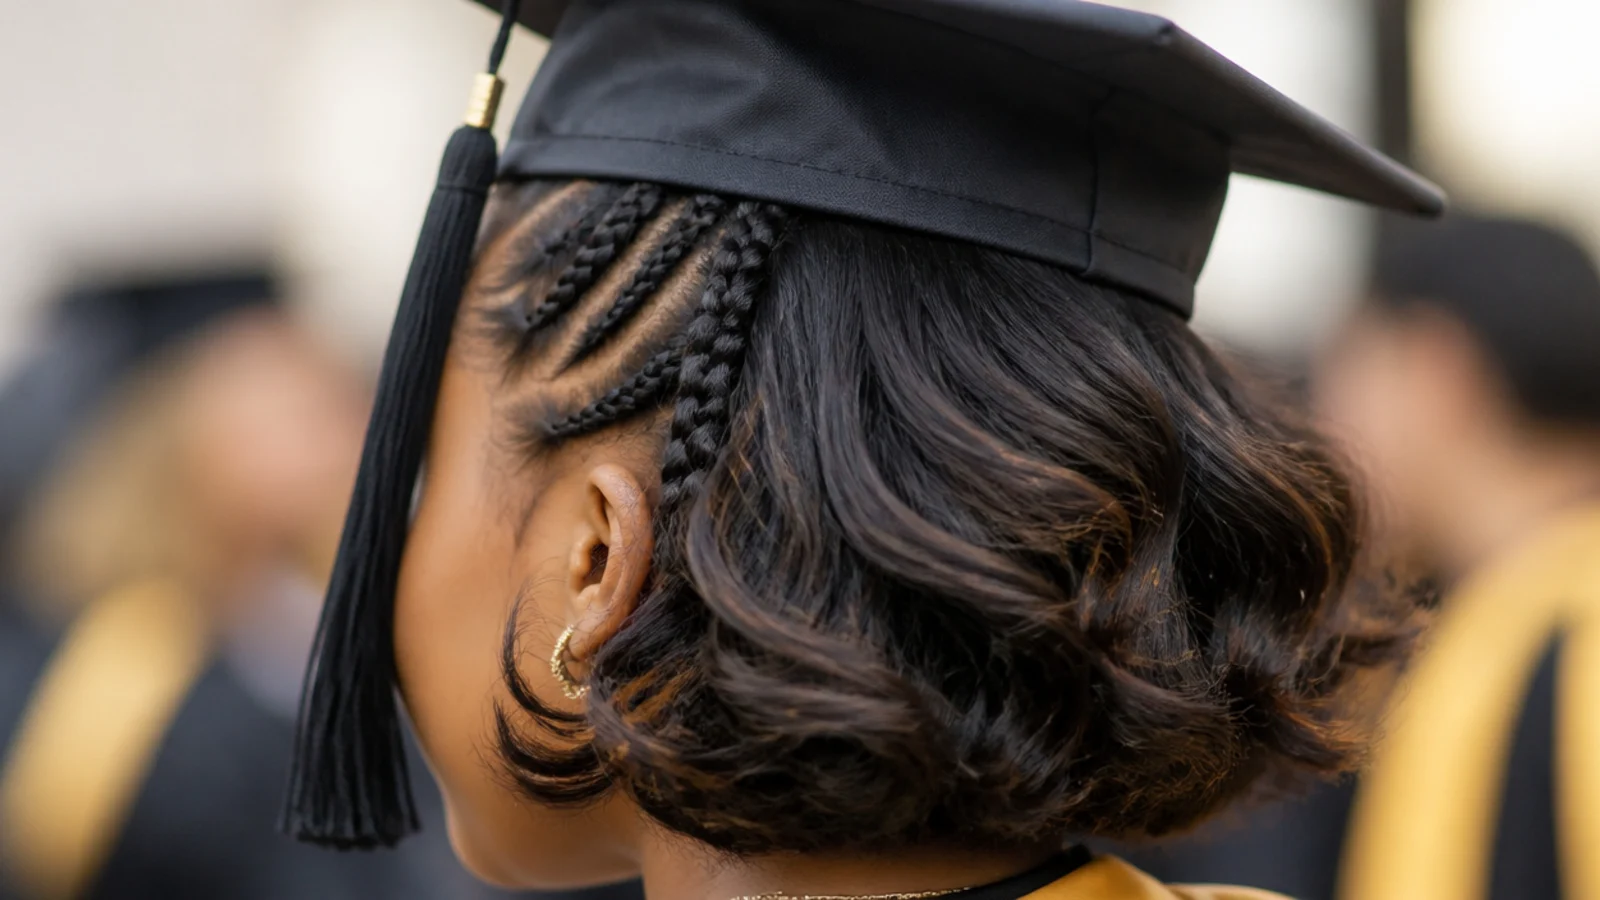
Final Thoughts
Keep the bulk below the cap line and let the braid do the structural work. Everything above that line is going to be compressed for two hours, and everything below it is untouched, so a low braided bun, a side fishtail or two cornrows into a knot all come out of the ceremony looking the way they went in. That is not true of a blow dry, which is why the braid is the right choice on this particular day.
Braid on second day hair, cross your pins, and take a photograph of the back before you leave so you know what you are repairing if anything moves. Two spare pins in a pocket is the entire kit. For braids on a day when washing is not an option see 20 braided greasy hair hairstyles, and for a higher finish once the cap is off see 15 high braided ponytail hairstyles. More in Occasion Hair.
Frequently asked questions
Related posts
See all posts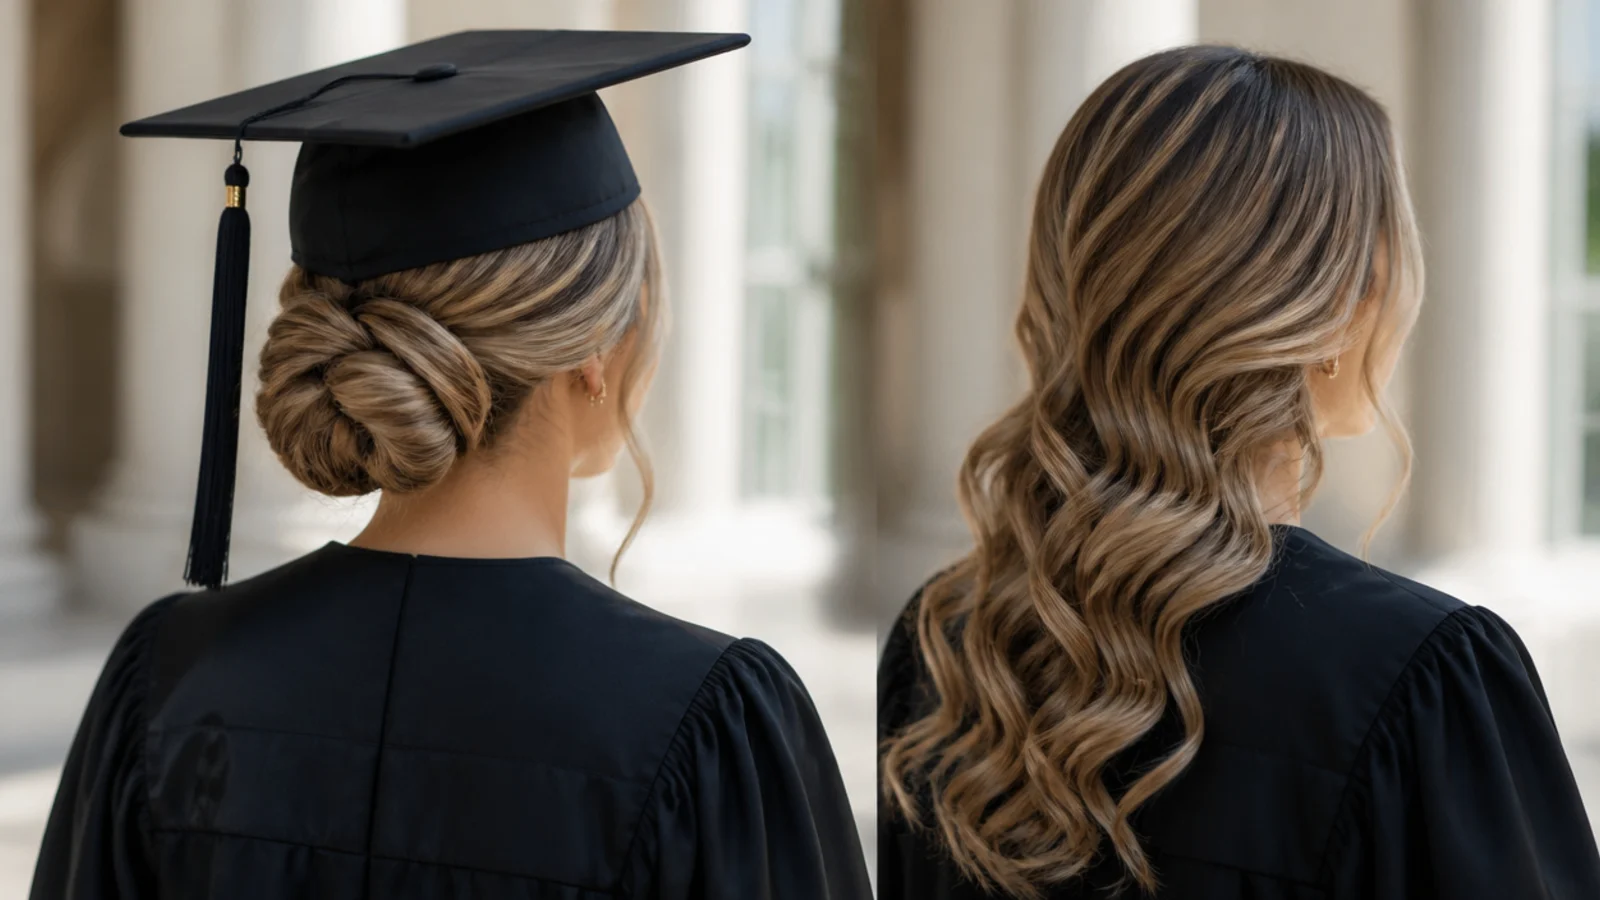
15 Graduation Hair Ideas for the Updo Versus Down Decision
Read more
15 Straight Hair Wedding Looks to Save
Read more
20 Gorgeous Prom Looks for Straight Hair
Read more