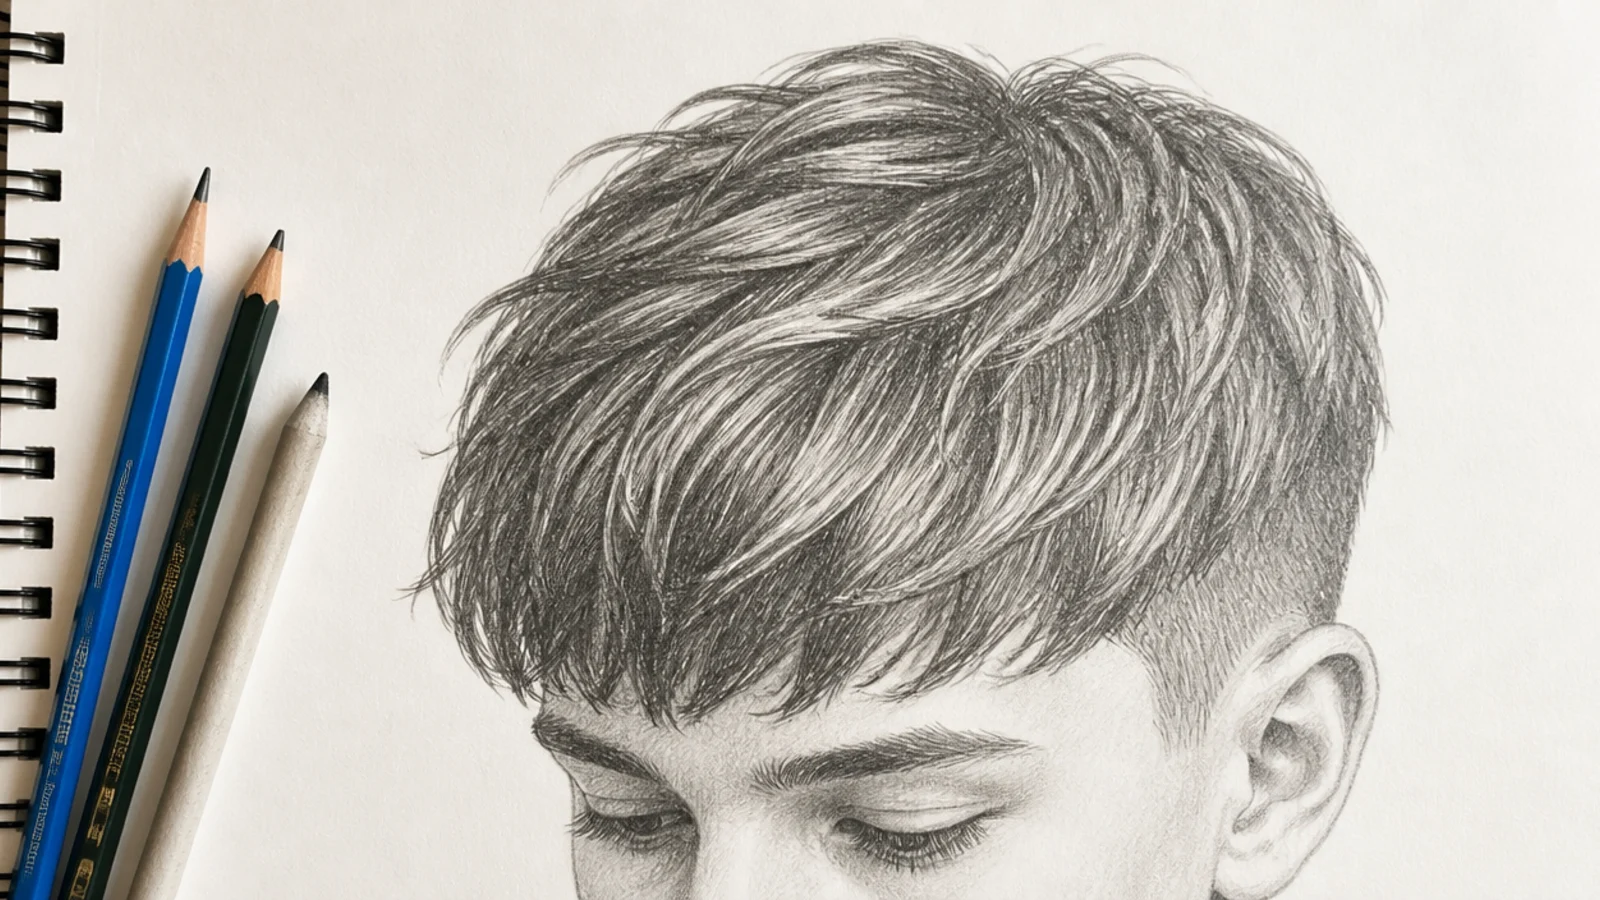
15 Boy Hair Sketch Ideas and How to Draw the Hairline
Fifteen short hair sketches and the detail that decides all of them. On a boy the hair is short enough that the skull shows through, so the drawing is won or lost on the hairline corners and the value ramp down the sides.
In this article · 24
- Pencils Paper and Tools
- The Male Hairline Shape
- Starting the Silhouette
- Shading for Volume
- Texture Comparison
- Using References
- Common Mistakes and Fixes
- The 15 Boy Hair Sketches
- 1. Buzz Cut
- 2. Taper Fade
- 3. Curtain Bangs
- 4. Textured Crop
- 5. Spiky Hair
- 6. Undercut
- 7. Slicked Back
- 8. Shaggy Mid Length
- 9. Mullet
- 10. Man Bun
- 11. Curly Top
- 12. Afro
- 13. Twists
- 14. 360 Waves
- 15. Mohawk
- Final Thoughts
A short hair sketch has nowhere to hide. There is not enough hair to build a shape out of, so the drawing is really a drawing of a skull with a hairline on it.
The hairline does the characterisation. A squared front edge with a corner at each temple reads as male; a high even arc does not, whatever the hair above it is doing.
Short hair still needs a gap. Even a buzz sits a few millimetres proud of the skull, and a silhouette traced exactly onto the skull circle looks painted on.
Pencils Paper and Tools
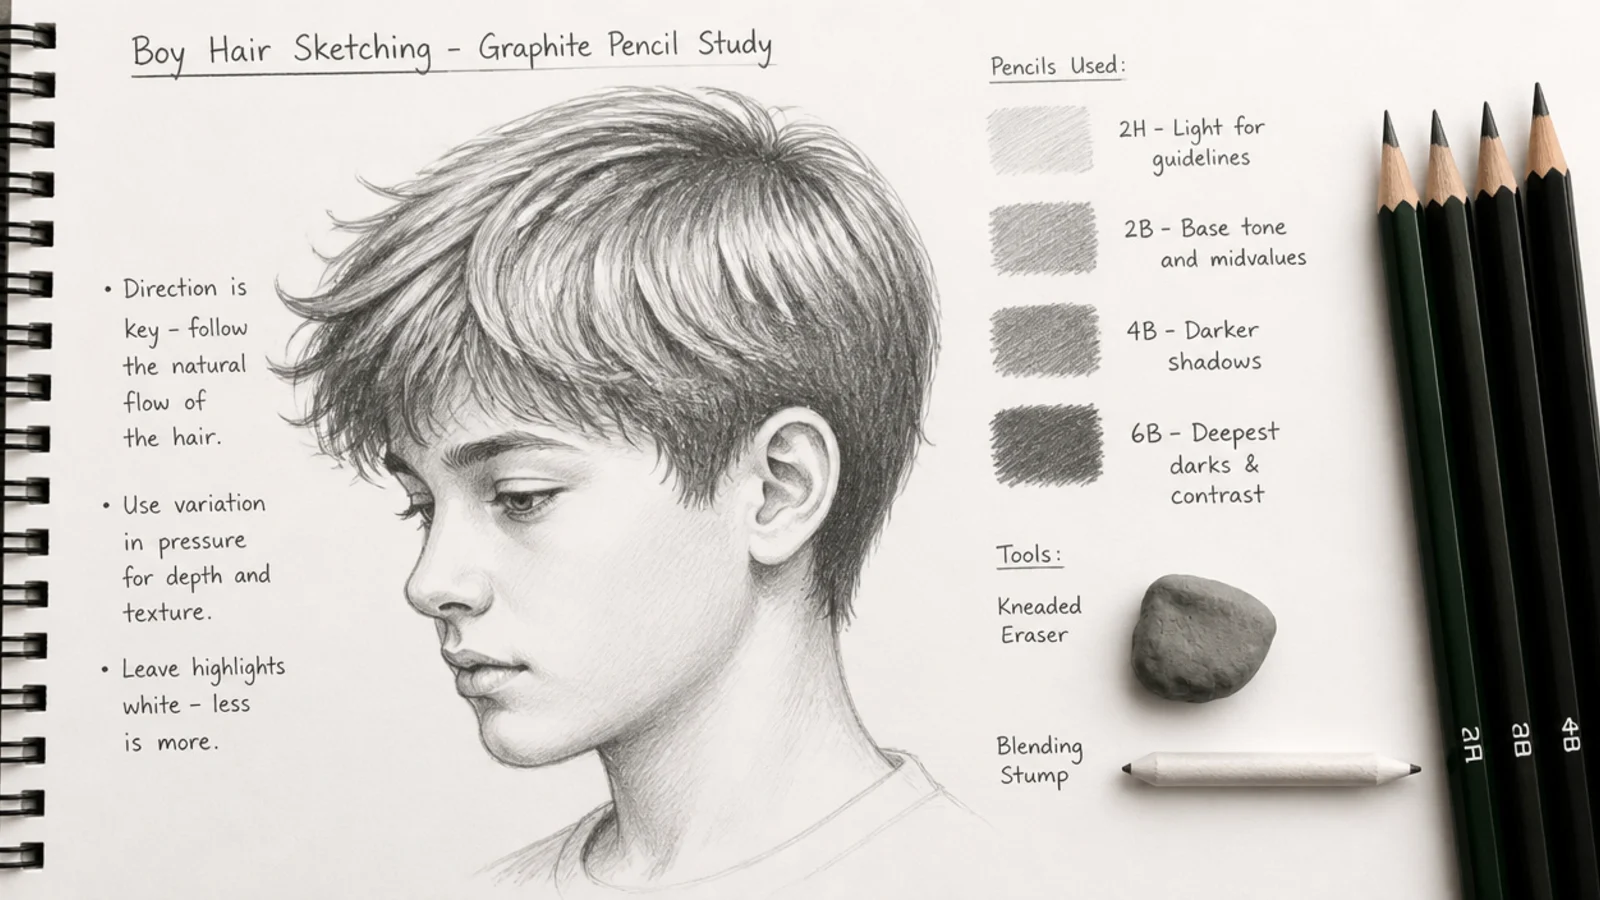
HB for construction and nothing heavier. The skull, the jaw and the hairline all have to vanish under the finished drawing.
2B to 4B for the hair mass. Soft enough to lay an even tone quickly, hard enough to keep a point for the edge flicks.
A 6B for the overlaps. The darkest values in a short cut sit at the nape and under the fringe where hair passes behind hair.
A blending stump for the fade only. Rub a stump across the whole head and you lose every crisp edge you drew, so restrict it to the ramp down the sides.
A hard eraser cut to a corner. This is what gives you the sharp line at an undercut boundary or a lined-up hairline, and no pencil edge is as clean.
The Male Hairline Shape
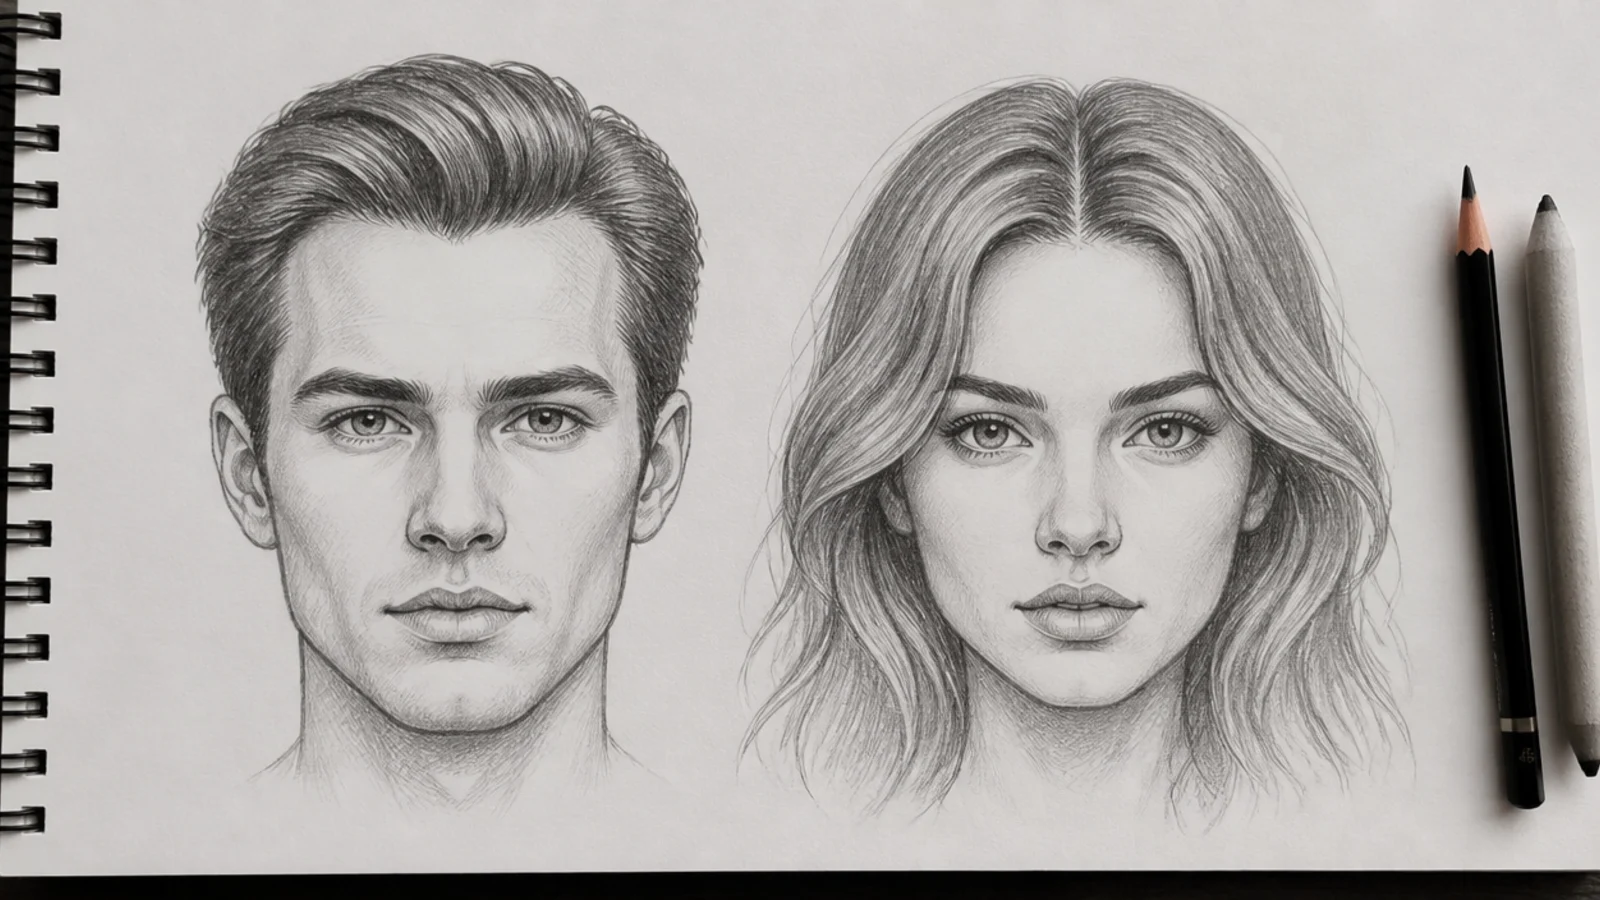
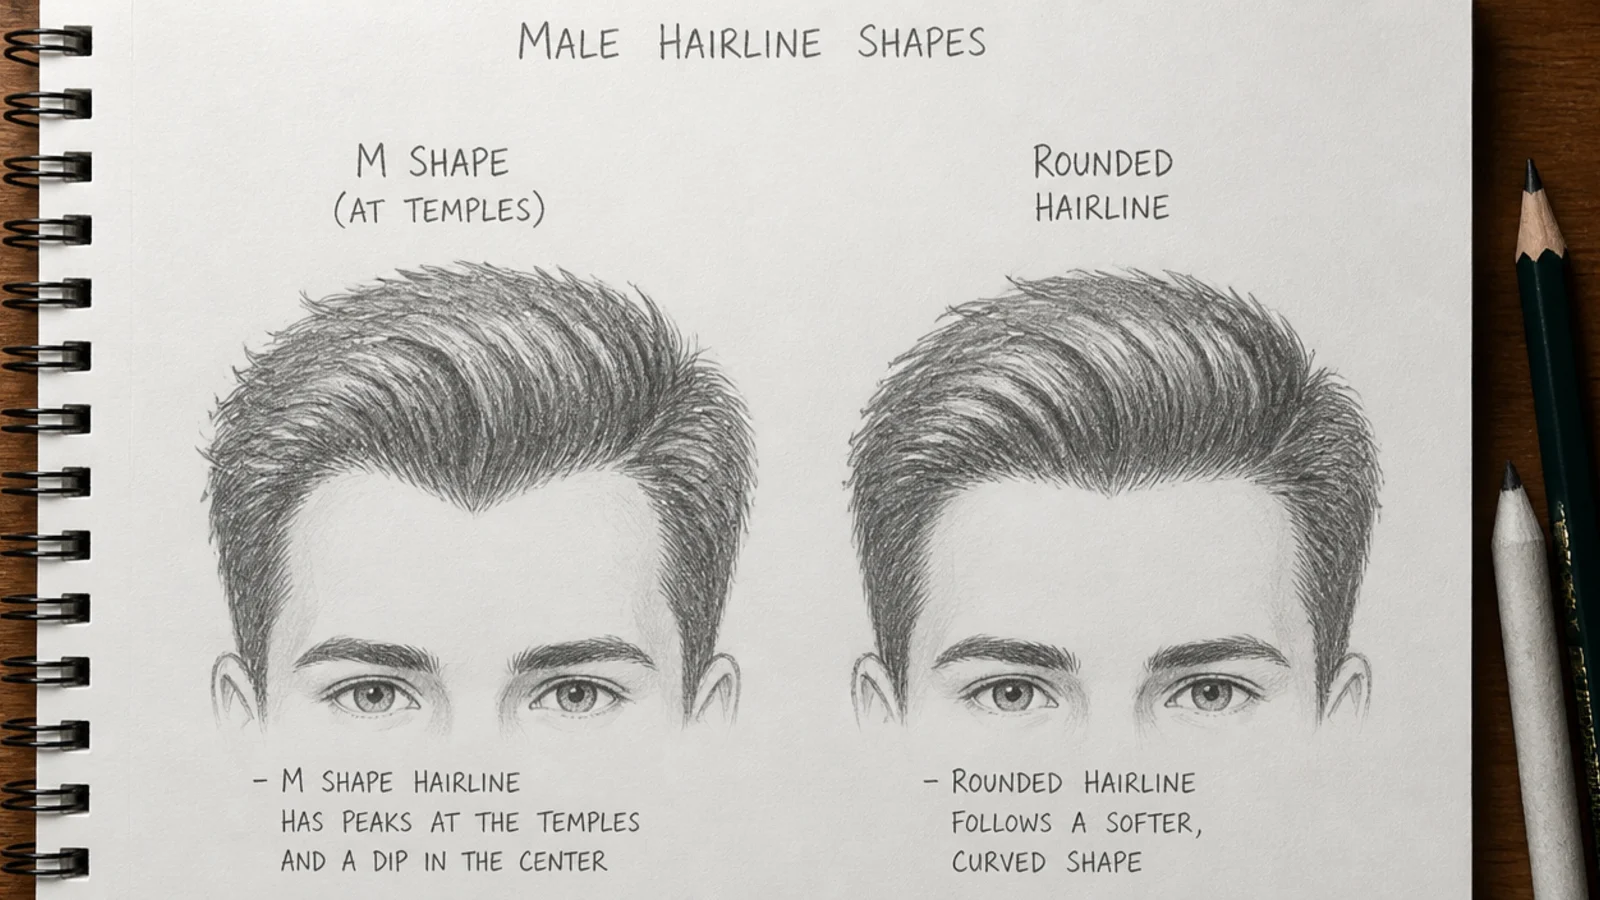
Square the front edge. The forehead meets the hair along a fairly straight run rather than a dome, and the width of that run sets how mature the face reads.
Put a corner at each temple. That corner is the single most identifying point on the whole head, and moving it a few millimetres changes the apparent age more than the cut does.
Allow a shallow indent above the corner. Most adult male hairlines step back slightly there. Drawing it as a smooth curve is what makes an adult read as a child.
The hairline is a zone, not a contour. The hair thins out over several millimetres, so it wants short flicks that fade rather than a single line drawn across the forehead.
Carry the sideburn down in front of the ear. It anchors the hairline to the jaw, and leaving it out makes the hair look like a separate object resting on the head.
Starting the Silhouette
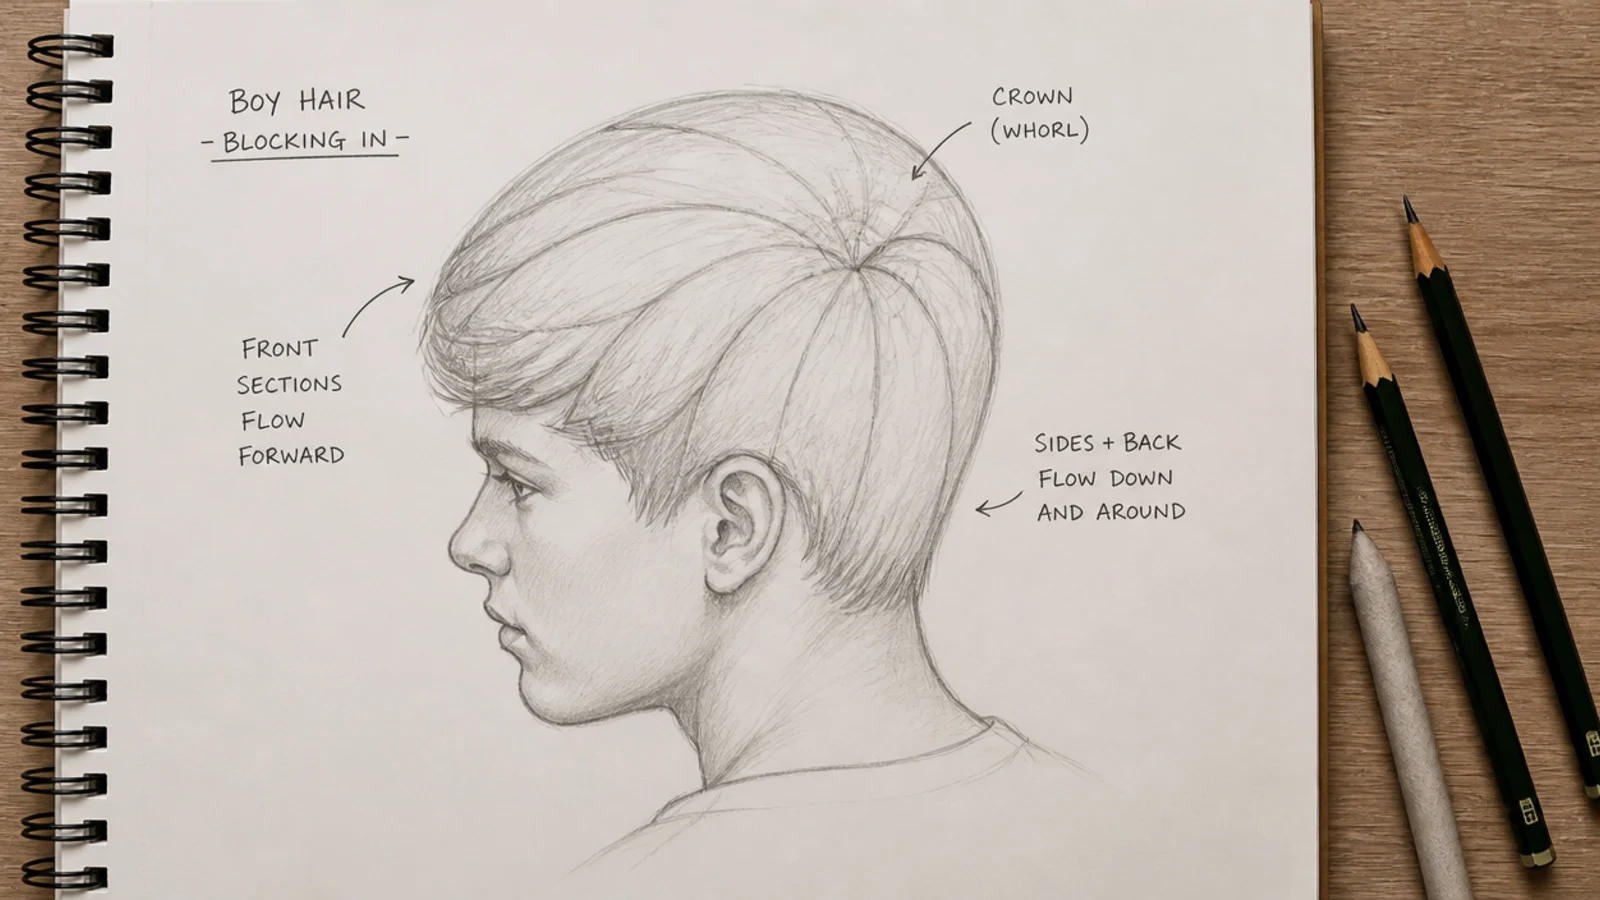
Skull and jaw first, lightly. A circle for the cranium with the jaw hung off it, and the ear placed between the brow line and the base of the nose.
Find the crown whorl. Slightly back from the top and usually off centre. Every direction line in the drawing radiates from it.
Draw the hairline before the hair. It is easier to fit a shape to a correct hairline than to correct a hairline under a finished shape.
Block the mass as one outline. No interior detail until the silhouette reads as the cut at thumbnail size, because that outline carries almost all of the recognition.
Keep the gap proportional to the cut. A buzz adds almost nothing, a crop adds a lot at the front and little at the sides, an afro adds a large even margin all the way round.
Shading for Volume
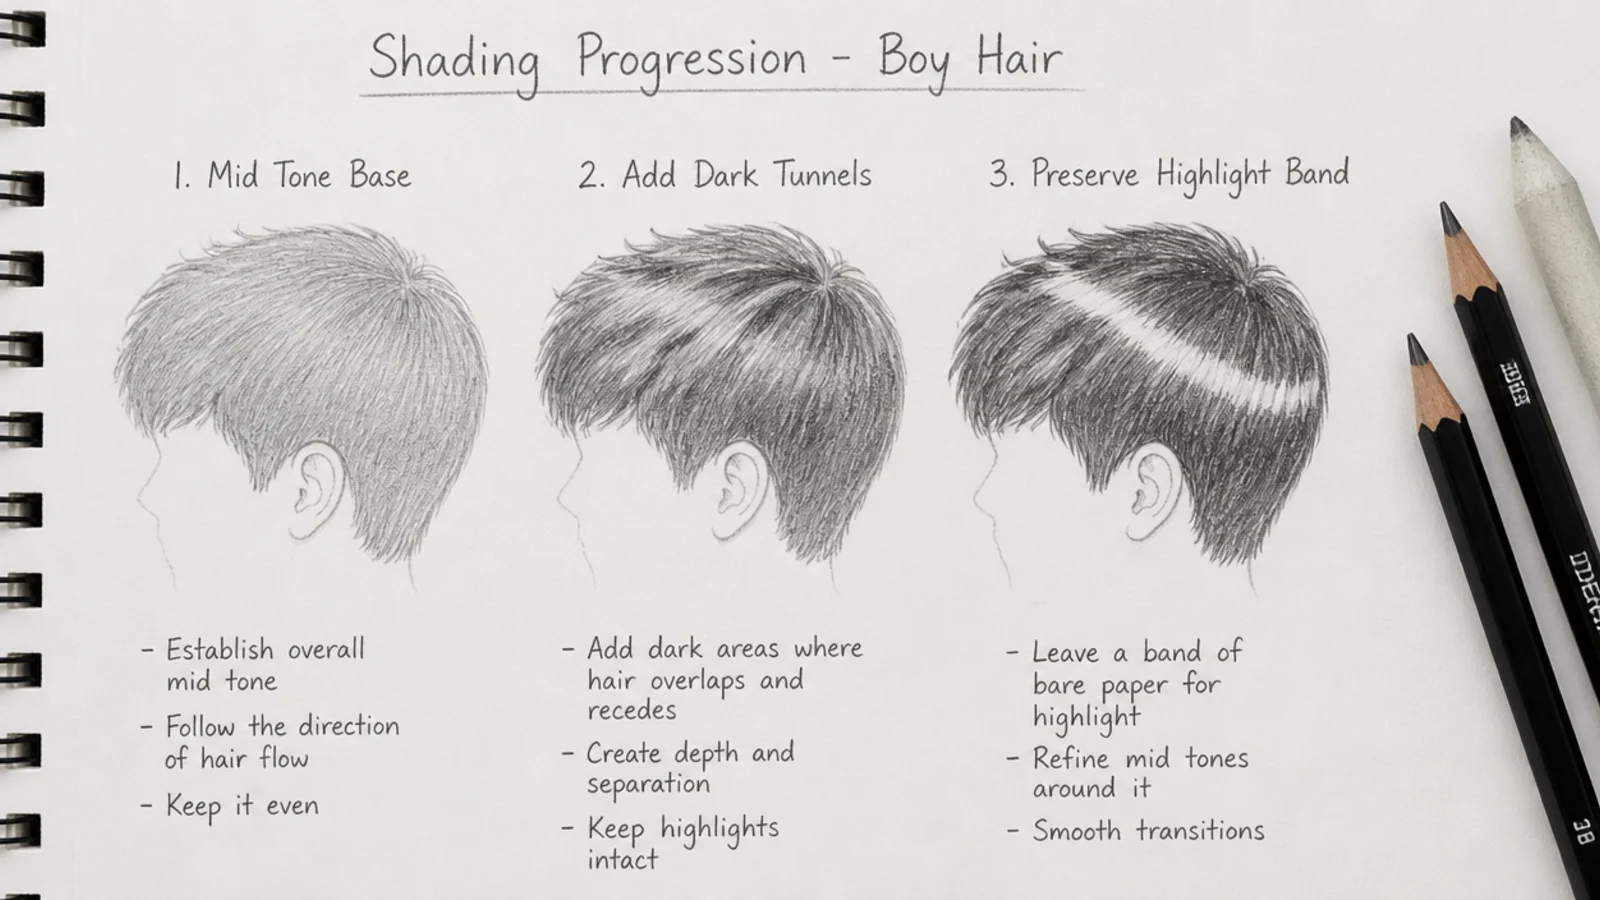
Three values, not twenty. A lit plane, a half tone where the skull turns away, and a core shadow at the underside. Everything else is decoration.
Hair overlapping hair is the darkest thing on the page. The nape, the underside of a fringe and the gap between two clumps beat any shadow on the face for depth.
A fade is a ramp, not a set of steps. Value climbs continuously from nearly bare paper at the bottom to the tone of the top, and any visible band means a pass was missed.
Direction of stroke does the modelling. Strokes that follow the curve of the skull describe its roundness, and strokes that ignore it flatten the head however carefully they are toned.
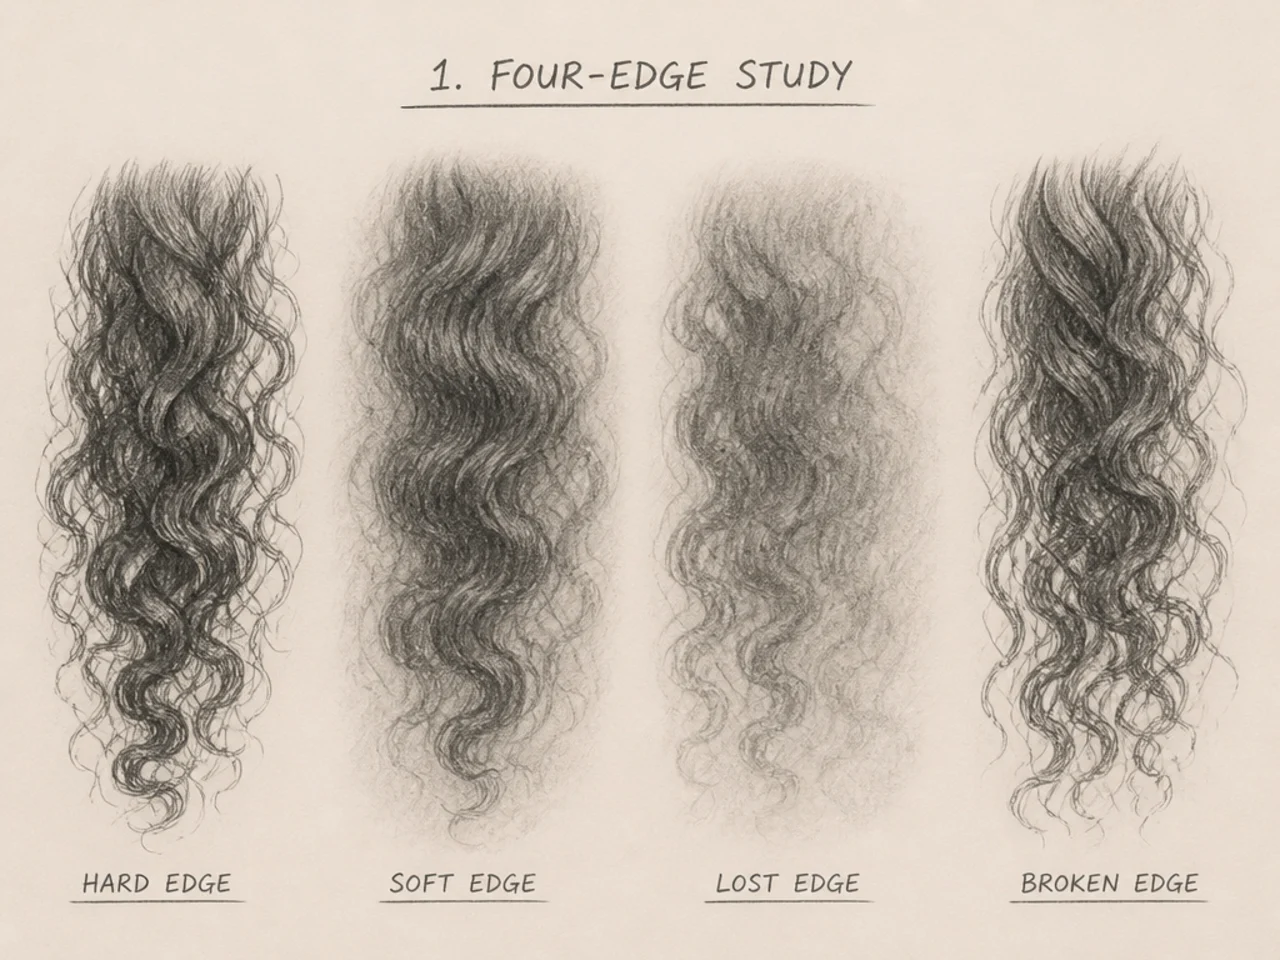
Leave one crisp edge. Blending everything produces a soft grey ball. The hairline, the fringe edge or an undercut boundary should stay sharp for contrast.
Texture Comparison
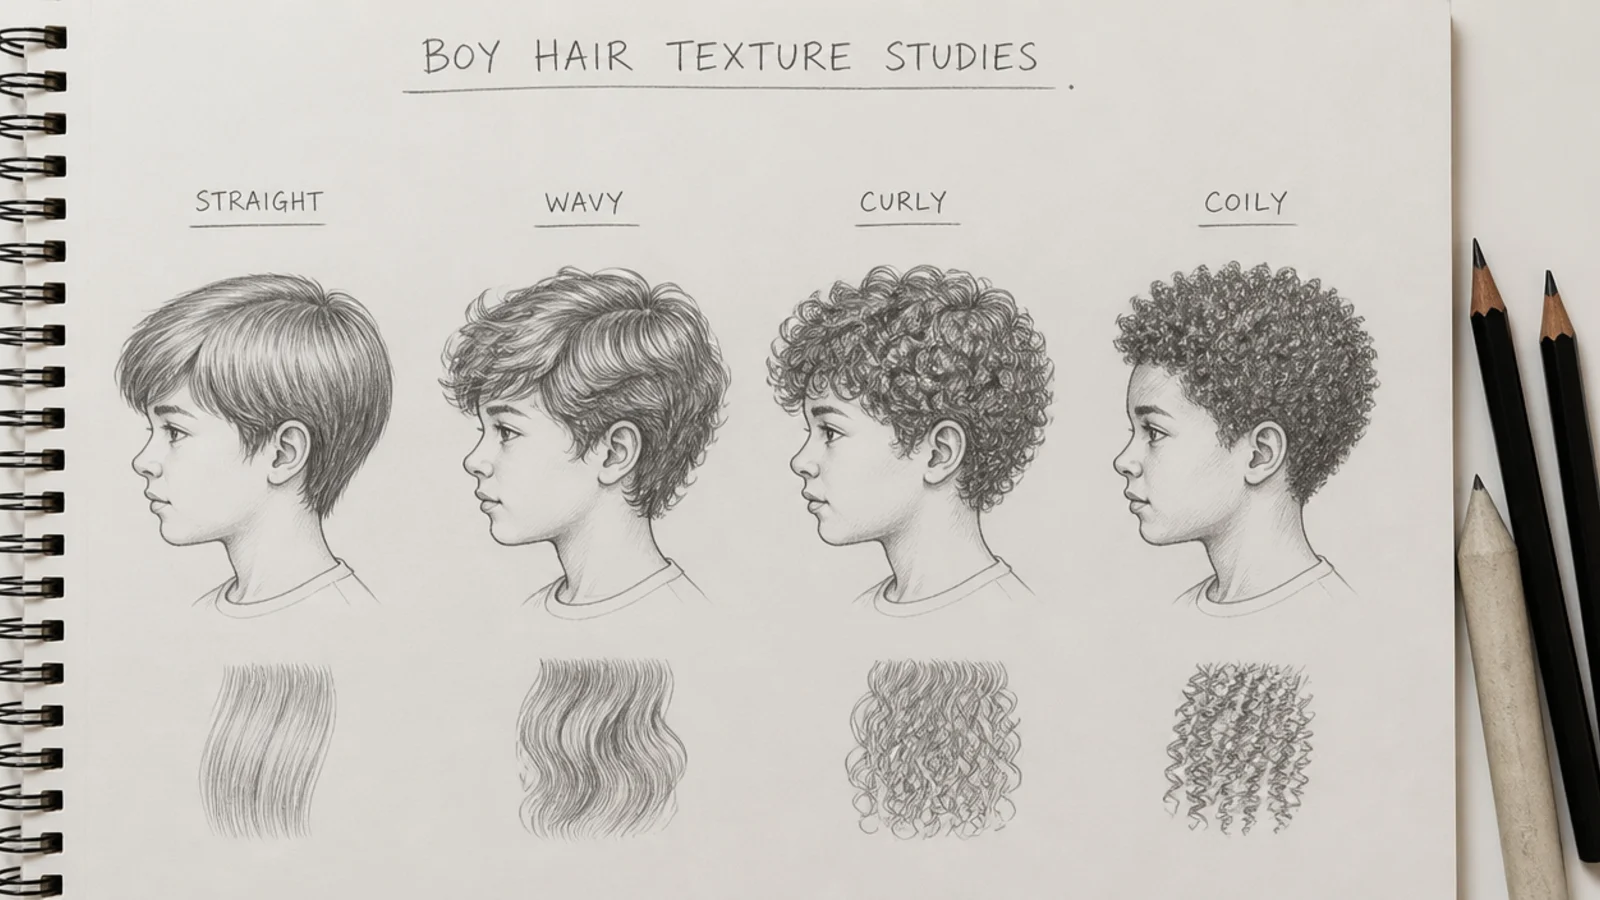
Straight reads in the strokes. Long, few, and following one direction. The silhouette stays close to smooth.
Wavy reads in the spine. Draw an S-curve for each section first, then build the section around it, keeping the wavelength consistent across the head.
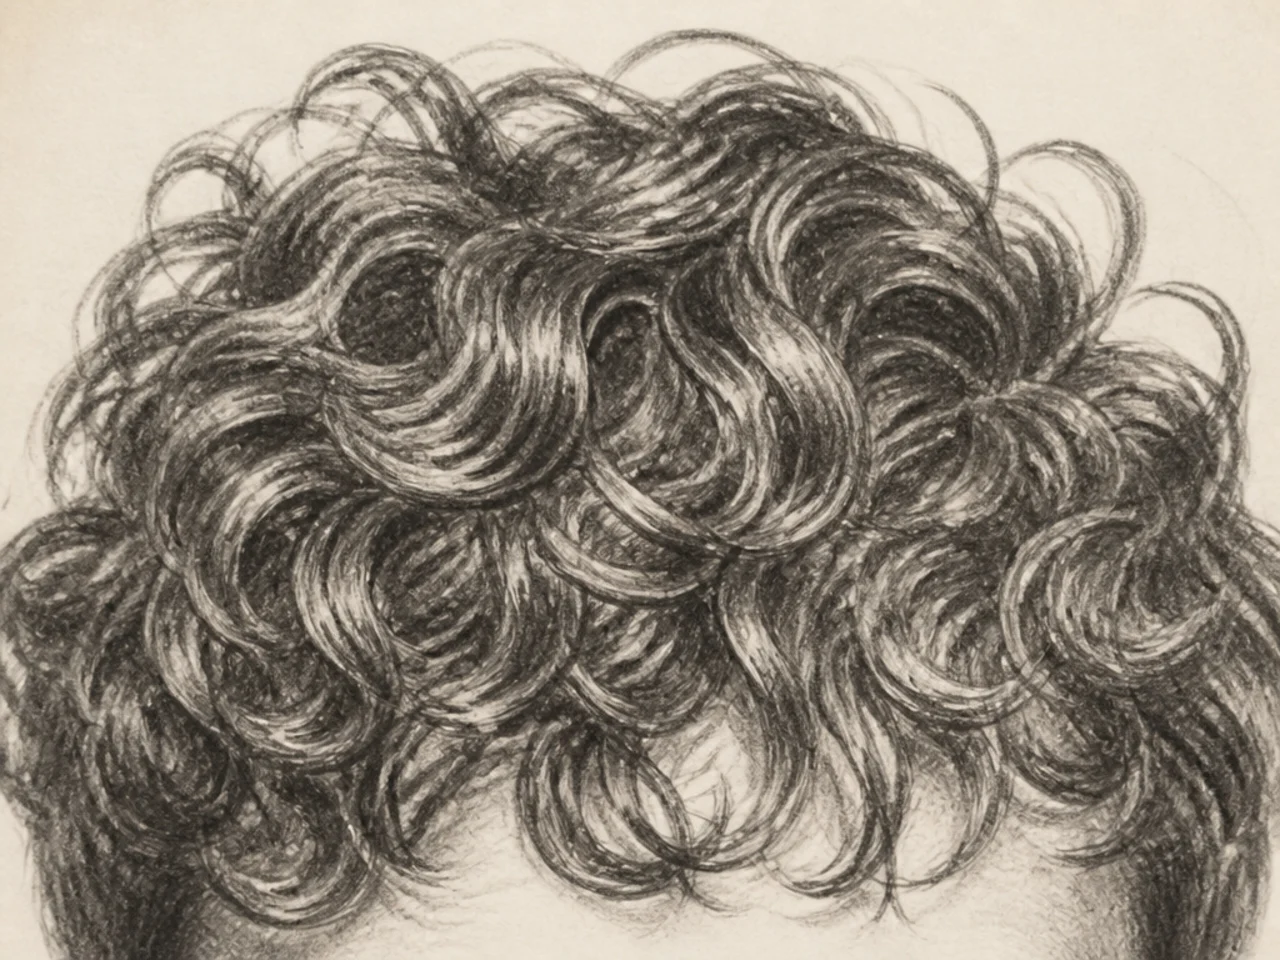
Curly reads in the outline. A bumpy, interrupted silhouette identifies curl before any interior mark does, which is why detail inside a curly mass is largely wasted effort.
Coily reads in the edge and the density. Keep the interior a flat mid tone and put the whole texture into the perimeter, since that is exactly how the eye recognises it in life.
Using References
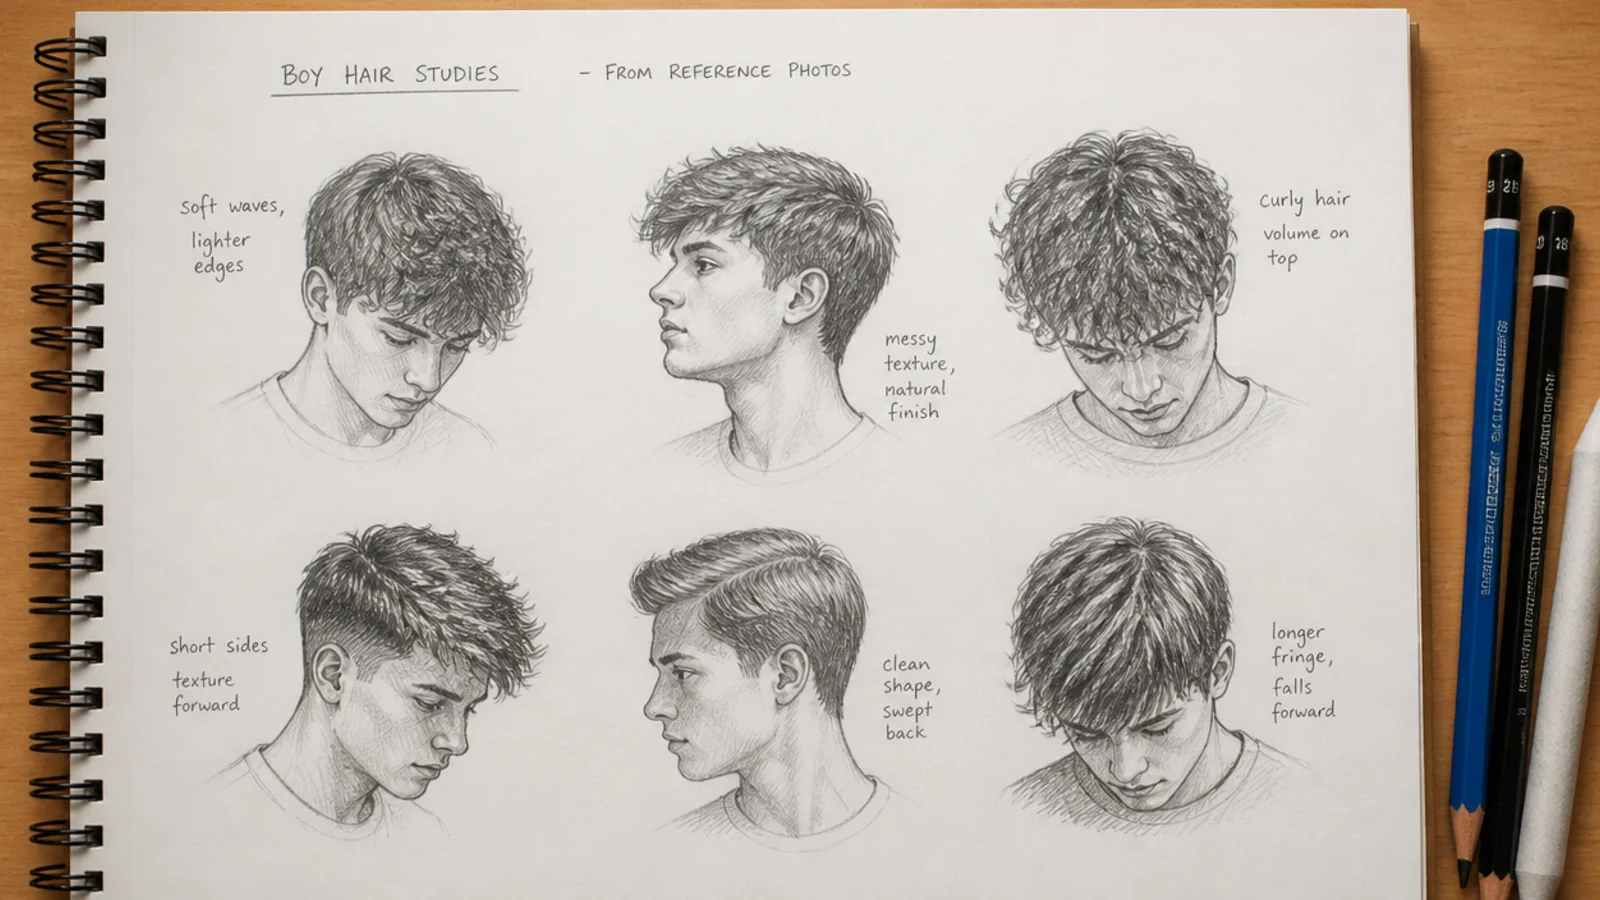
Use a photograph for how the cut actually sits. Memory reliably puts the ears too high and the hairline too round, and a reference fixes both in seconds.
Learn the barber vocabulary alongside the shape. A taper leaves length and a fade goes to skin, so a drawing labelled one and shaded as the other is wrong before anyone looks at the line work.
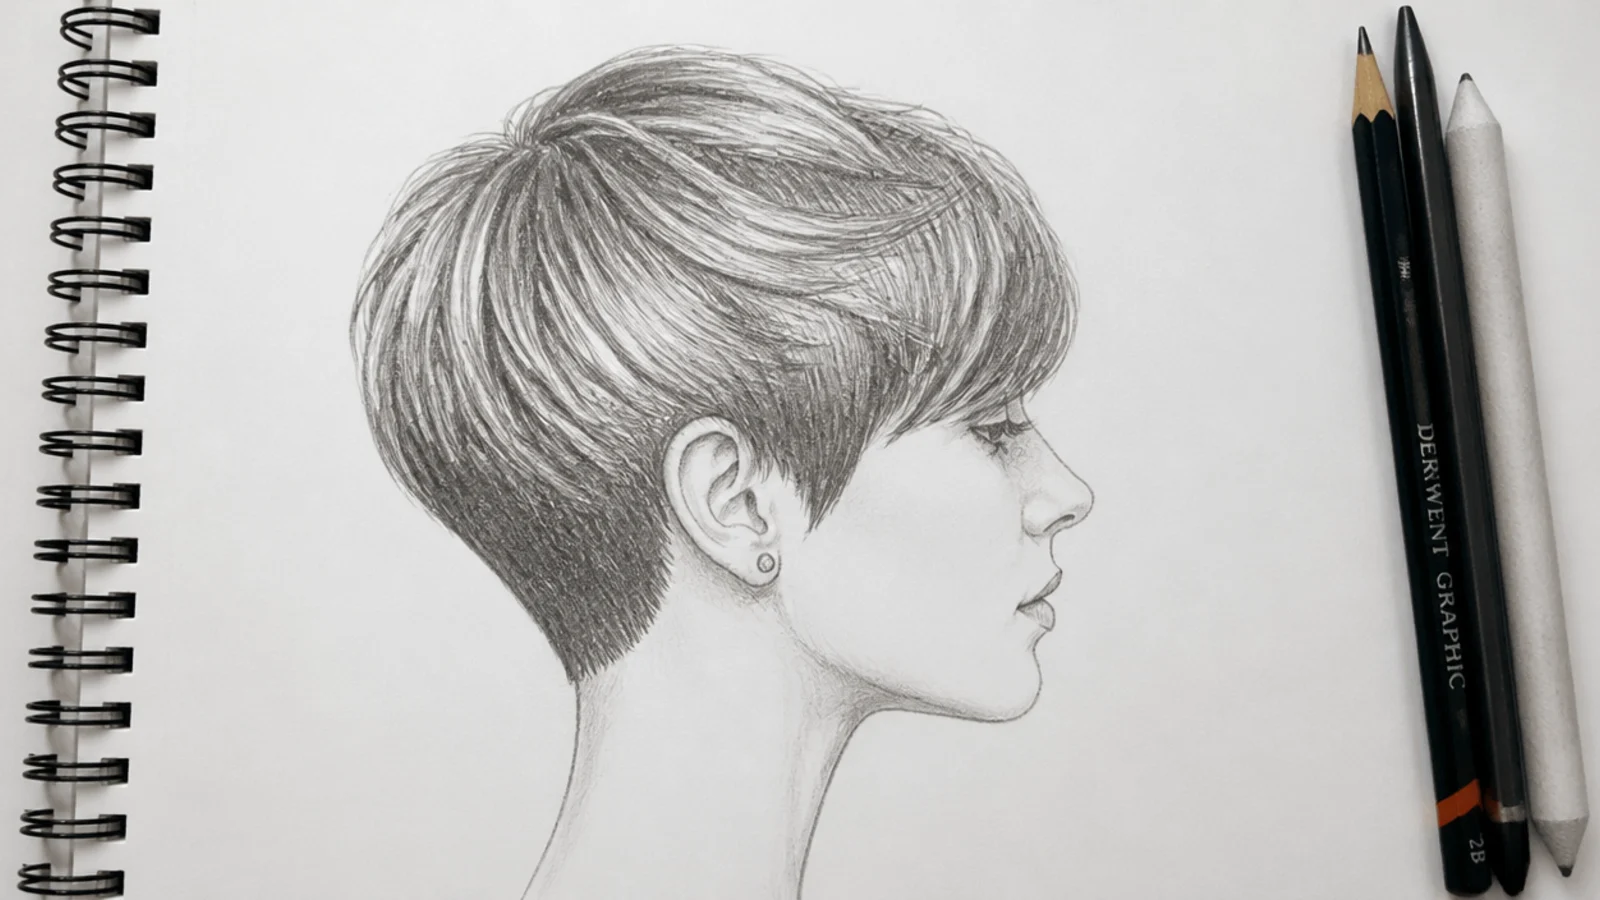
Draw the same head three times. Front, three quarter and profile. The mullet and the mohawk only make sense in profile, and the crown whorl moves in each view.
Squint at the reference and at your page. Squinting removes detail and leaves value, which is the fastest way to find out that your fade has a band in it.
Common Mistakes and Fixes
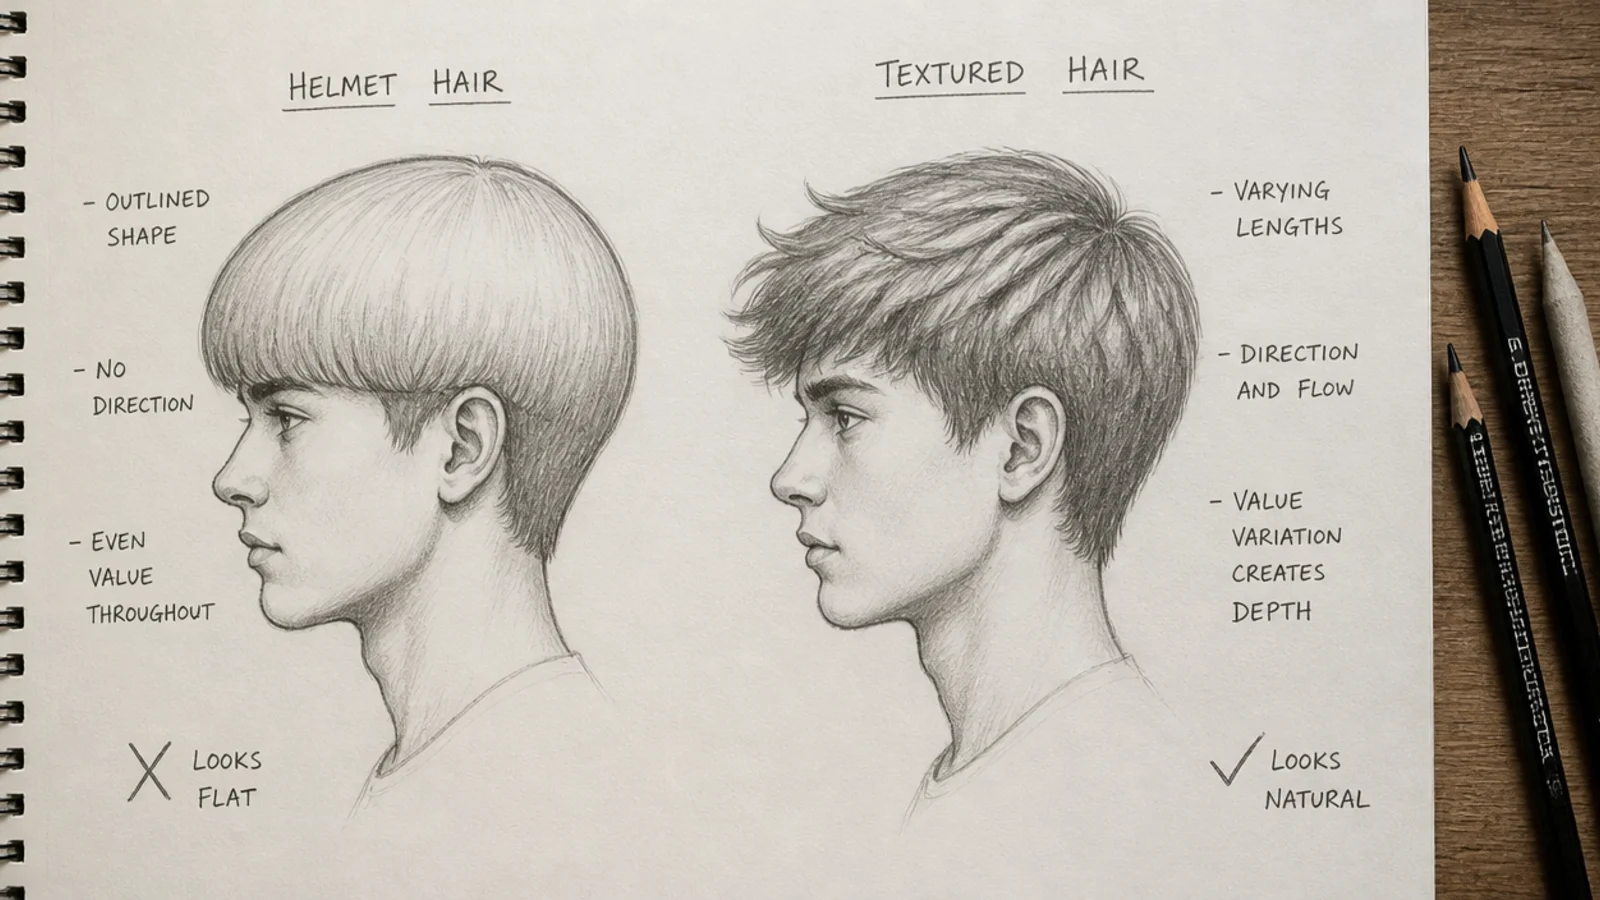
A hairline drawn as a hard line. Replace it with short tapering flicks so the hair fades into the forehead the way it does in life.
A silhouette traced onto the skull. Step outside it. Even three millimetres of margin restores the volume.
A banded fade. Go back with a stump in small circles across the boundary rather than adding more graphite, since the problem is a jump in value and not a shortage of tone.
Ears set too high. They sit between the brow line and the base of the nose, and a high ear is what makes a face read as a cartoon by accident.
Every strand drawn. Hair reads in groups, so the drawing wants a handful of tonal masses with strand detail only at the edges where light catches them.
The 15 Boy Hair Sketches
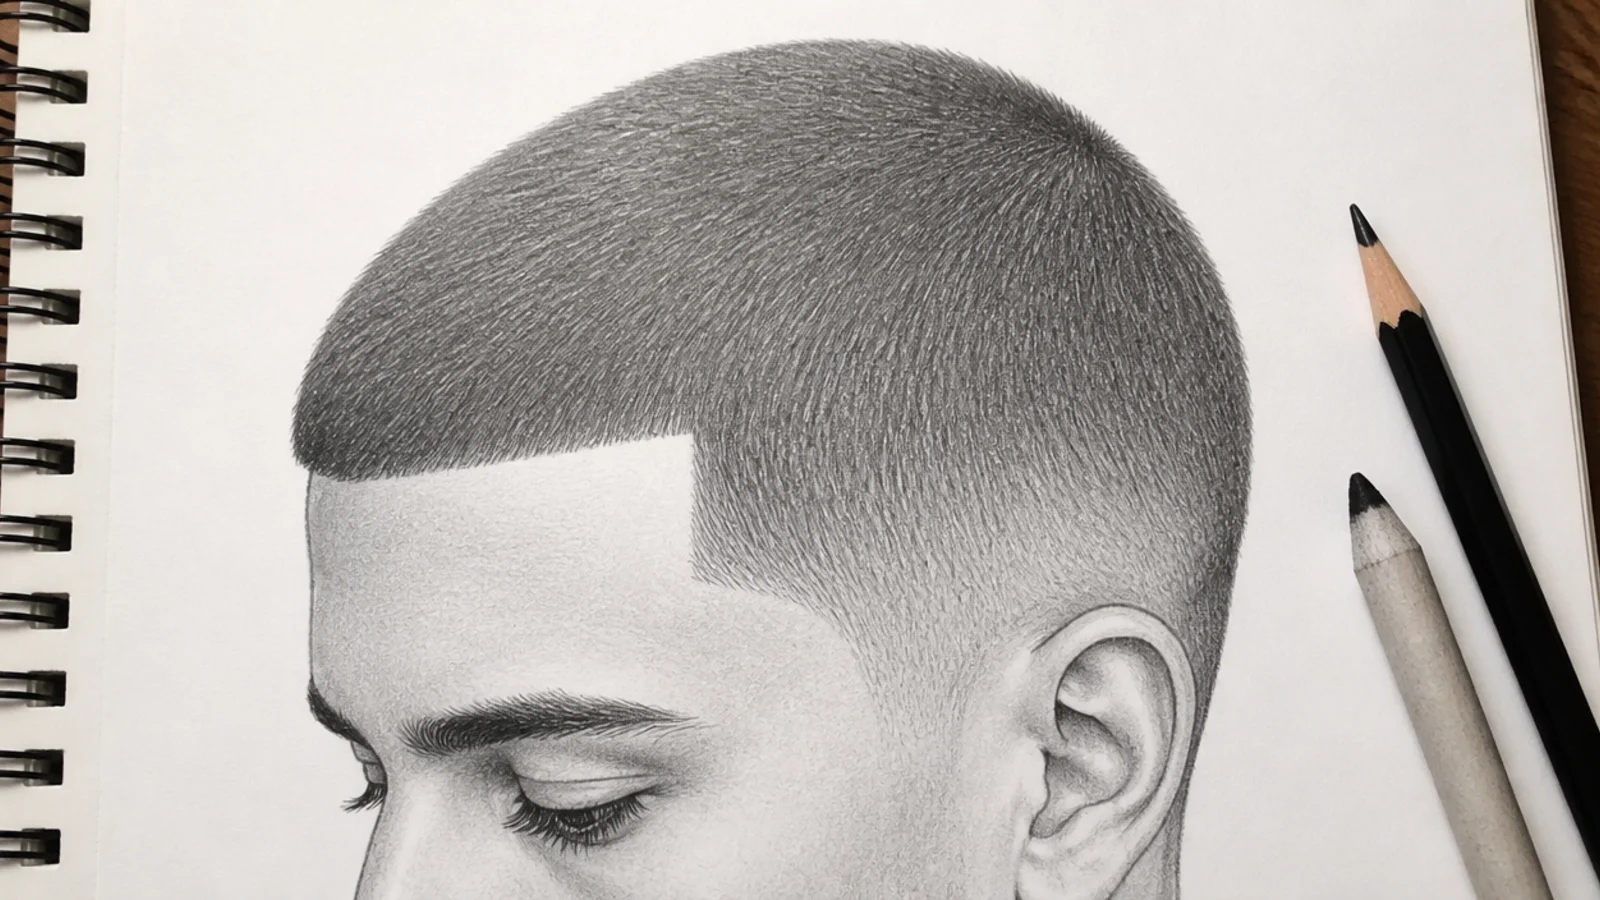
1. Buzz Cut
There is no shape to hide behind, so this is a drawing of a skull with a tone over it. Keep the value even and let it change only where the head turns away from the light, and soften the front edge, because a buzz has no hard perimeter unless it has been lined up with a trimmer.
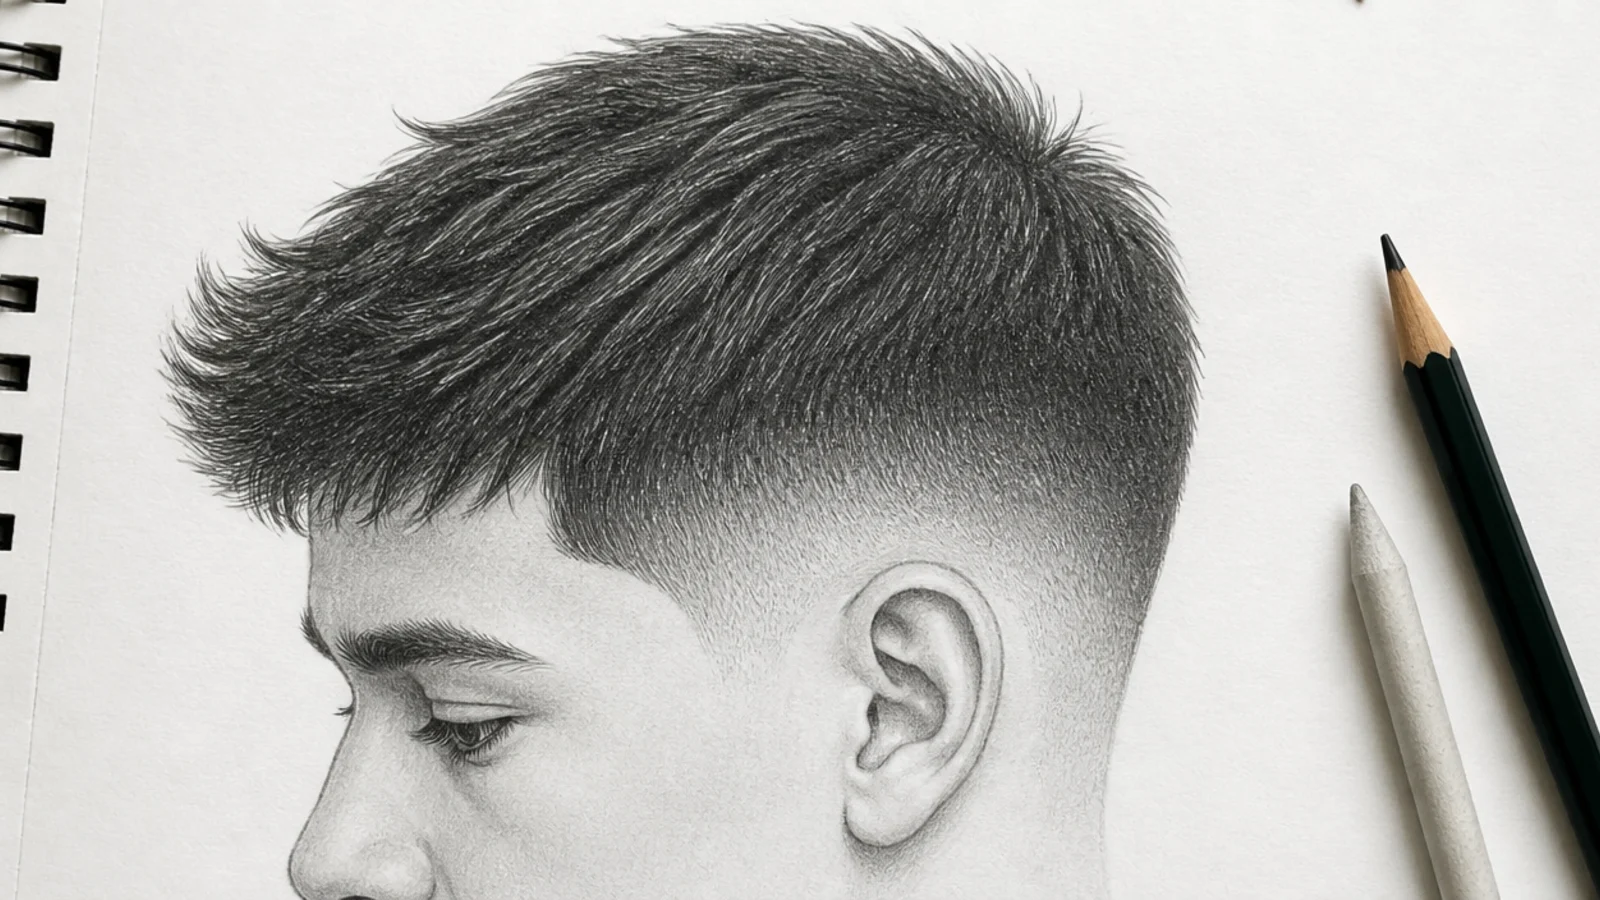
2. Taper Fade
A taper leaves length at the bottom and a fade goes to skin, and in graphite that distinction is a matter of how pale the lowest value gets. Build the ramp in overlapping passes and check it by squinting, since a step that is invisible up close appears immediately once detail drops out.
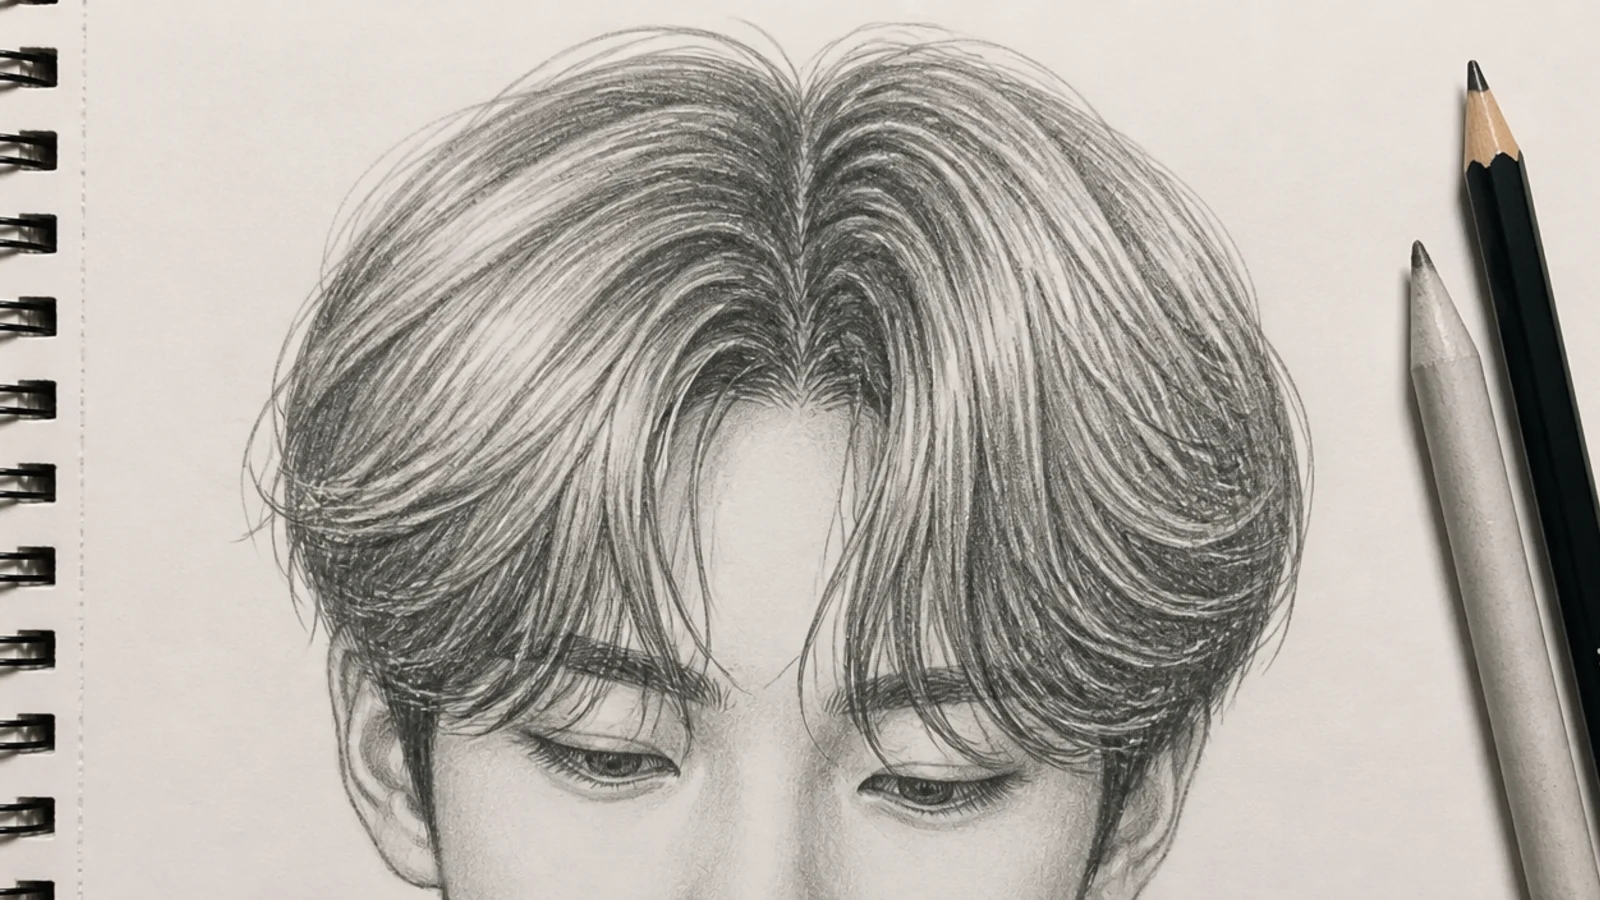
3. Curtain Bangs
Two panels split from a point near the crown and sweep outwards, shortest at the parting and longest at the cheekbone. The exposed forehead between them is part of the shape, so the gap has to be drawn as deliberately as the hair or the whole thing closes up into a fringe.
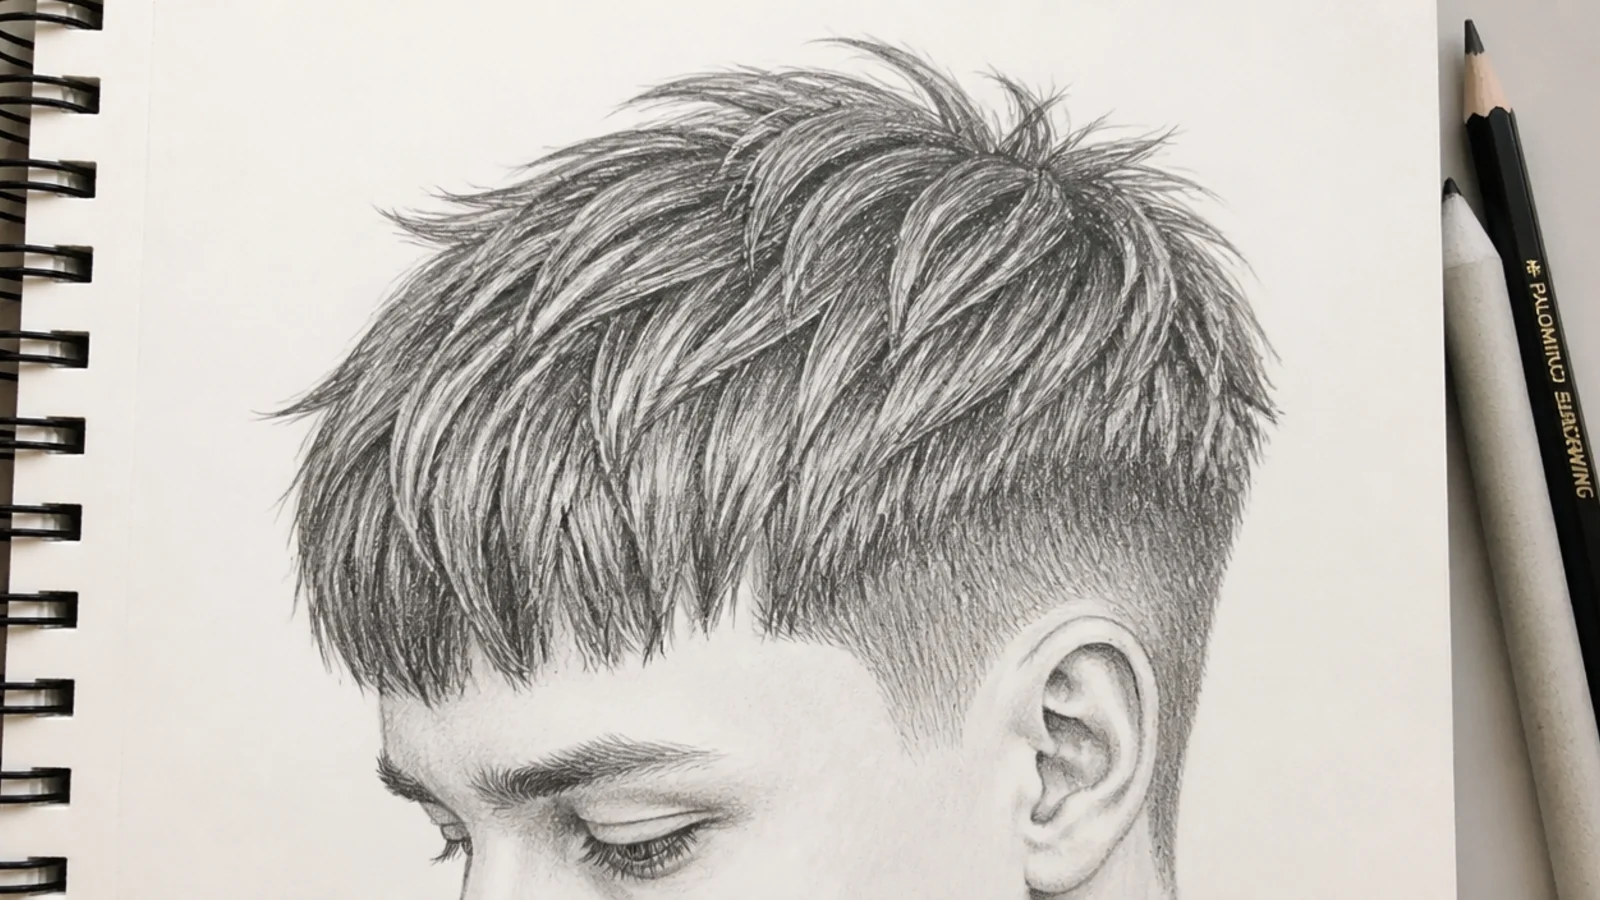
4. Textured Crop
The cut is a blunt fringe line with the texture cut into its edge, so the interior stays a solid mass and every separated point sits along the front. Drawing texture across the whole top instead is the usual error, and it turns a crop into an undefined mop.
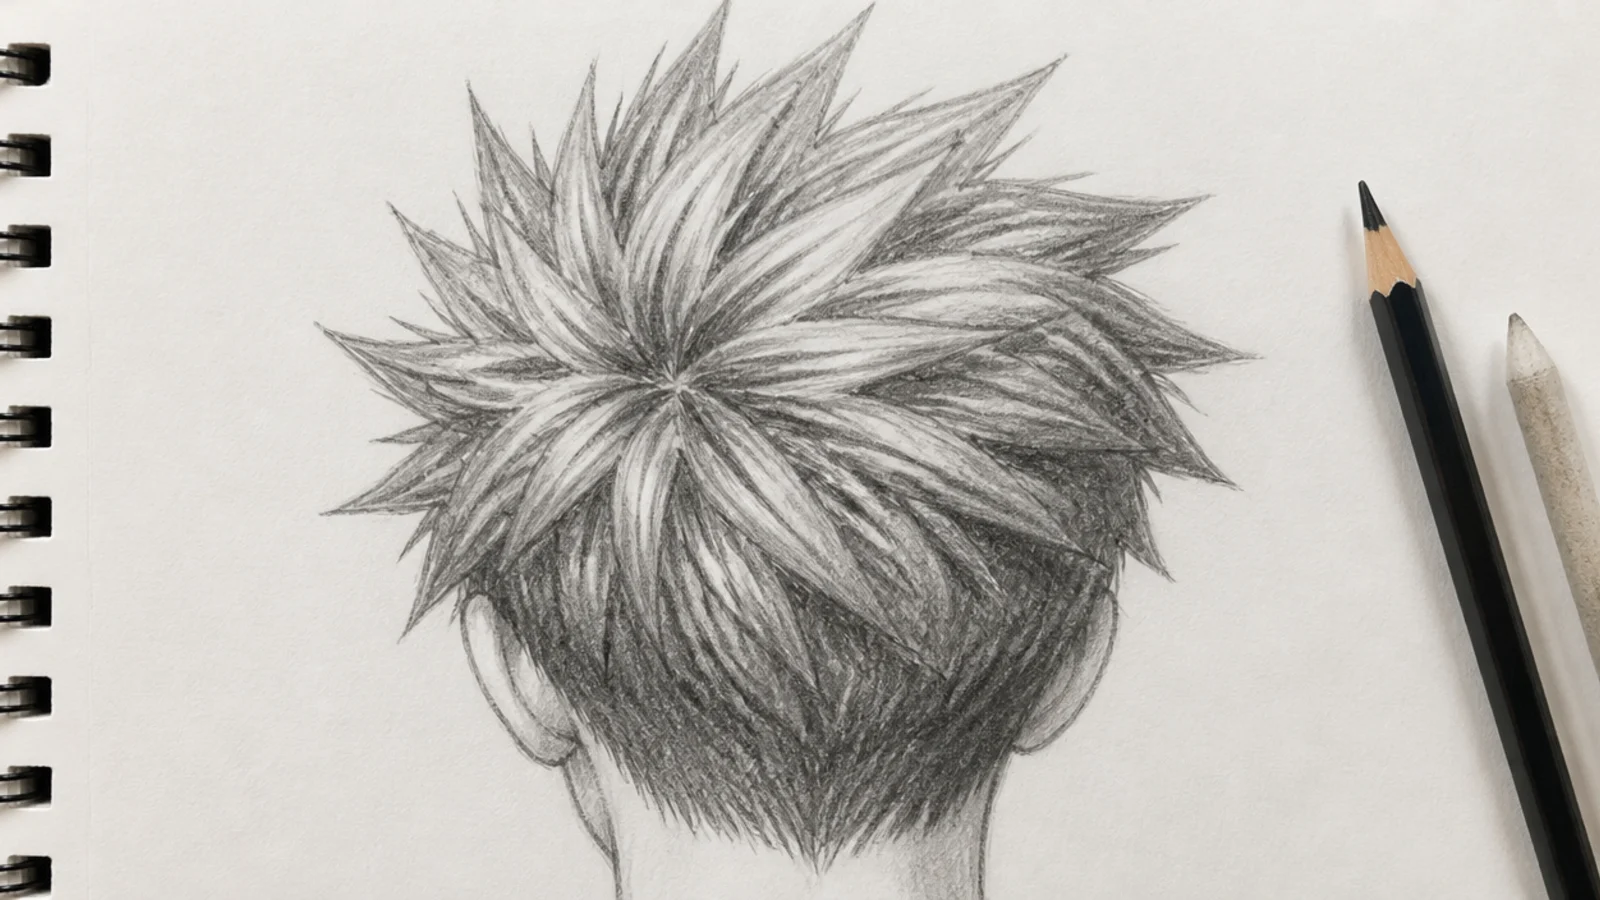
5. Spiky Hair
Product holds hair up from a point above the root, not from the scalp, so the first centimetre lies close to the head and the lift starts after it. Give the spikes unequal heights and let a few lean across their neighbours, because a matched row reads as a comb.
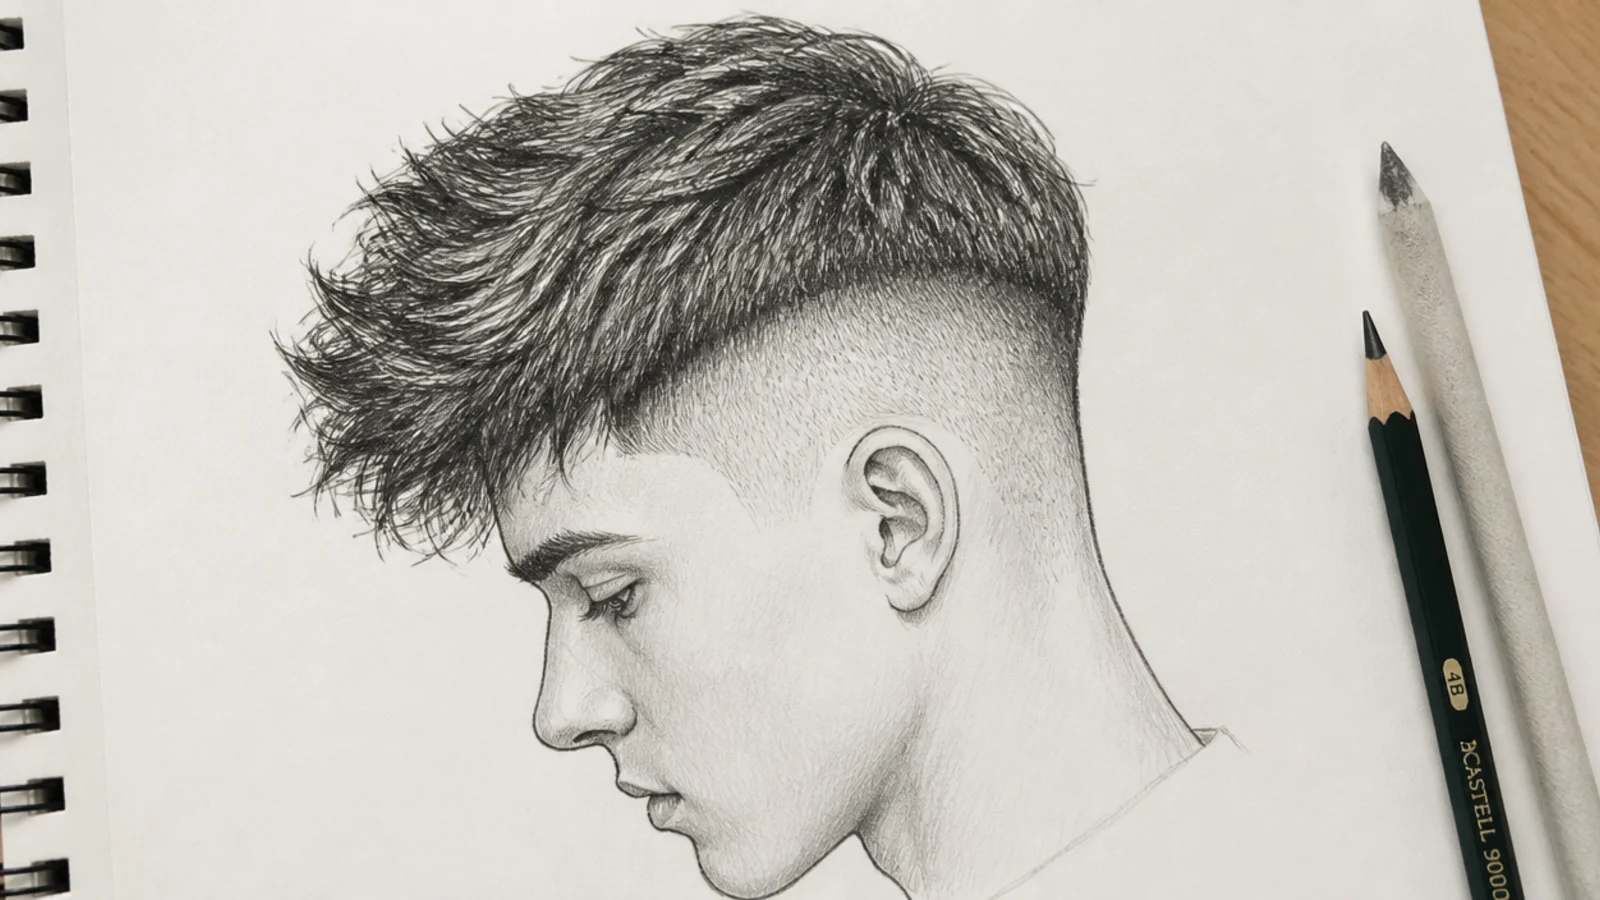
6. Undercut
What separates an undercut from a fade is that there is no blend at all, so the boundary is drawn as a line rather than shaded as a ramp. Keep the shaved field flat and even, and let the top overhang it slightly, which is what casts the small shadow that makes the disconnection read.
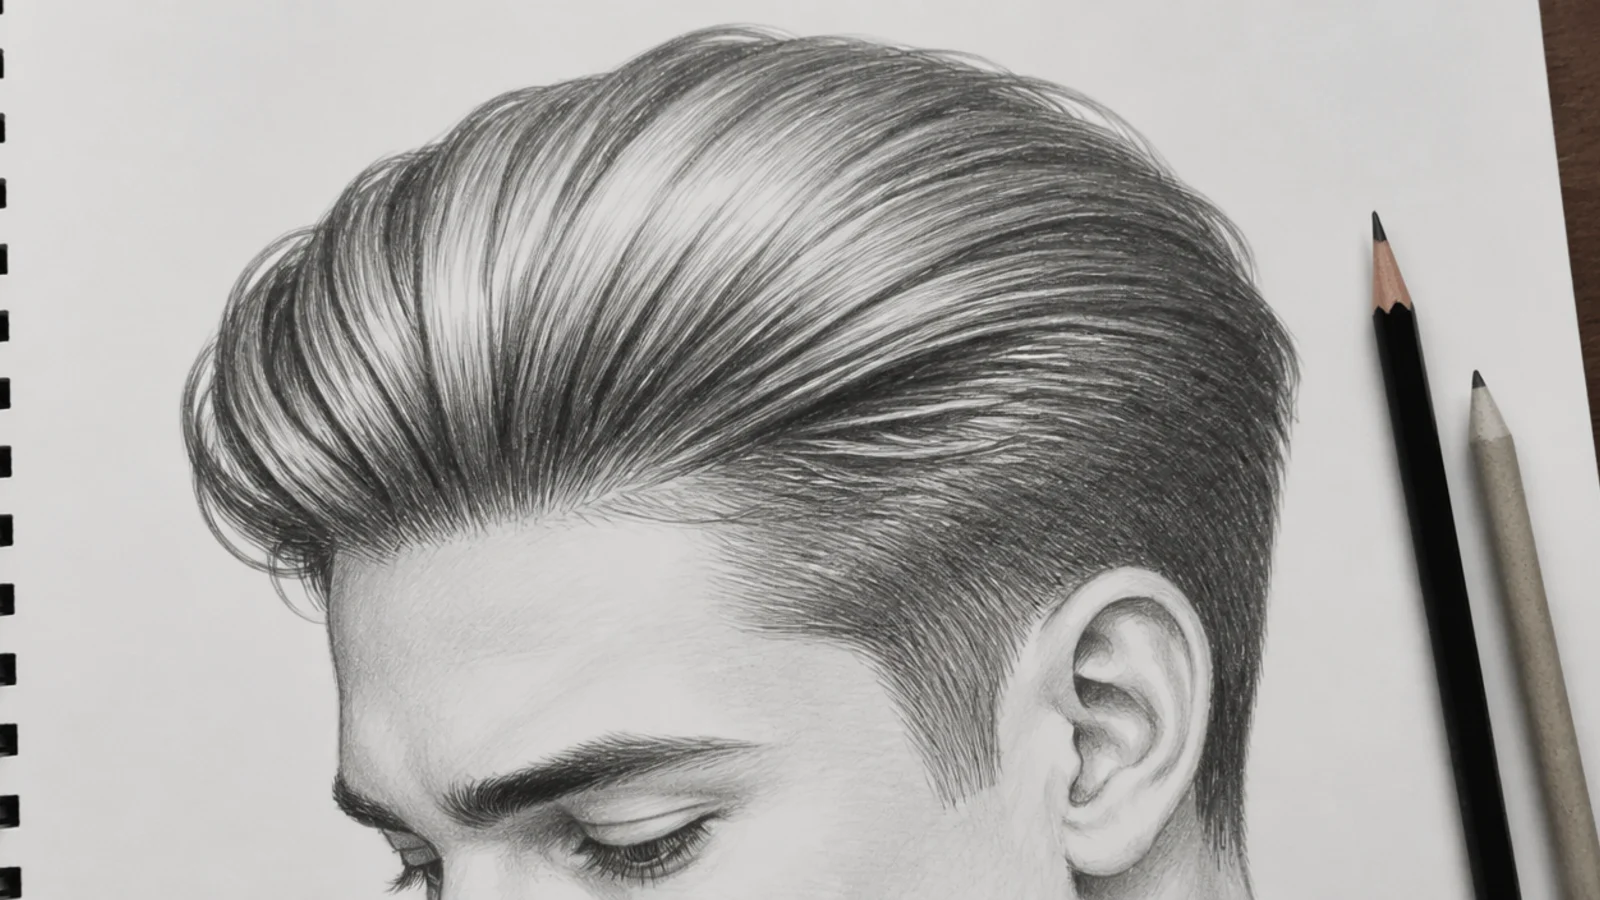
7. Slicked Back
Every direction line runs back from the hairline towards the crown, which means the hairline is fully exposed and any inaccuracy in it is on show. Run one long highlight over the crown along the direction of the hair, since a slicked surface behaves like a single reflective plane.
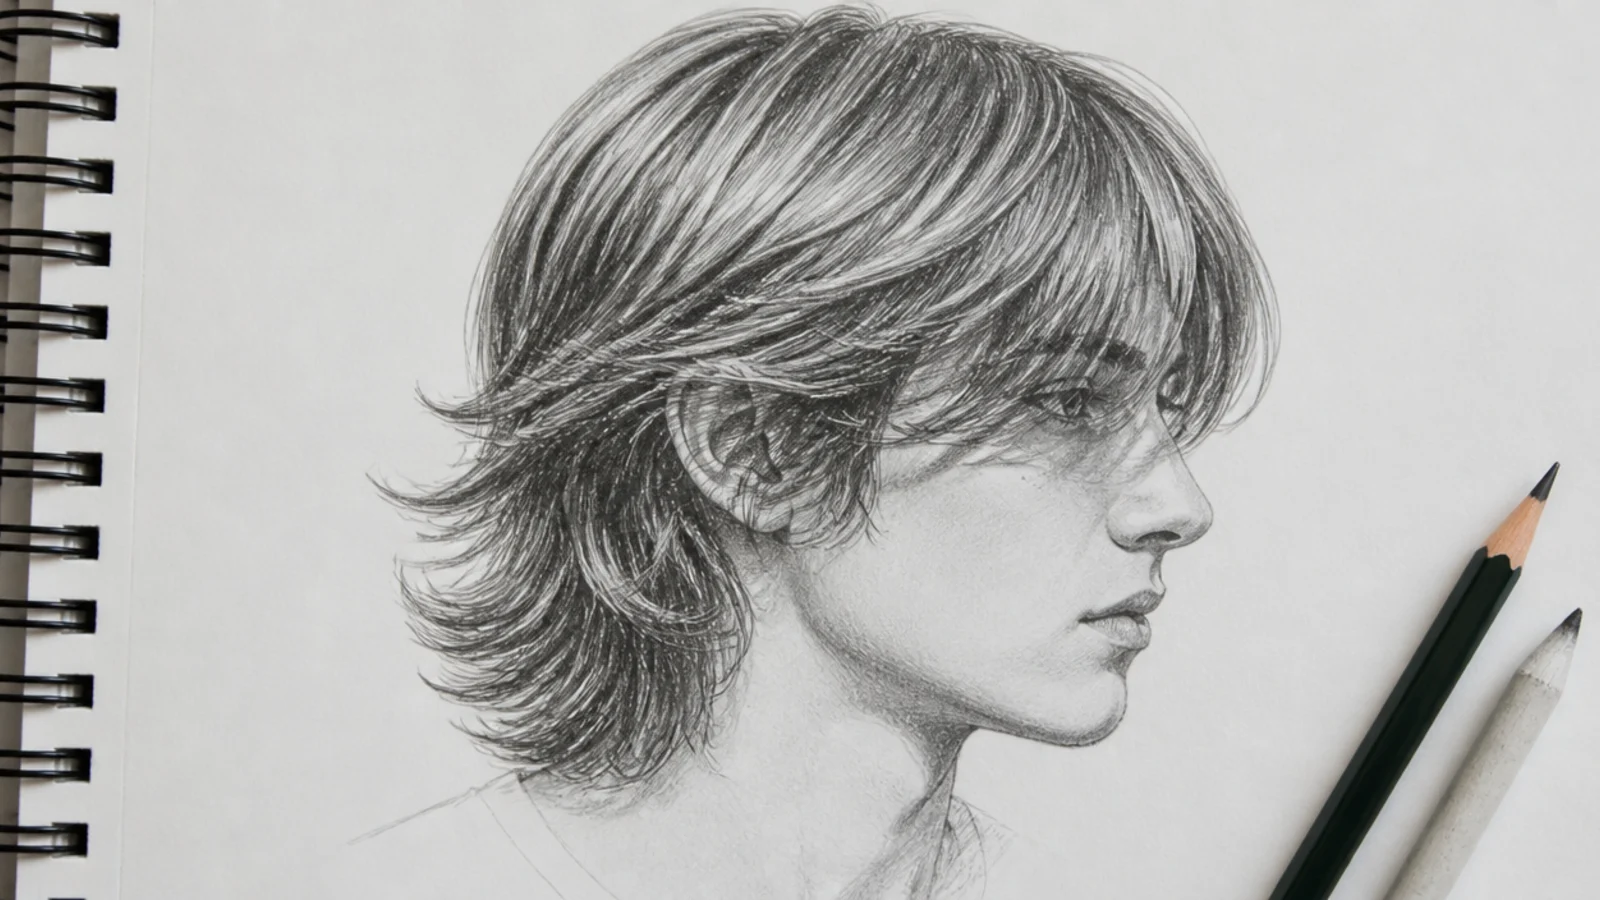
8. Shaggy Mid Length
Layering means ends are visible at several depths rather than only at the perimeter, so the drawing is really a drawing of tips. Let sections overlap and end at different heights, and keep the darkest values immediately behind each visible tip to push the layer in front of it forward.
9. Mullet
The whole shape depends on one transition point at the back of the skull where short becomes long, so this cut wants a profile or three quarter view. Keep the top and sides tight and let the length fall from the occipital bone, because a gradual change from front to back reads as an overdue haircut.
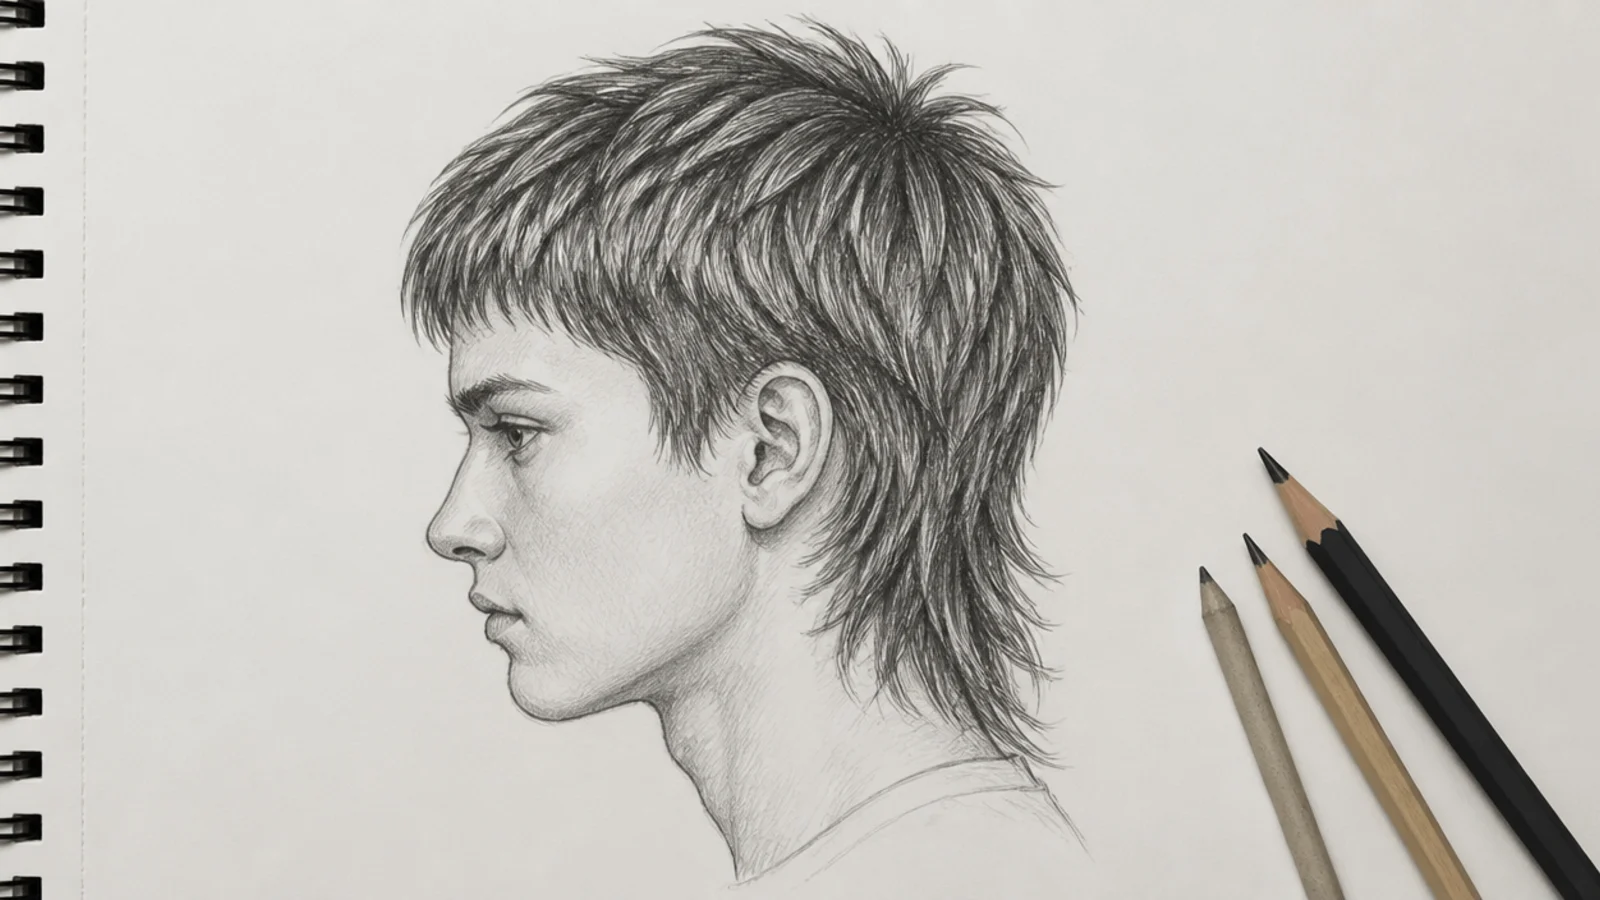
10. Man Bun
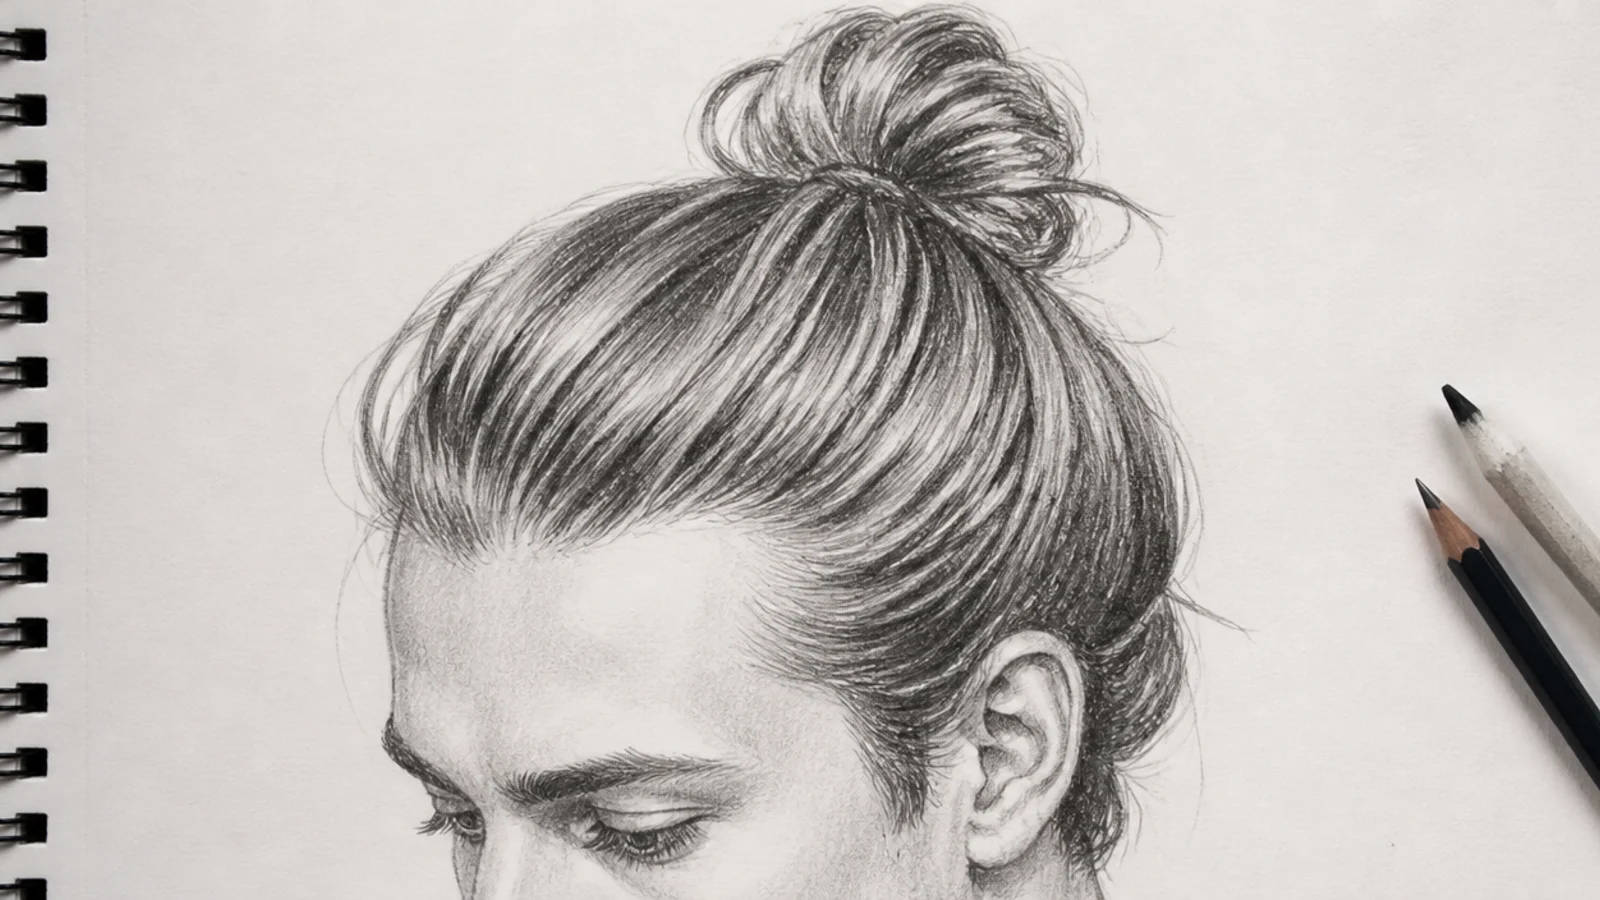
The knot is a small sphere at the back, and the gathered hair below it should visibly converge on its base under tension. Those converging lines are what describe the curve of the skull, so they earn their place even in a quick sketch.
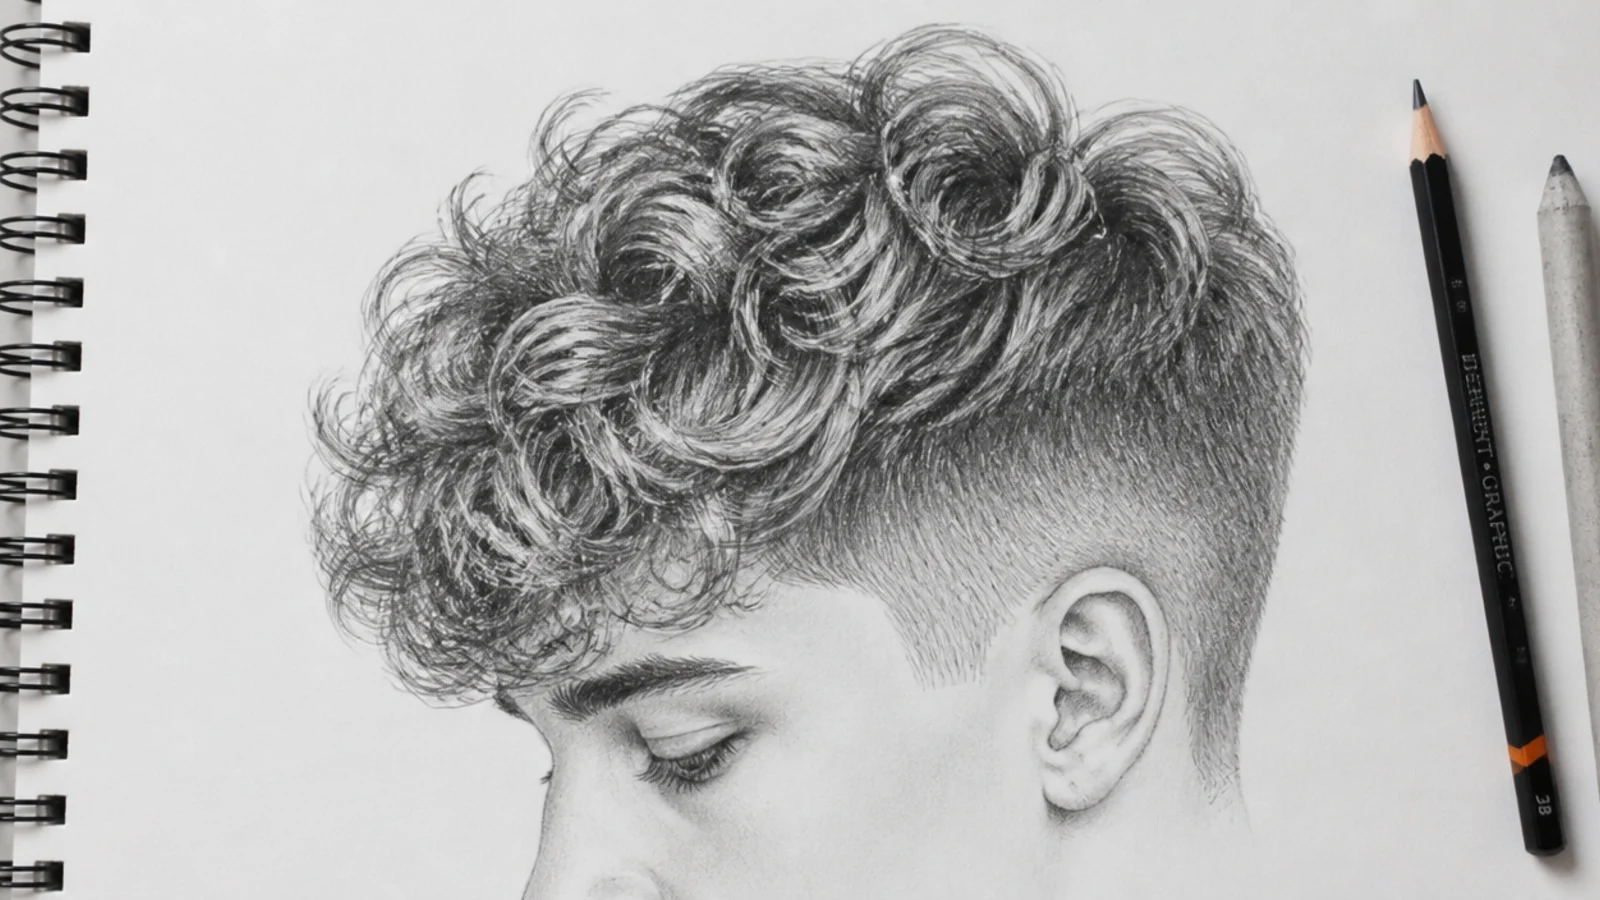
11. Curly Top
With the sides short, the curl mass sits like a separate object on the skull, so its bumpy outer edge carries the identification on its own. Keep the interior as a broad mid tone with a few darker gaps and resist drawing individual curls across the whole top.
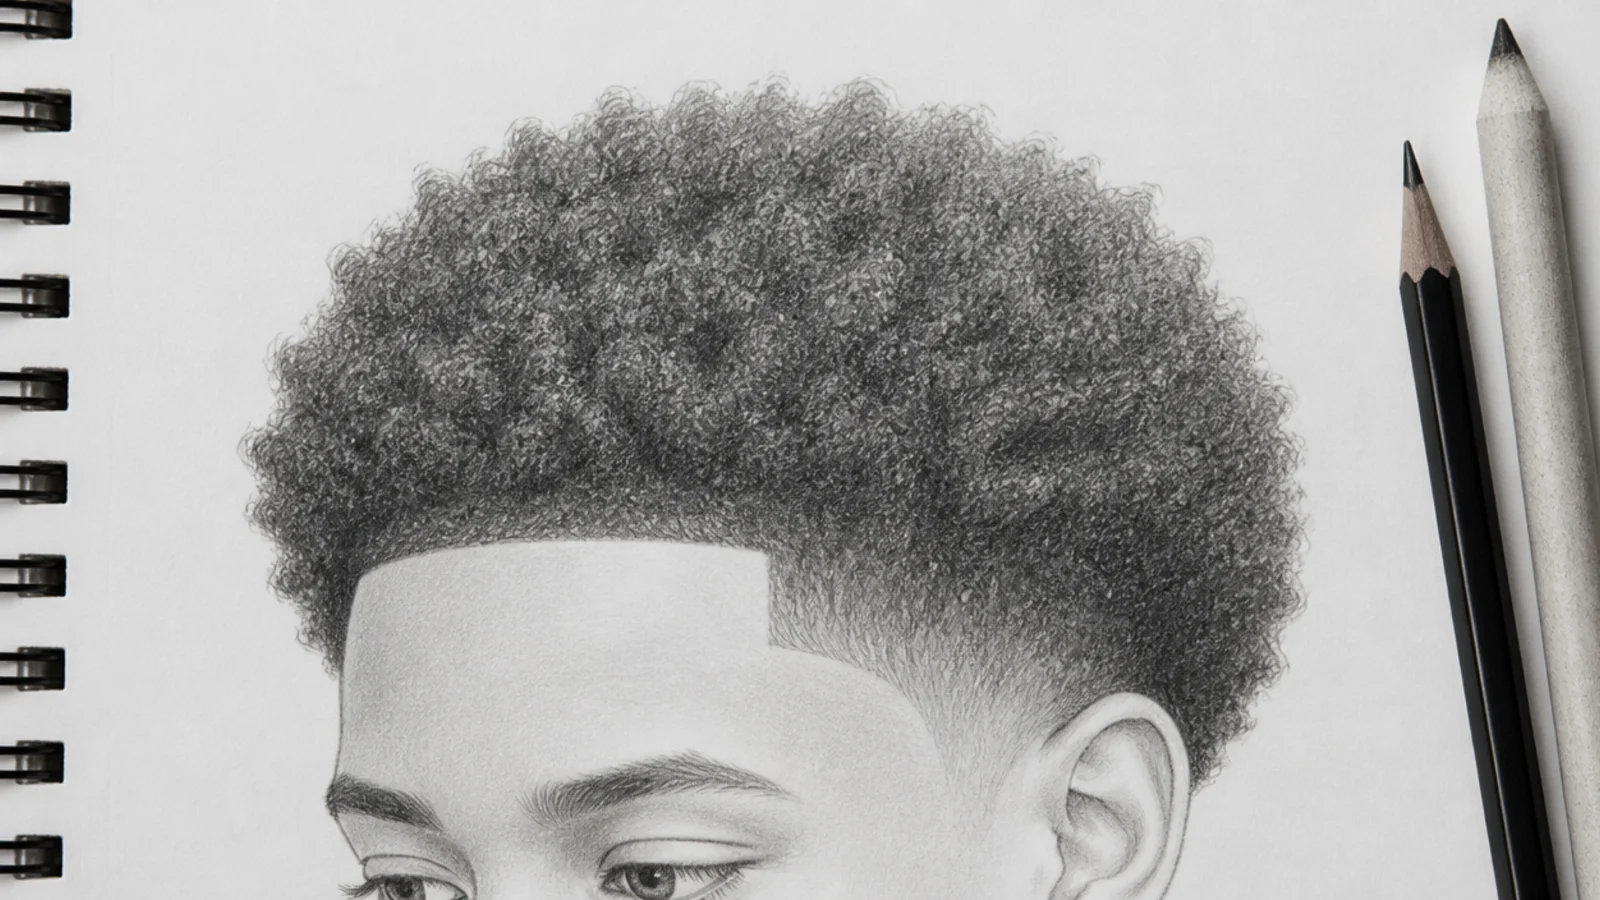
12. Afro
The silhouette is close to a circle offset from the skull, and its outer edge should be slightly irregular rather than compass smooth. Shade it as a sphere, keeping the underside and the perimeter darkest, which is what stops a large even mass from flattening into a disc.
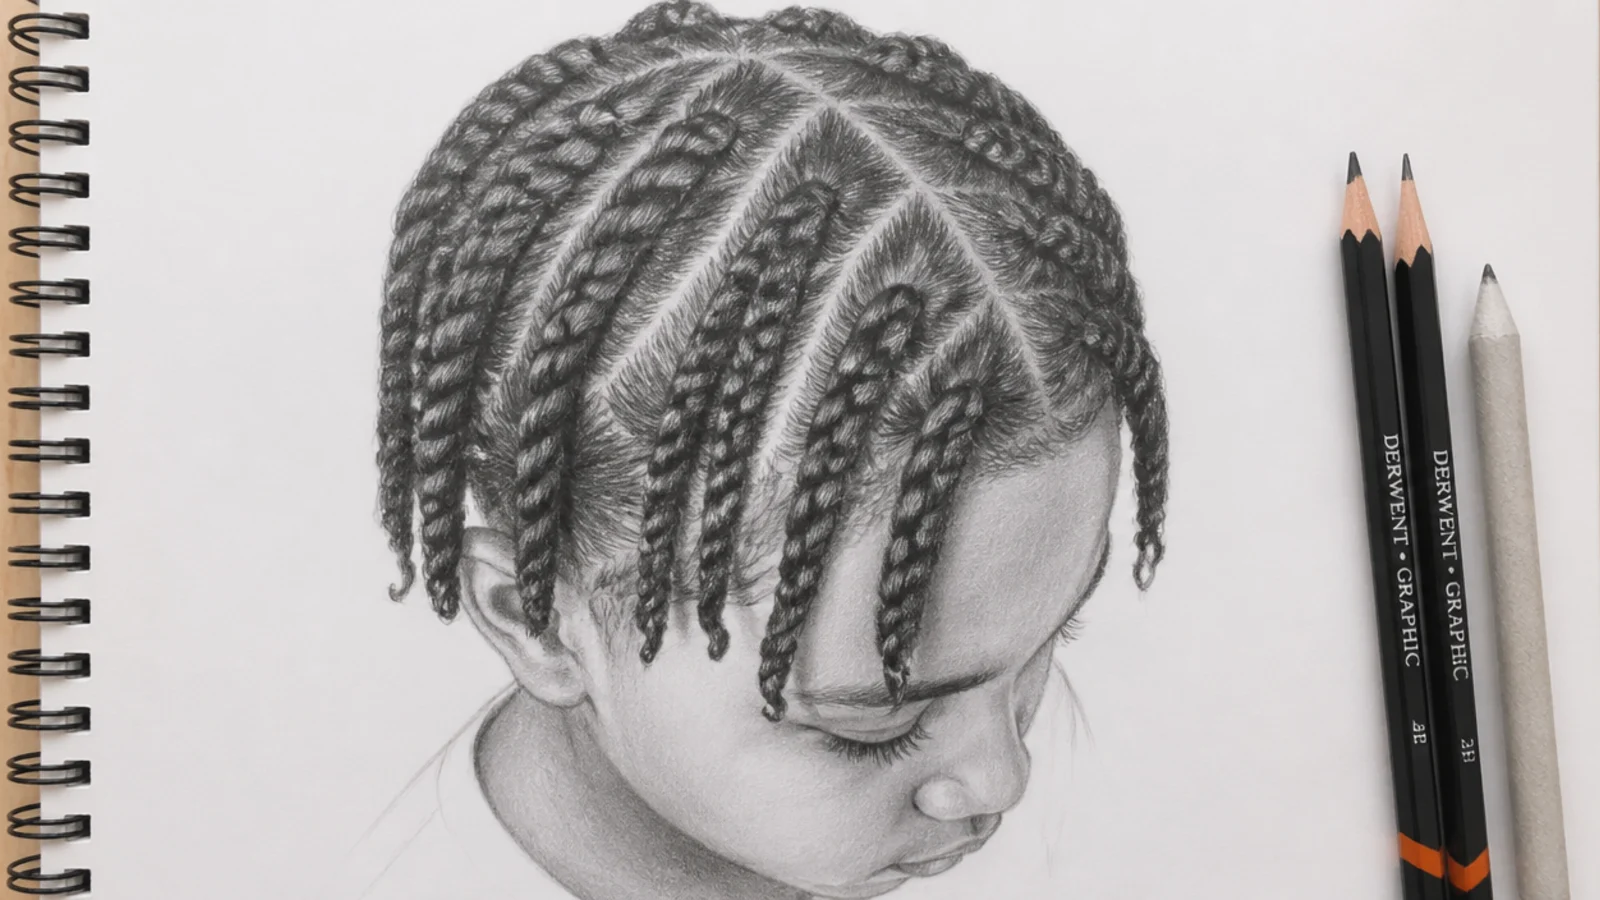
13. Twists
Each twist is a repeated unit of consistent diameter with a spiral seam running down it, and the seam alternates between lit and shadowed as it turns. Keep the units parallel where they lie flat on the skull and let them separate slightly where they lift.
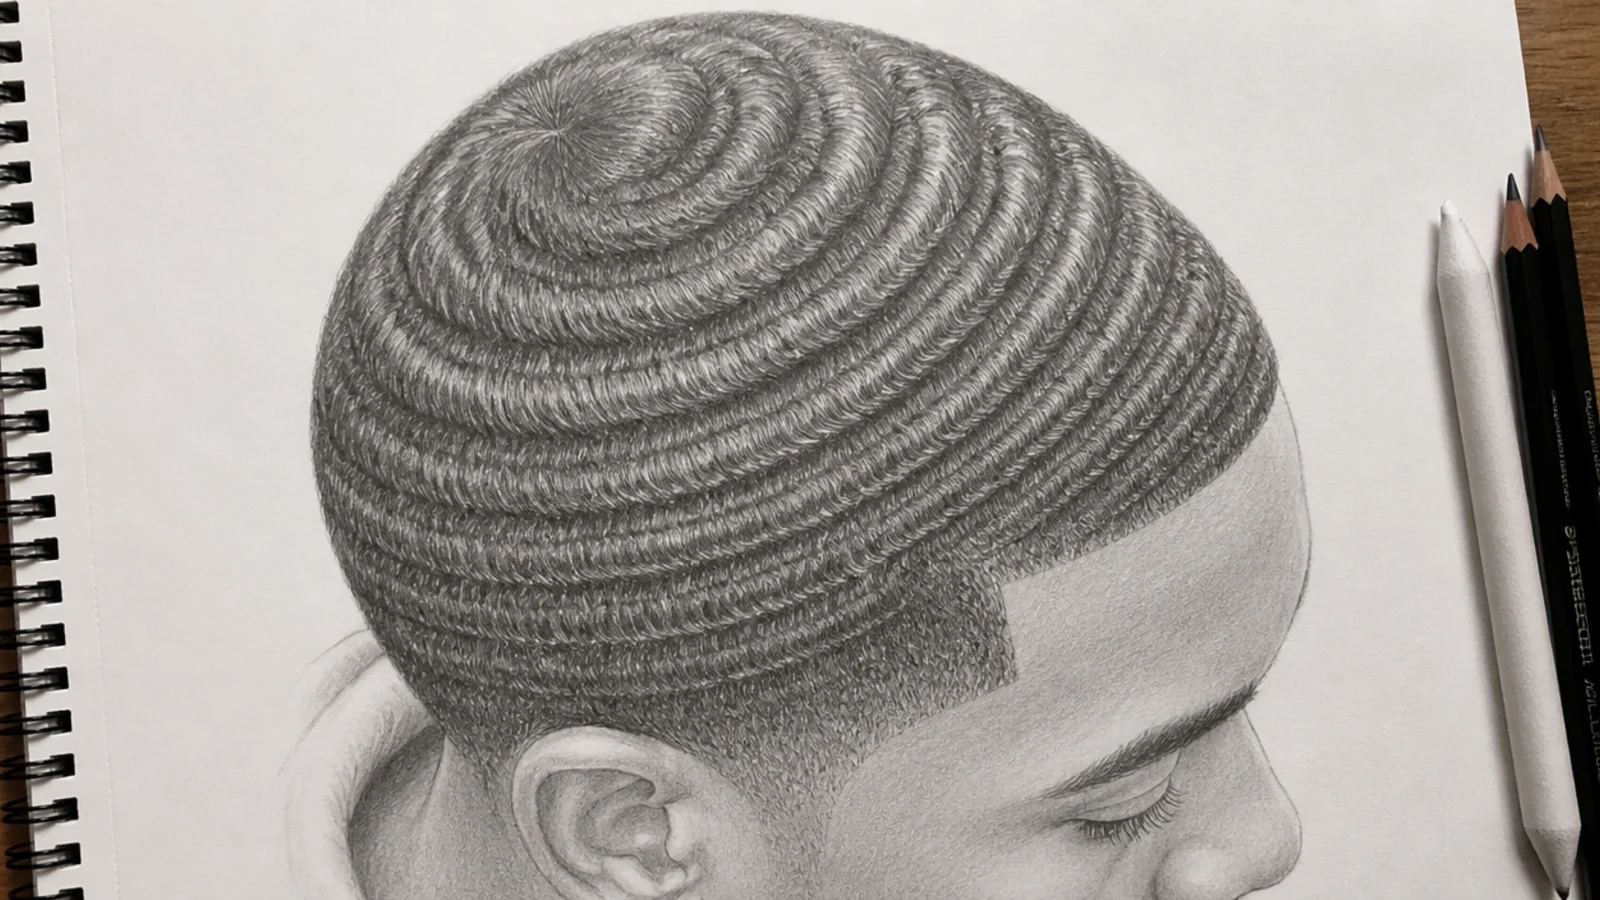
14. 360 Waves
The pattern is a set of concentric rings radiating from the crown whorl, and the rings have to compress as they approach the edge of the silhouette. That compression is perspective doing the work, and it is the single thing that makes the head read as round rather than as a flat pattern.
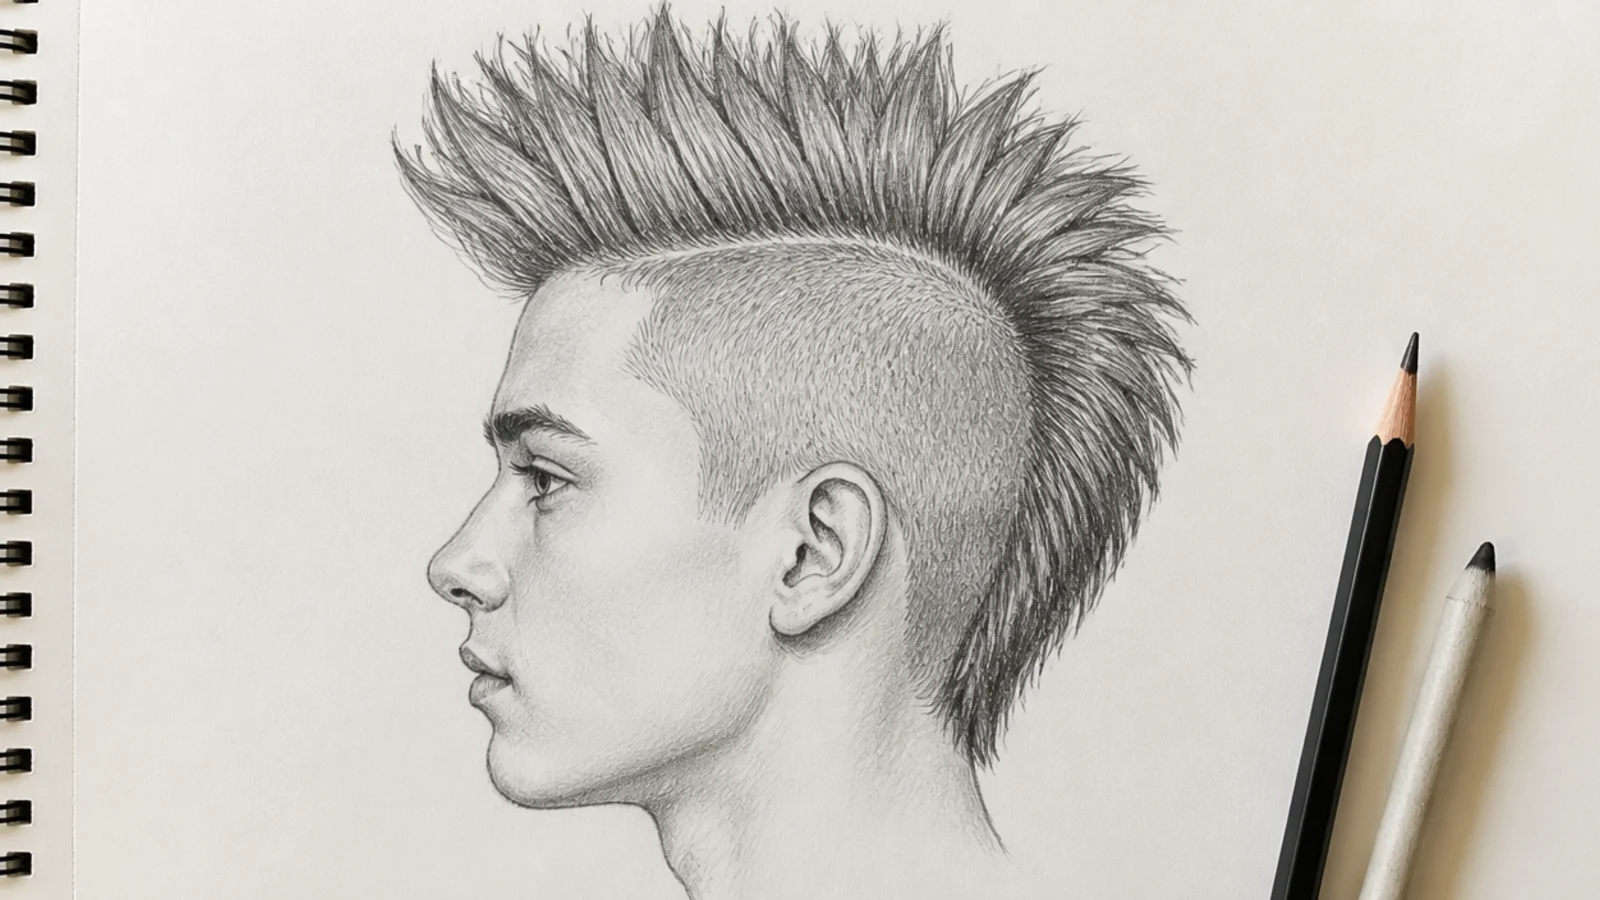
15. Mohawk
A narrow strip of length against shaved sides, which means the profile silhouette carries the whole cut and a front view flattens it. Keep the shaved fields as clean even tone so the strip has something to contrast against, and taper the strip towards the nape.
Final Thoughts
The order matters more than the rendering. Skull, ear placement, hairline, silhouette, then tone — get those five in that sequence and a rough sketch reads correctly, while an immaculate rendering built on a round hairline never quite does. When a drawing looks wrong and you cannot say why, check the temple corners and the height of the ear before you touch the hair at all.
Work small and repeat. A page of fifteen thumbnails at two minutes each teaches the silhouettes faster than one hour-long portrait, because the thing being practised is recognition rather than finish. For real photographs to work from, cool curly hair for boys and curly hair boy with a fade both give plenty of angles. More in Hair Drawing.