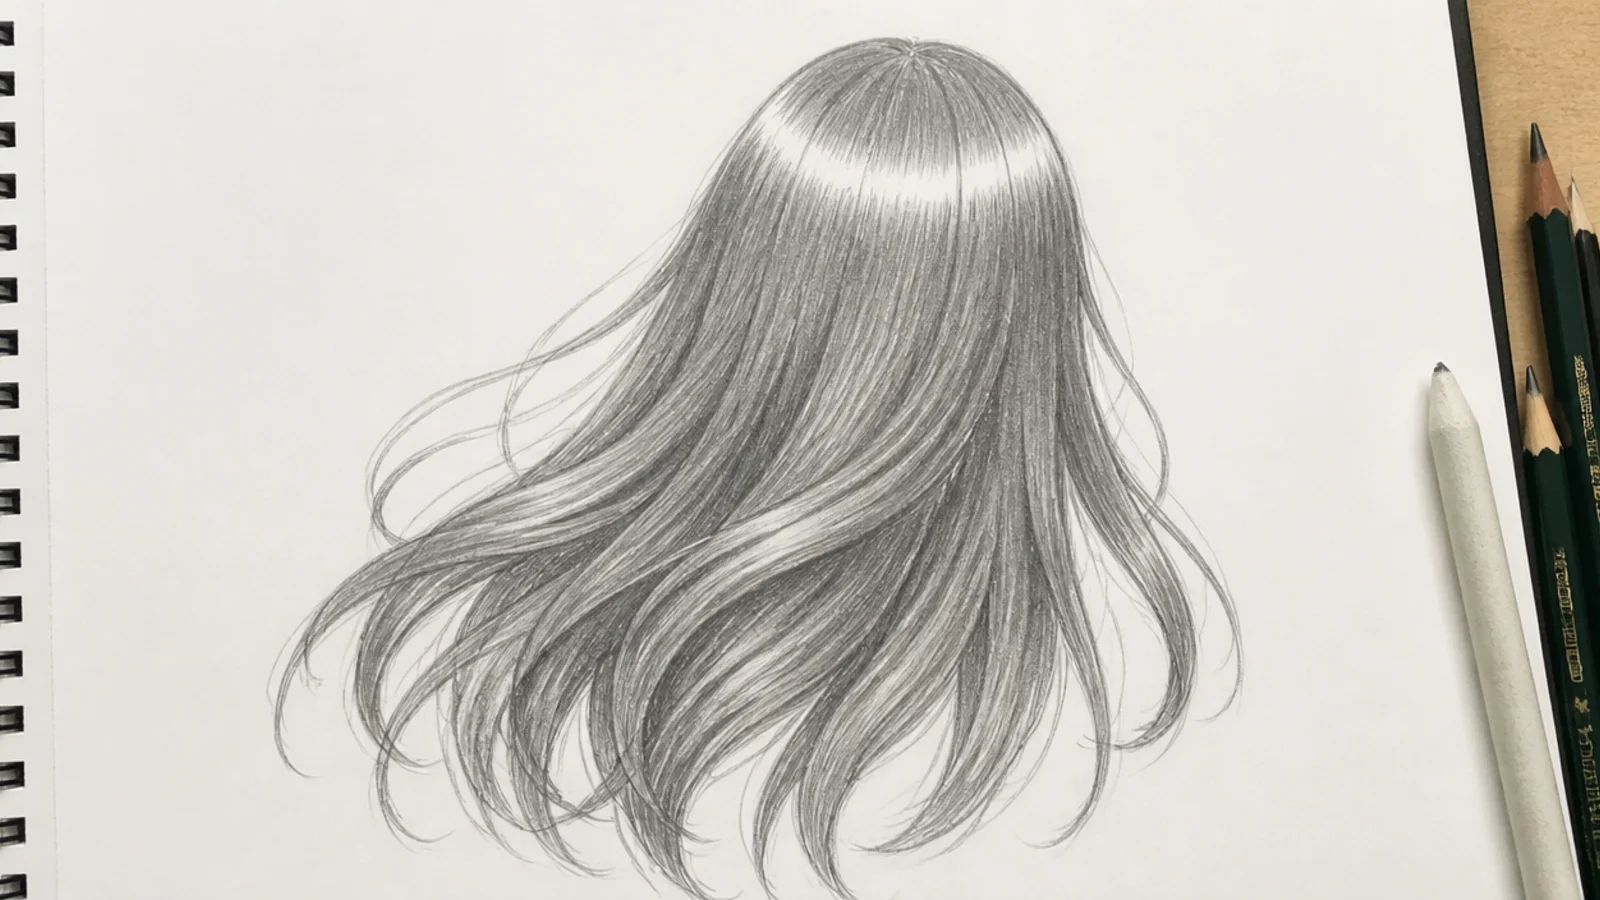
20 Anime Hair Sketch Ideas and How to Draw the Clumps
Twenty anime hair sketches and the rule that makes all of them work. Anime hair is not drawn strand by strand — it is a handful of wedge shaped clumps radiating from one point at the crown, sitting on top of the skull, not on it.
In this article · 28
- Pencils Paper and Tools for Anime Hair
- How to Start an Anime Hair Sketch
- Anime Hair Shading and the Highlight Band
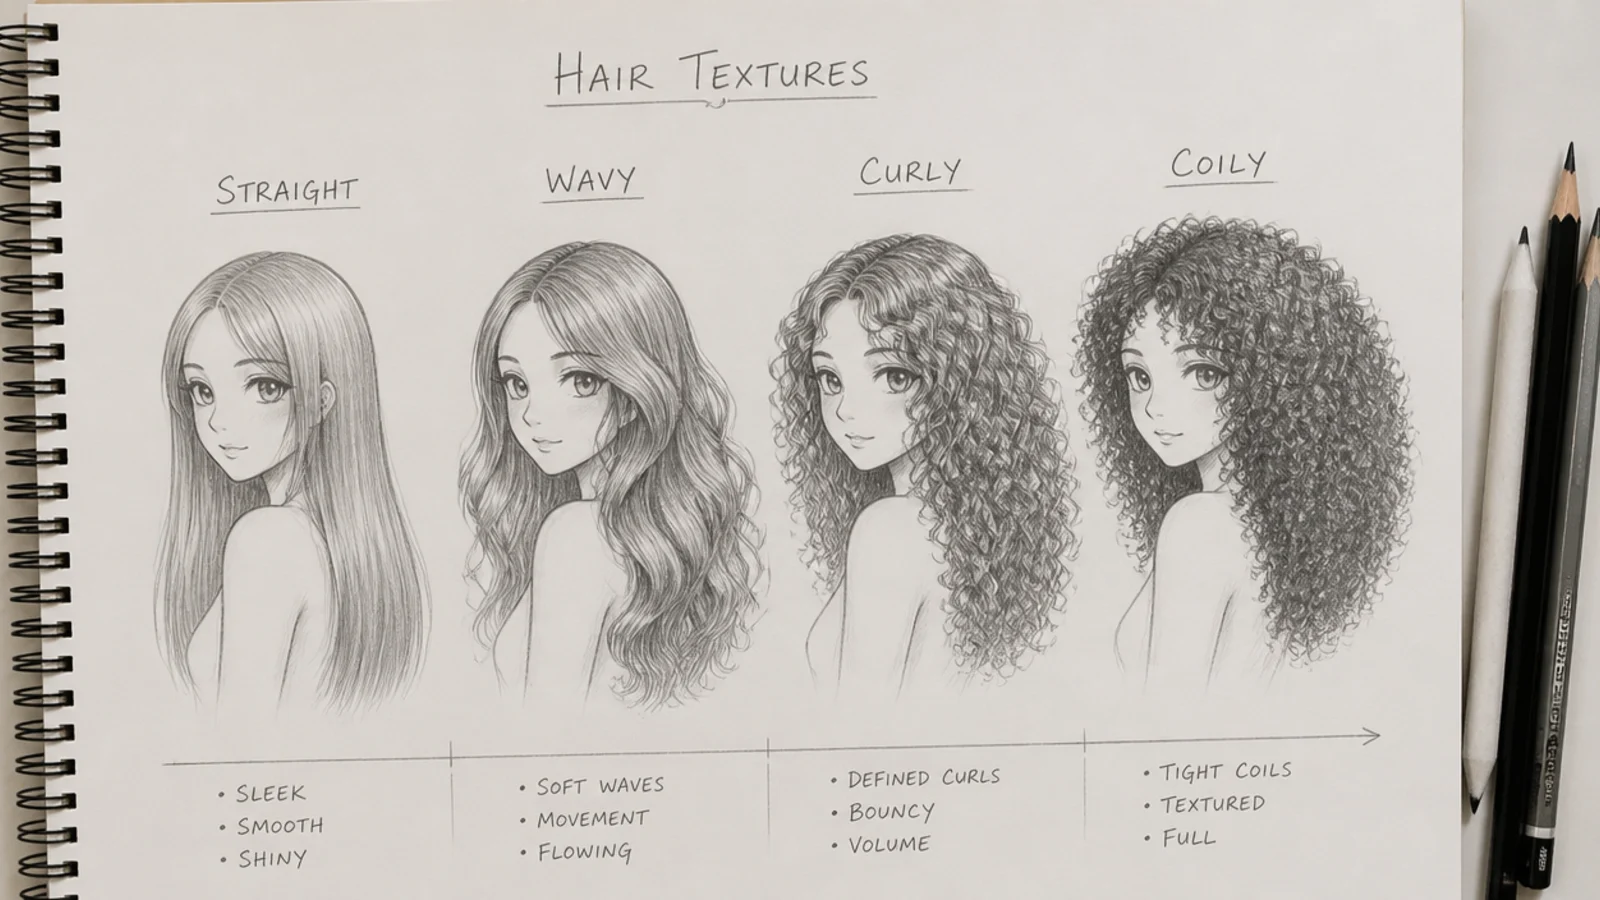
- Straight Wavy Curly and Coily Anime Hair
- Anime Hair Sketch References
- Anime Hair Sketch Mistakes
- The 20 Anime Hair Sketches
- 1. Spiky Shonen
- 2. Long Straight
- 3. Hime Cut
- 4. Twin Tails
- 5. High Ponytail
- 6. Short Messy Male
- 7. Hair Over Eye
- 8. Curly Spirals
- 9. Odango Buns
- 10. Side Braid
- 11. Wind Blown
- 12. Chibi
- 13. Villain Angular
- 14. Undercut
- 15. Wet Hair
- 16. Ahoge Cowlick
- 17. Blonde Inverted
- 18. Black Highlight Band
- 19. Blunt Bob
- 20. Curtain Bangs
- Final Thoughts
Most anime hair sketches fail in the first thirty seconds, before any hair is drawn, because the mass gets attached to the wrong shape.
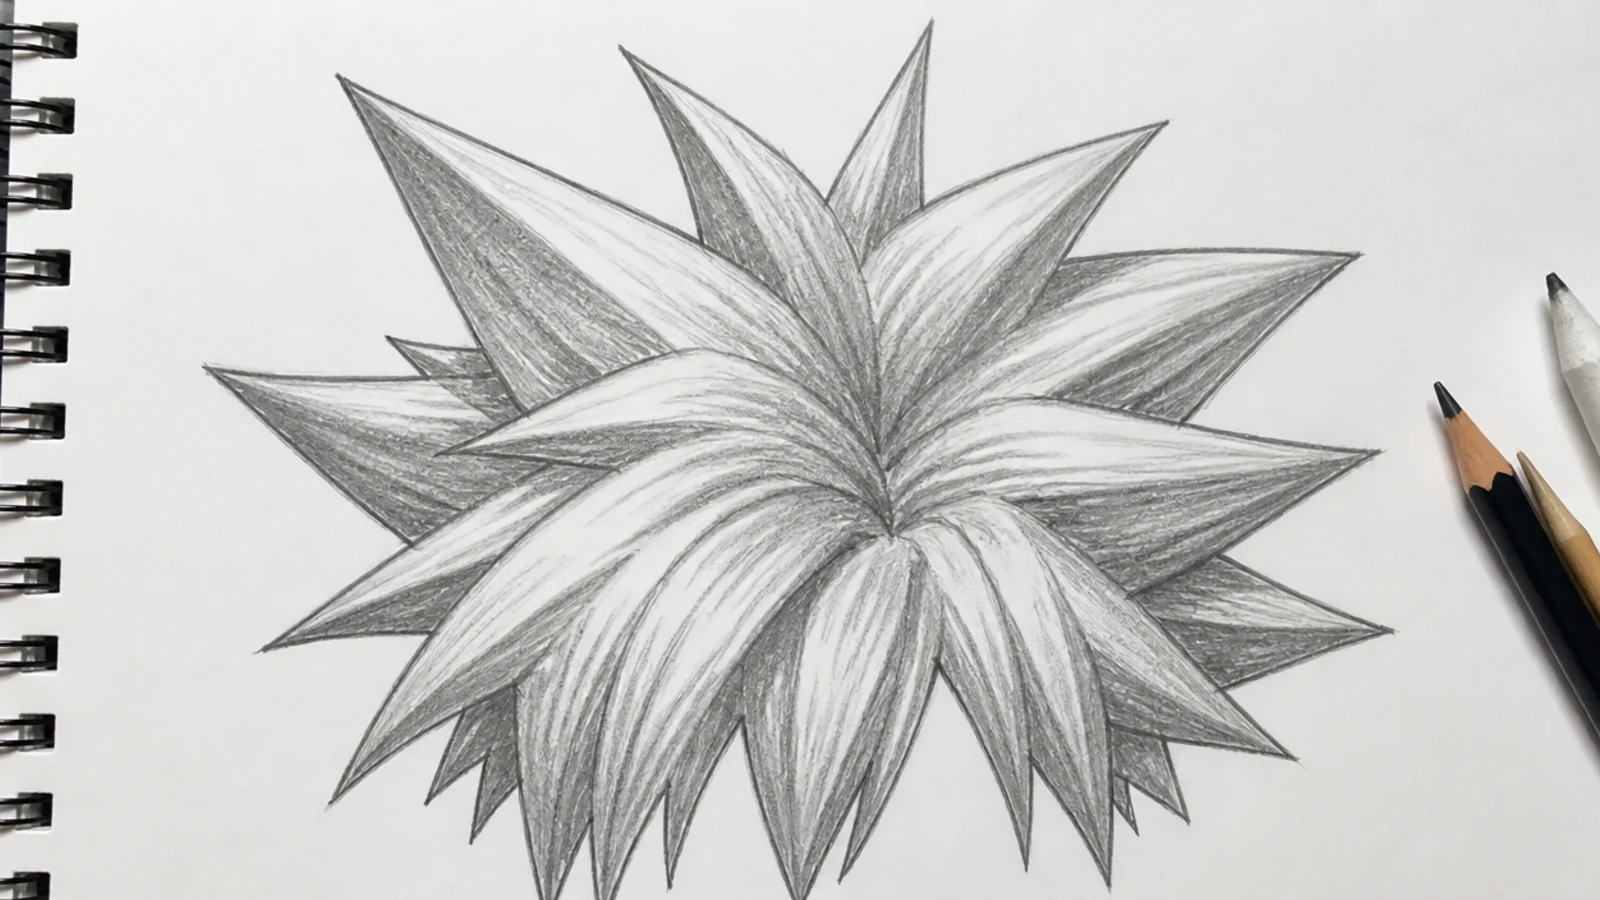
Anime hair is clumps, not strands. Five to nine wedges, each wide at the root and tapering to a point, all radiating from one spot at the crown.
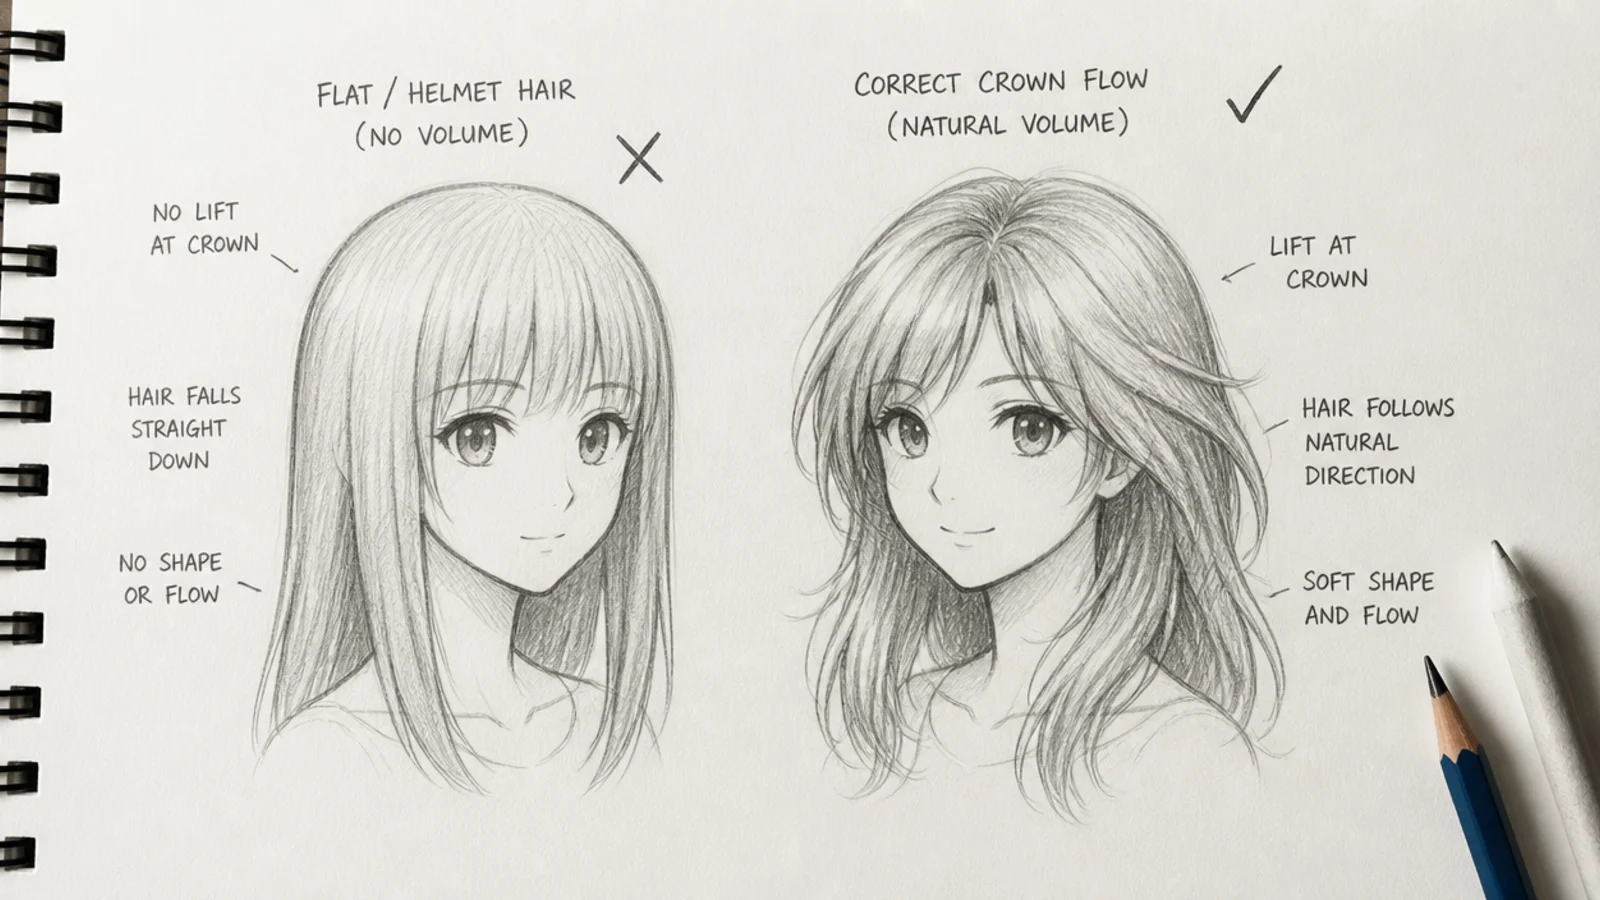
The mass sits above the skull, not on it. Leave a visible gap between your skull circle and the hair silhouette. That gap is the entire difference between hair and a painted-on cap.
Pencils Paper and Tools for Anime Hair
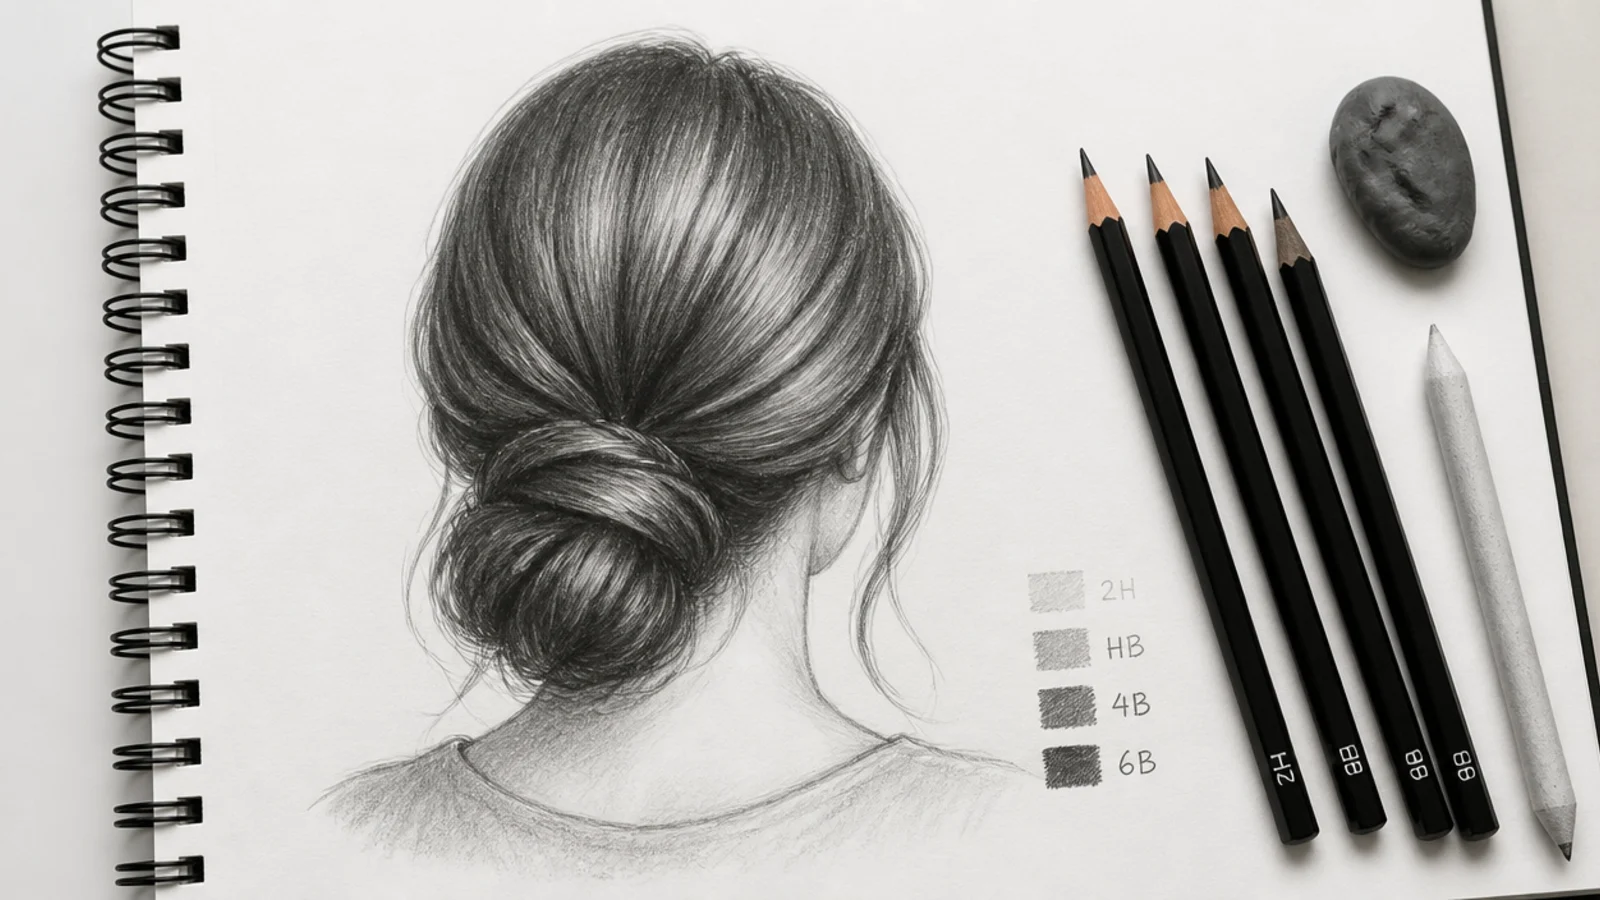
HB for construction, 2B to 4B for the mass. Keep the construction light enough to lift, because it has to disappear under the final line.
A 6B or 8B only for the deepest gaps. The places where one clump passes behind another are the darkest values in the drawing and they are what push the front clumps forward.
Smooth paper, not textured. Anime hair depends on long unbroken strokes, and a toothy surface breaks a stroke into dashes halfway along.
A kneaded eraser shaped to a wedge. This is the tool that makes the highlight band, and it is far cleaner than trying to draw around a shape you have not committed to yet.
A sharp point and a light exit. Every clump tapers, and the taper comes from lifting the pencil off the page at the end of the stroke rather than from a second outline.
How to Start an Anime Hair Sketch
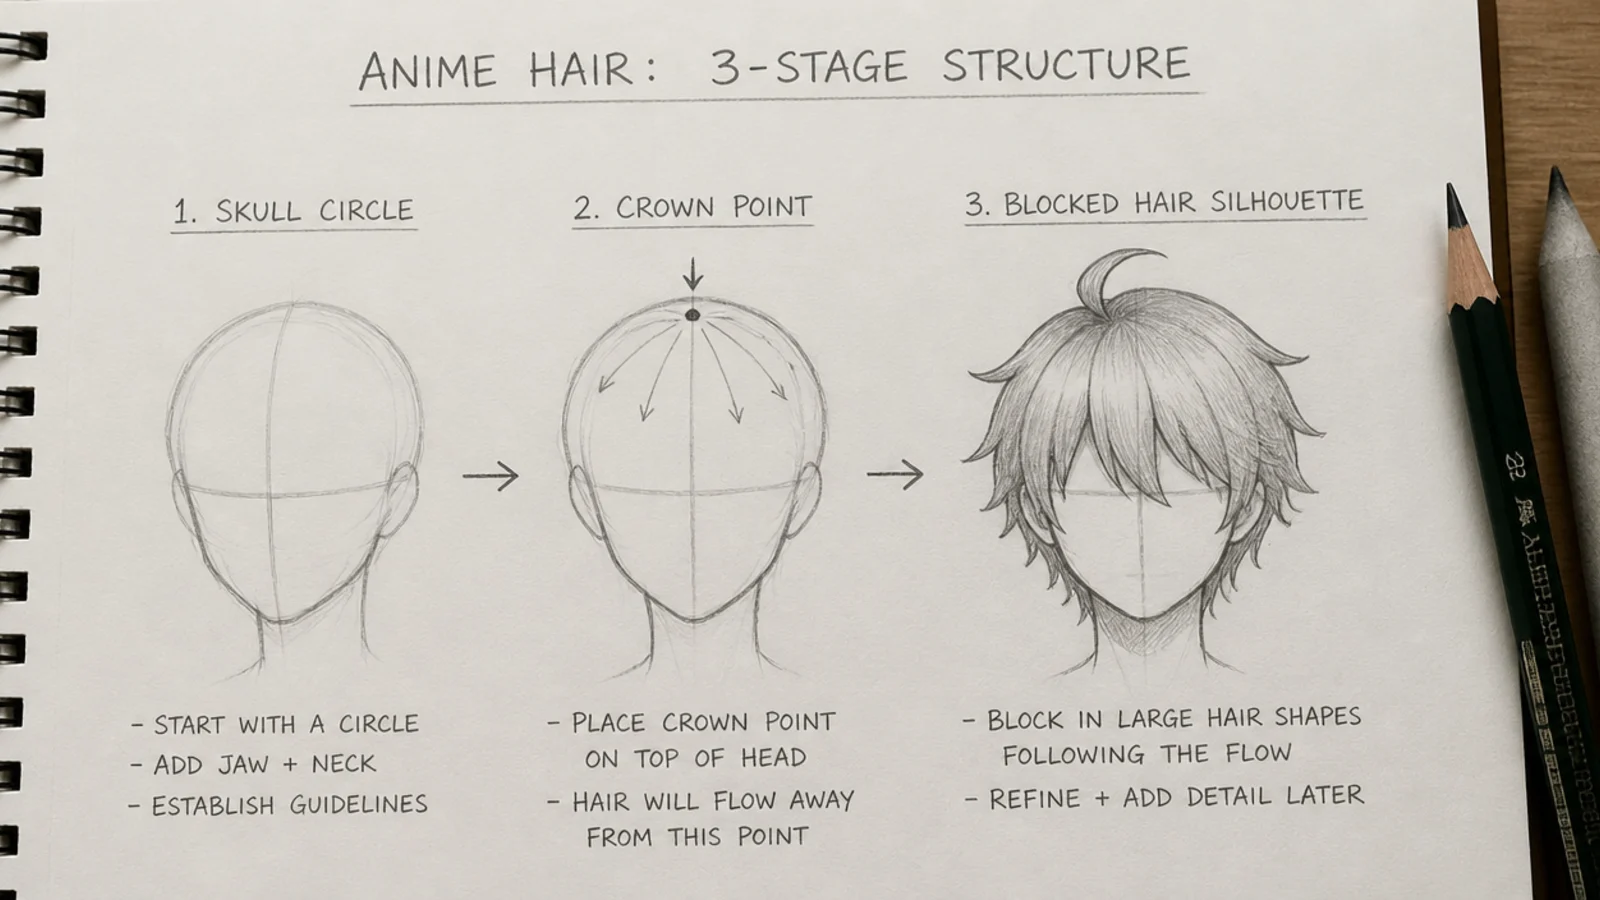
Skull first, always. A circle with the jaw attached, drawn lightly, before anything else. Hair drawn without it will not sit on a head.
Mark the crown point. One dot, slightly back from the top of the skull, and treat it as the origin every clump has to point away from.
Draw the hairline, then step outside it. The silhouette goes outside the skull line by roughly a tenth of the head width, and more for volume-heavy styles.
Block the whole mass before any interior line. One outline, no detail. If the silhouette does not read as the character at thumbnail size, no amount of interior detail will rescue it.
Divide the mass last. Five to nine clumps of deliberately unequal width, cutting into the silhouette from the outside rather than being drawn inside it.
Anime Hair Shading and the Highlight Band
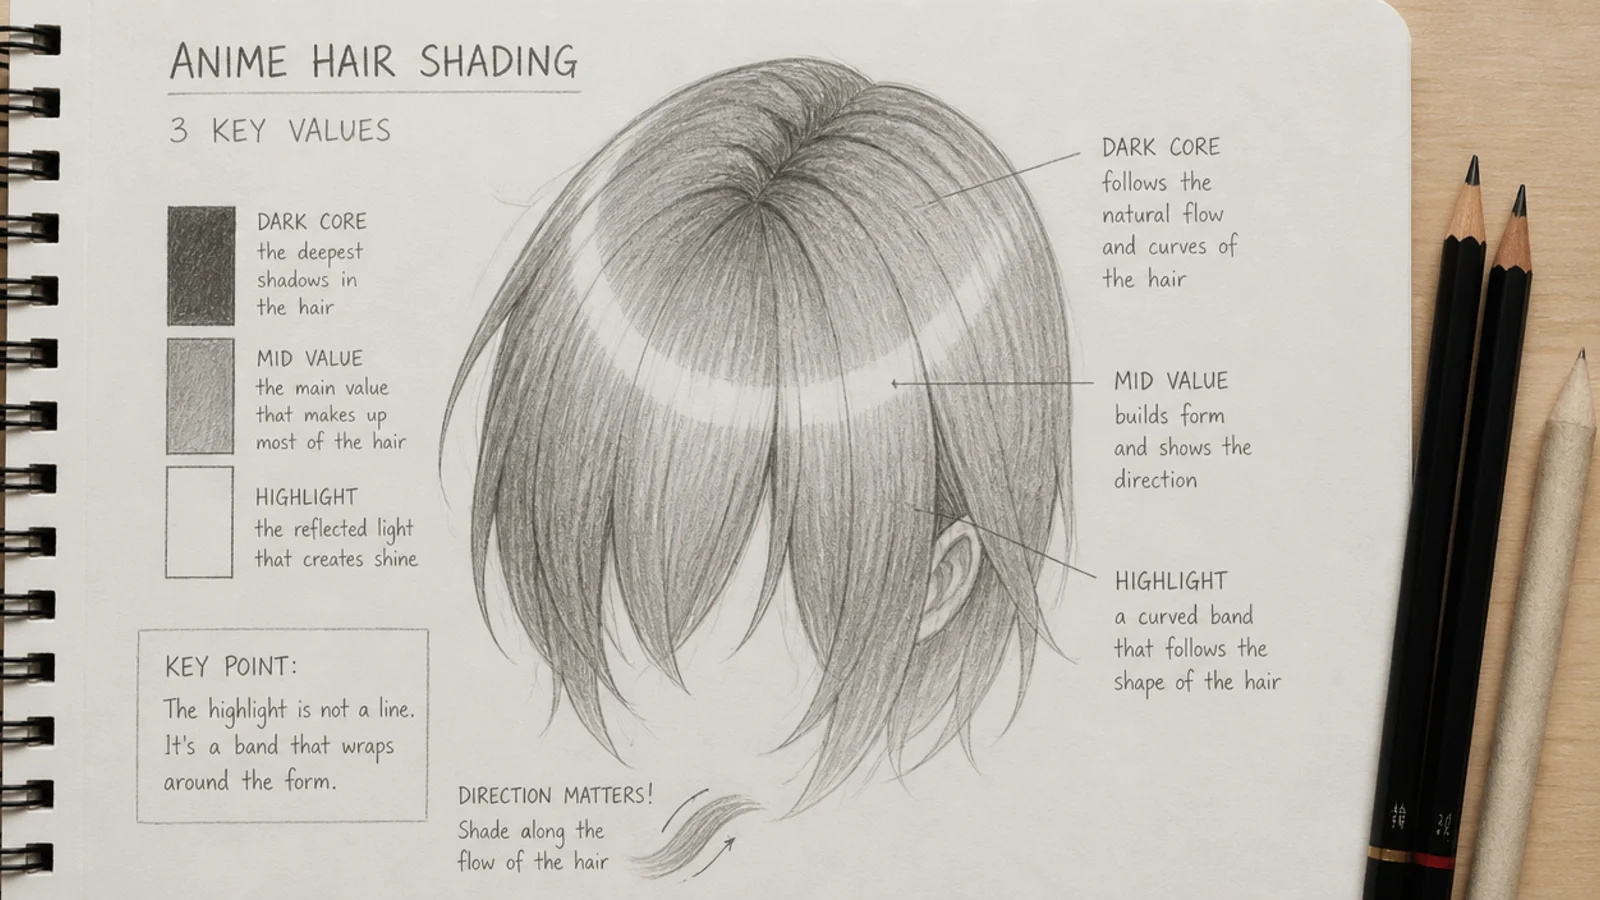
Two or three flat values, not a gradient. Anime shading is cel shading. A smooth blend reads as realism and fights the flat line work around it.
The band follows the skull, not the page. It curves across the head like a line of latitude, which is why a straight horizontal bar always looks stuck on.
Break it into teeth. Where clumps overlap, the band steps up and down in a zigzag. That zigzag is the only place the drawing tells the viewer how many clumps there are.
Darkest under the fringe and at the nape. Those are the places hair overlaps hair, and they are what create depth in a drawing with no colour.
Lift the band, do not outline it. A kneaded eraser dragged along the curve leaves a soft edge on one side and a crisp one on the other, which is exactly how a specular highlight behaves.
Straight Wavy Curly and Coily Anime Hair
Straight is the hardest and the emptiest. Long single strokes, very few interior lines, and a silhouette that curves over the skull then drops almost vertically. Every extra line you add flattens it.
Wavy needs one spine per clump. Draw the S-curve first as a centre line, then thicken the clump around it. Keep the wavelength consistent within a character or the hair reads as damaged rather than wavy.
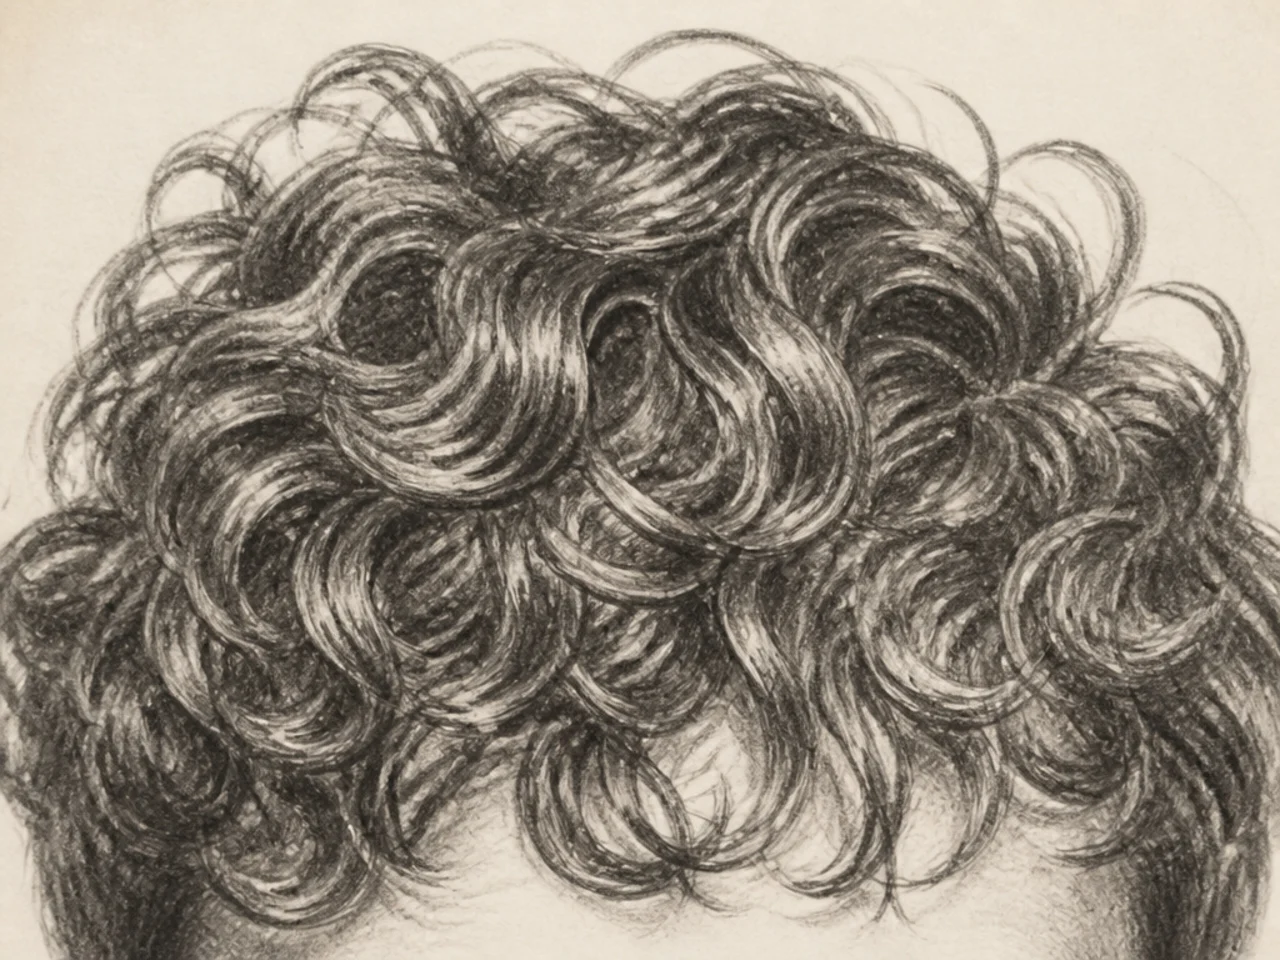
Curly is a ribbon with two faces. A spiral shows its outer surface, then its inner surface, alternately. Shading those two faces differently is what makes a coil read as a coil instead of a scribbled loop.
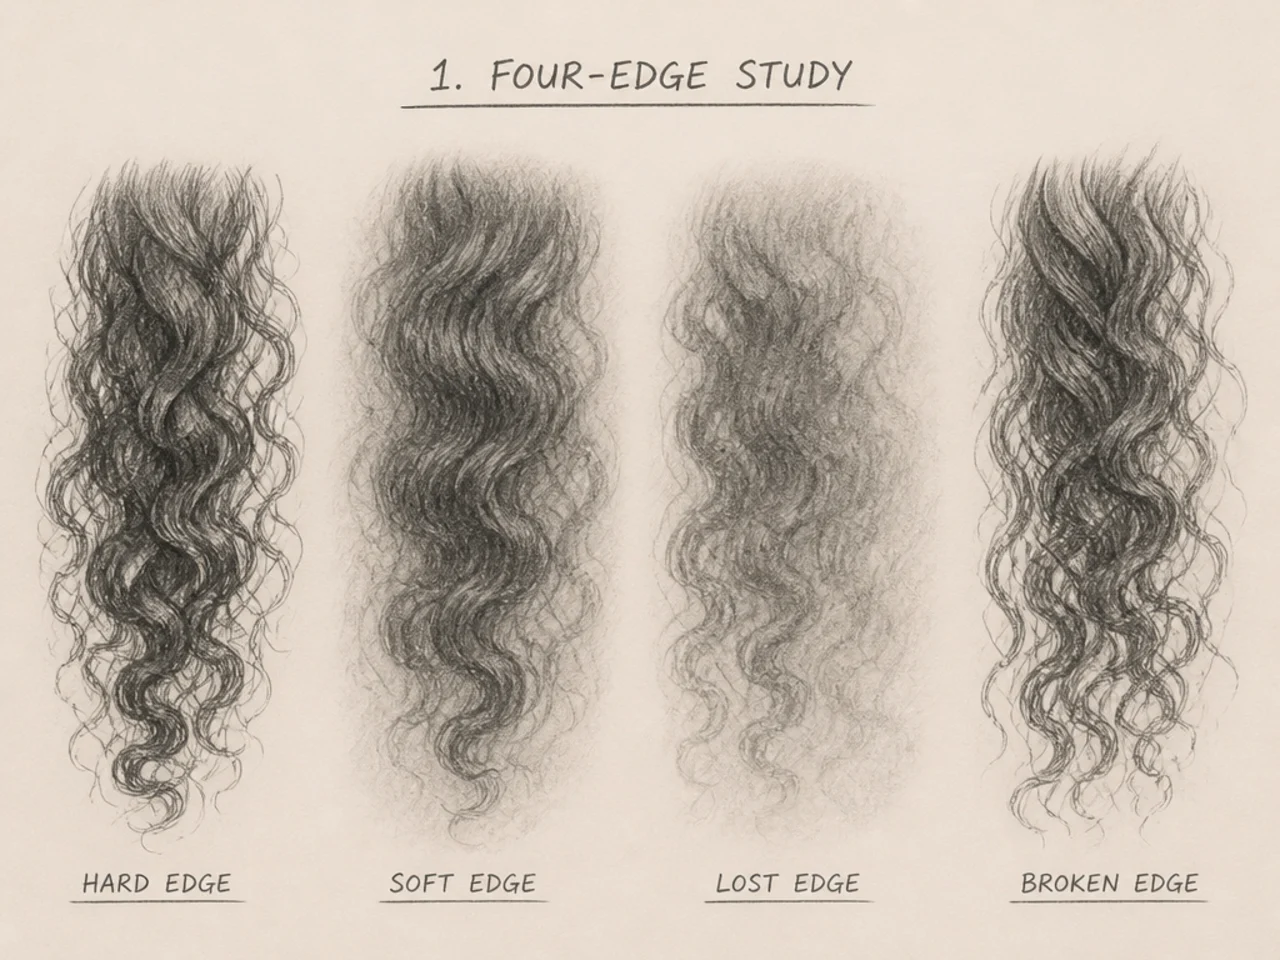
Coily is silhouette plus edge texture. Keep the interior as one flat value and put all the detail on the outline, because the shape of the outer edge is what identifies the texture at a glance.
Anime Hair Sketch References
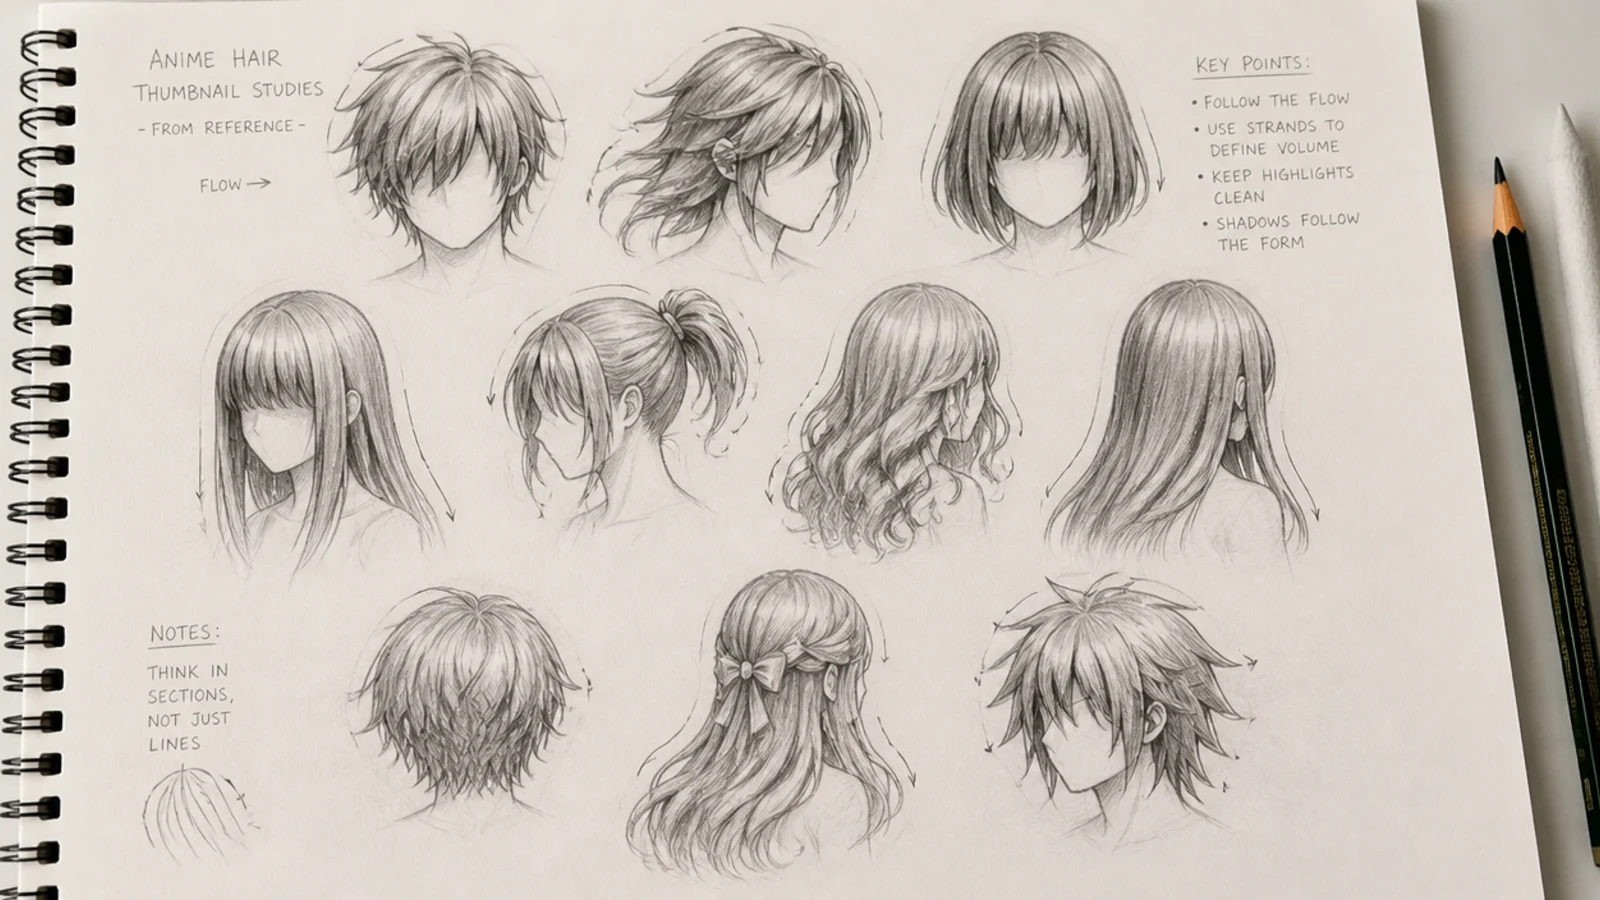
Use two references at once. A photograph tells you where the mass actually sits and how gravity pulls it. An anime frame tells you how far to simplify. Neither one alone gives you both.
Draw the same head from three angles. Front, three quarter and back. The crown point moves in each one, and knowing where it moves to is what stops a character's hair changing style between panels.
Check the silhouette in a mirror. Holding the page to a mirror flips the shape and exposes the lopsided outline your eye had stopped seeing.
Copy the construction, not the finish. Tracing a finished drawing teaches you nothing about where its crown point was. Reverse engineering the clumps does.
Anime Hair Sketch Mistakes
Hair drawn flush to the skull. No gap, no volume. This one error accounts for most flat-looking anime hair.
Individual strands instead of clumps. Hundreds of hair lines produce grey fuzz. The eye reads groups, and anime is built entirely on groups.
Every clump the same width. Equal spacing reads as a comb. Wide, narrow, wide, very narrow is what looks natural.
A straight highlight band. It has to arc with the skull and step where clumps overlap, or it sits on the paper rather than on the head.
Uniform outline weight. A heavier line on the underside of each clump and a lighter one on the lit side creates depth before any shading goes down.
The 20 Anime Hair Sketches
1. Spiky Shonen
Spikes only read as spikes when they disagree with each other. Give each one a different length and let two or three cross behind their neighbours, because evenly spaced identical triangles turn the whole head into a saw blade. Keep the roots wide and let each point taper to nothing.
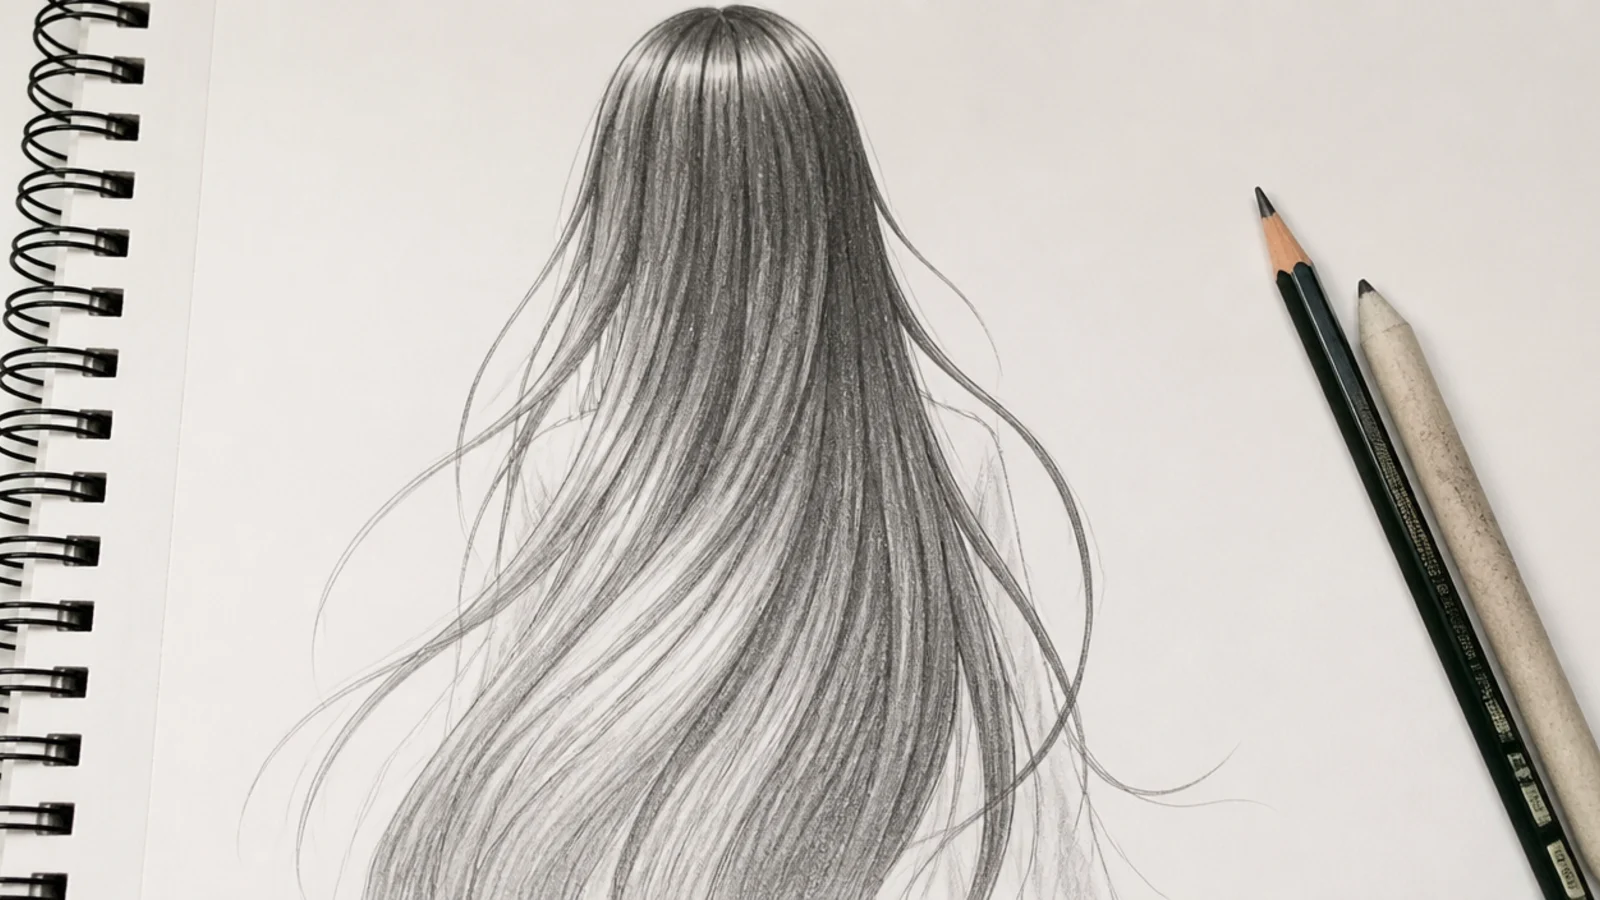
2. Long Straight
The least forgiving of the twenty, because there is no texture to hide an uneven silhouette. The outer edge should curve over the skull and then fall close to vertical, and the interior wants three or four long strokes at most. Every additional line takes volume out rather than adding it.
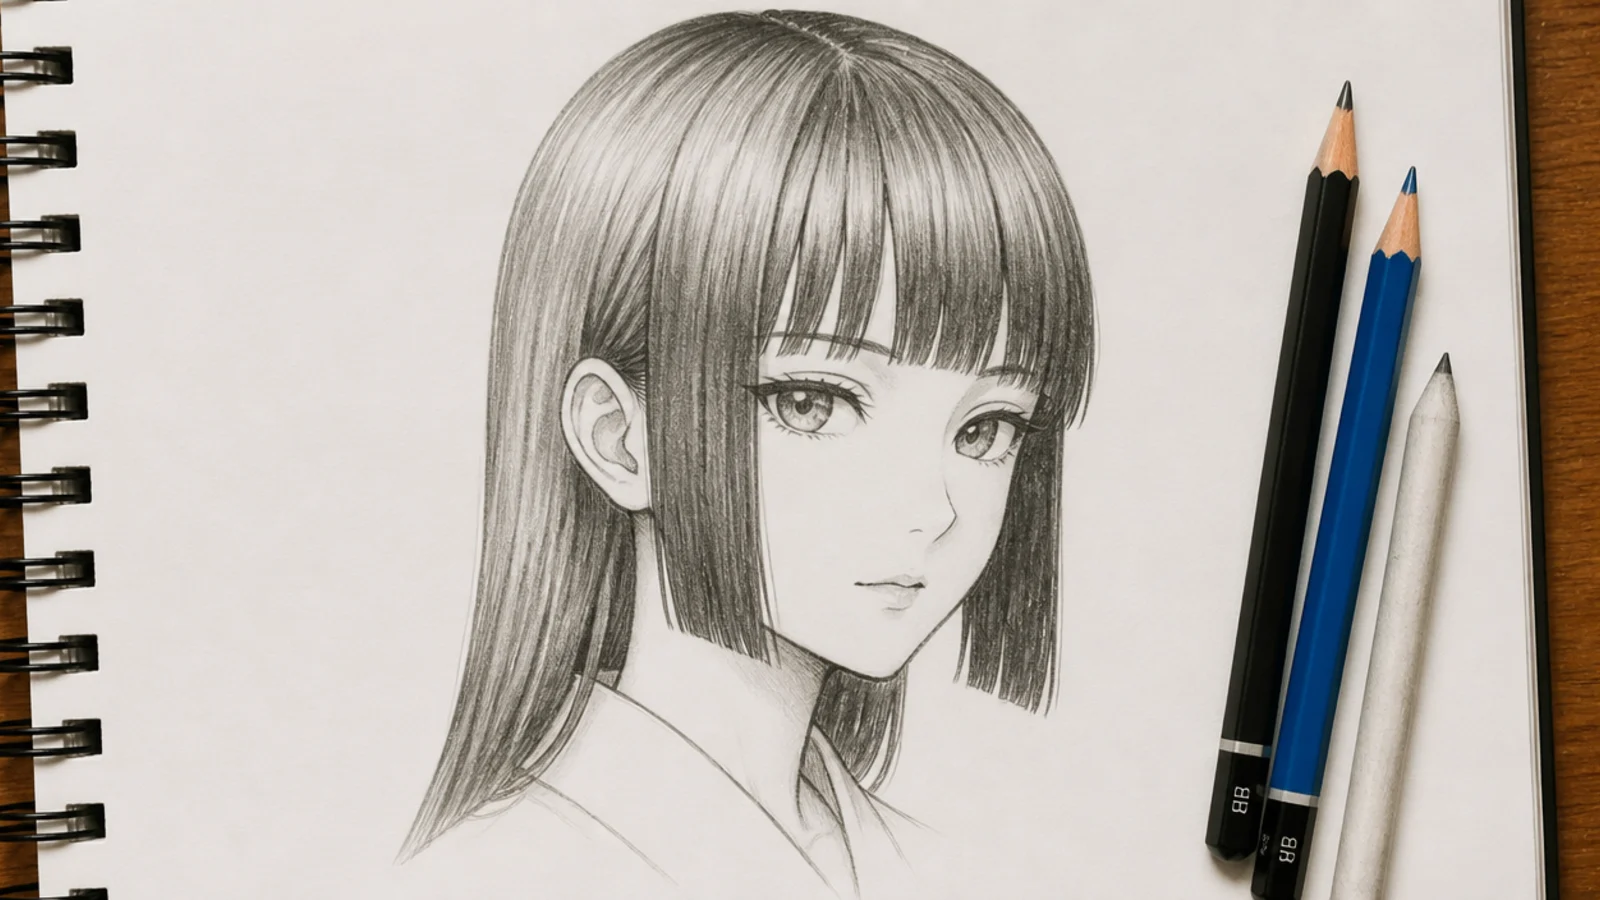
3. Hime Cut
Three lengths in one shape — a blunt fringe, two cheek-length side panels and long hair behind. It reads instantly because both cuts are horizontal and meet the vertical fall at a right angle, so the corners are what you draw carefully and the rest follows.
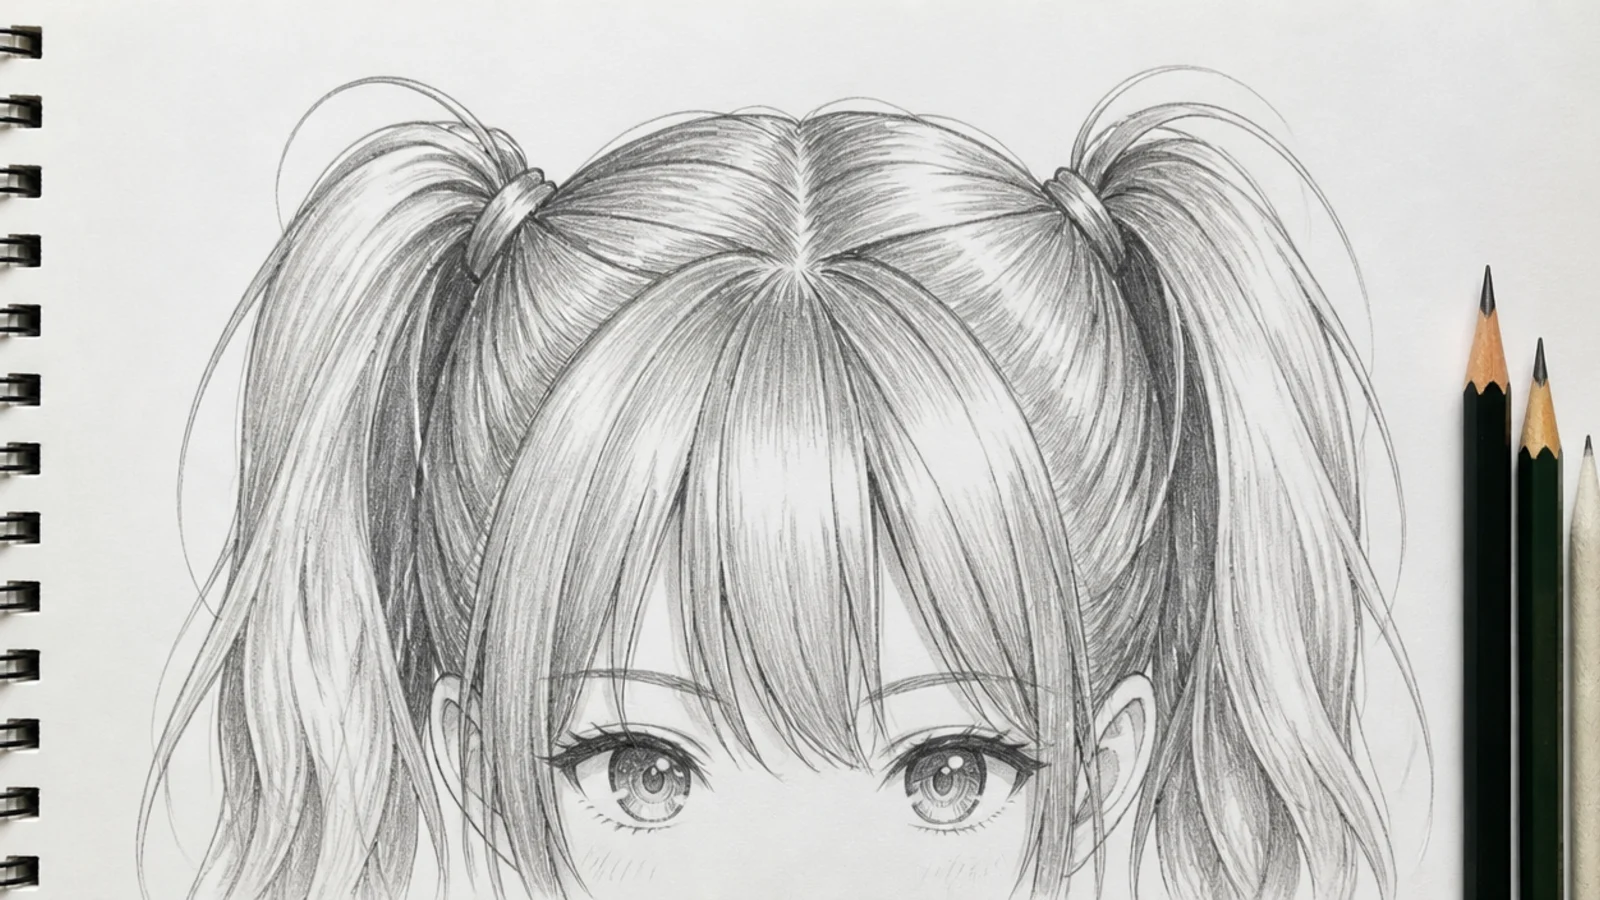
4. Twin Tails
Each tie is a pivot point. Above it every line converges towards the band under tension, and below it the hair opens out into a fan, and drawing both halves the same way is what makes tails look glued on. Give the two different lengths and angles so the head does not read as symmetrical furniture.
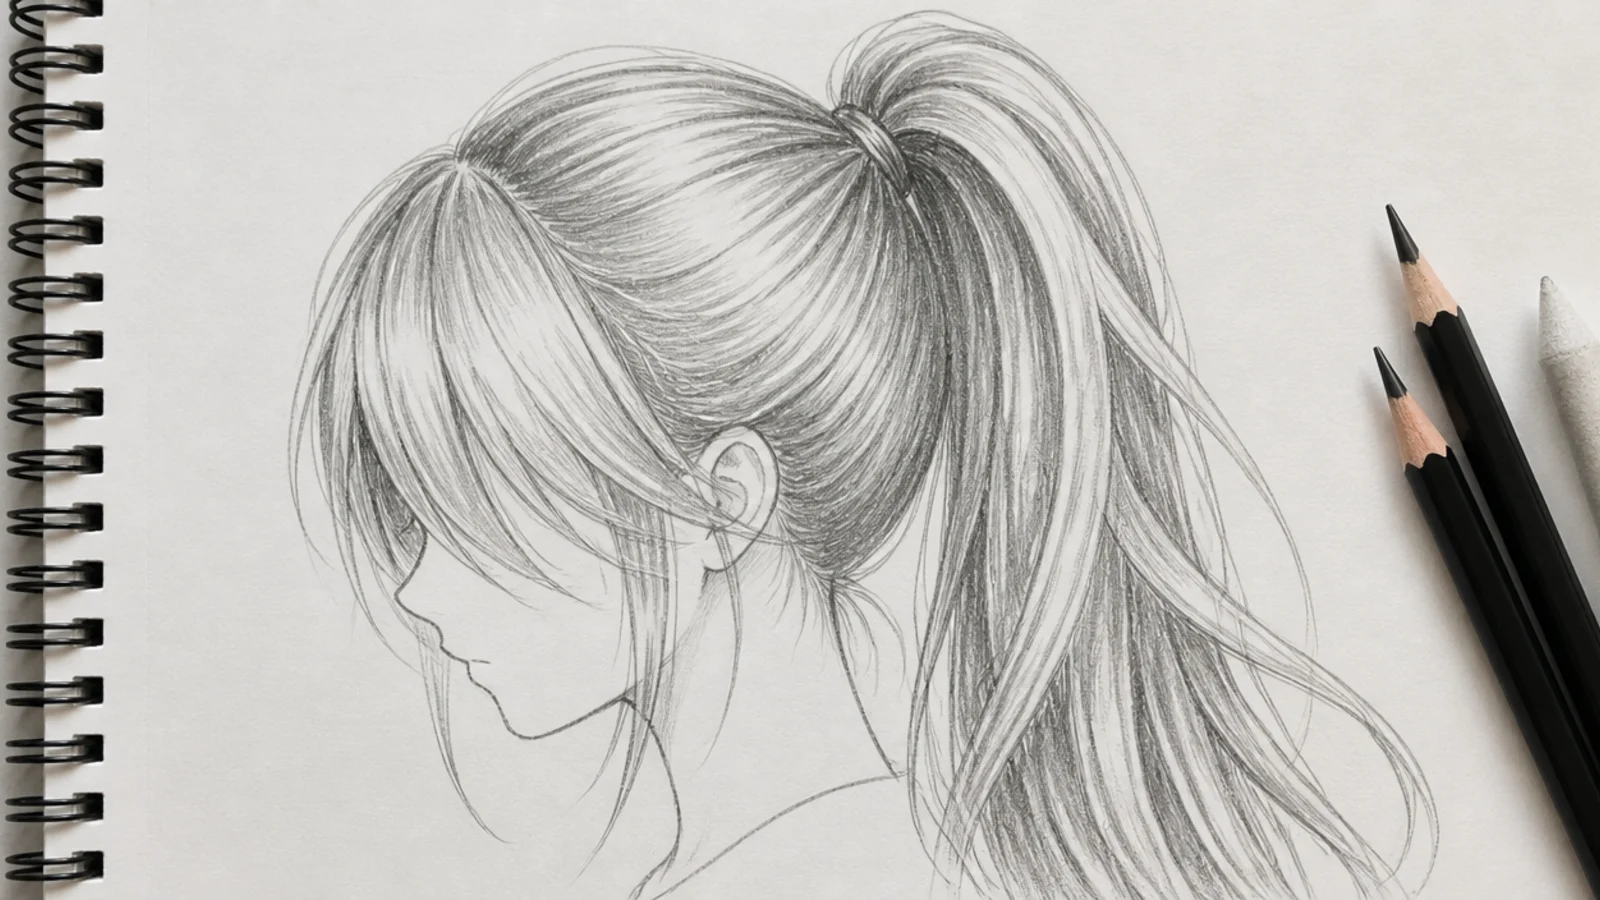
5. High Ponytail
The lines running from the hairline to the tie describe the curve of the skull, so they do the job that shading would otherwise have to. The tail itself leaves the band in one direction and then arcs under its own weight, and a tail drawn as a straight cone reads as rope rather than hair.
6. Short Messy Male
Messy is a controlled effect, not an absence of control. Keep the outer silhouette a clean rounded mass and break it in only three or four places, because randomness distributed everywhere stops reading as texture and starts reading as noise.
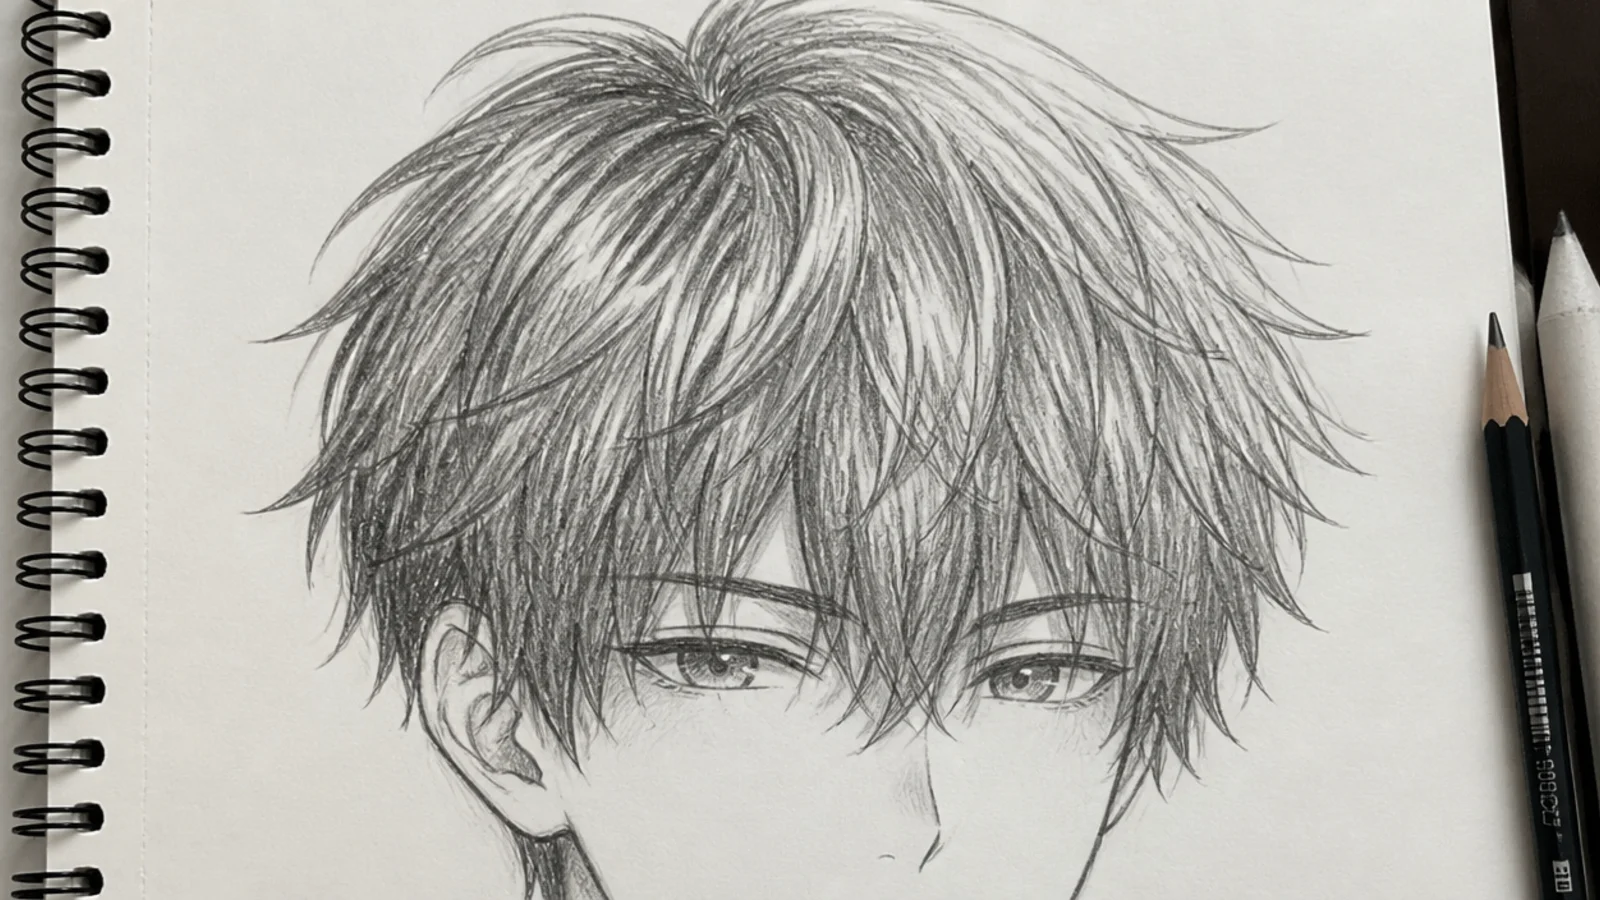
7. Hair Over Eye
The clump crossing the face needs a hard, confident edge and no shading carried through it, because the moment the eye shows faintly through the hair the drawing loses its depth. Decide whether the eye is hidden or visible and hold that decision across the whole page.
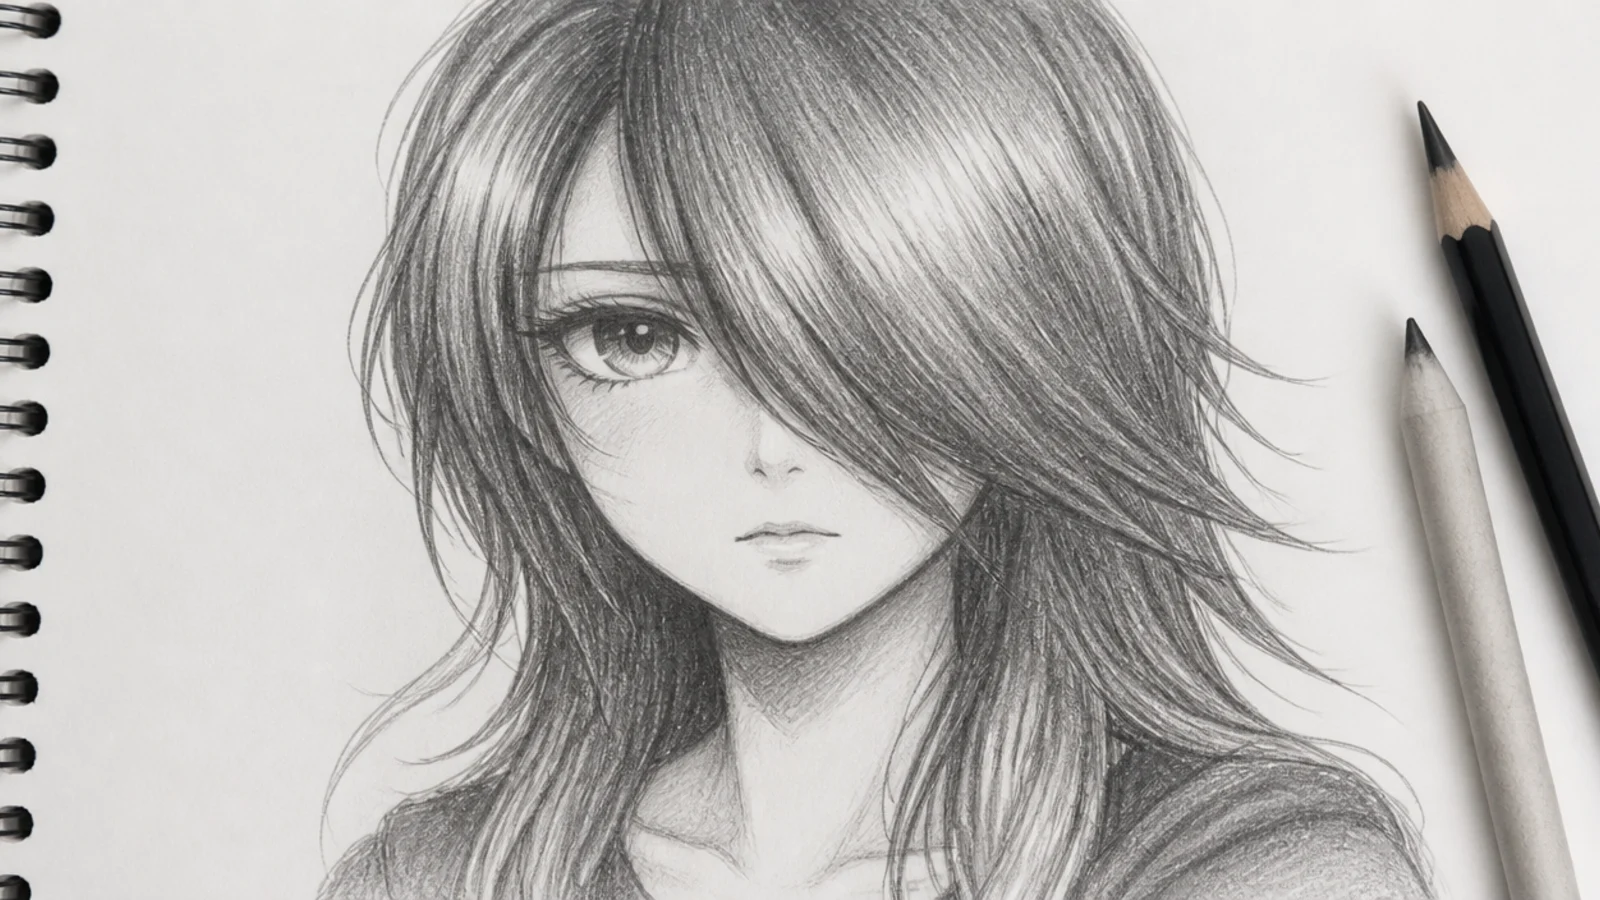
8. Curly Spirals
Draw each spiral as a twisting ribbon rather than a coiled line, so the surface turns from its outer face to its inner face and back. Shading those two faces at different values is the whole trick, and it is what separates a curl from a doodled loop.
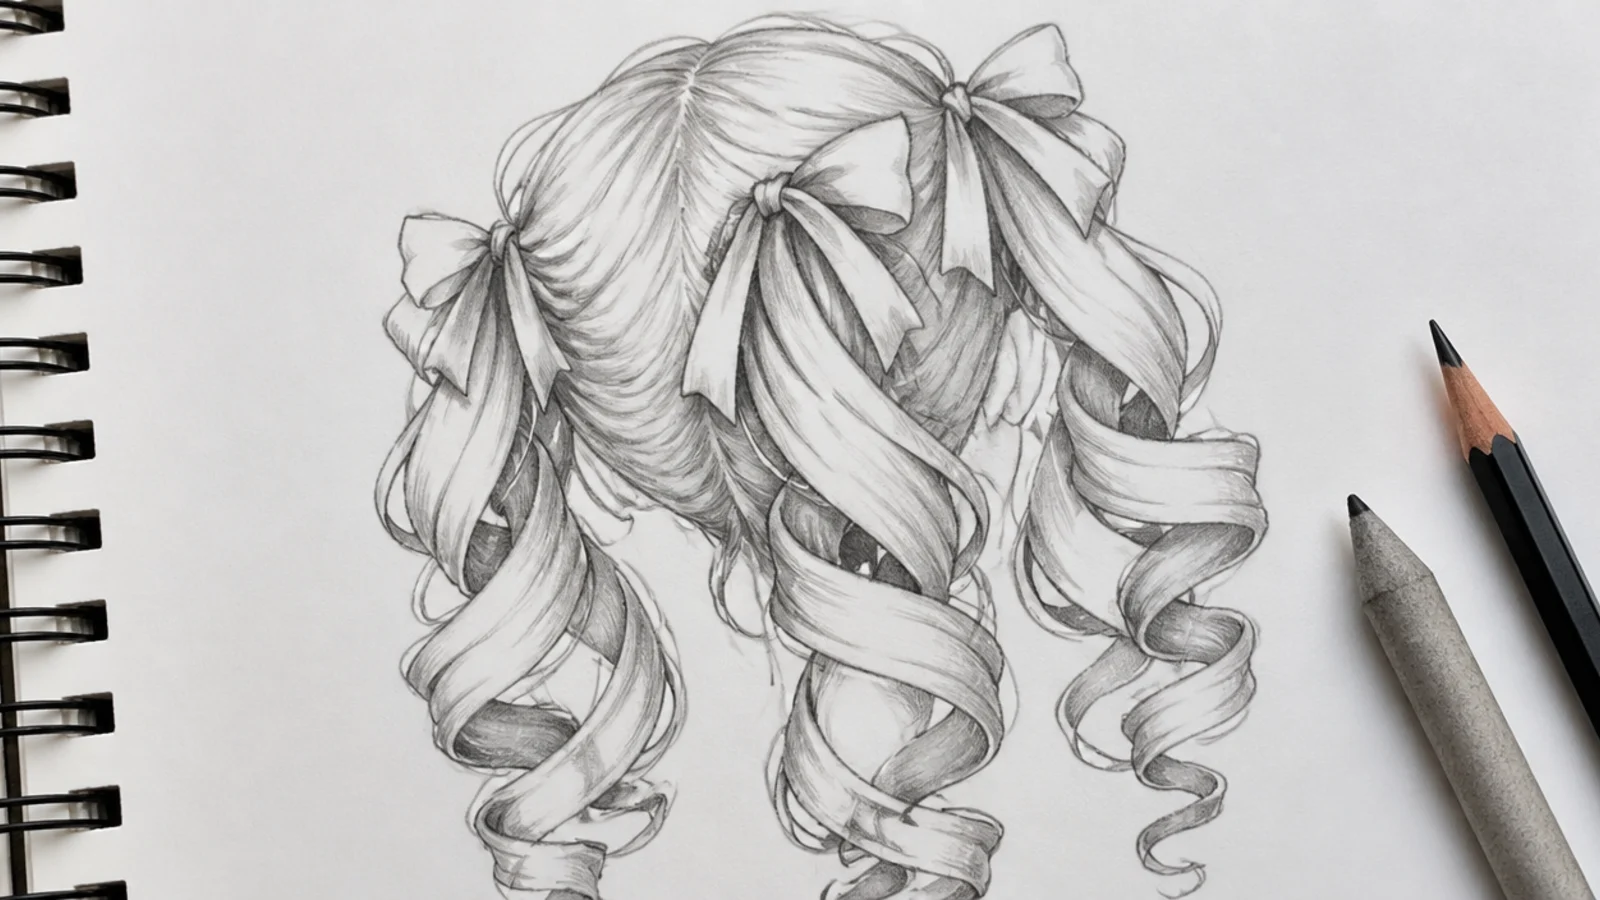
9. Odango Buns
A bun is a sphere wrapped in hair, so its interior lines have to curve around that sphere rather than running flat across it. The gathered hair below should pull visibly towards the base, which is what attaches the bun to the head instead of parking it beside one.
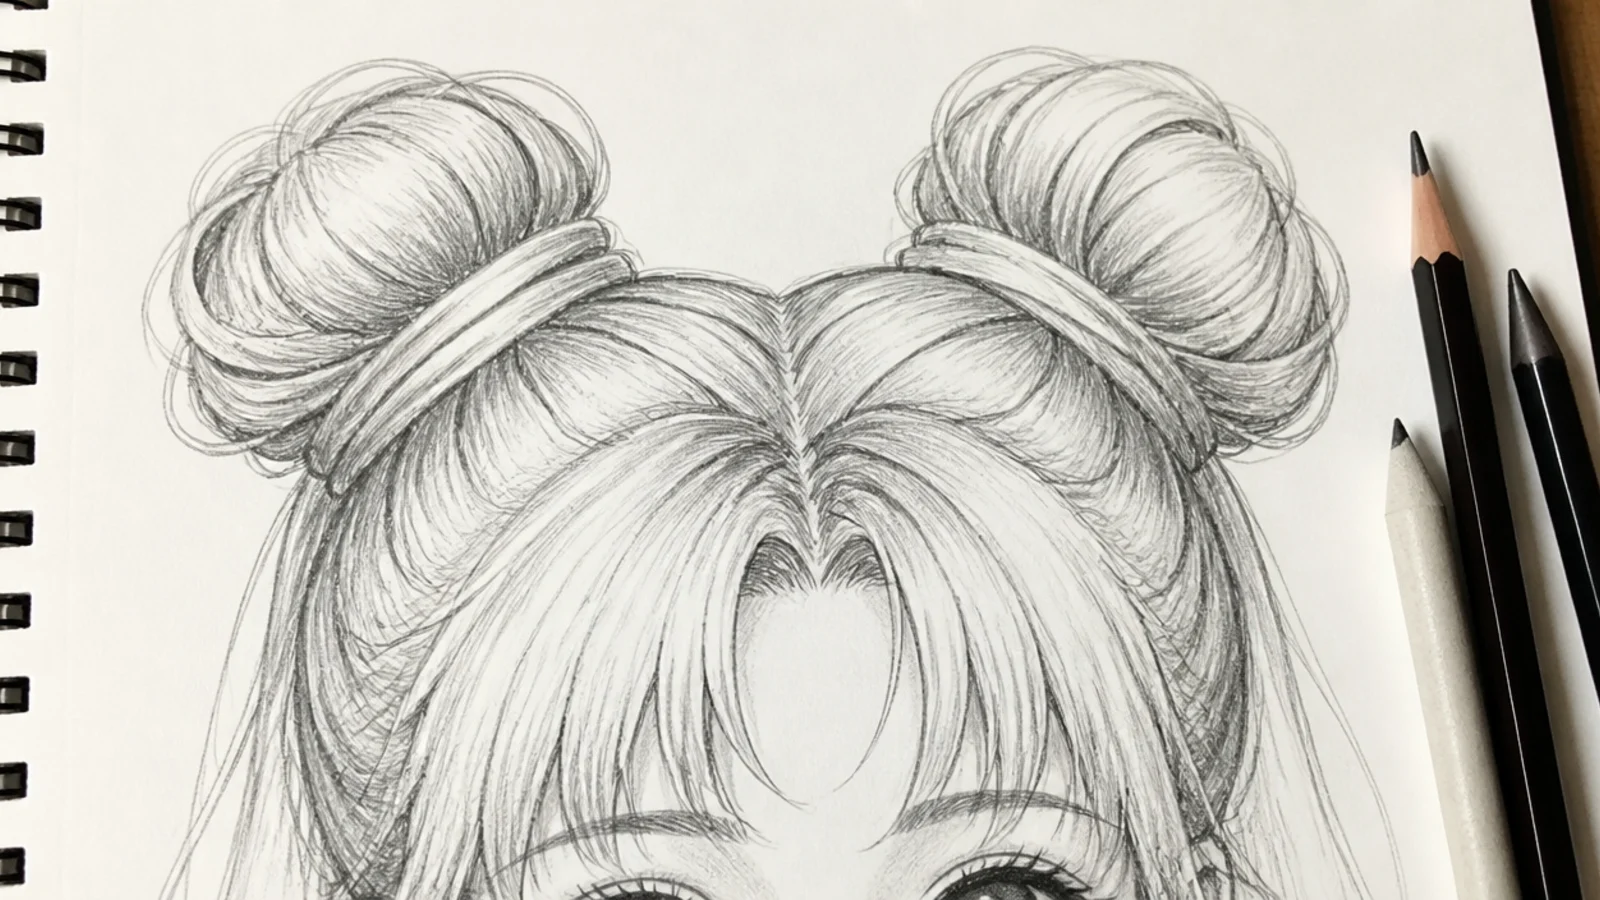
10. Side Braid
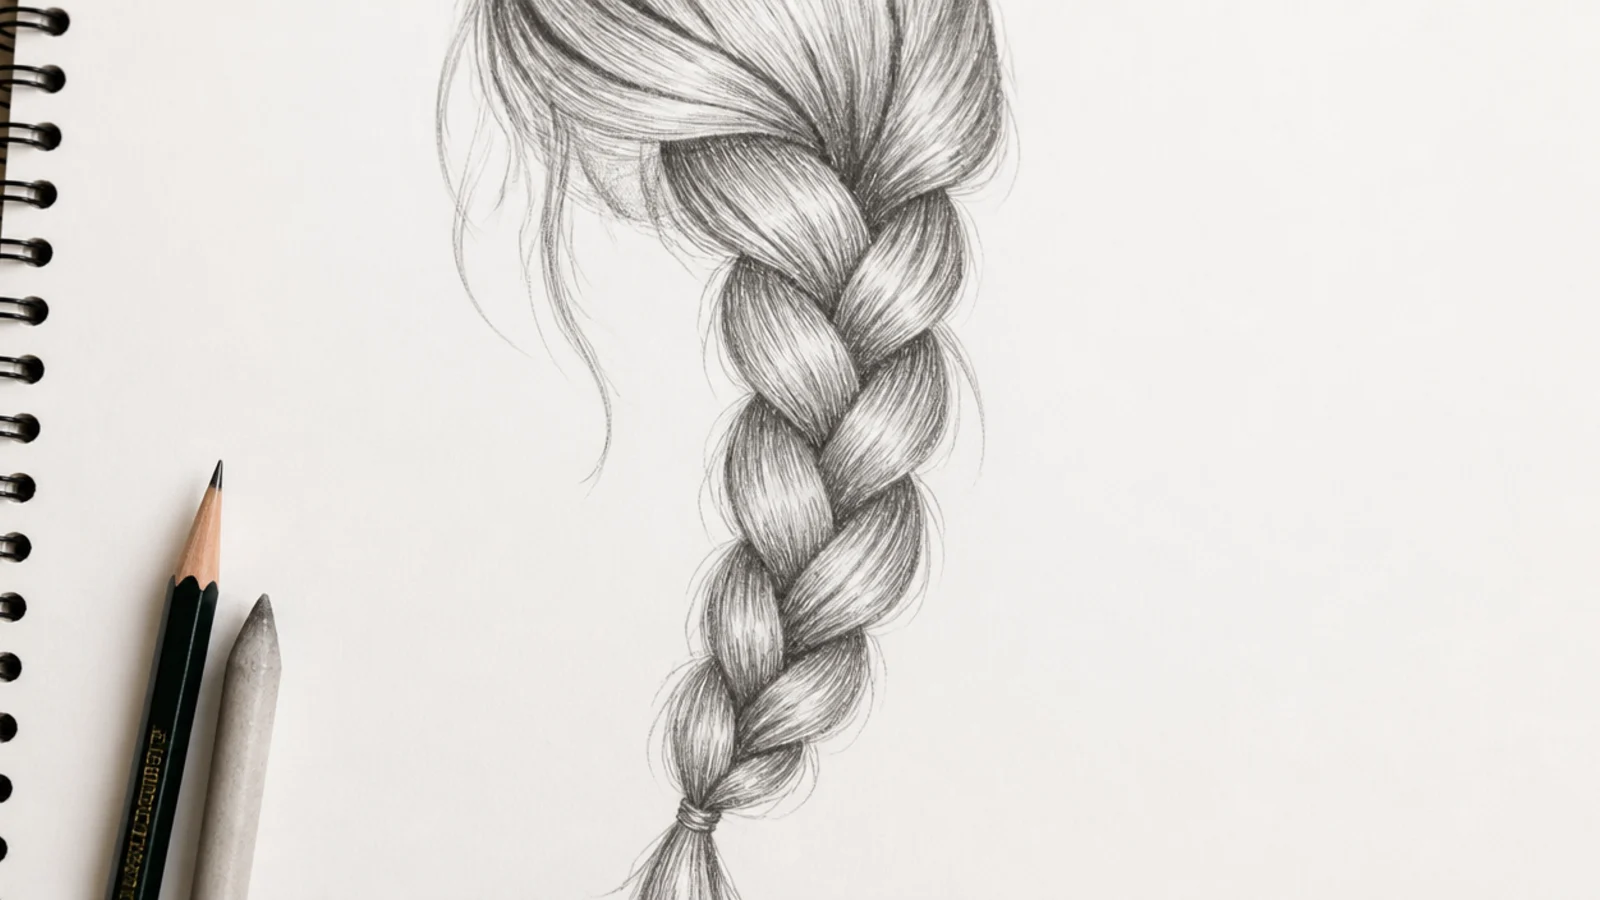
A braid is a stack of overlapping wedges alternating left and right, and its outer edge is a series of small arcs rather than a straight line. Narrow the whole stack steadily towards the tip, because a braid that keeps its width down its length looks like a rope ladder.
11. Wind Blown
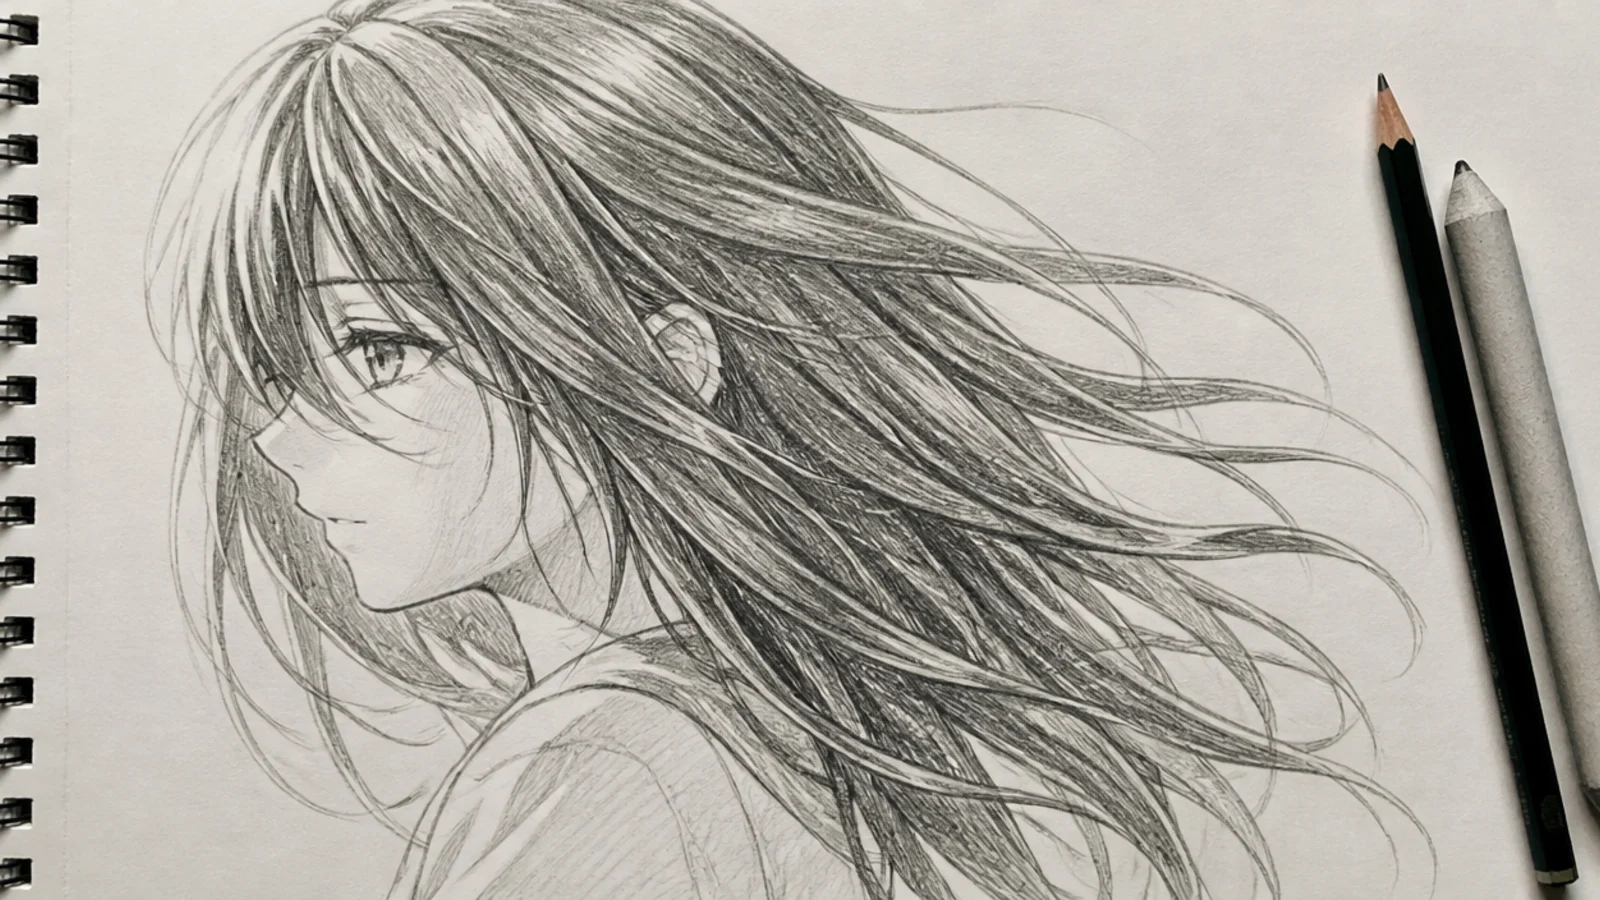
Wind is one direction plus a small amount of spread, so every clump should share a dominant angle and only two or three should deviate. Keep the roots tight against the skull and lift only from the mid lengths outwards, or the hair reads as falling rather than blowing.
12. Chibi
A chibi head is enormous relative to the body, so the hair has to lose detail in proportion. Three or four large clumps and a heavier outline read correctly at that scale, while the same number of lines you would use on a full figure collapses into smudge.
13. Villain Angular
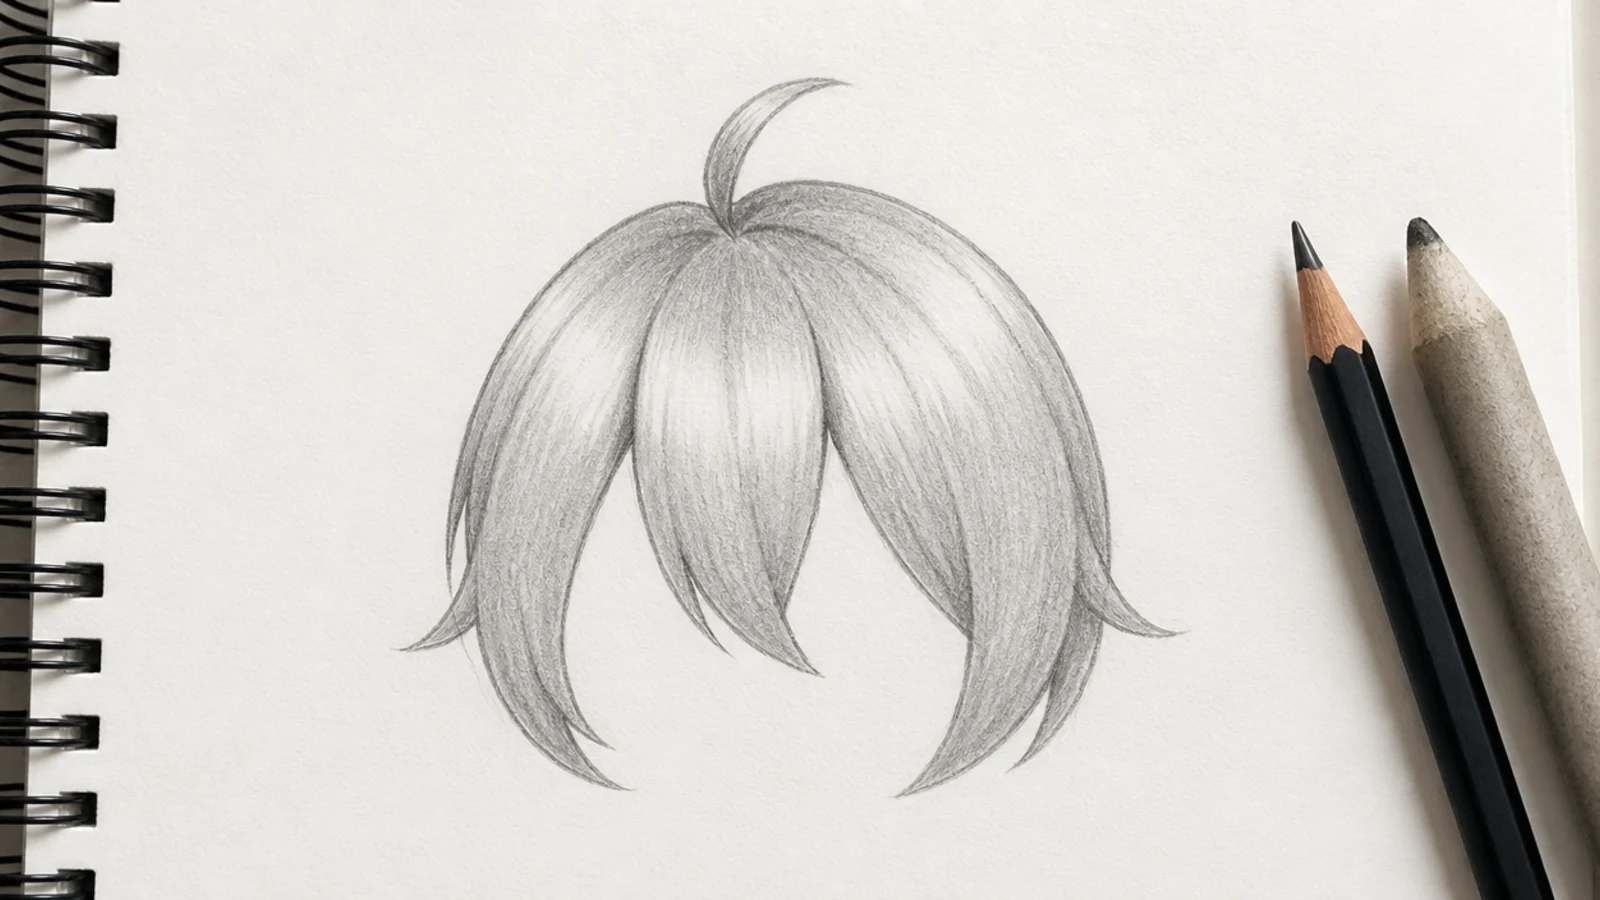
Sharp straight edges and acute angles do the characterisation, since the eye reads curves as friendly and points as threatening before it reads anything else. Sweep the mass back and away from the face and keep the value contrast high, with very dark undersides against clean paper.
14. Undercut
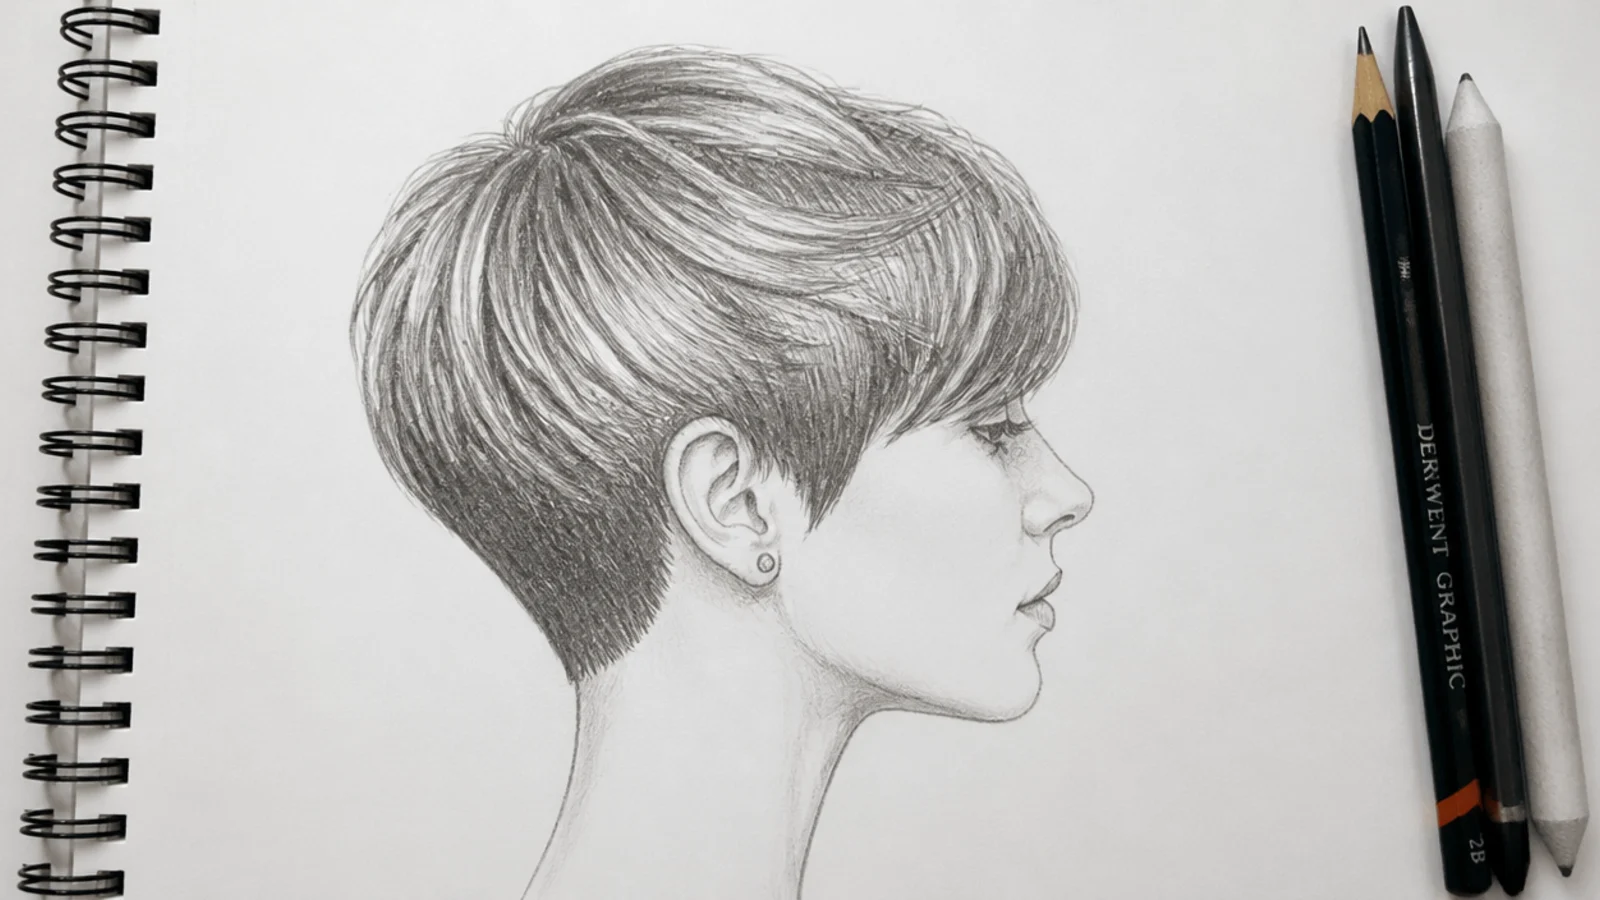
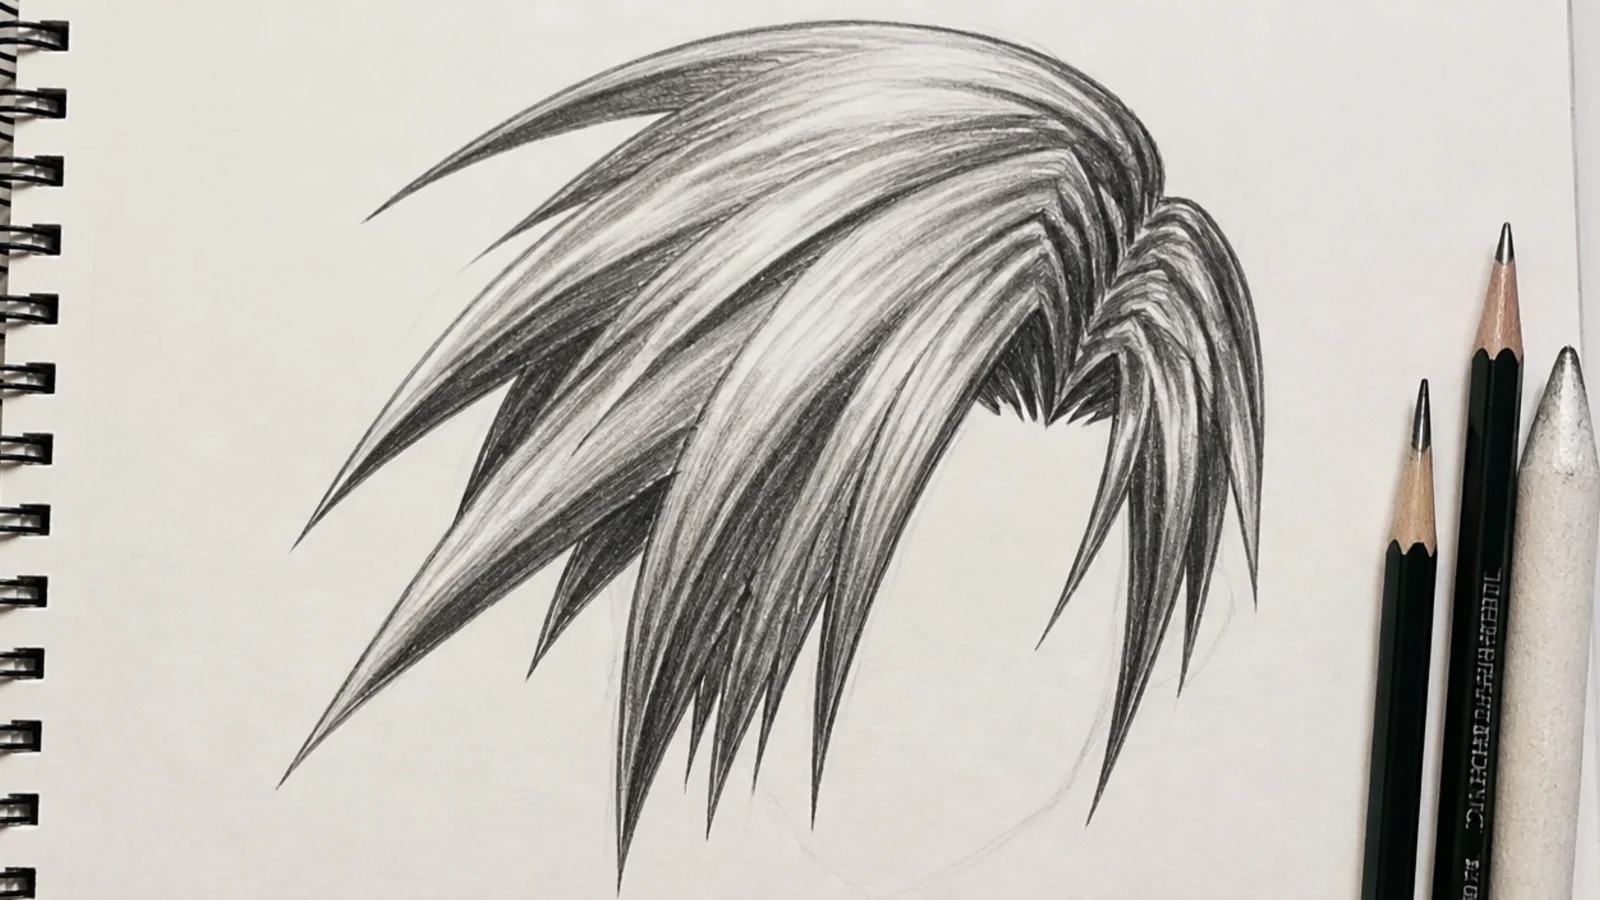
The shaved section is a flat even tone with a hard boundary, and that boundary has to follow the curve of the skull rather than cutting straight across the page. The whole cut lives on the contrast between that smooth grey field and the drawn clumps sitting over it.
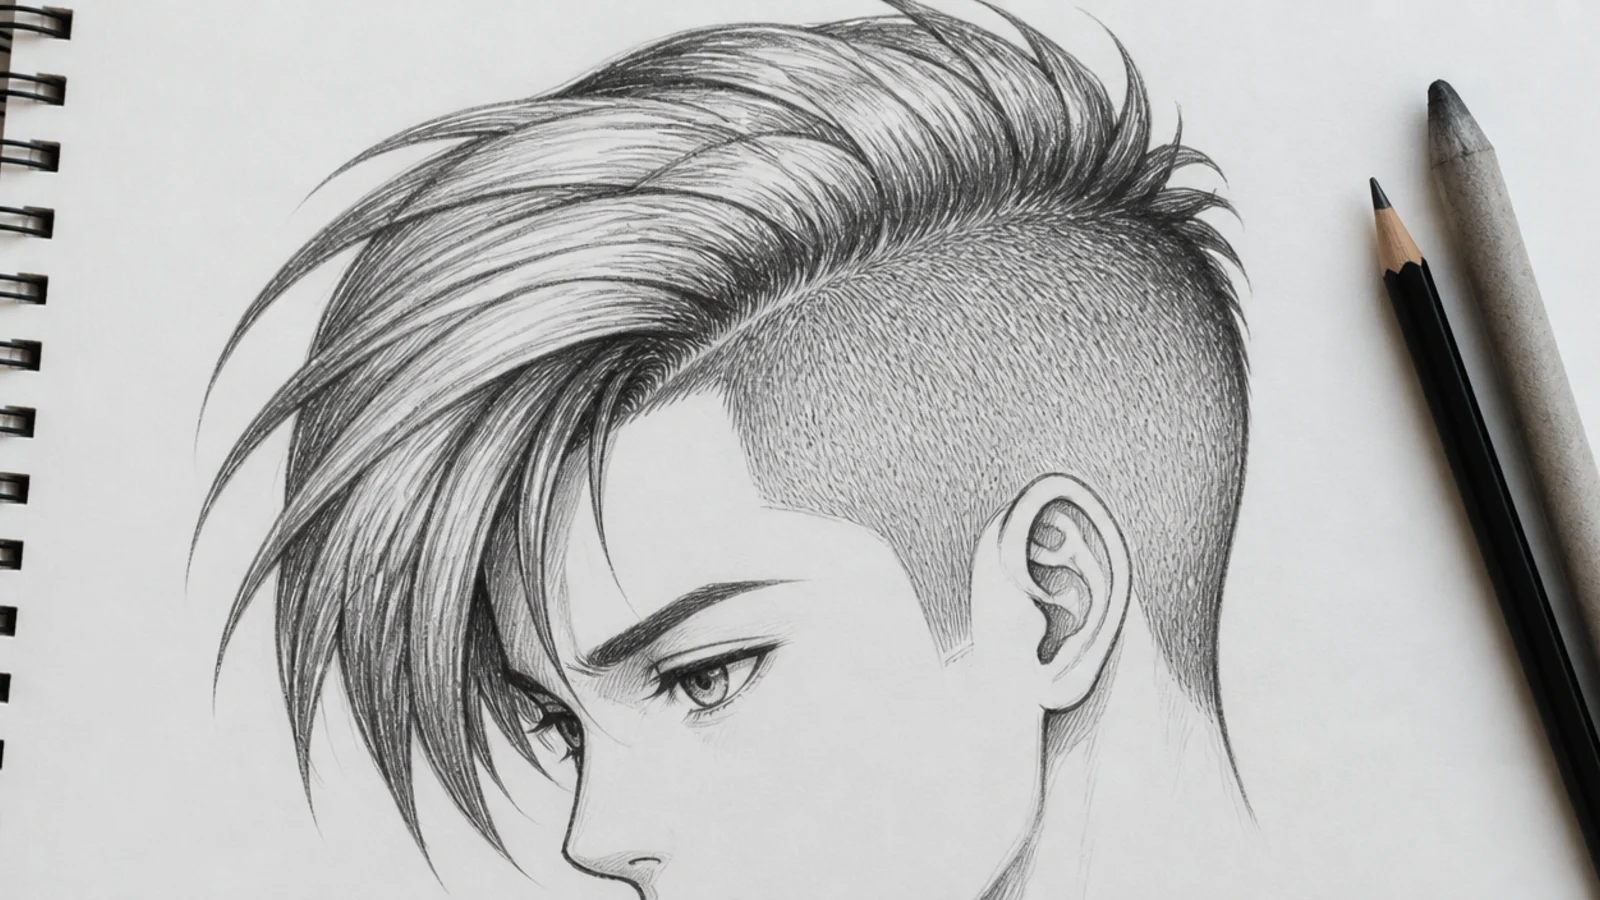
15. Wet Hair
Water gathers many strands into fewer, heavier clumps that cling to the skull, so the silhouette moves inwards and the gap you normally leave almost closes. Replace the soft highlight band with small hard bright spots, because a wet surface reflects points of light rather than a broad sheen.
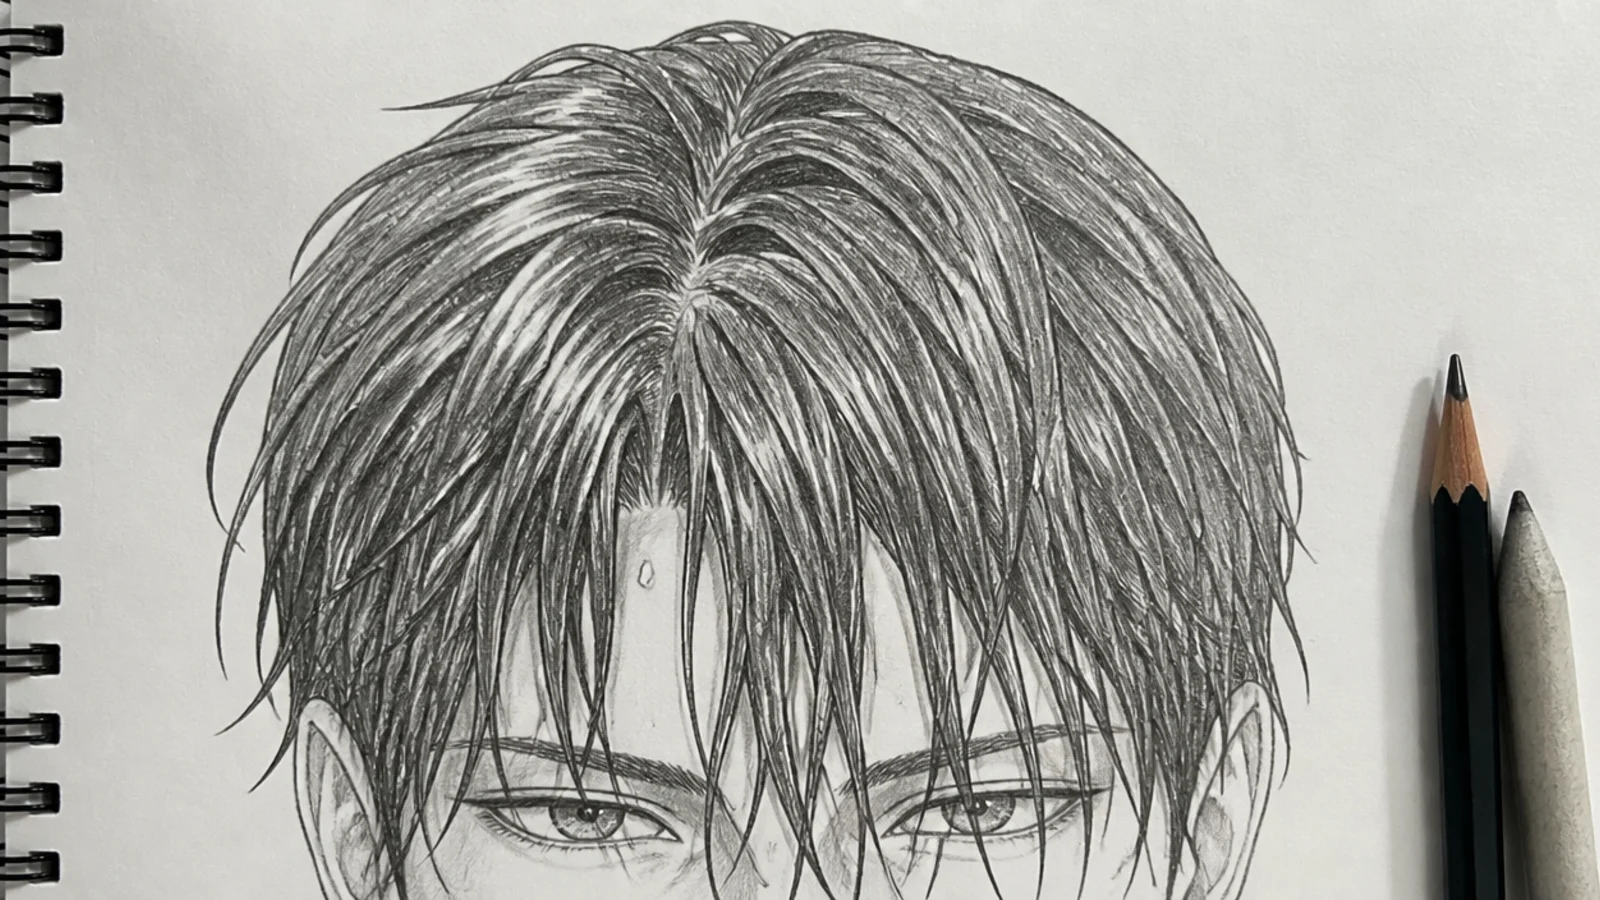
16. Ahoge Cowlick
The single strand standing above the mass has to originate somewhere believable, which means the crown whorl and not the middle of a clump. Draw it as a smooth curve with one change of direction, since a stiff spike reads as a mistake rather than as a character trait.
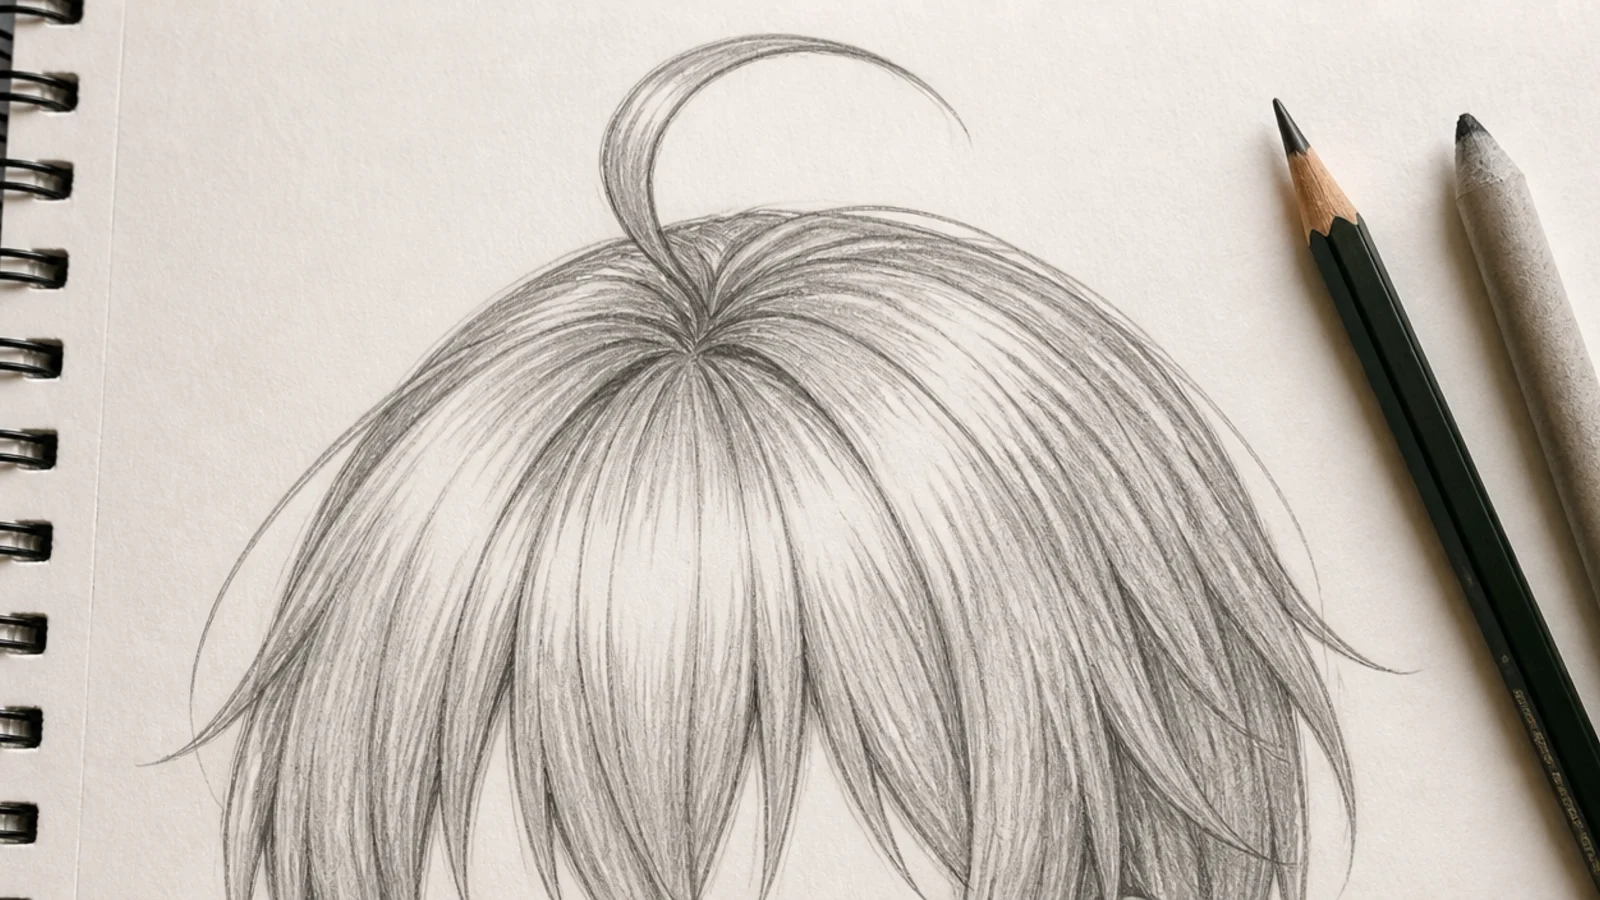
17. Blonde Inverted
Pale hair in graphite is mostly paper. Keep the whole mass at a light value and push dark only into the underside and the gaps between clumps, so the form still reads without the tone going grey. The inverted shape means the back is shortest and the front panels angle down towards the jaw.
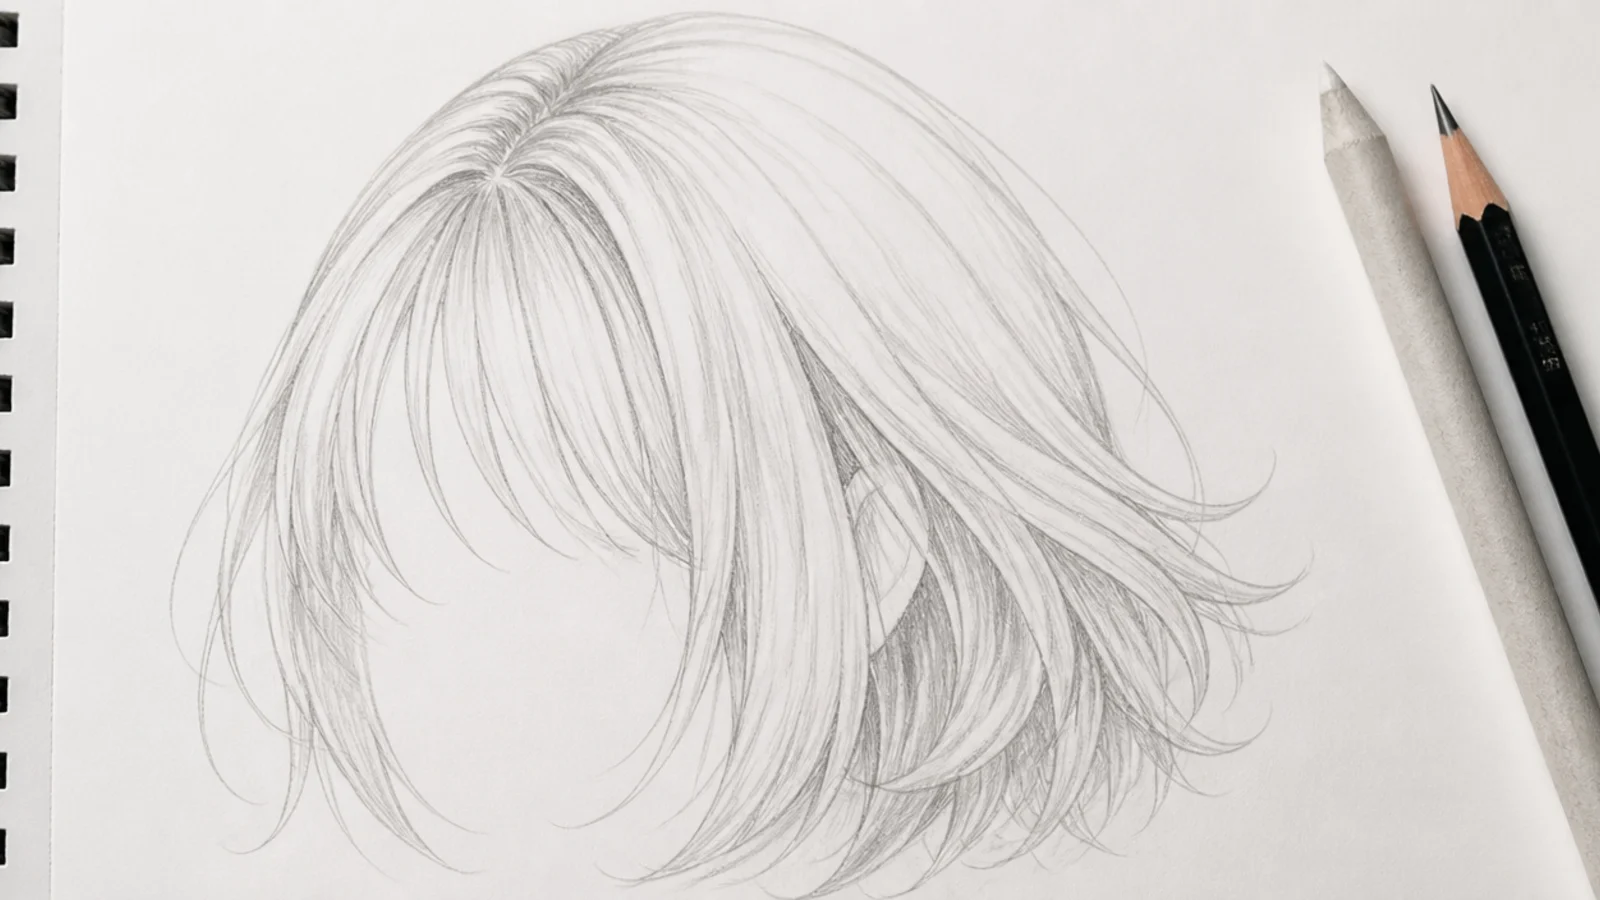
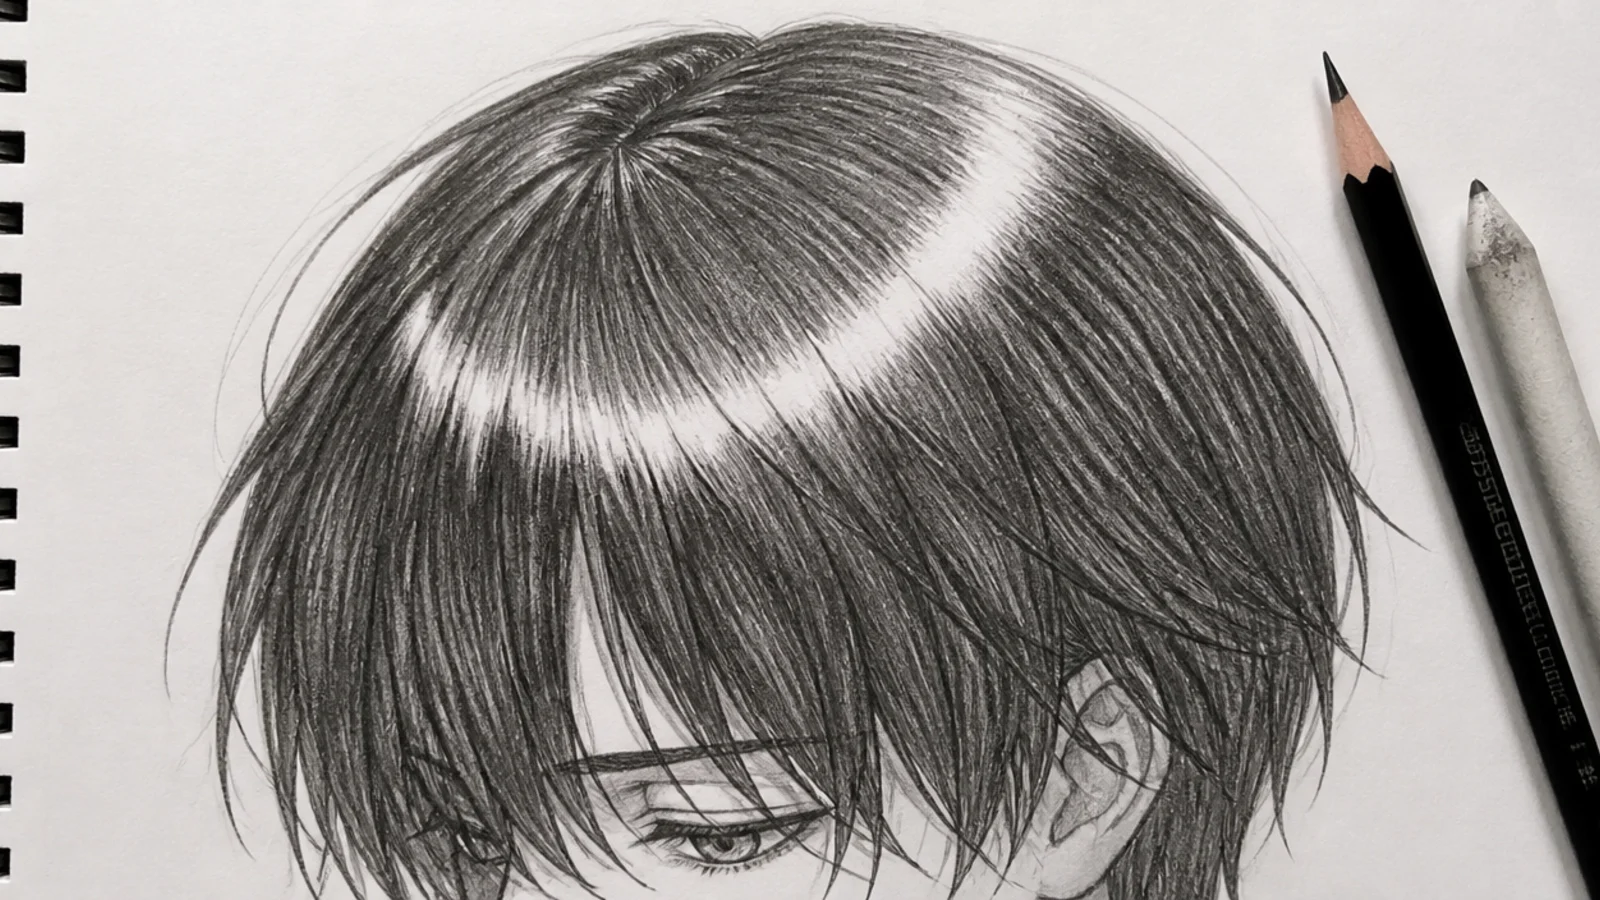
18. Black Highlight Band
The darker the hair, the more work the highlight has to do, because with the tone laid in evenly the band is the only thing describing the shape of the head. Lay the dark first and lift the band out with an eraser, following the cross contour of the skull rather than a straight line.
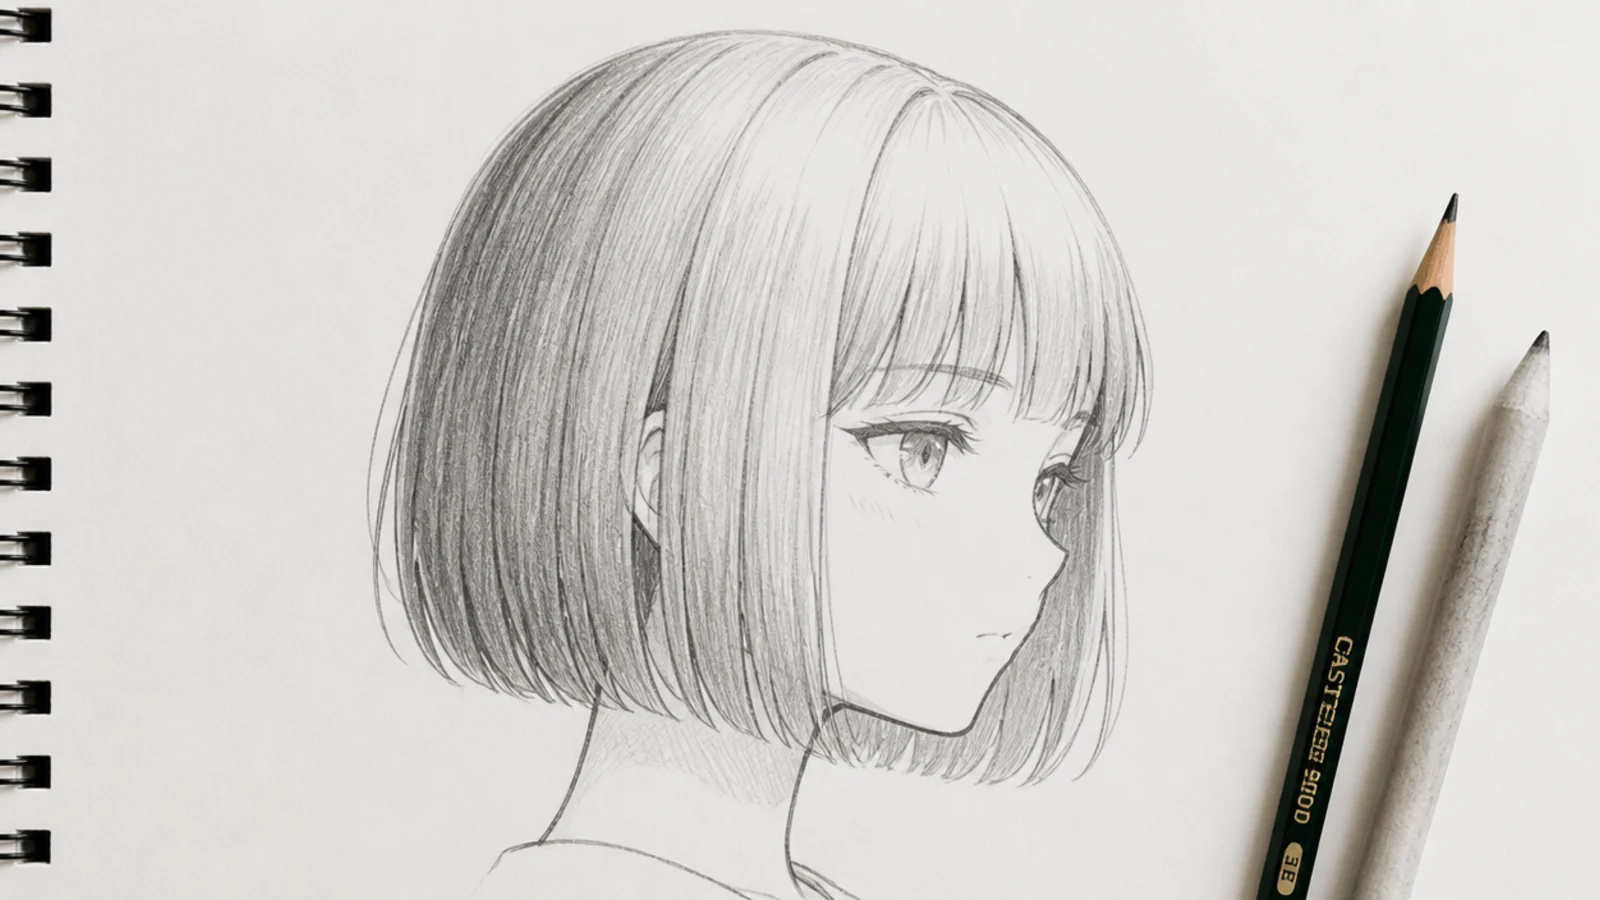
19. Blunt Bob
The perimeter is the entire cut, so the drawing succeeds or fails on one arc. Let every interior clump end on that same line rather than staggering them, and keep the fringe edge equally committed, since a softened edge turns the shape into an ordinary short style.
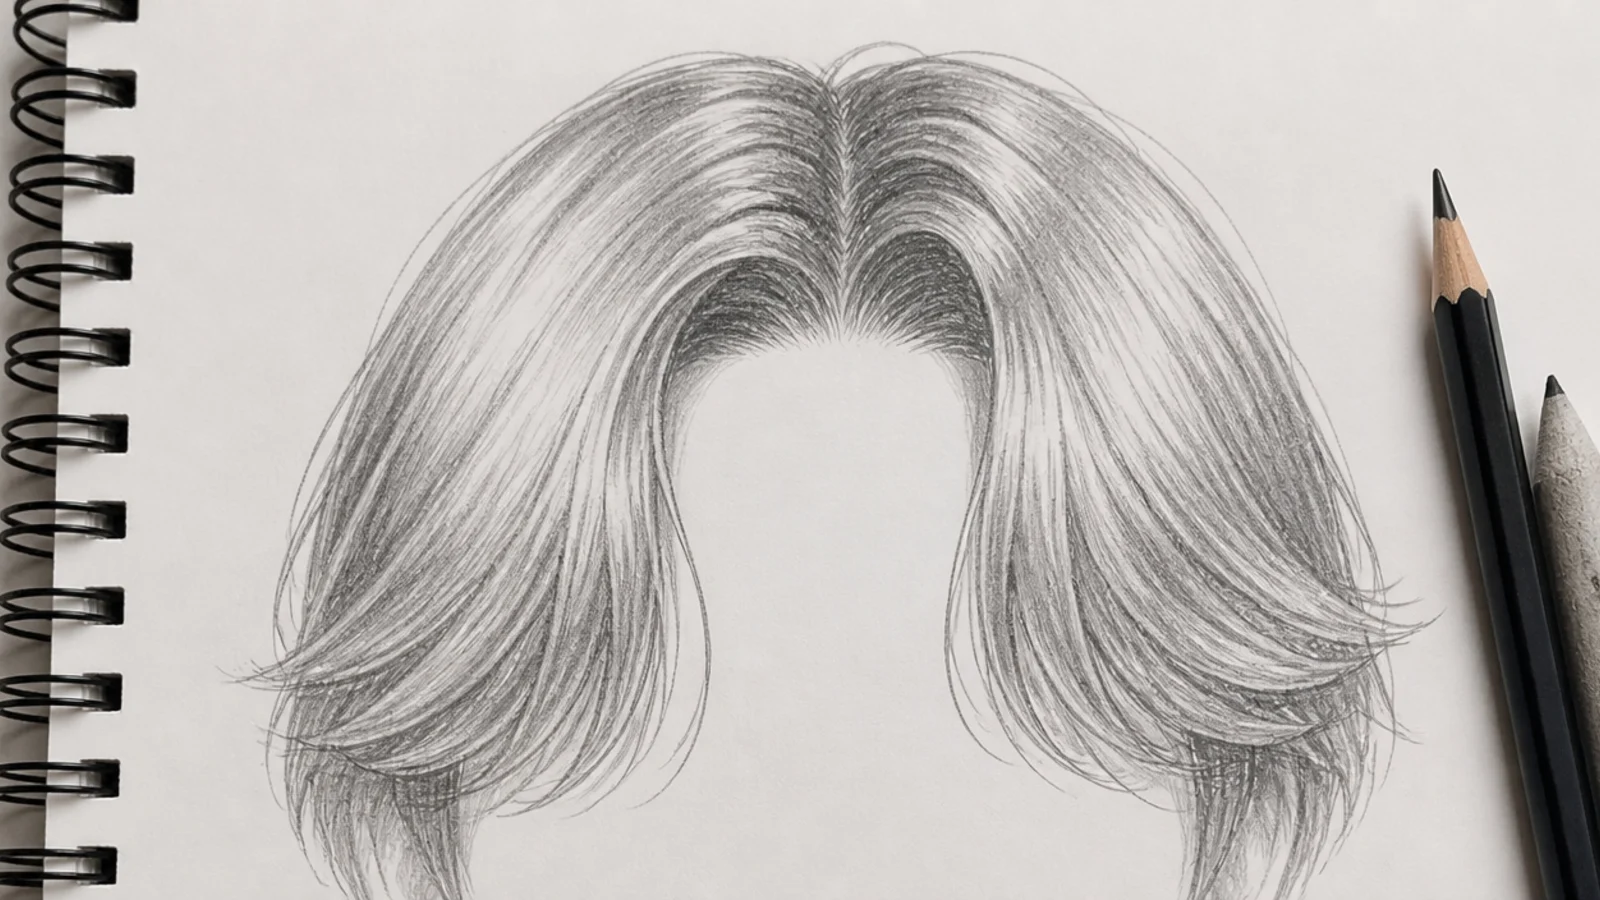
20. Curtain Bangs
Two panels part from one point and sweep outwards, shortest at the inner edges and lengthening as they travel towards the cheekbones. The exposed wedge of forehead between them is doing as much work as the hair, so draw the gap deliberately rather than closing it up with strands.
Final Thoughts
If a sketch is not working, the fault is nearly always in the first two decisions rather than in the rendering. Check that the silhouette sits outside the skull line with a real gap, and check that every clump can be traced back to one crown point. Fixing those two things rescues more drawings than any amount of extra shading, because shading applied to a mass that is the wrong shape only makes the wrong shape more convincing.
After that it is repetition at small scale. Fill a page with thumbnails of the same head wearing five different styles, spend two minutes on each, and keep the ones where the shape reads without any interior detail at all. For curl shapes in more depth see the how to curly version and the curly drawing version. More in Hair Drawing.