20 Steps To Dye Peekaboo Hair At Home On A Budget
A twenty step home peekaboo, and the decision that settles the result before any box is opened — the panel has to sit under the section you actually lift. The money goes on the lightener, not on the colour.
In this article · 27
- What a Peekaboo Actually Is
- Choosing Your Shade and Your Budget
- The 20 Steps
- 1. Decide Where the Panel Will Sit
- 2. Choose a Shade Your Base Can Reach
- 3. Strand Test Before Anything Else
- 4. Buy the Right Volume Developer
- 5. Gather Everything Onto One Towel
- 6. Start on Day Old Hair
- 7. Section the Top Layer Away
- 8. Clip the Panel Out Cleanly
- 9. Barrier Cream Along the Hairline
- 10. Mix the Bleach in Small Batches
- 11. Apply From the Midlengths First
- 12. Check the Lift Every Ten Minutes
- 13. Rinse With Cool Water Only
- 14. Dry the Panel Completely
- 15. Tone If the Panel Reads Orange
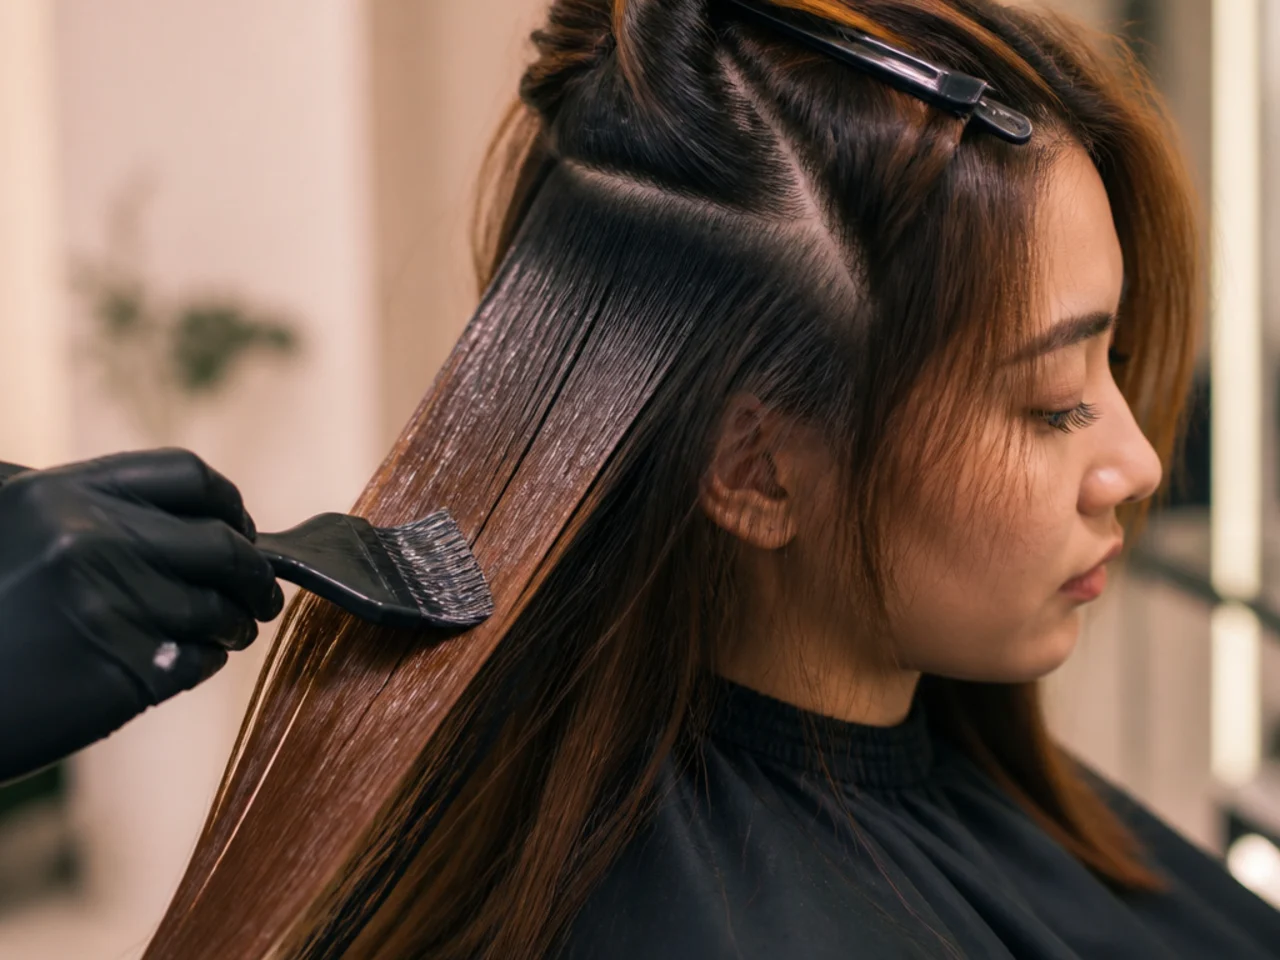
- 16. Apply the Colour in Thin Slices
- 17. Let It Process Without Heat
- 18. Rinse Until the Water Runs Clear
- 19. First Wash After Seventy Two Hours
- 20. Refresh the Panel Not the Whole Head
- Styling and Upkeep
- Mistakes to Avoid
- FAQ
- Final Thoughts
Most home peekaboo jobs go wrong at the lift, not at the colour, and by then the panel is already in the wrong place.
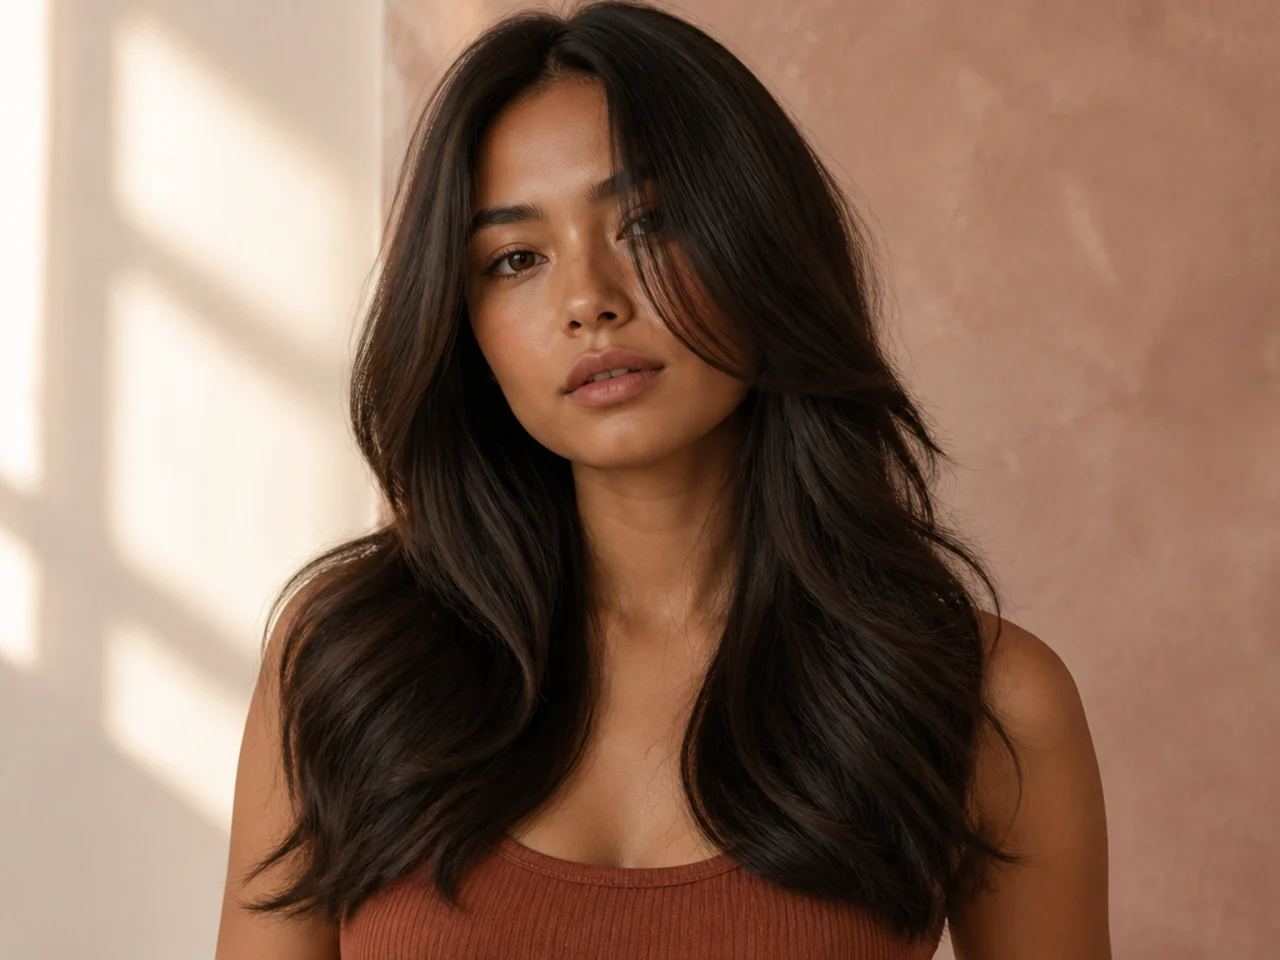
A peekaboo is a placement decision that happens to involve colour. Put the panel under a section you never lift and nobody sees it, whatever shade you chose.
The budget goes on lightener, not on dye. One panel is a fraction of a head, so the bleach lasts several sessions and the bright colour on top is the cheap part.
What a Peekaboo Actually Is
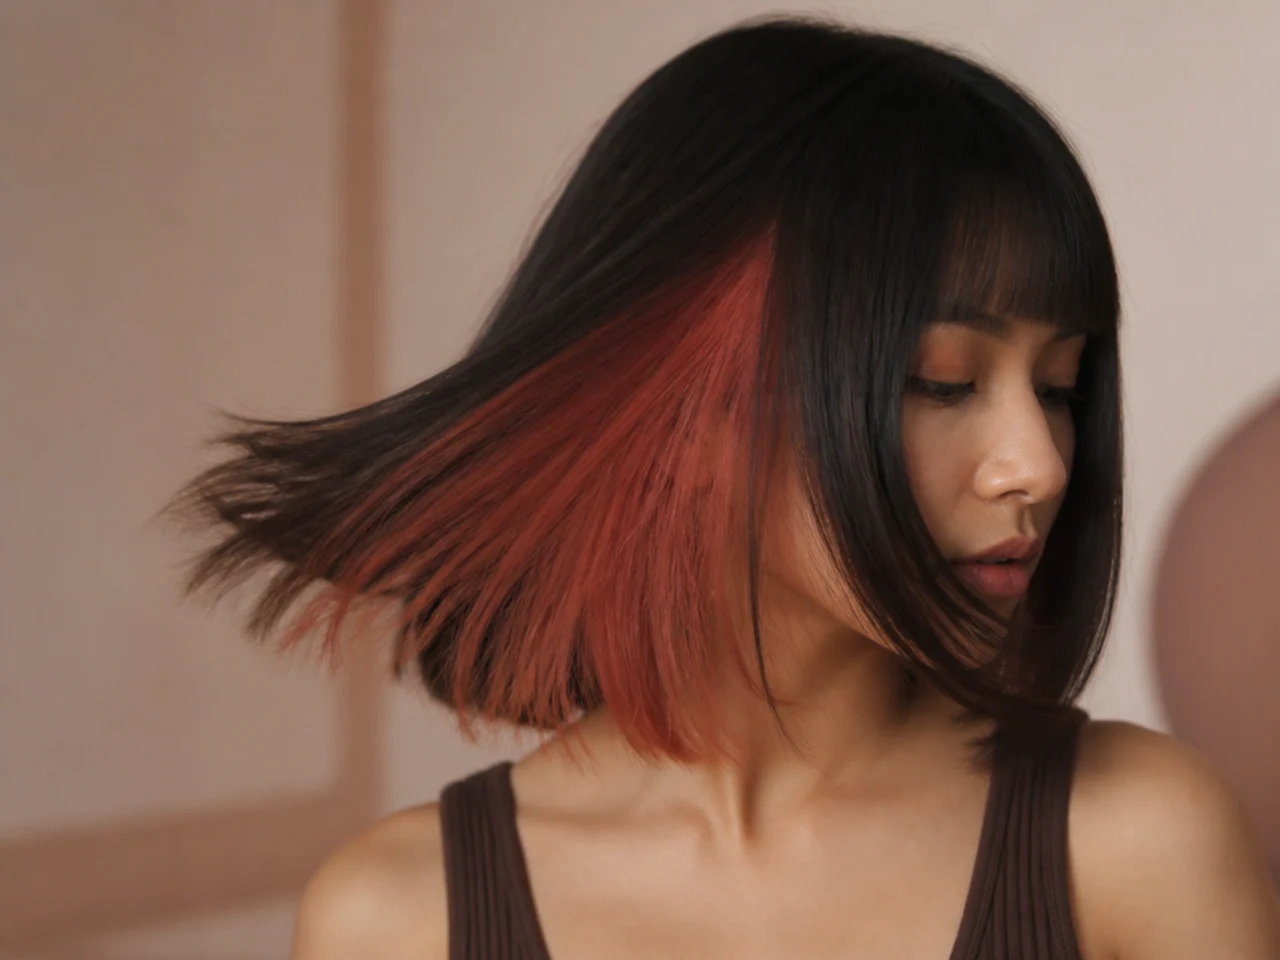
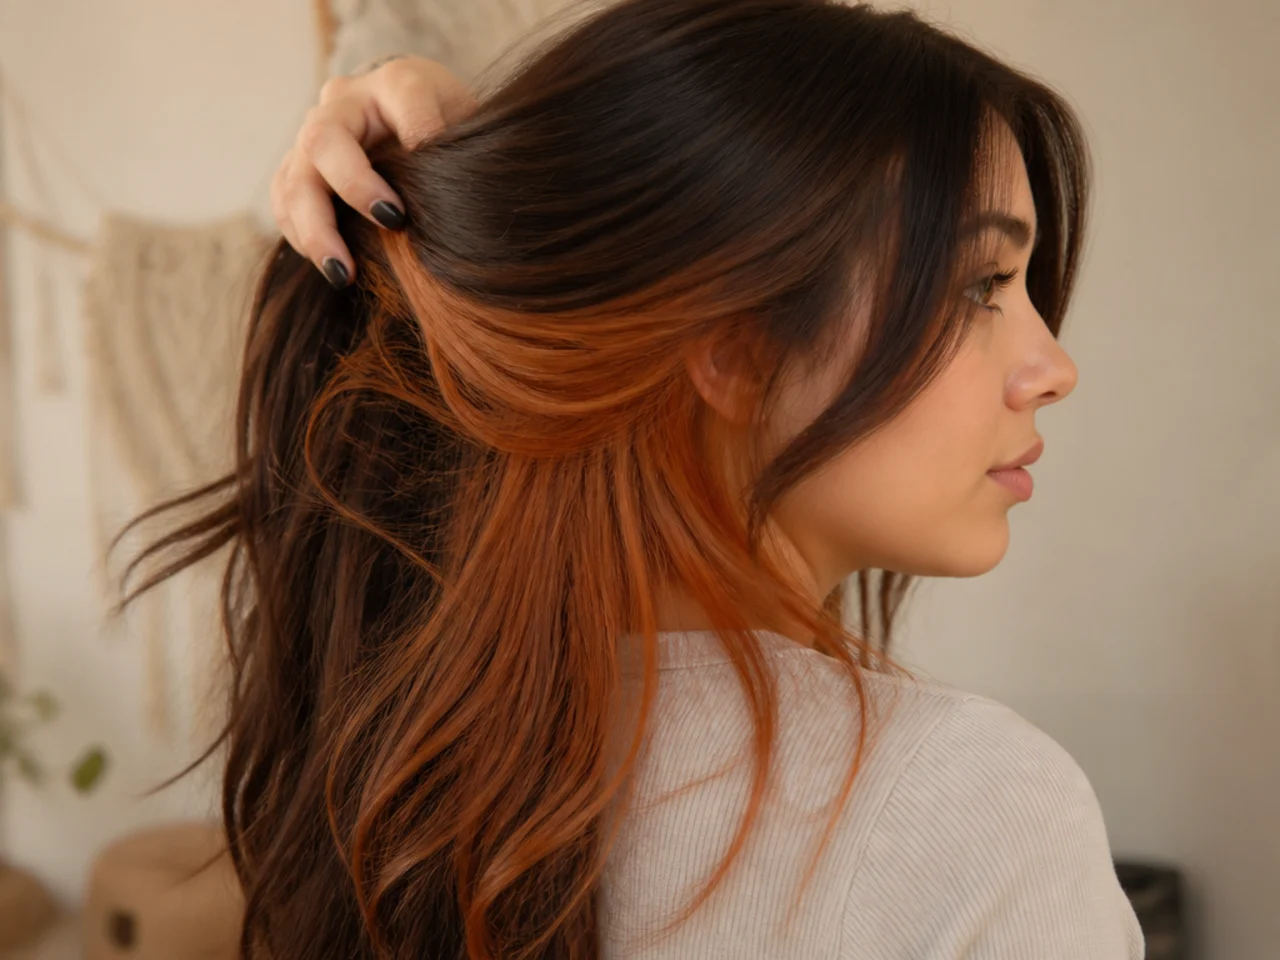
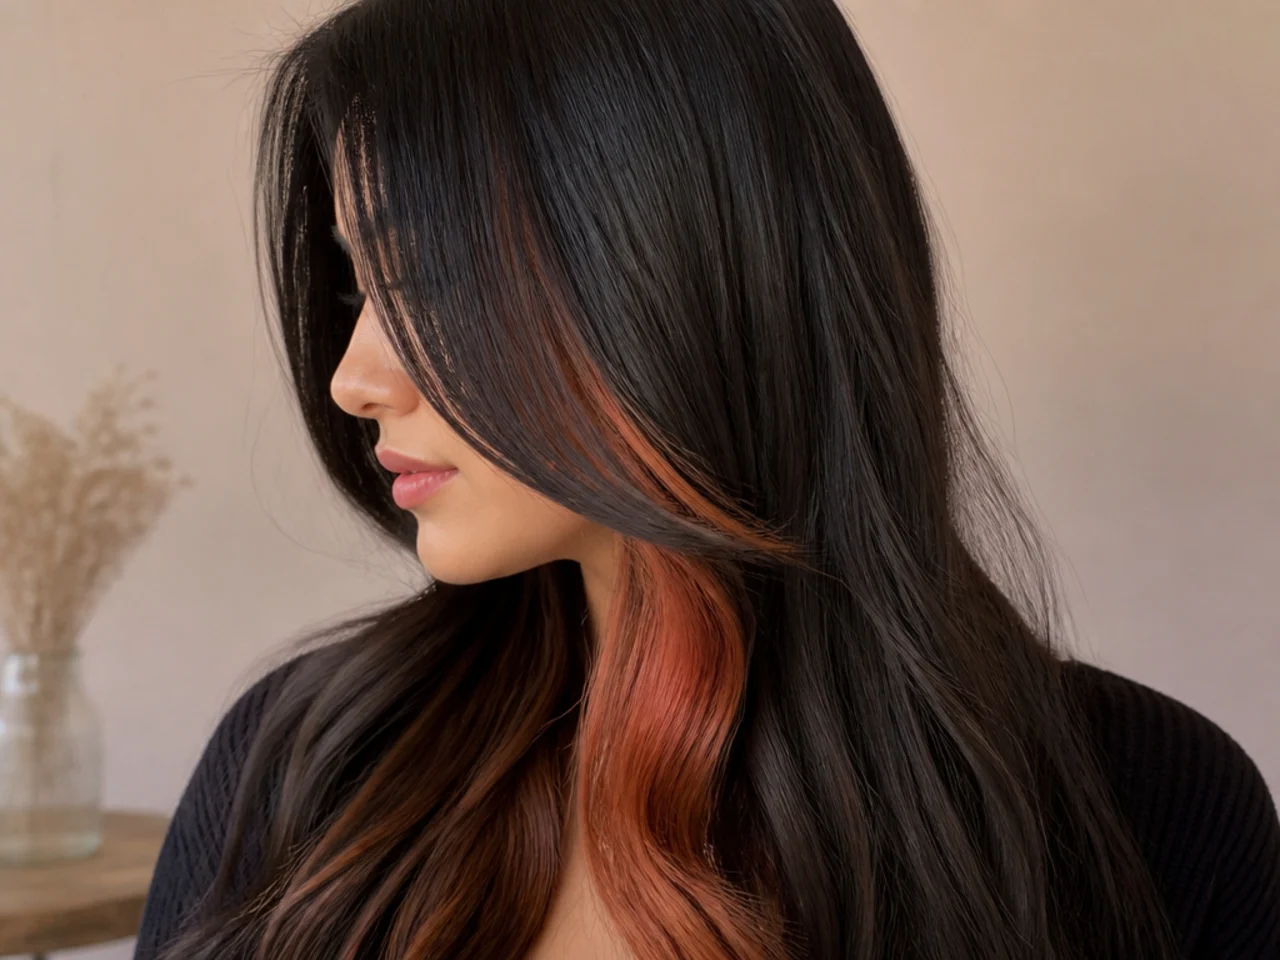
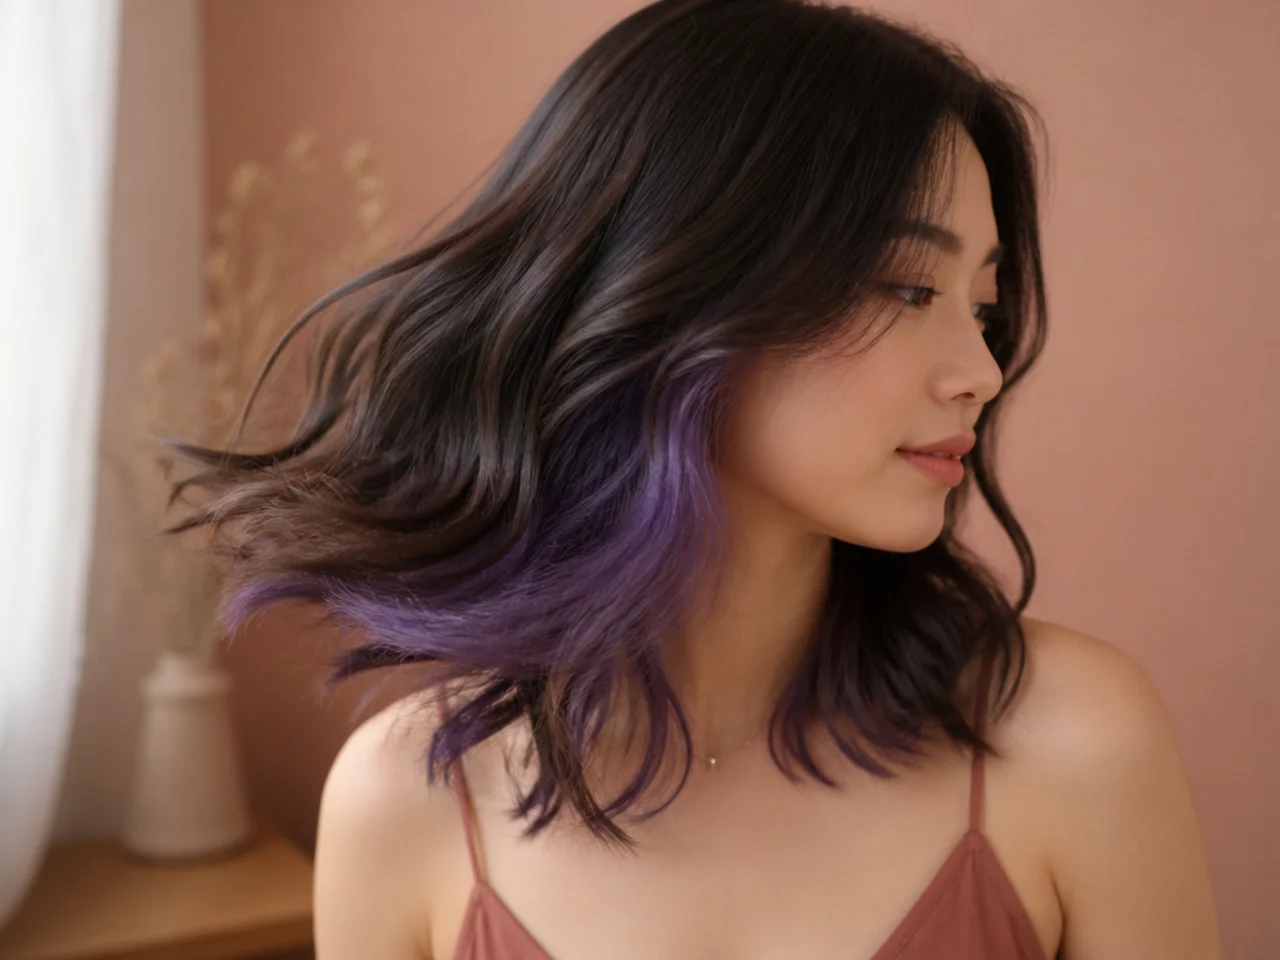
A panel underneath the top layer. Hidden when the hair is down and still, visible when it moves, is tied up, or is parted the other way.
The concealment is the whole point. A panel that always shows is not a peekaboo, it is a stripe, and it is far harder to grow out.
Bright dye is translucent. It sits over whatever tone is underneath instead of covering it, so the base decides the final shade as much as the bottle does.
Only the panel gets lifted. That is what keeps the damage and the cost contained, and it is why this is the one colour job worth doing at home.
Choosing Your Shade and Your Budget
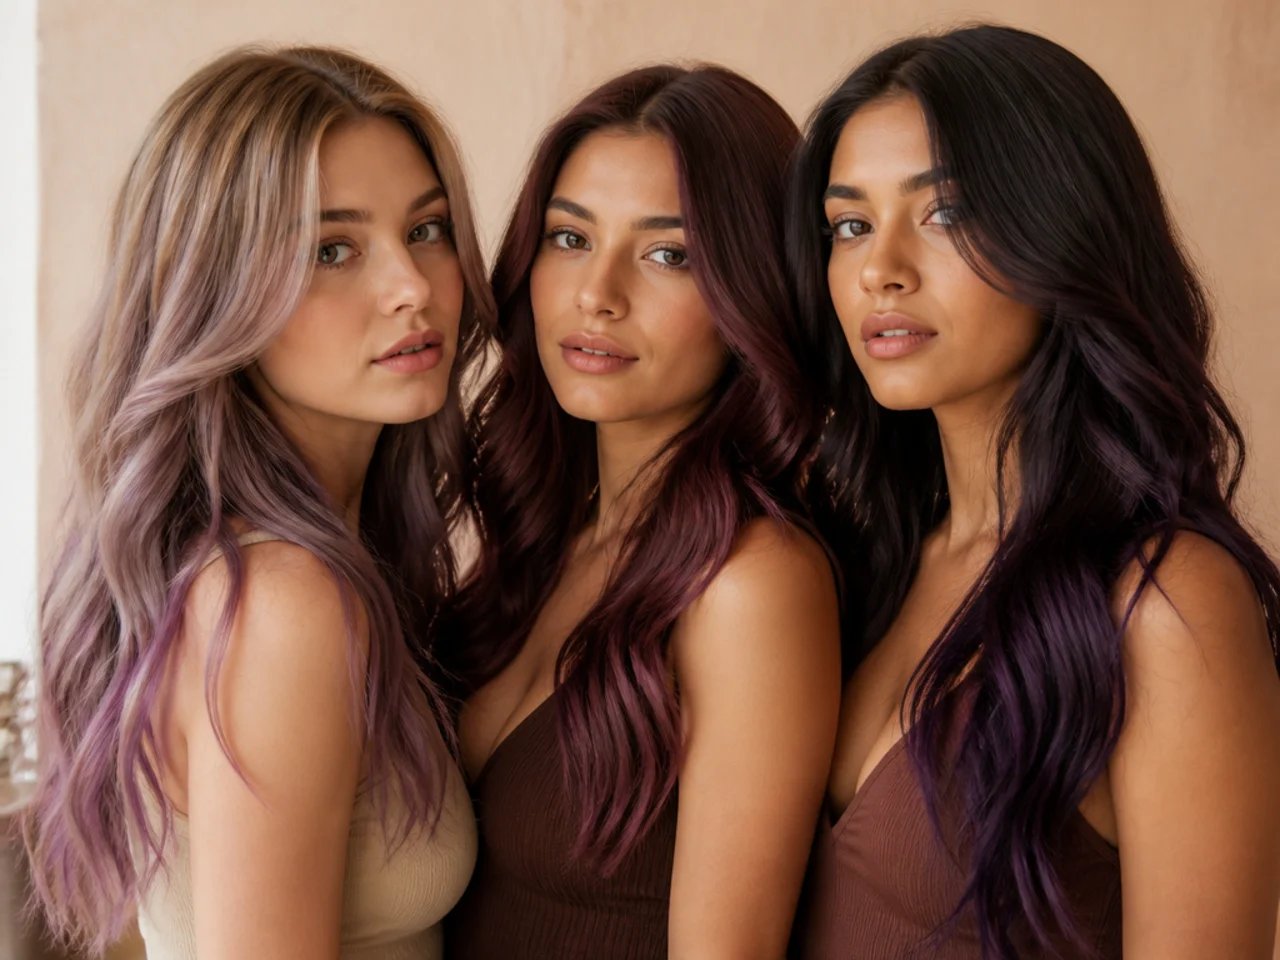
Match the shade to the lift you can afford. Burgundy, deep violet and dark teal show over a warm brown base. Pastels need pale blonde underneath and there is no way around it.
Let your wear pattern place the panel. Hair up most days means the layer just below the crown. Hair down means the underneath layer at the back and sides.
Buy developer by volume, not by name. Twenty volume lifts slowly and gently, thirty lifts faster and takes more out of the strand.
Semi permanent is cheaper because it fades. Four to eight washes is short enough to be an experiment rather than a commitment, which is the point of a first attempt.
The 20 Steps
1. Decide Where the Panel Will Sit
Work out which section you genuinely lift, part or tie up, and mark it before you open a single box. Placed low on someone who wears a ponytail every day, the panel never once appears, and no amount of colour fixes a section nobody sees. The full placement map covers each wear pattern.
2. Choose a Shade Your Base Can Reach
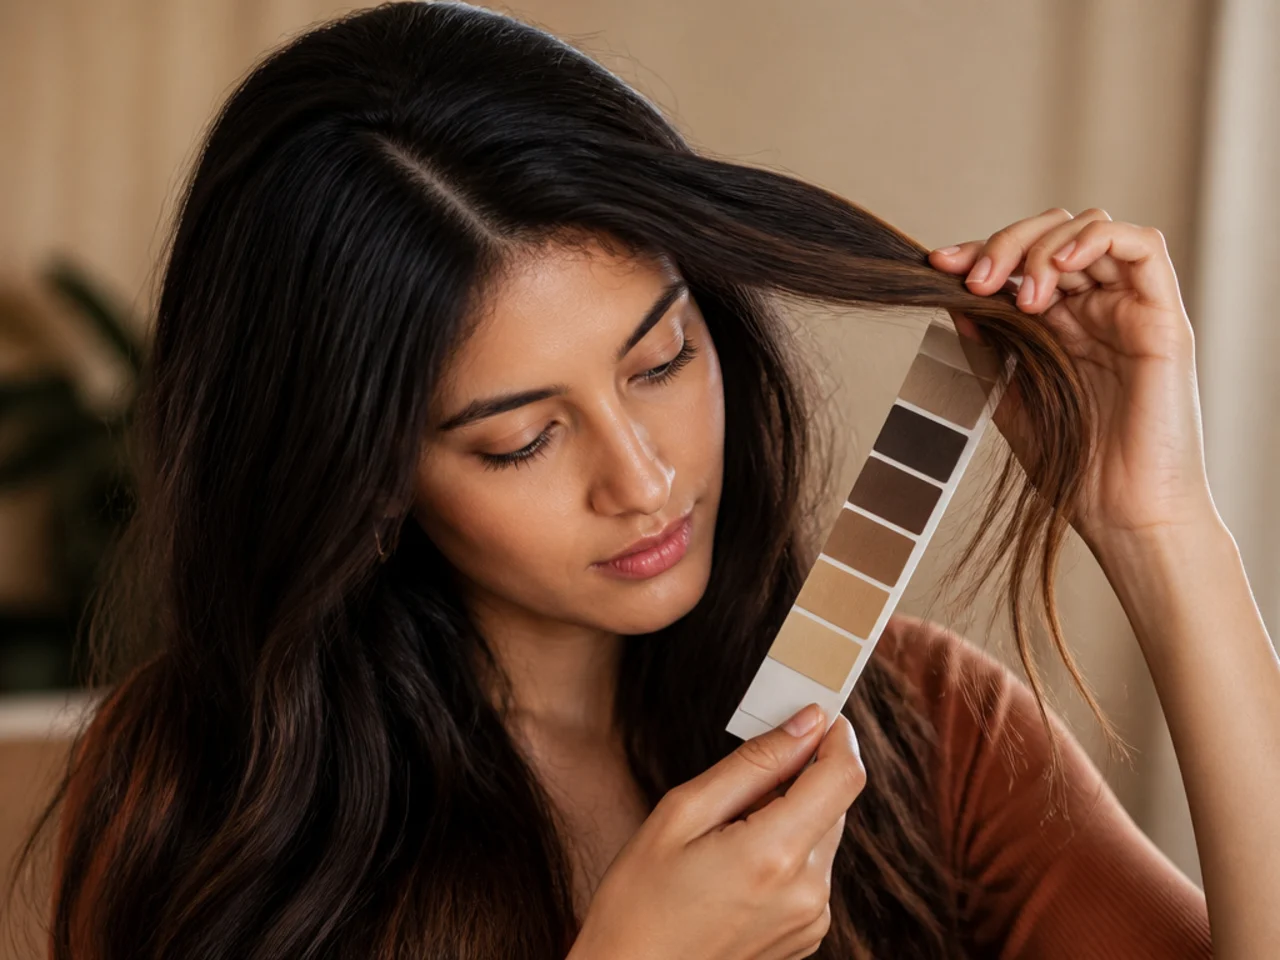
A bright colour is translucent, so it takes on whatever tone sits under it. Choose a pastel when your hair will only lift as far as orange and the result is a muddy peach, not the swatch on the packet.
3. Strand Test Before Anything Else
Cut a small piece from the underneath layer and run the entire process on it: bleach, timing, rinse, colour. Skip it and the first thing you learn about how your hair lifts is learned on a panel you cannot take back.
4. Buy the Right Volume Developer
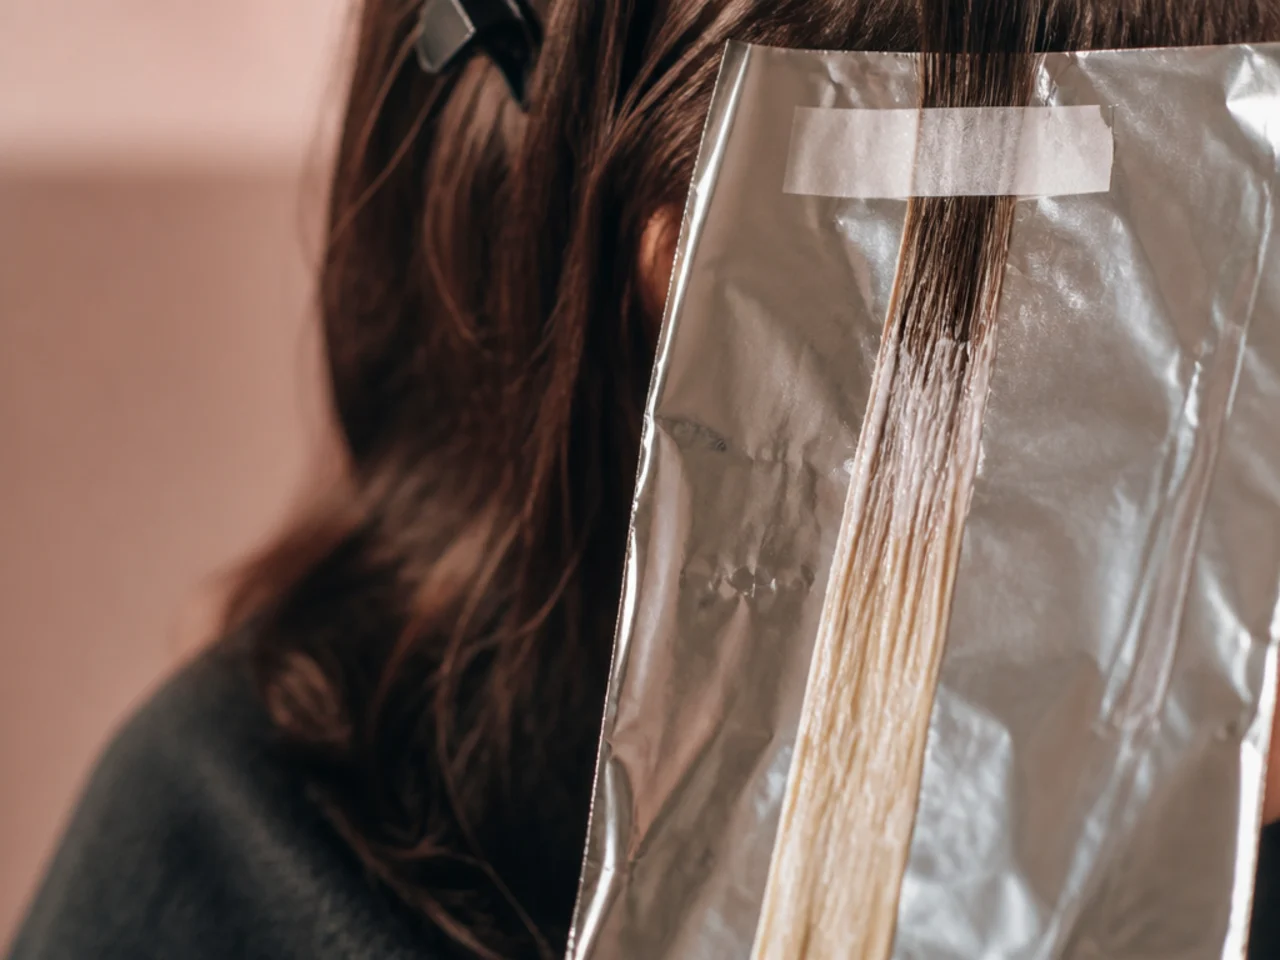
Twenty volume for anything close to the scalp, thirty only for lengths on hair that has never been coloured. Reaching for forty volume to save a second session is how the panel ends up burnt at the root and snapping off.
5. Gather Everything Onto One Towel
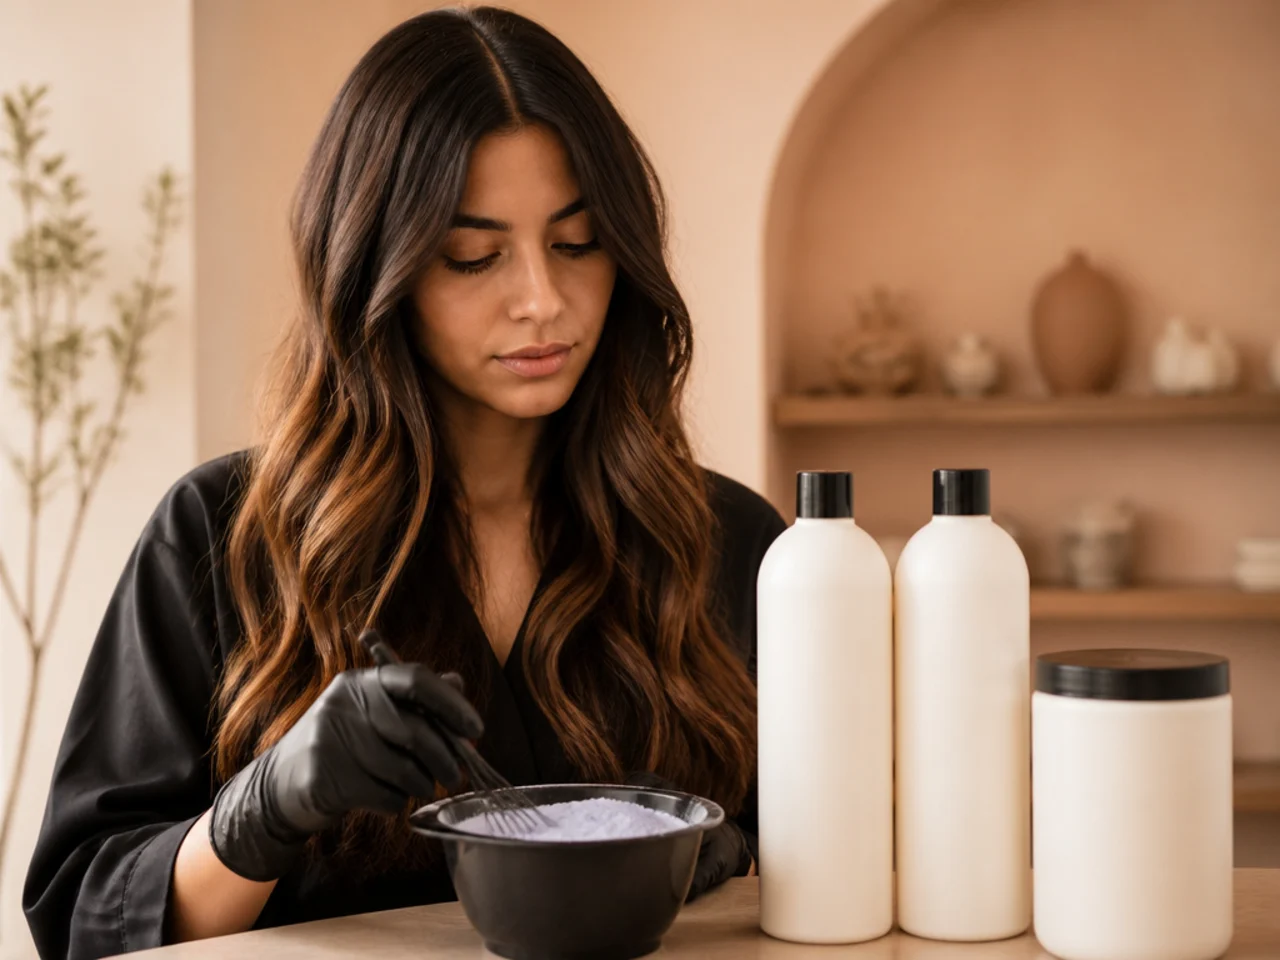
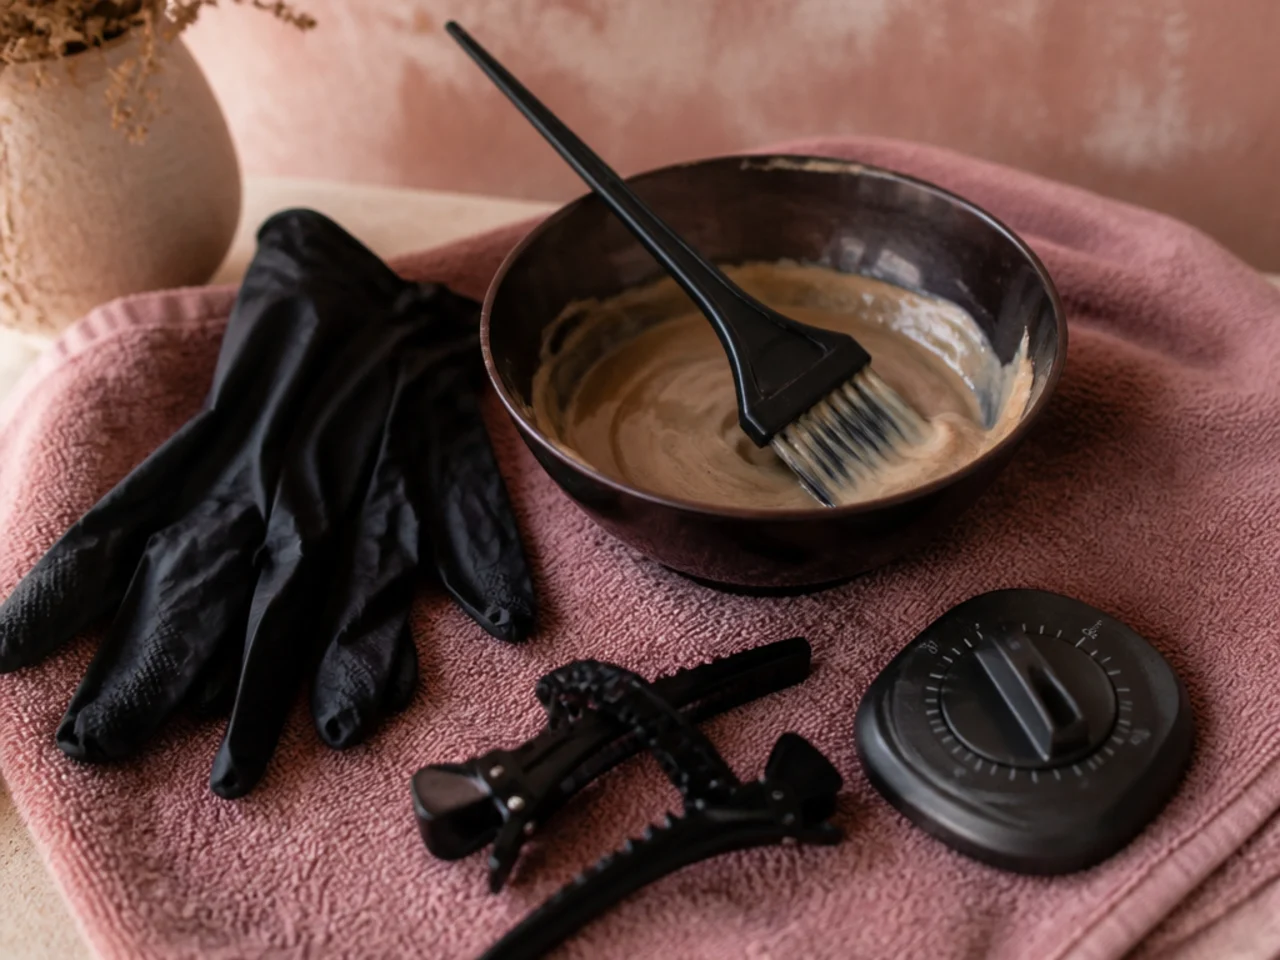
Bowl, tint brush, gloves, clips, timer, old shirt and conditioner all laid out before you mix anything. Lightener keeps working while you hunt for a missing clip, and the section you started on quietly collects minutes you never intended to give it.
6. Start on Day Old Hair
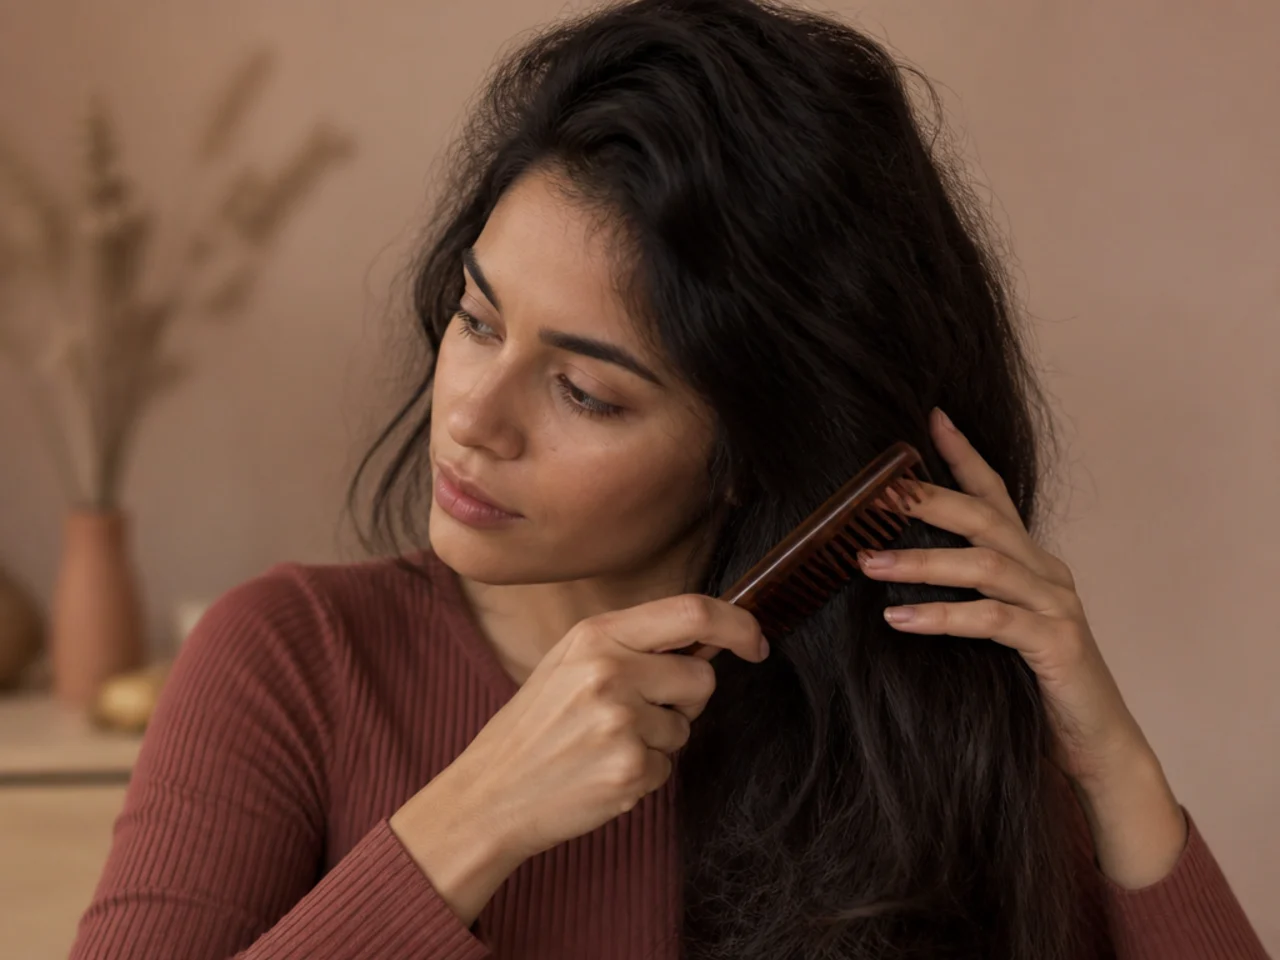
Lightener on unwashed hair is easier on the scalp because the natural oil film is still sitting on the skin. Wash immediately beforehand and you strip that layer off, which is why the stinging people describe almost always happened on a freshly shampooed head.
7. Section the Top Layer Away
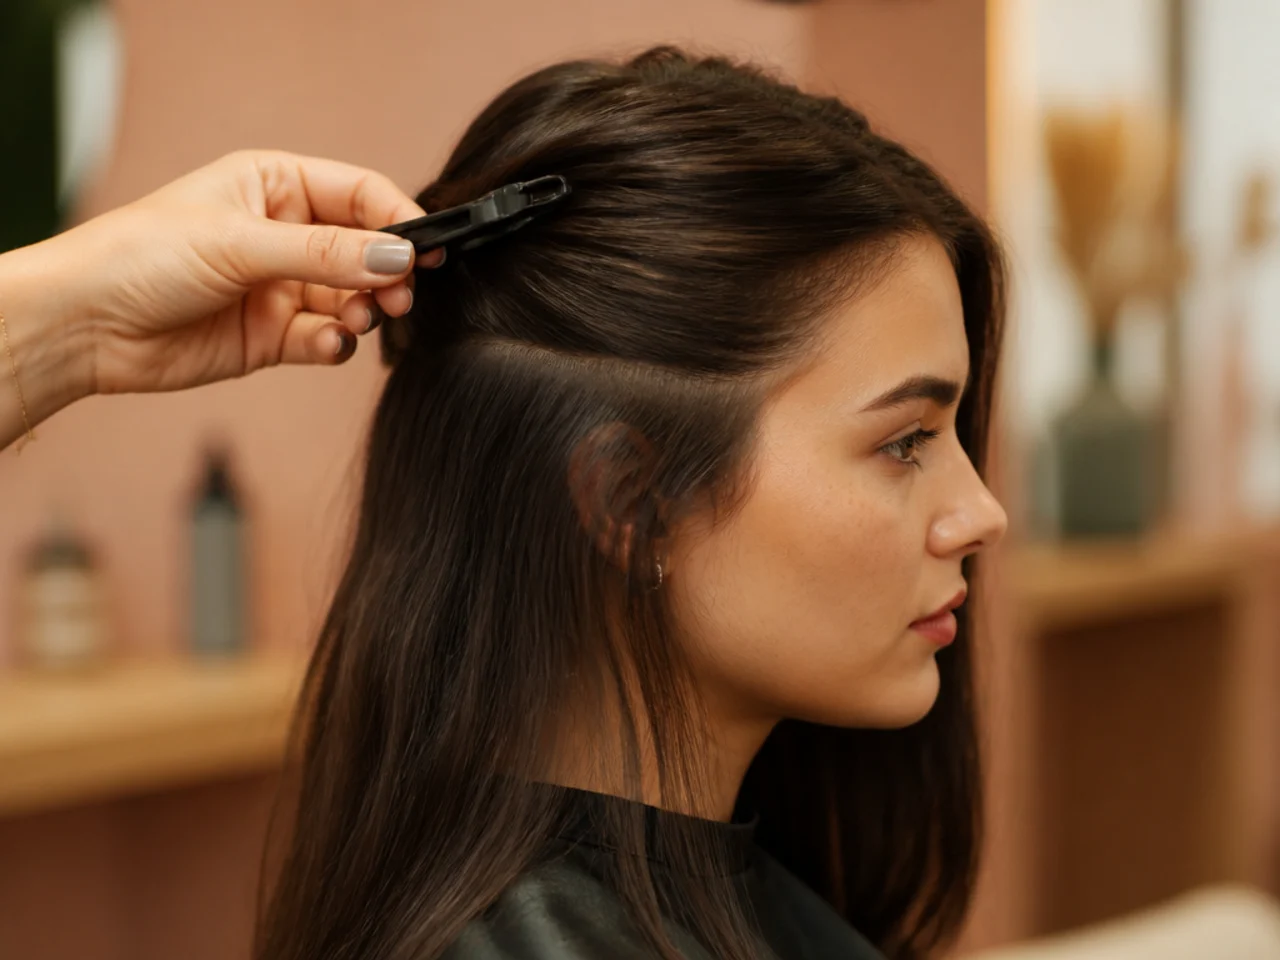
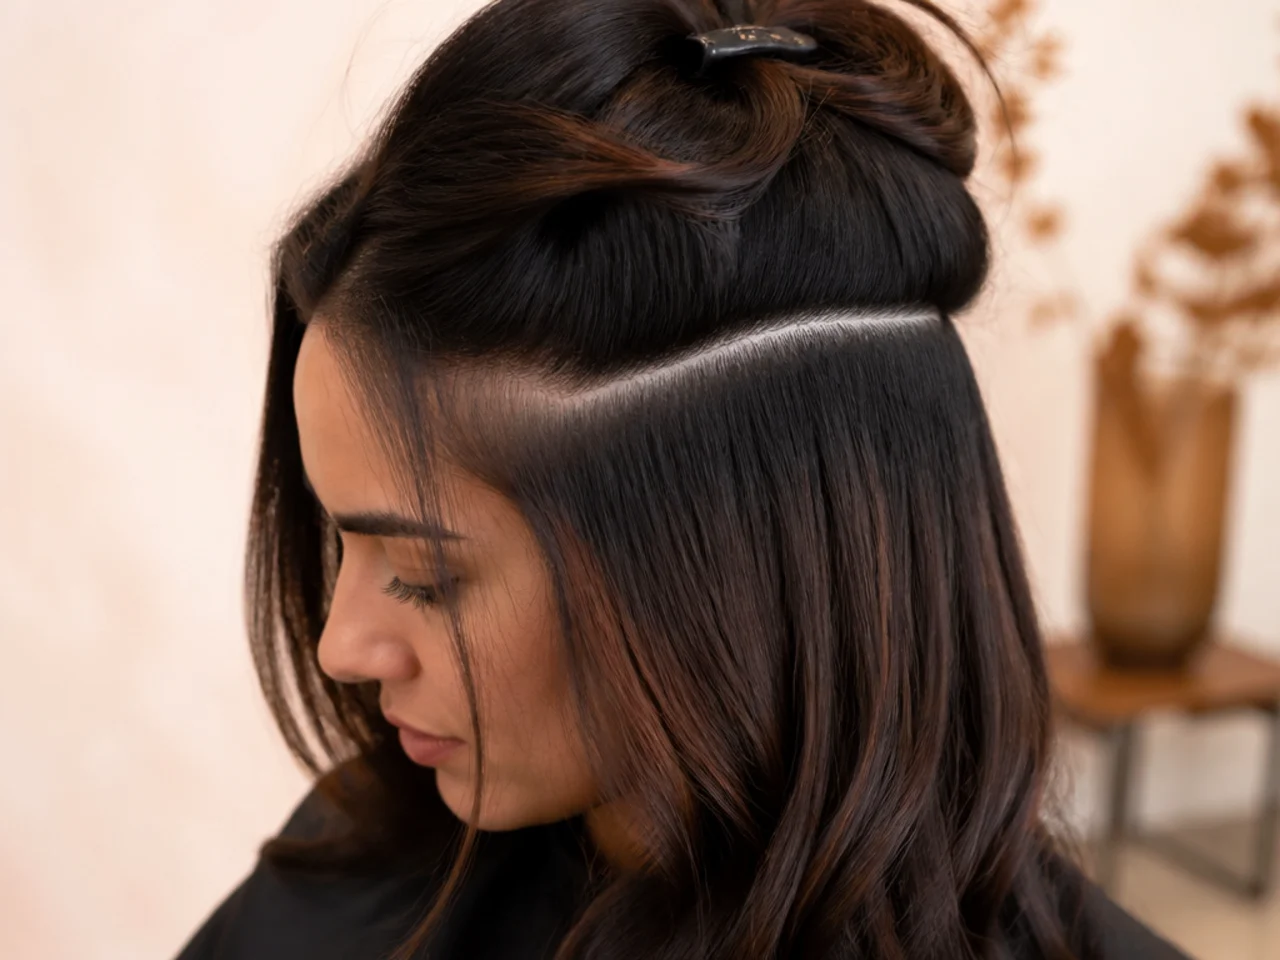
Take a clean horizontal parting from ear to ear and clip everything above it out of the way. A ragged parting is the mistake that shows forever, because bleached strands left above the line peek through the top layer in daylight and the colour stops being hidden.
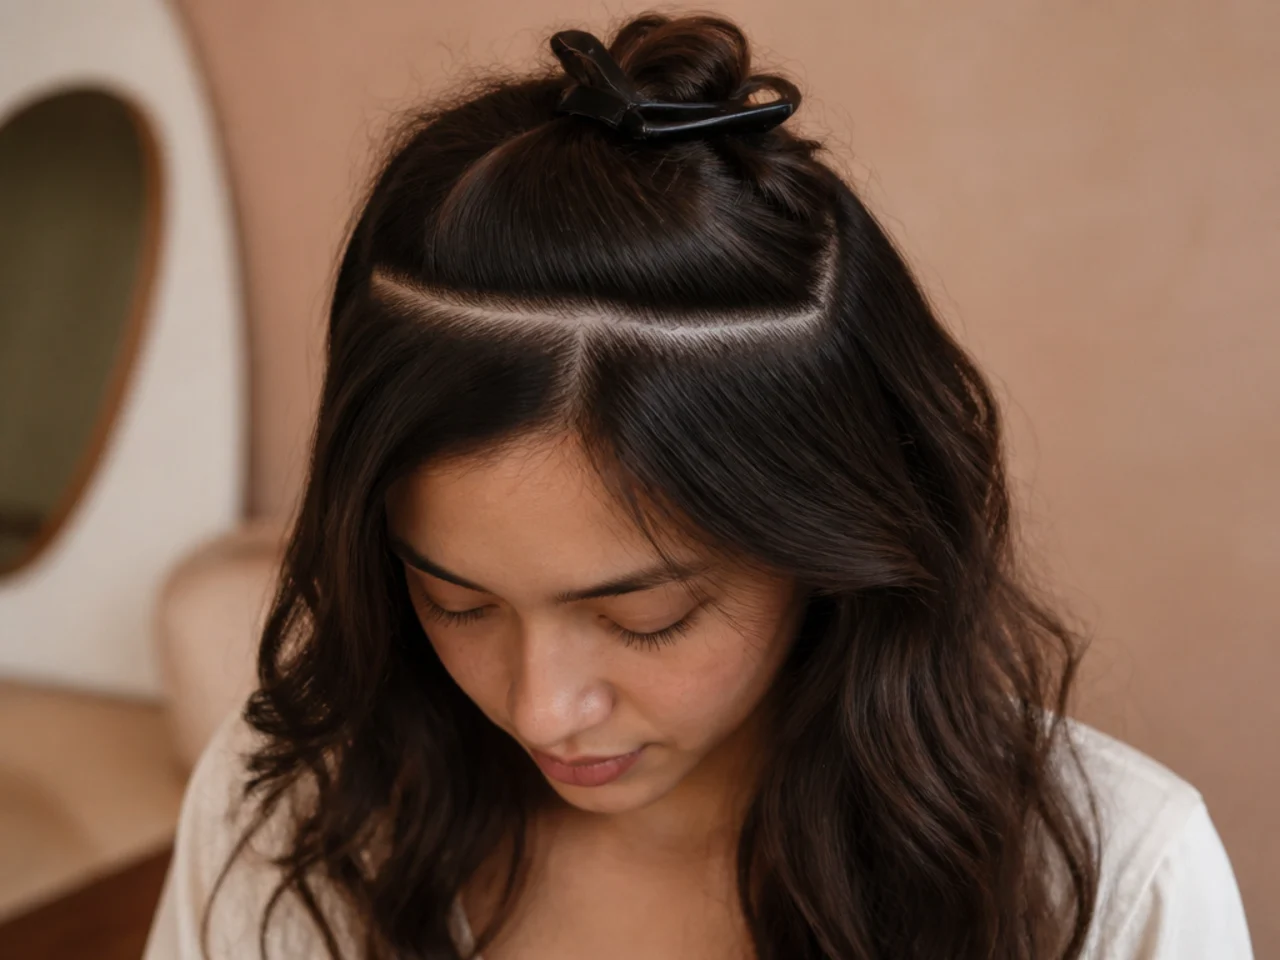
8. Clip the Panel Out Cleanly
The panel should be a defined rectangle rather than a handful of grabbed hair. Uneven edges strand a few lightened pieces outside the block, and those are precisely the ones that show at the parting when you want everything concealed.
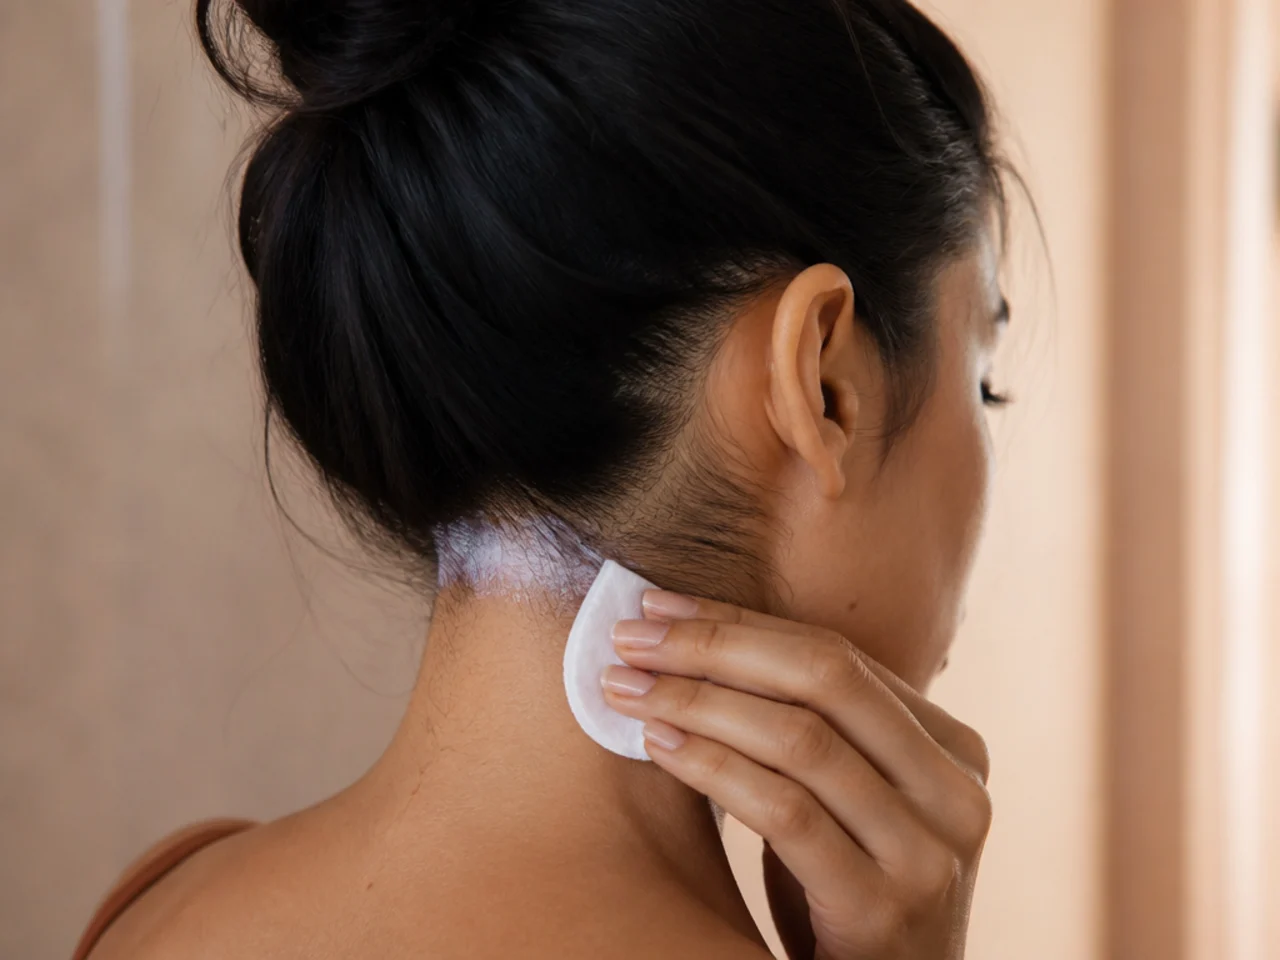
9. Barrier Cream Along the Hairline
A thin line of ordinary barrier balm on the skin at the nape and behind the ears stops the dye staining. Skin holds direct dye for days, and a stained neckline is the single detail that makes a home job look like one.
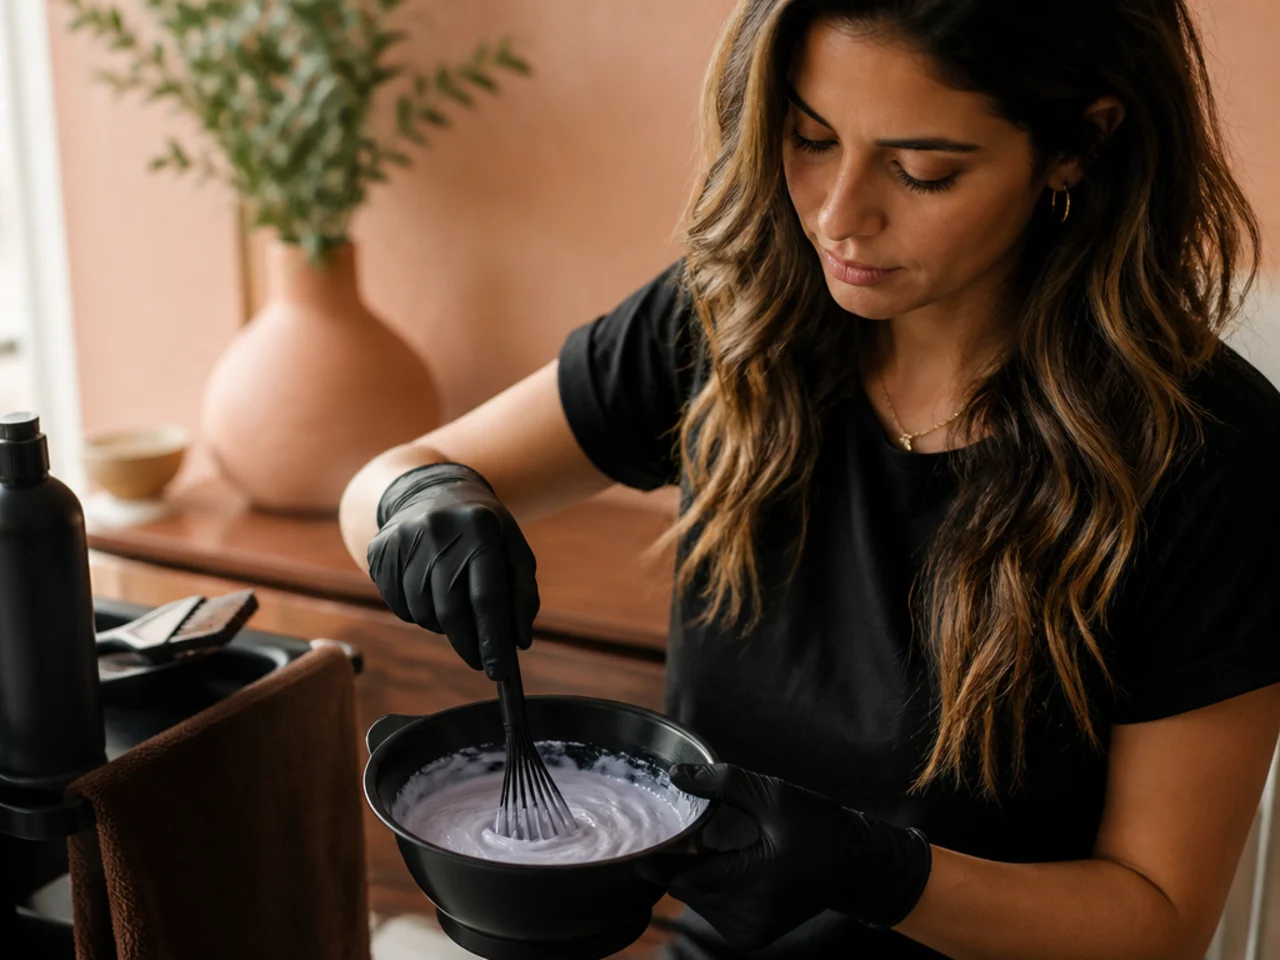
10. Mix the Bleach in Small Batches
Lightener begins losing strength the moment it is mixed and stops lifting after roughly forty five minutes. Mix the whole bowl at once and the last section receives a paste that is already past its working life, which is where patchy lift comes from.
11. Apply From the Midlengths First
Your head is warm, so paste at the root processes faster than paste on the ends. Work midlength to ends first and come back to the root last, and the panel lifts evenly instead of showing a bright band at the scalp.
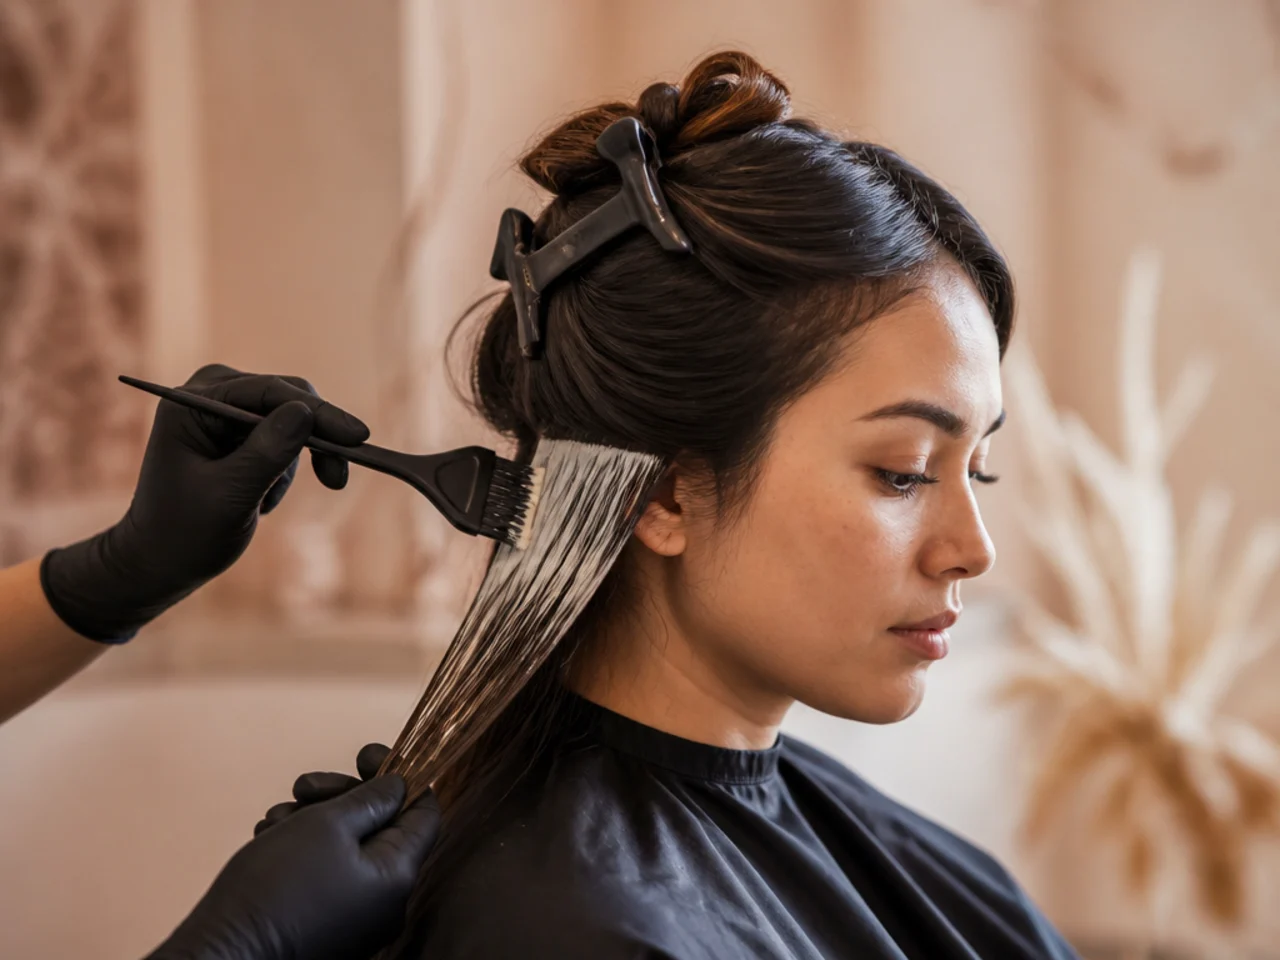
12. Check the Lift Every Ten Minutes
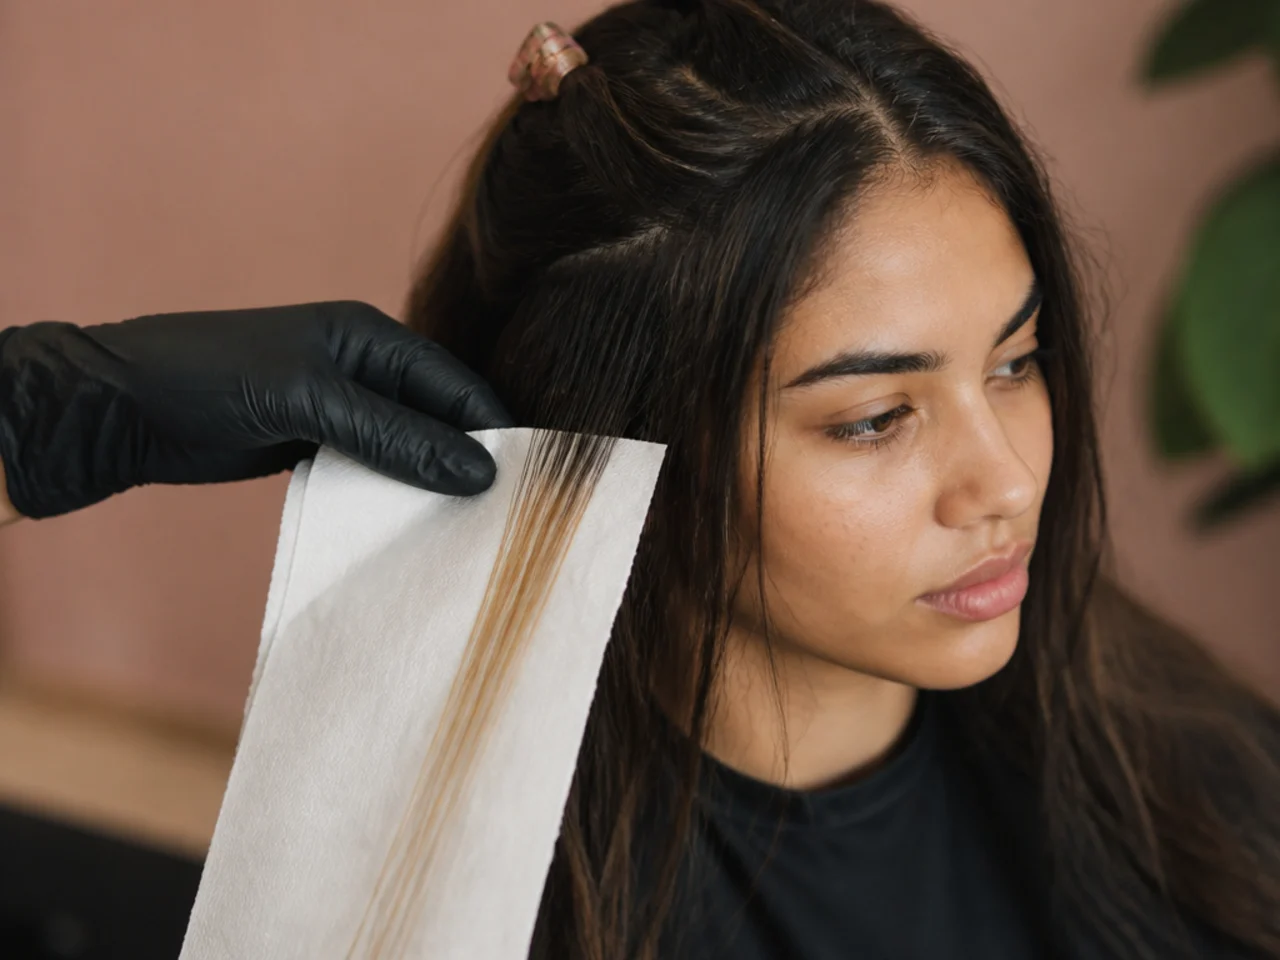
Wipe the paste off one strand with a tissue and look at the colour underneath rather than trusting the clock. Your hair decides how fast it lifts, not the packet, and the ten minutes past pale yellow is where the breakage happens.
13. Rinse With Cool Water Only
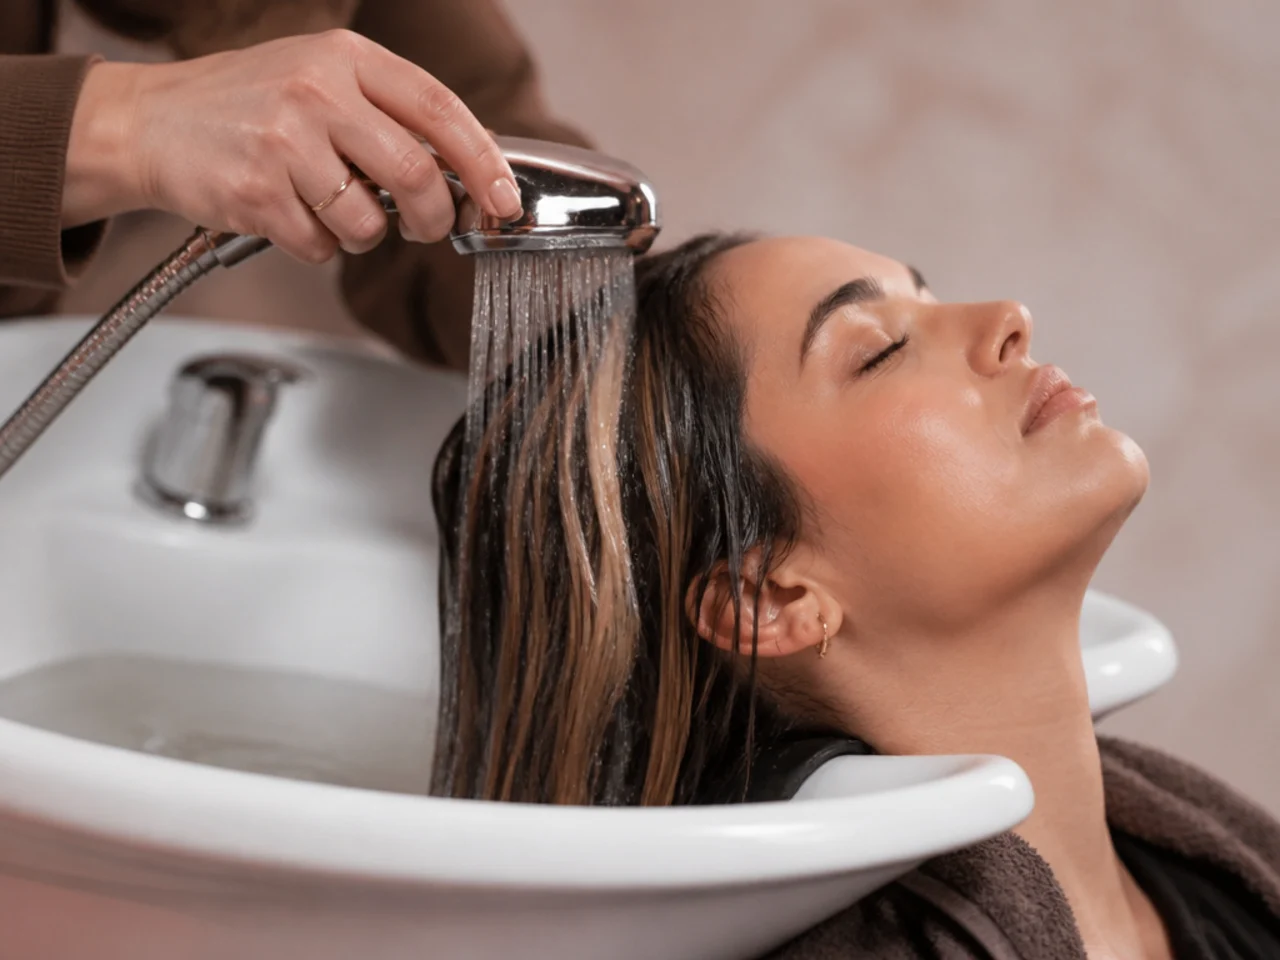
Cool water helps the cuticle close after lifting, which is the point at which the panel is at its most porous. Rinse hot and it stays open, so the colour you apply next drains straight back out over the first two washes.
14. Dry the Panel Completely
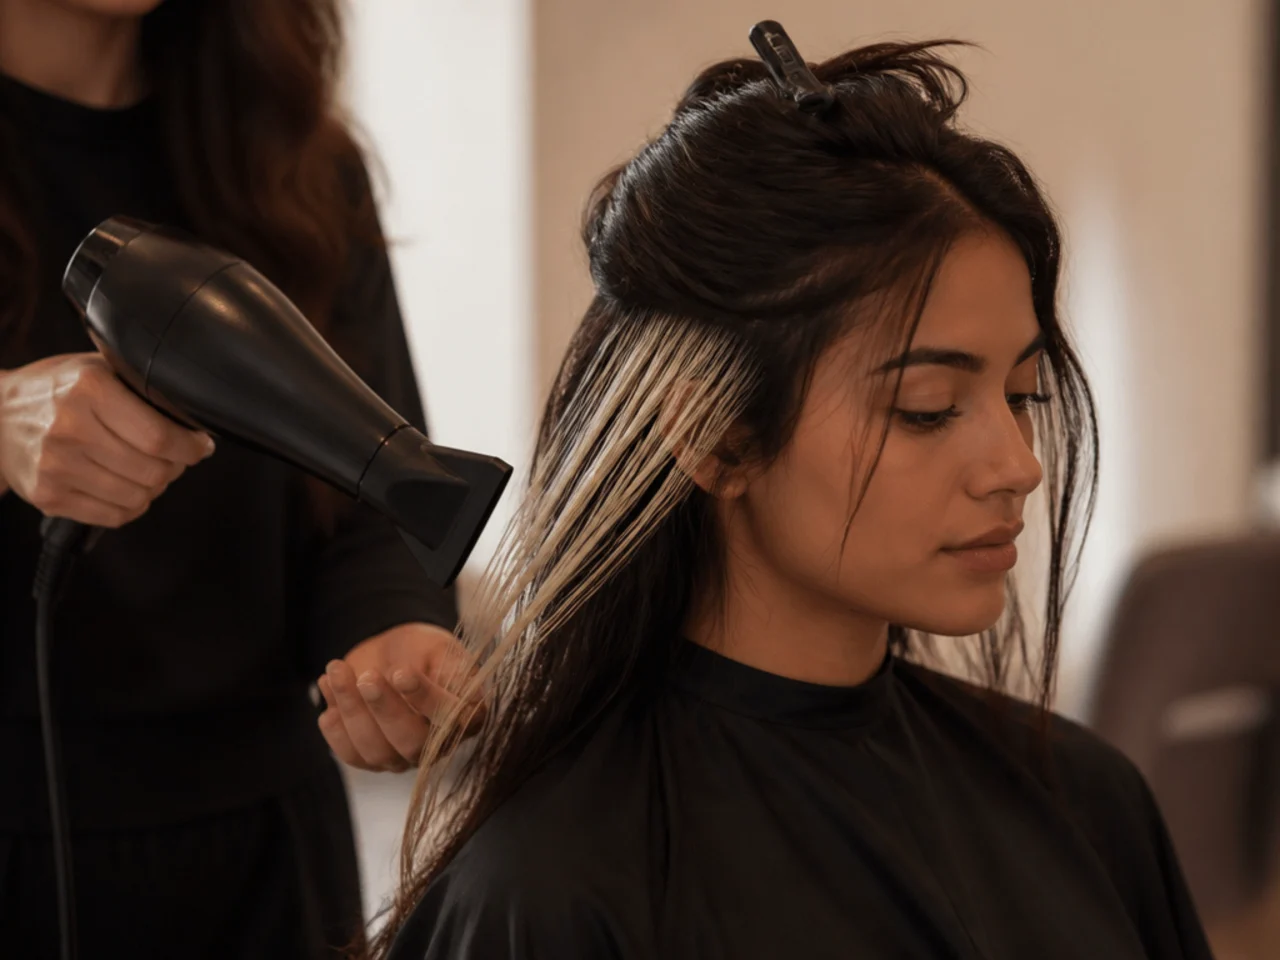
Direct dye applied to wet hair is diluted by the water already in the strand, so it goes on weaker and patchier than intended. Rough dry the panel until it is genuinely dry before any colour goes near it.
15. Tone If the Panel Reads Orange
Warmth left in the base changes everything on top of it: blue turns teal, pink turns coral. A blue based toner cancels orange and a purple one cancels yellow, so a few minutes here is what makes the bottle shade appear as the bottle shade.
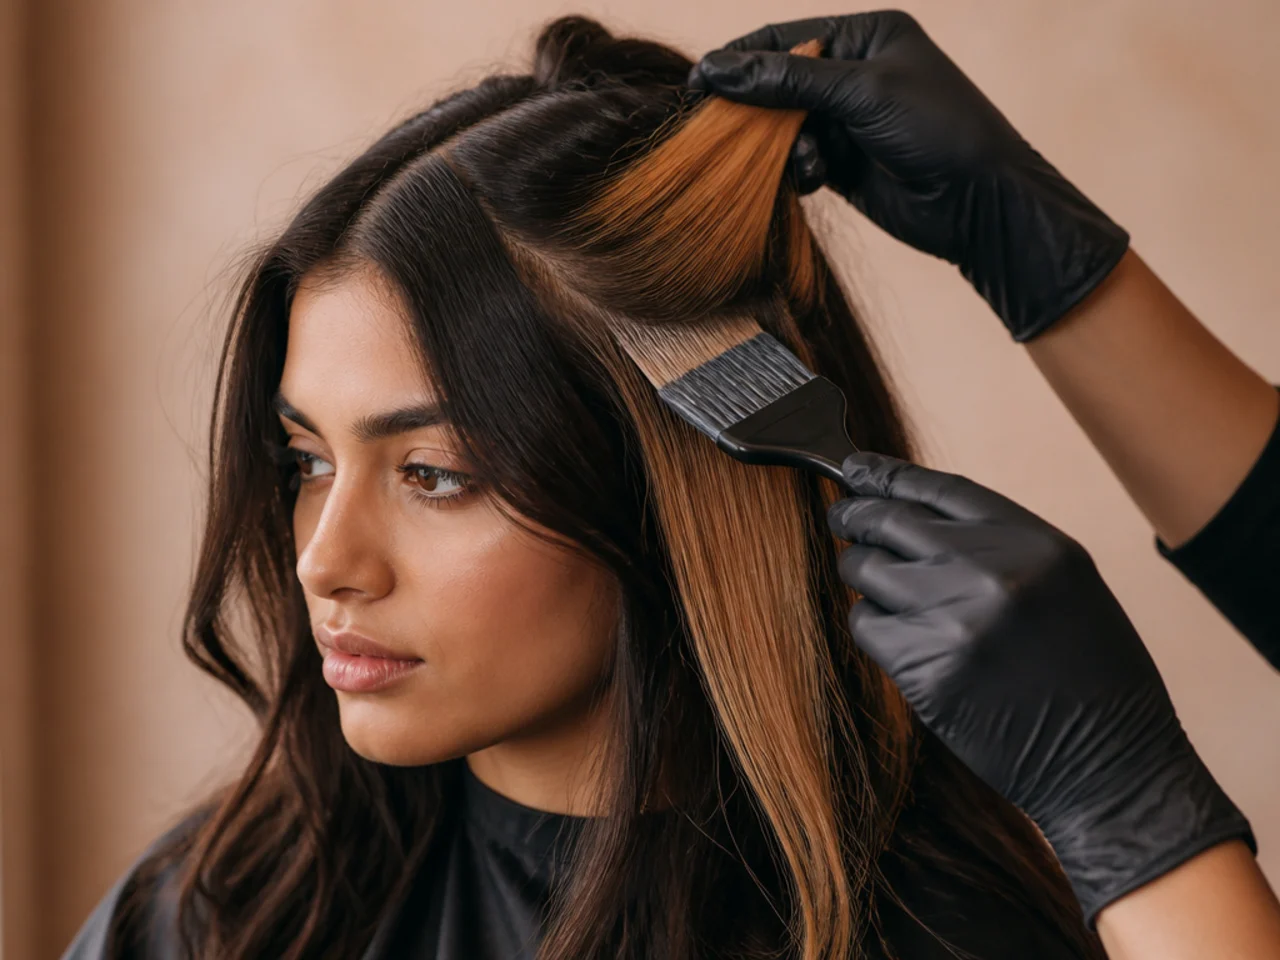
16. Apply the Colour in Thin Slices
Work through the panel in slices about half a centimetre thick and saturate each one before moving on. Take a thicker section and the middle of it never gets covered, which shows as a pale stripe the moment the panel is lifted.
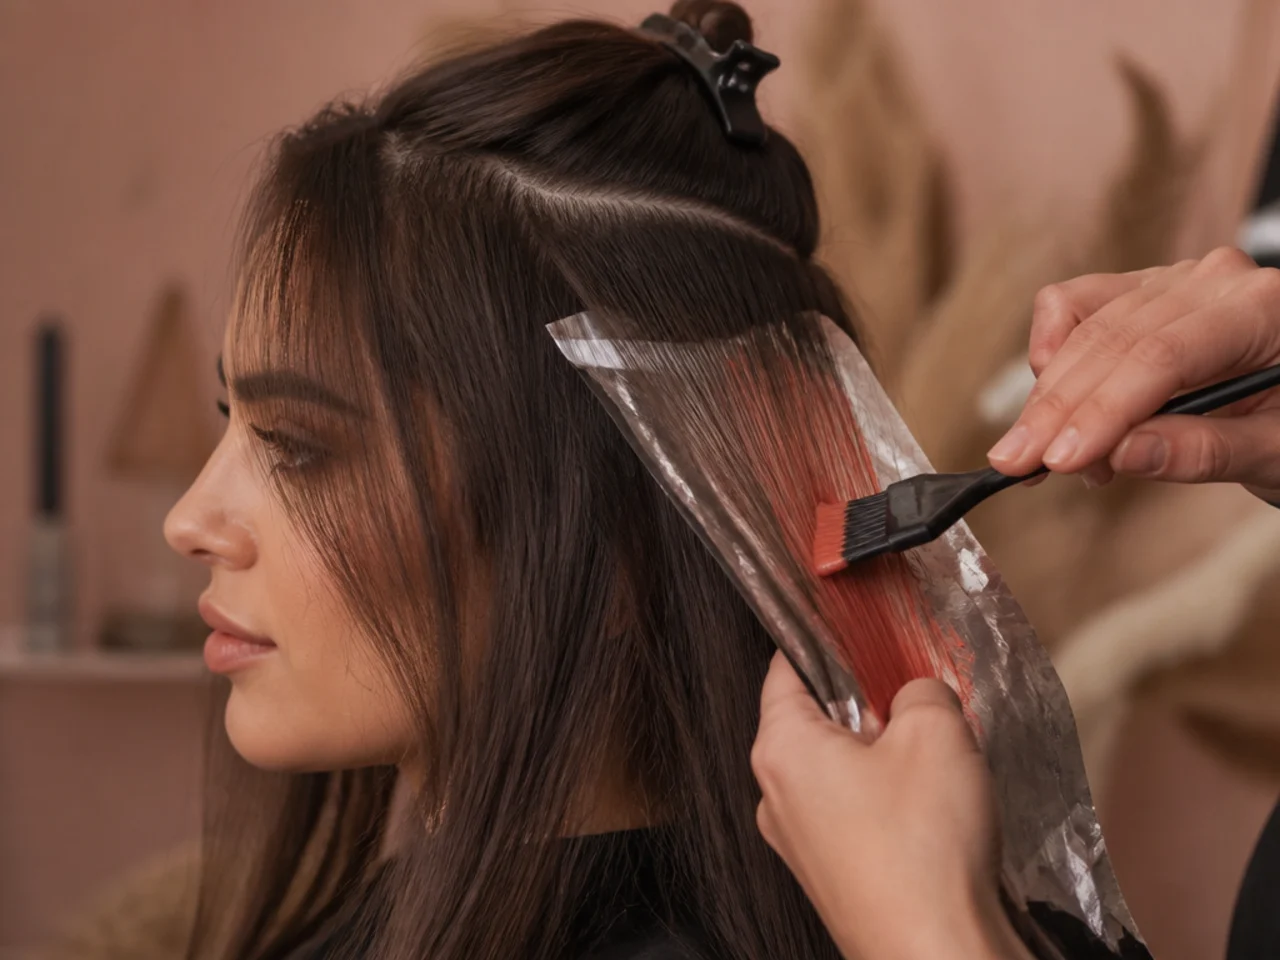
17. Let It Process Without Heat
Direct dyes only deposit, so they need time rather than temperature. Give it around thirty minutes at room temperature, because a hairdryer aimed at the panel dries the product out before it has finished depositing and leaves the ends paler than the roots.
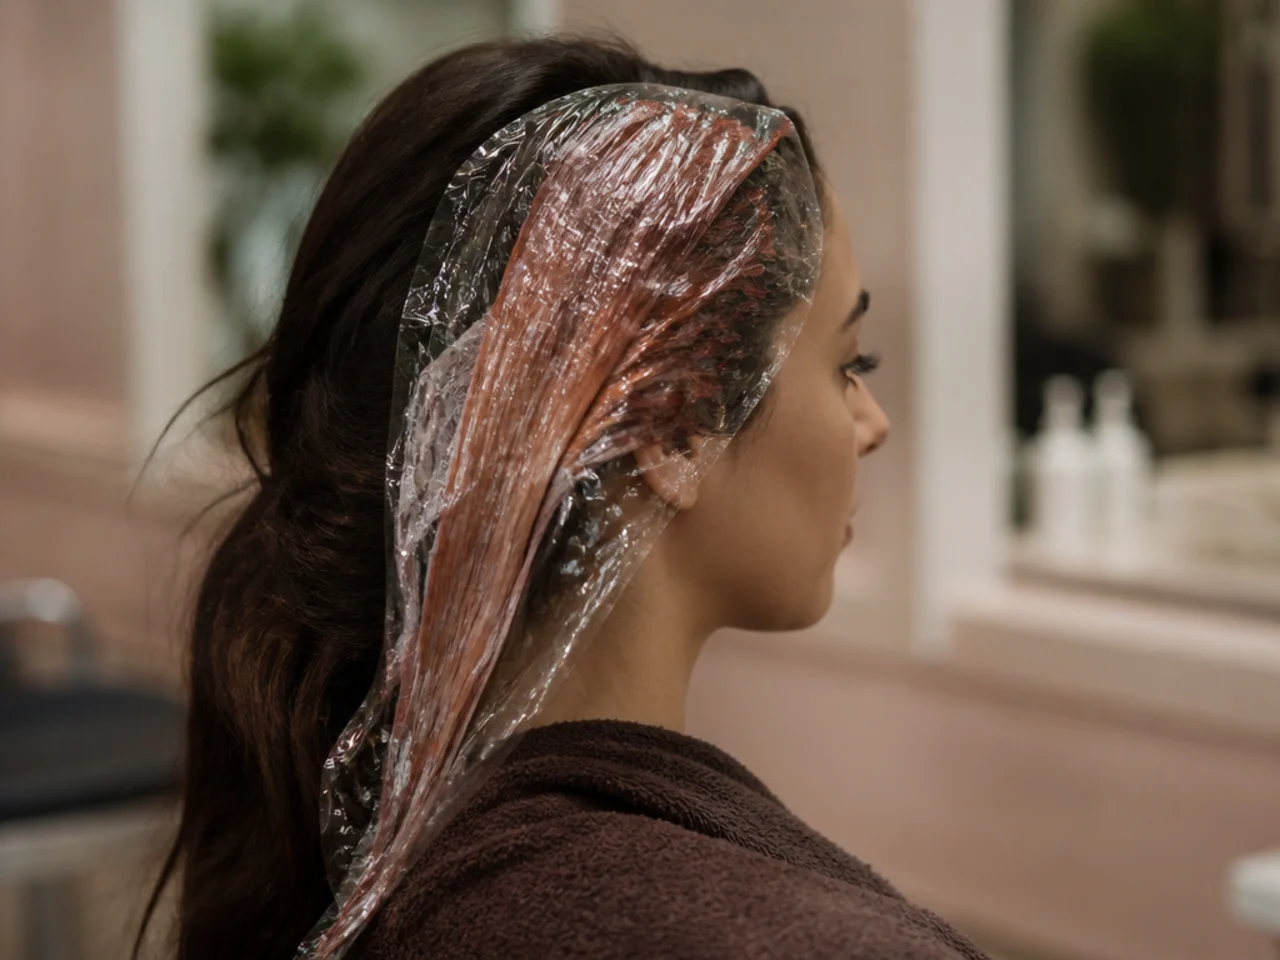
18. Rinse Until the Water Runs Clear
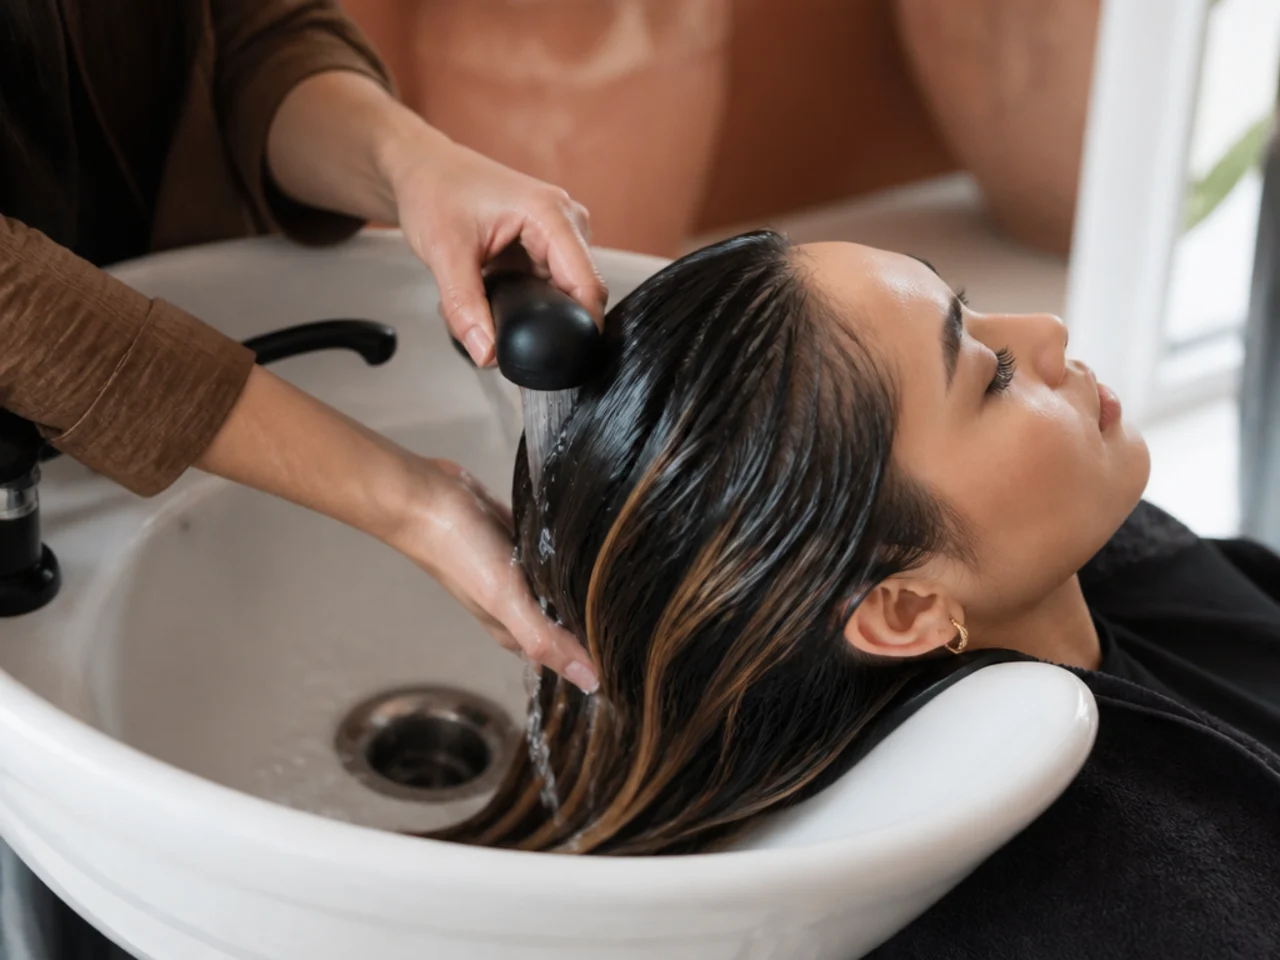
Rinse cold with no shampoo until the run off stops carrying colour. Anything left in the panel transfers onto a pillow, a collar and the top layer of your own hair, which is the fastest way to lose a colour that was supposed to be hidden.
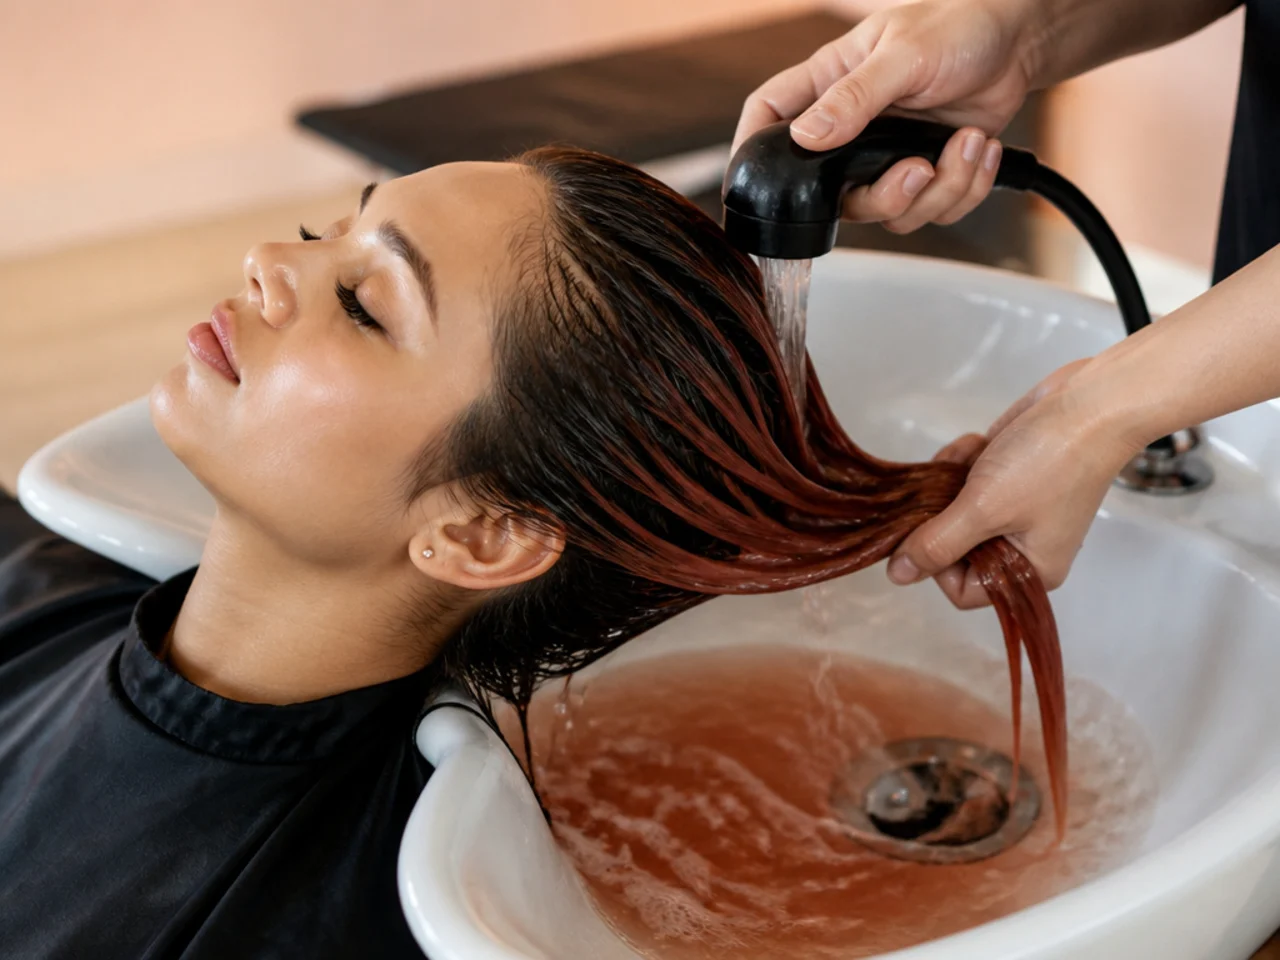
19. First Wash After Seventy Two Hours
The cuticle takes a couple of days to settle after colouring, so whatever you wash out inside that window is pigment you paid for. Waiting three days is the one free thing that adds a week or more to how long the panel lasts.
20. Refresh the Panel Not the Whole Head
When it fades, re dye only the section that has already been lifted. Bleaching hair that is already pale is where a panel snaps off, whereas colour over colour builds depth and costs nothing in condition.
Styling and Upkeep
Wash the panel in cold water. Heat opens the cuticle and lets pigment out, and it is the largest single cause of a panel fading in a fortnight.
Stir a little dye into your conditioner. A pigmented conditioner tops the panel up on every wash and stretches one bottle across months.
Keep the parting clean. A peekaboo works because the top layer covers it, so a tidy line matters more than the shade does.
Heat protectant on the panel specifically. Lightened hair is more porous and takes heat damage faster than the untouched hair around it.
Only re lift the new growth. The root is the only part that needs bleach at a refresh, and overlapping onto lifted lengths is what causes breakage.
Mistakes to Avoid
Lightening the entire underneath layer. It removes the contrast that makes the reveal work, and it multiplies both the cost and the damage for nothing.
Skipping the strand test. It is twenty minutes against a panel you cannot undo, and it is the only way to find out how your own hair behaves.
Overlapping bleach onto already lifted hair. Lightener applied twice to the same centimetre is the standard cause of a panel breaking off at the midlengths.
Colouring a damp panel. Water in the strand dilutes a direct dye, so the shade lands weaker and patchier than the swatch you chose it from.
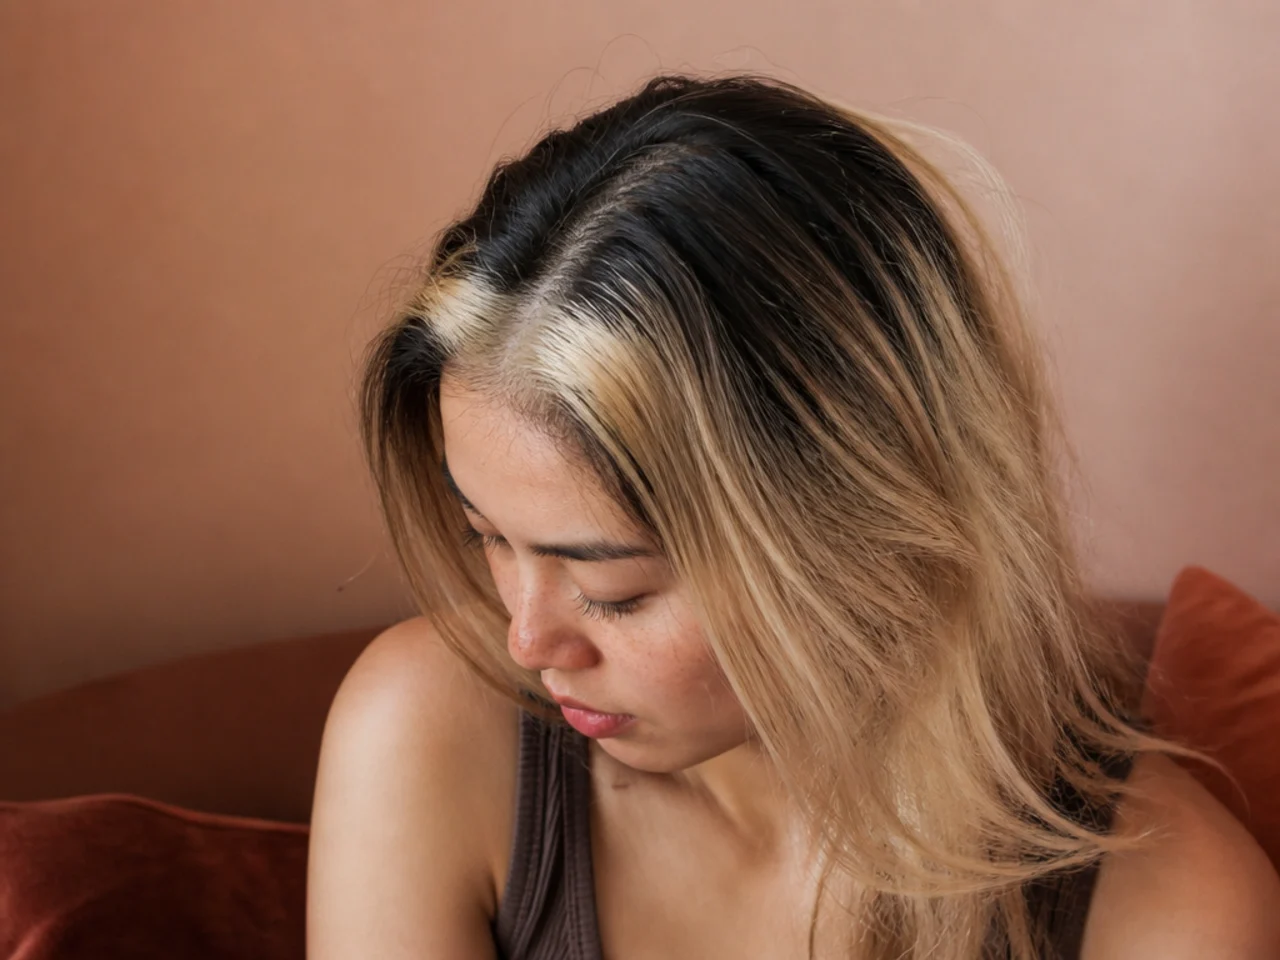
Putting a pastel over an orange base. Translucent colour cannot hide warmth beneath it, and the result is always muddier than the picture.
FAQ
Bleach or no bleach? Only bright shades on dark hair need it. Deep tones do not.
How long does it last? Four to eight washes for a semi permanent direct dye.
Where does the panel go? Under whichever section you actually lift or tie up.
Final Thoughts
Placement, then lift, then colour. Reversing that order is why so many home attempts end with a shade that looks nothing like the bottle sitting in a section nobody ever sees.
For the shade that needs the least lift see peekaboo red, and for the one that needs the most see peekaboo blue. More in Hair Color Trends.