20 Mid Length Haircuts for Fine Hair
Twenty collarbone length cuts for fine hair, and the correction most people need first. Layers do not add volume, they remove weight from the outline, and the outline is the only place the eye actually reads density.
In this article · 28
- What Counts as Mid Length
- Fine Versus Thin Versus Thick
- How to Ask for Layers
- By Face Shape
- Day to Day Styling
- Growing In and Out
- The 20 Mid Length Ideas for Fine Hair
- 1. Blunt Collarbone Cut
- 2. Invisible Layers
- 3. Jaw Framing
- 4. Deep Side Part
- 5. Soft U Shape
- 6. Curtain Bangs
- 7. Hidden Layer
- 8. Rounded Ends
- 9. Money Piece
- 10. Fine Wavy Hair
- 11. Thinning Part
- 12. Feathered Ends
- 13. A Line Cut
- 14. Bottleneck Bangs
- 15. Blowout Lob
- 16. Textured Lob
- 17. Side Swept Bangs
- 18. Soft Shag
- 19. Regrowth
- 20. Silver Fine Hair
- Final Thoughts
Fine hair gets layered to make it look fuller, and layering is the one thing guaranteed to make it look thinner. The reason is simple enough that it settles almost every other question about cutting it.
Density is read at the perimeter. A blunt line ends every strand at the same point and stacks them into one edge. A tapered line lets the eye see through the outline, which is exactly what thinning hair looks like.
Fine is the diameter of a strand and thin is how many you have. They are different problems, they get the same word, and treating one as the other is how a good cut goes wrong.
What Counts as Mid Length
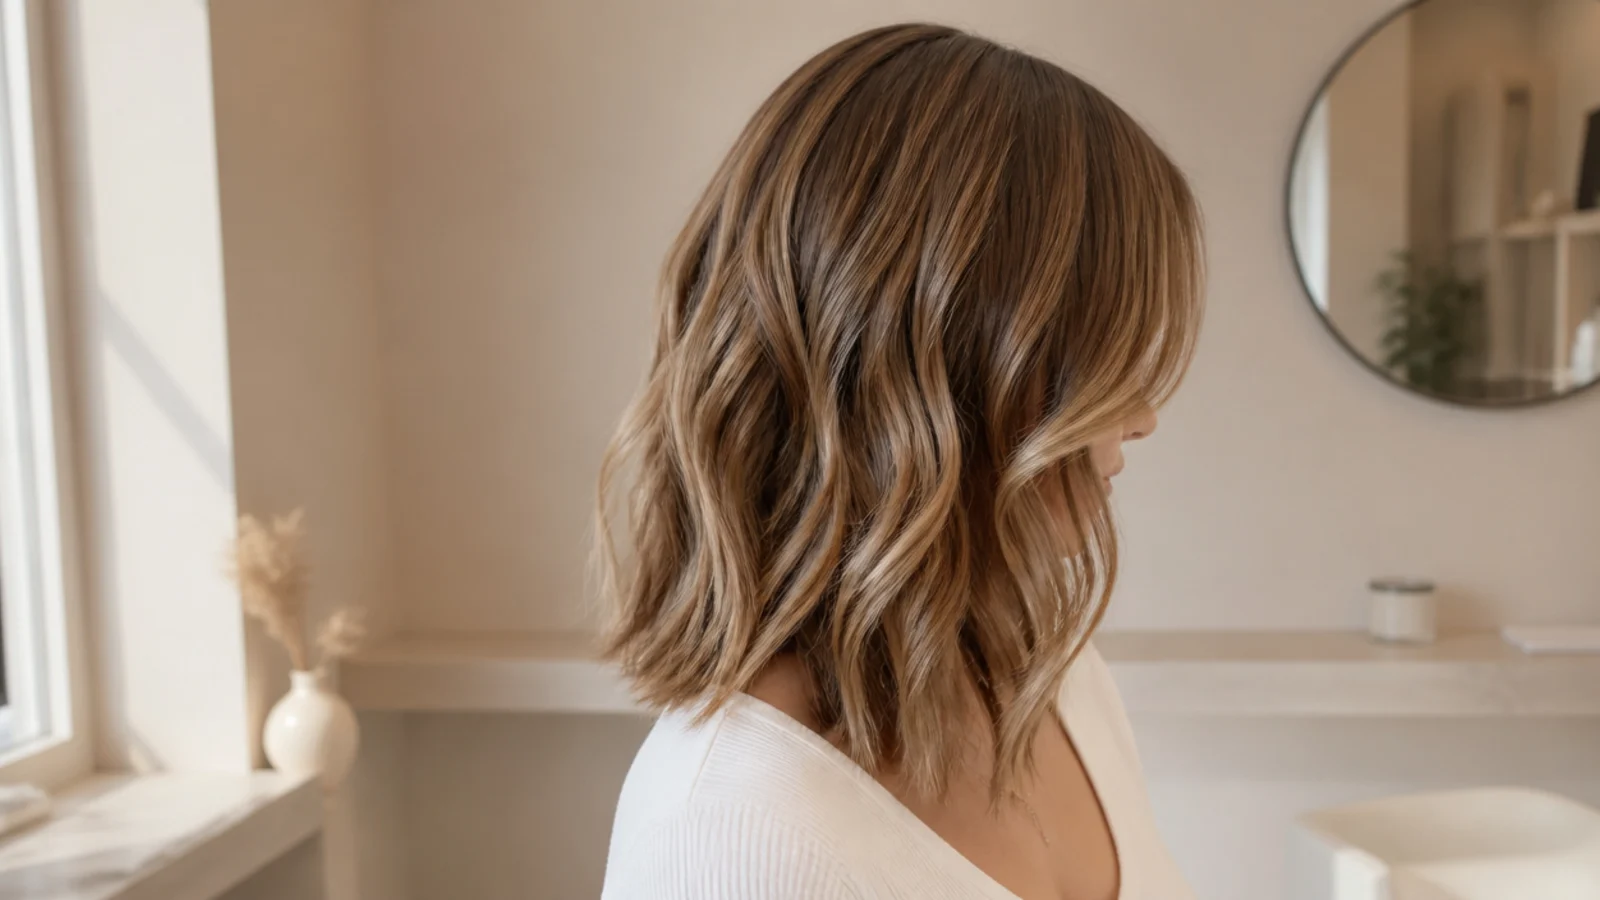
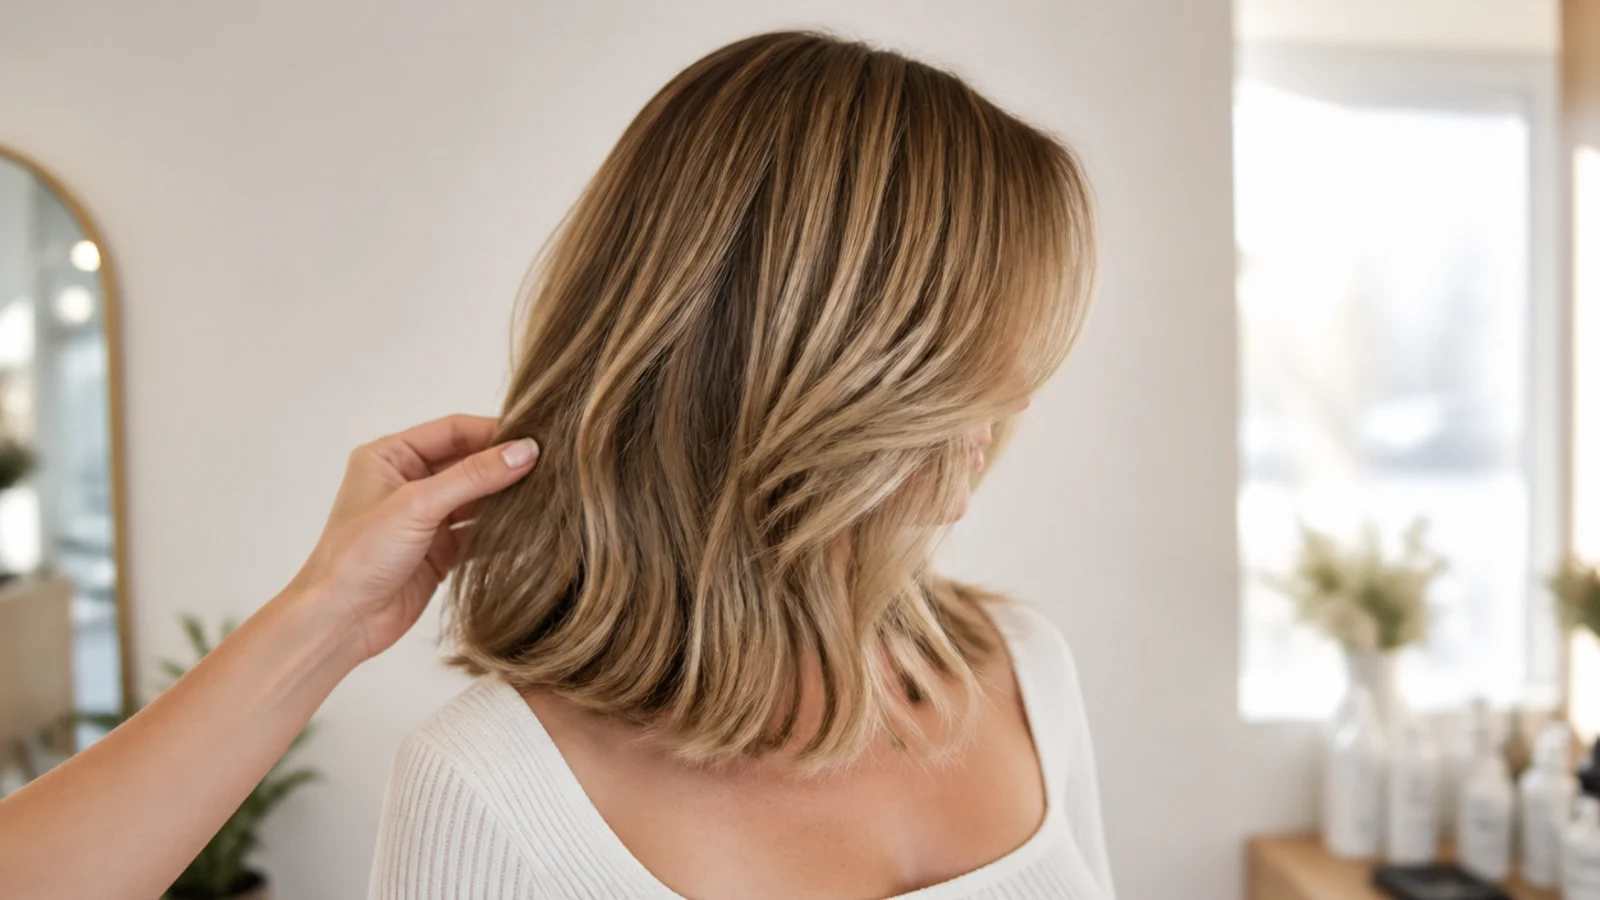
Collarbone to a couple of inches below the shoulder. On fine hair this is the sweet spot, because it is long enough to fall properly and short enough that the ends have not thinned out from age and wear.
Longer than this and fine hair runs out. The oldest inch of a long head of hair has been through years of brushing and washing, and on a fine strand there is less shaft to survive it.
The shoulder is worth avoiding as a landing point. Ends resting on the shoulder are pushed back up and flick outward, which separates the perimeter and undoes the density a blunt line builds.
Weight sits at the bottom on fine hair. Whatever mass exists in the cut is concentrated at the outline, so the closer that outline sits to the head the fuller everything above it looks.
Measure standing with the chin level. Tipping forward to see the ends drops them an inch and pushes the line lower than intended.
Fine Versus Thin Versus Thick
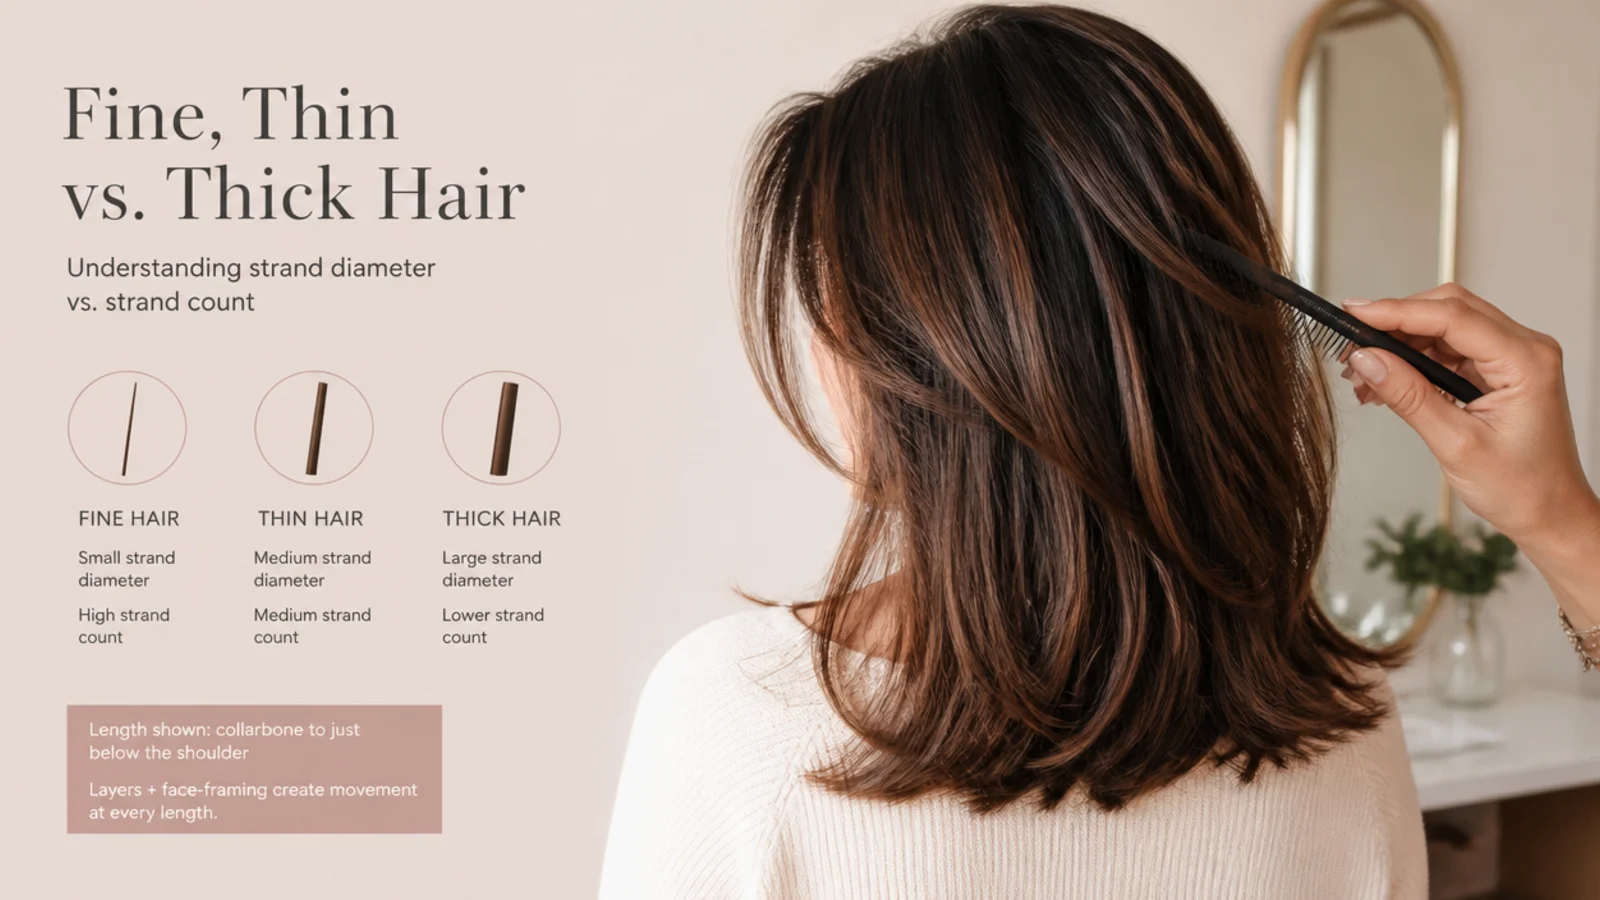
Fine and coarse describe one strand. A fine strand is narrower, bends more easily and flattens against the scalp under its own weight far sooner than a coarse one does.
Thin and thick describe how many strands there are. Density is a count, not a diameter, and it is entirely possible to have a great deal of fine hair.
Fine and dense wants a blunt line and internal weight removal. There is bulk to manage, it just has no stiffness, so take it from inside and leave the outline alone.
Fine and low density wants the blunt line and nothing else. Every strand removed is one the outline no longer has, which is why texturising shears are the wrong tool on this combination.
Coarse hair forgives layering because each strand holds itself up. That is the whole reason advice written for thick hair goes so badly wrong on fine hair.
How to Ask for Layers
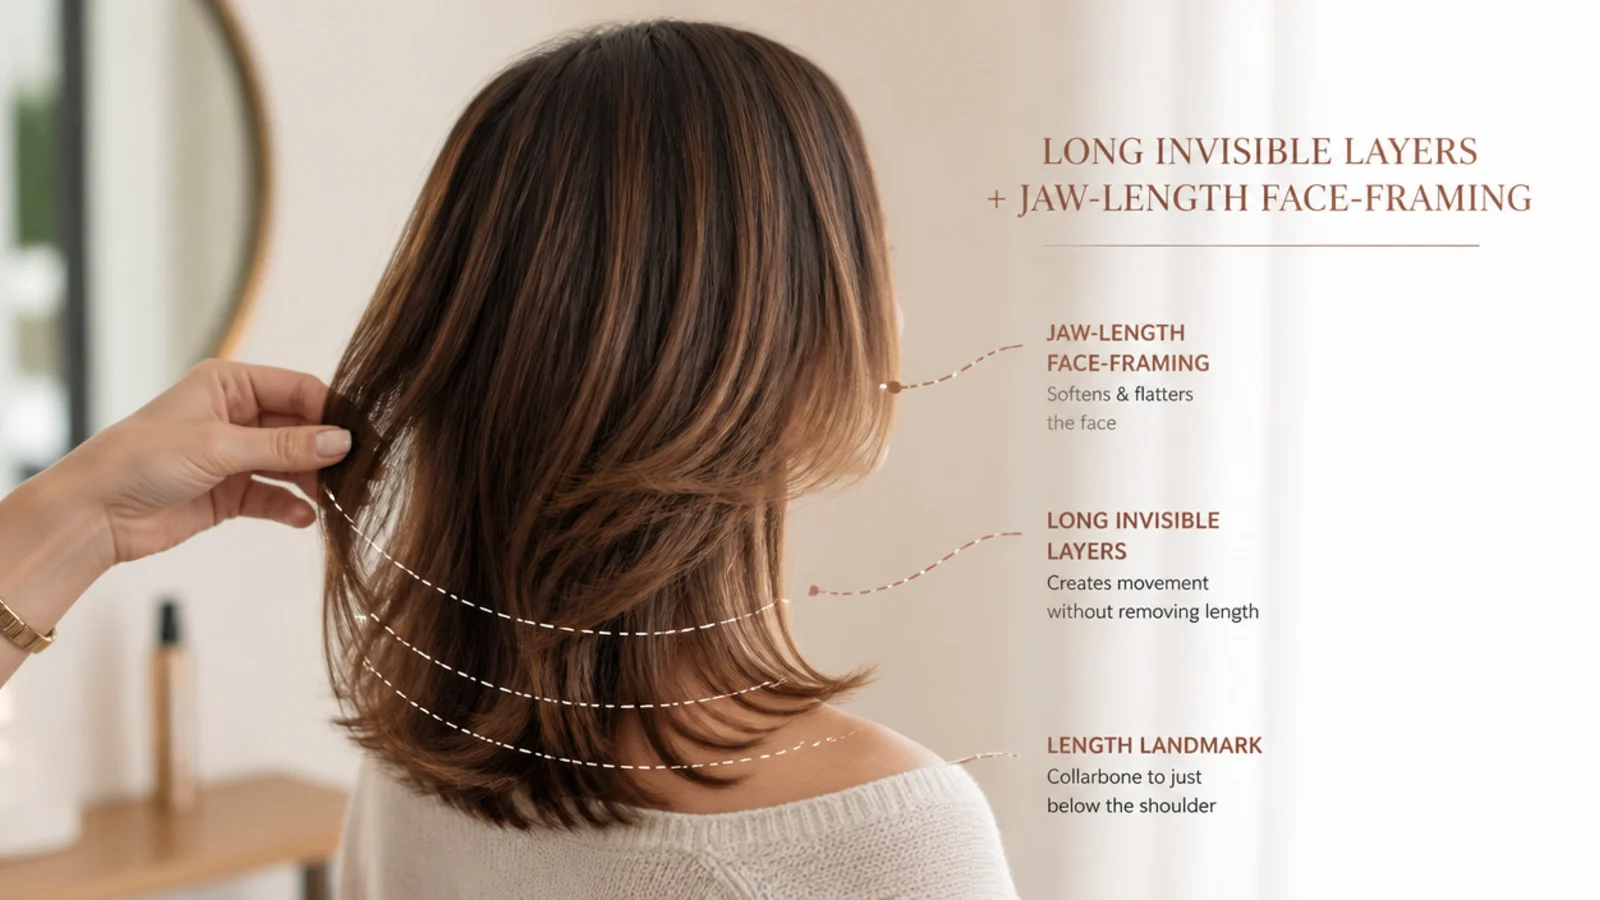
Say the word invisible and mean internal. Layers cut inside the shape, over directed so no shorter end surfaces anywhere on the outside of the cut.
Say where the shortest layer starts. Chin, jaw or collarbone. That single landmark decides how much movement you get and how much weight you lose.
Say keep the perimeter blunt. Stylists soften an outline by habit because it flatters most hair types, and this one does not want it.
Refuse thinning shears near the ends. They cut short pieces that then grow back standing up through the surface, which produces the fluff that reads as breakage.
Ask for a dry check before the finish. Fine hair looks entirely different wet, when the water is weighing it into a shape it will not hold once dry.
By Face Shape
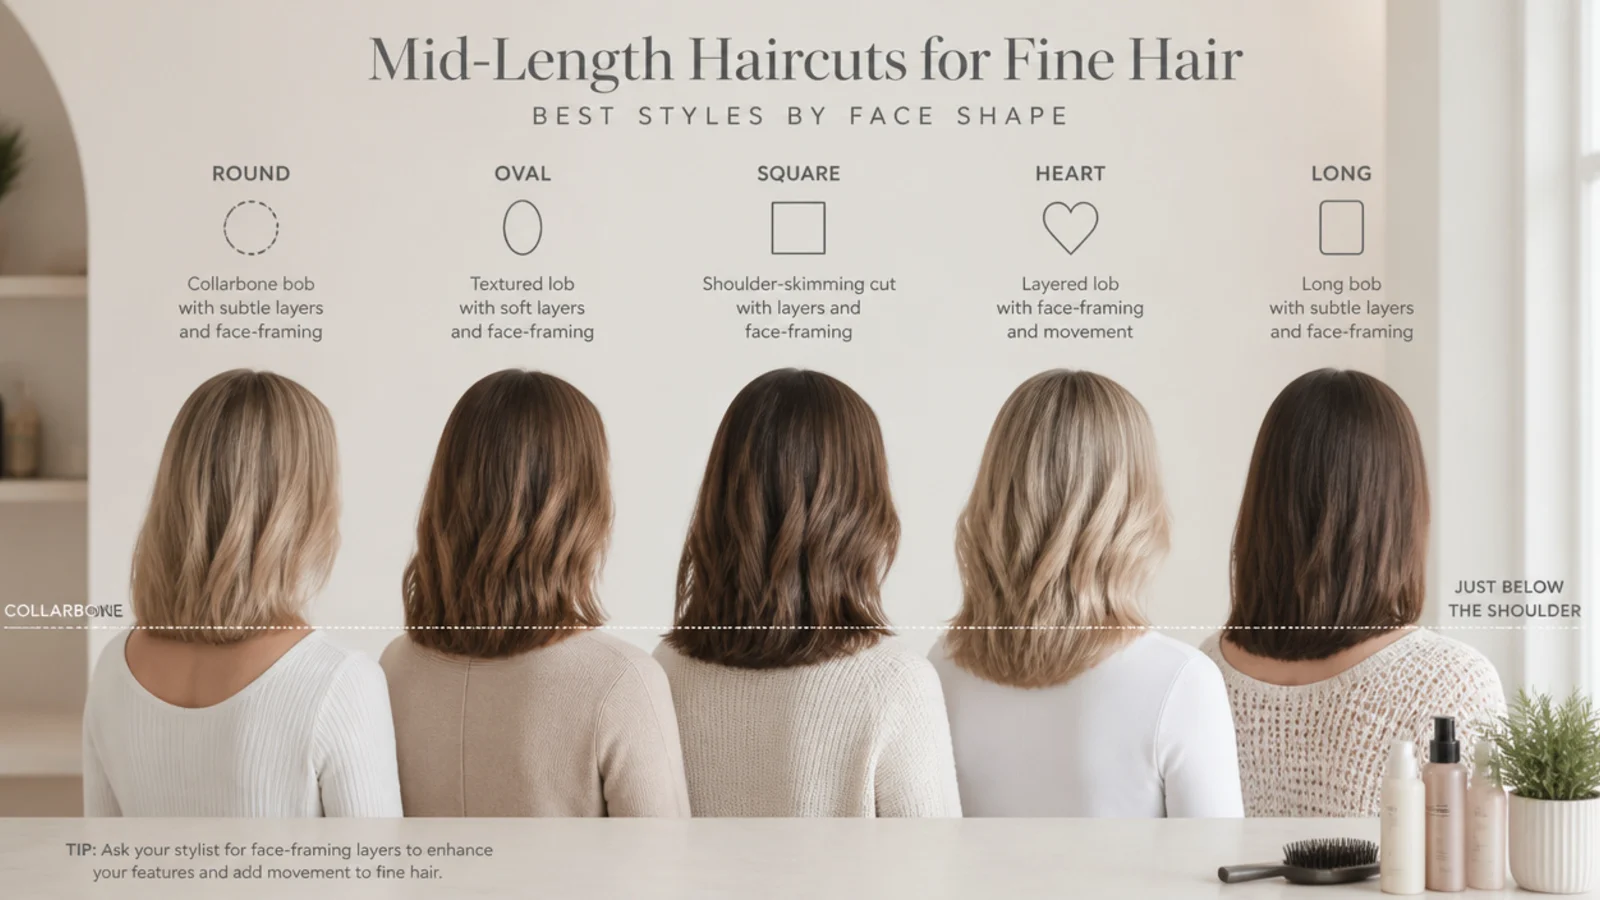
Round faces want the perimeter below the jaw. A line landing at the widest point of the face repeats that width, and dropping it to the collarbone gives the eye a vertical instead.
Long faces want the weight higher. A shorter blunt line at the jaw or just below builds a horizontal that visually shortens whatever it crosses.
Square jaws want a soft front piece and a hard back line. The diagonal of a face framing piece runs against the horizontal of the jaw, which softens the corner without giving up any density behind it.
Heart shapes want the fullest part at chin level. Width low in the cut balances a narrower chin against a broader forehead.
Every shape wants the same outline. The face shape decides where the line sits, not whether the line is blunt.
Day to Day Styling
Volume is a root behaviour. It comes from the direction the first inch leaves the scalp, and nothing done to the ends can substitute for it.
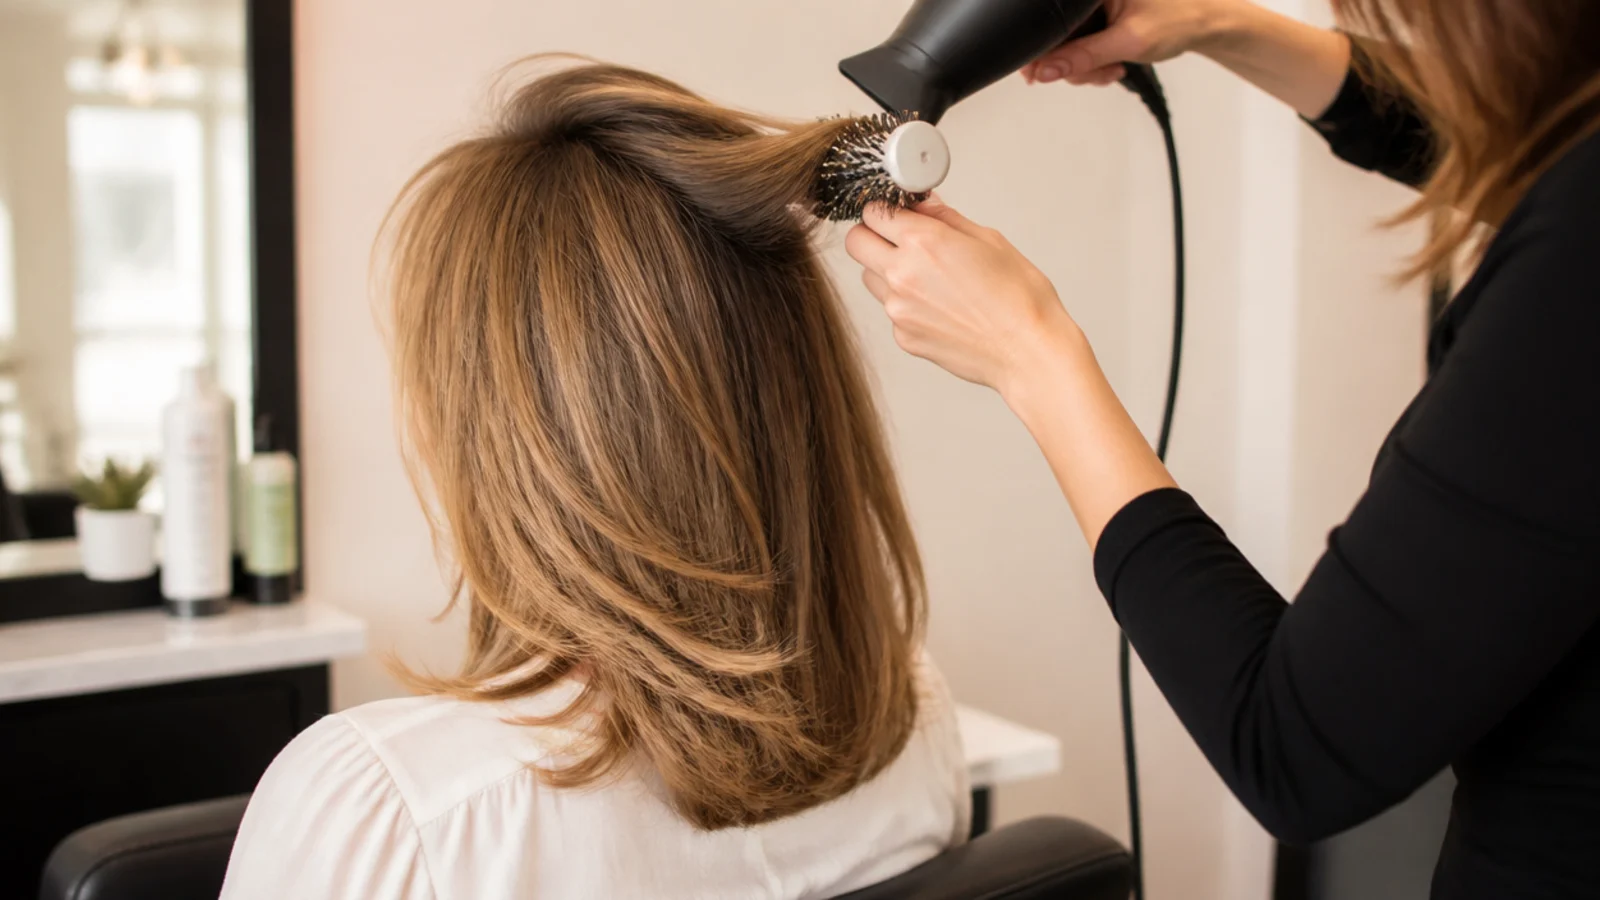
Dry the roots lifted, then let them cool held up. Hair sets its shape as it cools rather than while it is hot, so a section released warm falls straight back down.
Move the part across its natural fall. Roots forced to stand against their growth direction hold height for most of a day without any product at all.
Use light products high and rich products low. Anything heavy at the root flattens a fine strand immediately, while the last two inches can take as much conditioning as you want to give them.
Second day hair has more grip than clean hair. Friction between strands is what keeps a style standing, and freshly washed fine hair has almost none.
Growing In and Out
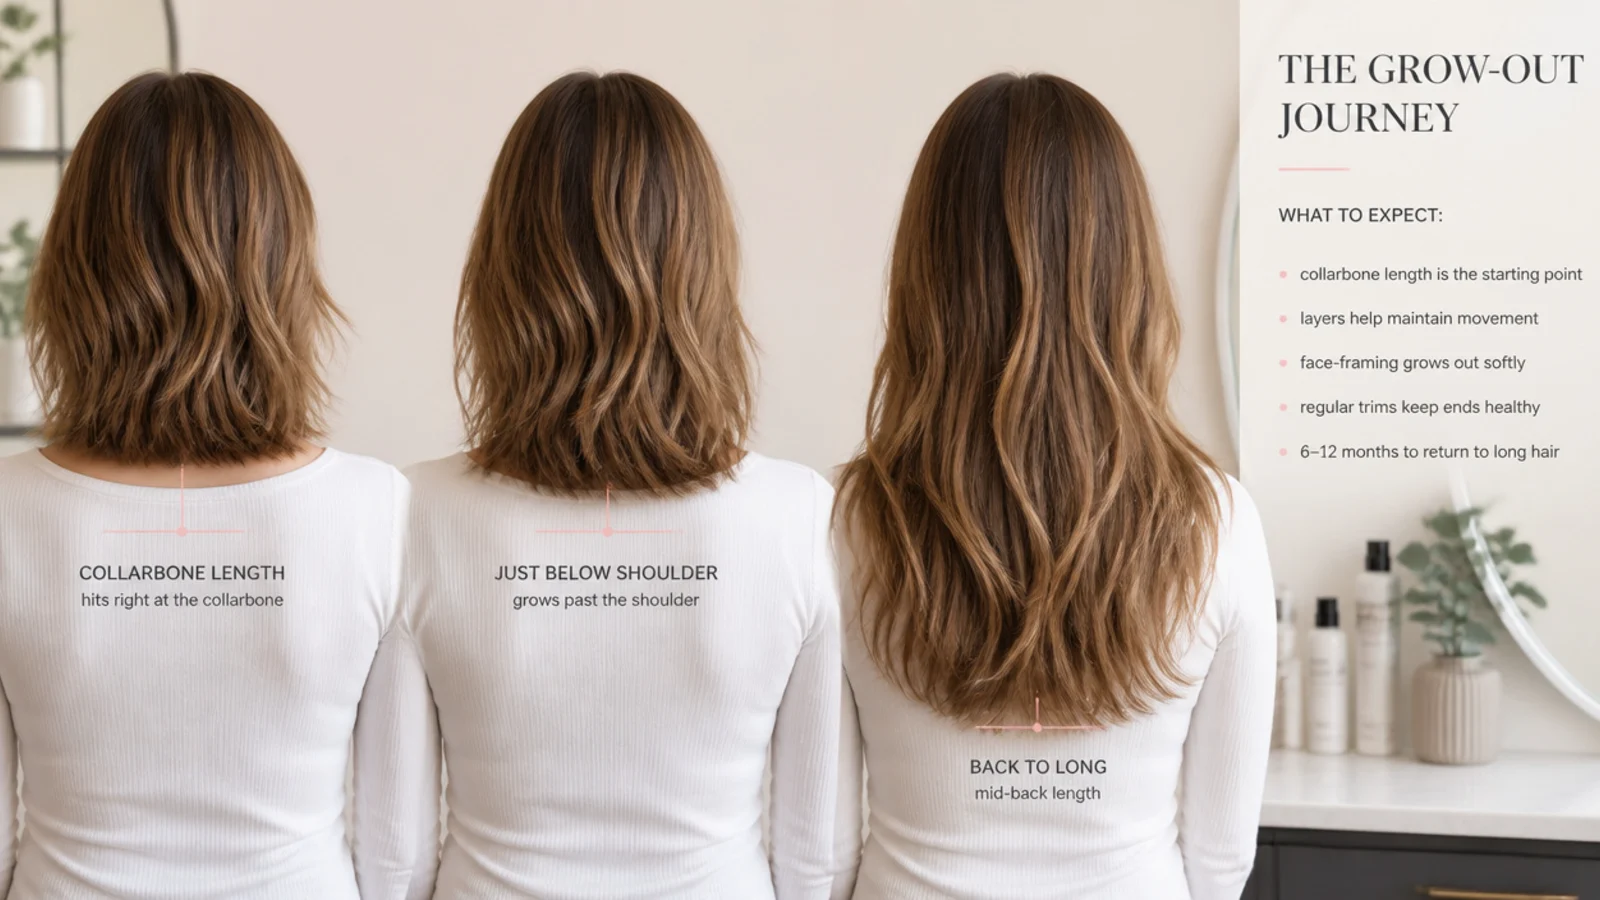
Growing layers out is a matter of letting the shortest one catch up. At half an inch a month, a chin length layer takes around six months to reach the collarbone, and dusting the perimeter during that time slows the process down.
Growing length in means leaving the outline alone. Dust an eighth of an inch every eight weeks and let the perimeter travel, which still nets you well over an inch of gain every quarter.
A split runs upward once it starts. Removing the damaged tip early is cheaper than removing the two inches that a neglected split eventually costs.
Fine hair shows the awkward stage more than any other type. There are fewer strands to hide a step, so blending the shortest piece with vertical snips matters more here than on thick hair.
Resist a big correction mid grow out. Cutting the perimeter to match the layer restarts the whole process from a shorter place.
The 20 Mid Length Ideas for Fine Hair
1. Blunt Collarbone Cut
The default, and the best single thing you can do for fine hair at this length. Every strand finishing on the same line stacks into one visible edge, so the perimeter reads as a solid mass rather than as individual hairs running out at different heights.

2. Invisible Layers
Layers cut inside the shape and over directed so no shorter end ever surfaces on the outside of the cut. You get movement through the middle without giving up a single strand from the outline, which is the only version of layering fine hair can genuinely afford.
3. Jaw Framing
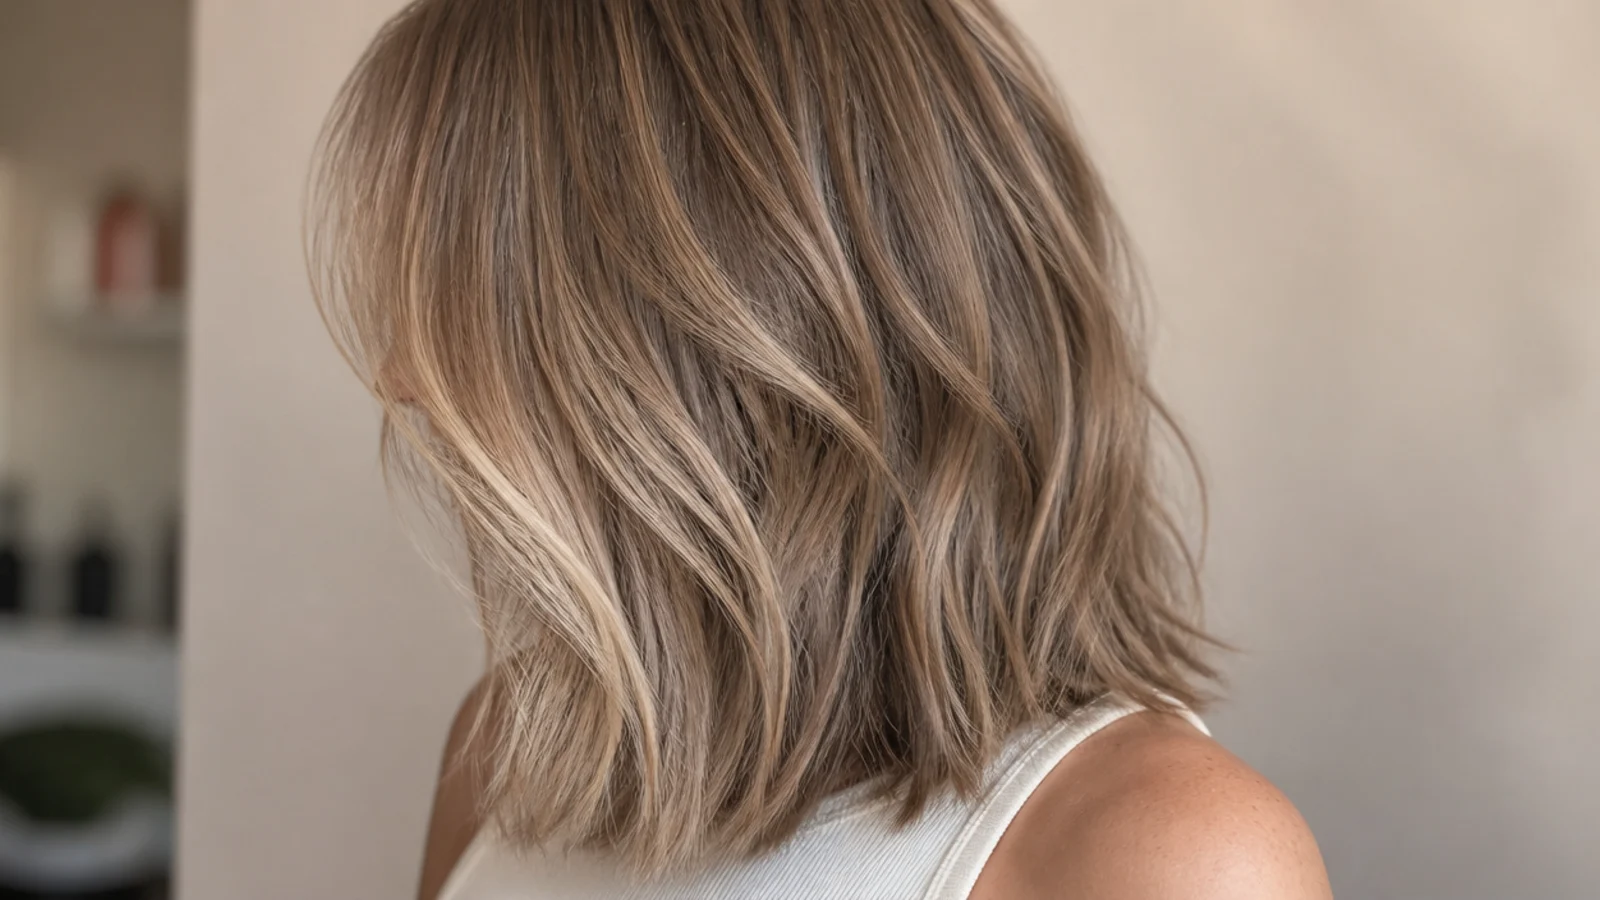
One shorter piece each side, starting level with the jaw and angling back into the length. It gives the front of the cut shape without touching the back of the perimeter, so the density everyone sees from behind stays exactly where it was.
4. Deep Side Part
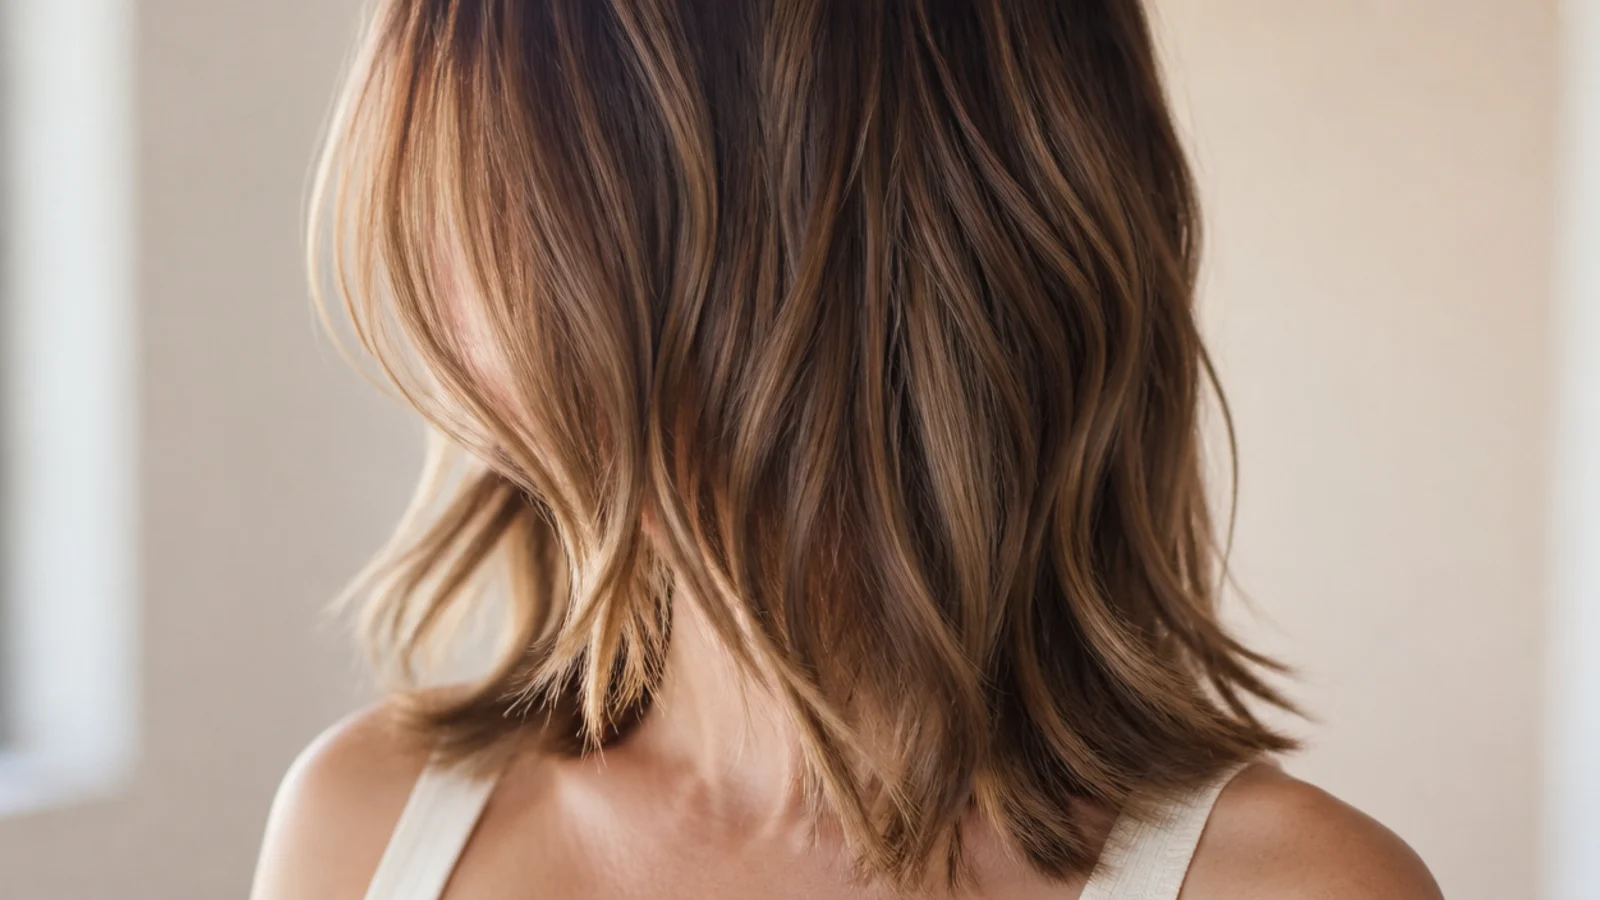
Taking the part well across the head forces the roots on the heavy side to stand against the direction they grow in. That resistance is what holds height at the crown, and it is free volume that costs no length and no product.
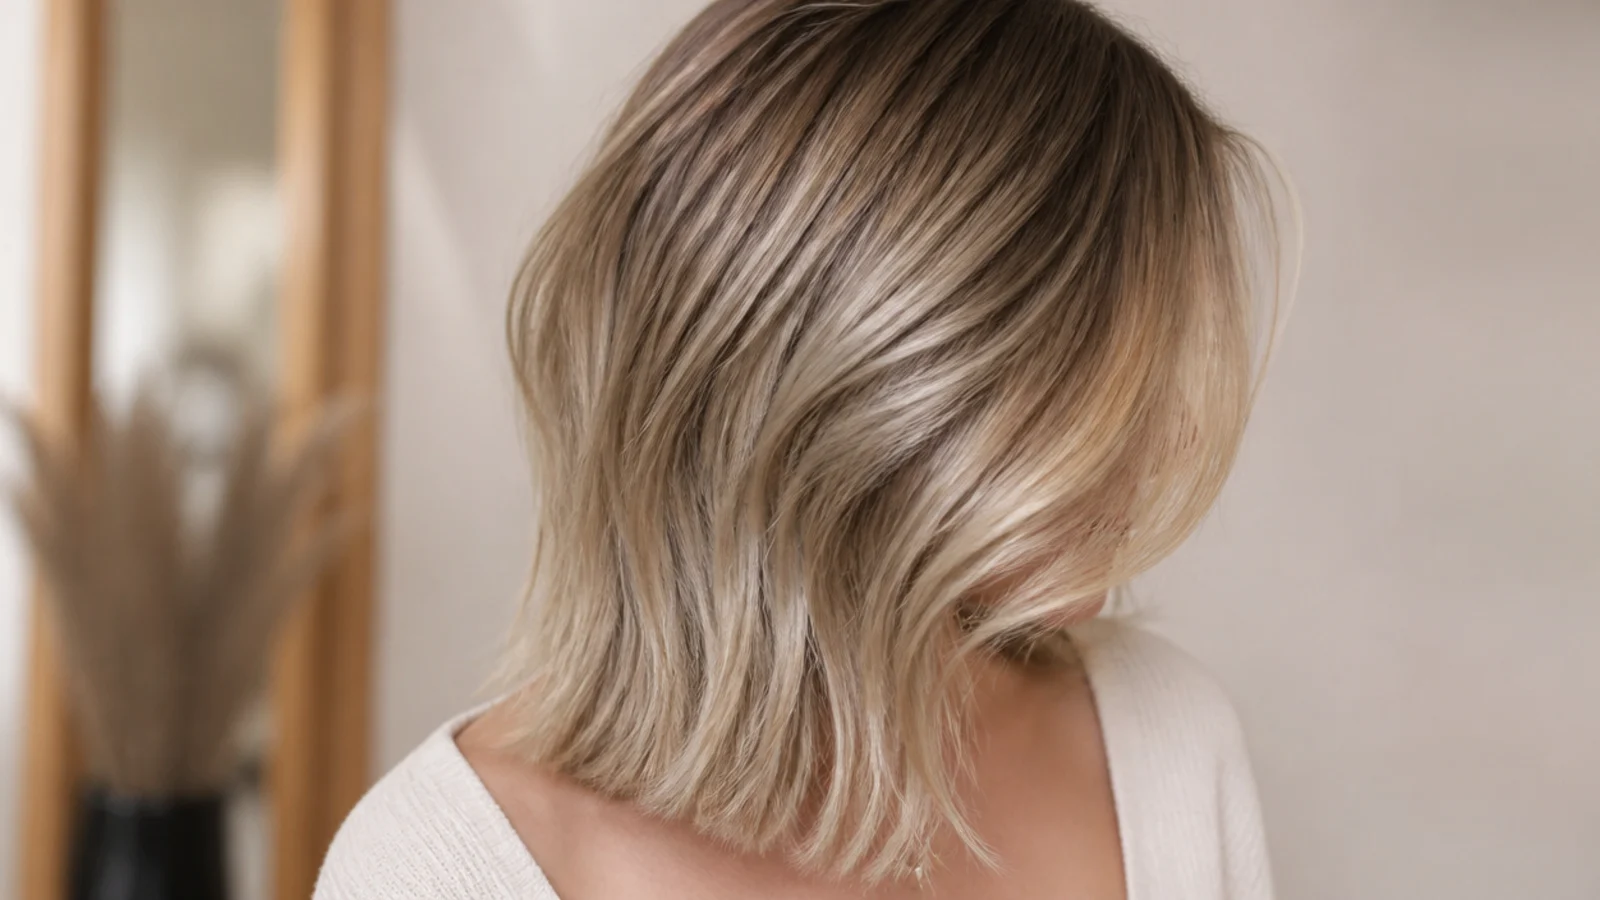
5. Soft U Shape
A very shallow curve through the back, with the outer corners left full and the centre a fraction shorter. The curve gives the outline a shape to read as intentional while removing so little weight that the perimeter still behaves like a blunt line.

6. Curtain Bangs
Bringing a section forward puts a second surface of hair at the front of the head, which reads as extra density around the face. The trade is that the section comes from the top, so keep it shallow and take it from a small triangle rather than from a deep panel.
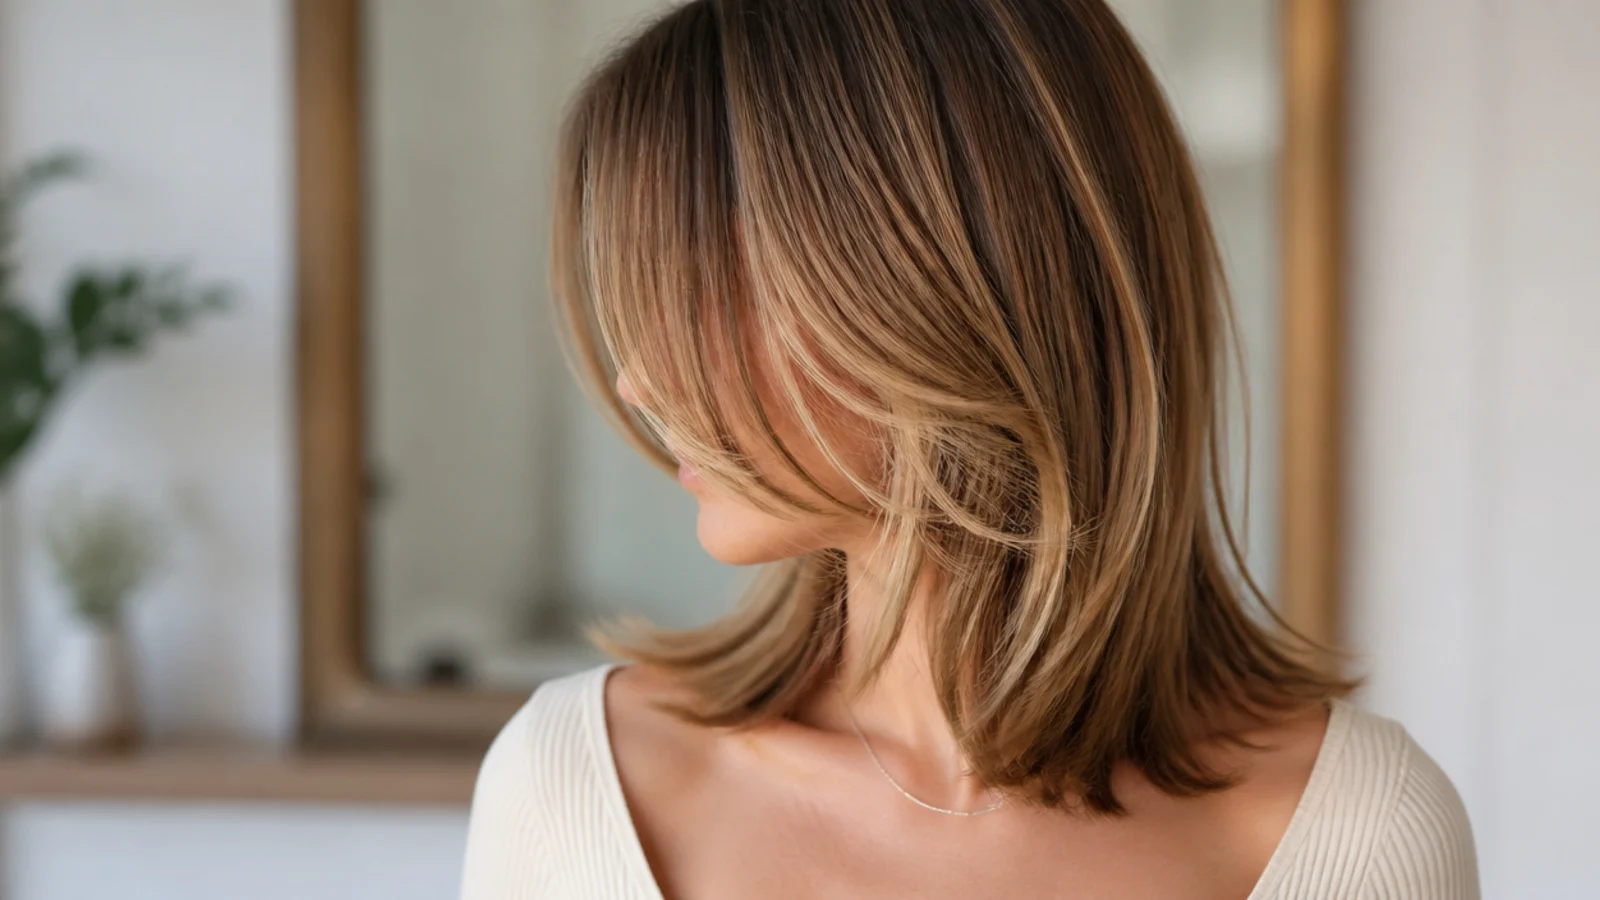
7. Hidden Layer
A single shorter layer cut underneath the top section and never seen from outside. The top surface then falls over it instead of straight down onto the scalp, which lifts the whole shape by the thickness of the layer beneath it.
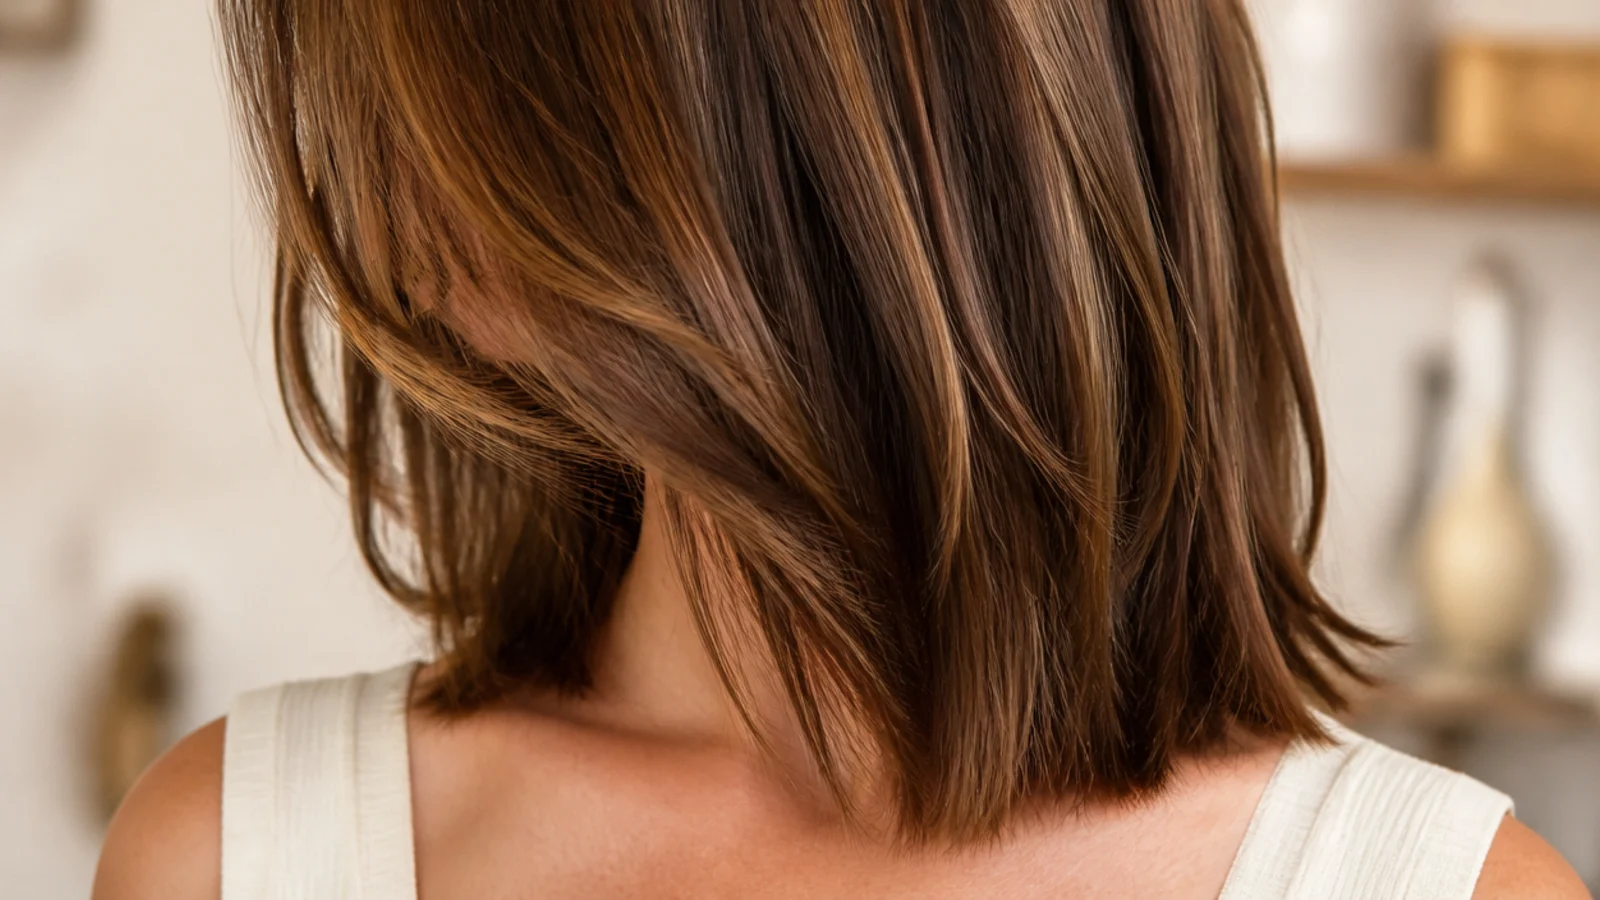
8. Rounded Ends
A perimeter curved so the front corners sit slightly ahead of the back. The shape carries a little more weight at the face, where it is seen most, and the curve keeps the corners from looking like the sharp points a straight line leaves on a narrow head.

9. Money Piece
Two lightened sections at the front, doing the work with colour rather than scissors. Lightening roughens the cuticle slightly, which increases friction between strands so they stack against each other rather than sliding flat, and the extra light bouncing off them reads as extra hair.
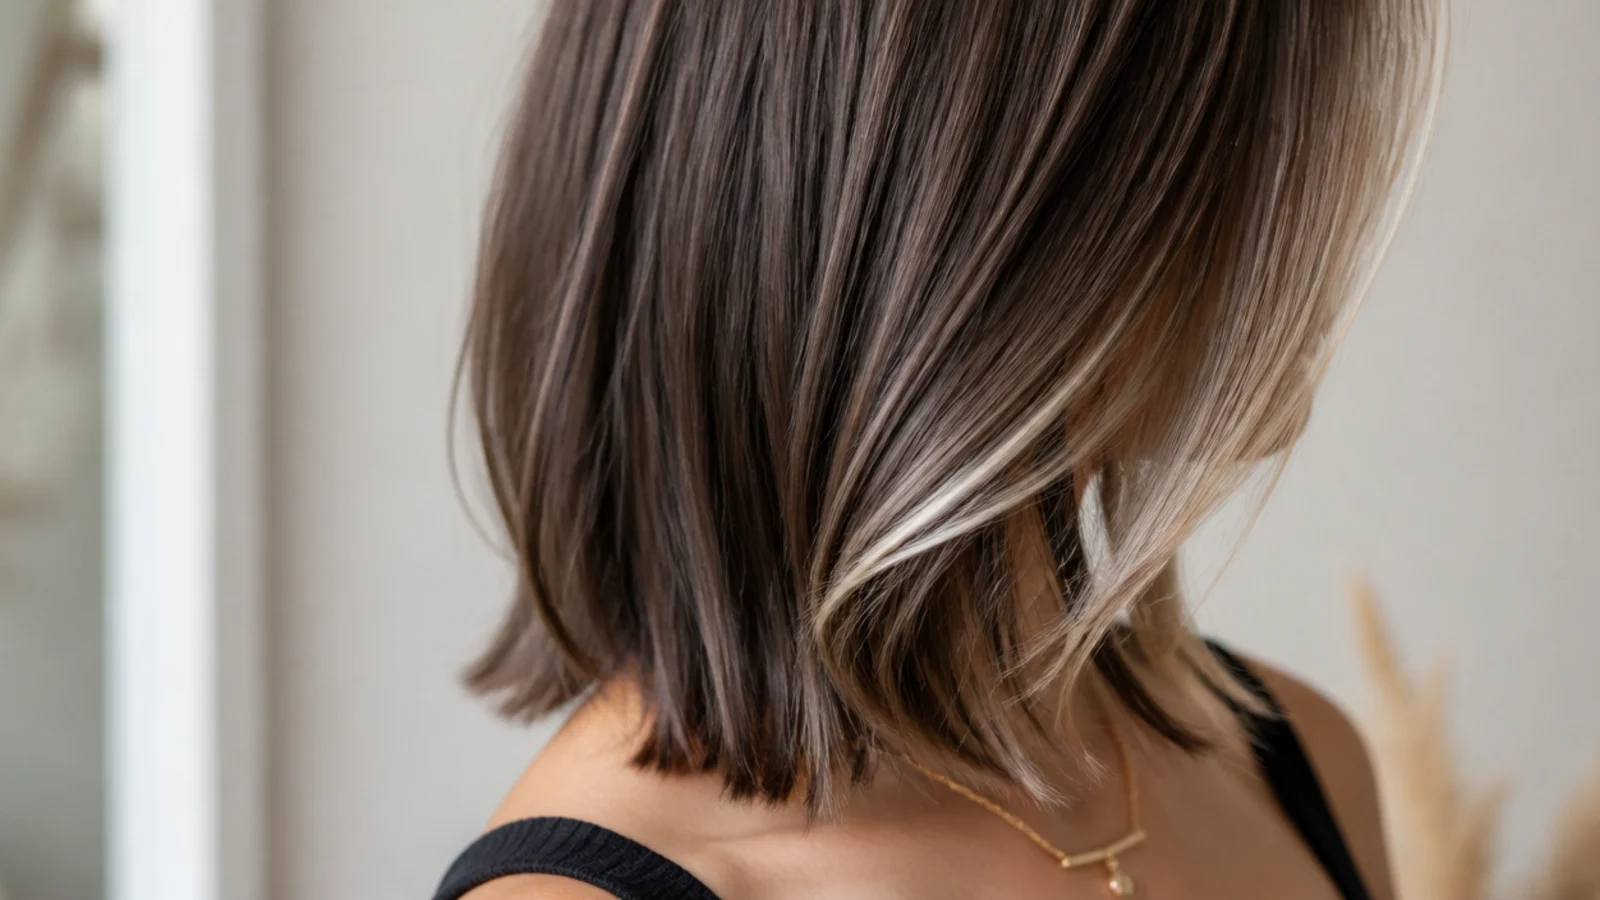
10. Fine Wavy Hair
A bend holds strands apart from one another, and air between strands is what volume physically is. Cut this dry so the wave pattern is visible, keep the outline blunt, and resist smoothing it out with heat because the wave is doing the job layers cannot.
11. Thinning Part
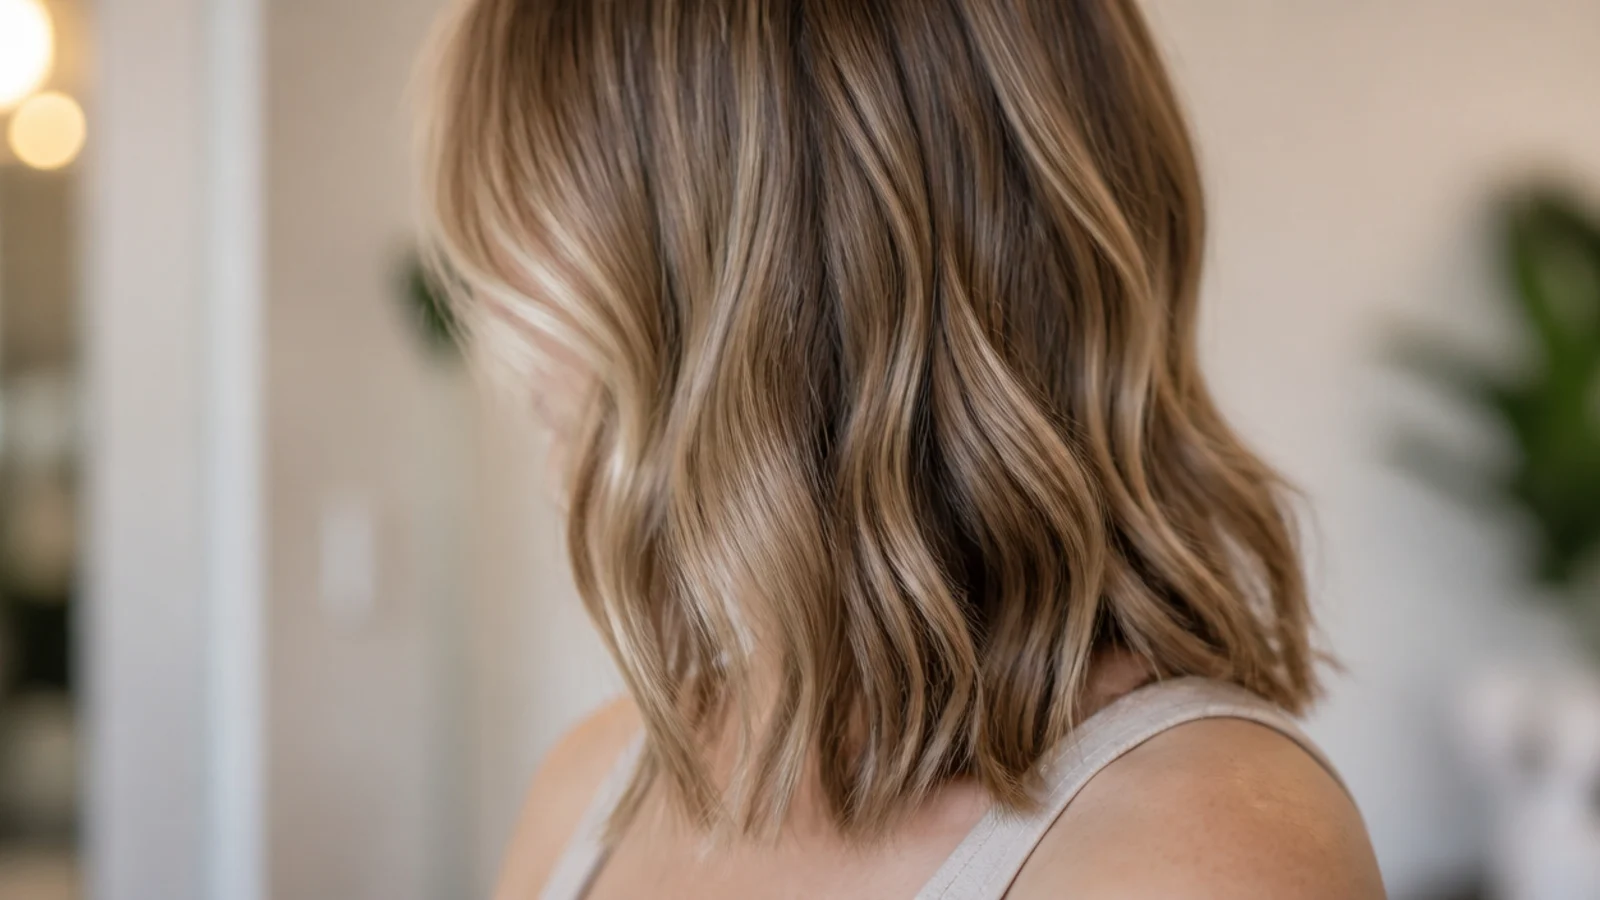
A parting that has widened is showing scalp, and the reason it reads so strongly is contrast between a pale scalp and darker hair. Move the part to unworn ground, and consider a root shadow, since narrowing the difference in tone narrows the visible gap.
12. Feathered Ends
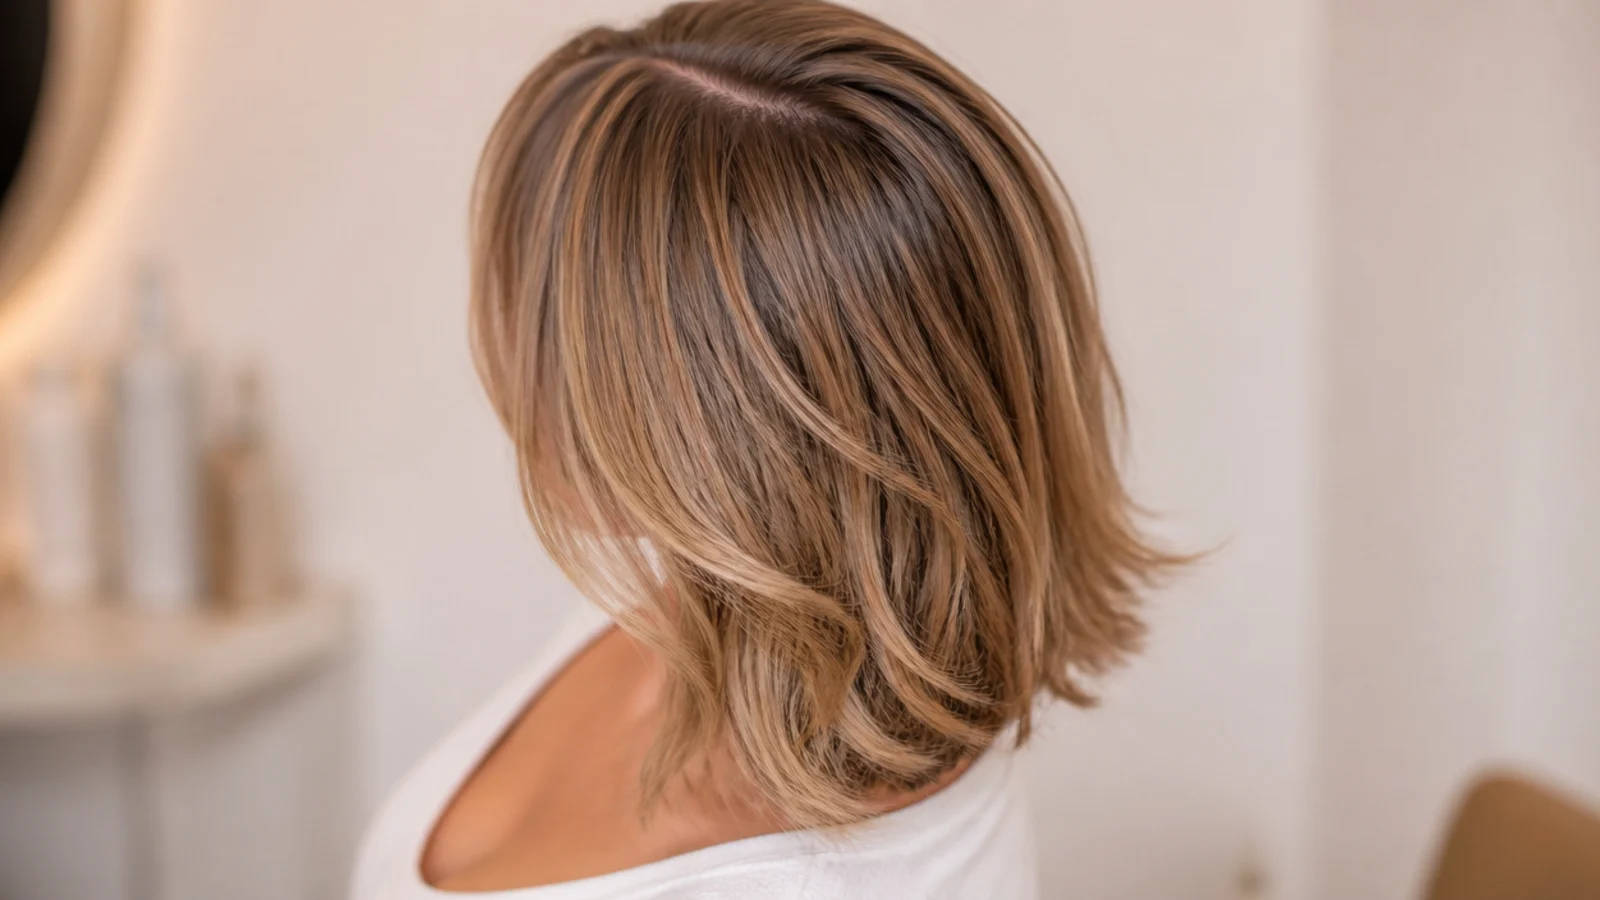
The lightest possible point cut, taken into the last quarter inch and nowhere else. It breaks the hard edge just enough to stop the line looking cut with a ruler, while removing so little weight that the perimeter keeps its density.
13. A Line Cut
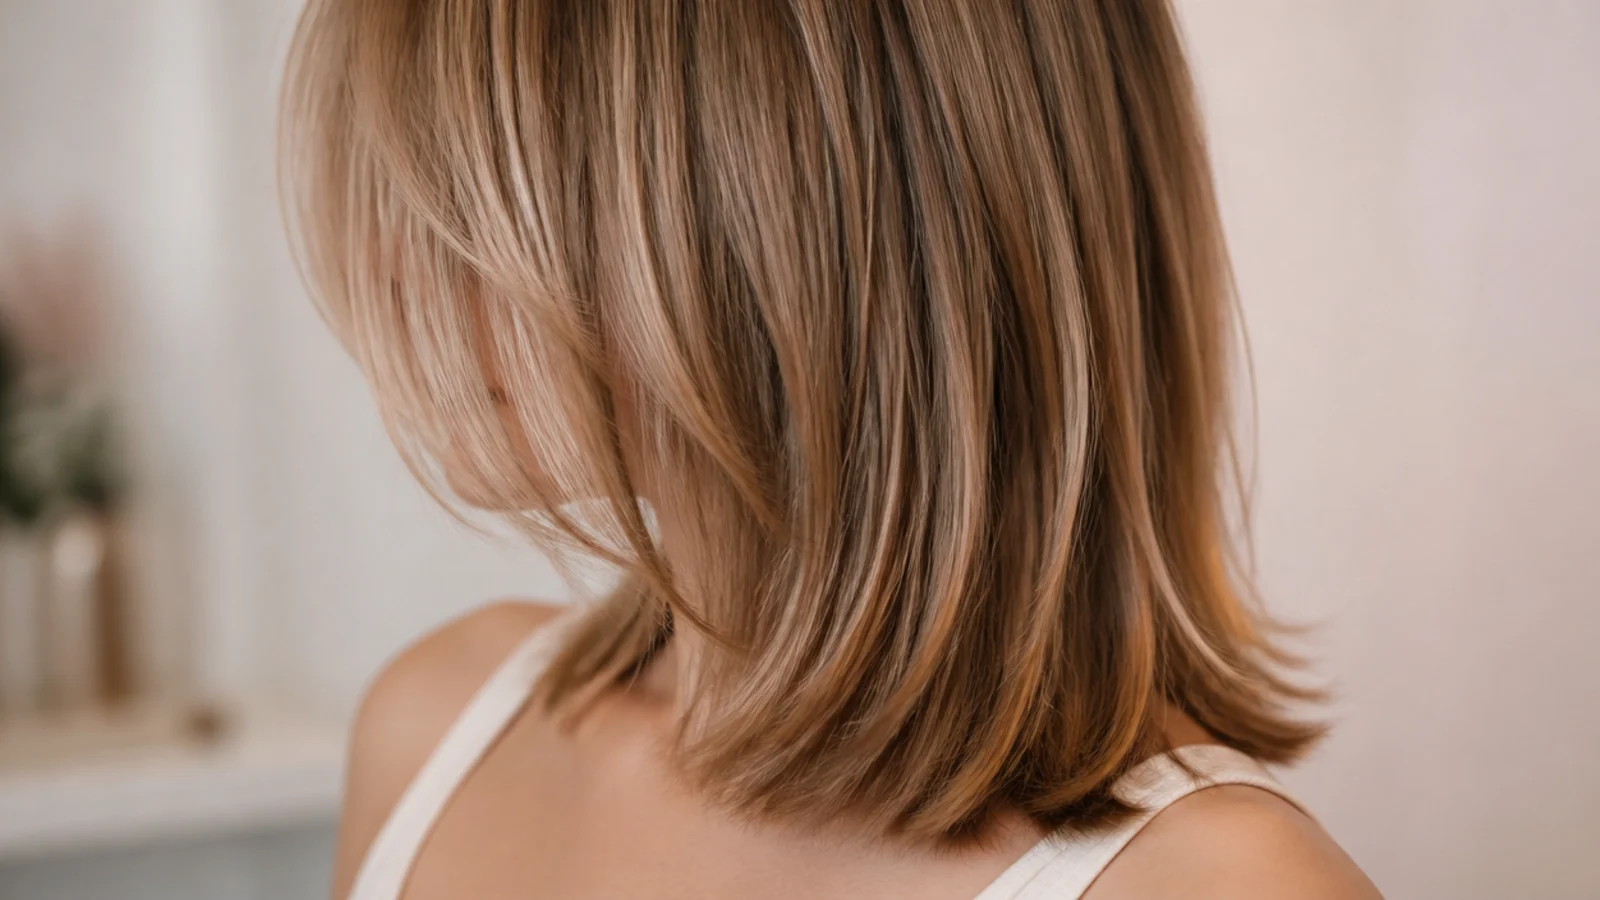
The front dropped an inch or so below the back. Length at the front puts weight where you actually see it in a mirror, and shortening the back lifts the nape off the neck so it stops flattening under the weight of everything above it.
14. Bottleneck Bangs
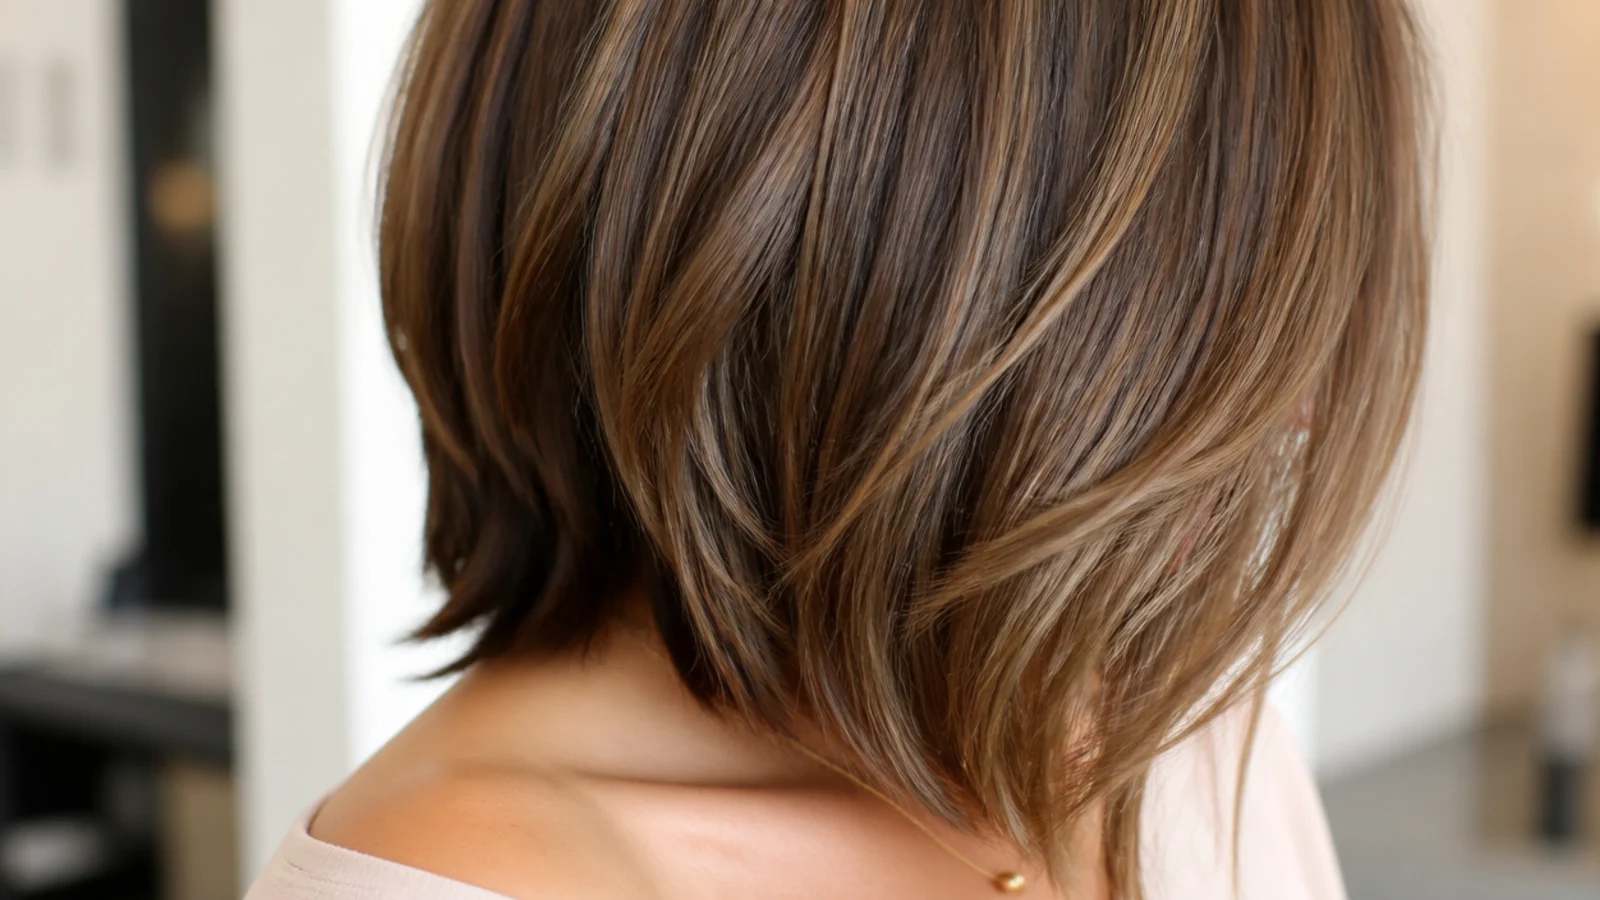
A fringe narrow across the middle of the forehead and flaring outward at the sides. On fine hair the narrow centre keeps the section small, so you borrow very few strands from the top while still getting a fringe that reads clearly from the front.

15. Blowout Lob
A round brush blow dry over a blunt collarbone line, dried lifted at the roots and allowed to cool in position. The set holds because hair takes its shape as it cools, which is also why a blowout dropped straight out of the brush while warm collapses within the hour.
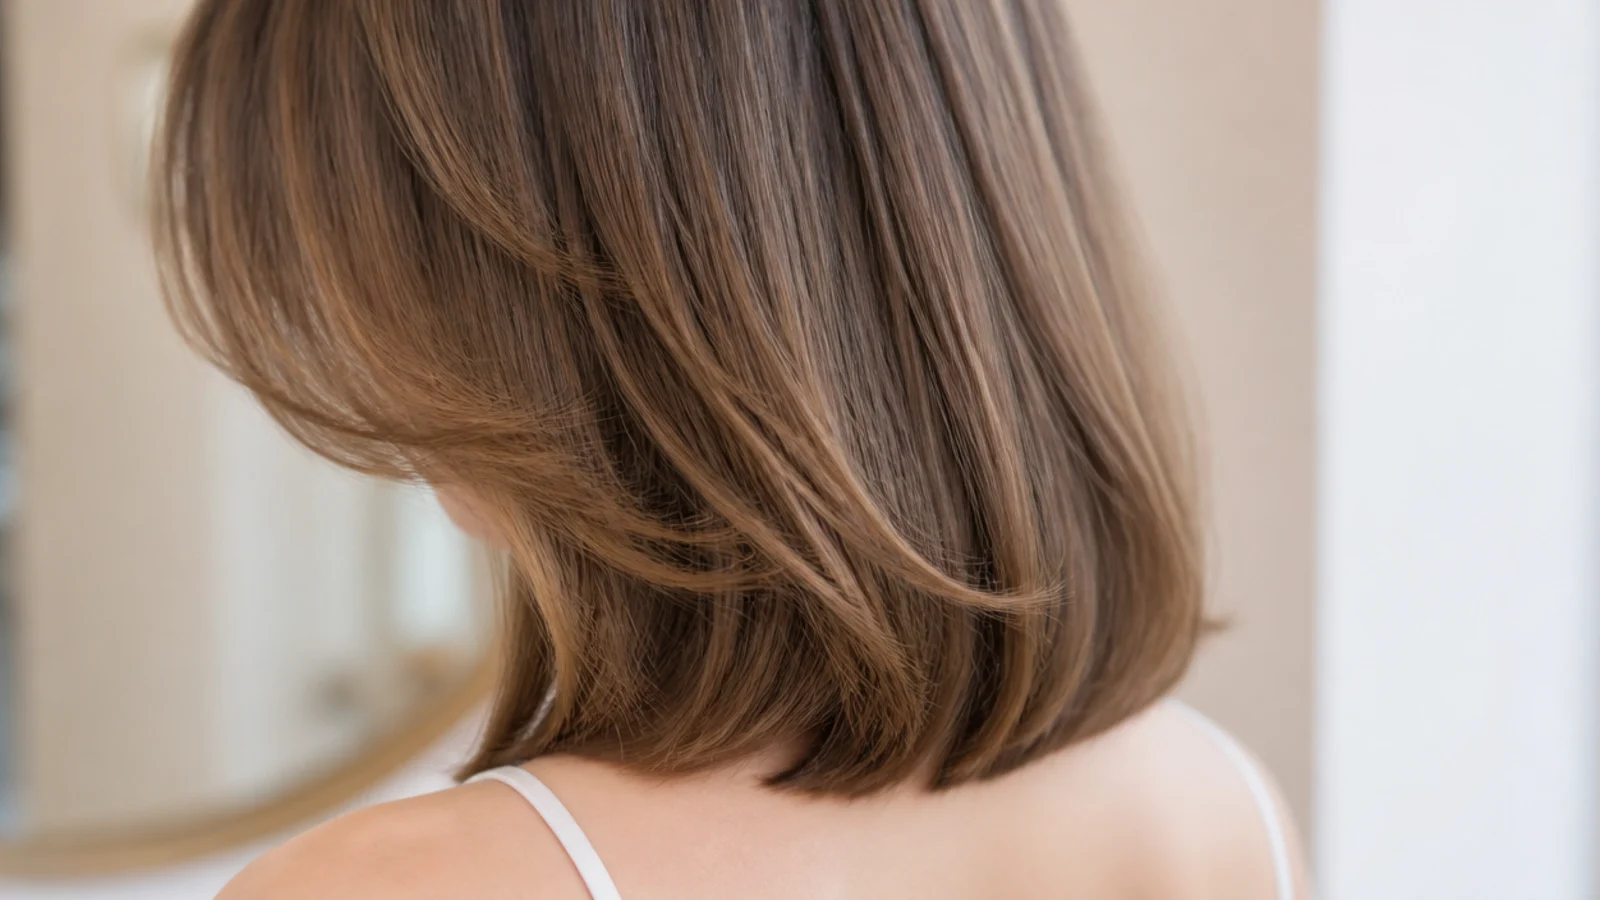
16. Textured Lob
Light texture worked into the last inch only, with the interior and the outline both left alone. Separated ends catch against each other instead of lying together in a sheet, and that friction is what stops fine hair falling flat by the middle of the afternoon.
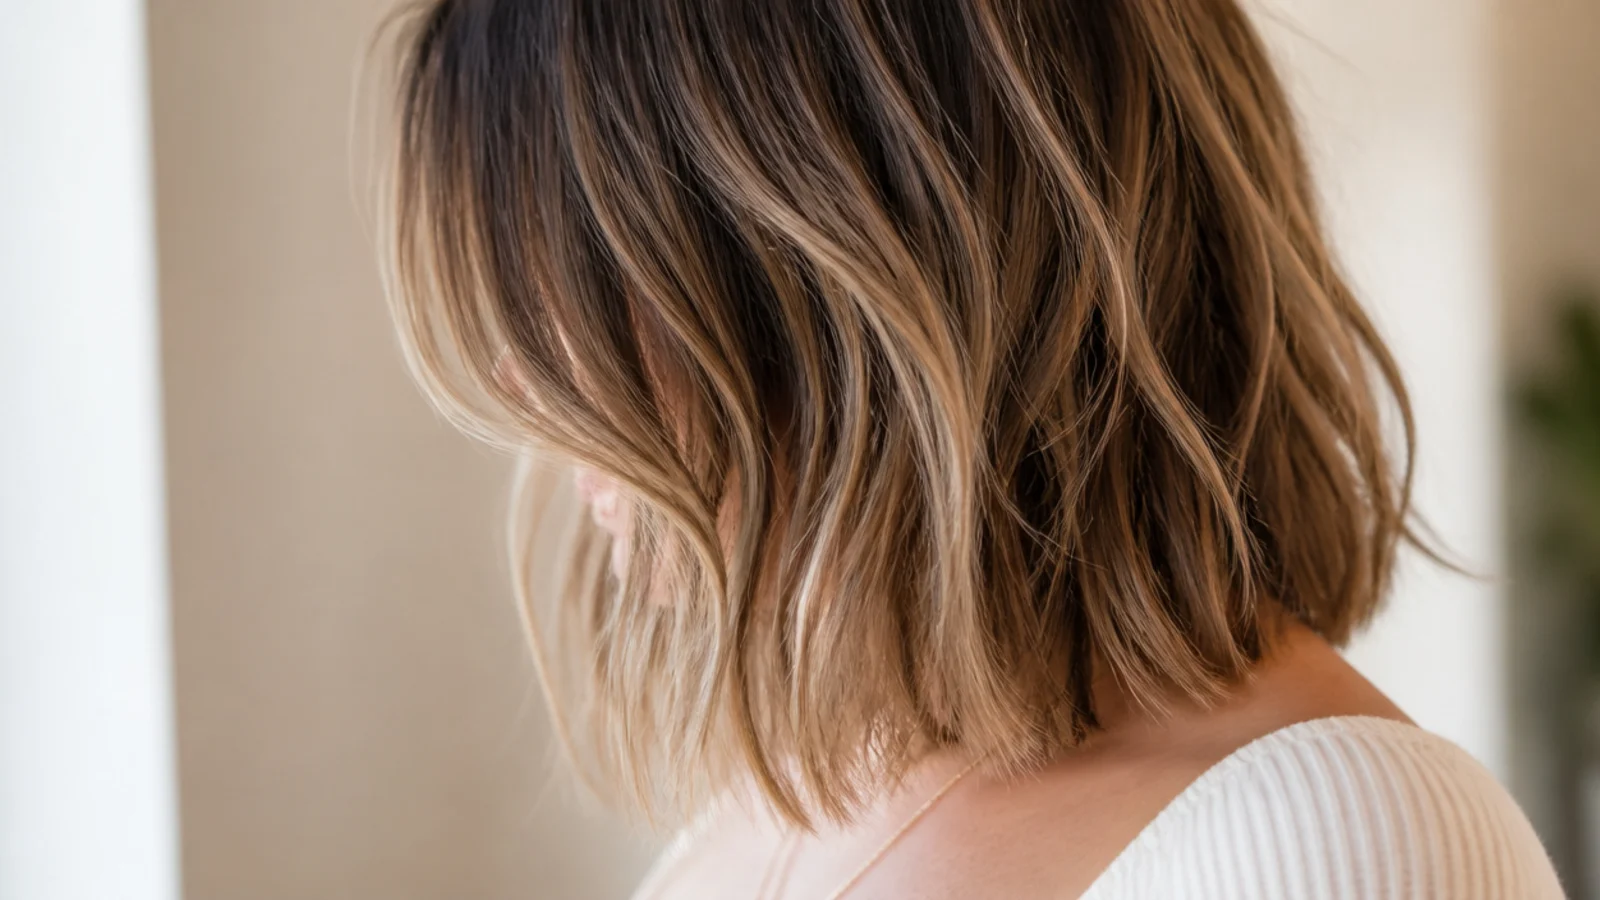
17. Side Swept Bangs
One diagonal running across the forehead from a deep part. It works on fine hair because a sweep lays the fringe over the top of the head rather than dropping it straight down, adding a second layer of hair exactly where the parting would otherwise show scalp.
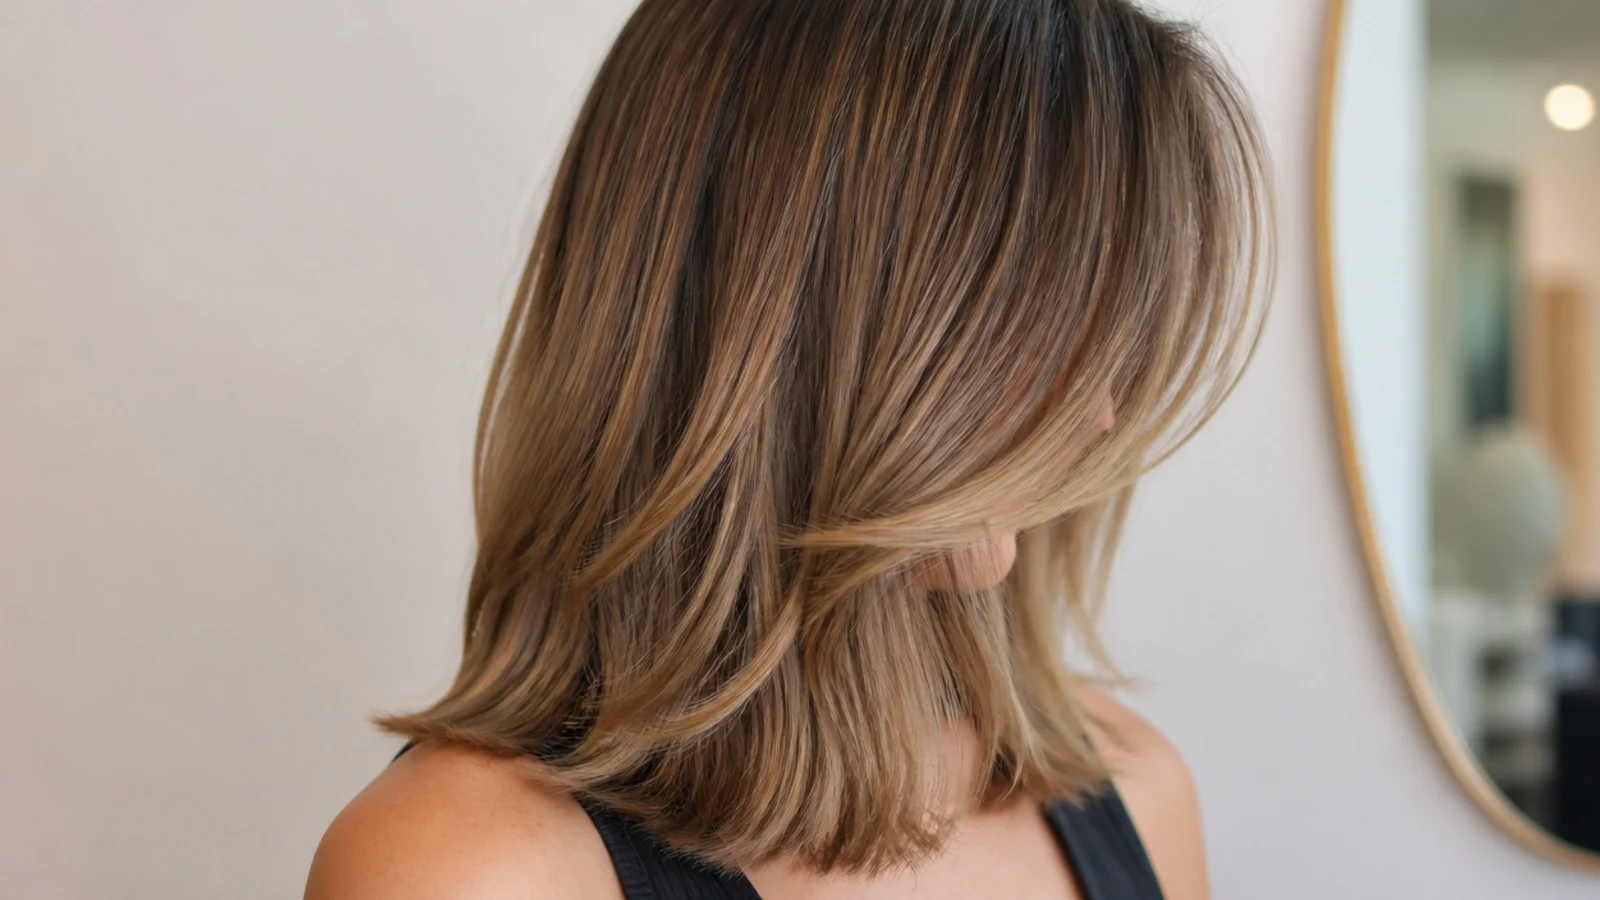
18. Soft Shag
A shag adapted with restraint, keeping the layering to the top two sections and leaving the outline intact. A full shag works by stacking a lot of short pieces on top of each other, and fine hair does not have the strand count to fill that shape without looking sparse.
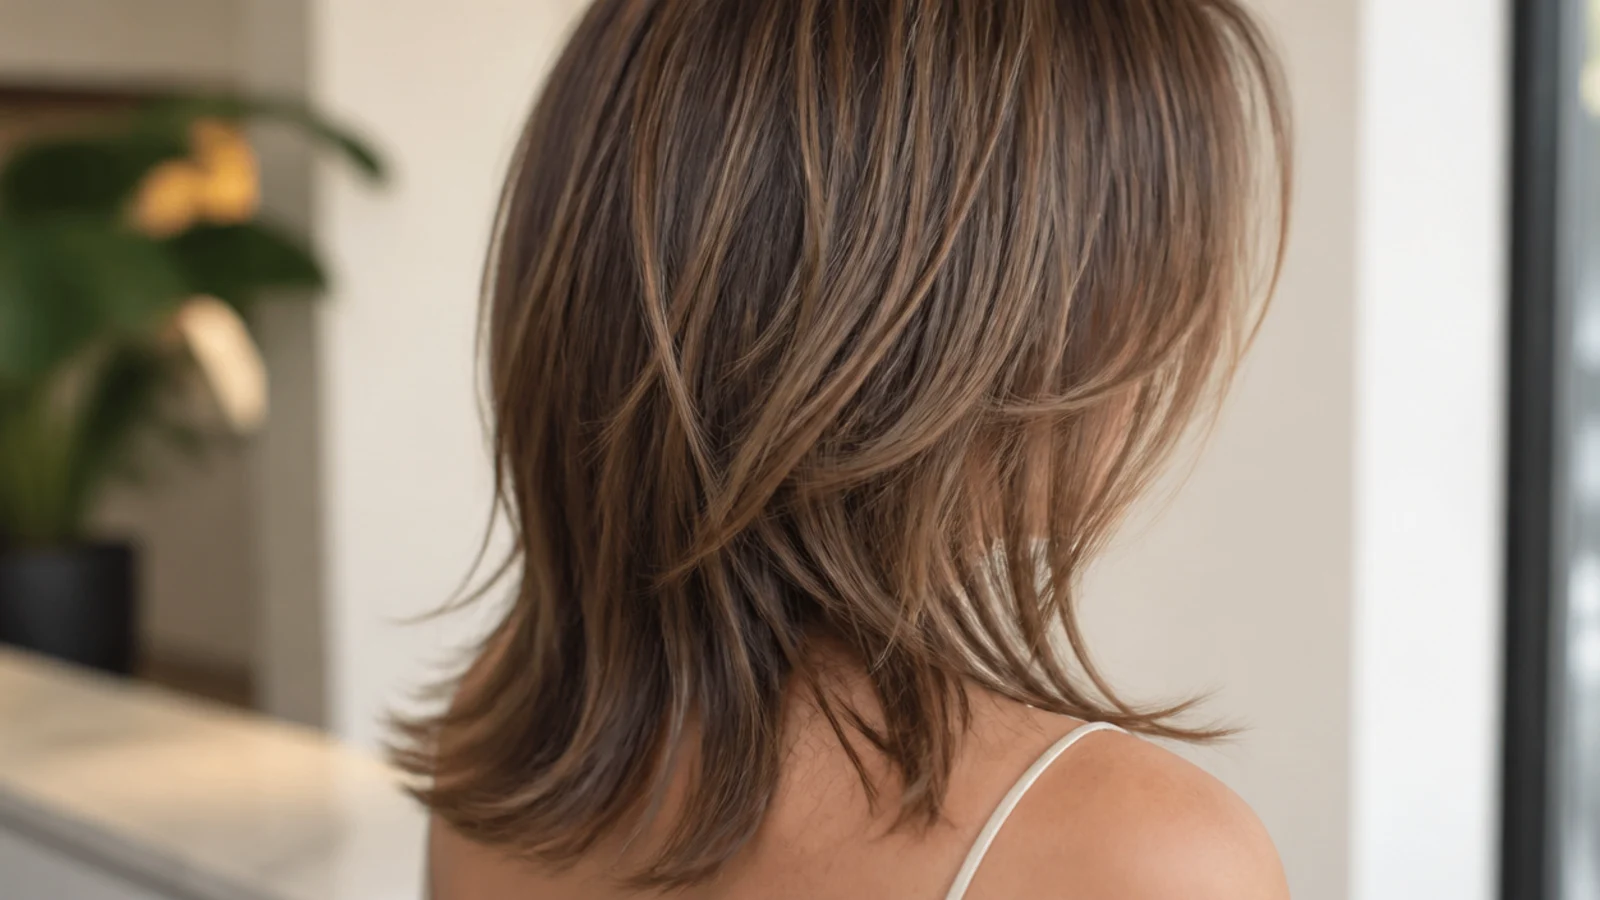
19. Regrowth
Short new hairs standing up along the parting and hairline are growth, not damage, and they are worth cutting around rather than cutting off. Trimming them level makes them shorter and stiffer, so leave them and lay them down with a light cream rather than fighting them with scissors.
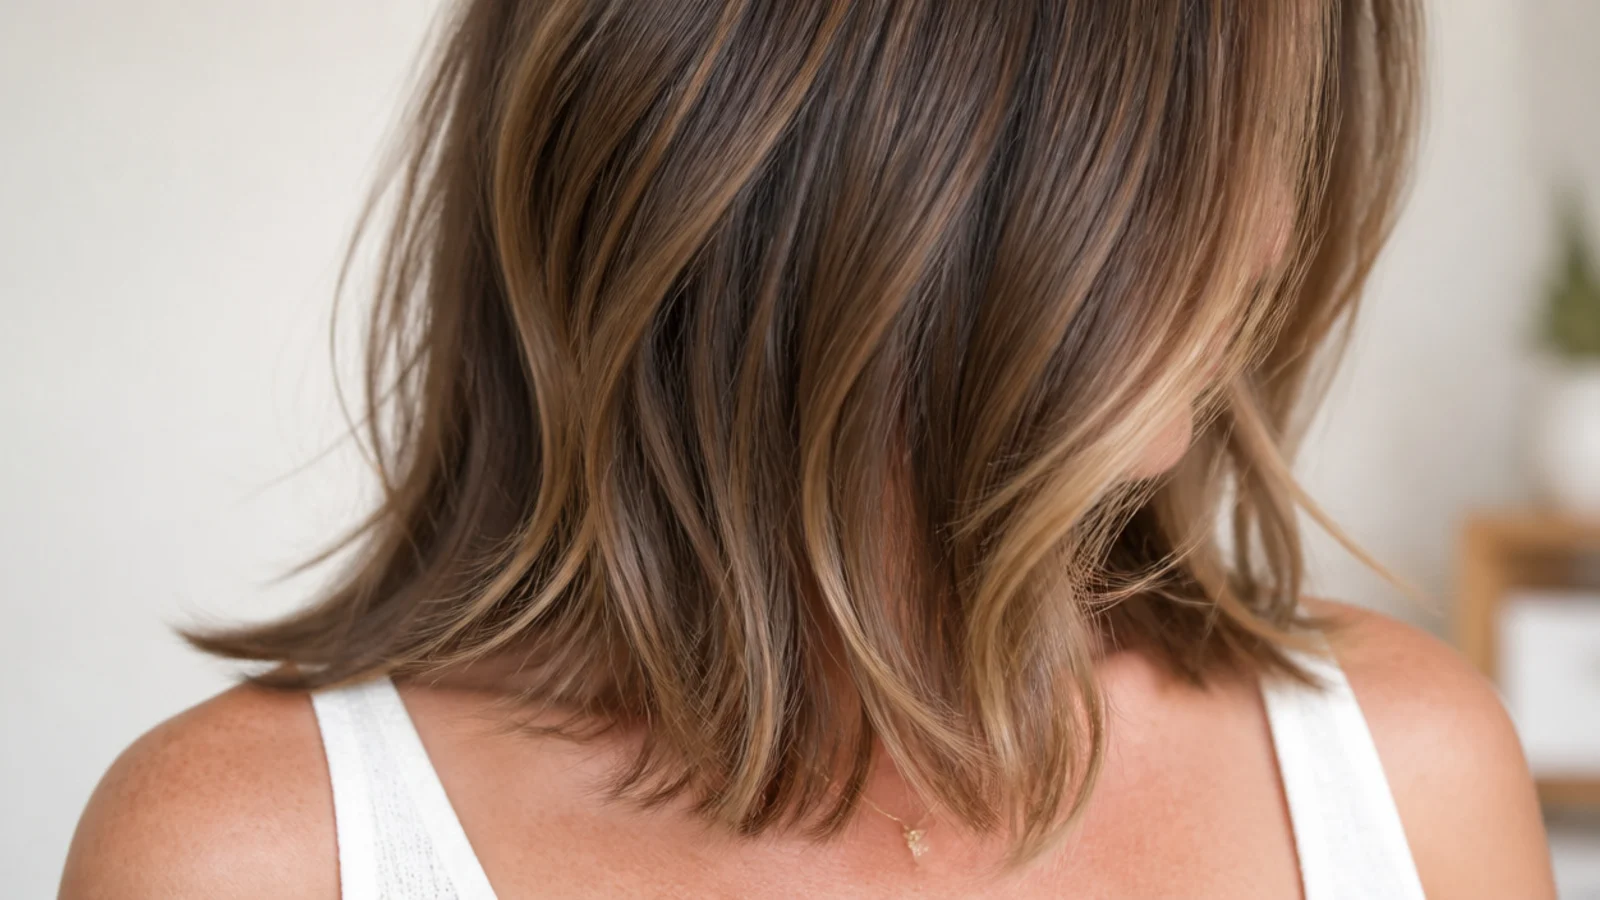
20. Silver Fine Hair
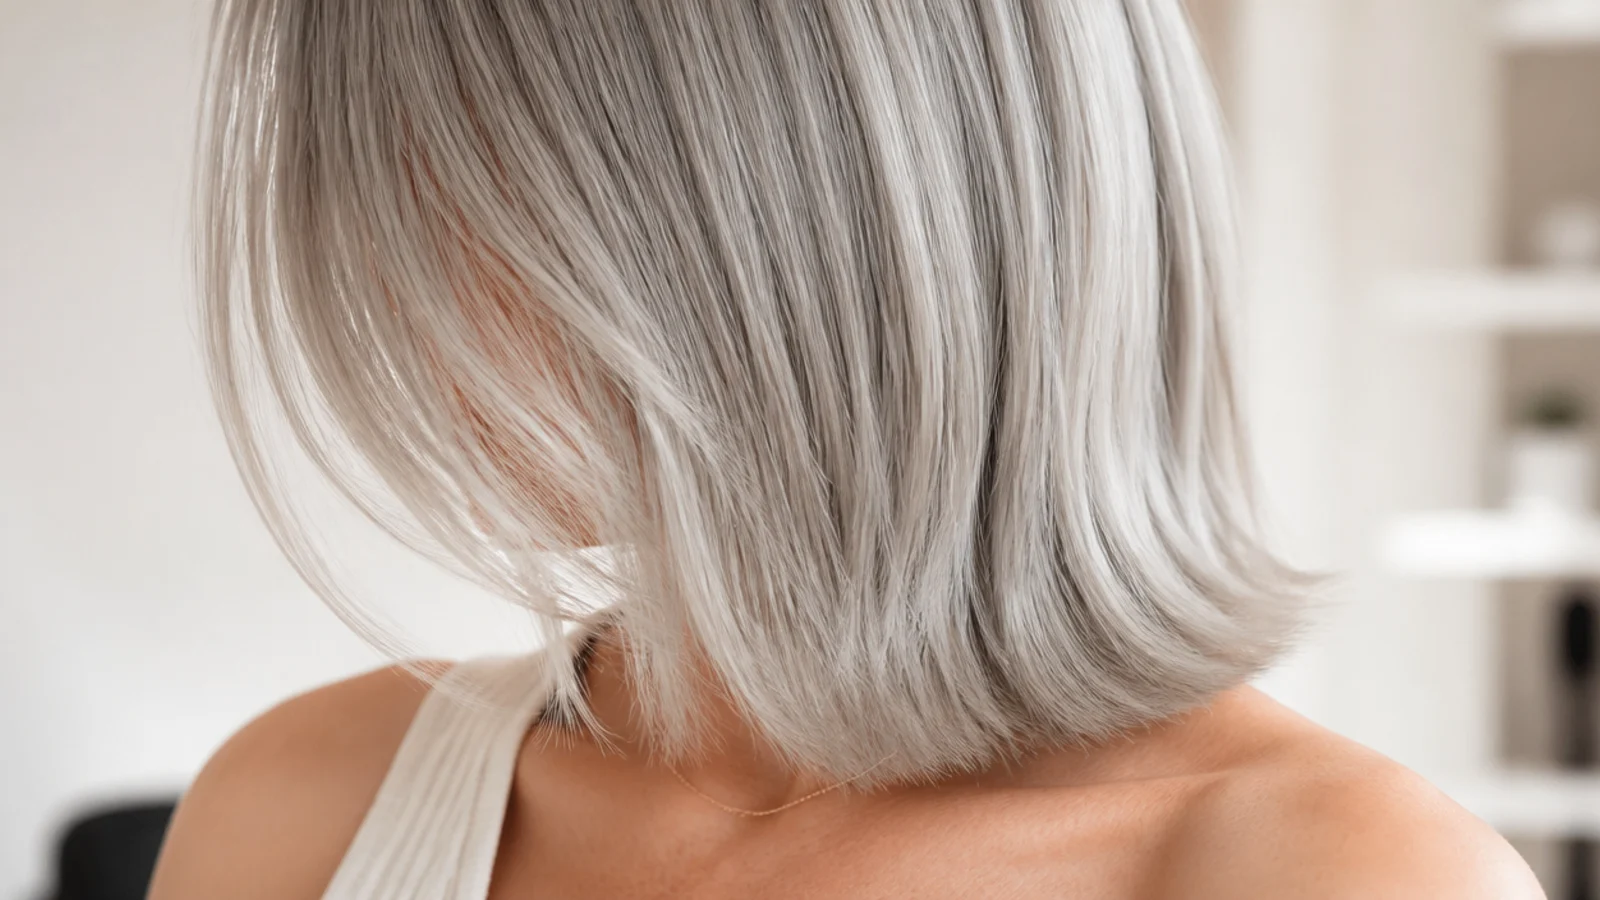
Hair without pigment lets light through rather than reflecting it back, so a silver head can read as less dense than it is at the same strand count. A blunt perimeter matters more here than anywhere else on this list, because a hard edge gives the light one surface to stop against.
Final Thoughts
Keep the outline and spend elsewhere. Almost every good decision on fine hair follows from that one rule, because the perimeter is the only part of a cut where the eye can count strands, and everything you remove from it is subtracted from the impression of density you were trying to build. Movement, shape and face framing are all available from inside the cut, where nothing you take out is visible from the outside.
The rest is root work. Volume lives in the first inch of hair leaving the scalp, so the part you choose and whether you let the crown cool while it is still lifted will do more for fine hair on any given morning than any amount of cutting will. Get the blunt line, get the roots up, and leave the ends alone. For a more textured take at the same strand diameter see 15 things I learned getting a shag cut on fine hair. More in Womens Hairstyles. See also the choppy version.