
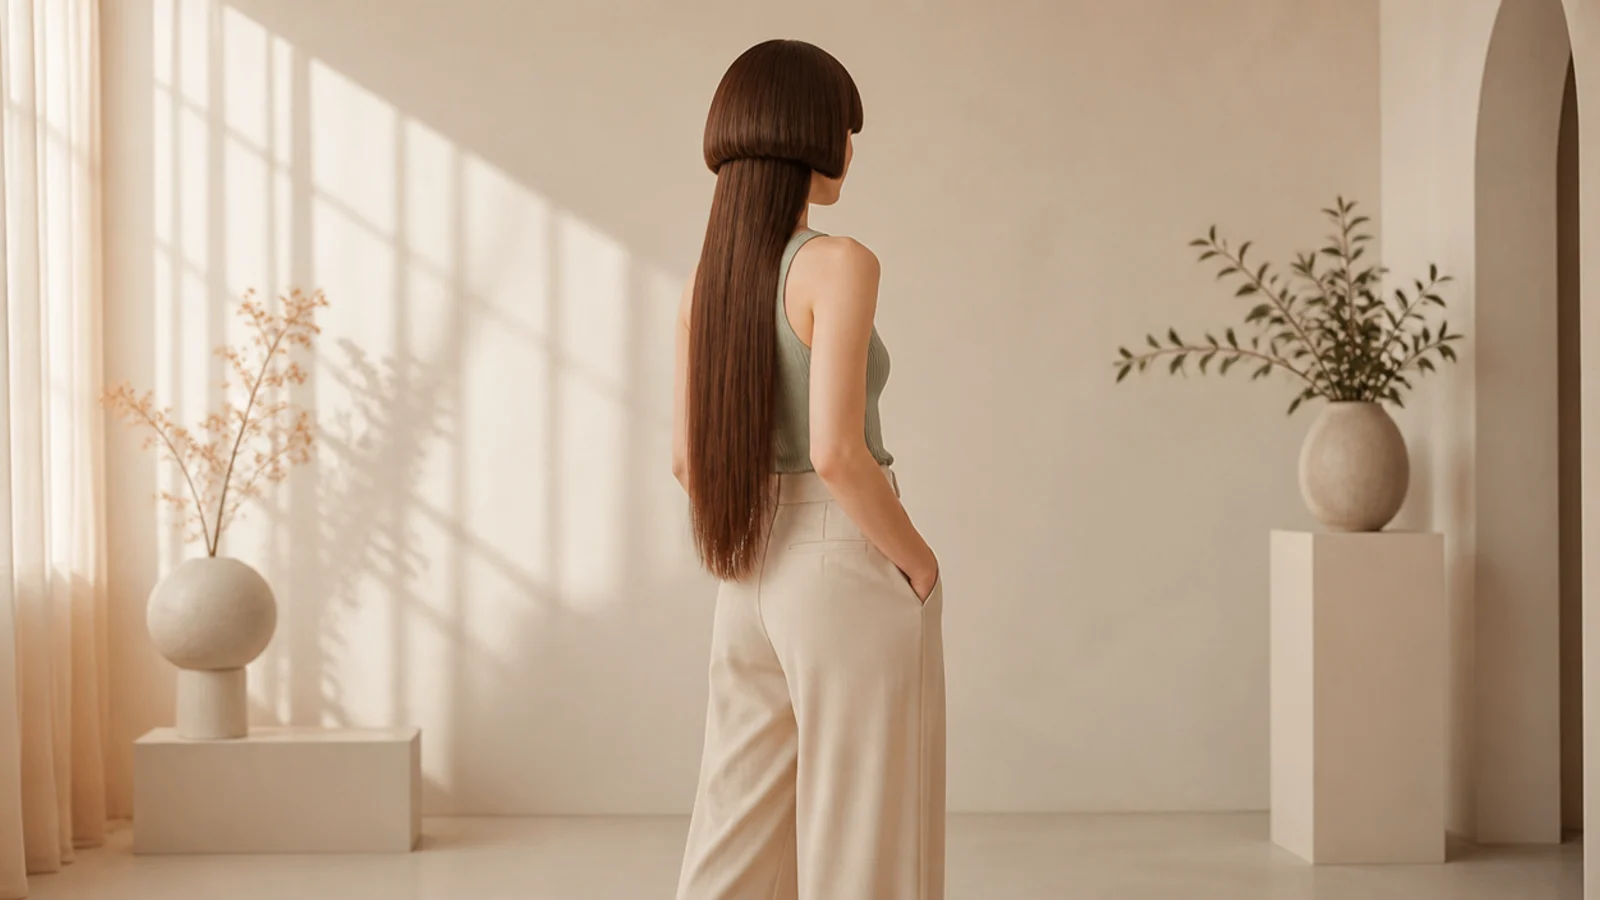
20 Long Jellyfish Haircut Ideas
Twenty long versions of the stepped cut, and the reason length is the format it was designed for. The shape lives on the distance between two hems, and waist length hair is the only place that distance can be genuinely large.
In this article · 28
- What Is a Long Jellyfish Haircut
- Jellyfish Versus Wolf Versus Mullet
- Who Suits a Long Jellyfish
- Styling the Bell and Tentacles
- The Ponytail Problem
- How to Ask Your Stylist
- The 20 Long Jellyfish Ideas
- 1. Waist Length With a Cheekbone Bell
- 2. Mid Back Length With Curtain Bangs
- 3. Blunt Bowl Top
- 4. Wavy Beachy Lengths
- 5. Hime Side Panels
- 6. Money Piece in the Bell
- 7. Razor Cut for Thick Hair
- 8. Hidden Nape Undercut
- 9. Flipped C Curve Ends
- 10. Platinum Bell Over Dark Lengths
- 11. Wispy Micro Bangs
- 12. Soft Disconnect for Fine Hair
- 13. Internal Layers
- 14. Jaw Bell With Hip Length Hair
- 15. Curly Diffused Bell
- 16. V Shaped Hem
- 17. Pink Face Framing Panels
- 18. Round Face With the Hem Below the Cheekbone
- 19. Office Safe and Ponytail Friendly
- 20. Grow Out Ready Shag Bell
- Final Thoughts
The stepped cut is usually described as dramatic, and on long hair it is the opposite of dramatic. It removes almost nothing.
Only the upper tier gets cut. The lengths keep every inch they had, which is why this is the rare shape you can try halfway through growing your hair out.
Length is what makes the shape work. The cut lives on the gap between two hems, and waist length hair is the only place that gap can be a foot deep.
What Is a Long Jellyfish Haircut
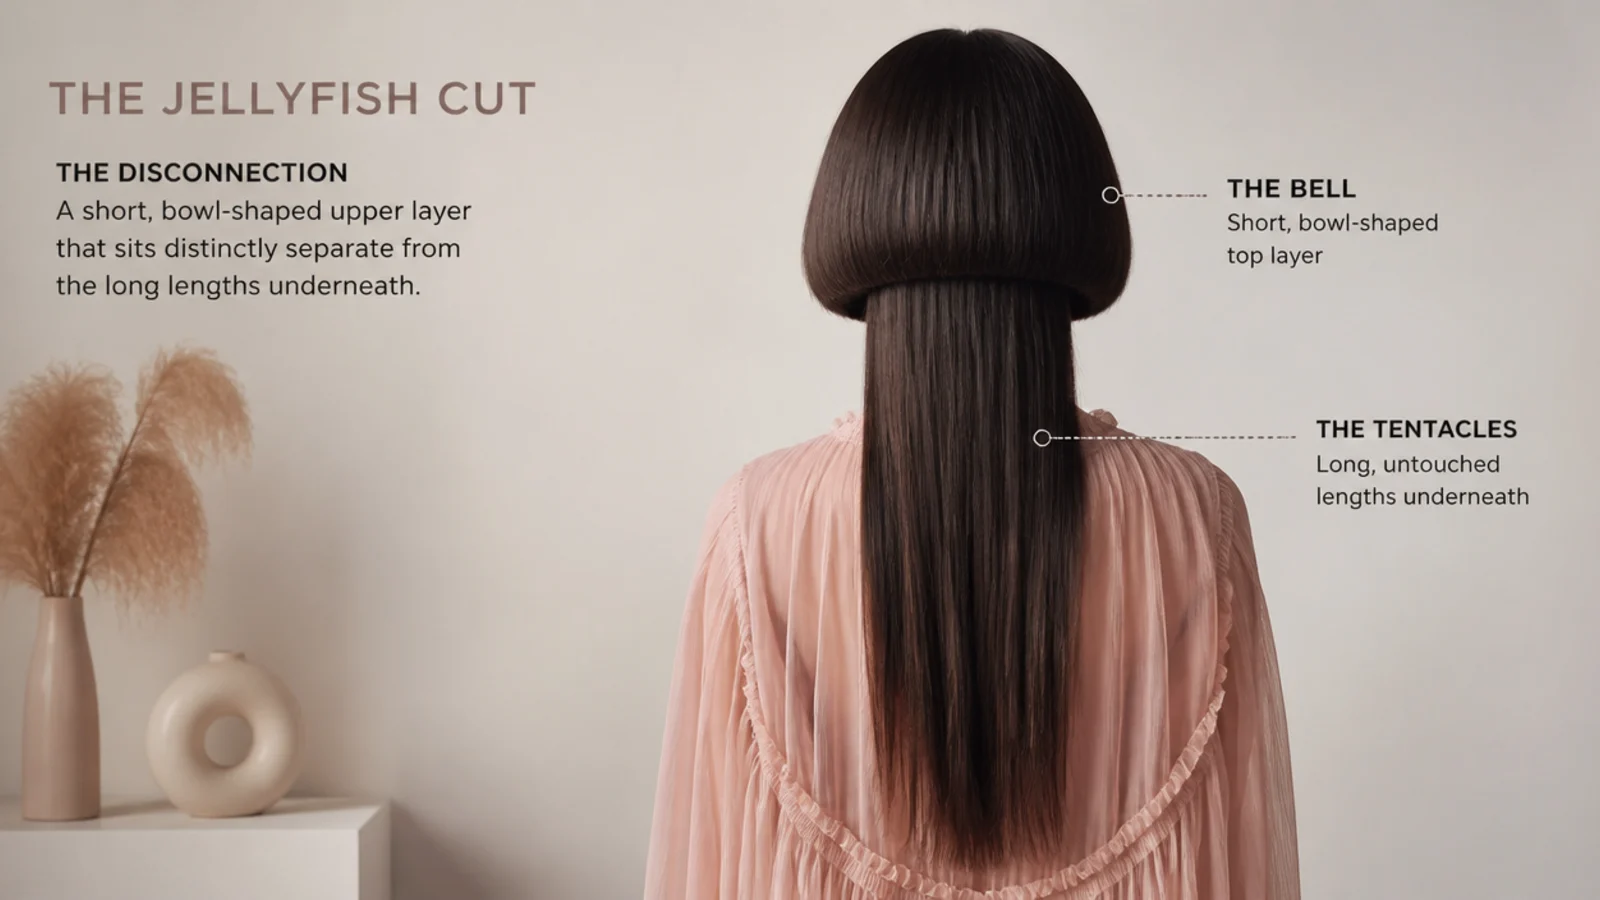
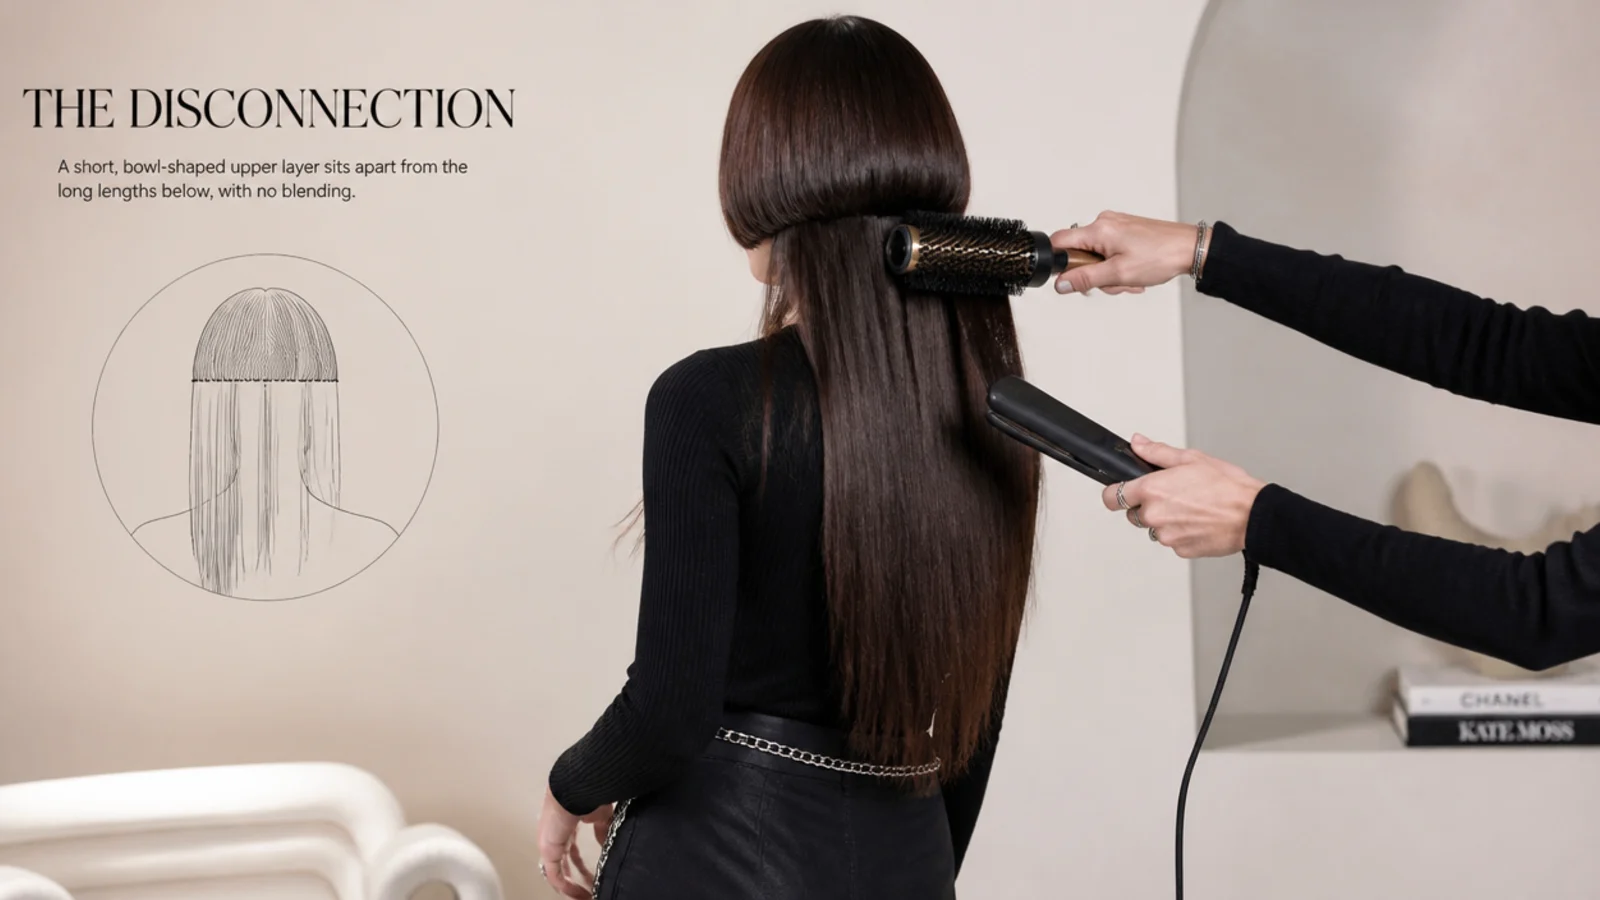
A short blunt tier over untouched long hair. The upper section is cut level all the way round like a bowl, and the lengths below it are left exactly as they were.
Nothing joins the two. No graduation, no blending, no layer bridging the step. That refusal to connect is the entire cut.
Long hair gives the shape its scale. At waist length the two hems can sit a foot apart, which is the difference between a striking silhouette and a strange looking layer.
The perimeter stays whole. Because no length is removed below the bell, the ends keep full density and the cut costs nothing in growth.
Jellyfish Versus Wolf Versus Mullet
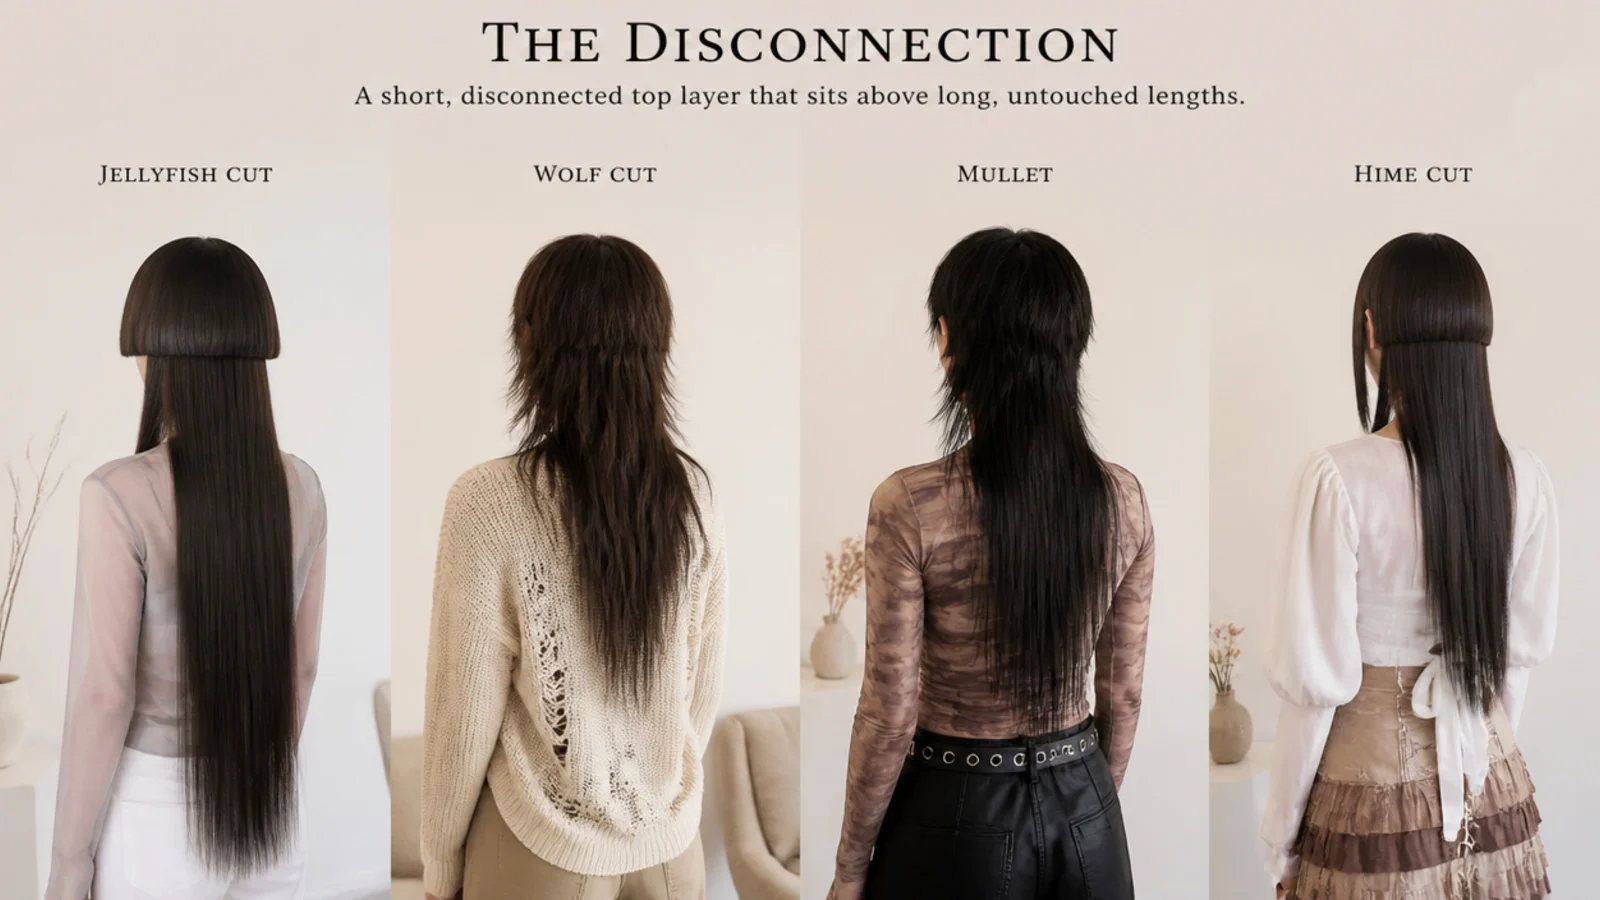
The jellyfish steps. One short tier, one long tier, a visible break between them and nothing in the middle.
The wolf graduates. Short crown layers running smoothly into long ends along the same axis, which is why the two get confused when described rather than shown.
The mullet runs front to back. Short at the front and sides, long behind. It reads from the side, where the jellyfish reads from the front.
Only one of the three keeps the perimeter intact. The jellyfish leaves the lengths untouched, so it is also the only one of the three that costs you no growth.
Who Suits a Long Jellyfish
The hem is a horizontal across your face. Wherever the bell ends, the face gains width, because a blunt line pulls the eye sideways rather than downward.
Round faces want the hem at jaw or below. That keeps the widest part of the face uncrossed and lets the long lengths carry the vertical line.
Long faces can take a cheekbone hem. The horizontal shortens the visible run of the face, which is the one situation where the shortest bell is also the most flattering.
Thick hair needs weight taken out underneath. Two full density tiers on one head sit like boards, and interior thinning below the bell is what lets them hang.
Styling the Bell and Tentacles
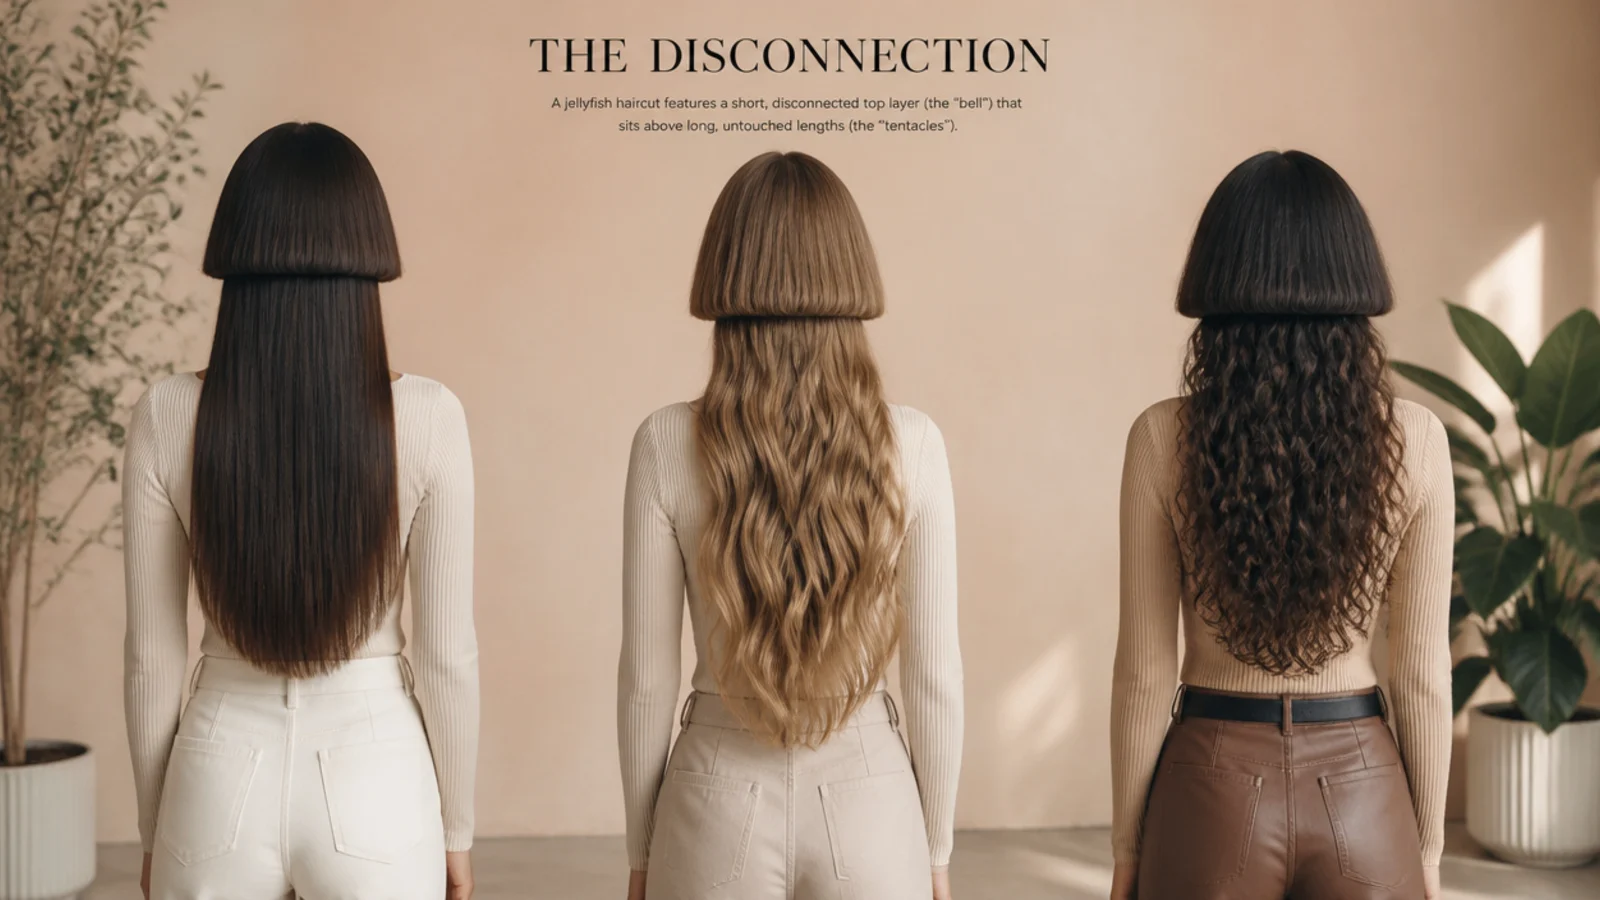
Two tiers, two surfaces. Smooth the bell and texture the lengths. Give them the same finish and the step stops reading from any distance.
The bell holds a set all day. Short hair has little weight pulling on it, so the shape it cooled into is the shape it keeps.
Long lengths do better rough dried. Fingers and downward airflow leave texture and keep the cuticle flat, which is exactly the contrast the bell needs above it.
Product by tier, never mixed. Serum on the bell, texture spray through the lengths. Swapped over, the serum kills the movement and the spray dulls the only flat surface in the cut.
The Ponytail Problem
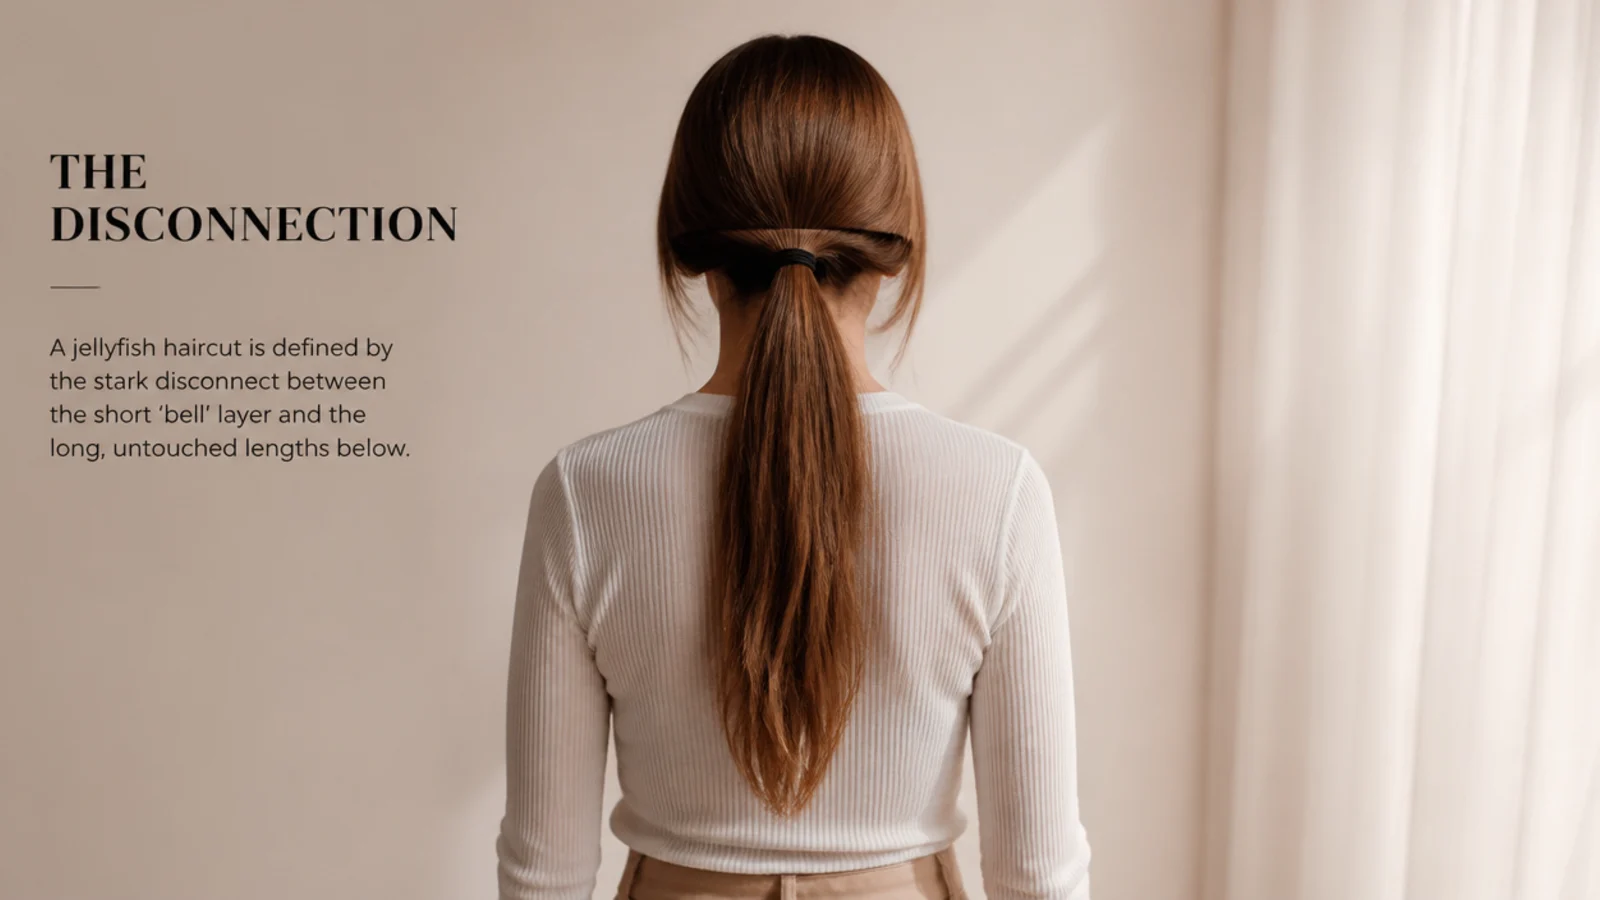
A high ponytail will not hold the bell. The upper tier is far too short to reach the elastic, so it drops out around the crown within minutes of being tied.
A low ponytail works. Gathering at the nape lets more of the bell stay in, and whatever escapes falls beside the face where it looks intentional.
Leave the bell out on purpose. Excluding it before you start turns escaped hair into face framing, which is a decision rather than a failure.
Half up styles use the cut. The bell is already a separate section, so gathering only the upper tier works with the cut instead of against it.
How to Ask Your Stylist
Say disconnected and say do not blend. Both phrases, before the sectioning starts. Softening a hard edge is trained habit, and it happens quietly.
Point at the hem on your own face. Cheekbone, jaw or chin, indicated with a finger. Inches sit differently on every head and every neck.
Name the gap in inches. Six or more is comfortable on long hair. Under four it stops looking like a decision, however well the bell itself is cut.
Say the lengths are untouched. Dusting the ends is fine. Layering the top of them raises the lower hem and closes the gap from below while the bell sits exactly where you asked.

The 20 Long Jellyfish Ideas
1. Waist Length With a Cheekbone Bell
The largest gap the cut can produce, and the version that photographs as two separate shapes rather than one head of hair. A cheekbone hem crosses the face at its widest point, so this suits a long outline and overpowers a round one.
2. Mid Back Length With Curtain Bangs
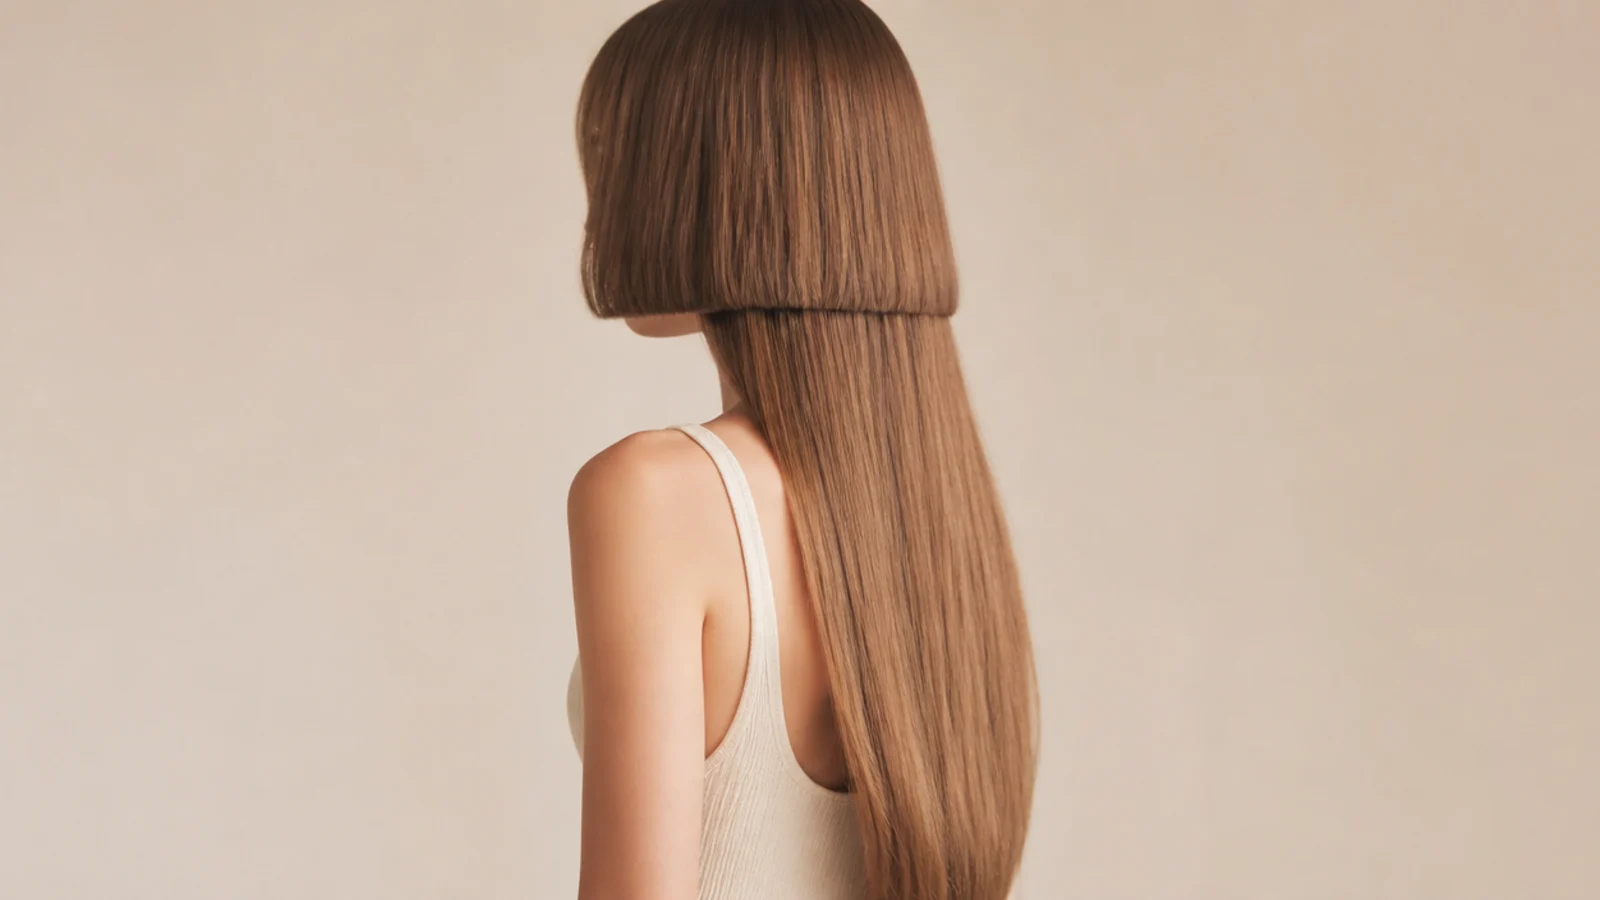
Splitting the front of the bell into a curtain opens the outline at the temples and stops the bowl reading as closed. It also softens the hem at the point nearest the eye, which is where a full blunt line feels most severe.

3. Blunt Bowl Top
The strictest version of the upper tier, cut level all the way round with no softening anywhere. Every strand ending on the same line reads as maximum density, which is why this is the version fine hair should ask for.
4. Wavy Beachy Lengths
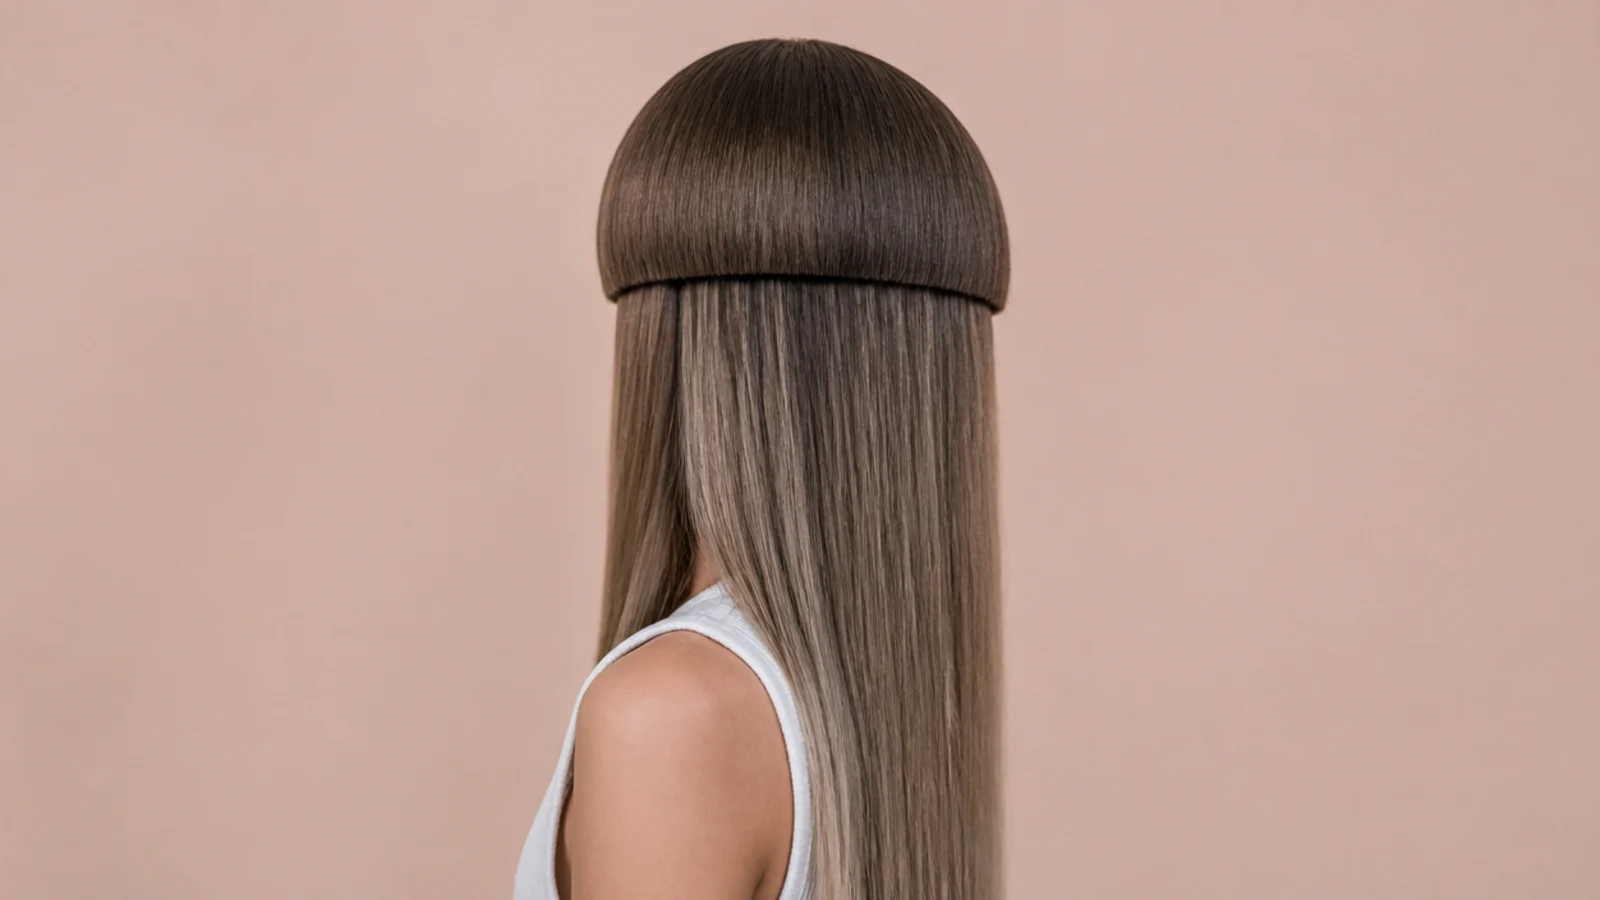
Waving only the hair below the hem is the cheapest way to make the step look deliberate. Leave the bell flat, because a wave running through both tiers merges their surfaces and the eye stops finding the boundary between them.
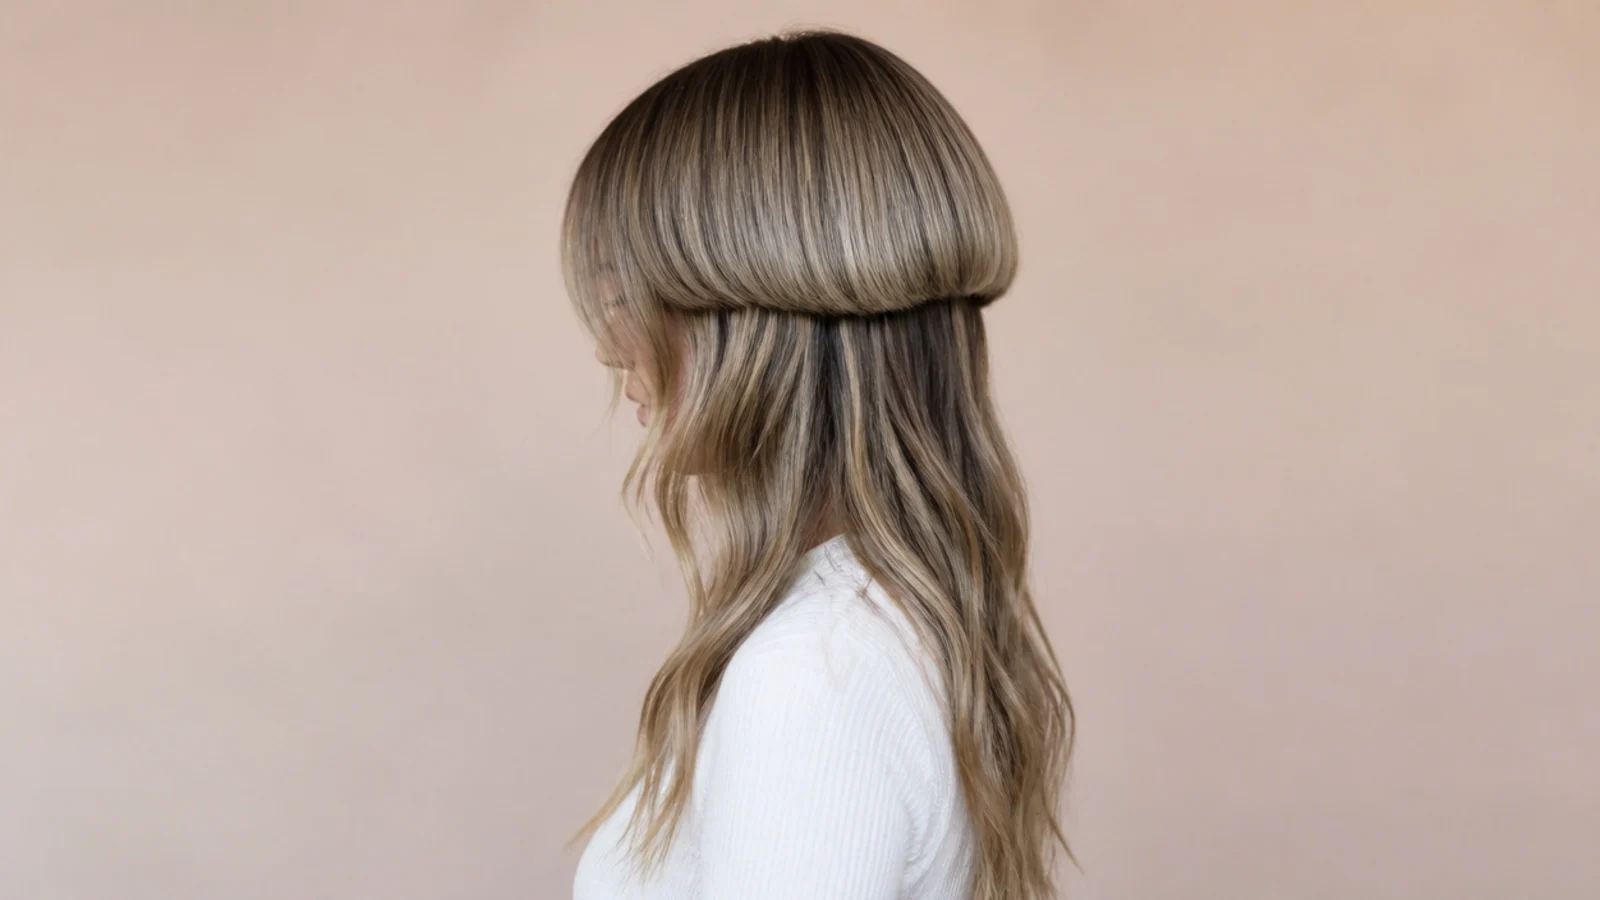
5. Hime Side Panels
Two blunt vertical panels cut beside the face to the same line as the bell. They add a second pair of hard edges, which suits heavy dark hair and looks unfinished on anything fine or wispy.
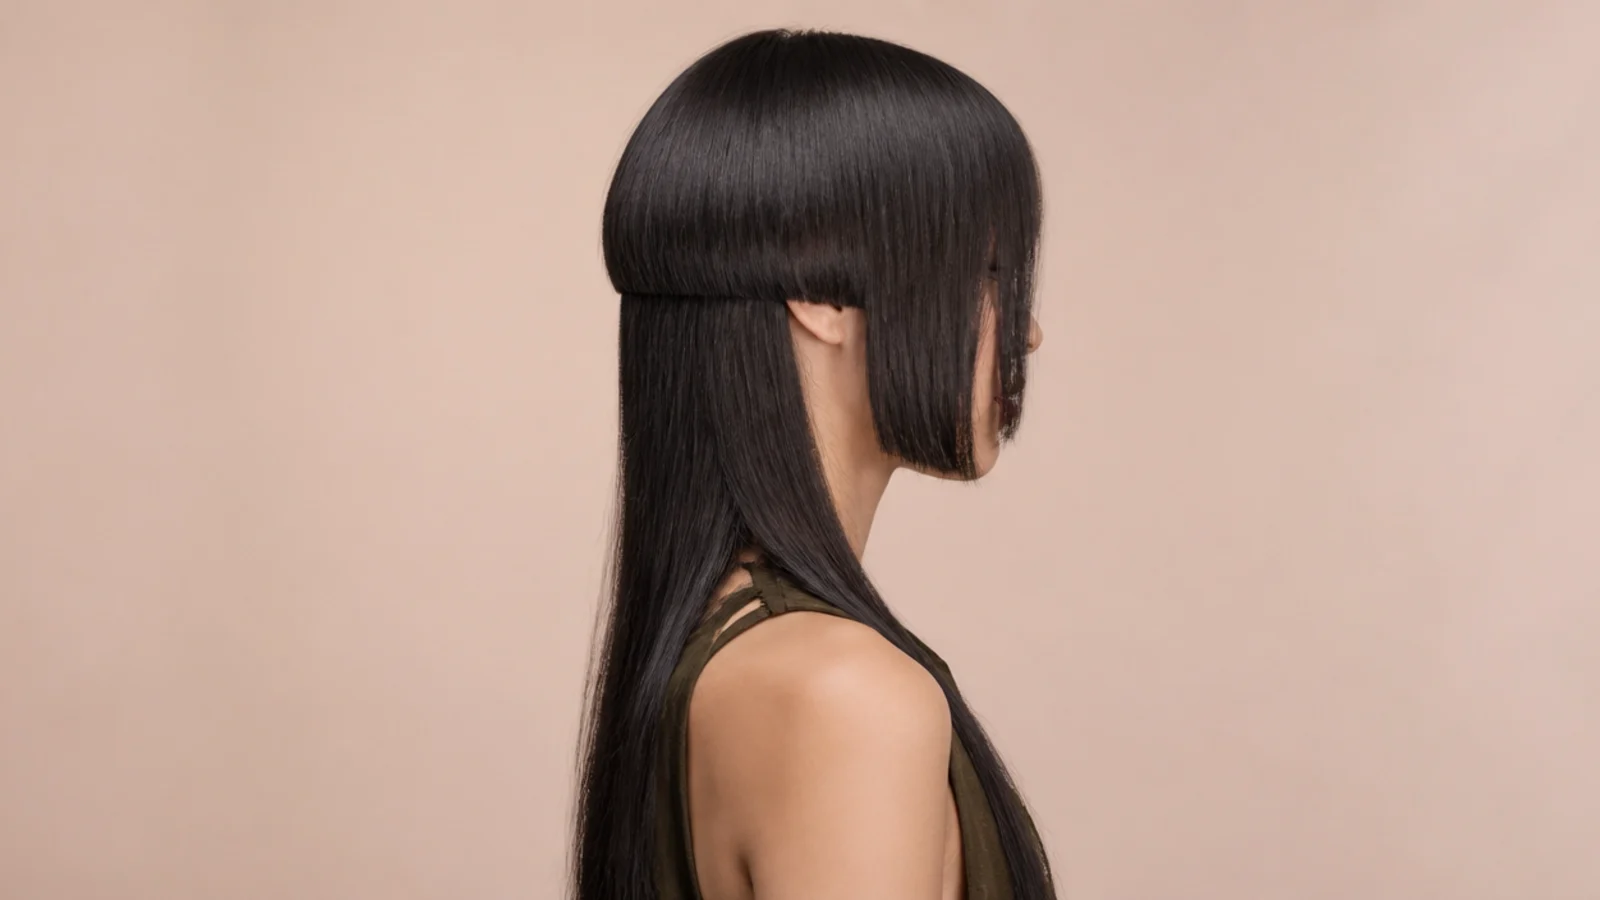
6. Money Piece in the Bell
Lightening only the two front sections of the upper tier puts brightness exactly where the hem meets the face. Because the bell already ends on a line, the colour boundary and the cut boundary reinforce each other instead of competing.
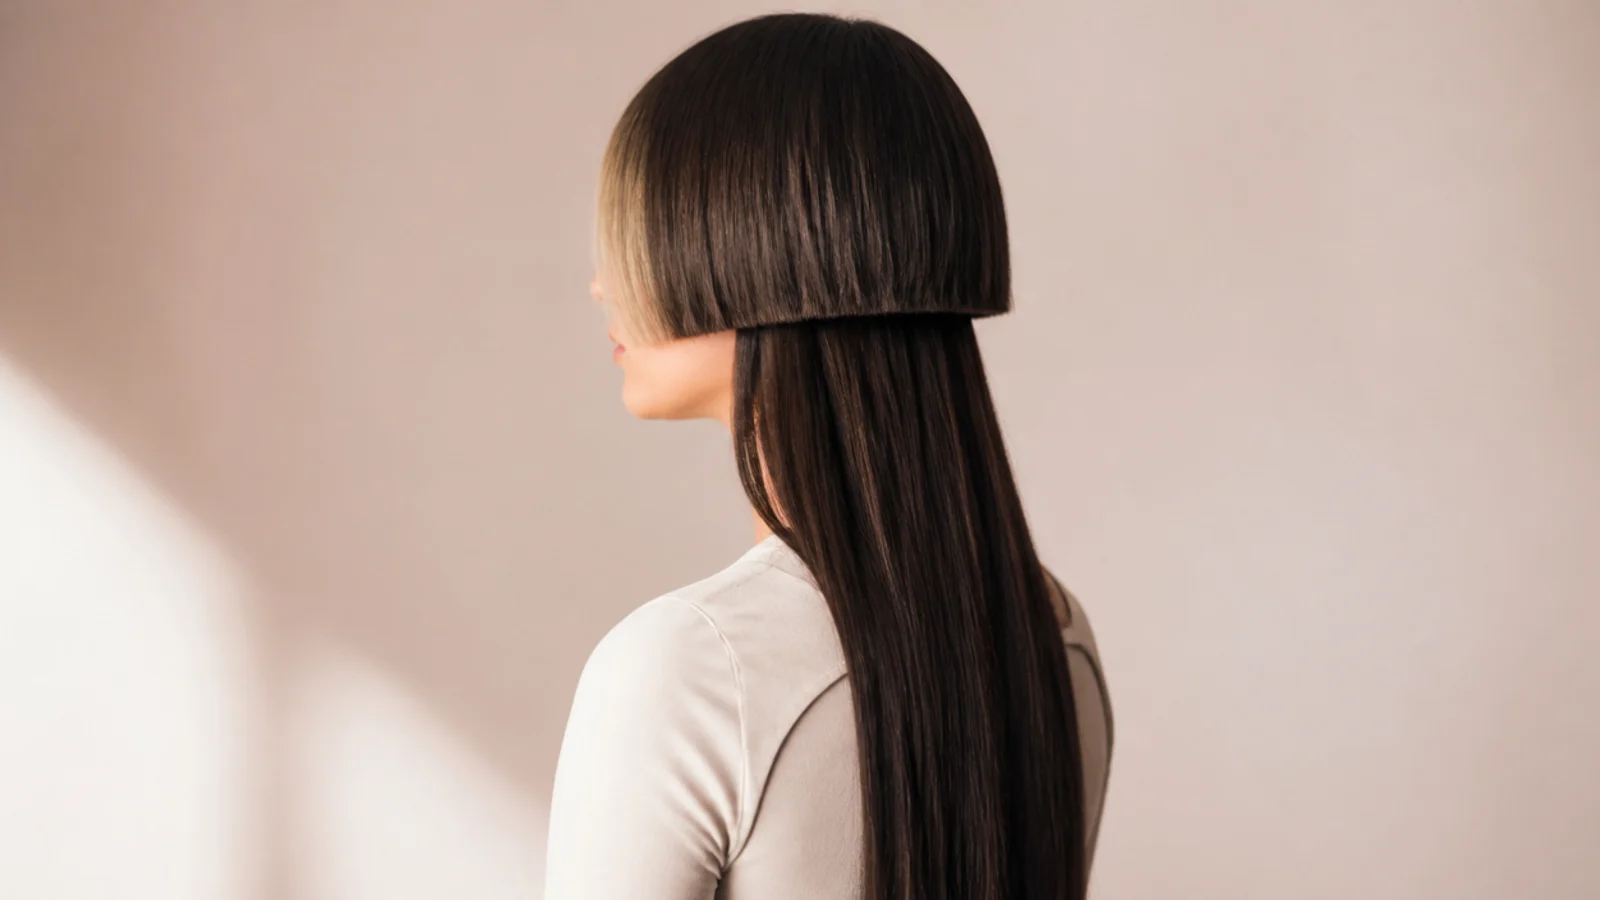
7. Razor Cut for Thick Hair
A razor tapers each strand toward a point rather than cutting it square, which removes bulk from the hem without shortening it. On dense hair that is what stops the bell mushrooming outward at the bottom edge.
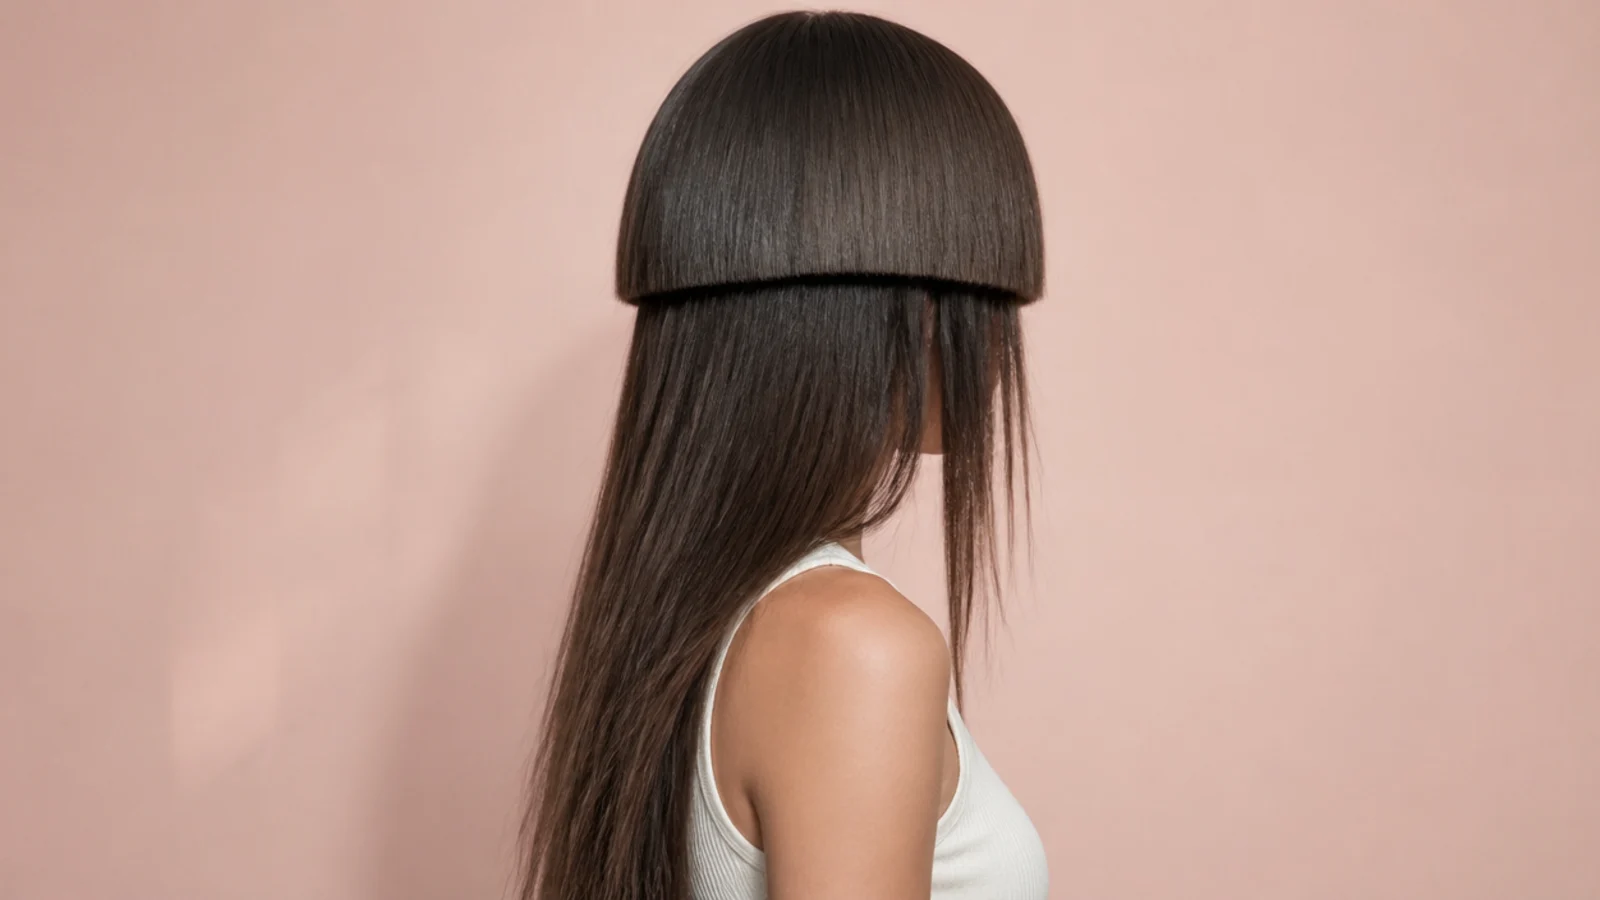
8. Hidden Nape Undercut
Clipping the nape removes bulk from underneath so the long tier hangs flat against the neck instead of pushing outward. The bell then stands clear of it by a wider margin, which reads as a bigger gap with nothing taken off the top.
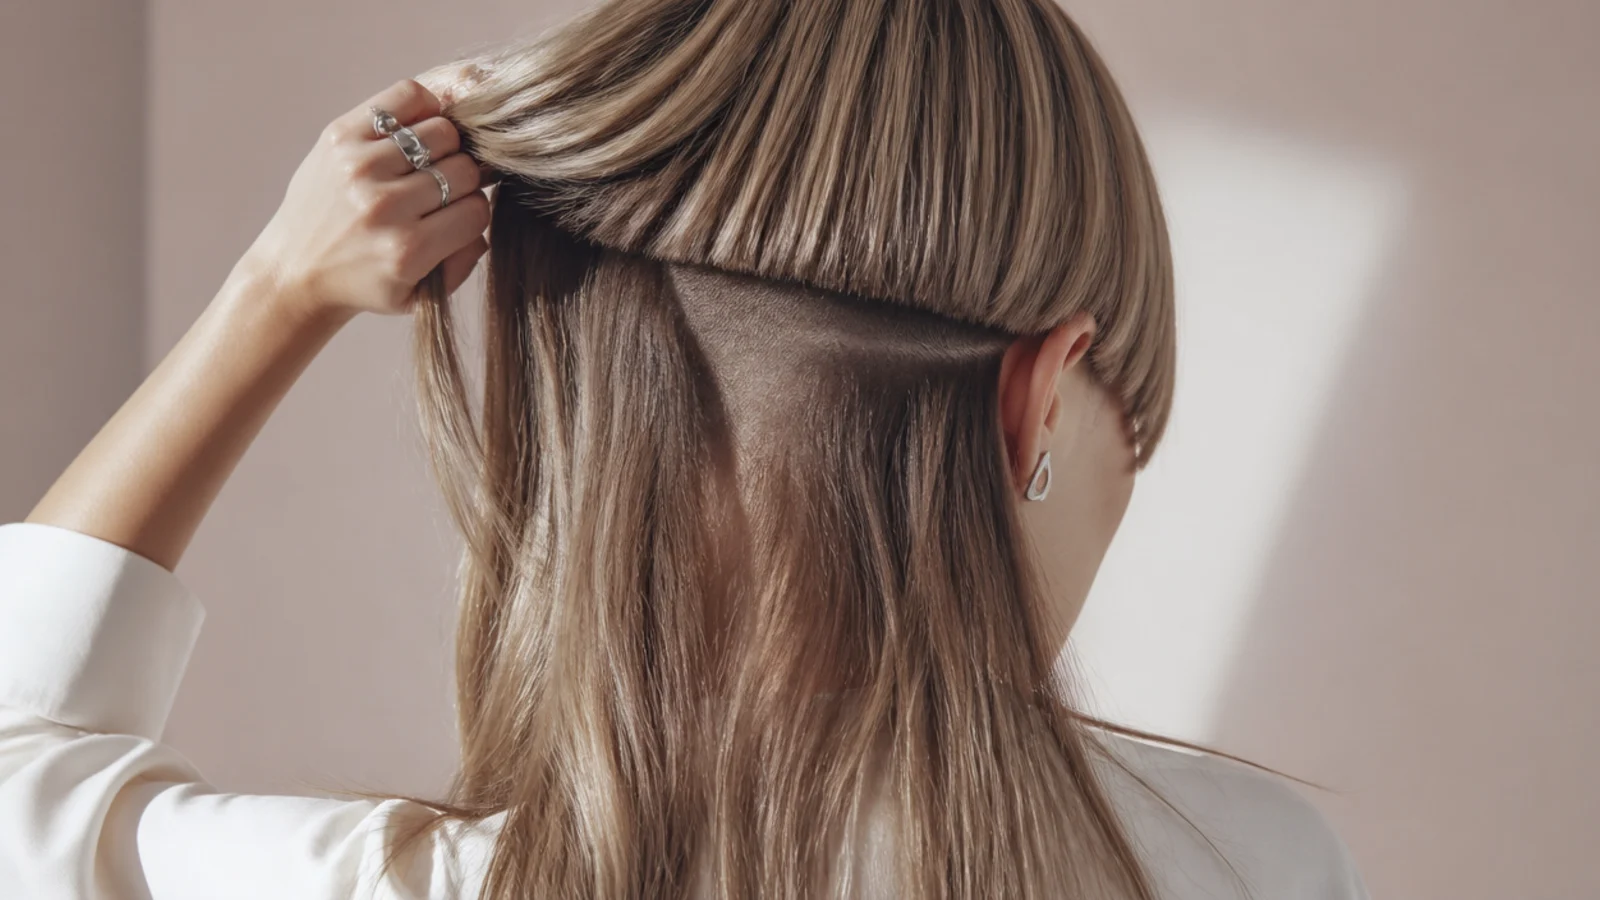
9. Flipped C Curve Ends
Turning the hem outward in a shallow C lifts it away from the hair beneath. That air between the tiers is what stops the bell sinking visually into the lengths, and it is the single most effective thing a round brush can do here.
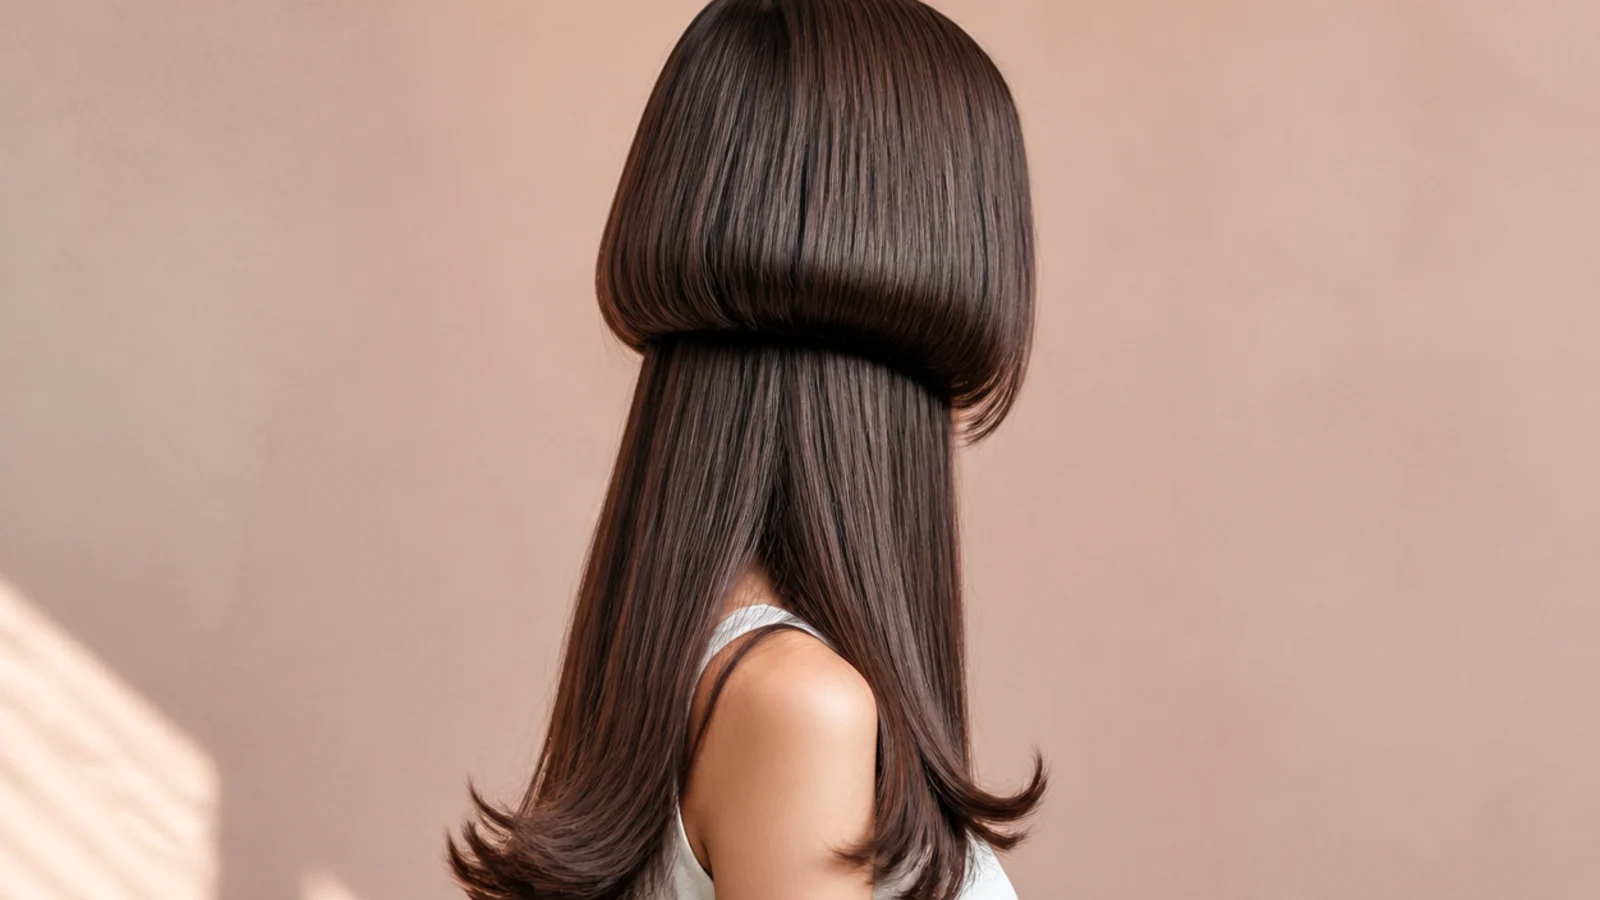
10. Platinum Bell Over Dark Lengths
Lifting the upper tier alone puts a colour change on the boundary the cut already made, doubling the contrast for free. It also exposes every uneven millimetre of the hem, so the cut has to be genuinely level before the colour goes near it.
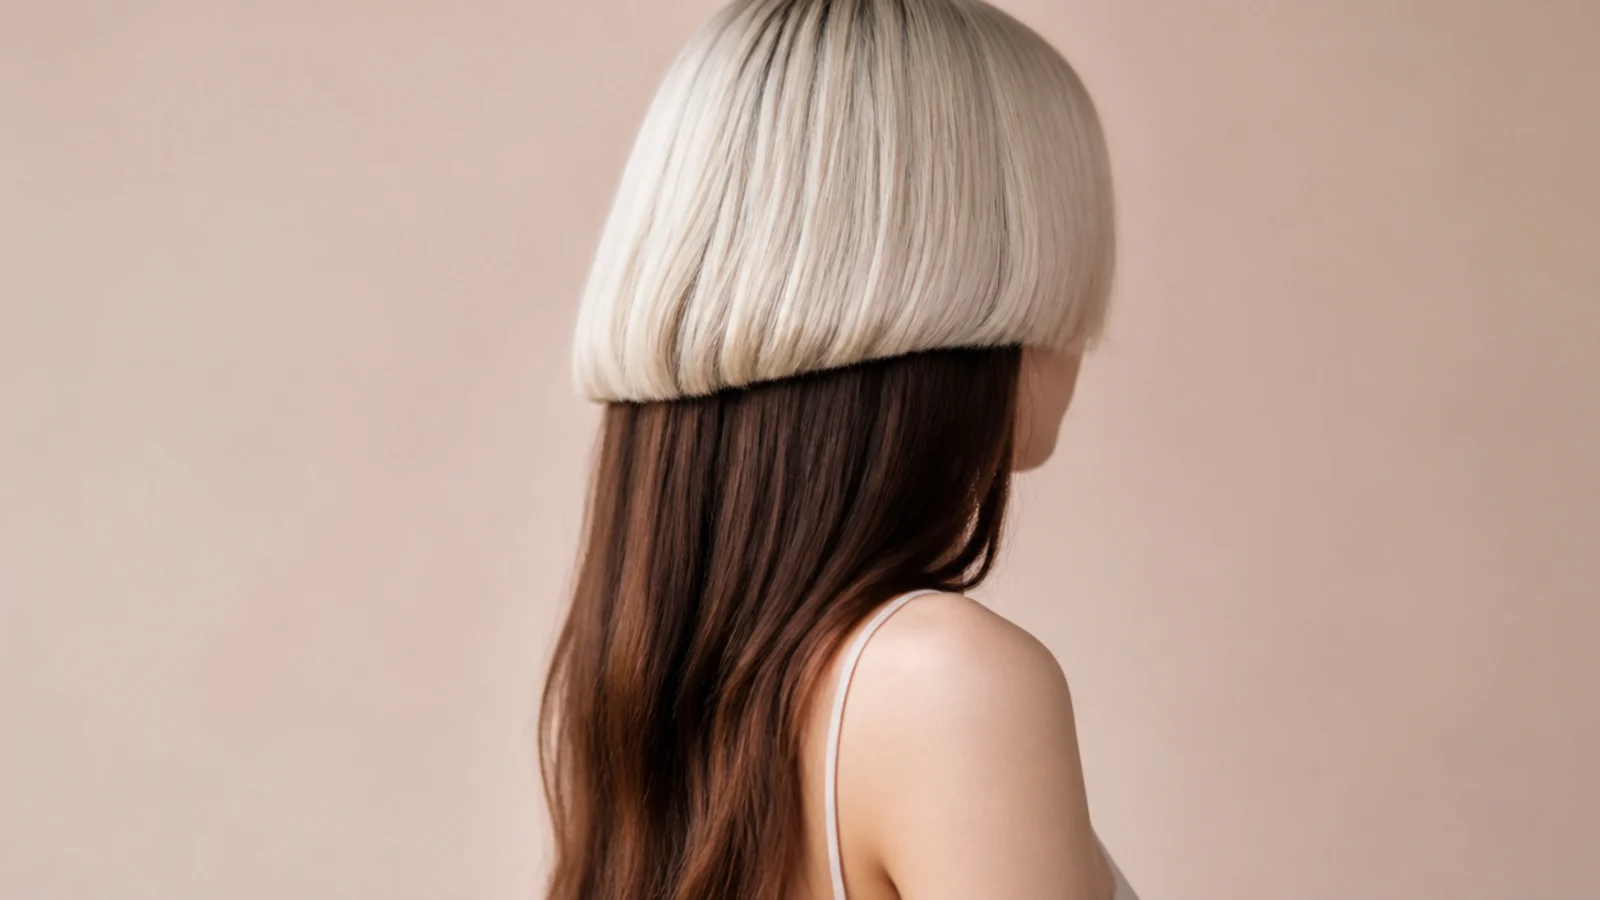
11. Wispy Micro Bangs
A very short fringe above the bell adds a second horizontal to a cut that already has one. Keeping it wispy rather than blunt is what stops the two lines competing, because a broken edge reads as texture rather than as a line.
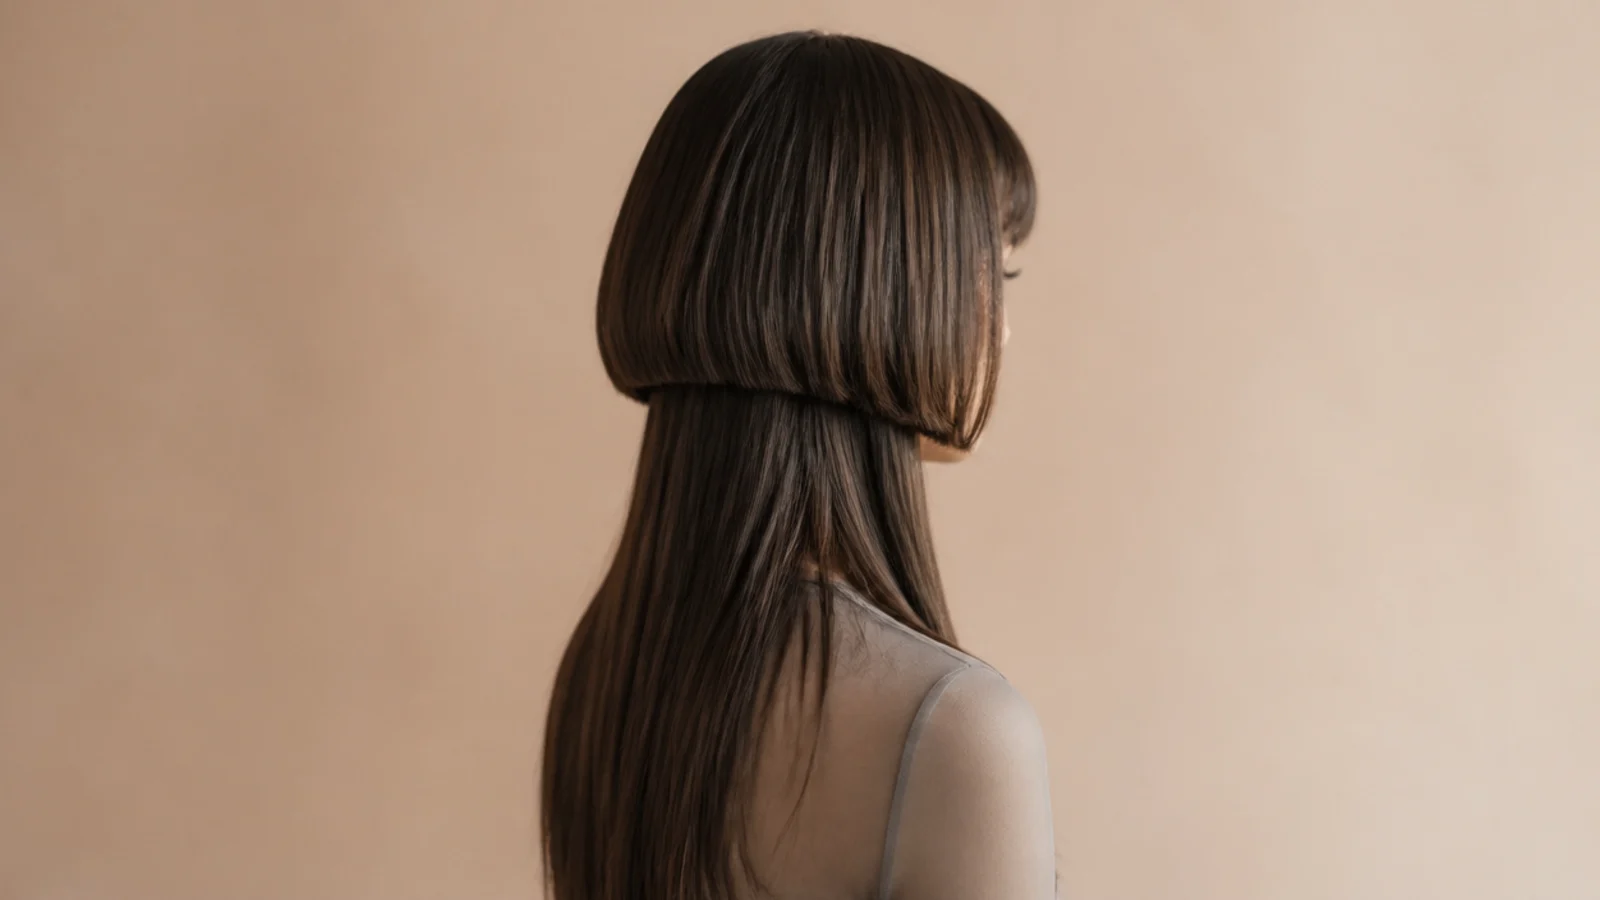
12. Soft Disconnect for Fine Hair
The step is cut shallower and the hem lightly notched, so the shape reads without demanding density it does not have. Fine hair cannot fill two full tiers, and a smaller gap keeps both looking solid rather than sparse.

13. Internal Layers
Weight is taken from inside the long tier while the outer canopy stays unbroken. Nobody sees the interior, so the perimeter still reads as one line while the whole length hangs closer to the body and swings more freely.
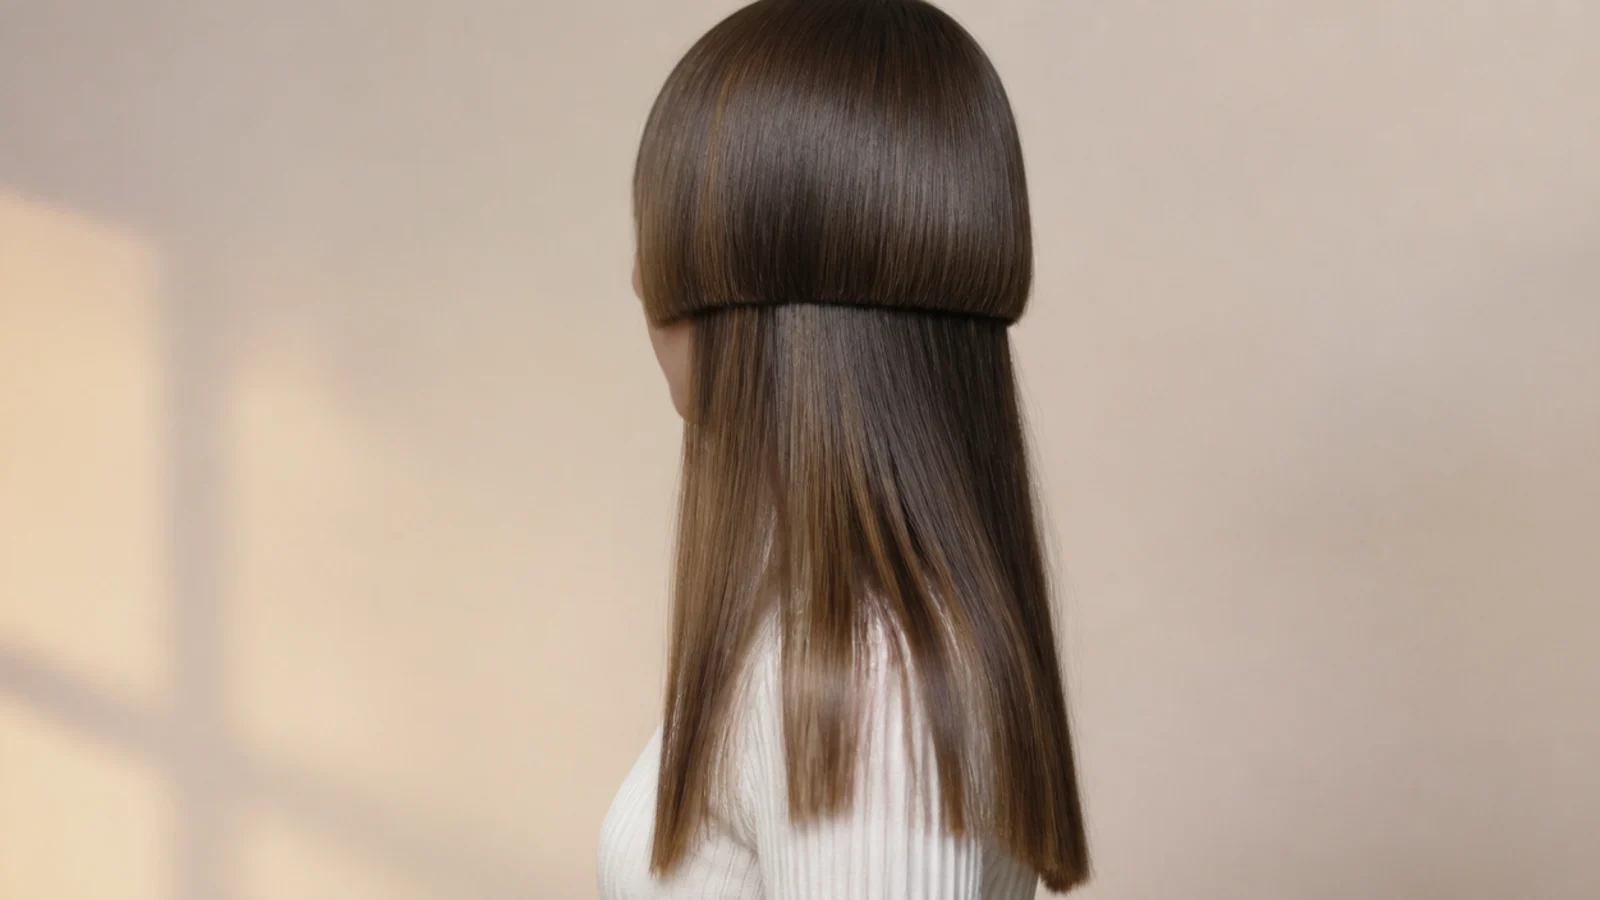
14. Jaw Bell With Hip Length Hair
The most wearable hem placement over the longest practical length. The jaw sits below the widest part of most faces, so the horizontal lands somewhere it adds width to a narrow area rather than a broad one.
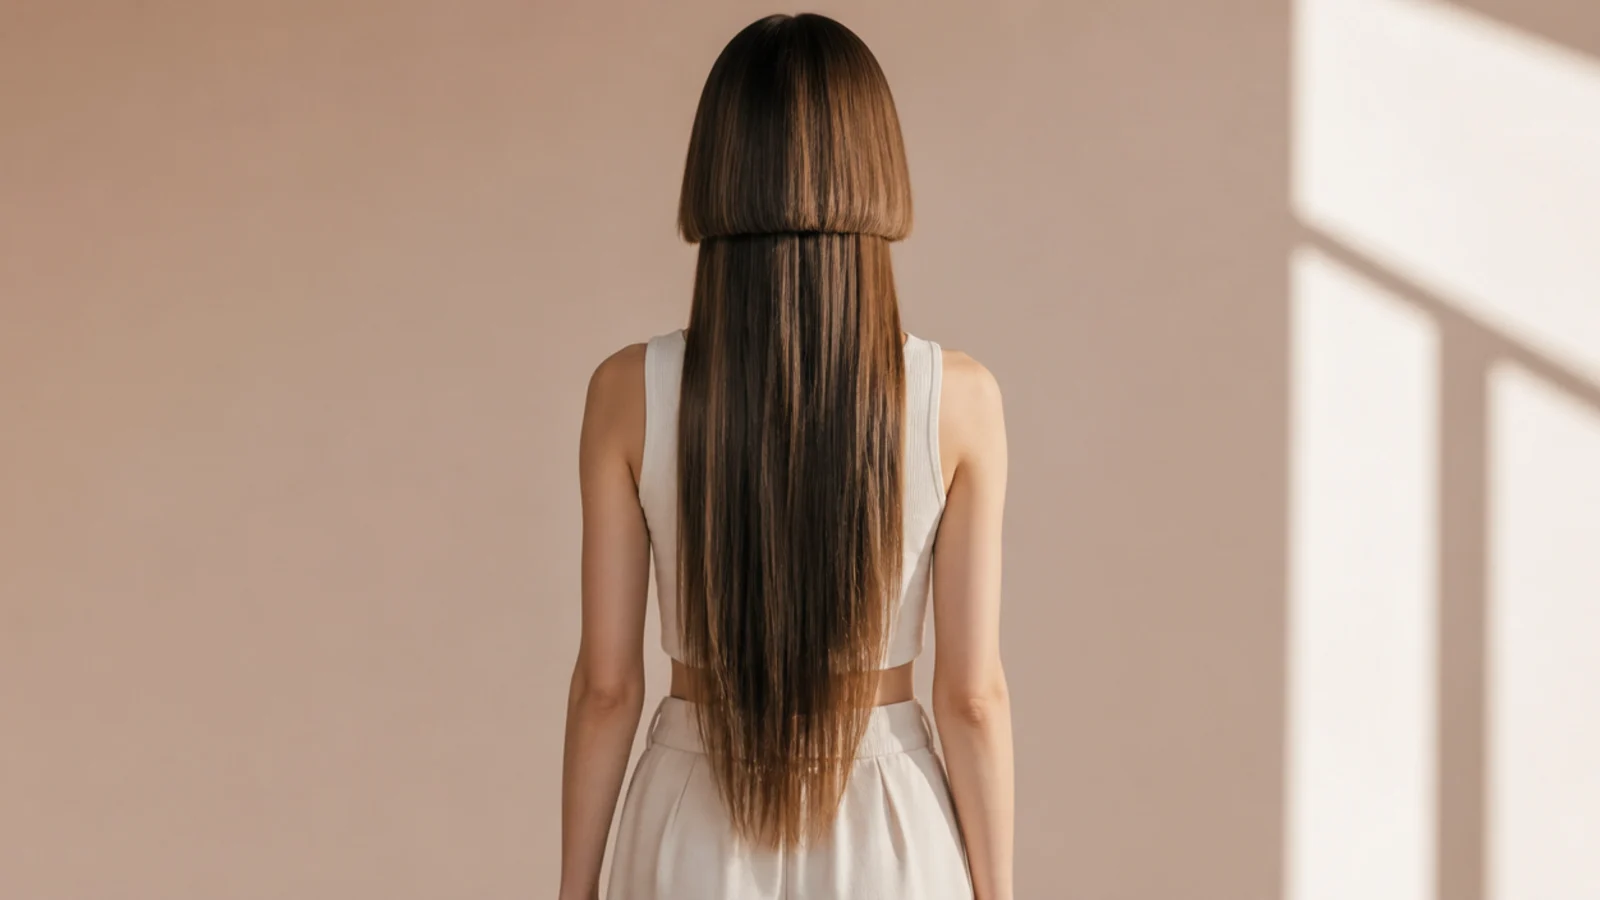
15. Curly Diffused Bell
Curl draws hair up as it dries, so the bell has to be cut well below its target position to land correctly. Diffusing rather than blow drying keeps the curl pattern intact, and the gap carries the shape because the hem itself is soft.
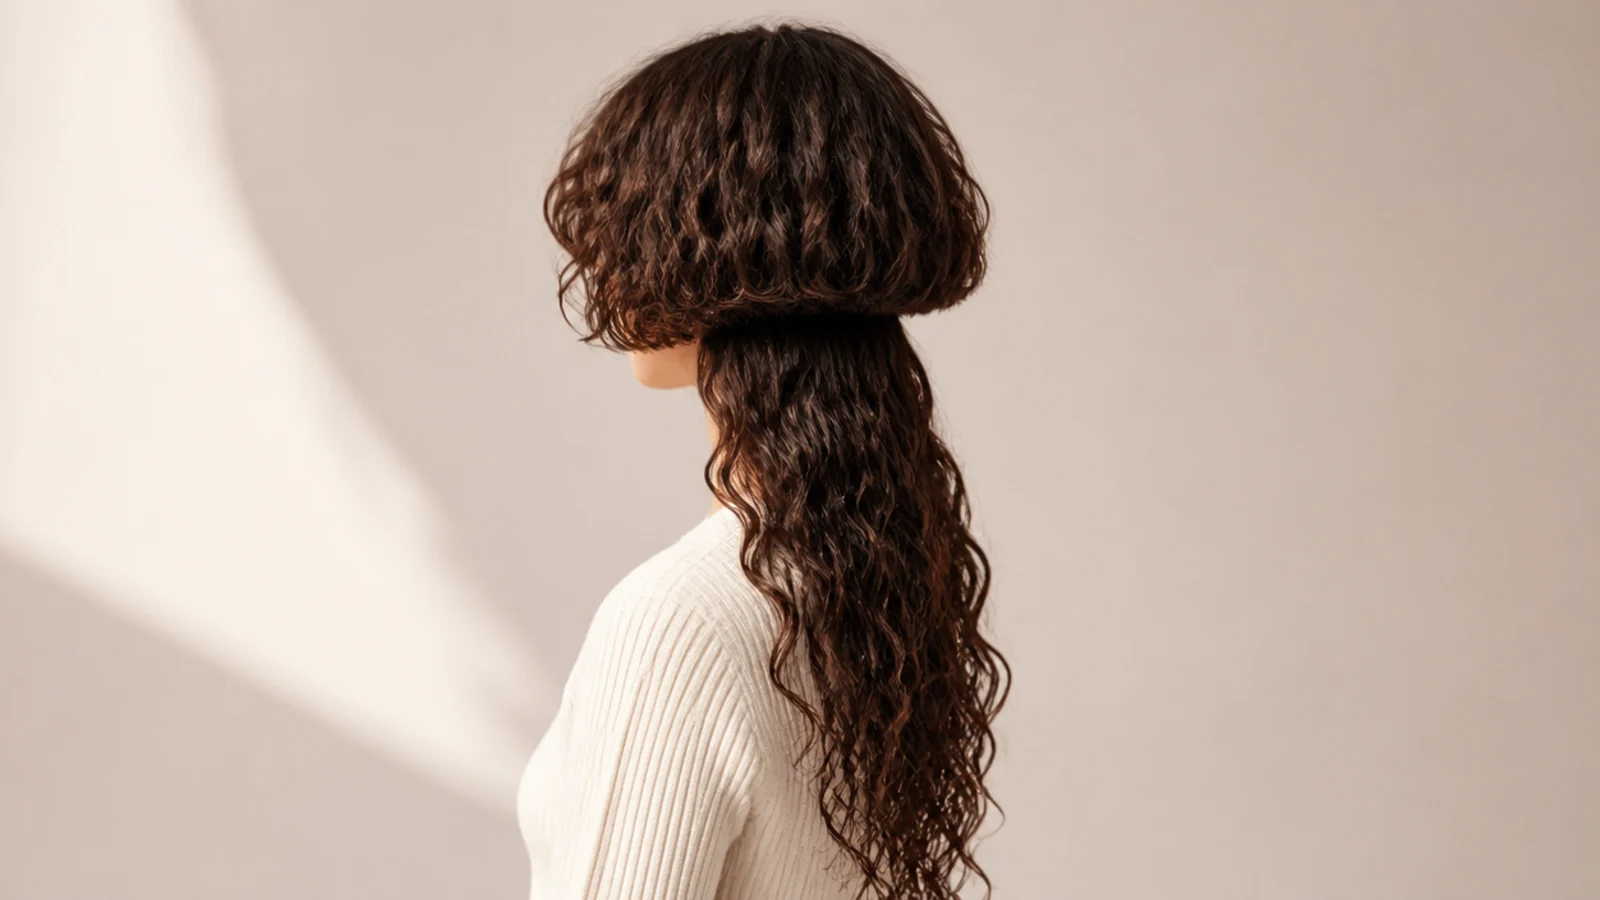
16. V Shaped Hem
Cutting the perimeter longest at the centre back draws the ends into a point. It emphasises the length underneath and narrows the visual width at the bottom, which balances a heavy bell sitting above it.
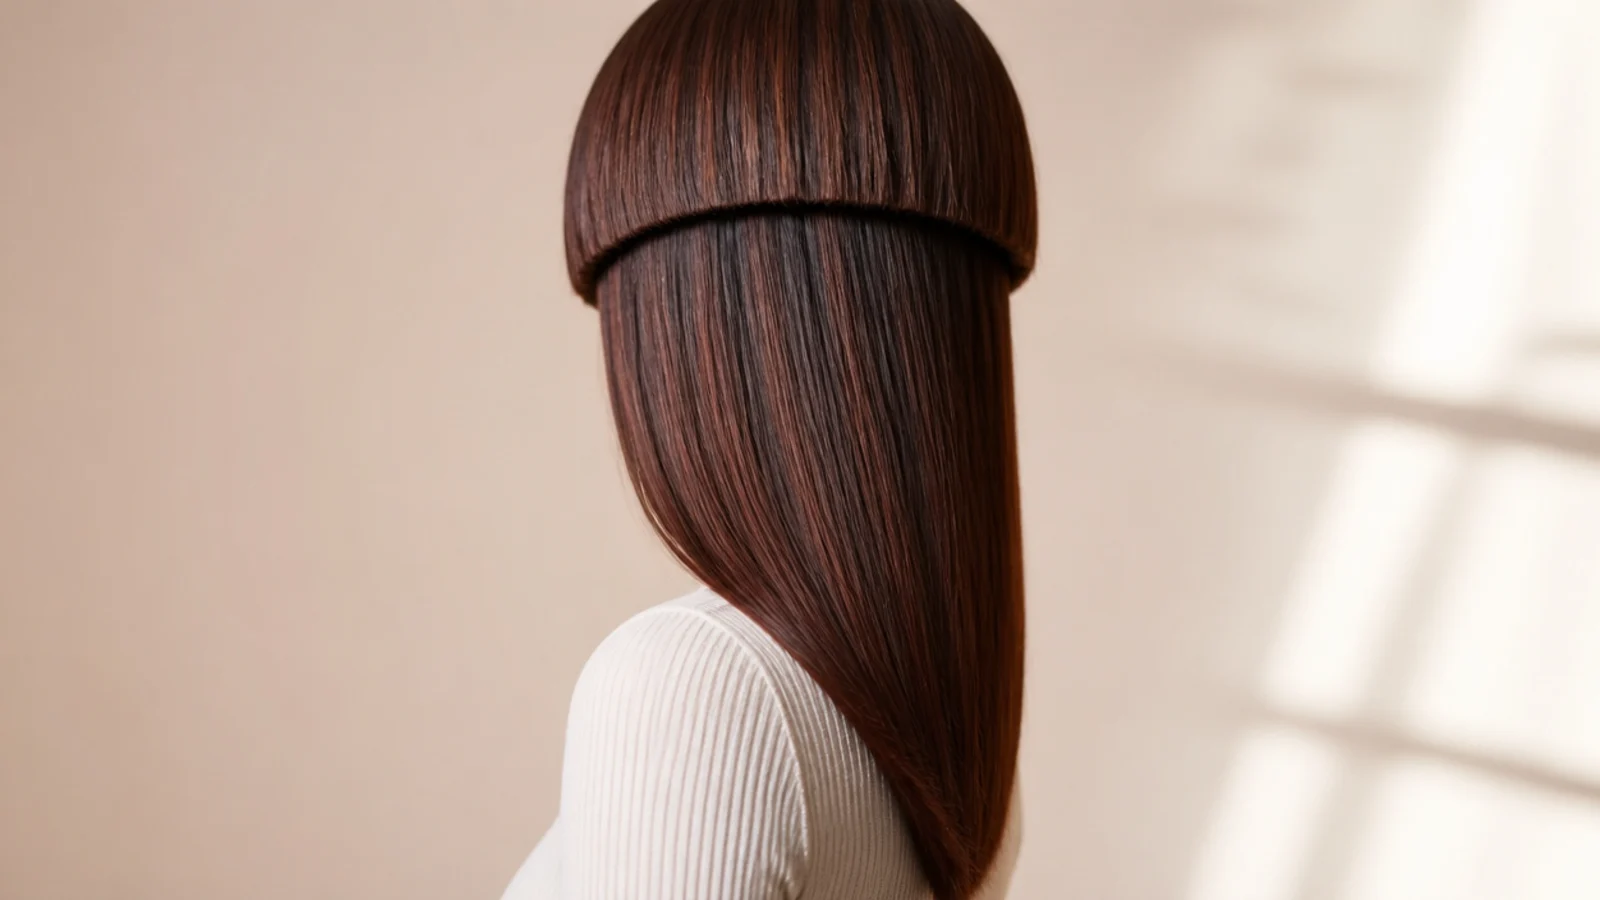
17. Pink Face Framing Panels
Colouring the two sections either side of the face turns the bell hem into a frame rather than a line across it. Bright colour on short pieces also stays vivid longer, because those sections get cut back before the tone has time to fade out.
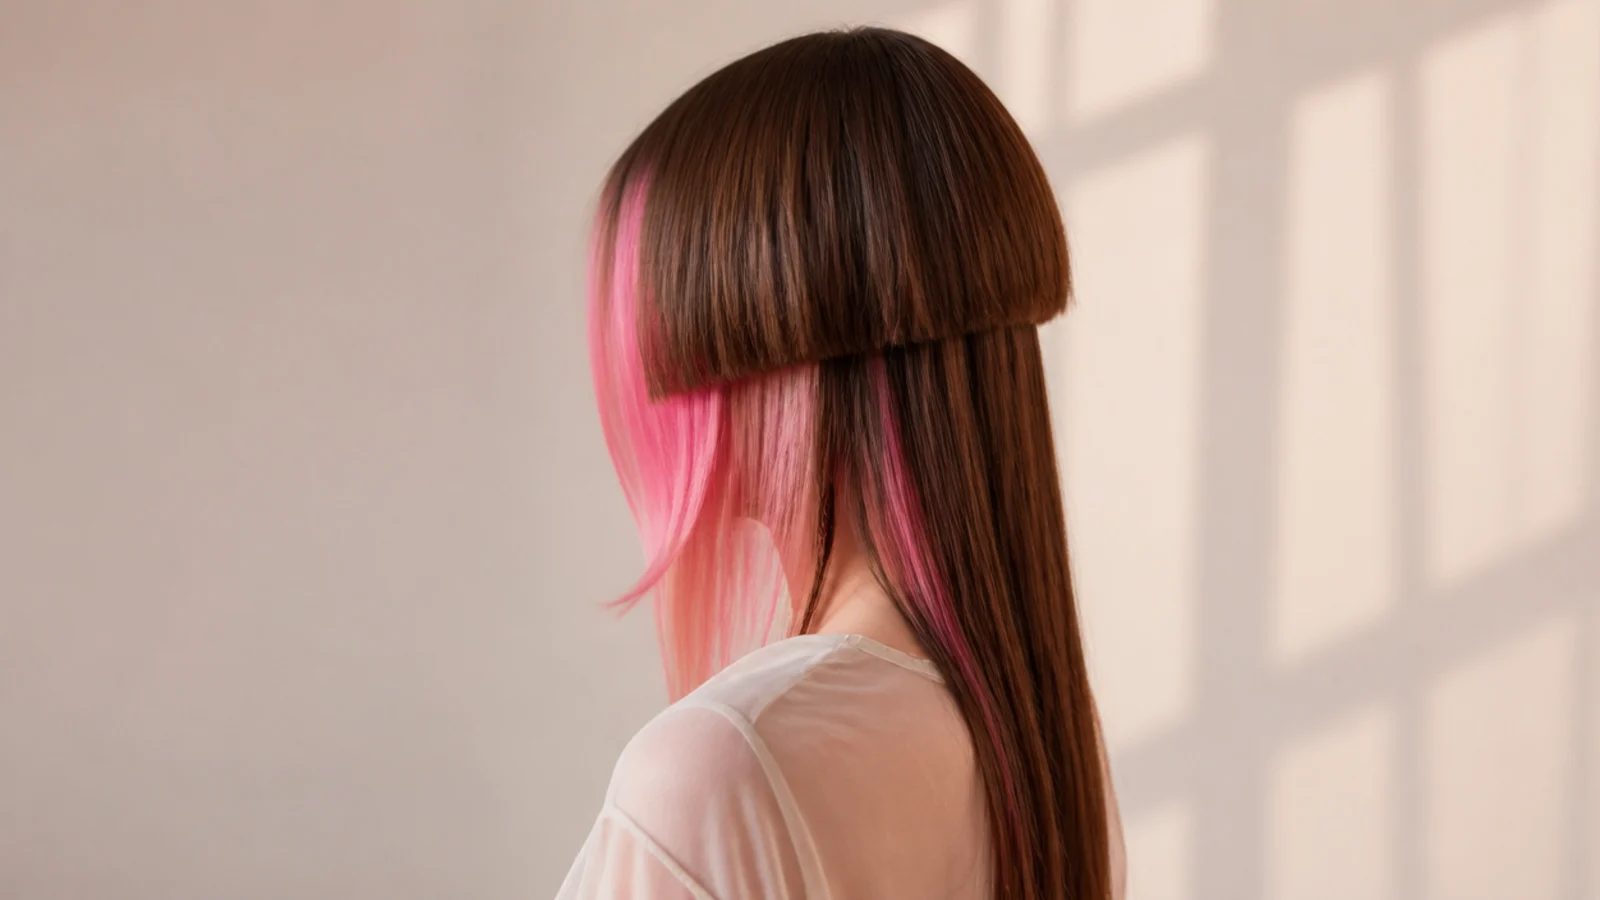
18. Round Face With the Hem Below the Cheekbone
Dropping the hem past the cheekbone keeps the horizontal off the widest point of the face. The eye then follows the long lengths downward, and the cut adds vertical rather than width, which is the whole adjustment a round outline needs.
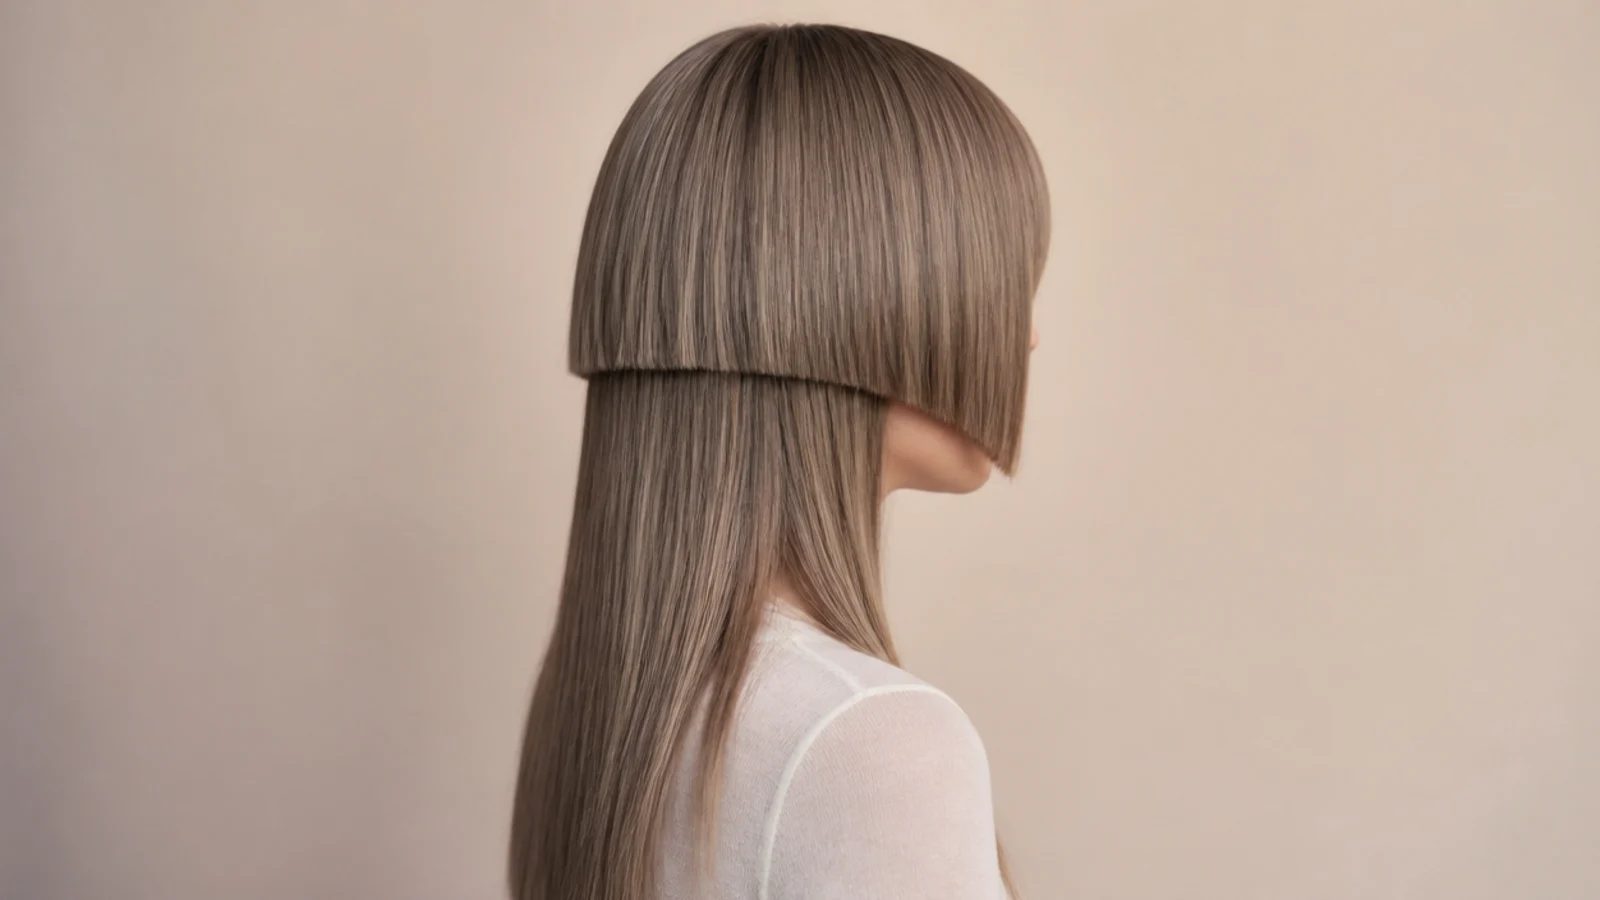
19. Office Safe and Ponytail Friendly
A longer bell and a smaller gap make the cut disappear into a low ponytail almost entirely. It gives up some of the drama and gains a version of the shape that survives being tied back for eight hours.
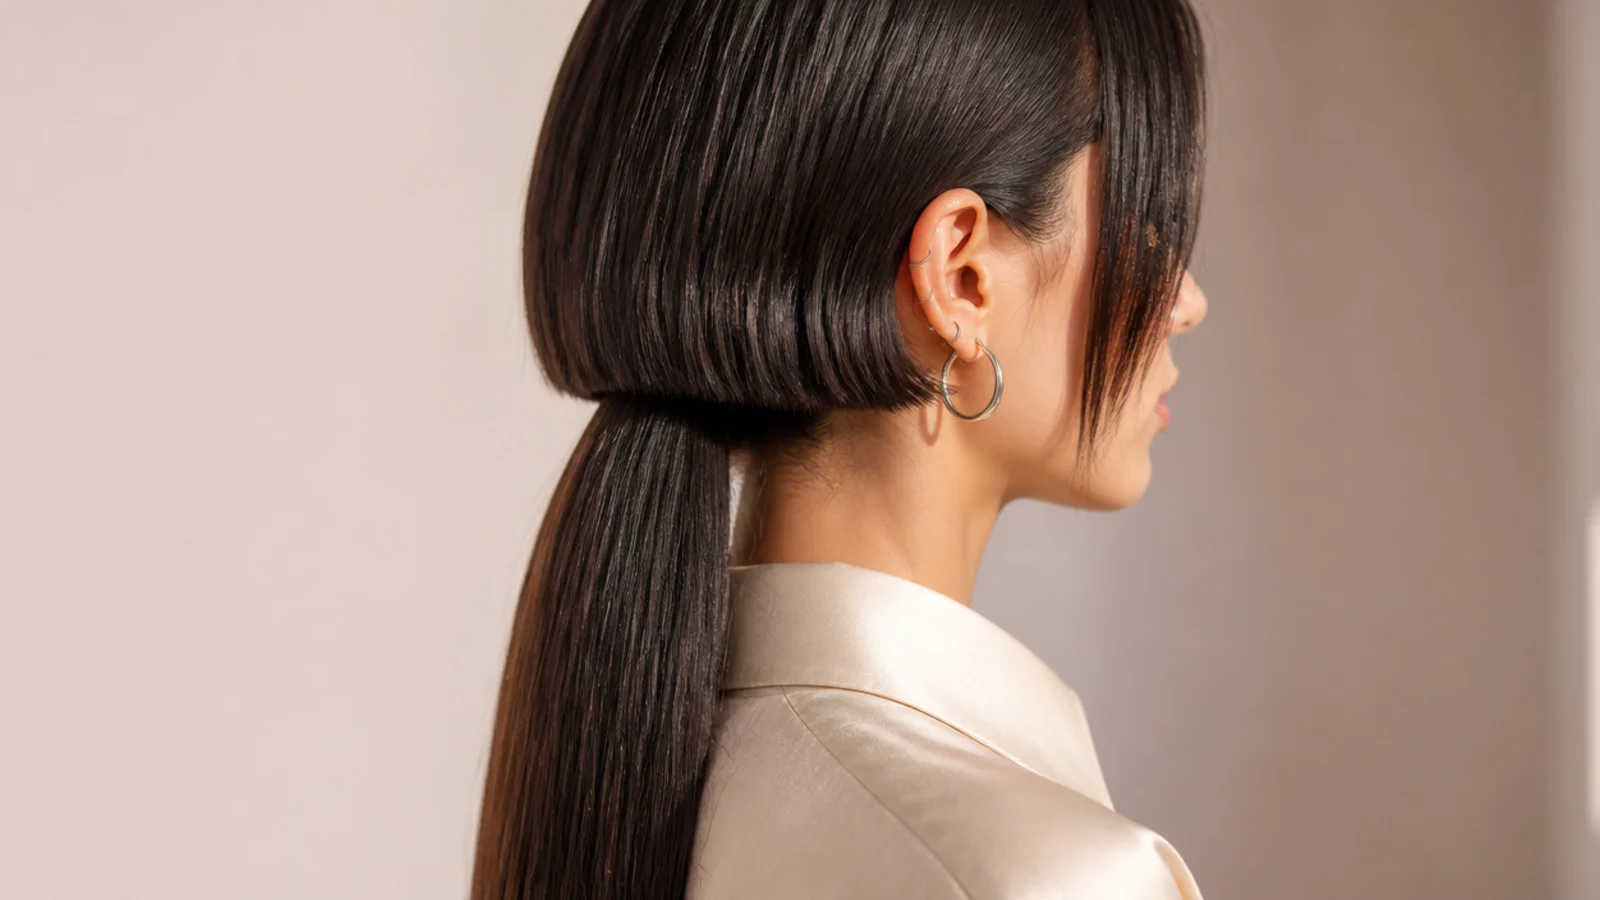
20. Grow Out Ready Shag Bell
The bell is point cut and softened from the outset so that three months of growth turns it into a shag rather than a problem. Planning the exit into the cut is what removes the risk from trying it at all.
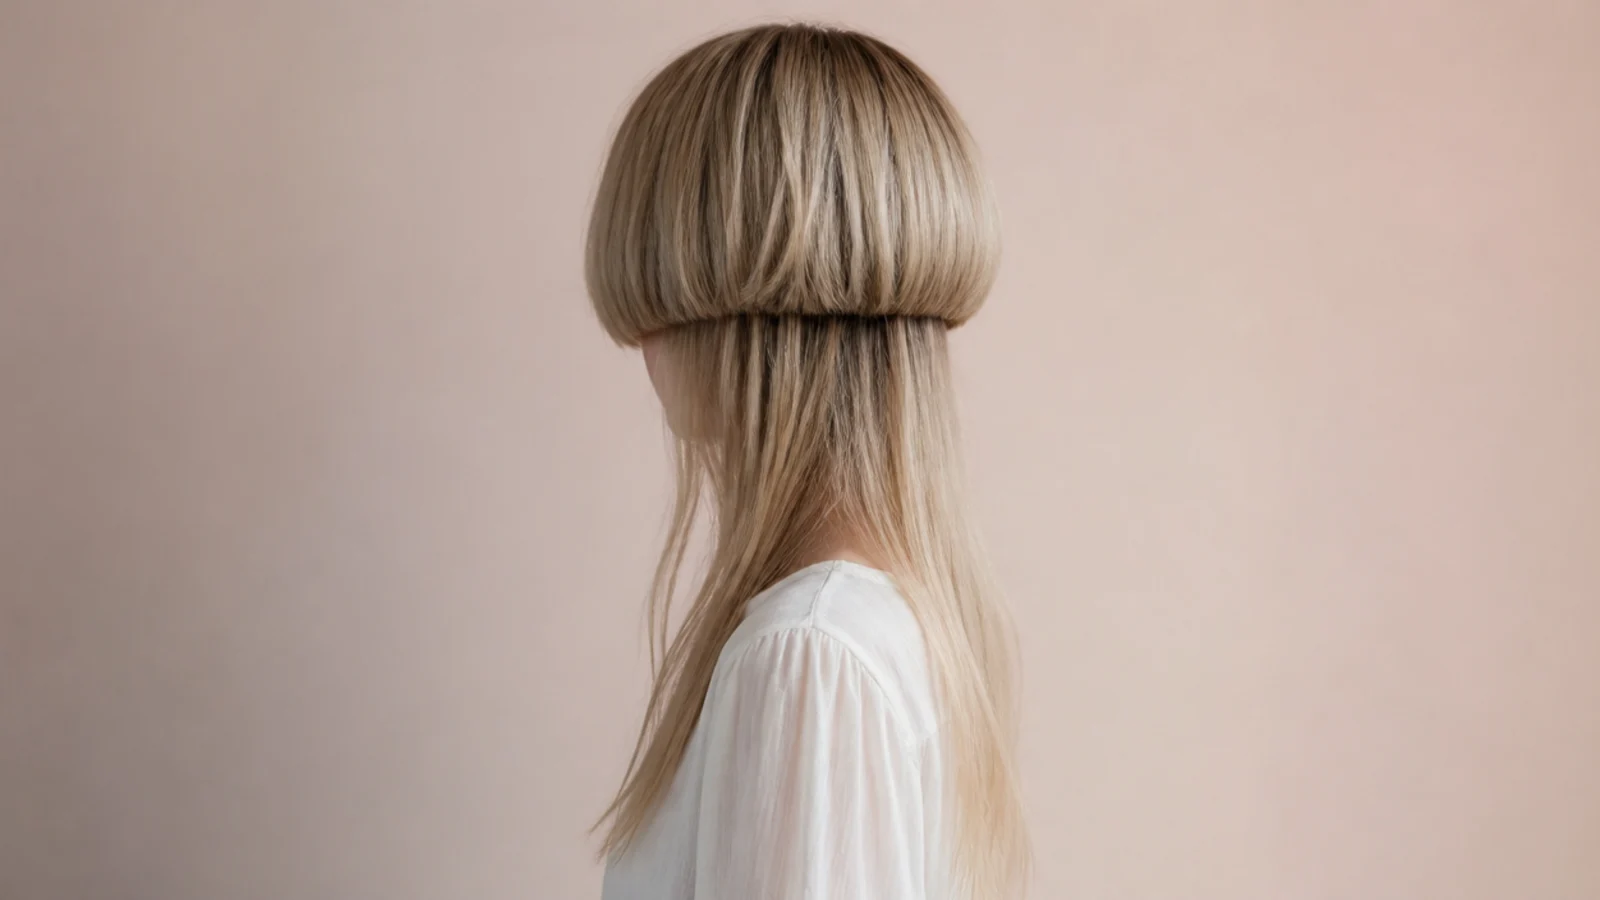
Final Thoughts
Long hair is where this cut costs the least and delivers the most. Nothing comes off the perimeter, so every inch you have grown stays exactly where it is, and the only hair being shortened is a section from the top of the head that was doing very little on its own. If it turns out not to suit you, three months of growth closes the gap and one blending pass makes it a shag.
The two decisions worth taking slowly are the hem placement and the size of the gap. Point at your own face for the first and give a number in inches for the second, because those are the two things a stylist will otherwise choose on your behalf. For the full range of the cut see the jellyfish haircut guide, and for the blended cousin at the same length see how to style a long shag haircut. More in Mullet and Wolf Cut.



