20 Steps to Do Simple Fulani Braids
A twenty-step walkthrough for installing simple Fulani braids at home, from parting the centre line to sealing the ends. Includes the tension test that tells you whether a cornrow is too tight before you finish it.
In this article · 27
- What You Will Need
- Before You Start
- The 20 Steps
- 1. Part a Clean Centre Line
- 2. Clip Away Everything Except the Front
- 3. Part Your First Cornrow Row
- 4. Mist Lightly and Apply Leave-In
- 5. Start the Cornrow With Your Own Hair Only
- 6. Feed In Braiding Hair Gradually
- 7. Run the Tension Test
- 8. Braid to the Crown, Then Release
- 9. Repeat on the Other Side
- 10. Add a Second Cornrow Each Side if Wanted
- 11. Create the Face-Framing Braid
- 12. Release the Back Section
- 13. Part the Back in Clean Rows
- 14. Braid Each Section Knotless
- 15. Keep Braid Size Consistent
- 16. Work Bottom to Top, Back to Front
- 17. Seal the Ends in Hot Water
- 18. Add Cuffs and Beads
- 19. Smooth the Edges
- 20. Check Tension Everywhere Before You Finish
- Aftercare and Upkeep
- Troubleshooting
- FAQ
- Final Thoughts
Installing Fulani braids yourself is genuinely achievable — the loose braids are straightforward, and the pattern is only two to four cornrows. What follows is the order of operations, with the tension checks that matter more than technique.
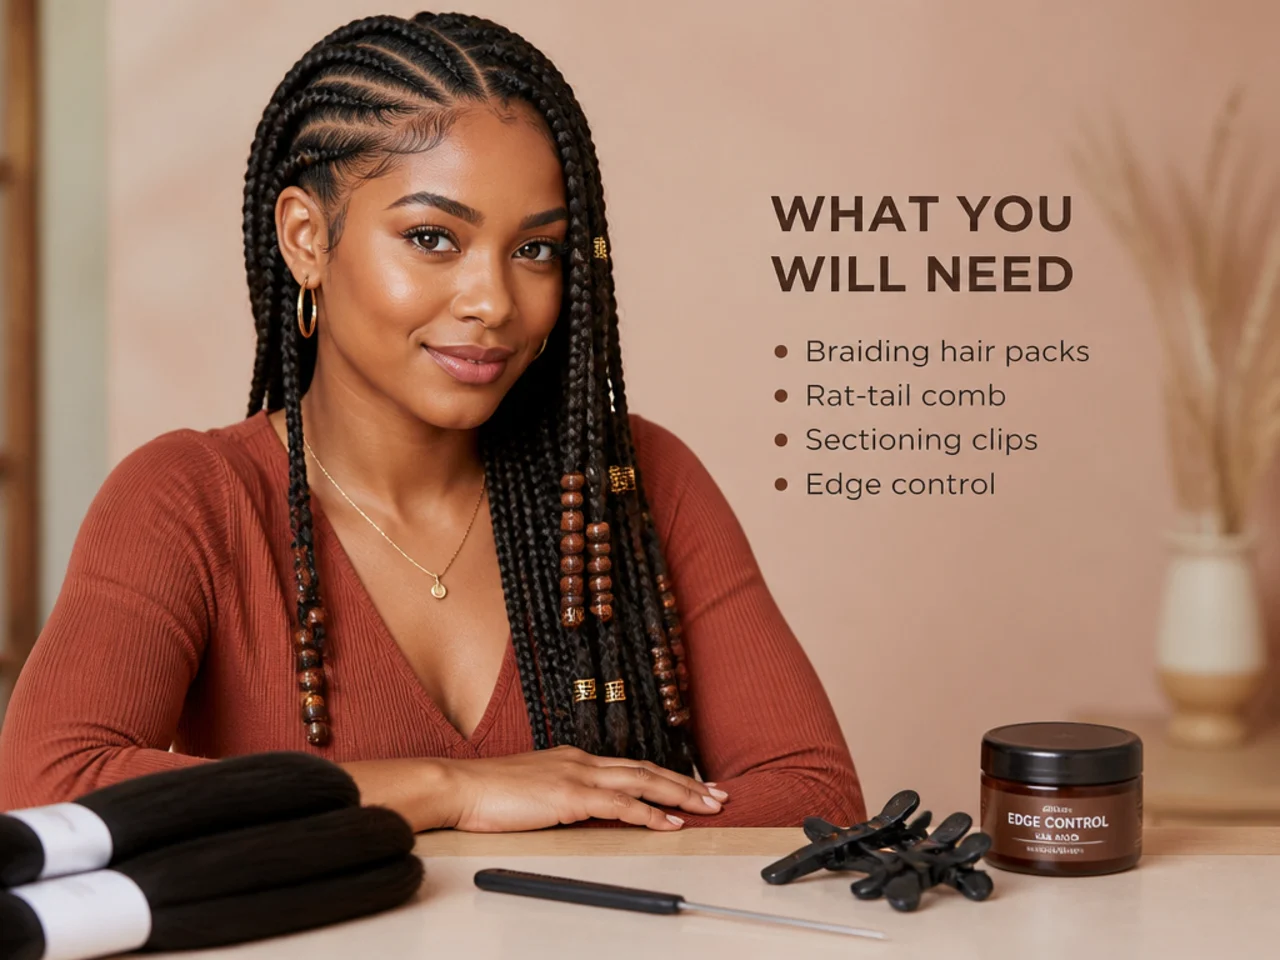
What You Will Need
Five to seven packs of braiding hair, a rat-tail comb for clean partings, sectioning clips, a spray bottle of water, a light leave-in, edge control, small elastics, and hot water in a mug for sealing ends. A mirror you can angle behind you makes the cornrow section far less frustrating.
Before You Start
Wash and deep-condition two days ahead, not the same morning. Freshly washed hair is slippery and hard to grip. Blow-dry or stretch the hair fully — braiding on shrunken coils gives you uneven tension and braids that loosen within days. Pre-separate your braiding hair into the rough thickness you want so you are not measuring mid-braid.
The 20 Steps
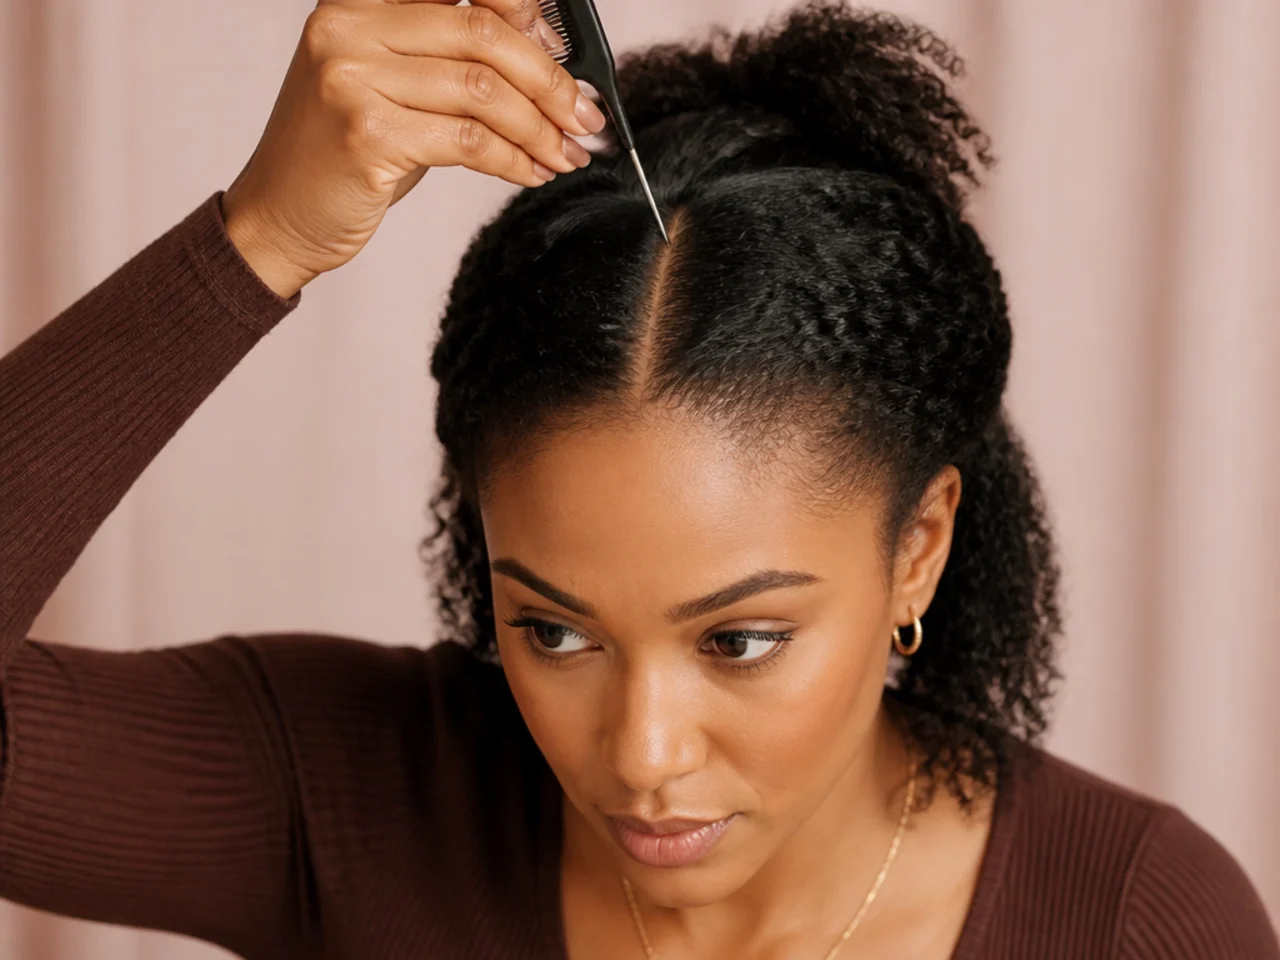
1. Part a Clean Centre Line
Use the rat-tail comb from the front hairline to the nape. A straight centre part is the single most visible element of the finished style — take the time.
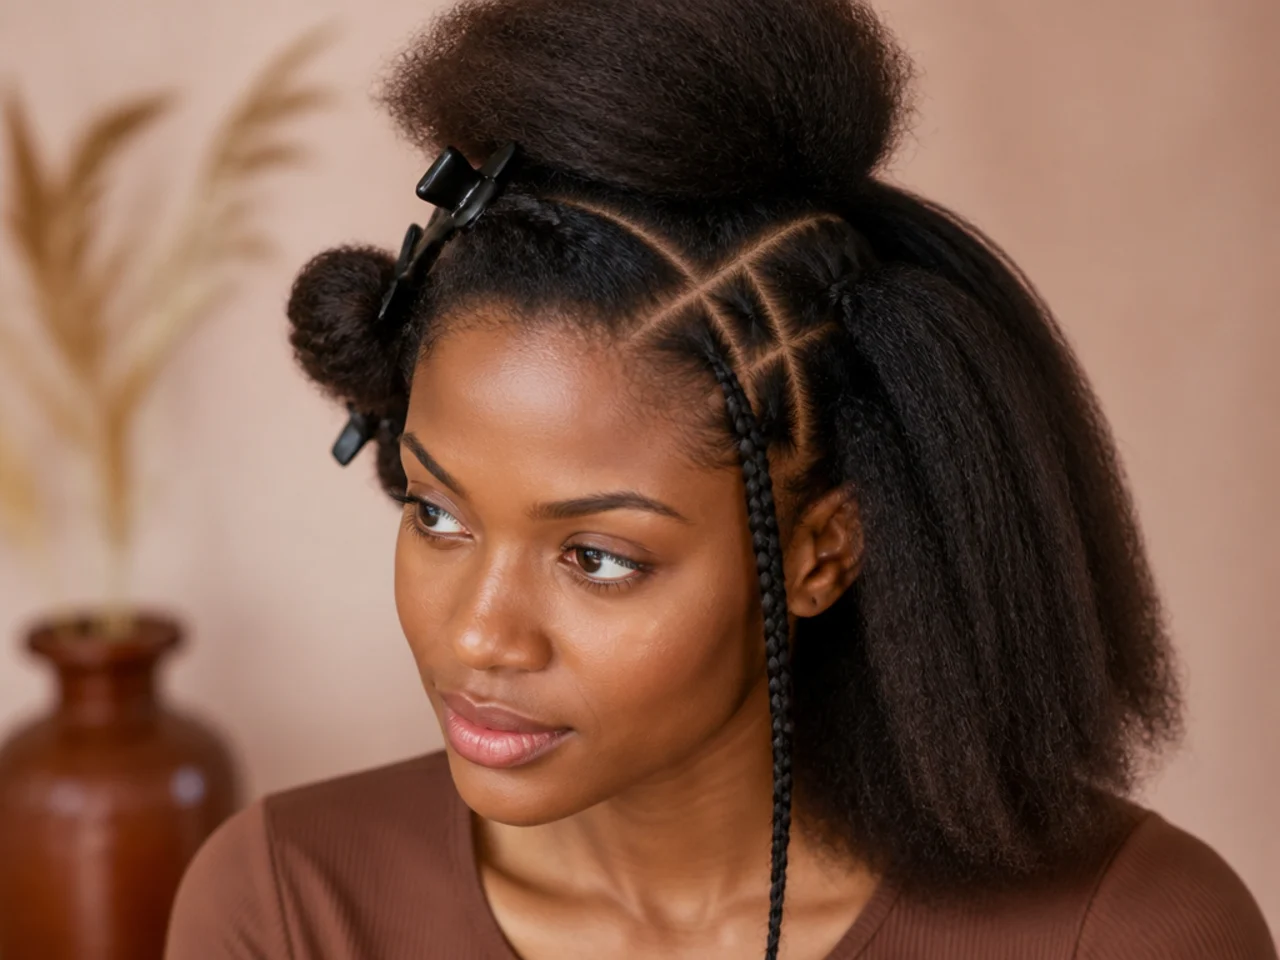
2. Clip Away Everything Except the Front
Isolate the front section on each side of the part. Clip the rest back so it is not in your way.
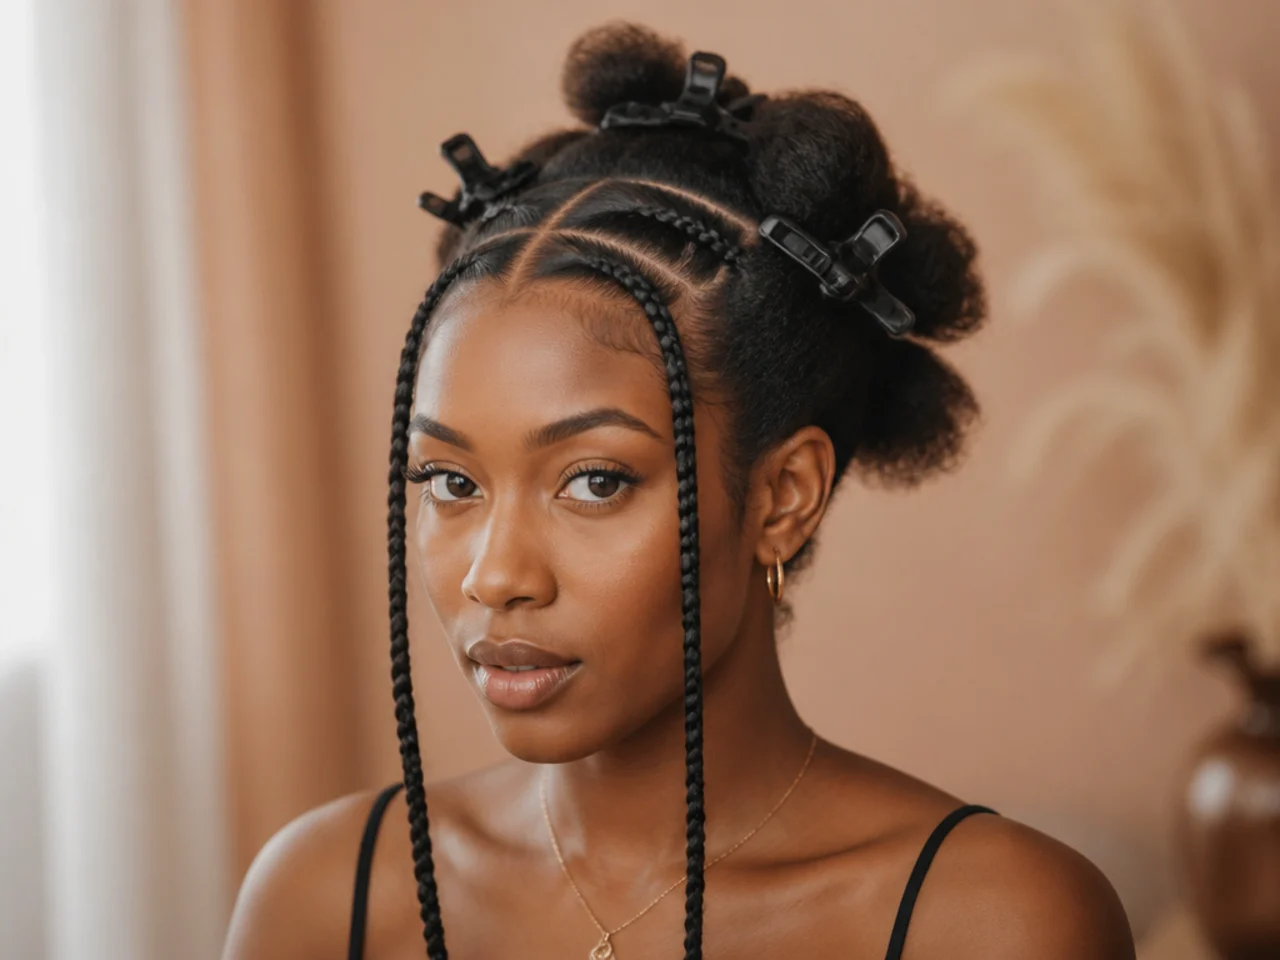
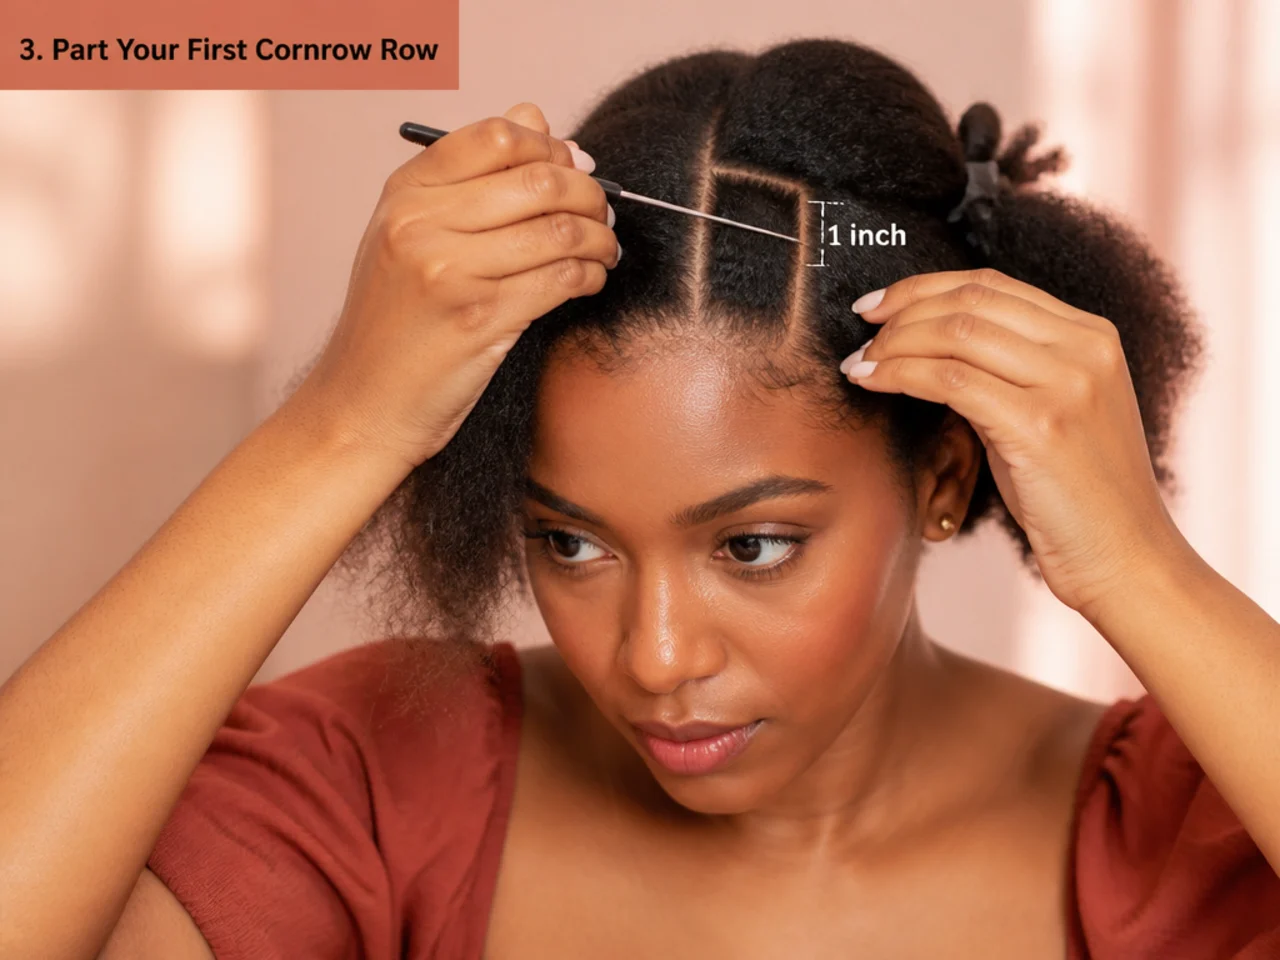
3. Part Your First Cornrow Row
A straight line running back from the hairline, parallel to the centre part. Around an inch wide for a medium cornrow.
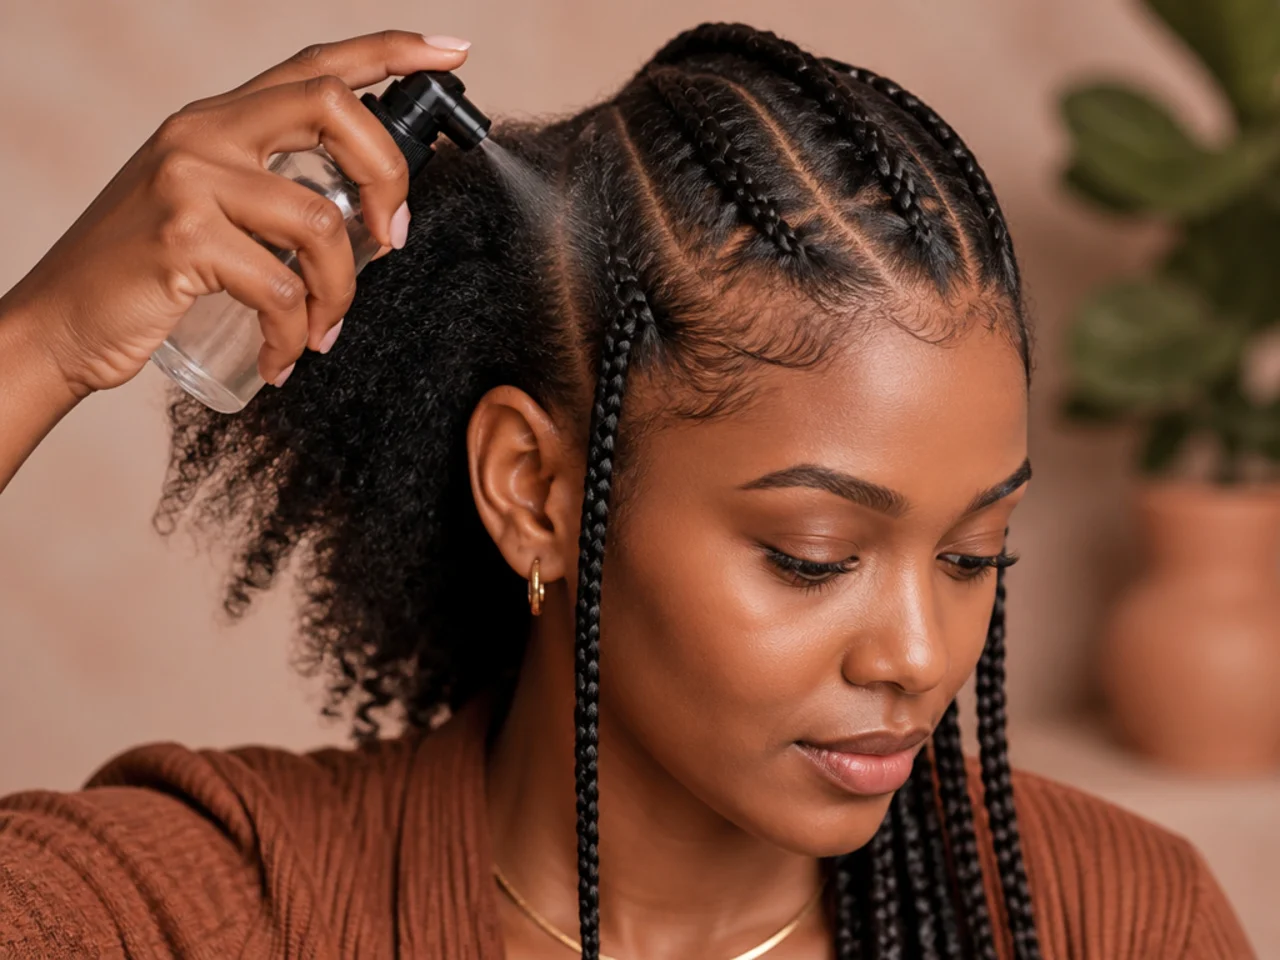
4. Mist Lightly and Apply Leave-In
Damp, not wet. Wet hair dries shorter and the braid loosens as it dries.
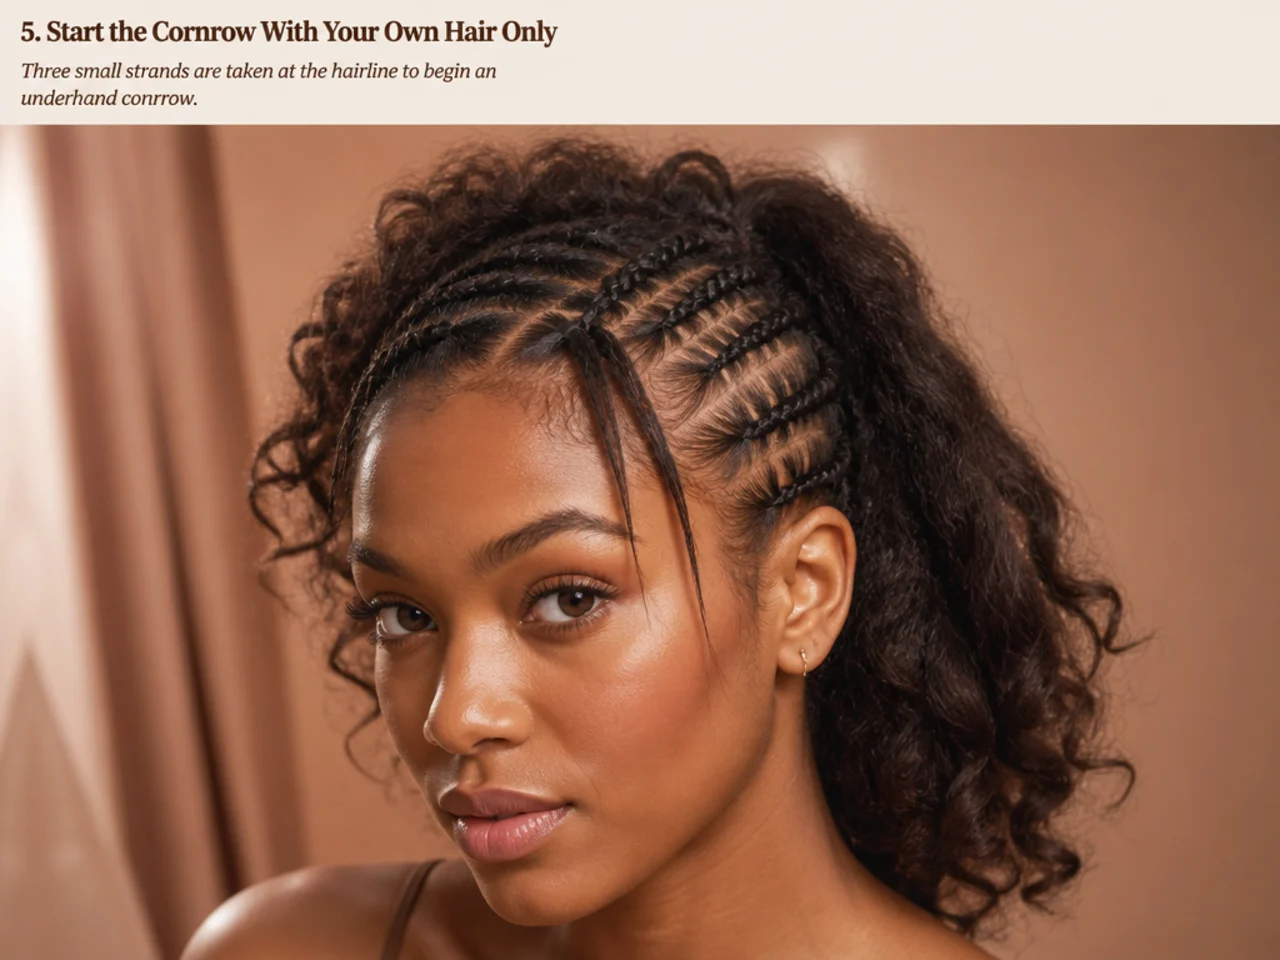
5. Start the Cornrow With Your Own Hair Only
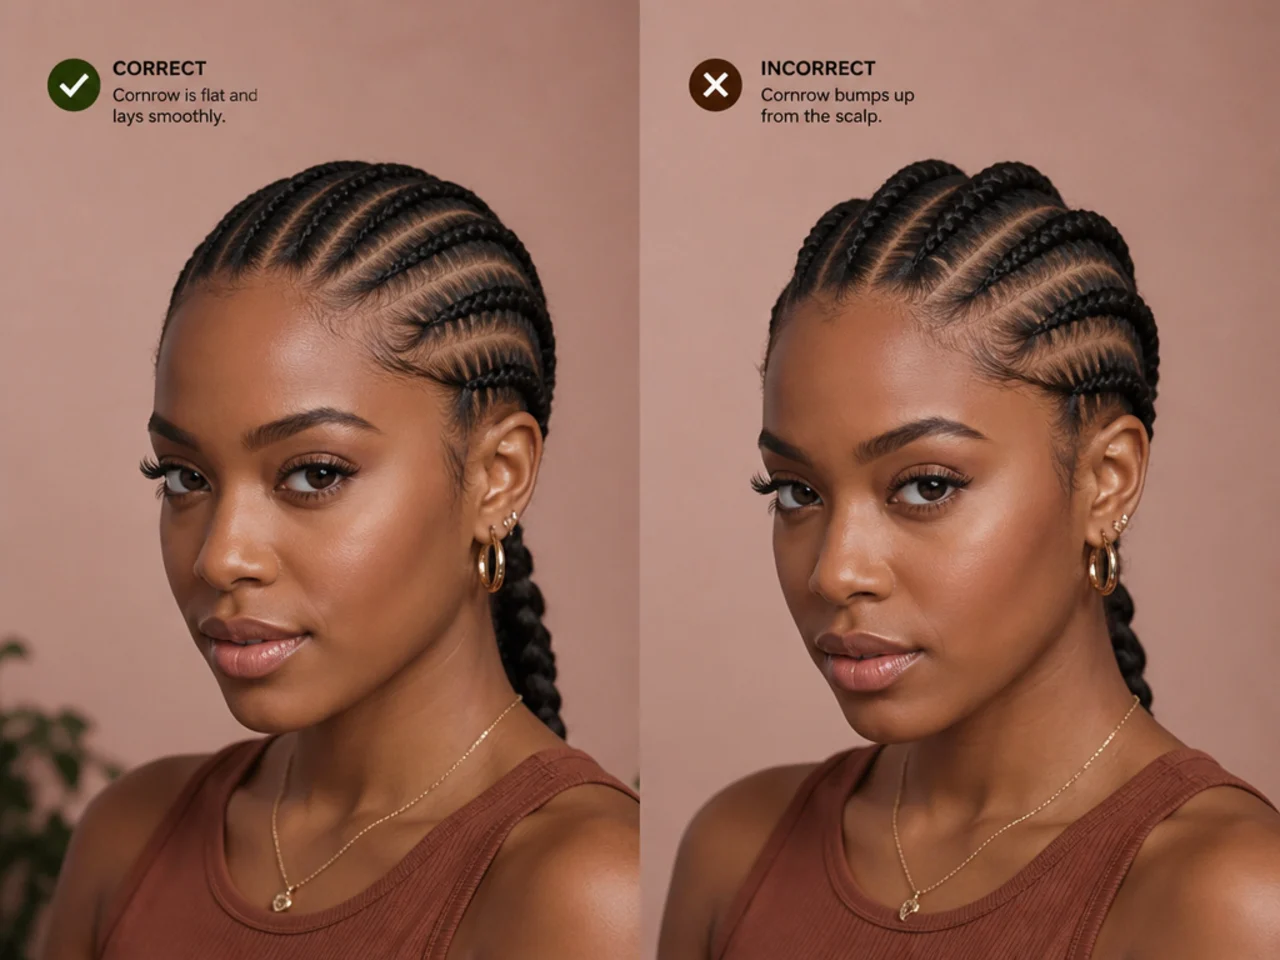
Take three small strands at the hairline and begin an underhand braid — crossing strands under rather than over is what makes a cornrow sit raised.
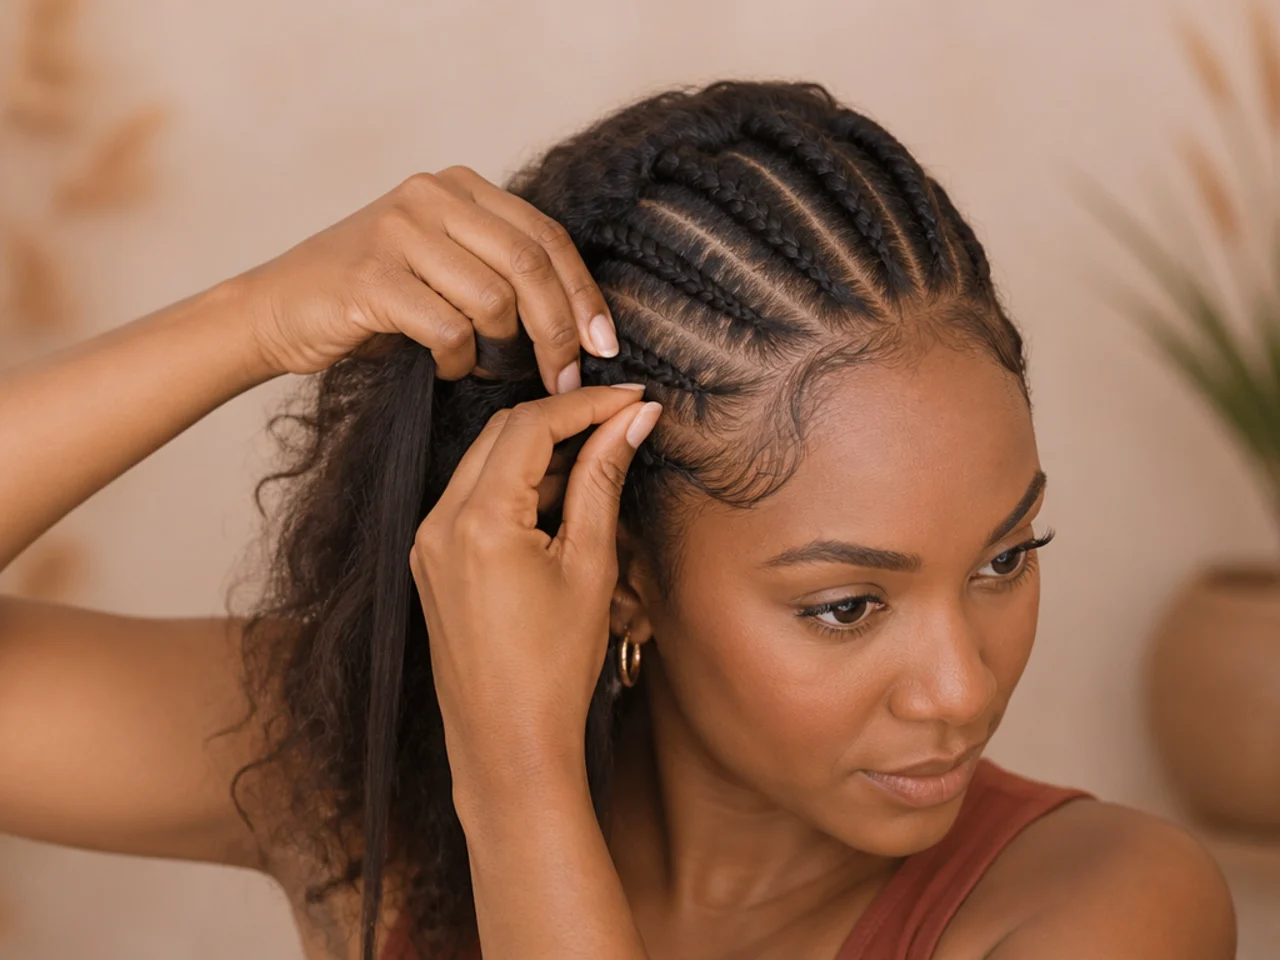
6. Feed In Braiding Hair Gradually
Add a small amount of extension to the outer strands every second or third cross. Small and often, never one large piece.
7. Run the Tension Test
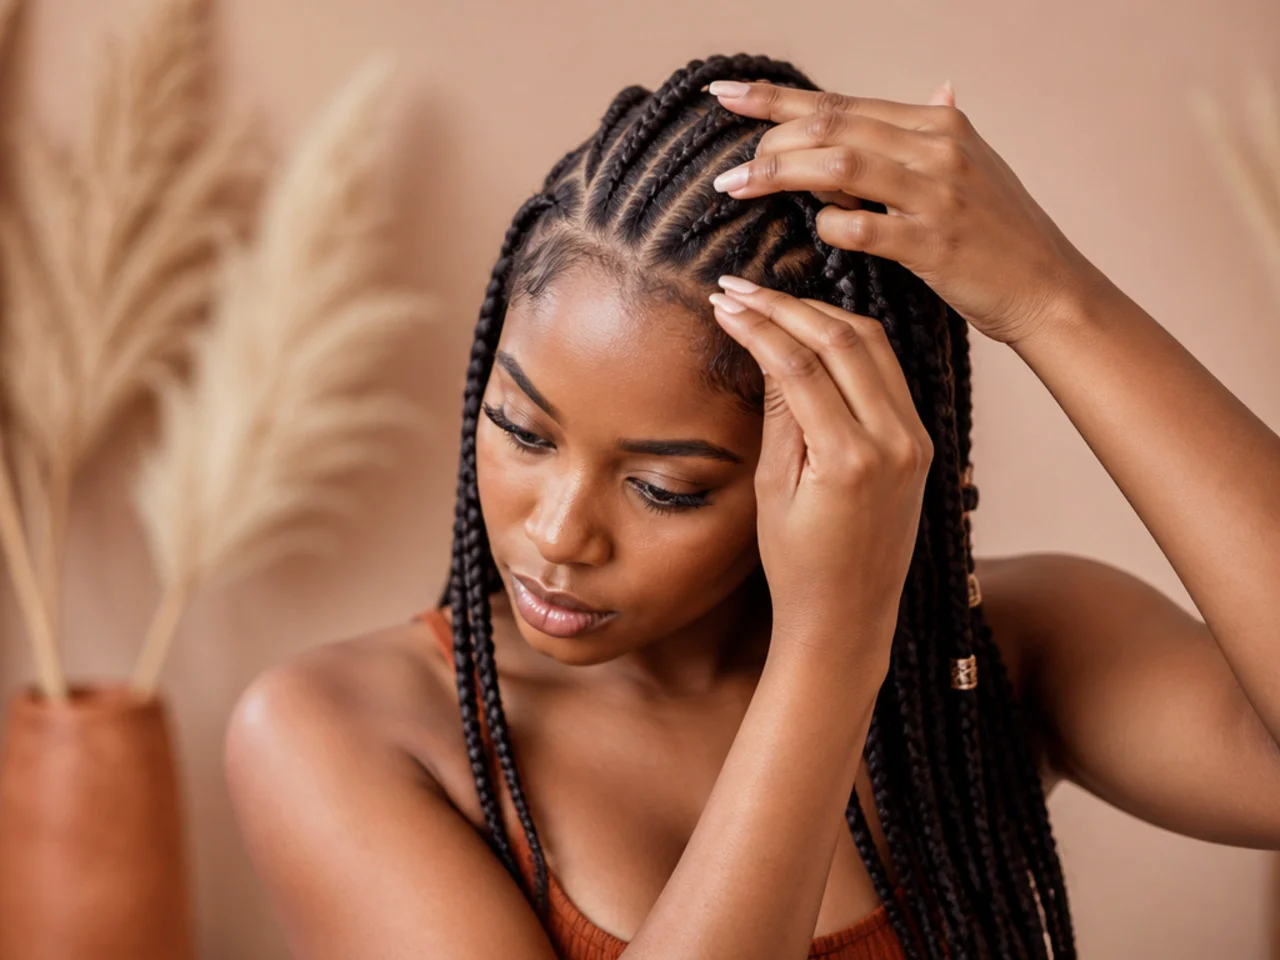
Slide a fingertip under the braid at the root. If it will not fit, undo the last two crosses and redo them looser. Do this on every cornrow.
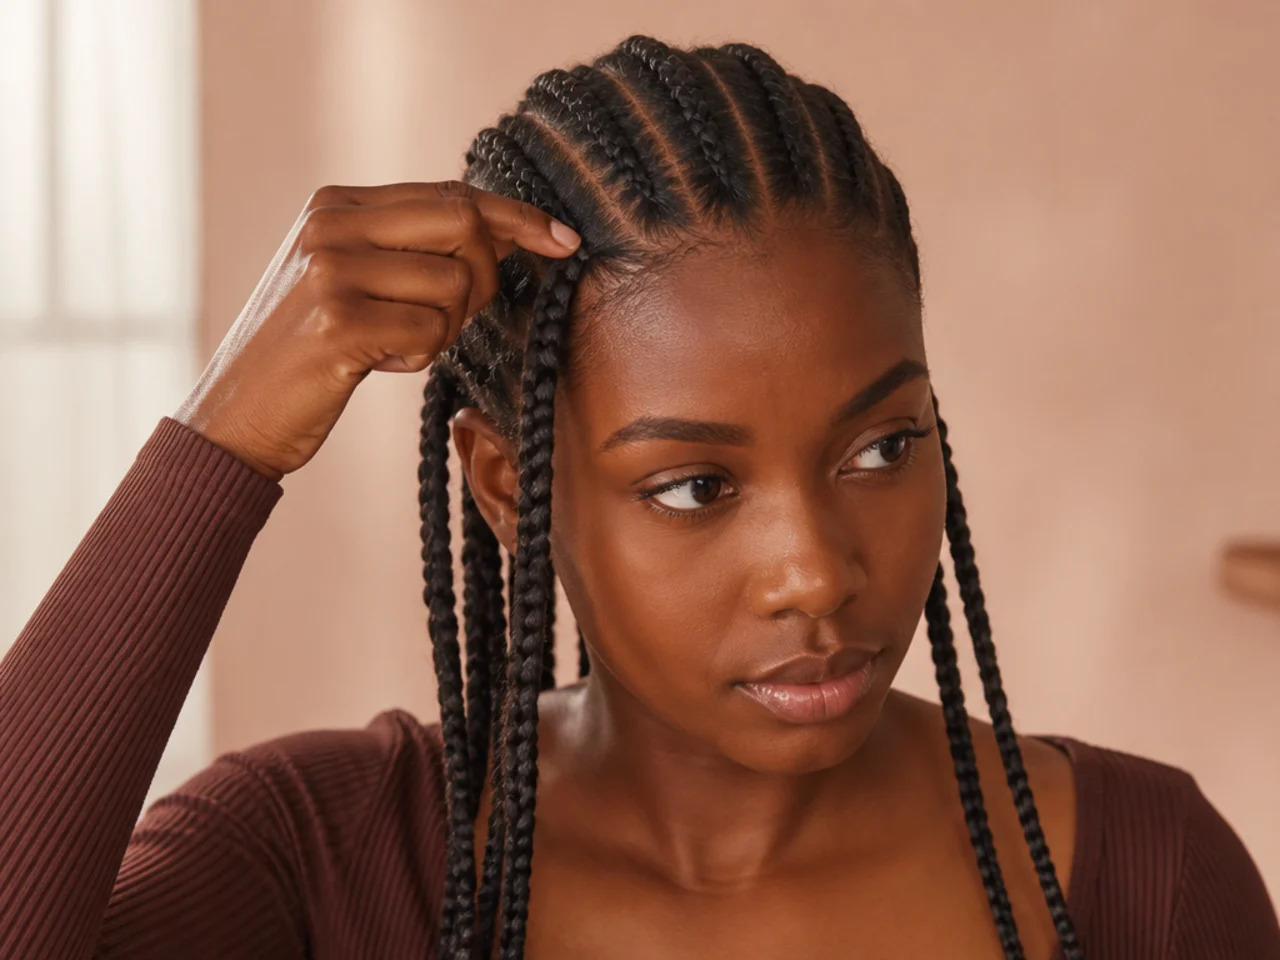
8. Braid to the Crown, Then Release
Stop cornrowing at the crown and let the rest hang as a free braid. That transition point is what defines the Fulani shape.
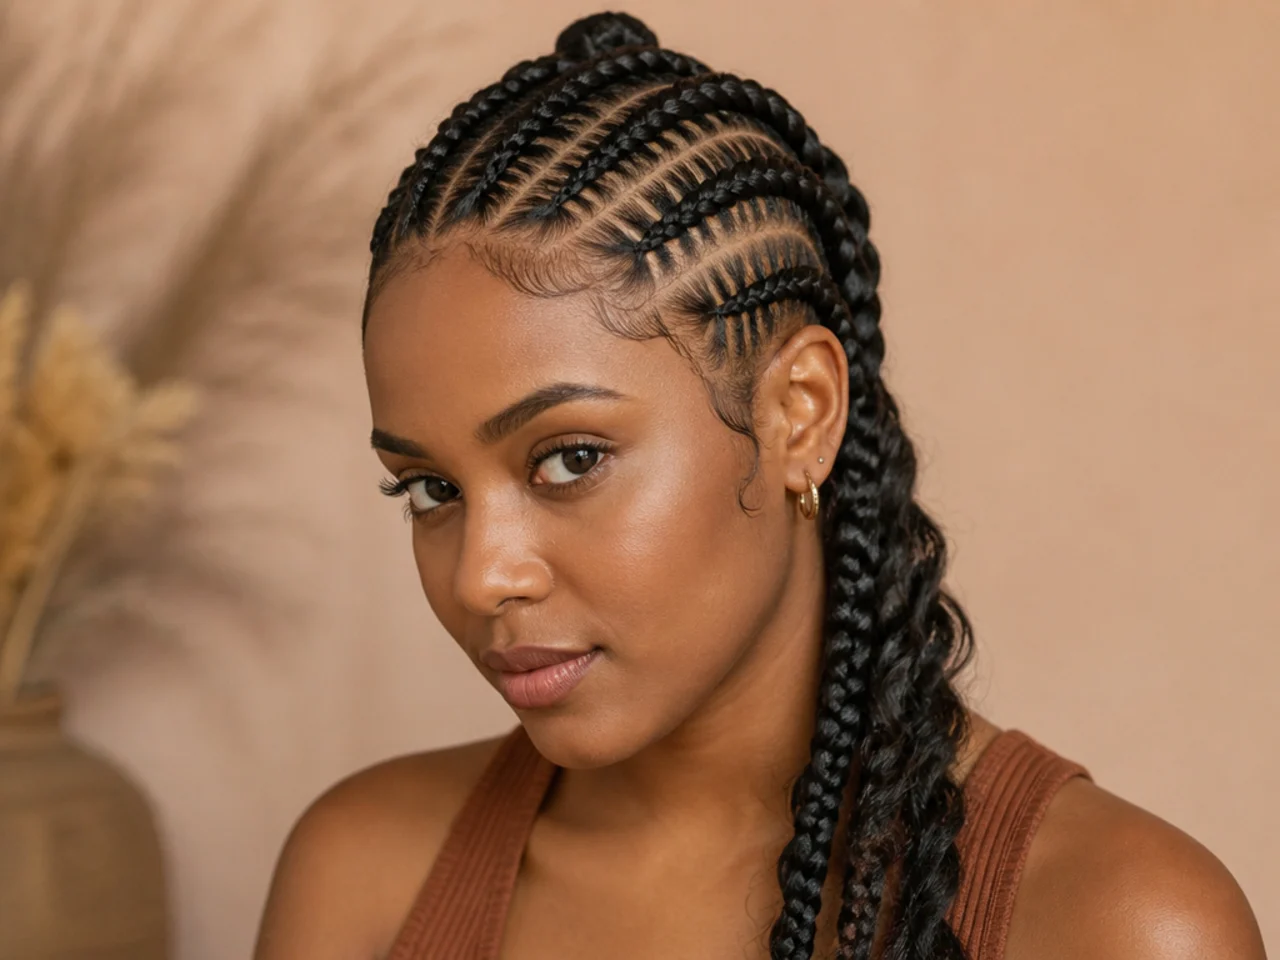
9. Repeat on the Other Side
Mirror the first cornrow exactly. Compare the two in a mirror before continuing — asymmetry here is very hard to fix later.
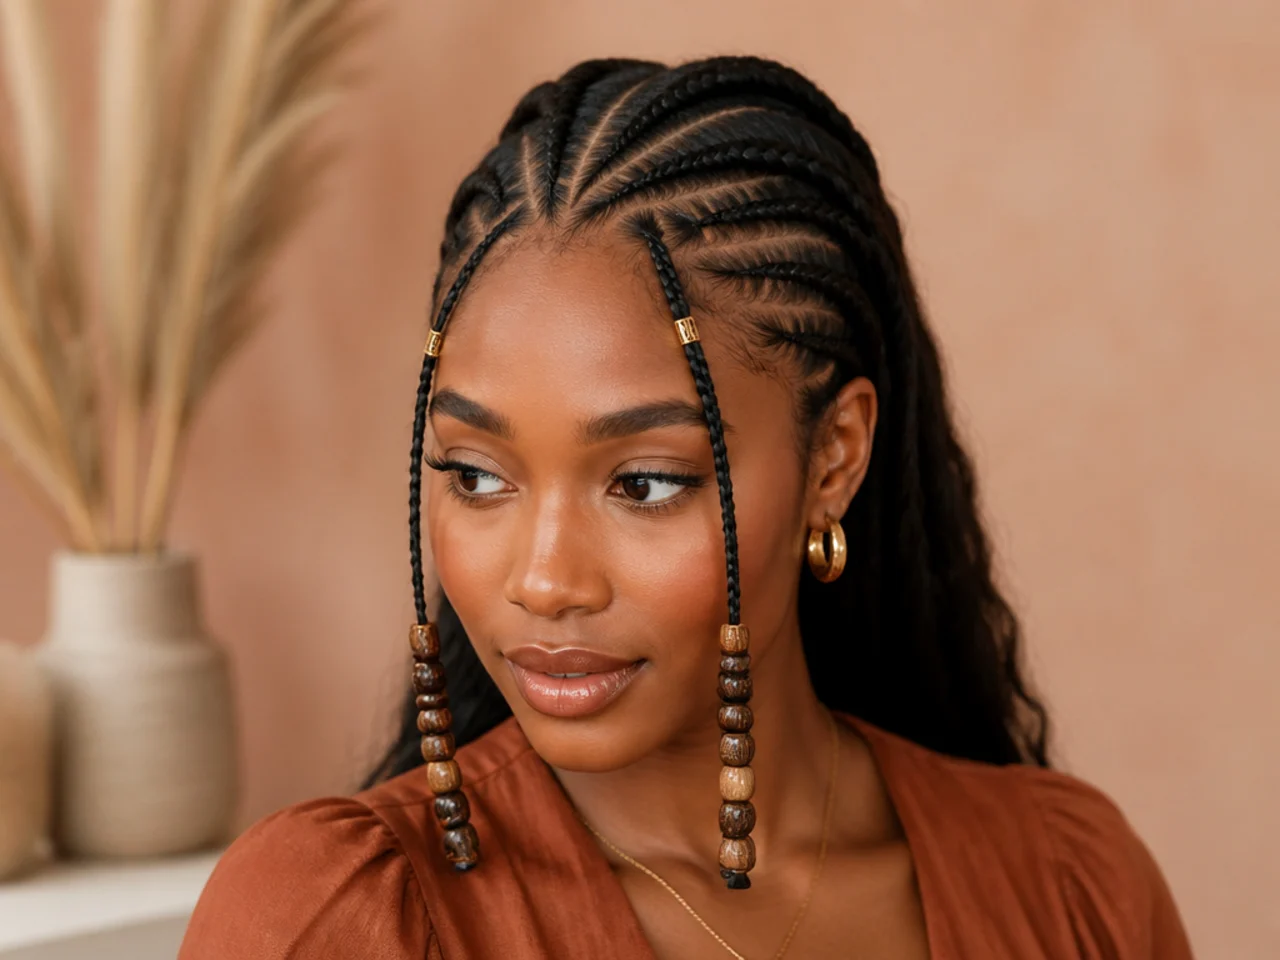
10. Add a Second Cornrow Each Side if Wanted
Two per side is the classic look. Keep the spacing even.
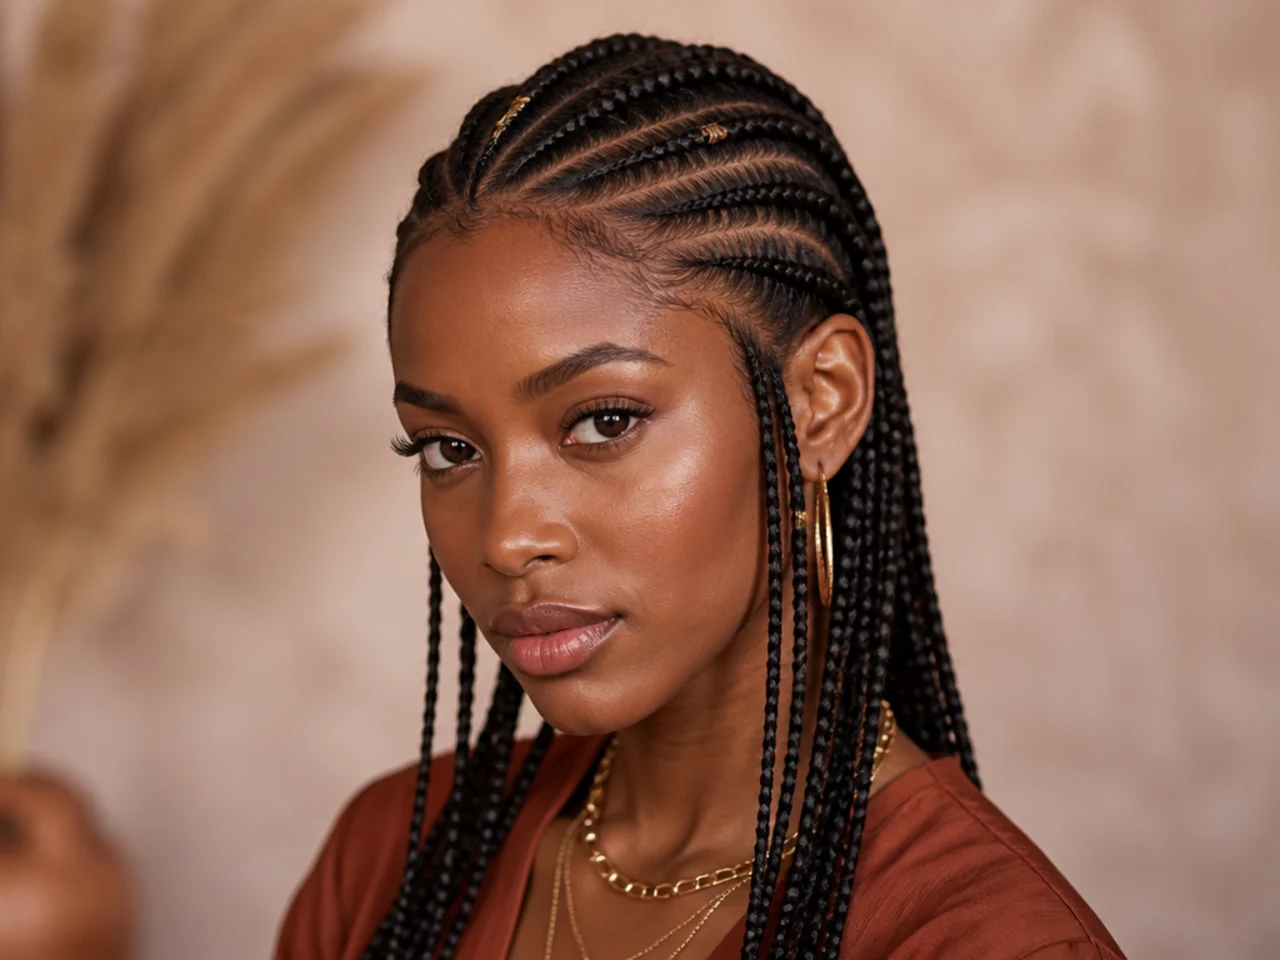
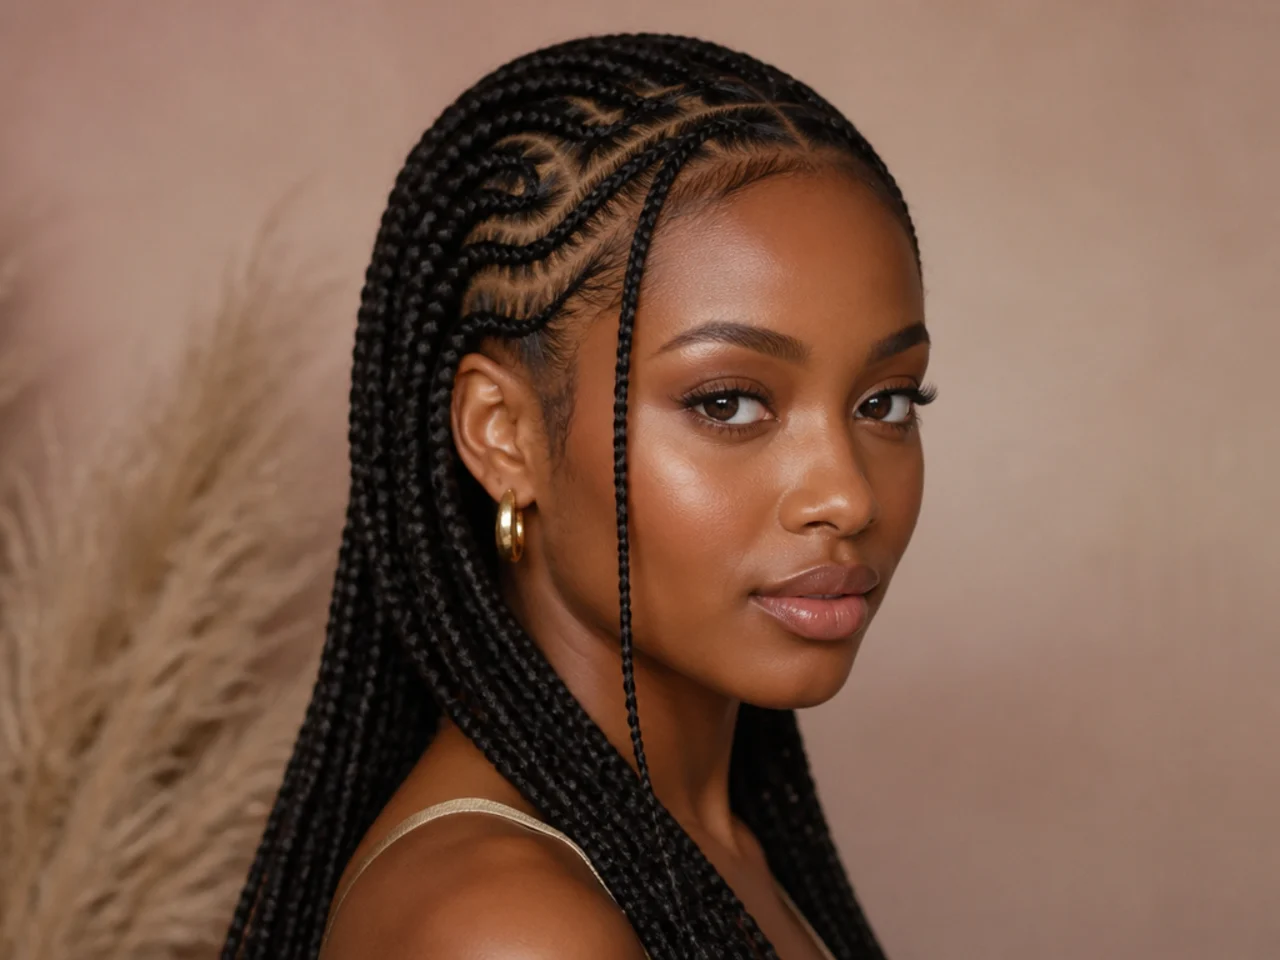
11. Create the Face-Framing Braid
One slim braid dropped in front of each ear. This is the detail that makes it read as Fulani rather than plain cornrows.
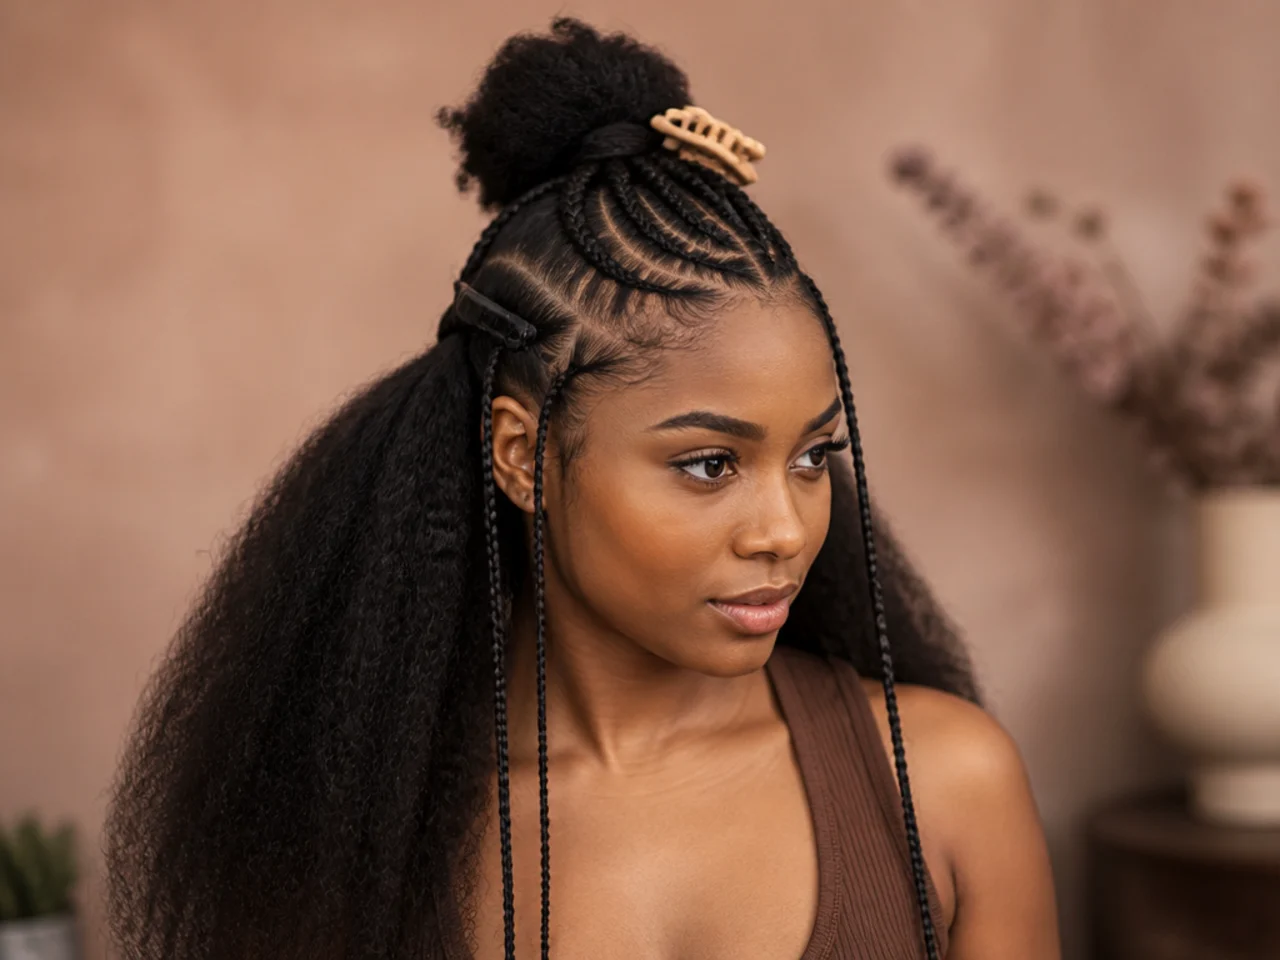
12. Release the Back Section
Unclip everything behind the crown. This is now the loose braid area.
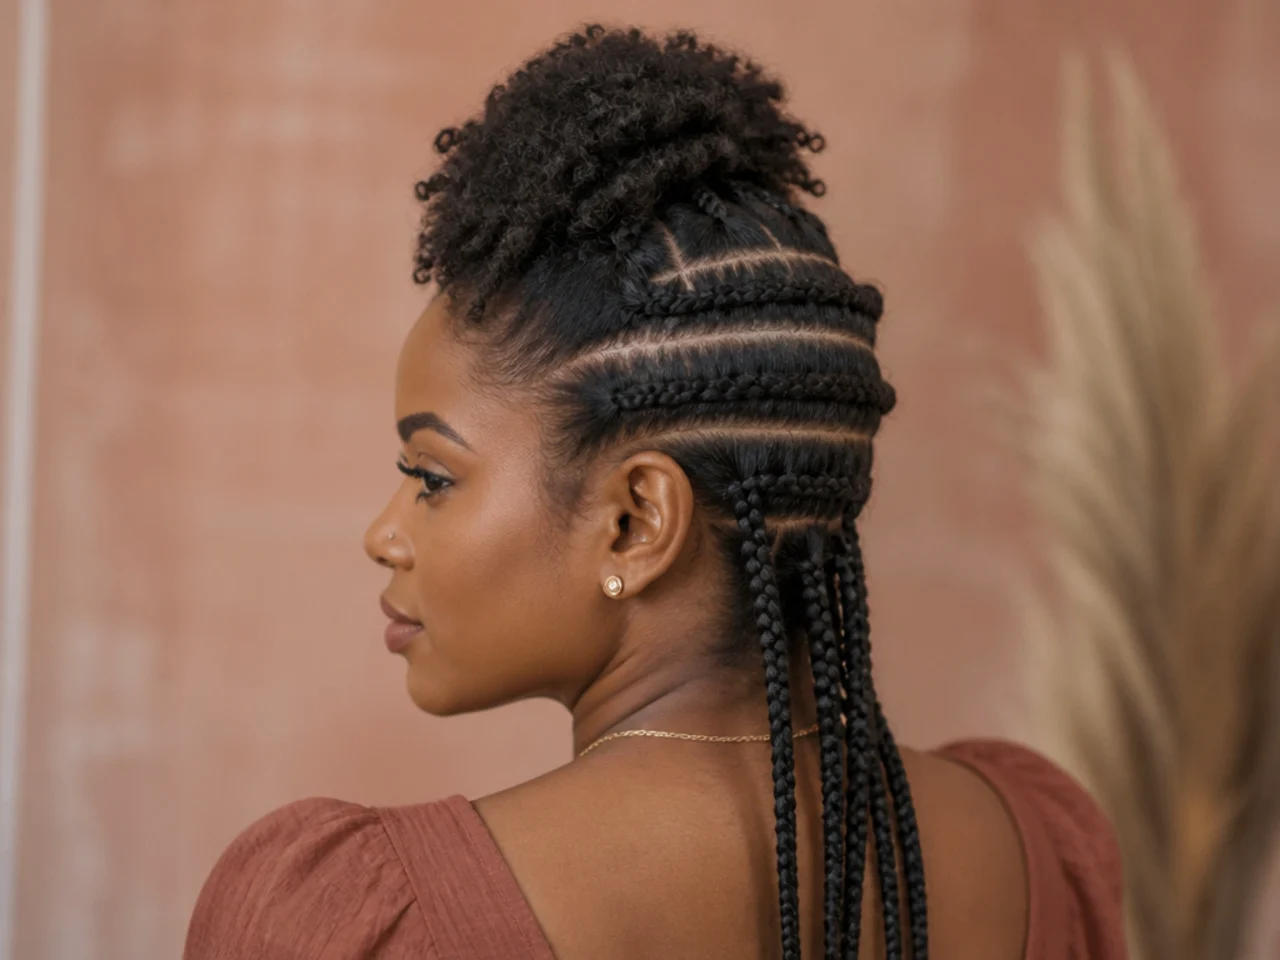
13. Part the Back in Clean Rows
Work in horizontal rows from the nape upward. Square, even partings keep the finished head looking uniform.
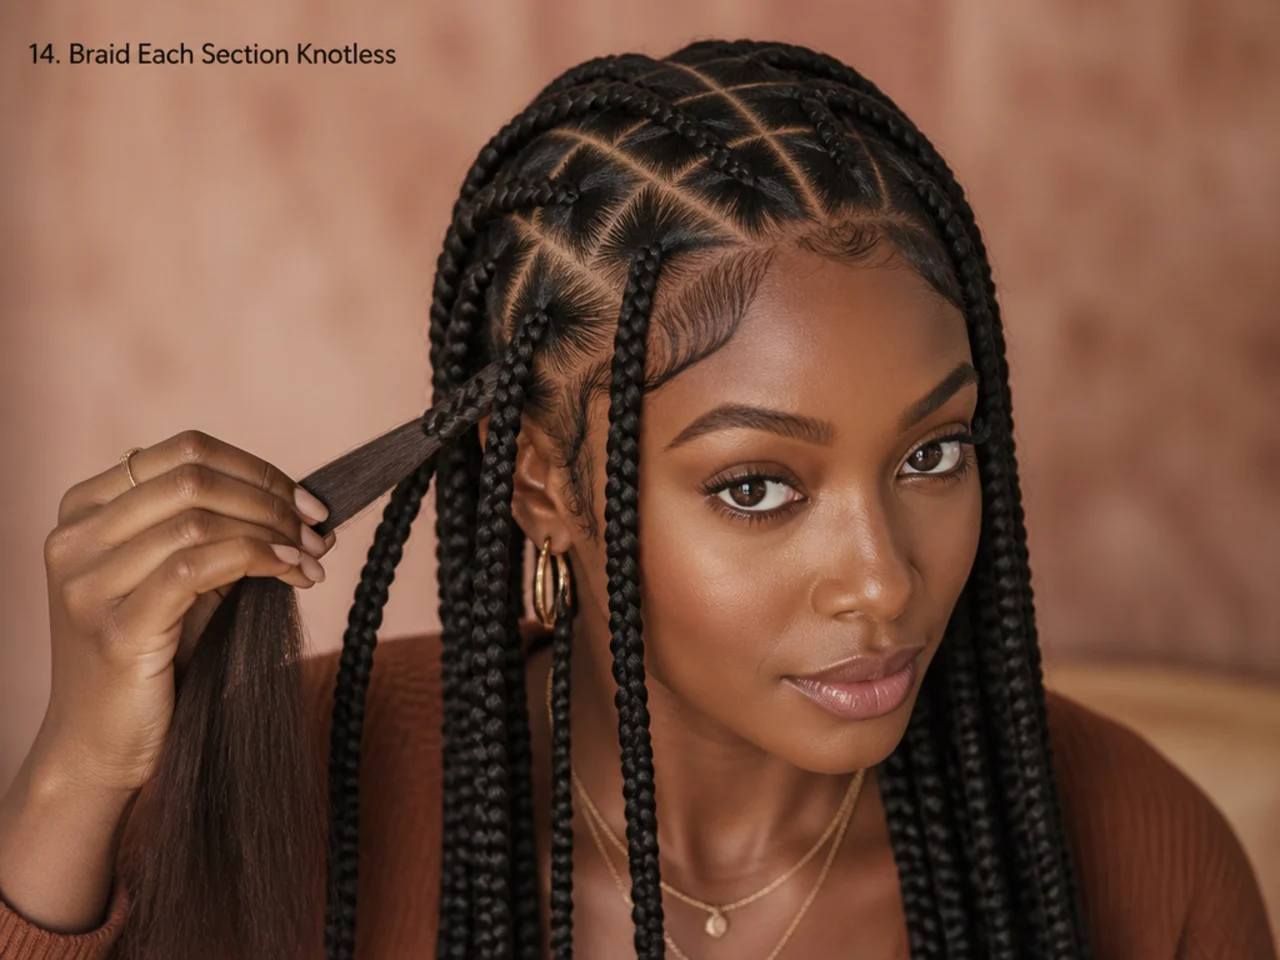
14. Braid Each Section Knotless
Start with your own hair, feed the extension in over the first inch. No knots.
15. Keep Braid Size Consistent
Check every fifth braid against the last one. Drift is gradual and invisible until you finish.
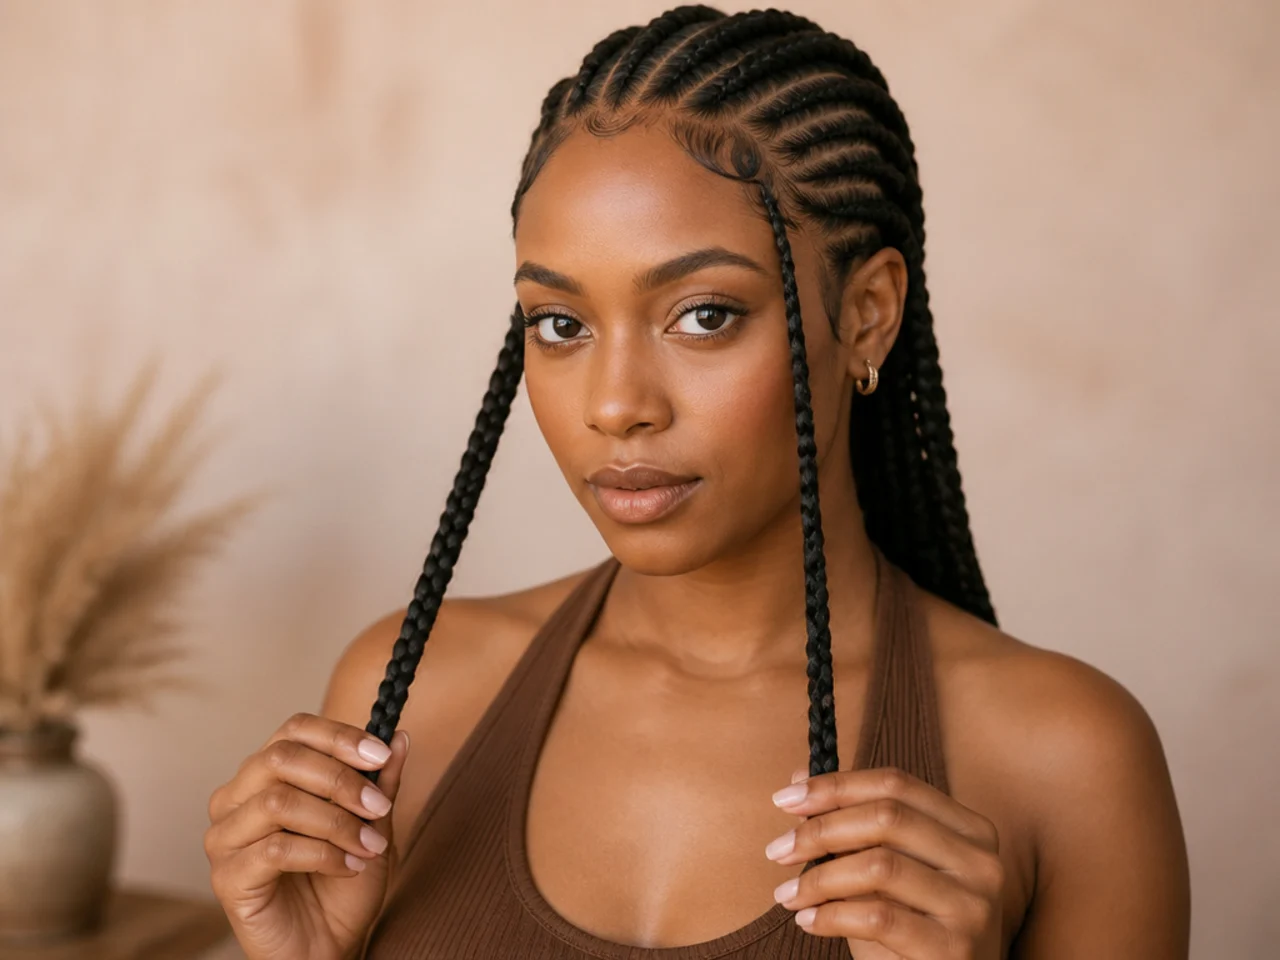
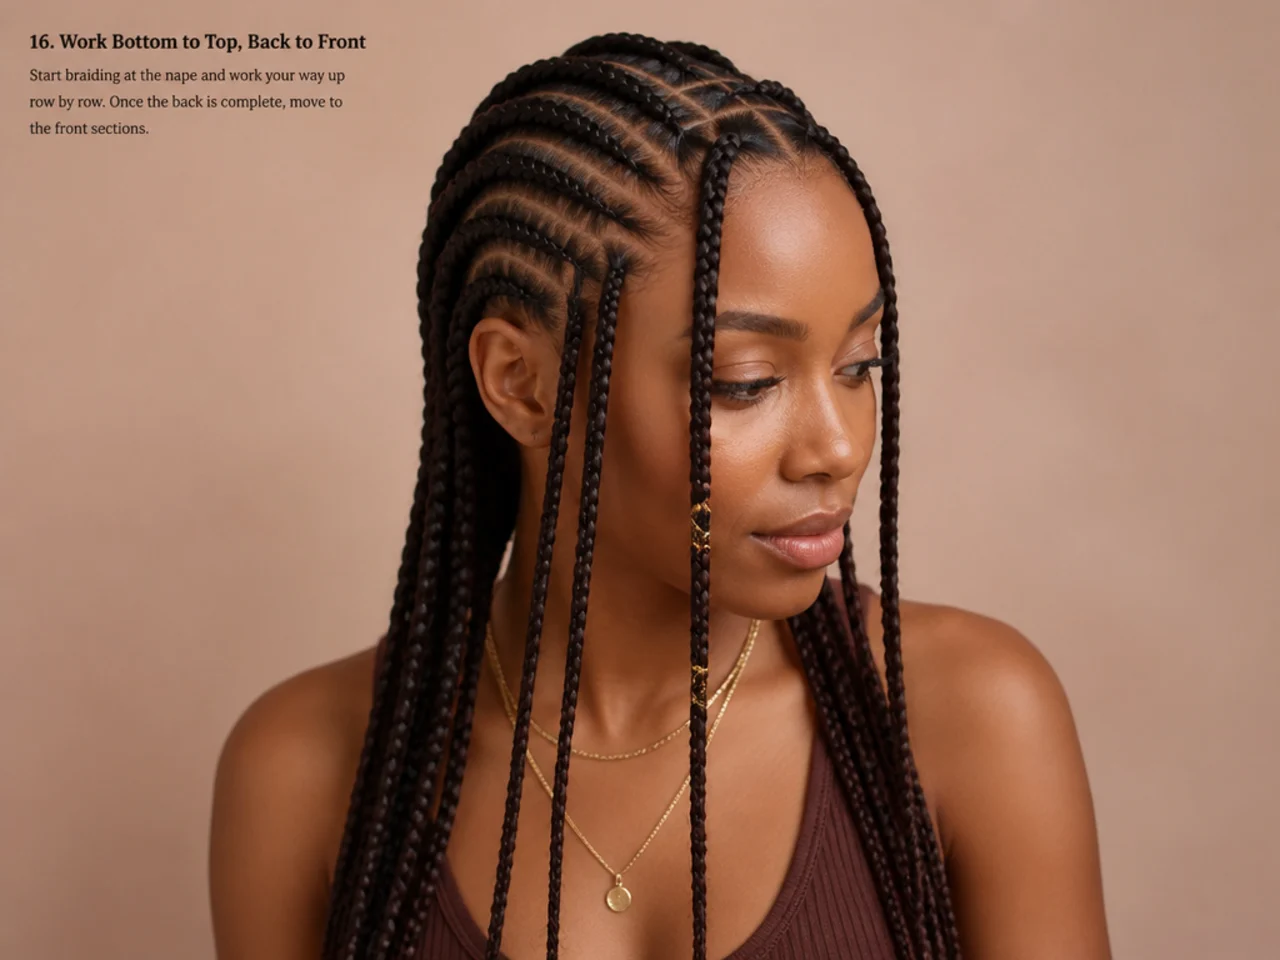
16. Work Bottom to Top, Back to Front
Finished braids stay out of your way this direction.
17. Seal the Ends in Hot Water
Dip the last two inches in hot water for fifteen seconds, then press dry with a towel. Synthetic hair fuses and stops unravelling.

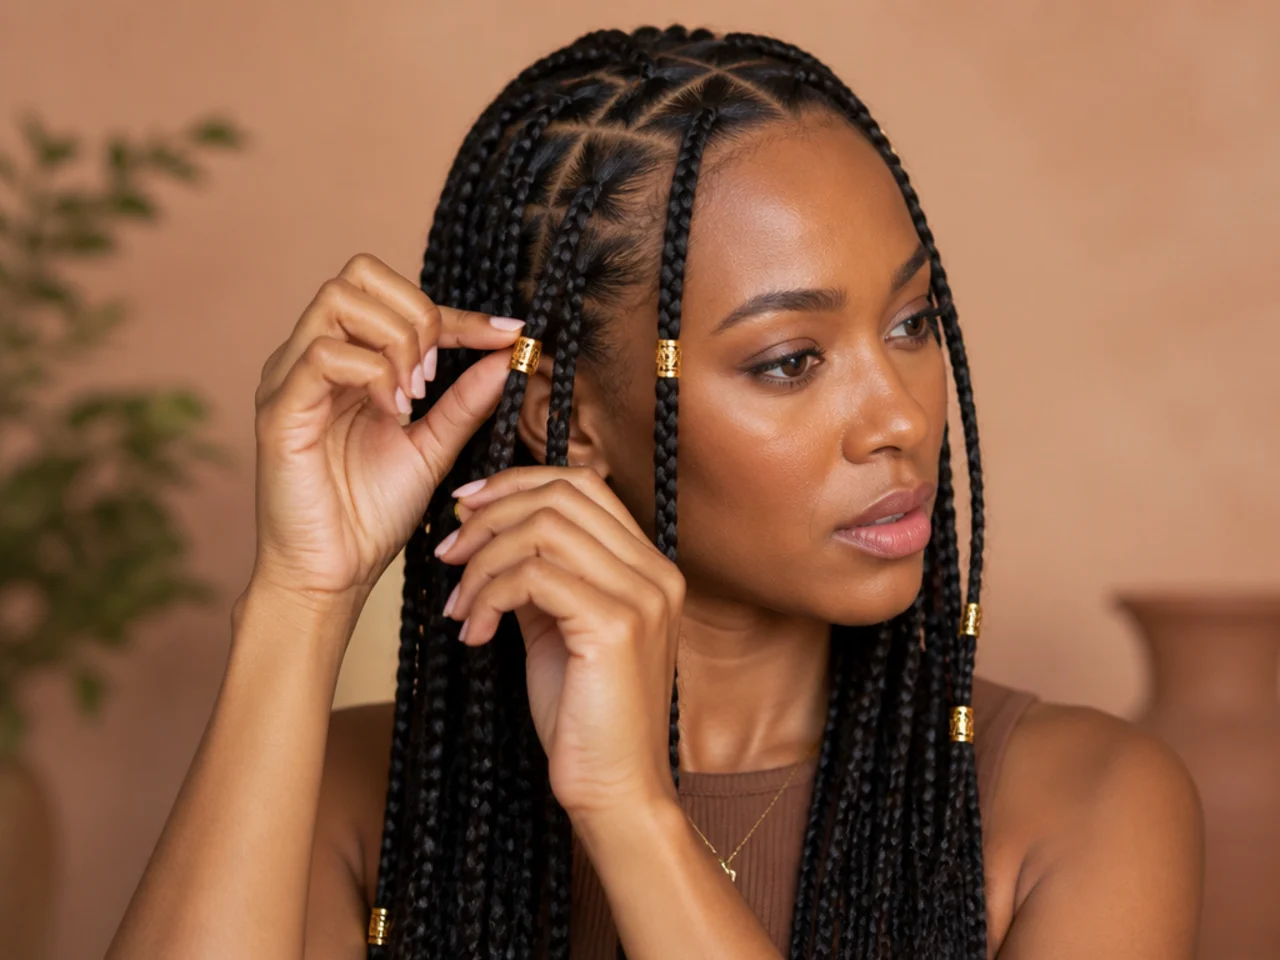
18. Add Cuffs and Beads
Front braids first, ends last. Slide the cuff on and squeeze gently with pliers — over-crimping cuts the braid.
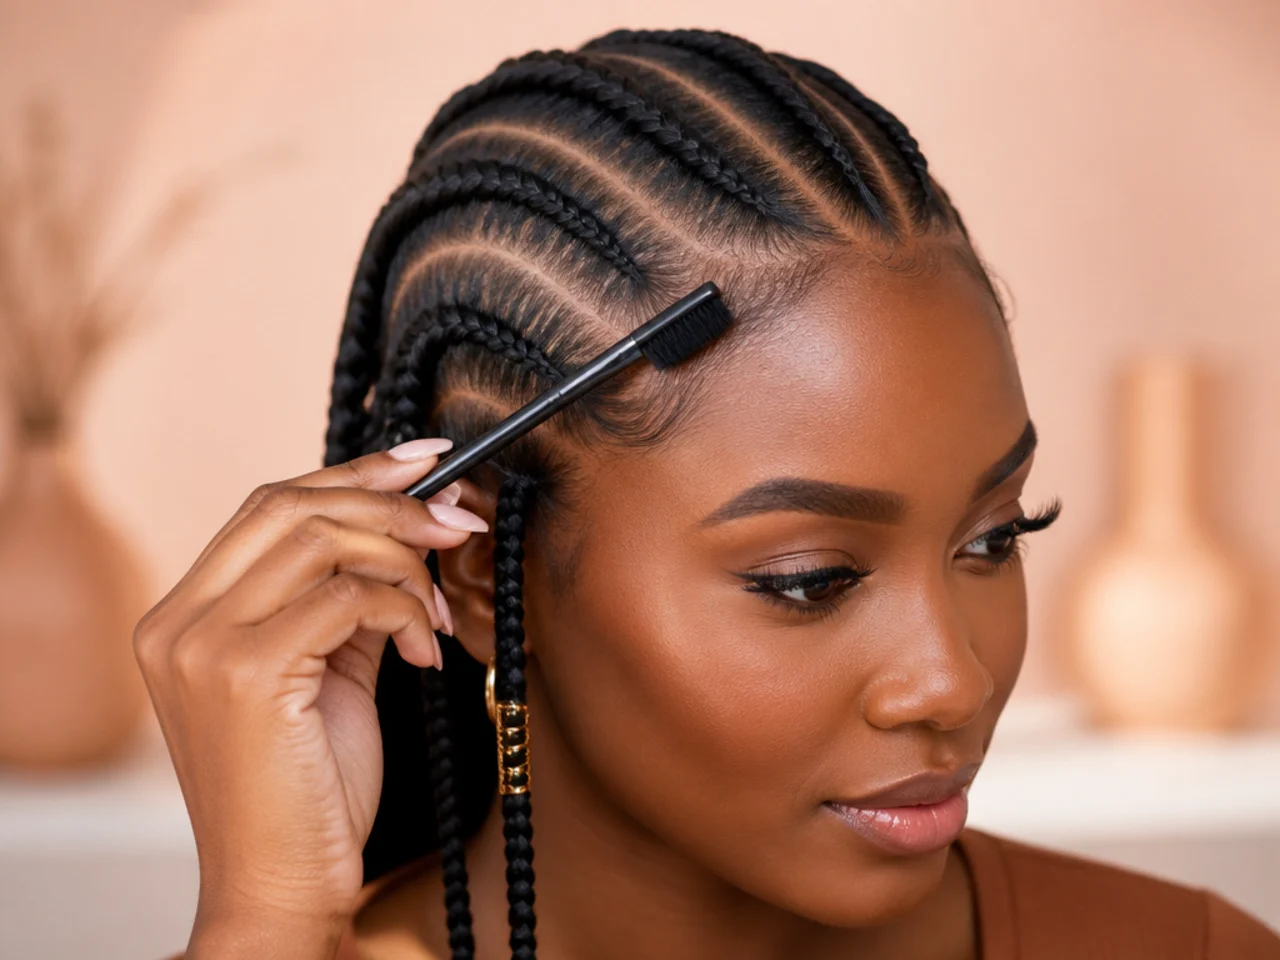
19. Smooth the Edges
A small amount of edge control on a soft brush. Do not slick hard — you have already asked a lot of that hair today.
20. Check Tension Everywhere Before You Finish
Run your fingers along every parting. Anything that stings gets undone now, not in three days.
Aftercare and Upkeep
Sleep in a satin bonnet from night one. Oil the partings twice a week. Wash every two to three weeks with diluted shampoo applied to the scalp only. Re-do the front cornrows at week three if they have loosened — it extends the style without a full reinstall.

Troubleshooting
Braids loosening at the root within days. Hair was too damp or too shrunken when braided. Stretch fully next time.
A cornrow that bumps rather than lying flat. You crossed over instead of under. Undo and restart that row.
Scalp sore on day two. Too tight. Mist with a diluted leave-in and gently loosen the worst braids by sliding them; if it is widespread, take them out.
Uneven braid sizes. Compare more often — every fifth braid, not every twentieth.
FAQ
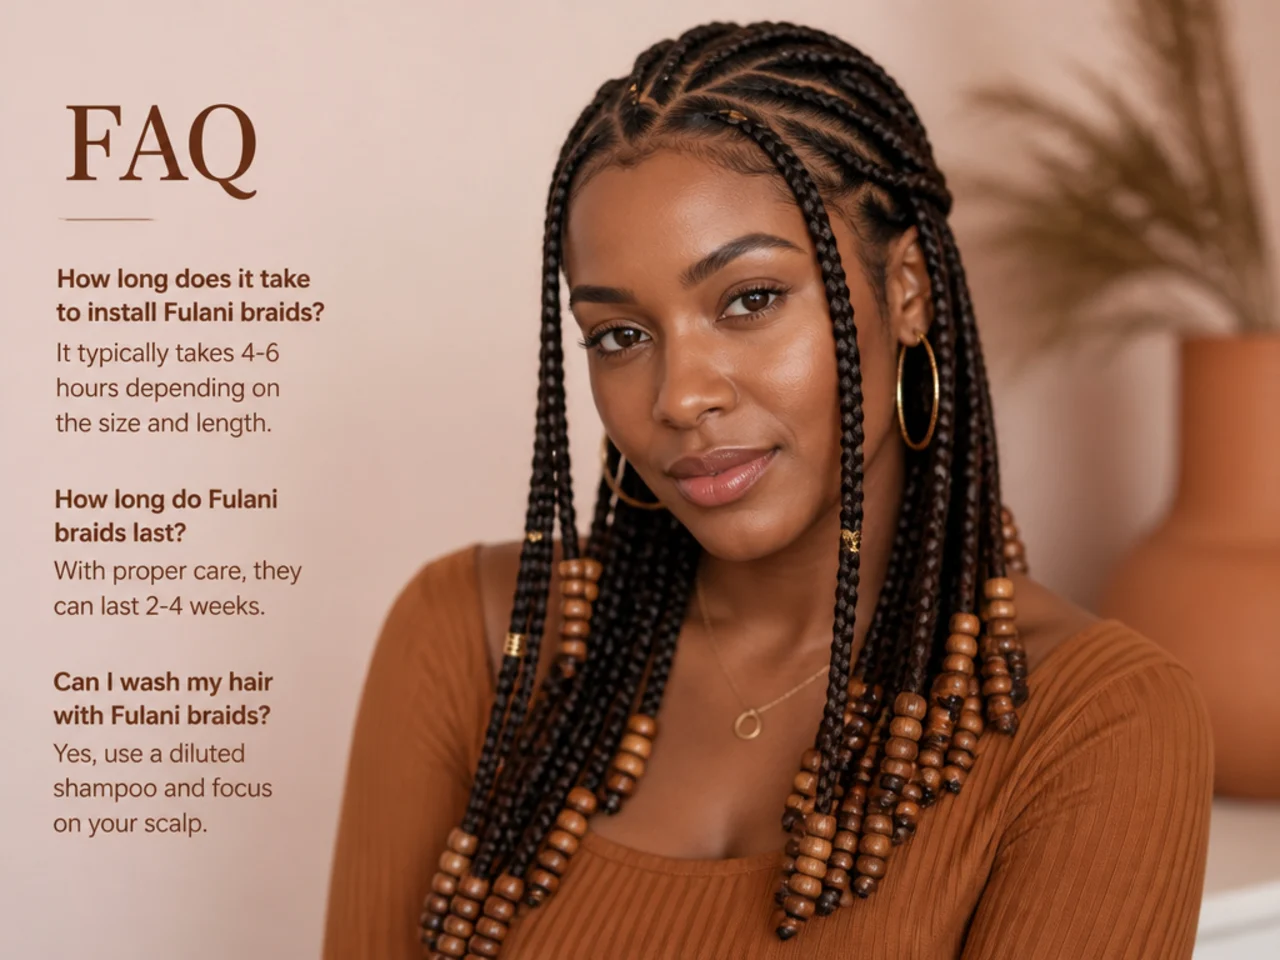
Can you do Fulani braids on yourself? The loose braids yes; the front cornrows are much harder. Many people get help with just the front.
How much hair do I need? Five to seven packs for medium at shoulder length. Buy one spare.
How tight is right? A fingertip should slide under the braid at the root.
How long does it take? Eight to twelve hours for a first attempt, often split across two days.
Final Thoughts
The technique is learnable in an afternoon. The tension is the part that takes discipline — check every row, and stop when something stings.
Choose your size first with jumbo or small Fulani braids, see the full pattern in 25 simple Fulani braids ideas, and browse Braids & Protective Styles.
Frequently asked questions
Related posts
See all posts
20 Waterfall Mermaid Braid Ideas That Hold
Read more
15 Side Mermaid Braid Ideas That Sit Right
Read more
20 Side Part Medium Knotless Braids I Saved
Read more