How to Do Mermaid Braids and the 20 Details That Decide It
The mermaid braid is a fishtail worked in small pieces and then pulled wide, and almost every failed attempt comes from doing those two things in the wrong order. Twenty details and an eight step sequence that fixes it.
In this article · 37
- What Is a Mermaid Braid
- Length and Thickness
- Fine and Slippery Hair
- Pancaking Technique
- Boho Accessories
- Make It Last
- The 20 Details That Decide a Mermaid Braid
- 1. Day Two Hair
- 2. Texture Spray
- 3. Curl First
- 4. Brush It Out
- 5. Choose the Part
- 6. The Braid Start Point
- 7. Split Into Halves
- 8. Quarter Inch Pieces
- 9. Consistent Widths
- 10. Hold It Loose
- 11. Stop Two Inches Short
- 12. Clear Elastic
- 13. Pancake From the Bottom Up
- 14. Widen the Middle
- 15. Tug the Outer Edge
- 16. Fix a Collapse
- 17. Face Framing Pieces
- 18. Hidden Pins
- 19. Accessories
- 20. Set It With Hairspray
- How to Braid a Mermaid Braid
- Step 1. Texture Prep
- Step 2. Wave the Length
- Step 3. Part and Sweep
- Step 4. Split Into Two Halves
- Step 5. The Crossover
- Step 6. Secure With an Elastic
- Step 7. Pancake
- Step 8. Finish and Set
- Final Thoughts
Almost every mermaid braid that goes wrong went wrong before the first crossover, in the two minutes people skip.
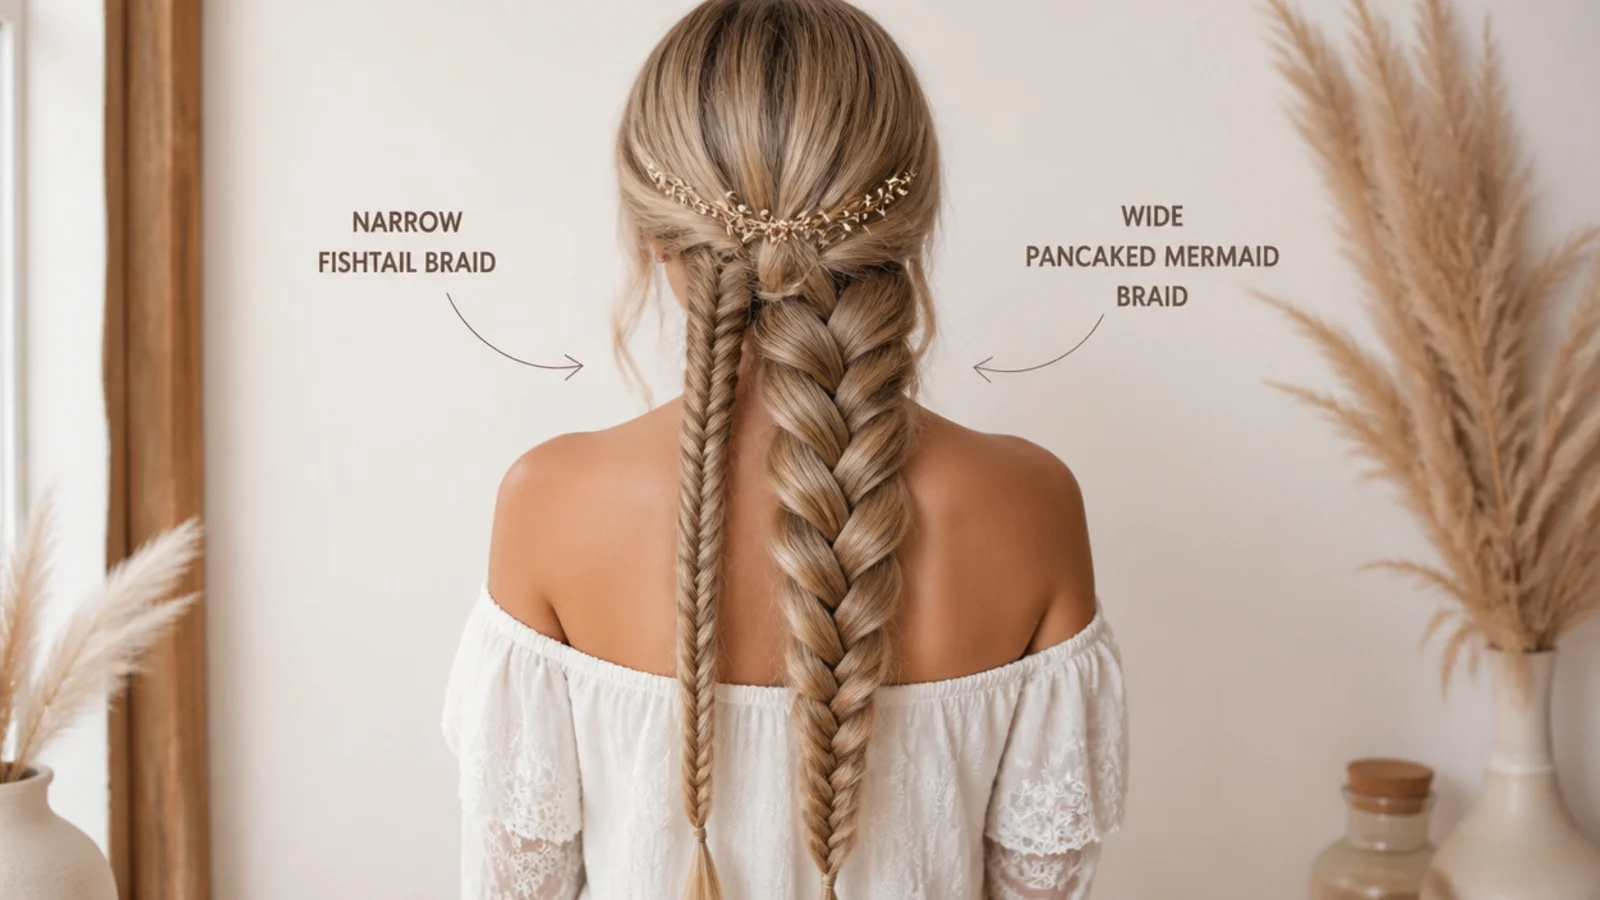
The braid comes out of your hands narrow. That is what a fishtail does. Interlacing packs the hair tighter than the section you picked up.
The width is pulled out after the elastic is on. Braid, tie, then widen. Doing it in any other order loosens the braid instead of opening it.
What Is a Mermaid Braid
Two halves, not three strands. Split the hair down the middle. Take a thin piece from the outer edge of the left half, cross it over and add it to the inner edge of the right half. Repeat on the other side.
One piece moves per pass. That is why the pattern is a row of fine V shapes rather than the rope of a three strand plait.
Piece size decides everything. A quarter inch gives roughly four times as many crossings as an inch does, and it is the crossing count that makes the surface read as scales.
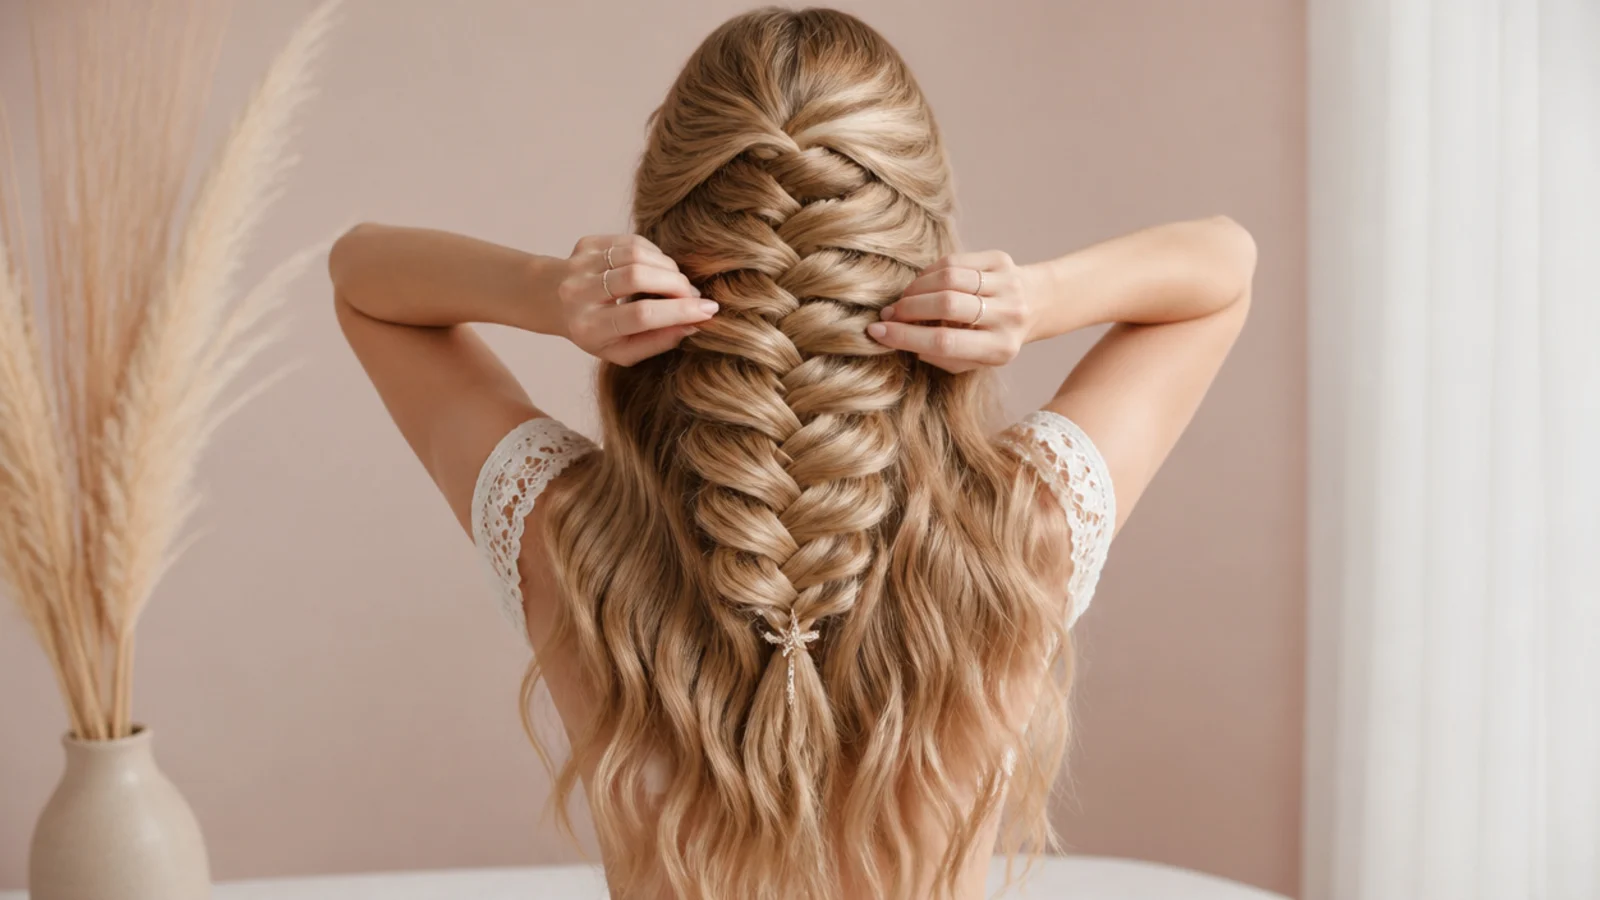
The braid is only half the style. Untouched, it is a fishtail. Pancaked wide over waved hair, it is a mermaid braid.
Length and Thickness
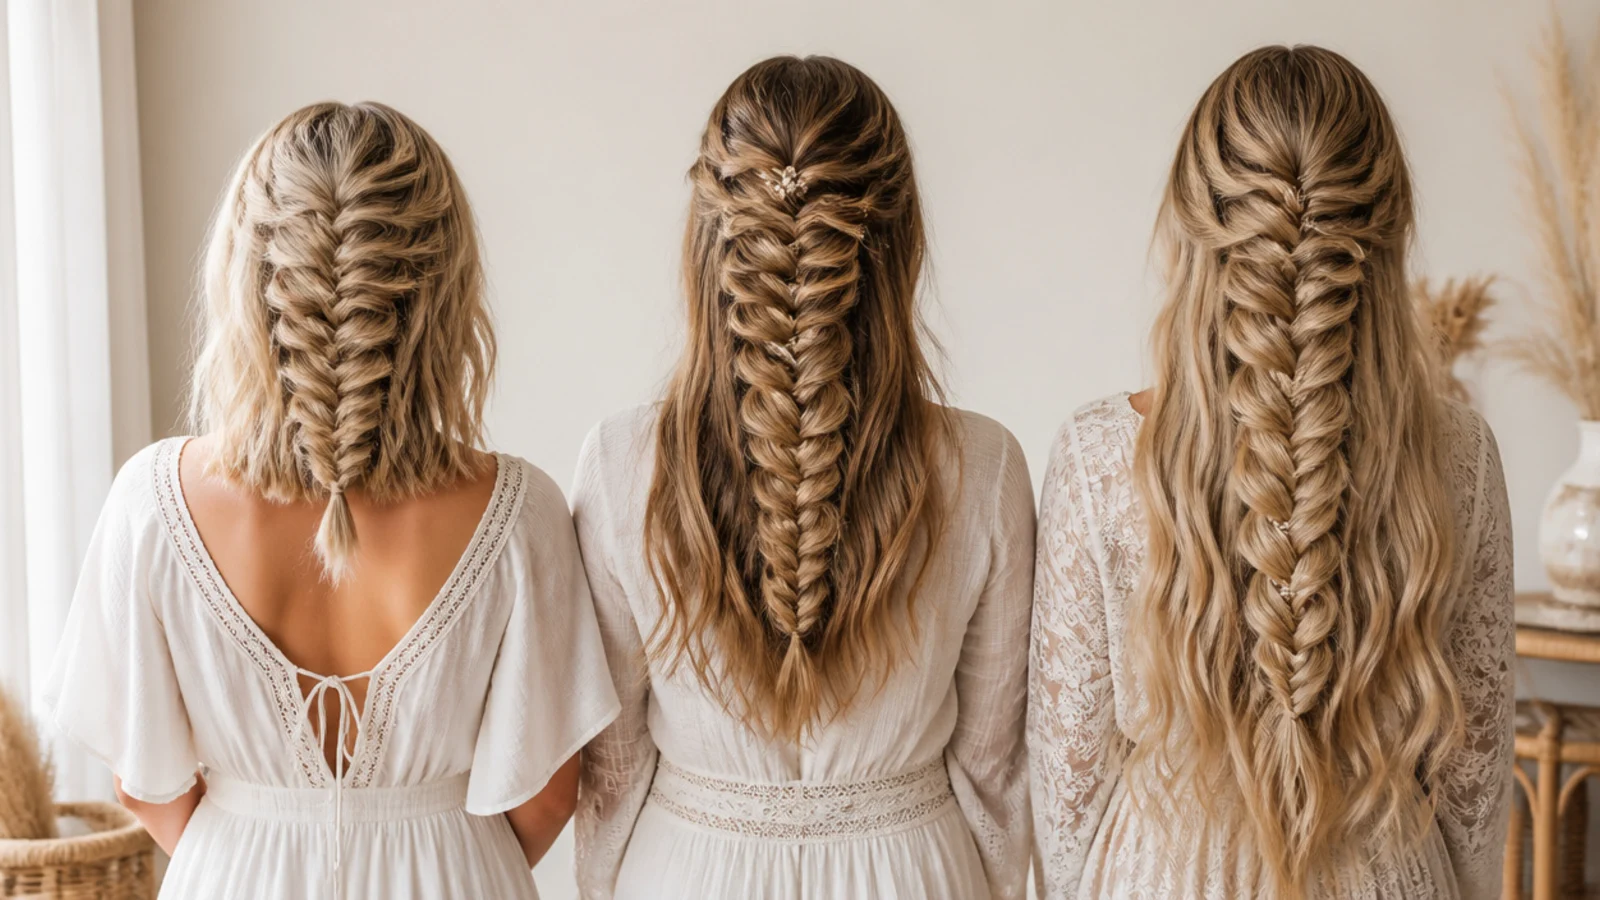
Shoulder length. Start the braid higher up the head so it has more distance to travel, and take the smallest pieces you can hold.
Mid back. The easiest length. Twenty or more crossings with several inches spare below the elastic.
Waist and past it. The braid gets heavy and pulls at its anchor all day, so tie the top section in before you start rather than relying on the first crossing to hold.
Thick hair. Split off the top third and braid only that. Braiding the whole head at this piece size takes twenty minutes and produces something too heavy to pancake.
Fine hair. More sections rather than bigger ones, and all the effort goes into the widening afterwards.
Fine and Slippery Hair
The problem is grip, not volume. A smooth cuticle slides across its neighbour, so sections separate while you braid and loops close after you finish.
Texture spray is the fastest fix. A light salt or polymer spray roughens the strand surface and raises the friction between pieces immediately.
Braid tighter than you want it. Fine hair loosens on its own, so build in the slack you know it will take back.
Backcomb the first two inches. A little lift at the root gives the braid a base and stops the scalp showing through the widened crossings.
Tie both ends. If the braid keeps unravelling upwards from the top, a clear elastic around the starting section removes the problem entirely.
Pancaking Technique
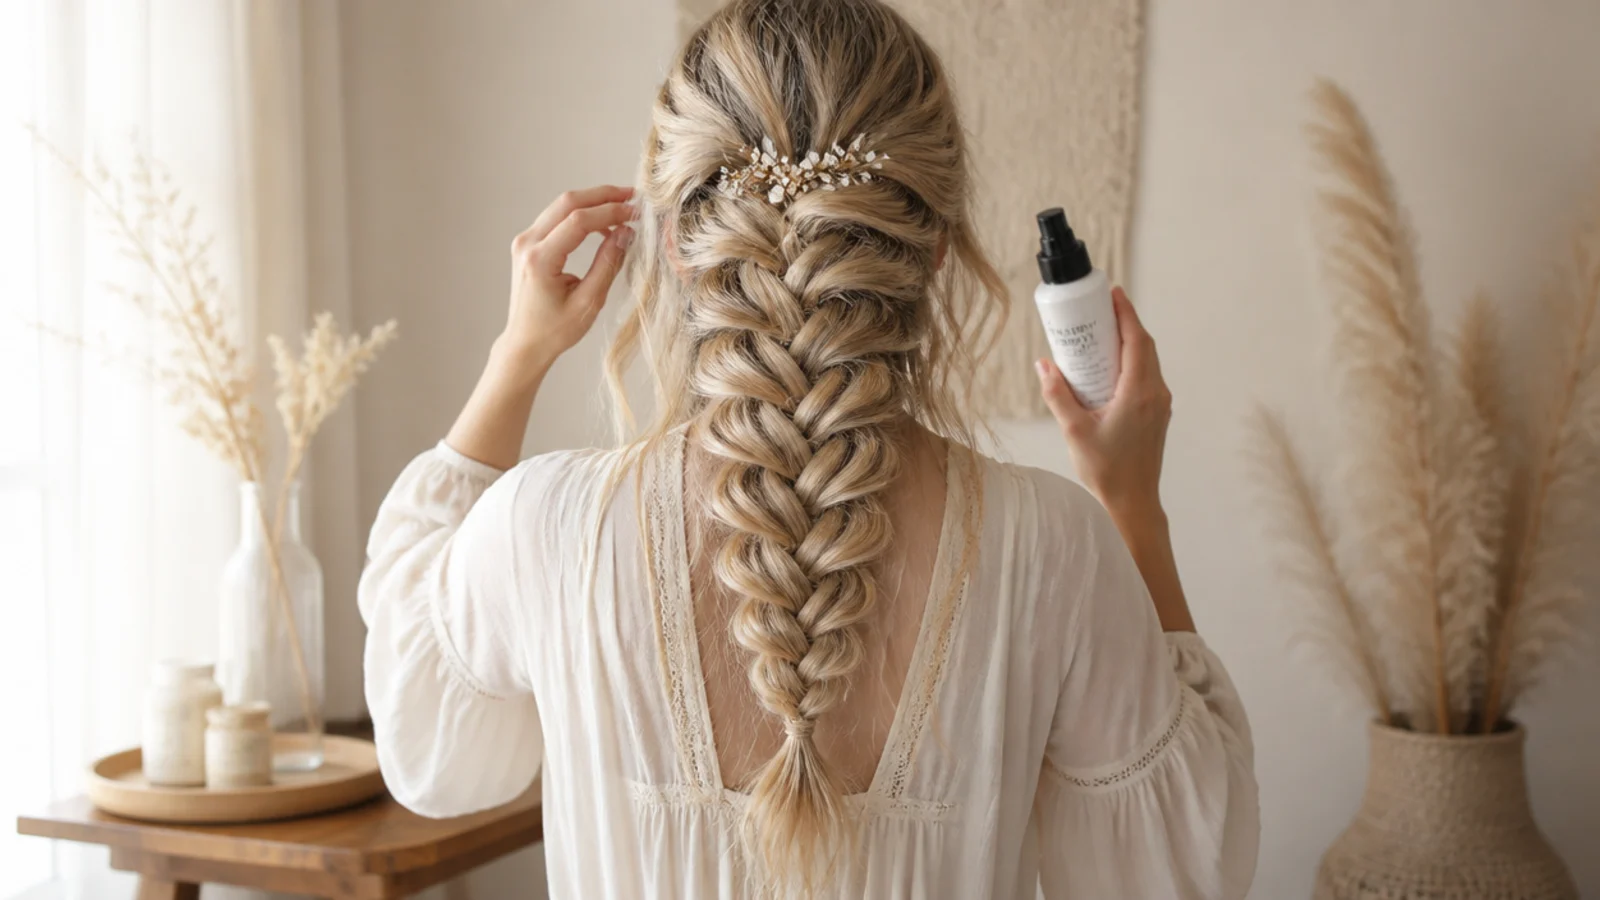
Grip the elastic first. Without a fixed bottom the braid stretches lengthways instead of widening, and you lose an inch for nothing.
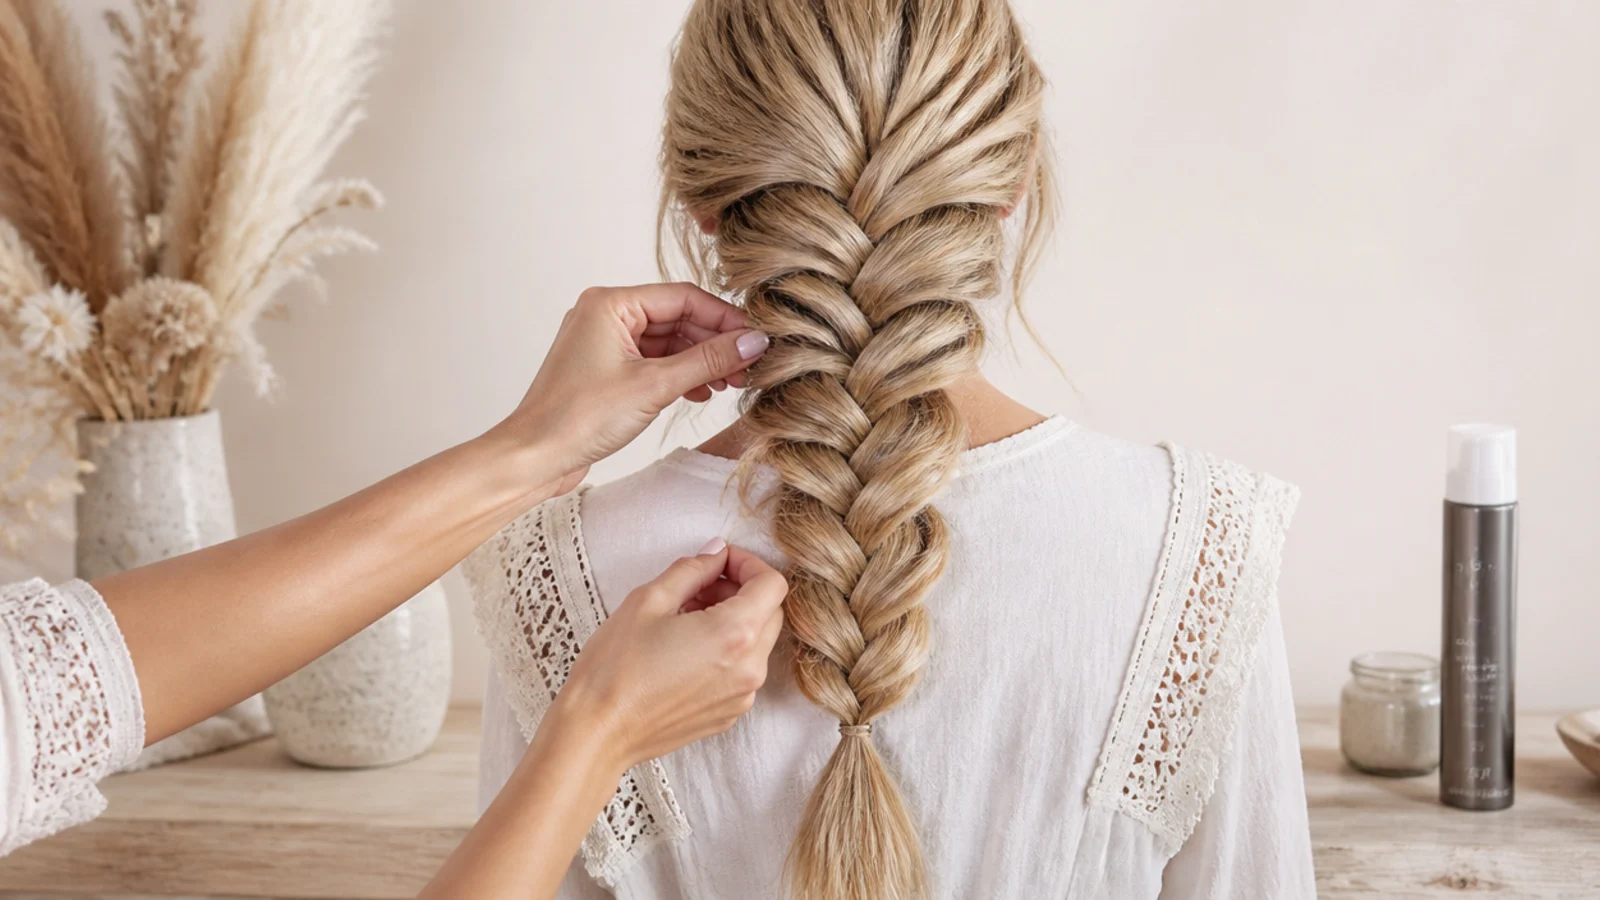
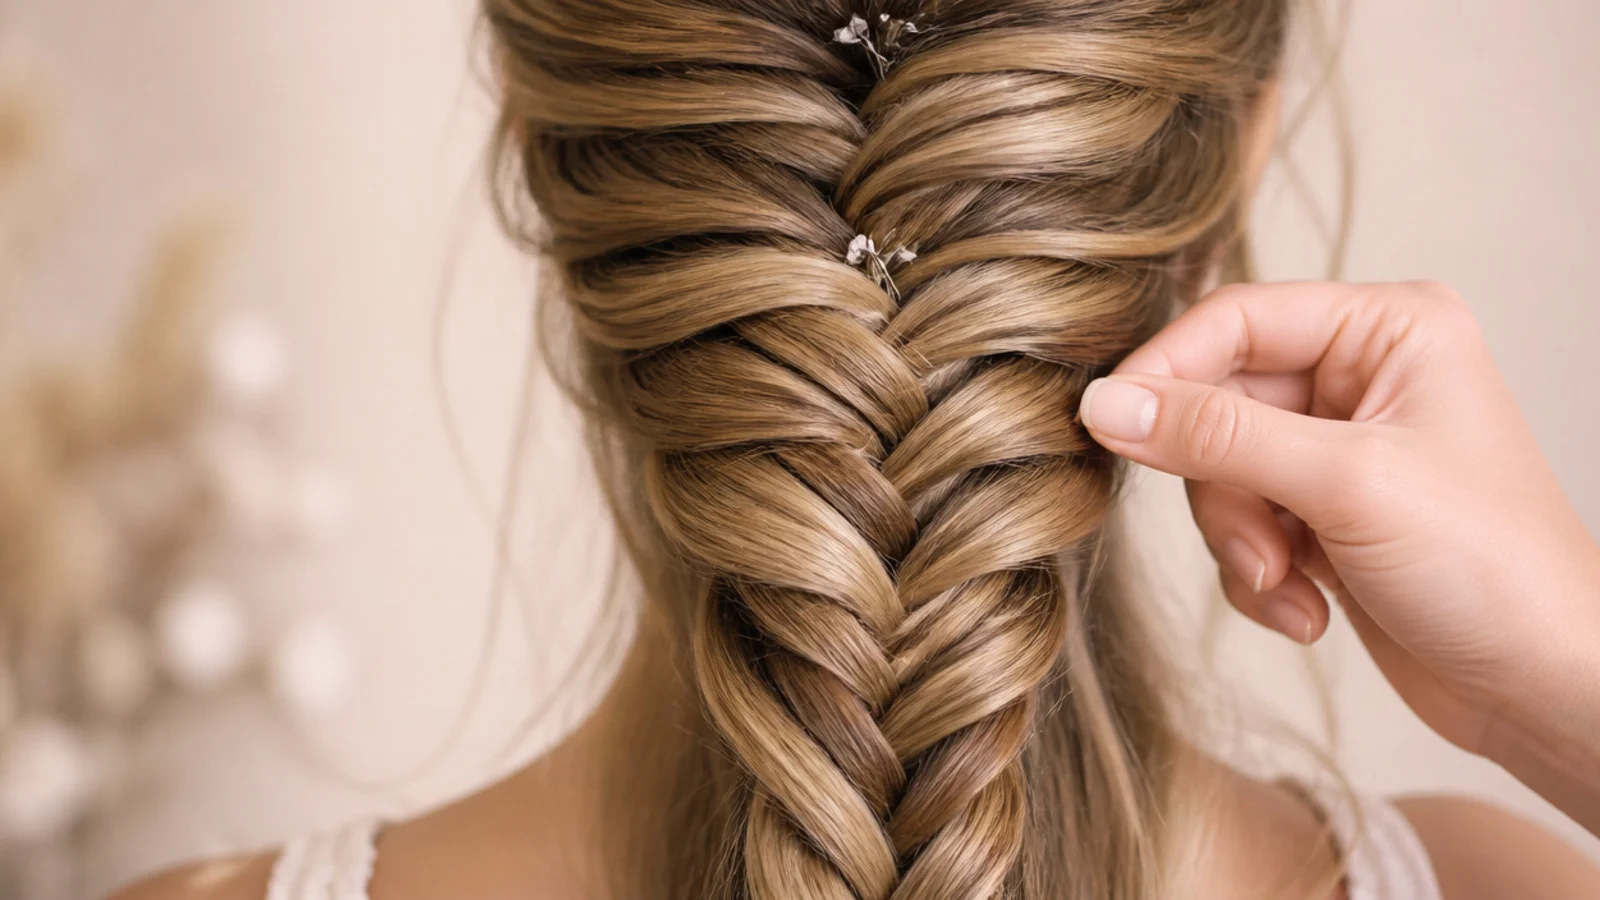
Pull the outer edge of one loop at a time. The braid holds because the tension is carried at the centre crossings, which the outer edge never touches.
Move from the elastic upwards. Each loop you open borrows a little slack from the braid above it. Working upwards feeds that slack into hair you have not opened yet, so nothing at the crown loosens.
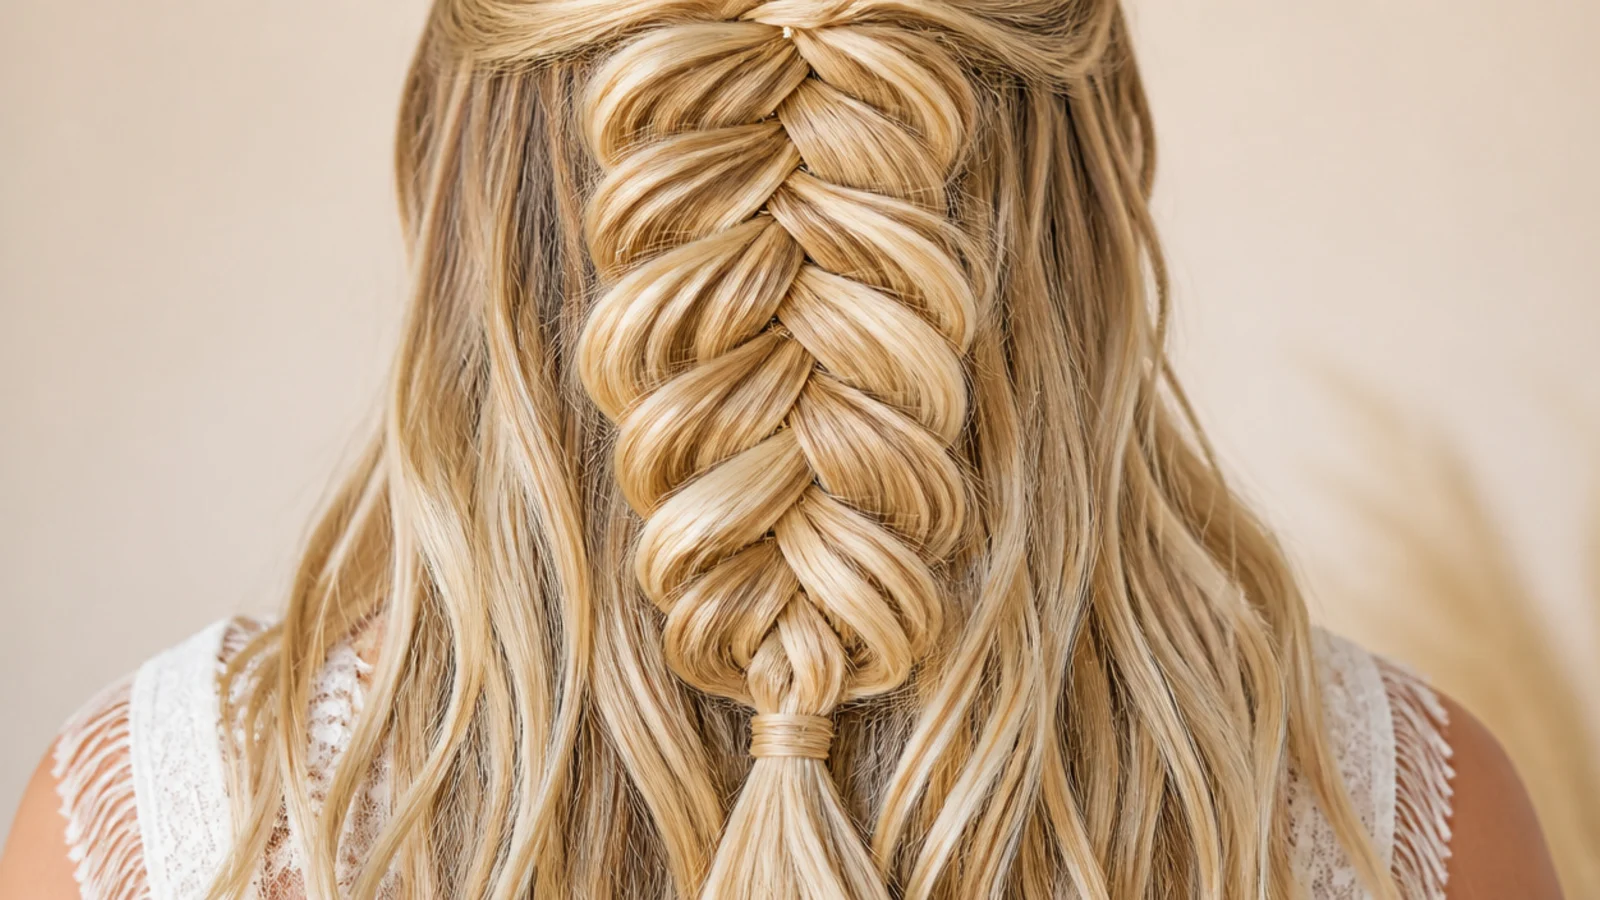
Widen the middle most. A braid naturally tapers because there is less hair towards the ends. Making the centre widest gives the leaf shaped silhouette the style is named for.
Stop before you can see through it. Once the crossings gap and scalp or background shows between them, the surface stops reading as scales.
Boho Accessories
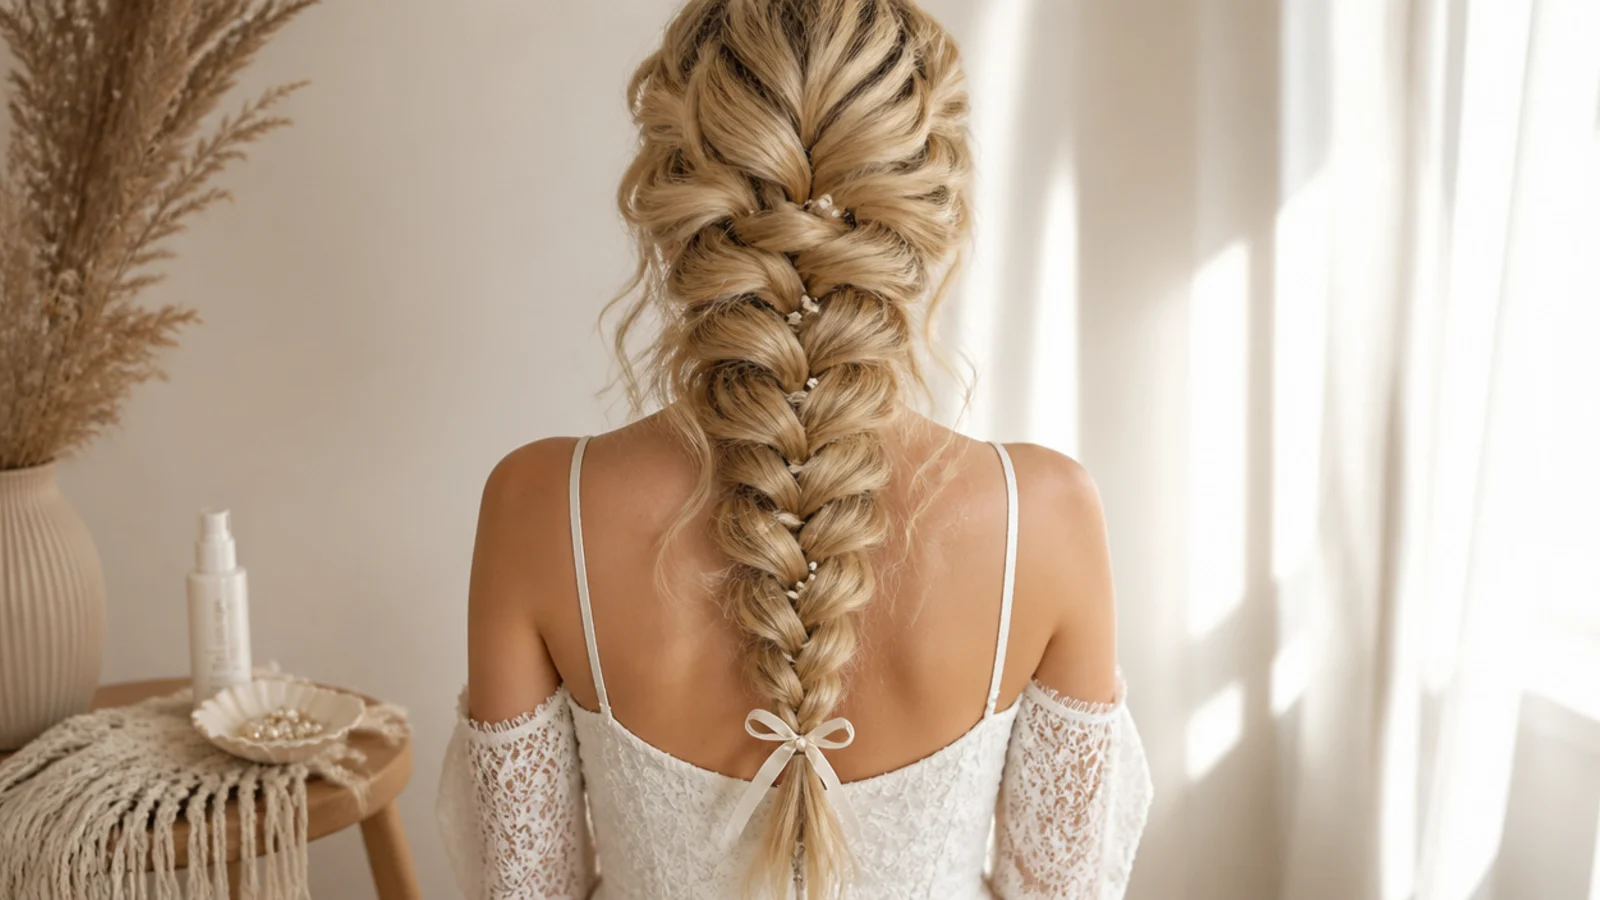
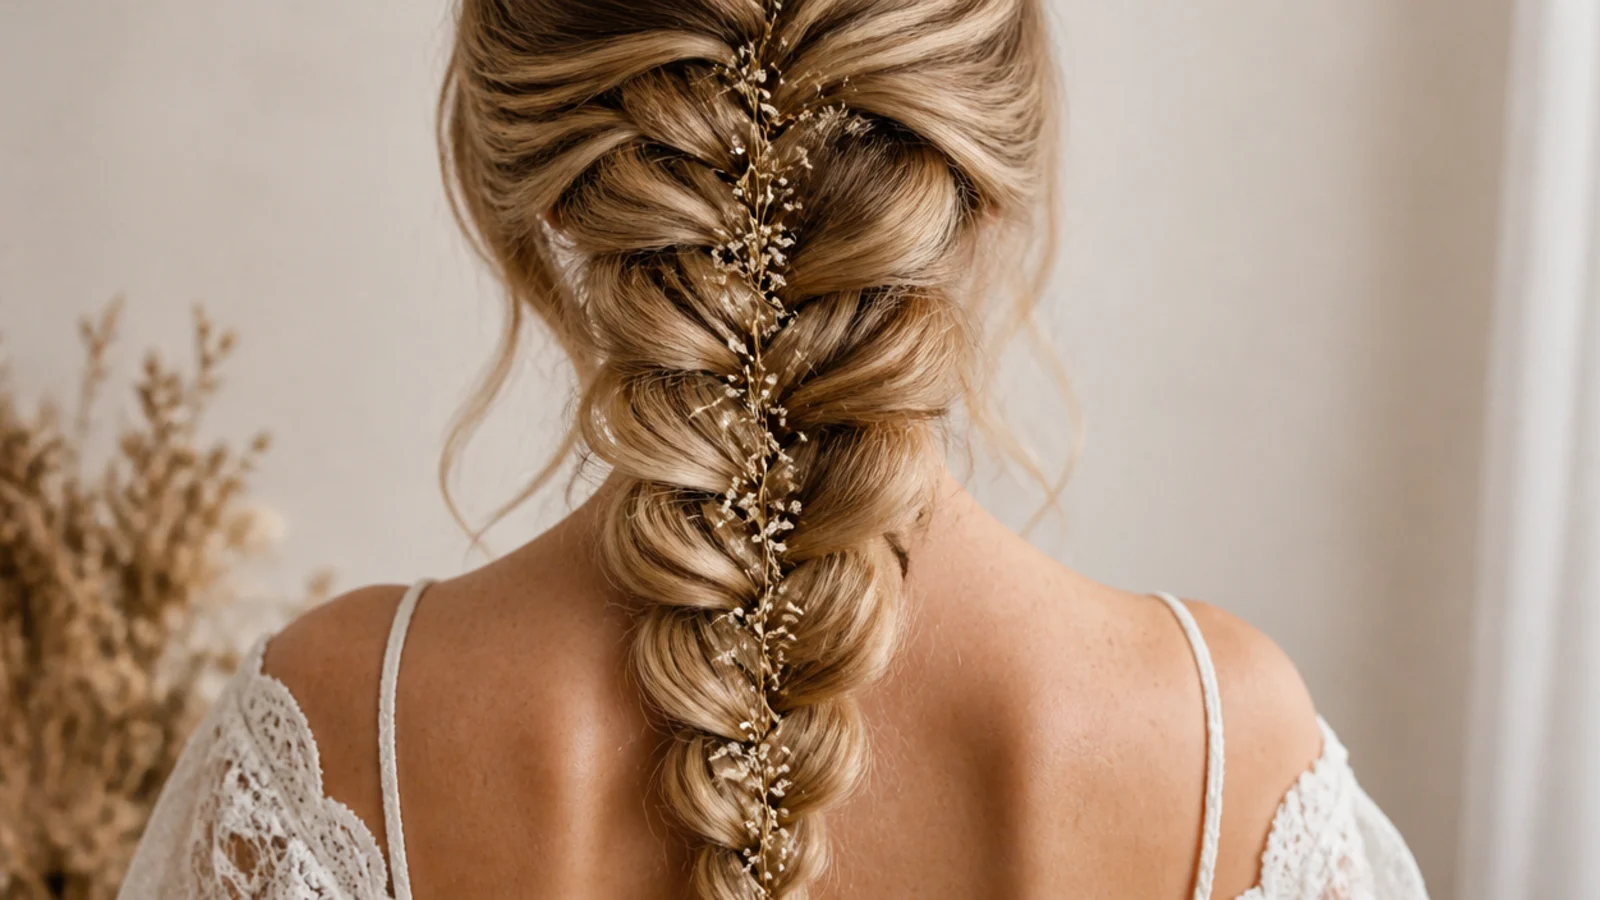
Lay ribbon in at the start. Added to one of the two halves before the first crossover, it travels through the braid and surfaces at intervals. Tied on afterwards it is a bow, not a woven detail.
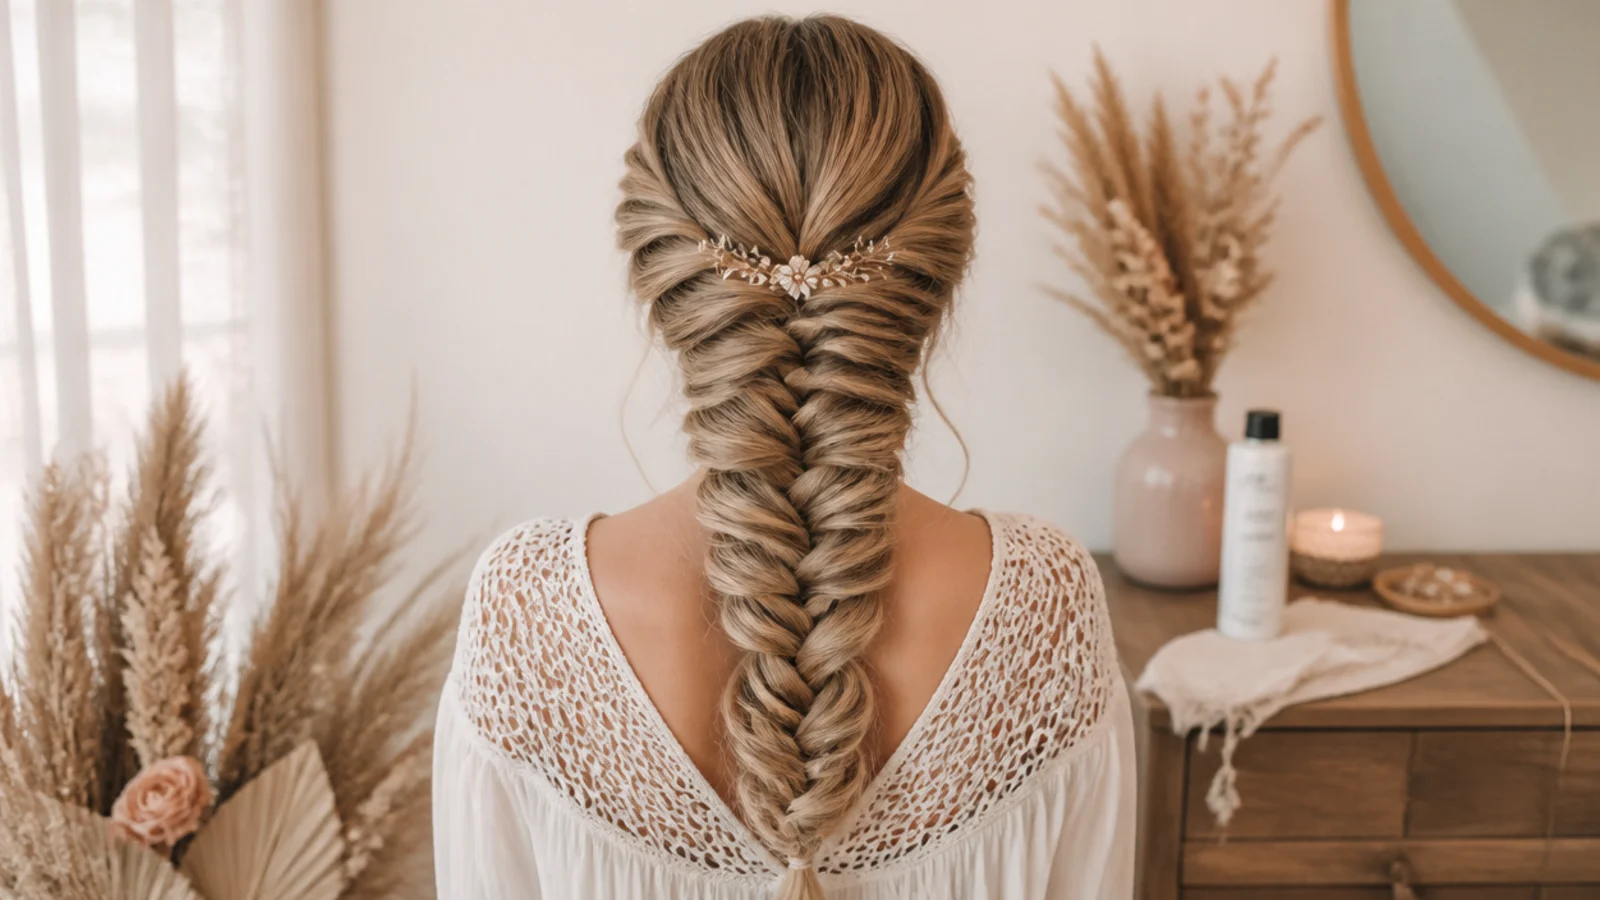
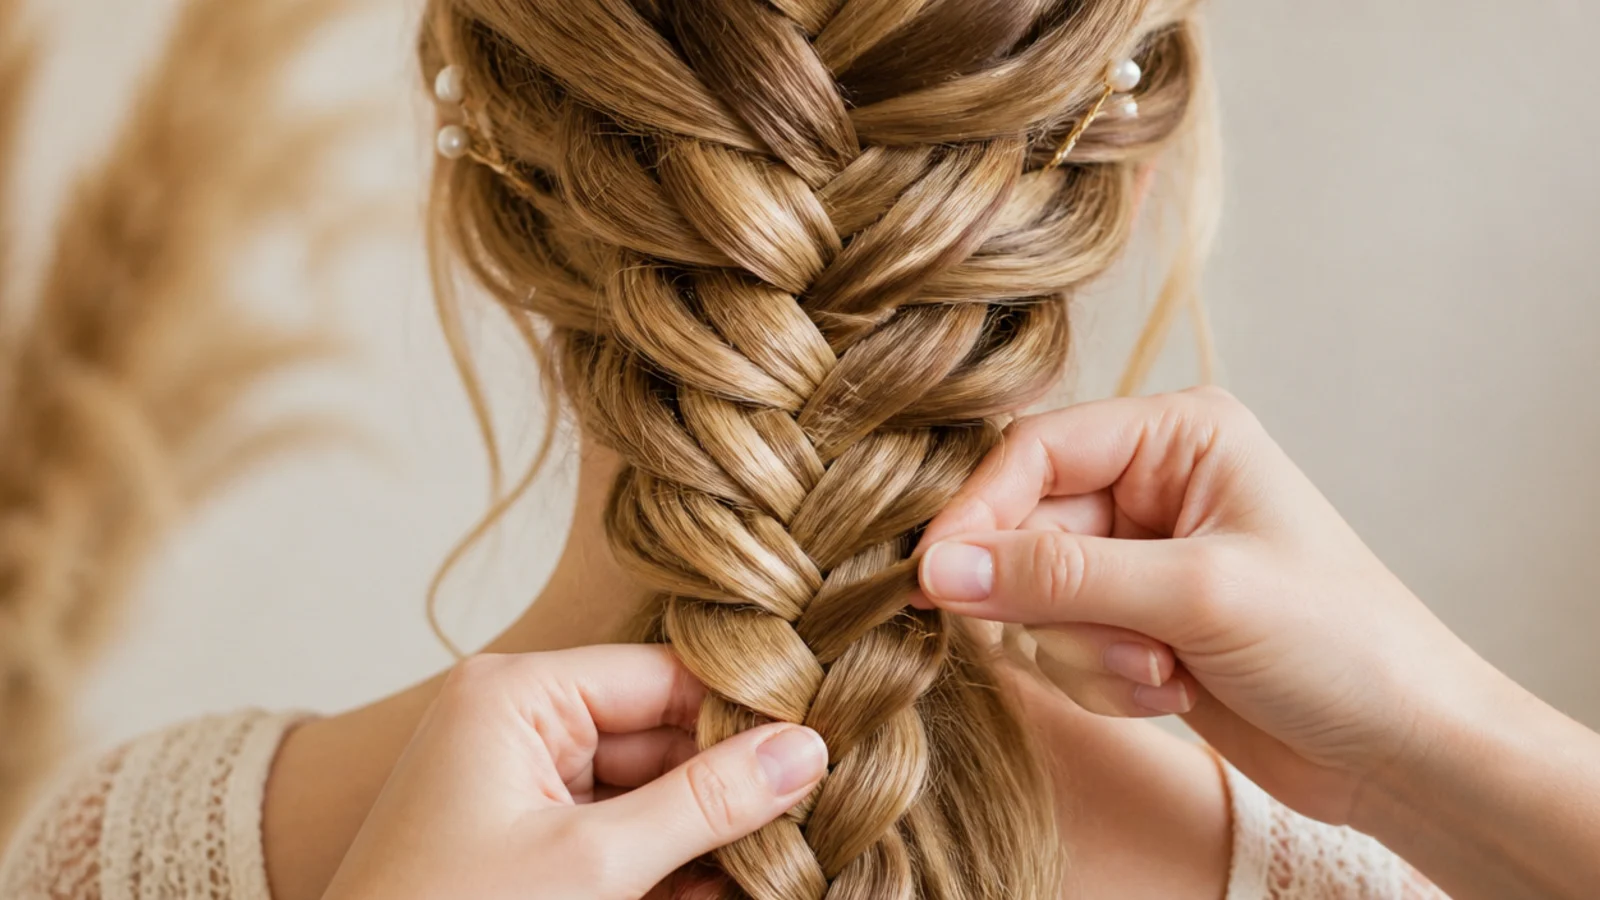
Pins go into the loops, not through the braid. Pancaking opens gaps that hold a decorative pin without any grip of its own required.
Scatter, do not space. Evenly placed pins read as a ruled line down the back. Uneven placement reads as decoration.
Metal cuffs sit best on the taper. They need a narrow section to close on, so the last third of the braid is where they hold.
Fabric adds friction. A ribbon braid stays open longer than the same braid without one, which is a practical reason to use it and not only a decorative one.
Make It Last
Braid on day two hair. Sebum and yesterday's product are what hold a pancaked braid open, and washing removes both.
Re-tug instead of re-braiding. A braid that has narrowed has closed, not unravelled. Thirty seconds on the outer loops resets it.
Do not touch the crown after setting. Almost all mid day collapse starts at the top, where the braid is under the most tension.
Sleep in it for next day waves. Small evenly spaced crossings leave a fine consistent bend through the whole length.
Cut the elastic out. Dragging a band over the ends damages the oldest hair on your head at the thinnest point of the braid.
The 20 Details That Decide a Mermaid Braid
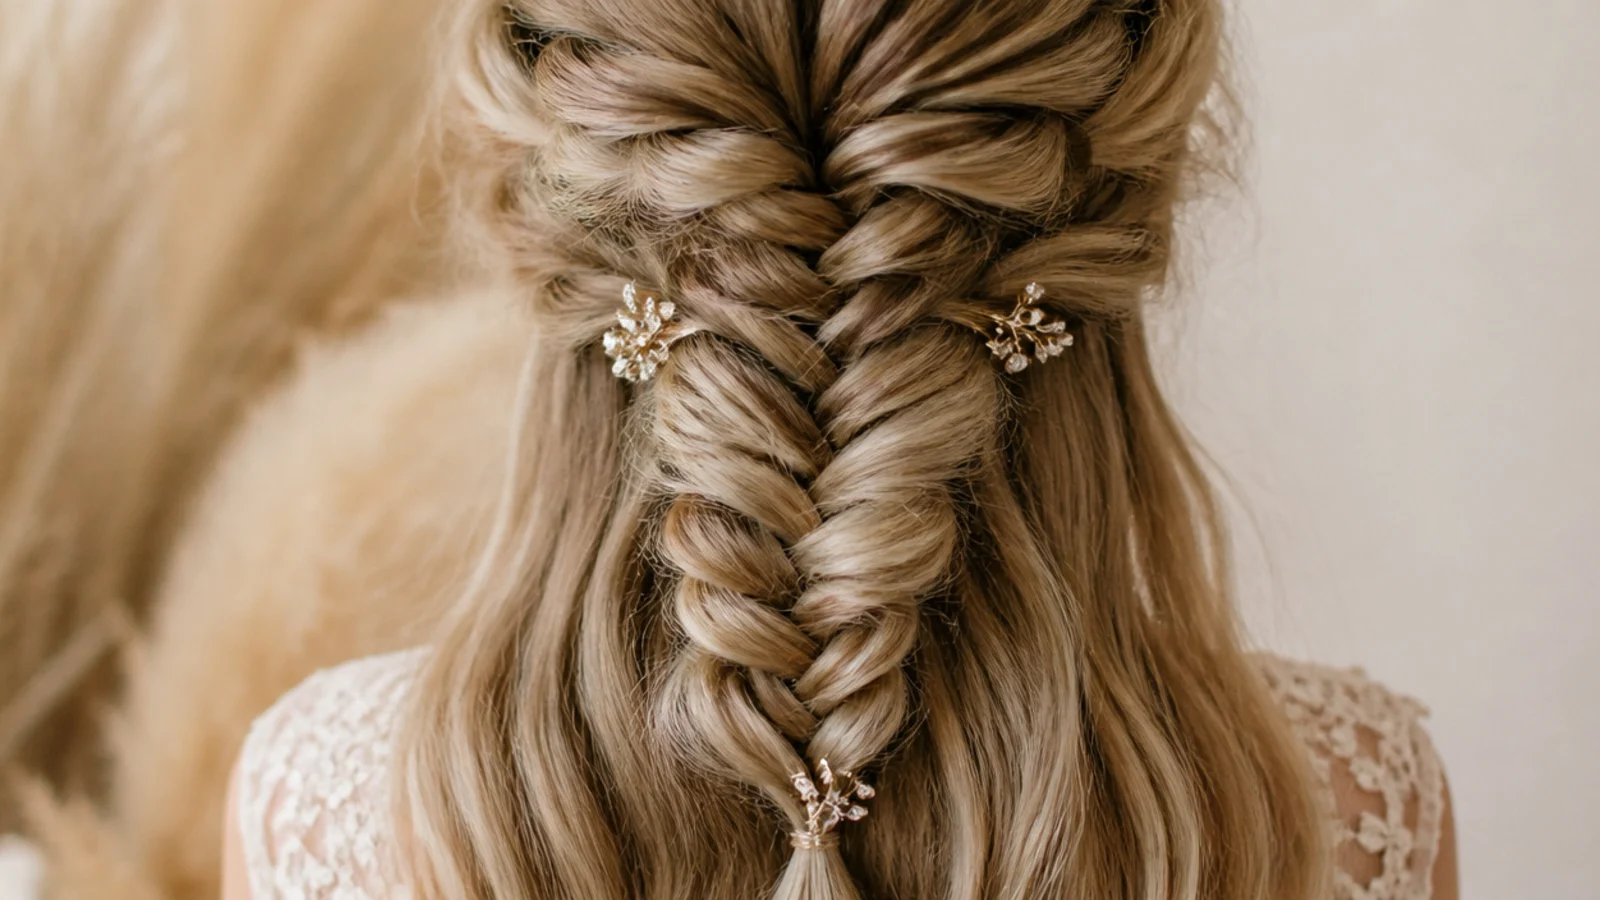
1. Day Two Hair
Freshly washed hair has no residual sebum or product on the strand surface, so sections slide apart while you are still braiding. A day of natural oil gives the pieces something to grip, which is the difference between a braid that stays open and one that closes by lunchtime.
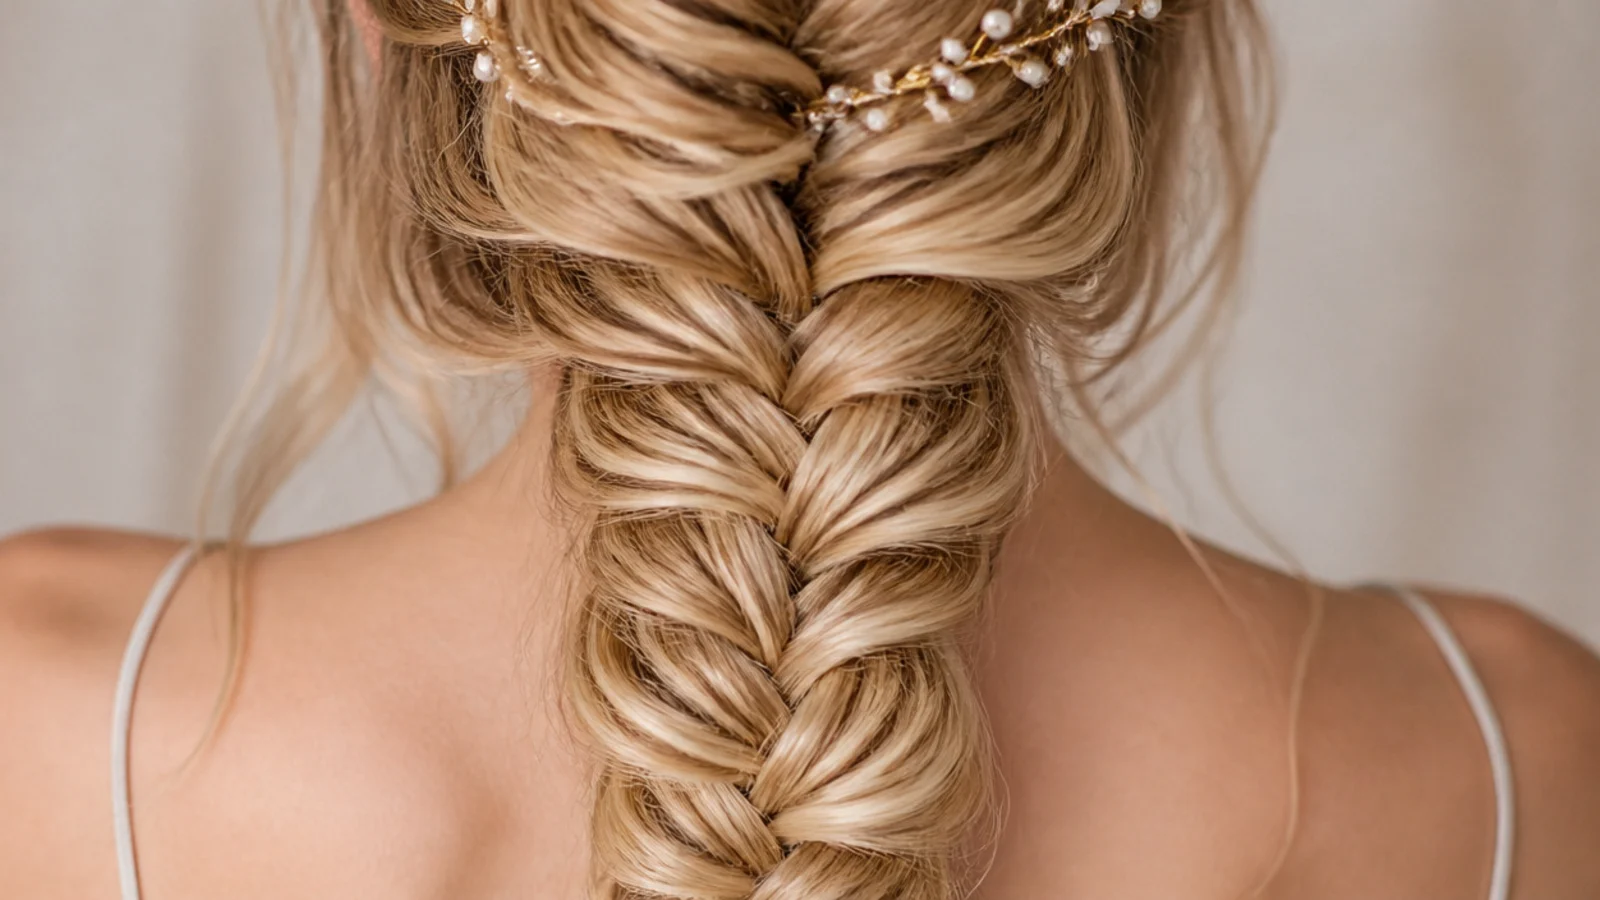
2. Texture Spray
If the hair is clean, a light salt or polymer spray does the same job as a day of oil by roughening the cuticle. Spray at the mid lengths rather than the roots, because grip is needed where your fingers are working and lift at the scalp is a separate problem.
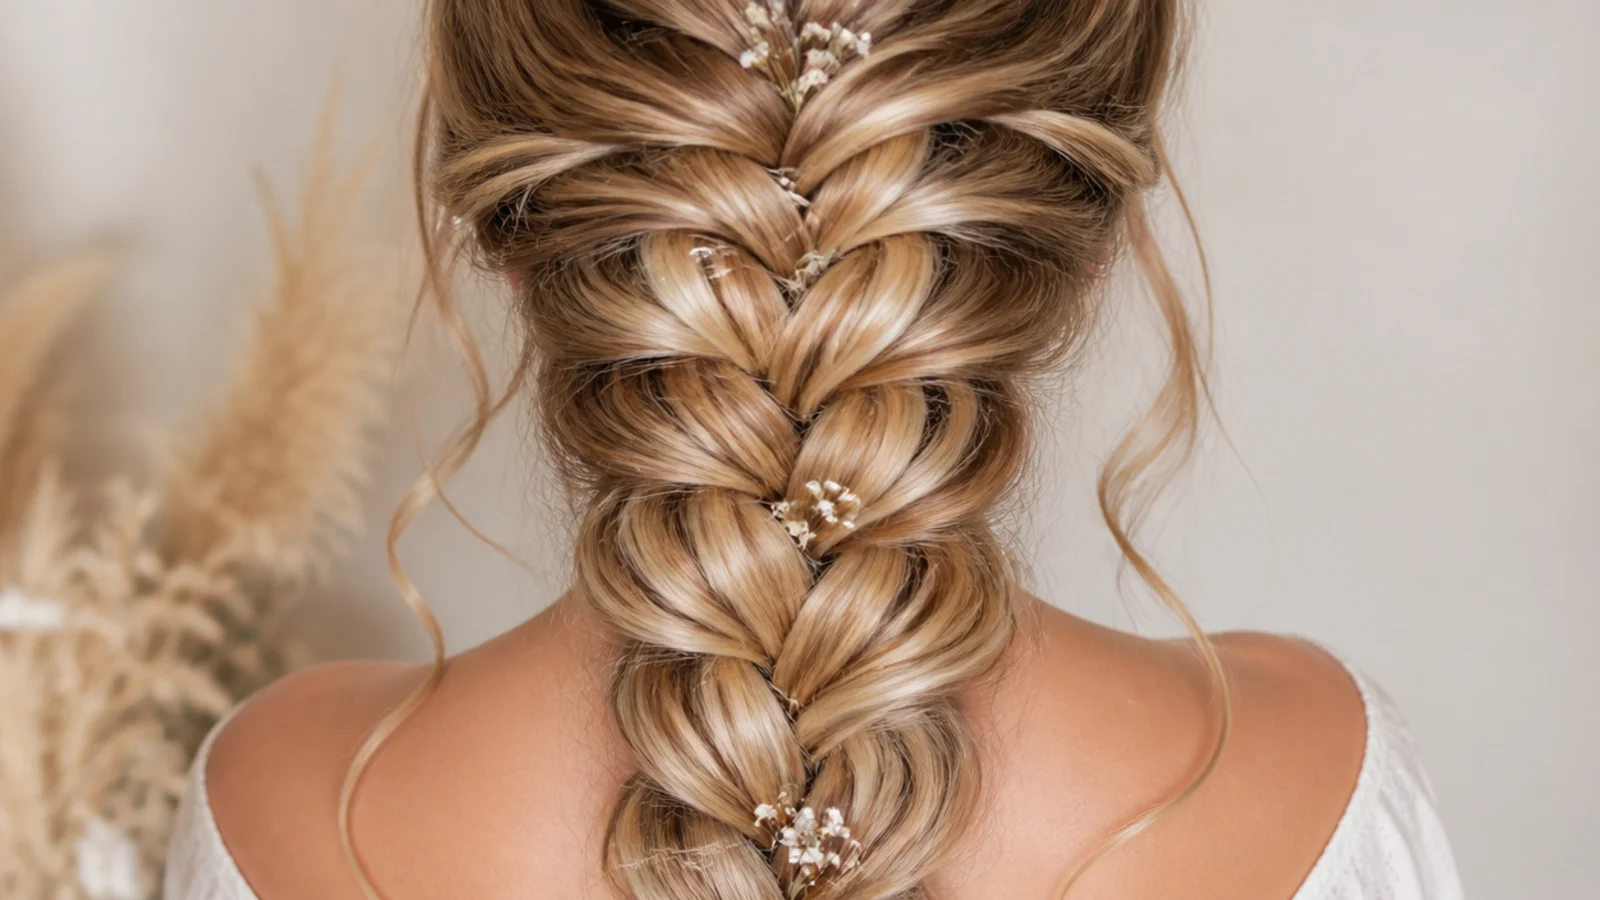
3. Curl First
Bending each strand before you braid means every piece catches on its neighbours instead of sliding past them. That mechanical interlock is what holds a pancaked braid wide, so curling is a structural step and not a decorative one.
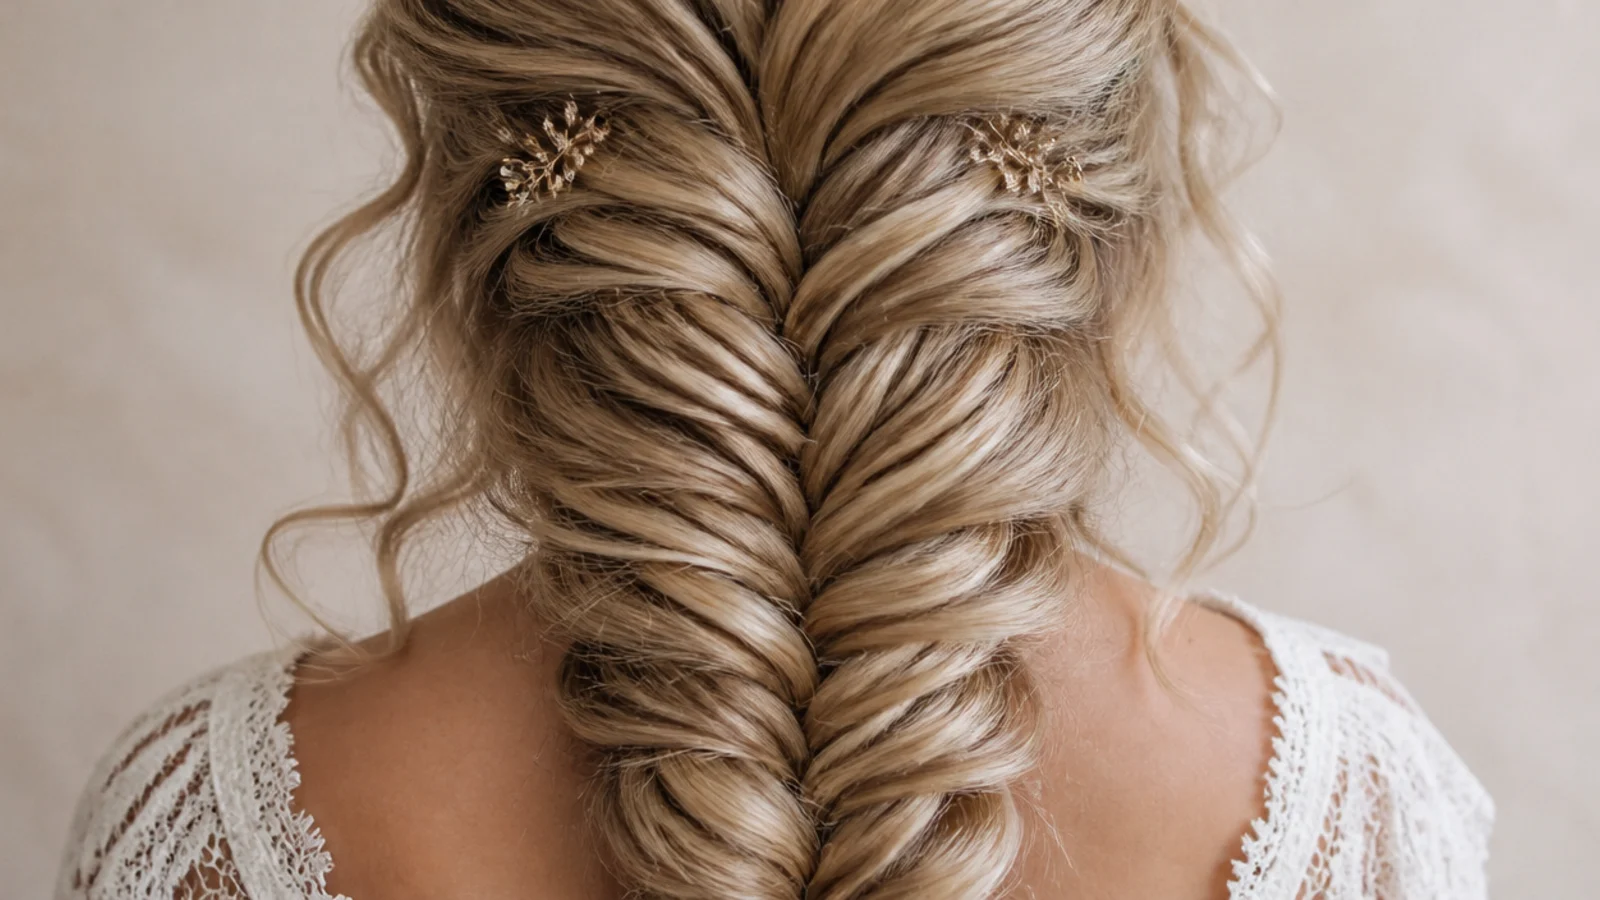
4. Brush It Out
A defined ringlet fights a braid because each curl wants to sit as one unit and lumps up in the crossing. Brushing the set out breaks those ringlets into one continuous soft bend, which keeps all the friction and removes all the bulk.
5. Choose the Part
The part decides where the braid starts and therefore which side of the face it frames. A centre part sends equal weight into both halves and keeps the braid straight, while a deep side part loads one half and pulls the braid diagonally for the first few inches.
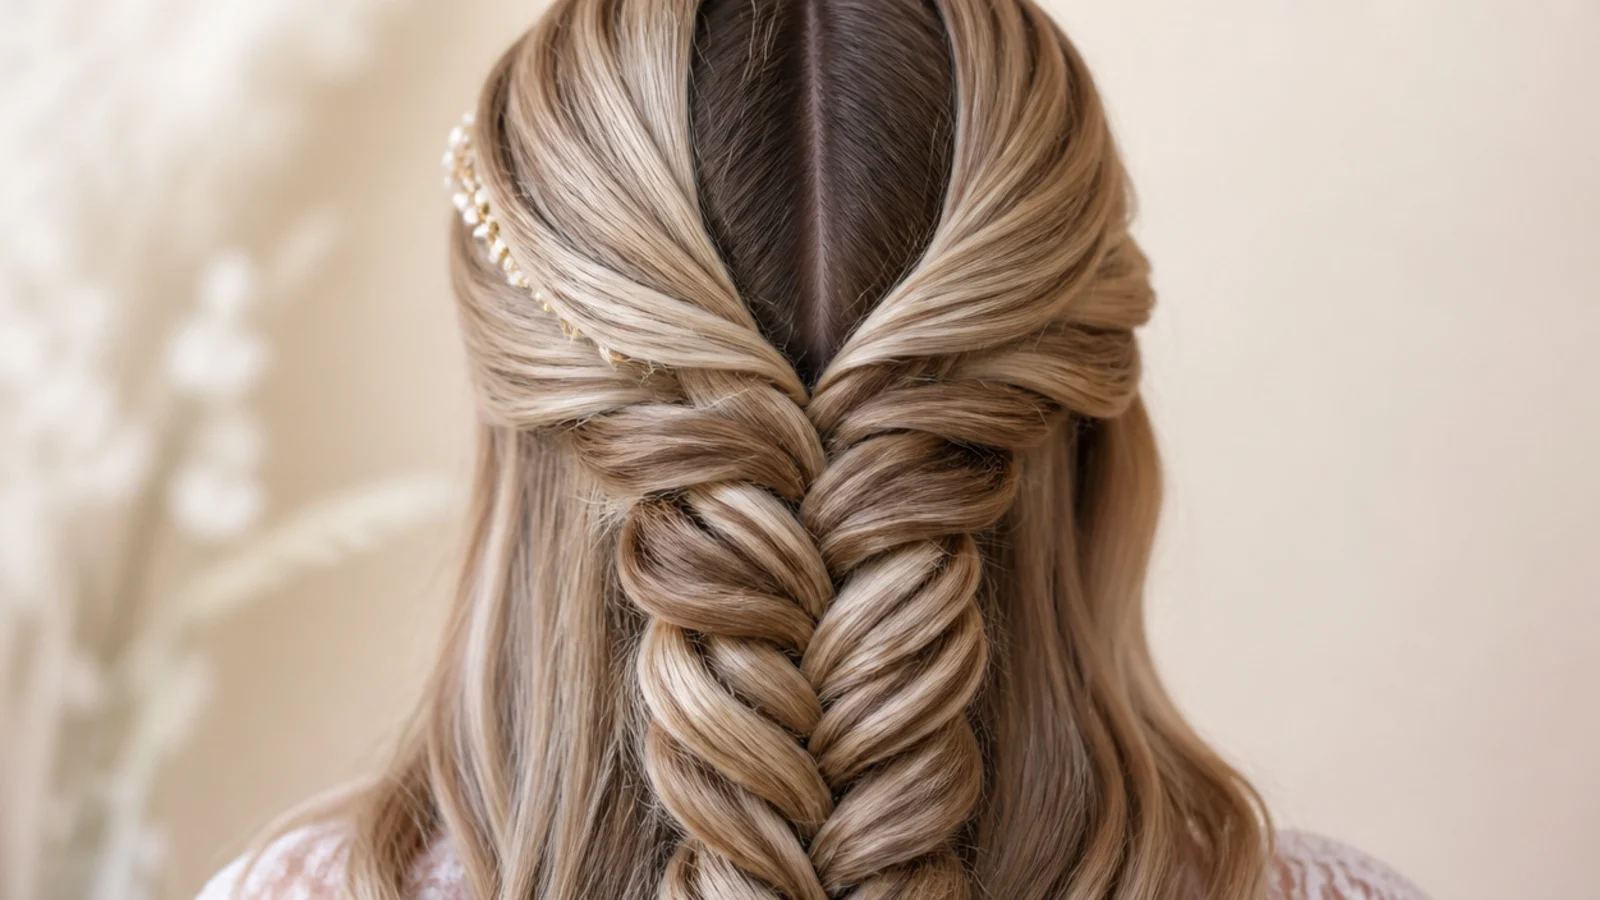
6. The Braid Start Point
Starting at the nape gives a long loose tail and starting at the crown gives a braid that hugs the head. Choose by length, because short hair needs the higher start simply to have enough distance for the crossings to build a pattern.
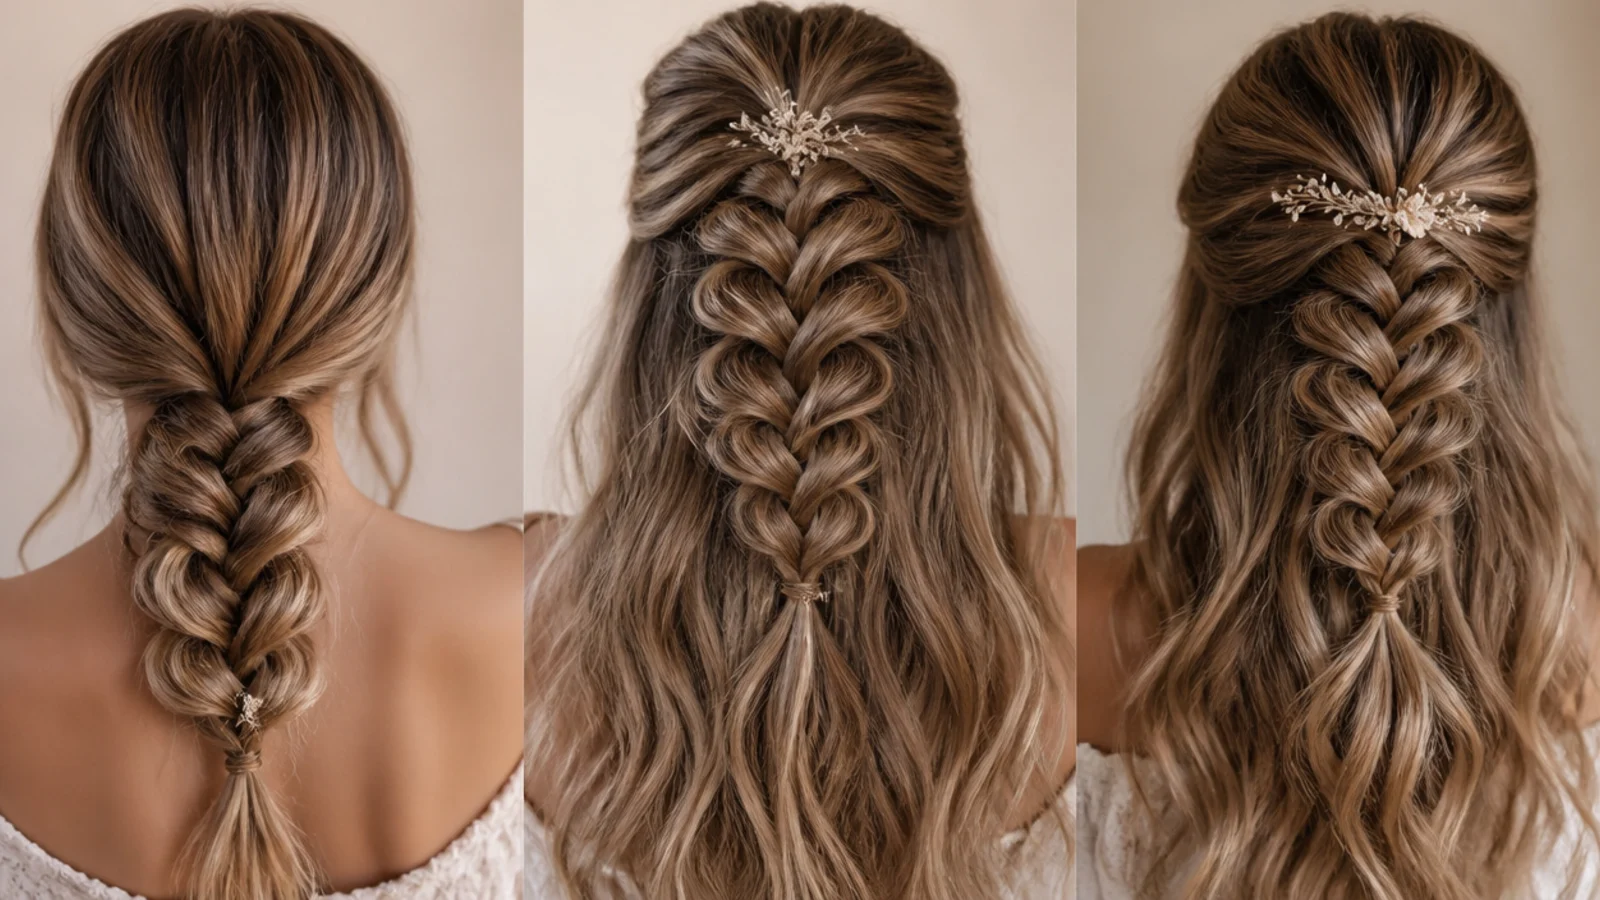
7. Split Into Halves
Divide the gathered hair into two equal sections and hold one in each hand. Getting them genuinely equal matters more than it looks, because an uneven split means one half runs out of hair early and the braid drifts sideways as it travels.
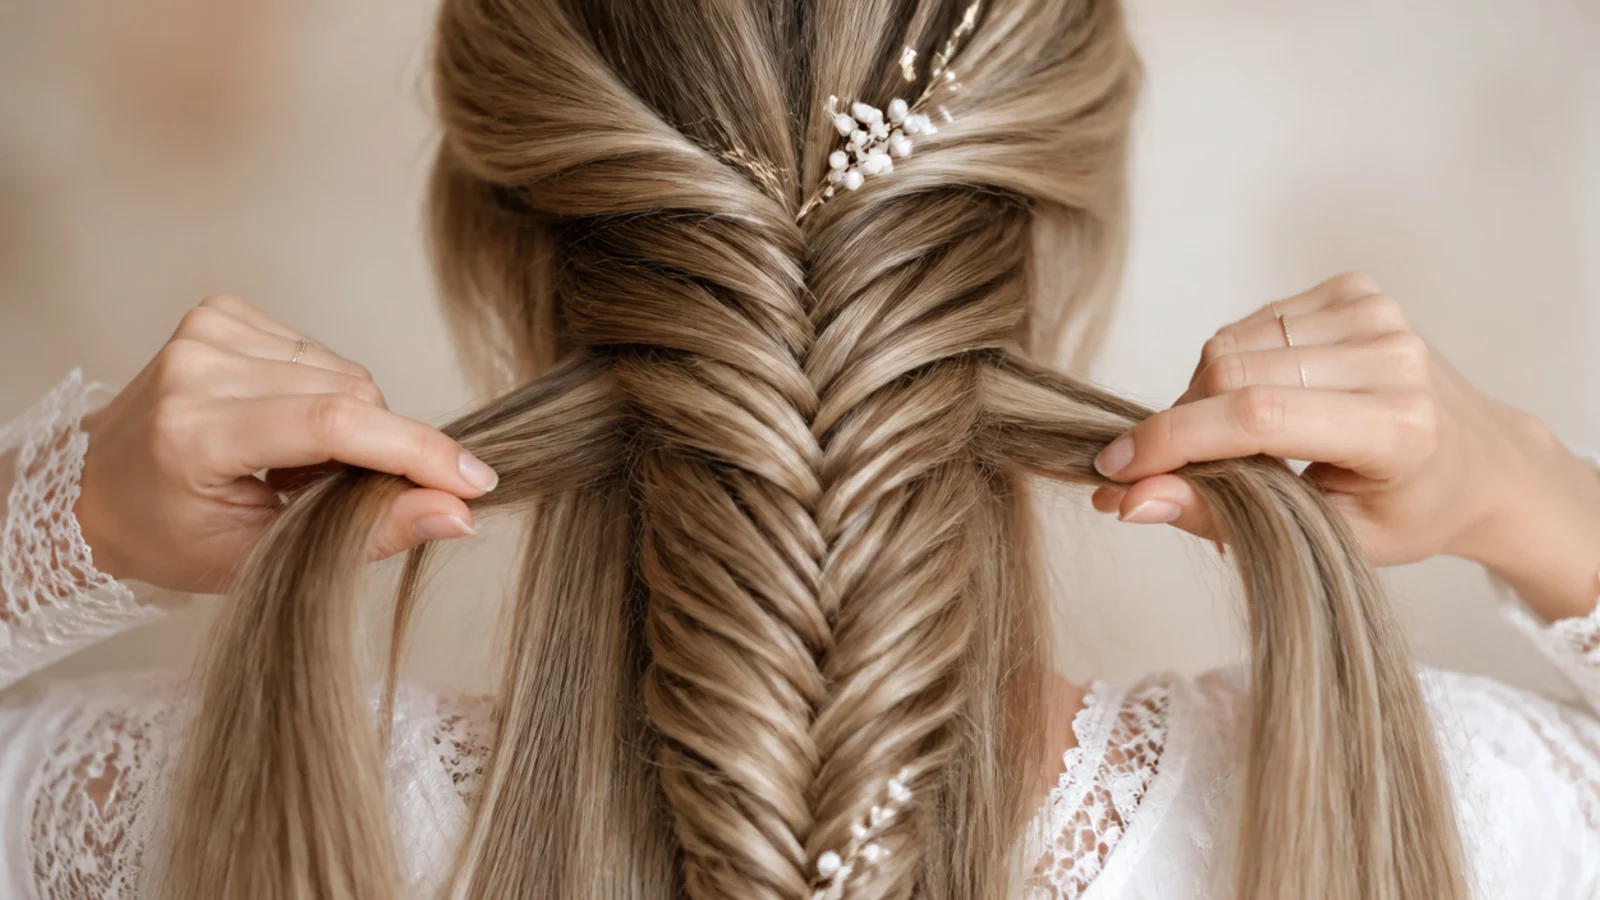
8. Quarter Inch Pieces
The width of the piece you cross over sets the density of the pattern. A quarter inch gives about four times the crossings that an inch does over the same length, and the scale effect only appears once the crossings are close enough to read as a texture.
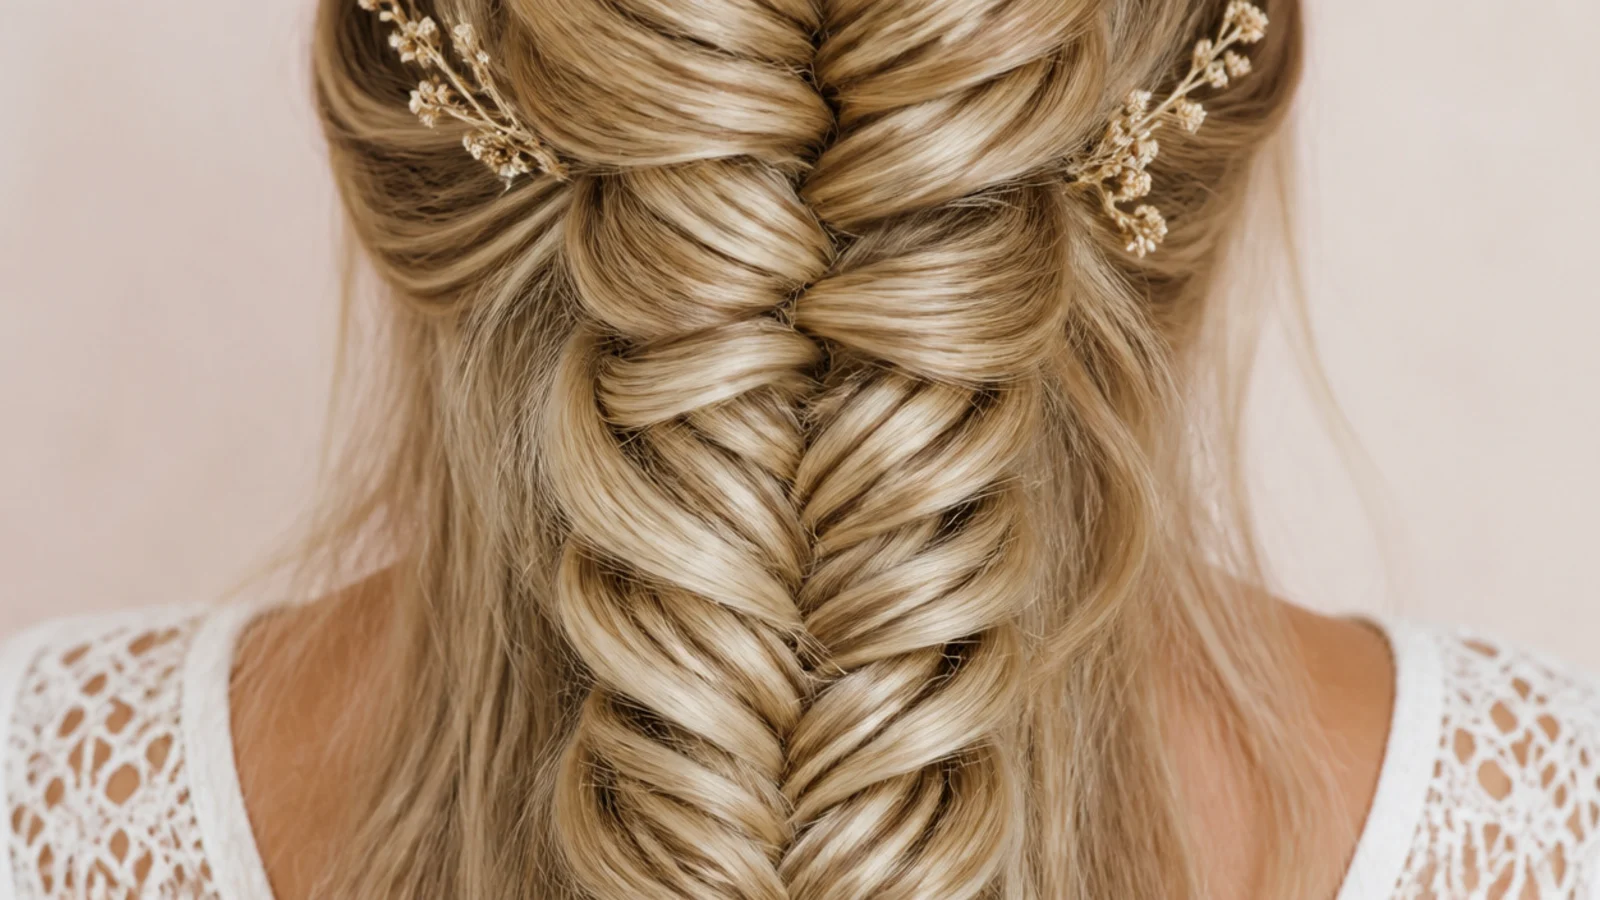
9. Consistent Widths
Every piece needs to be the same size as the last one. A single fat crossing among thin ones reads as a fault line down the braid, and it will not pancake to the same width as its neighbours, so the error stays visible in the finished shape.
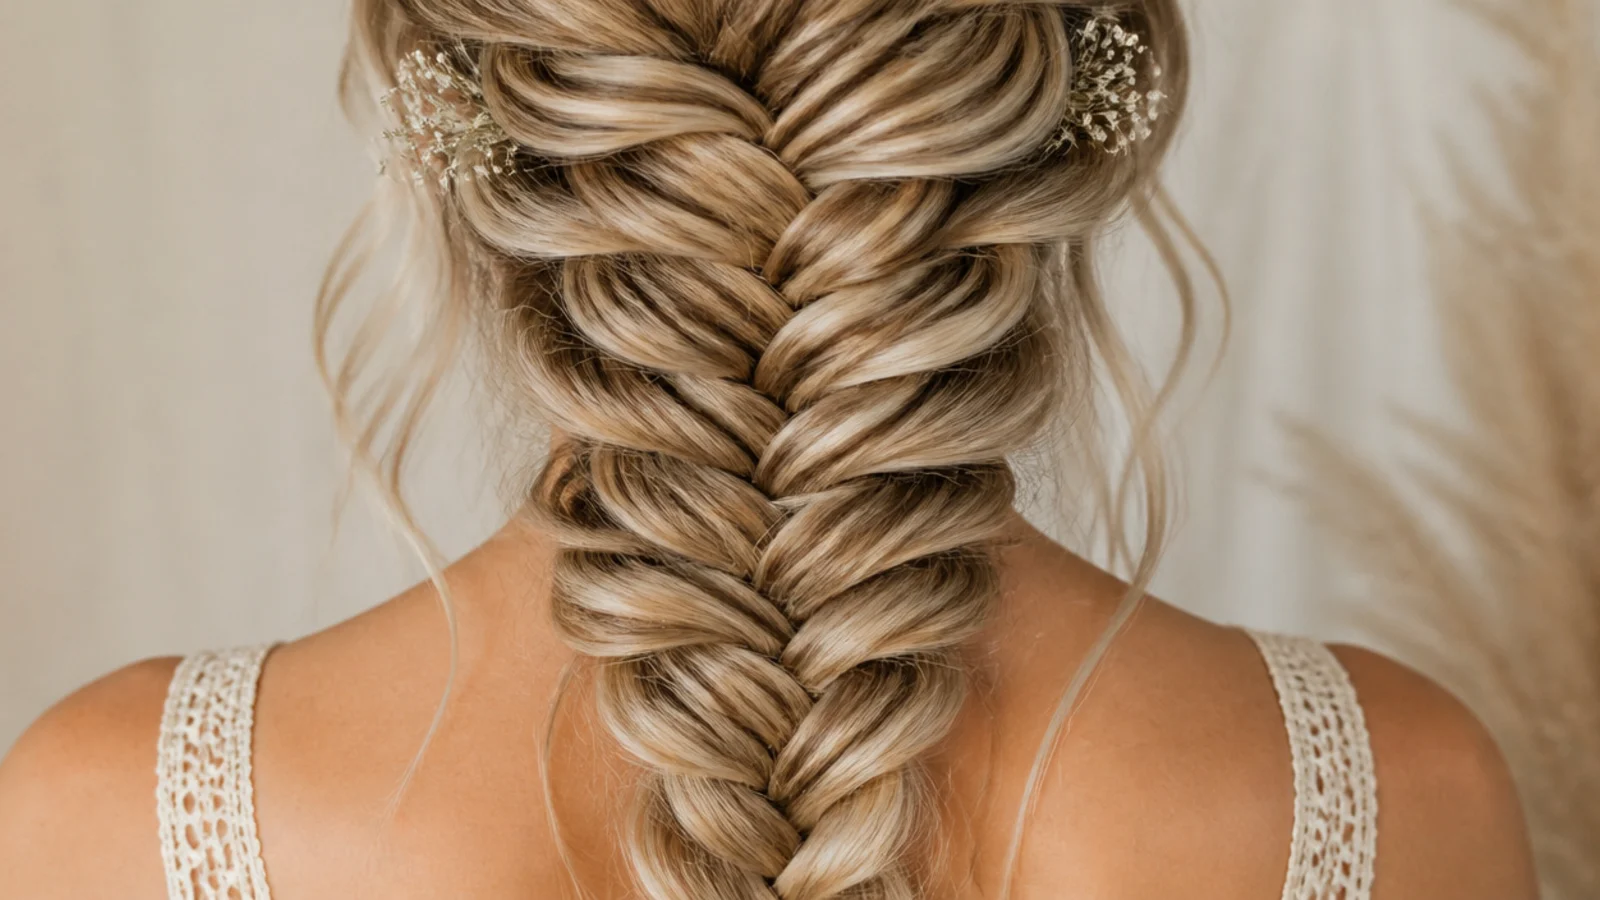
10. Hold It Loose
Braid with light tension and let the plait hang rather than pulling it towards you. A braid built under tension has no slack left to give, and slack is exactly what pancaking spends when it opens the loops out.
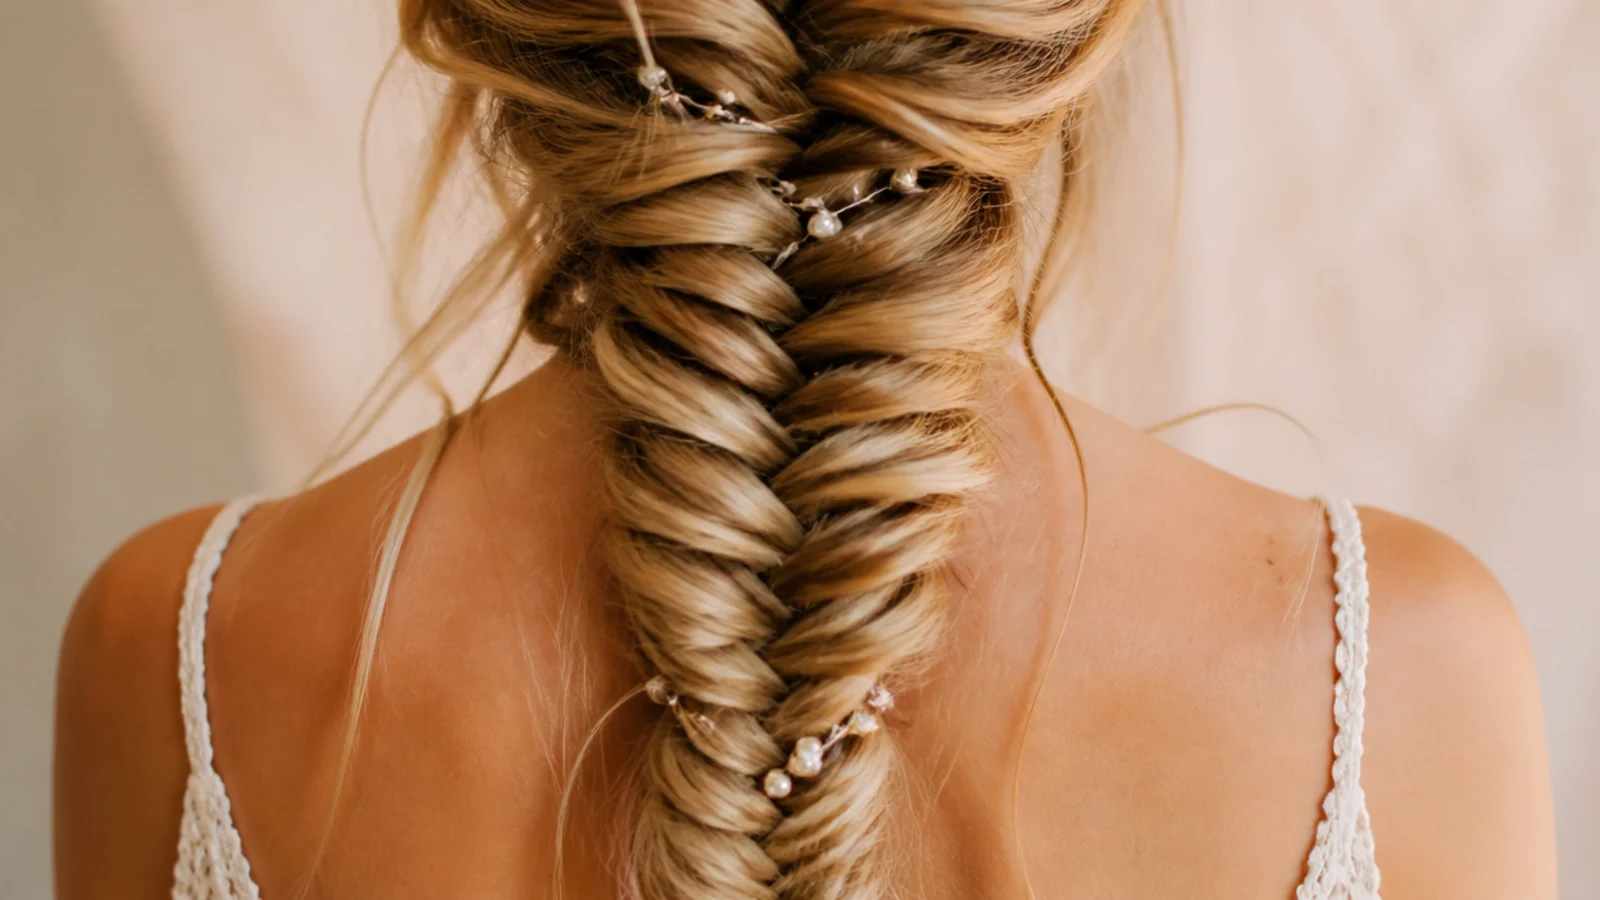
11. Stop Two Inches Short
Tie off before you reach the ends and leave a soft tail below the elastic. The braid then appears to dissolve into loose hair, which is the mermaid silhouette, where braiding to the last inch produces a rope with a hard stop.
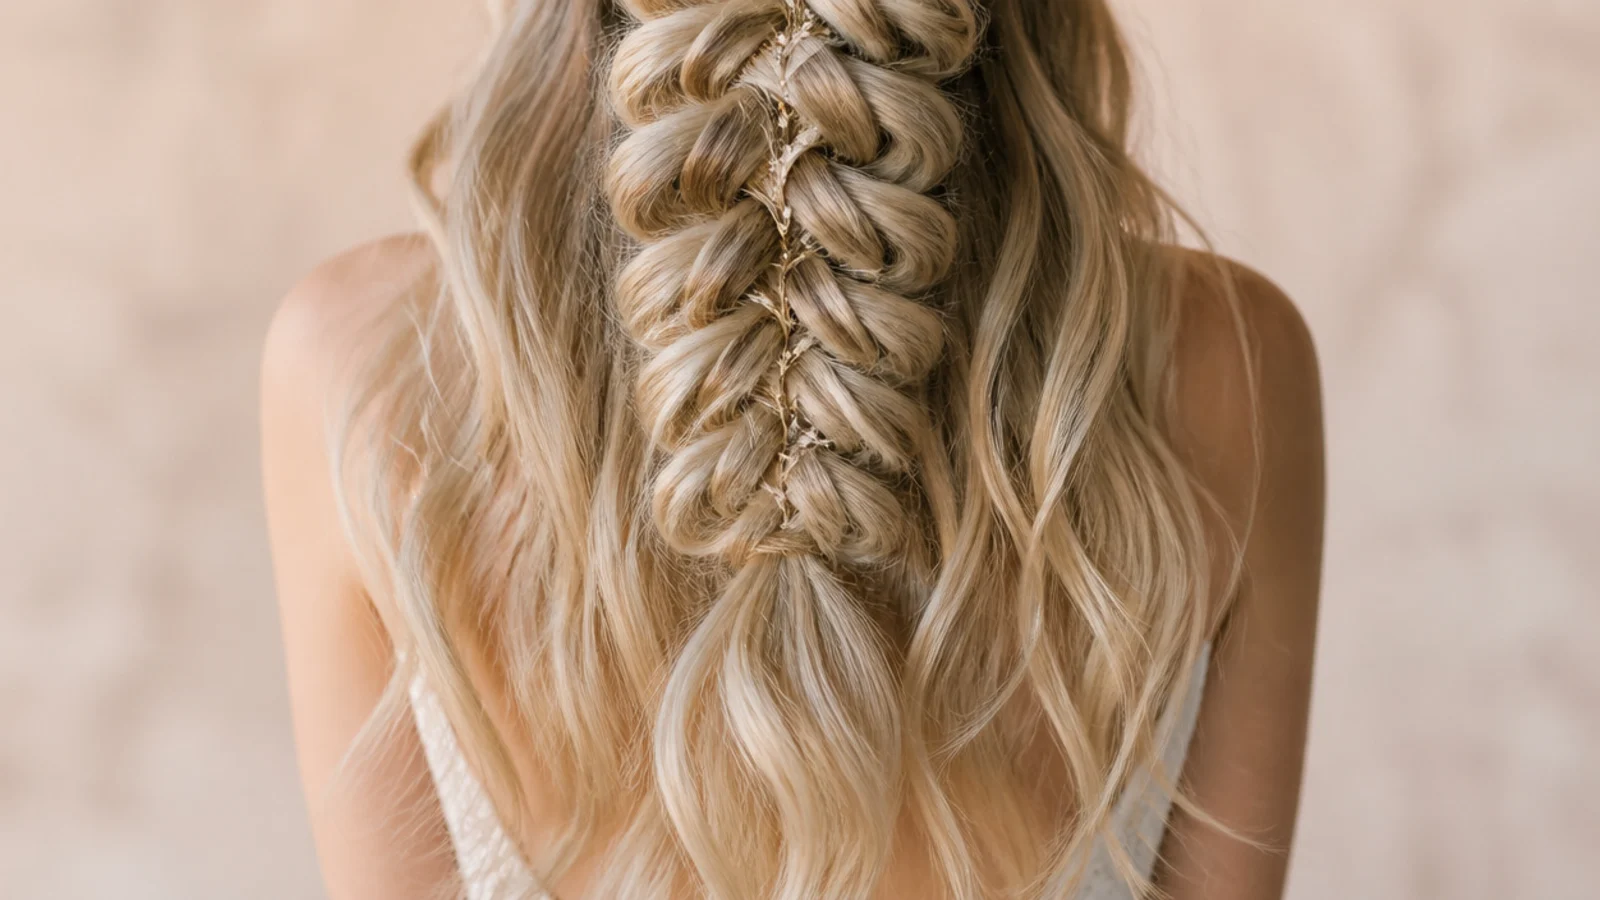
12. Clear Elastic
A silicone band disappears against every hair colour, so nothing interrupts the run from braid to loose length. It also grips smooth hair better than a fabric band, which matters at the tie because that is the narrowest and most slippery point of the whole braid.
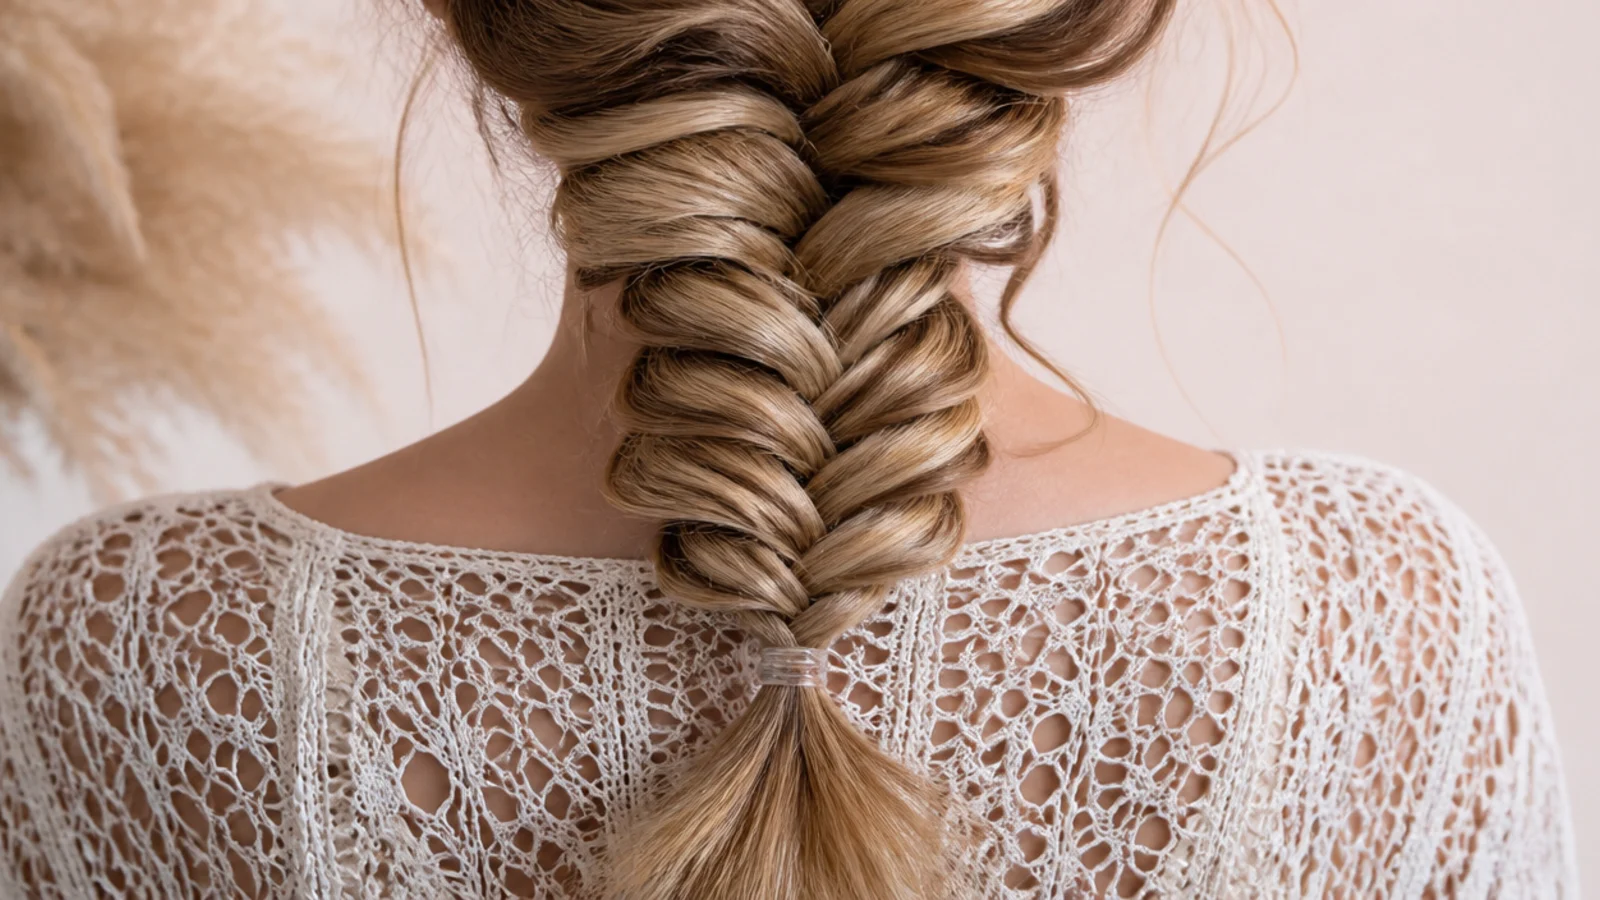
13. Pancake From the Bottom Up
Widening a loop borrows slack from the braid above it. Starting at the elastic pushes that slack upwards into hair you have not opened yet, whereas starting at the crown pulls the braid apart at its anchor and the whole thing sags.
14. Widen the Middle
Pull the centre of the braid wider than the top or the bottom. A braid tapers naturally as hair runs out, so exaggerating the middle produces the leaf shape the style is named for instead of a straight sided strip.
15. Tug the Outer Edge
Take the outermost point of a single loop between finger and thumb and draw it sideways. The braid does not come undone because the tension lives in the centre crossings, and the outer edge is the one part carrying none of it.
16. Fix a Collapse
When a section slips out, do not unpick the braid. Pull the two loops on either side of the gap outwards until they meet over it, because a pancaked braid has enough spare width to cover a fault that a tight one does not.
17. Face Framing Pieces
Pull the temple pieces free before the first crossover rather than at the end. Anything released after the elastic is on comes out of the braid itself, which leaves a visible hole in the pattern exactly where the eye goes first.
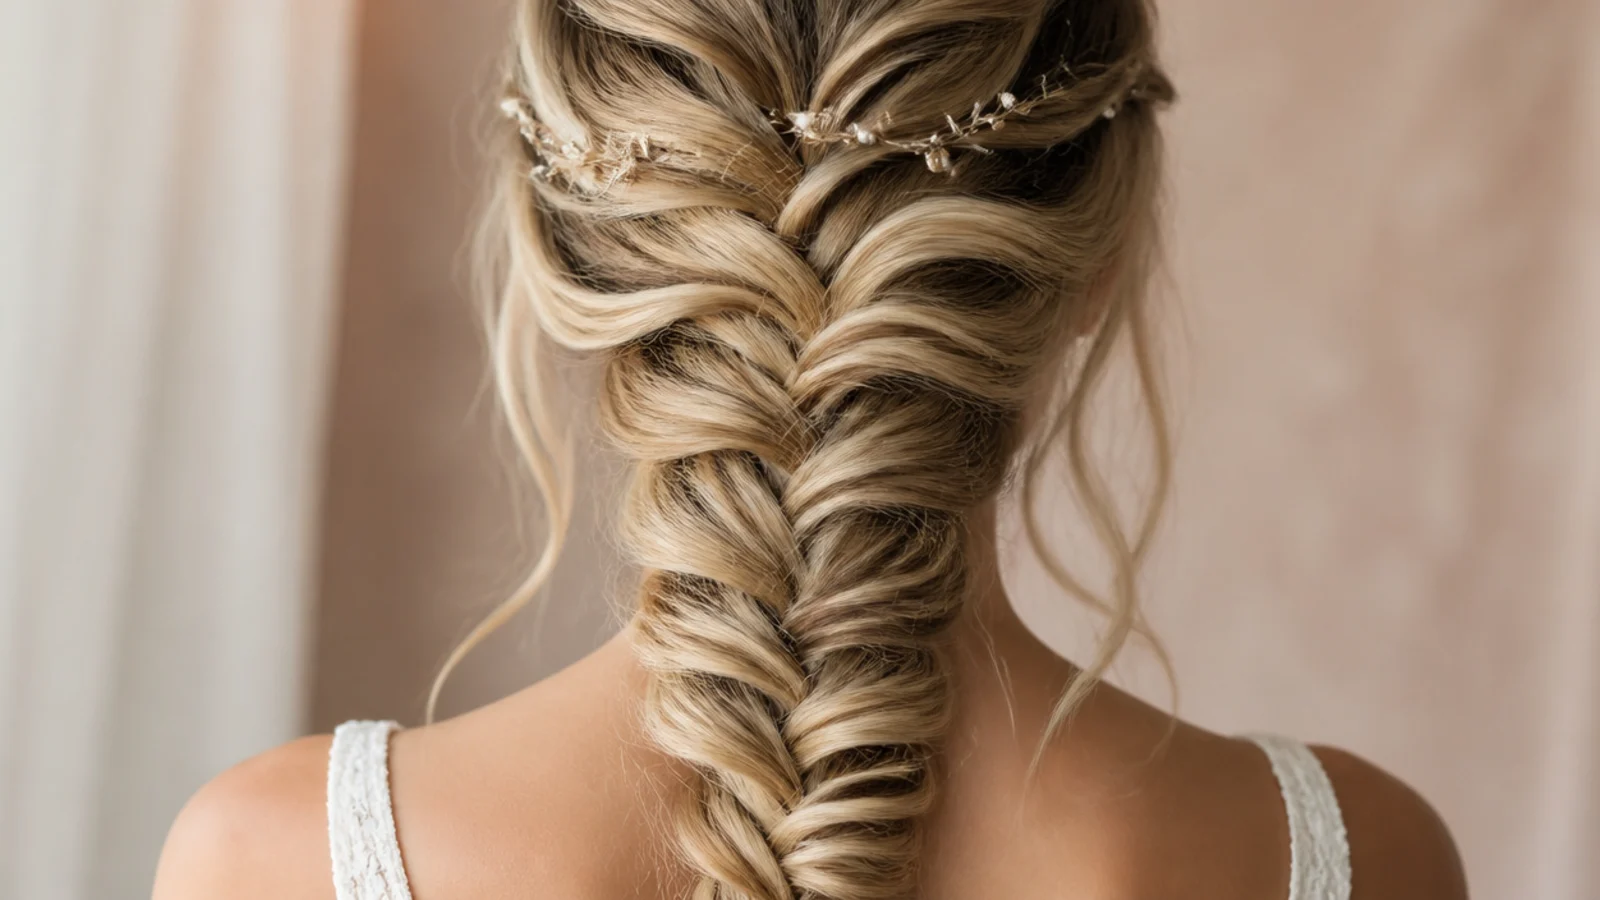
18. Hidden Pins
A small pin pushed up into the underside of the braid and turned back on itself locks against the crossings above it. Because it enters from below, none of the metal shows, and it takes load off the elastic on a long or heavy braid.
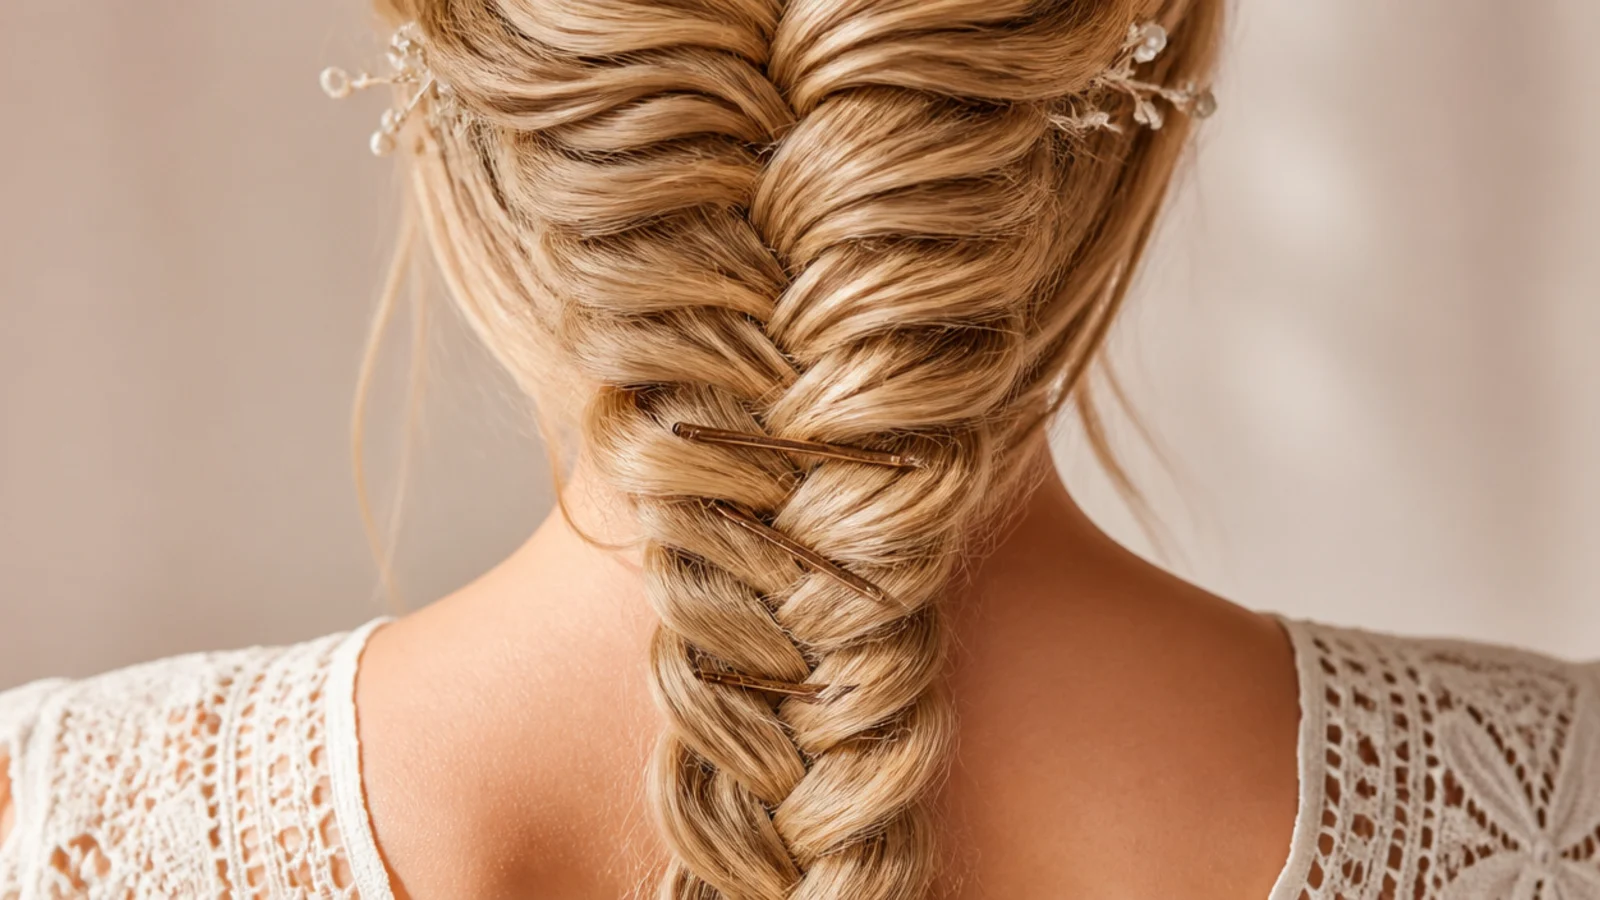
19. Accessories
Anything decorative should sit in the openings the pancaking made rather than being forced through the braid. A pin resting in a loop needs no grip of its own, and it can be moved or removed without disturbing a single crossing.
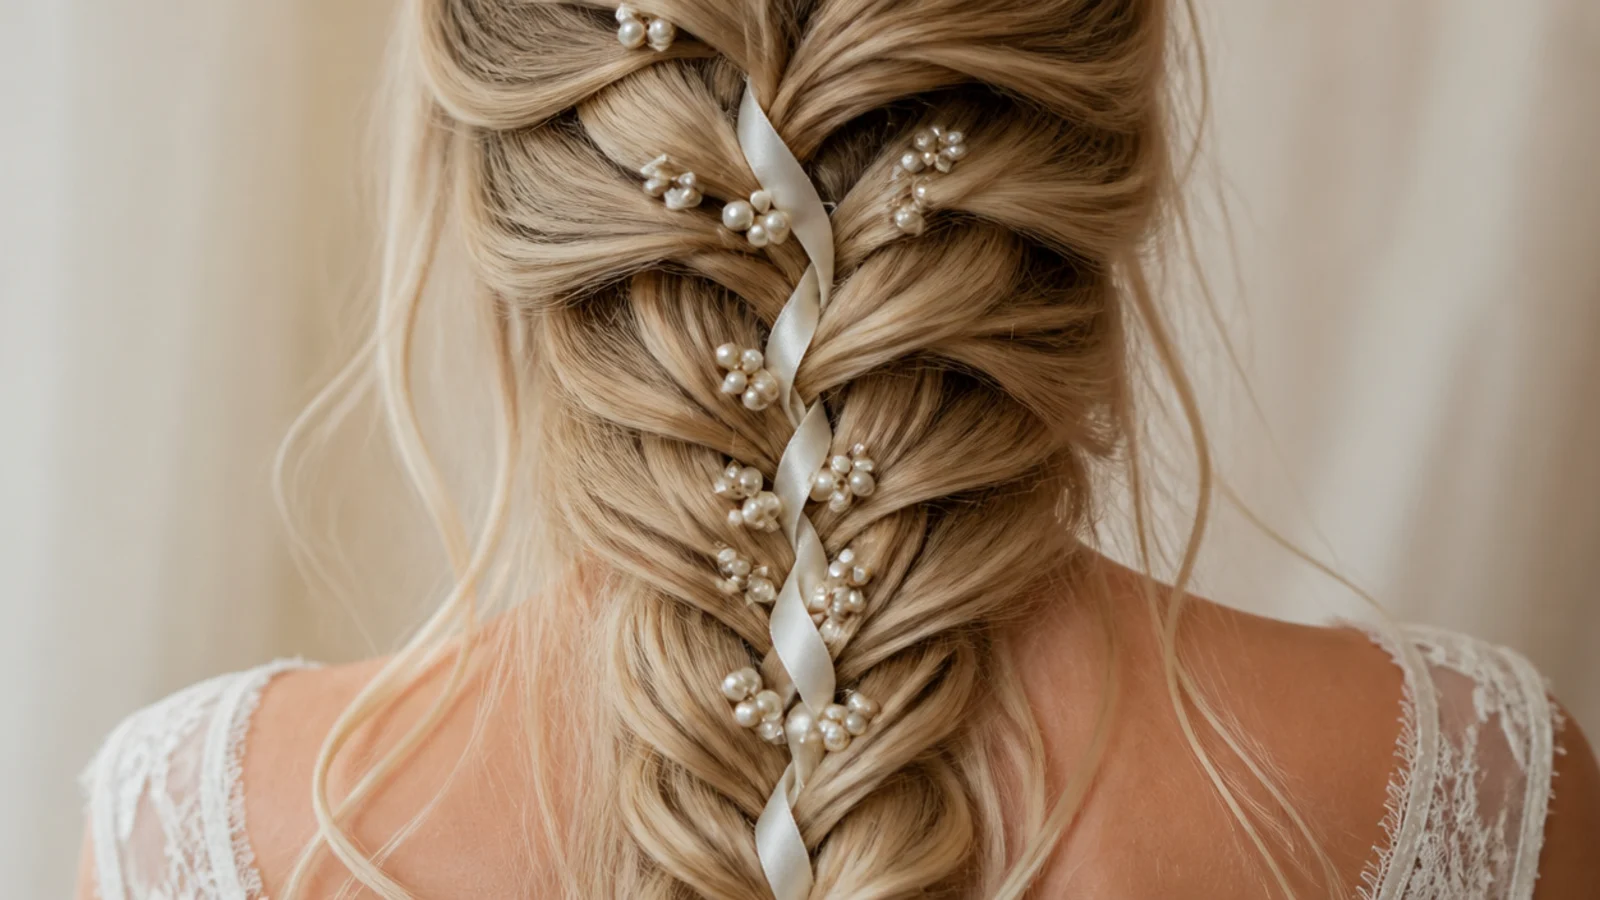
20. Set It With Hairspray
A light flexible spray holds the loops where you pulled them without gluing the surface into a single sheet. Firm hold does the opposite, because a rigid shell shows every gap and cracks visibly the first time the braid moves against a collar.
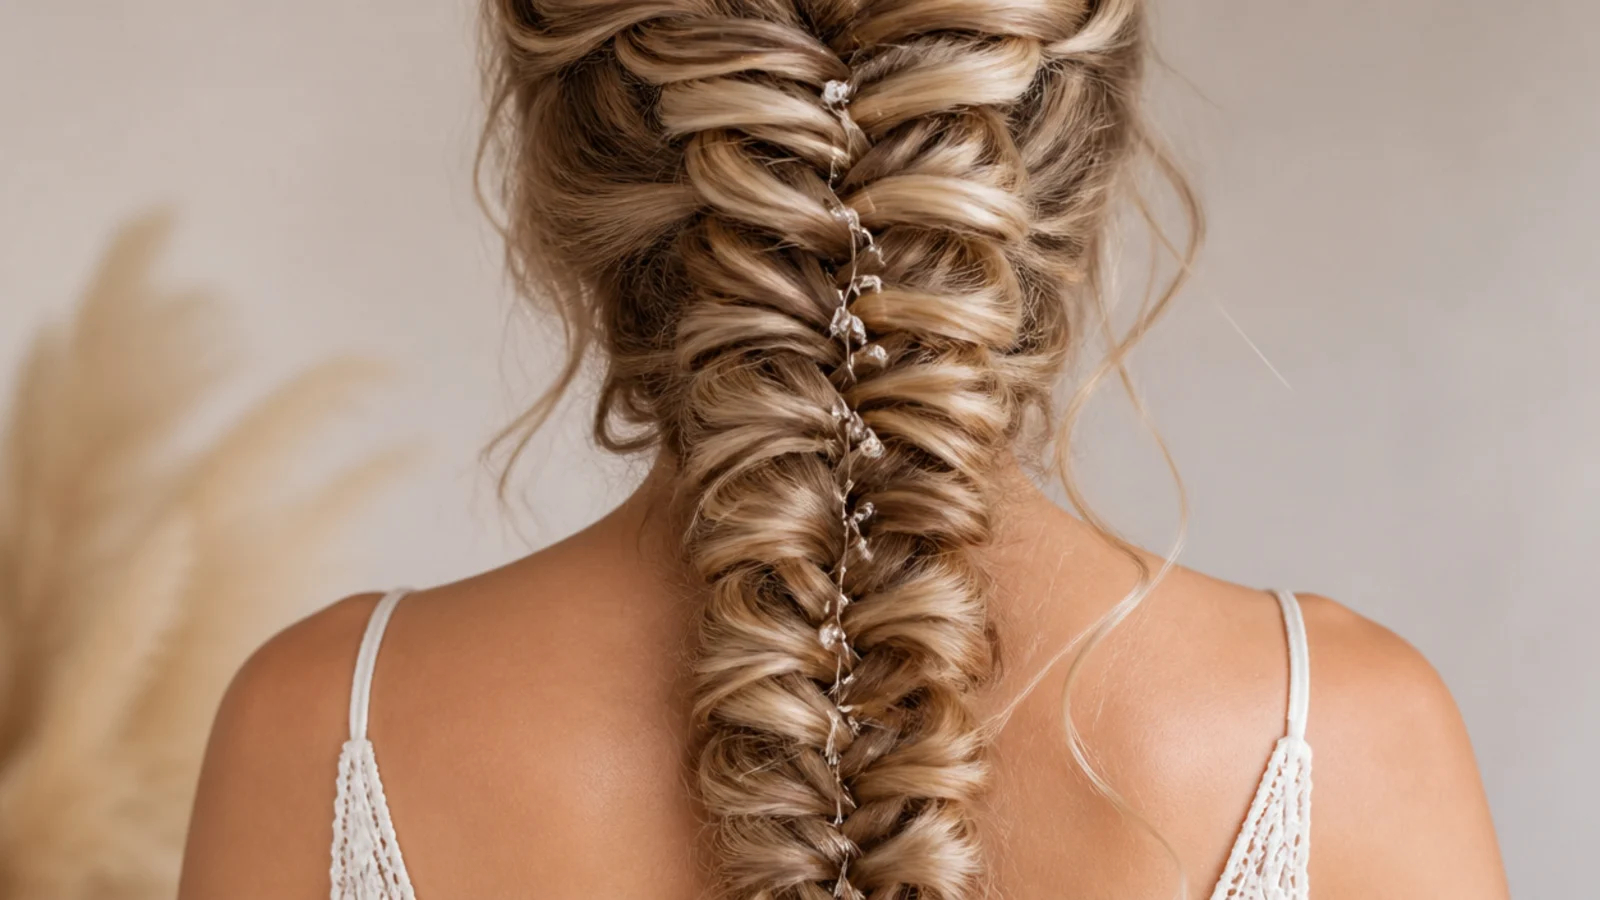
How to Braid a Mermaid Braid
Step 1. Texture Prep
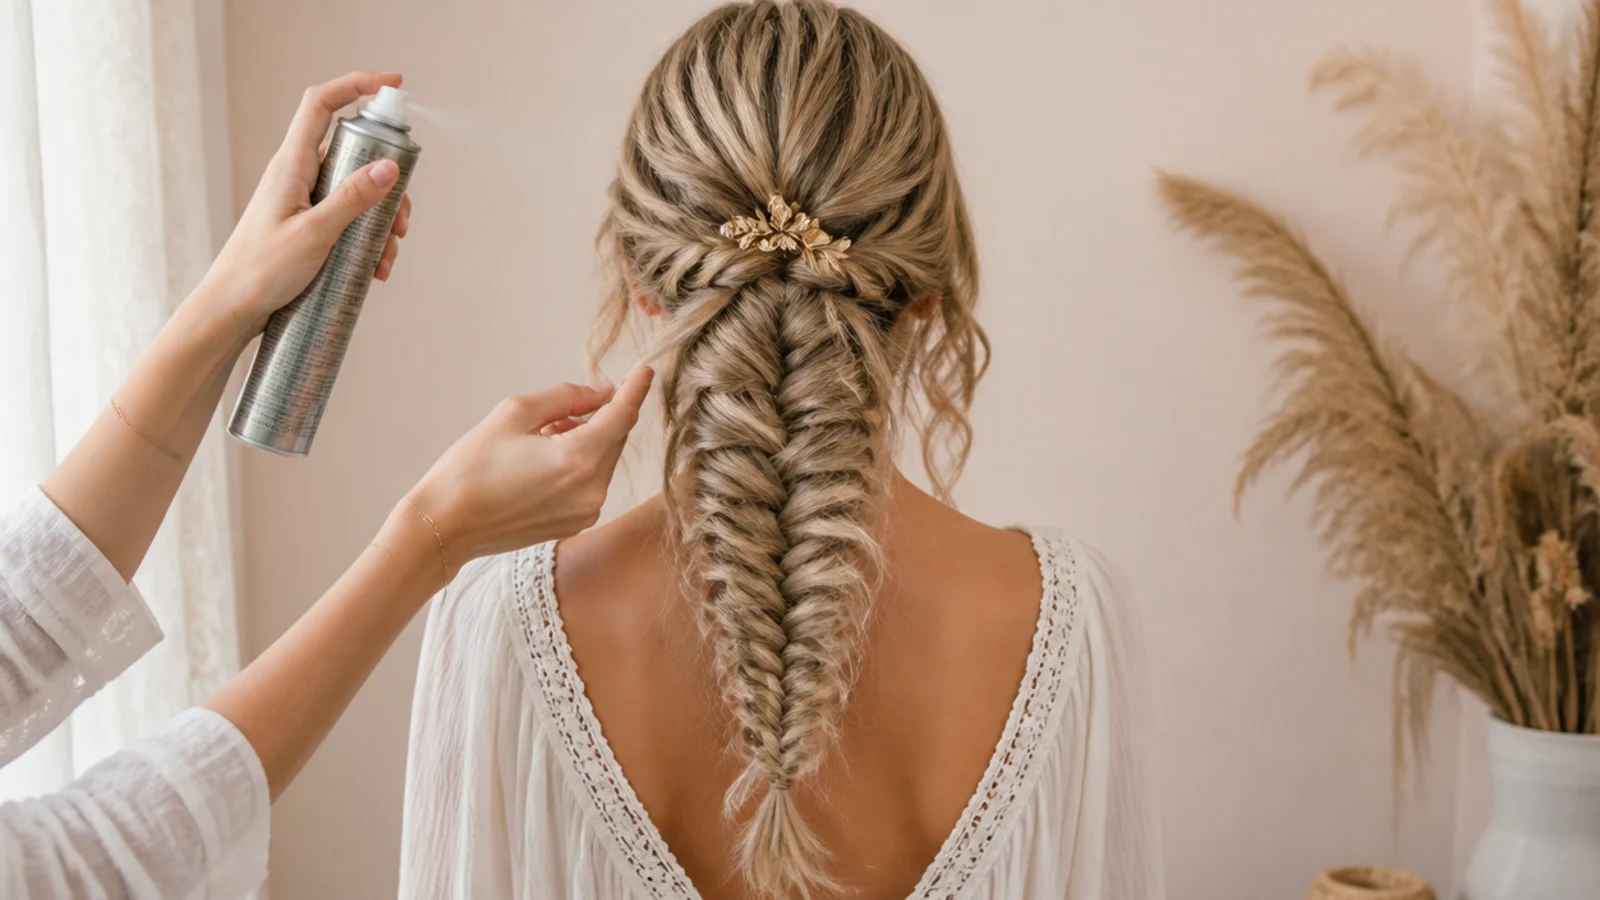
Start on second day hair, or spray clean hair through the mid lengths with a light salt or polymer texturiser. This step sets the friction between strands, and every problem later in the process comes back to it.
Step 2. Wave the Length
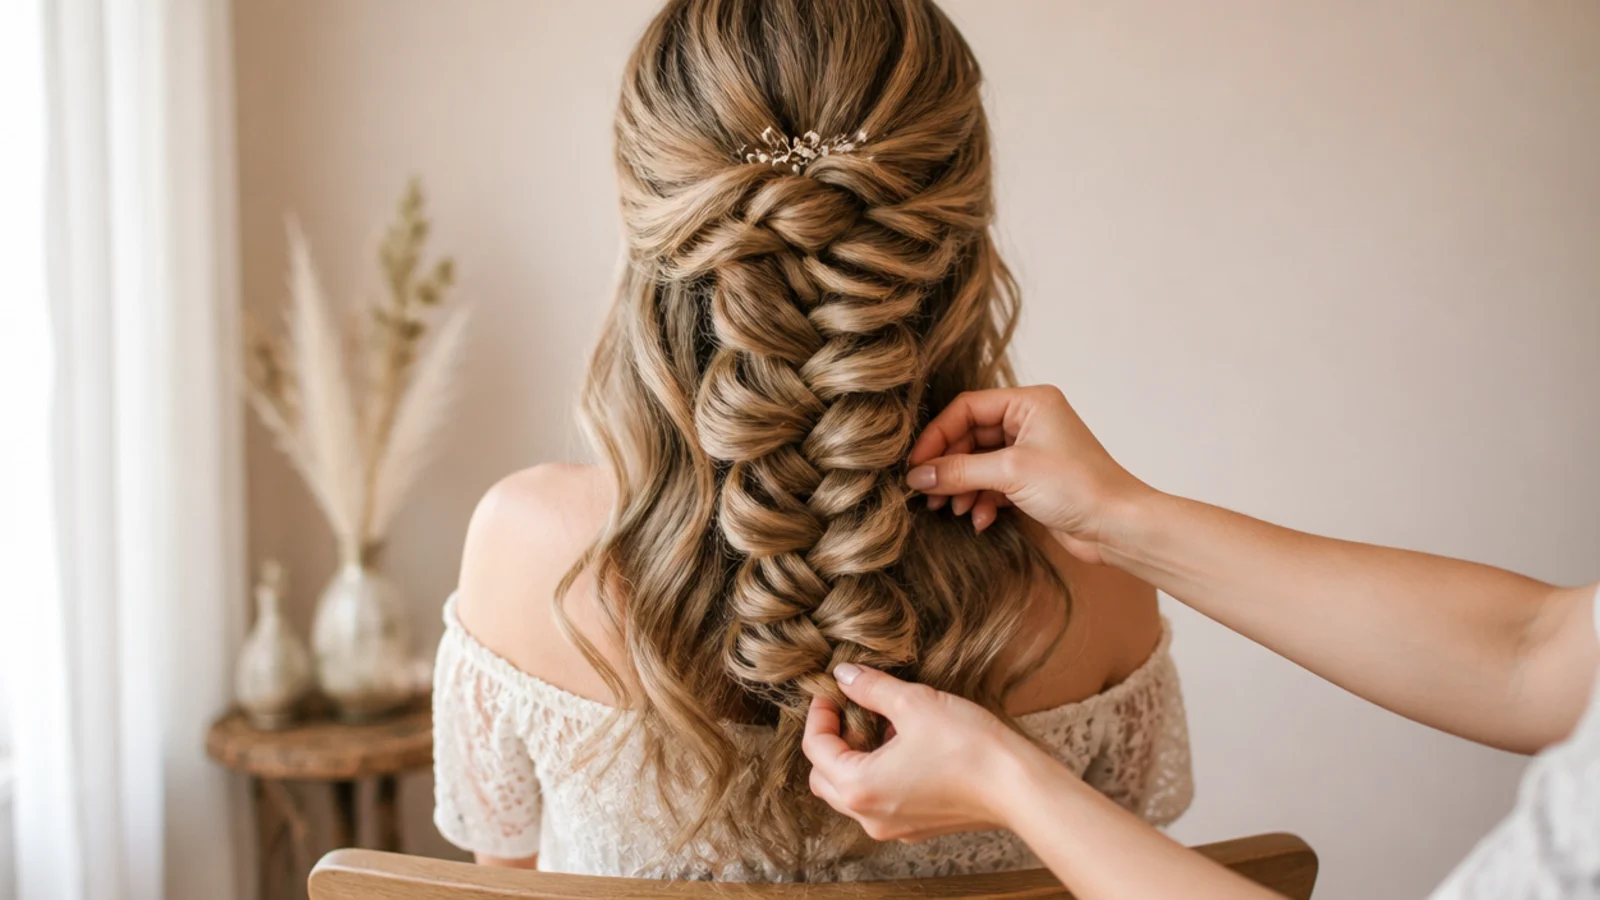
Put a loose bend through the length with an iron or an overnight set, then brush it out until the ringlets are gone and only the S shape is left. Bent strands interlock where straight ones slide.
Step 3. Part and Sweep
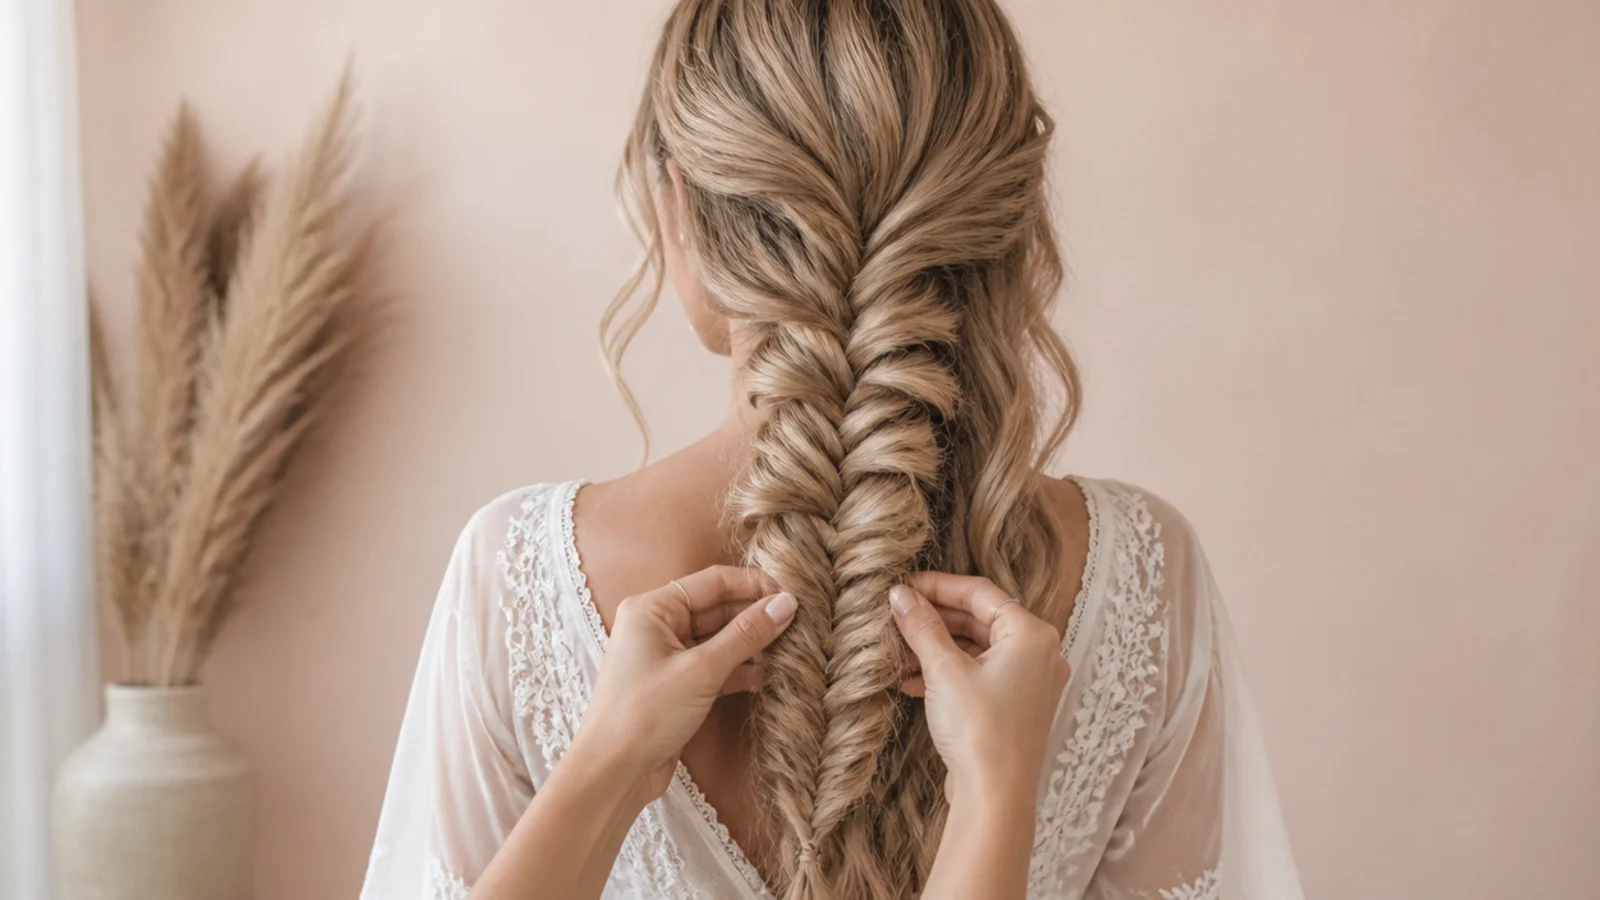
Part the hair where you want it, then sweep everything to the back or over one shoulder. Working the braid in front of you rather than behind you removes most of the difficulty of braiding your own hair.
Step 4. Split Into Two Halves
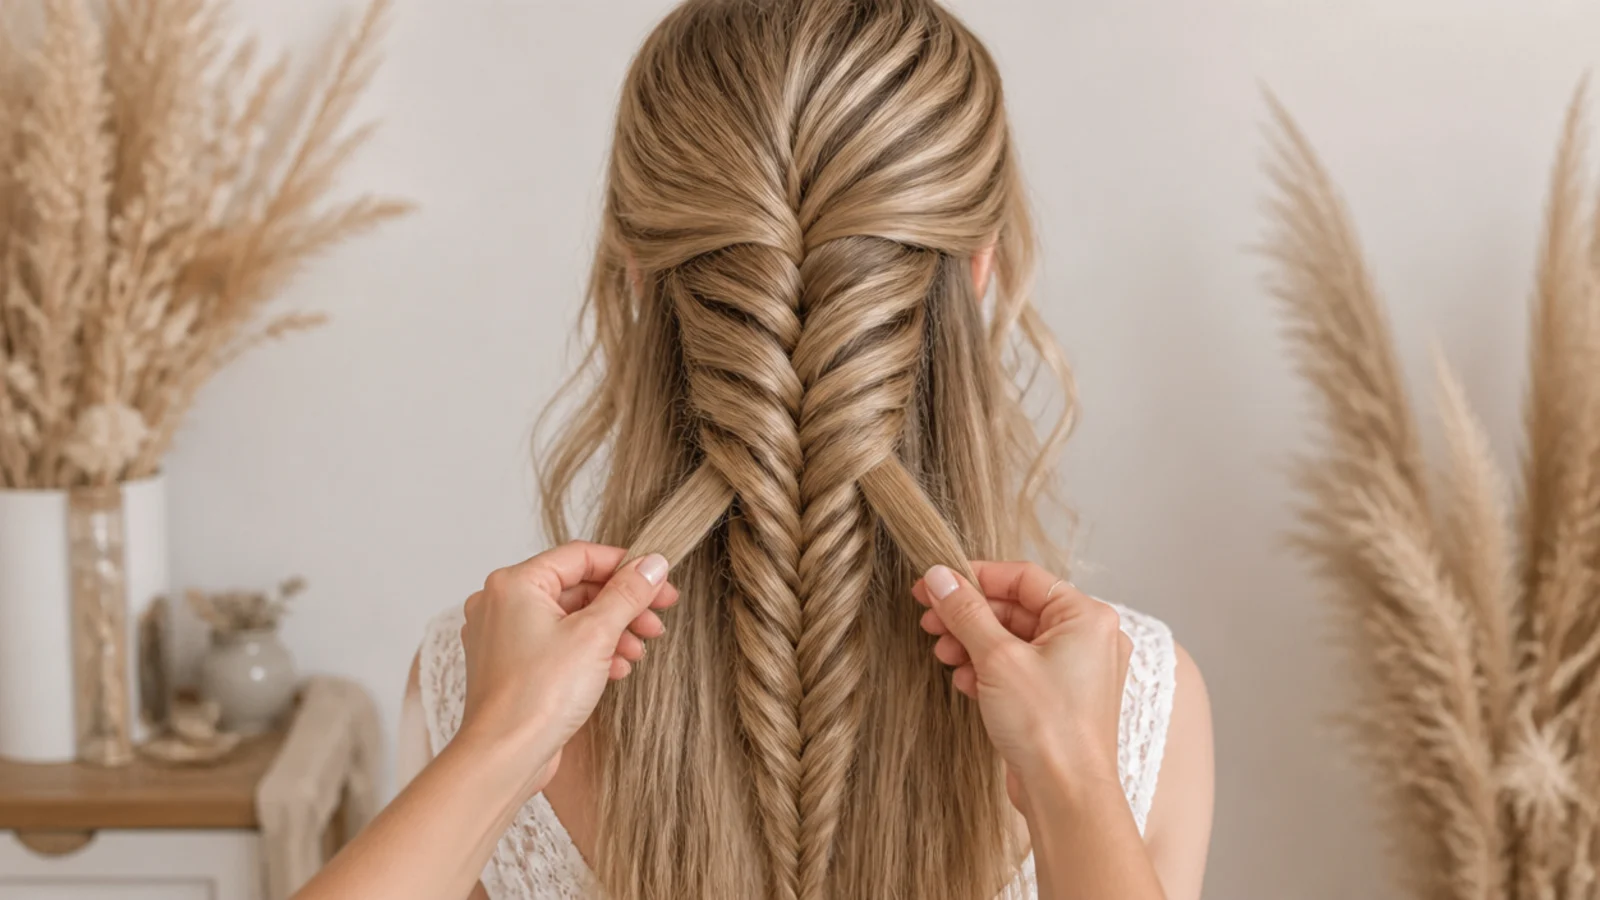
Divide the gathered hair into two even sections, one in each hand. Equal halves keep the braid travelling straight, and it is worth splitting twice rather than starting on an uneven pair.
Step 5. The Crossover
Take a quarter inch piece from the outer edge of the left half, cross it over the top and add it to the inner edge of the right half. Do the same from the right. Repeat down the length, keeping the pieces equal and the tension light.
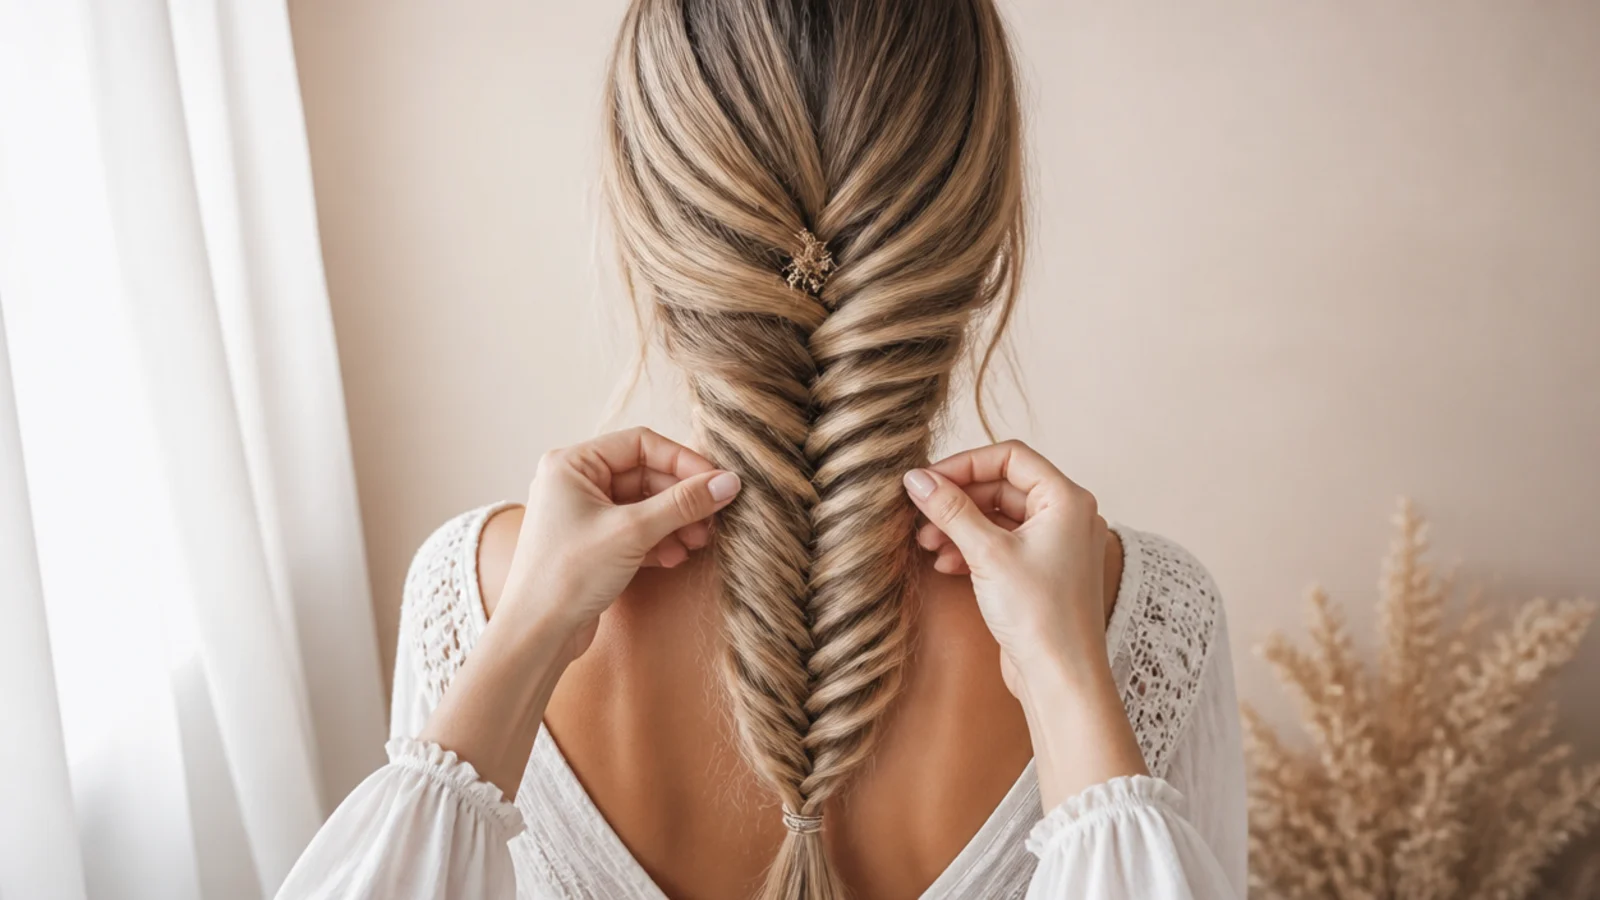
Step 6. Secure With an Elastic
Stop about two inches above the ends and fasten with a clear elastic, holding the braid still with the other hand as you wind. Leaving that tail is what lets the braid run into loose hair instead of ending abruptly.
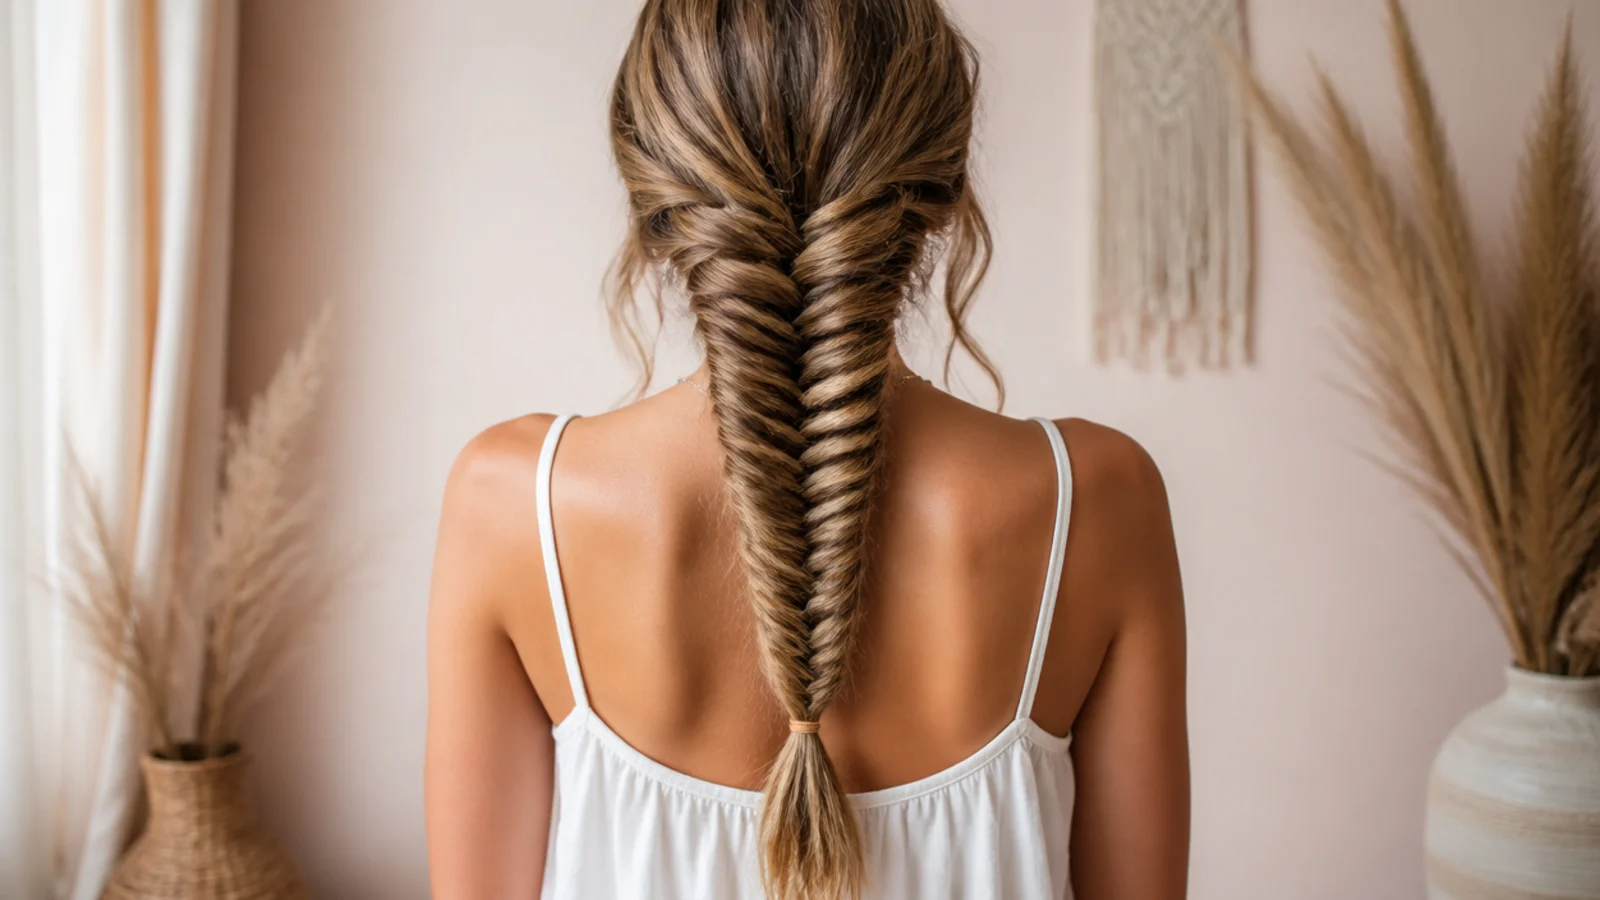
Step 7. Pancake
Hold the elastic in one hand. With the other, pull the outer edge of each loop sideways, working from the tie upwards and taking the middle of the braid widest. This is where the braid becomes a mermaid braid.
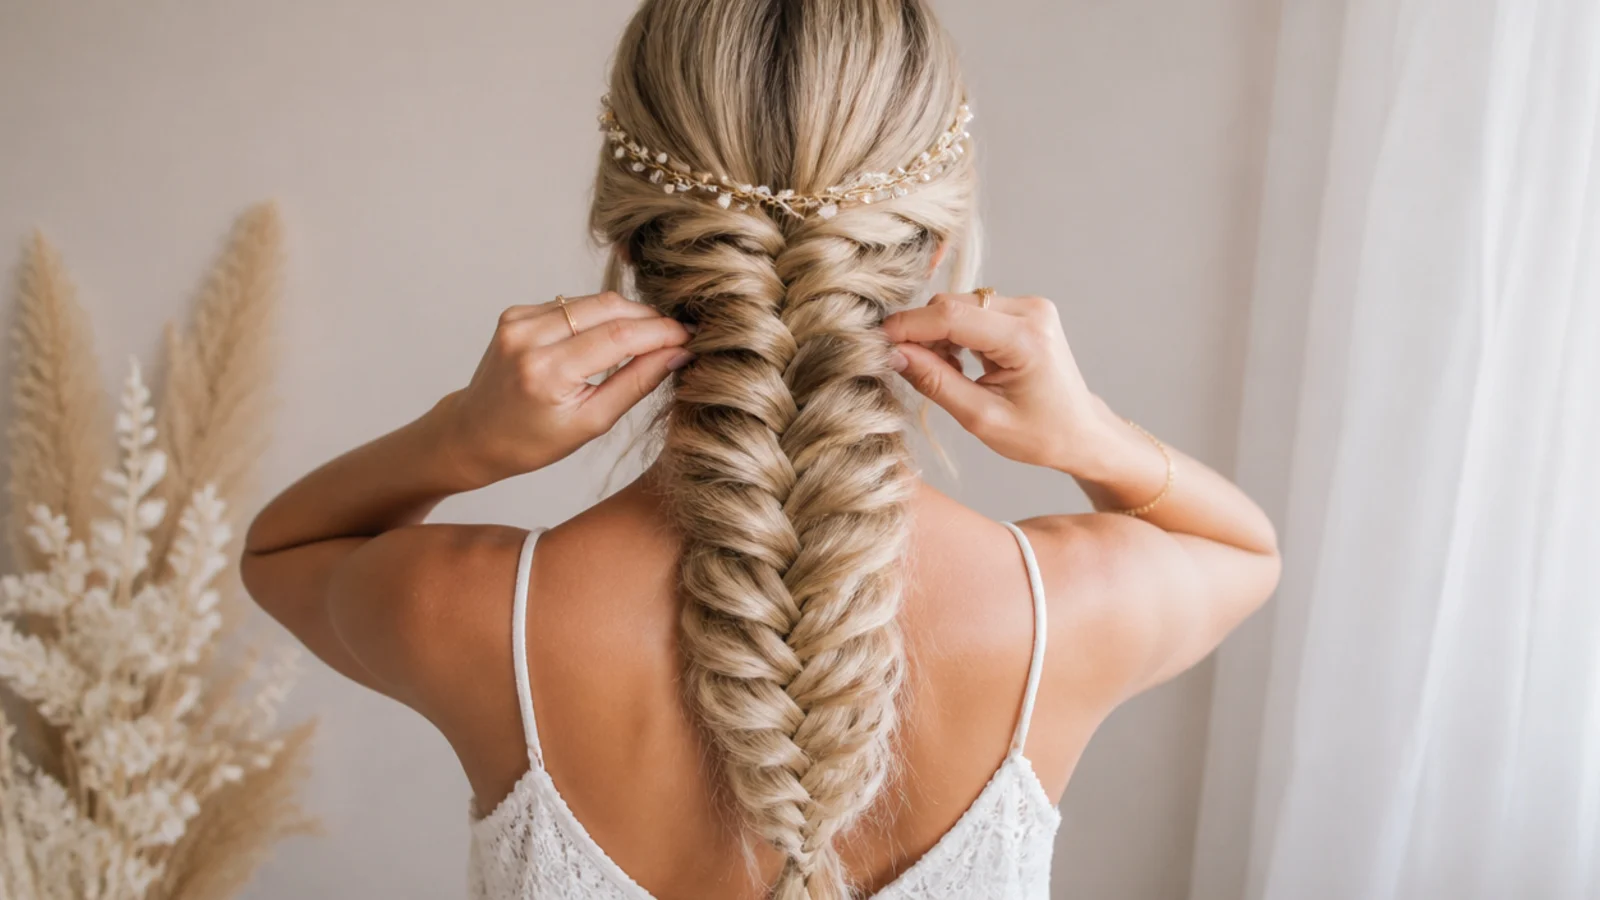
Step 8. Finish and Set
Release two fine pieces at the temples if you left them for the end, add pins or ribbon into the open loops, and mist over the whole braid with a flexible hold spray. Stop touching it after that.
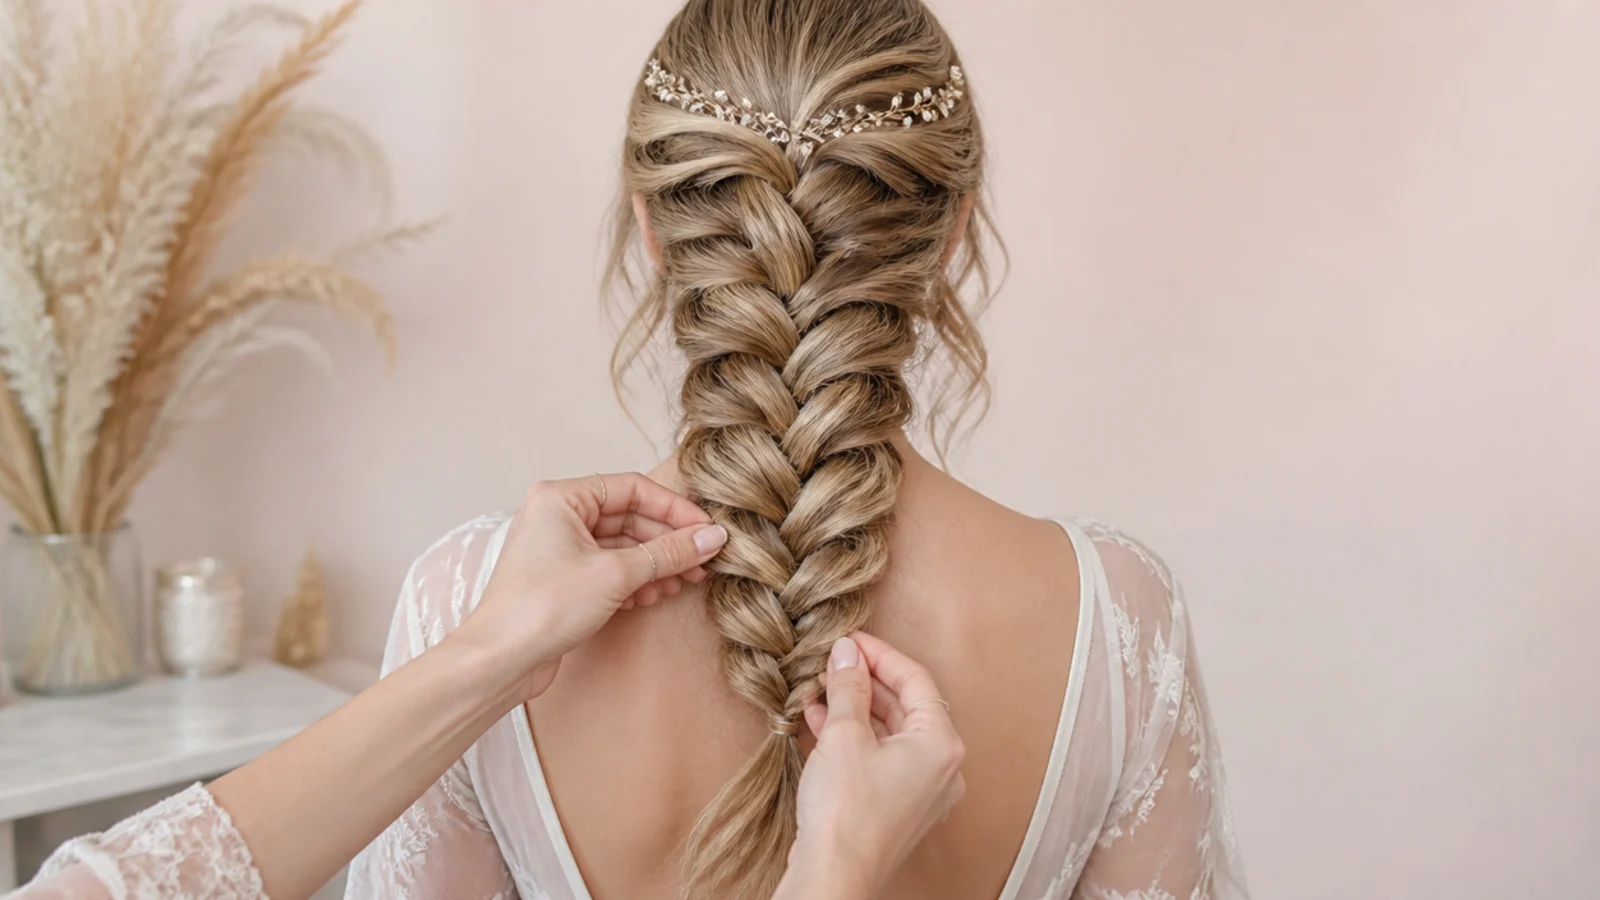
Final Thoughts
The sequence is short and unforgiving in order. Texture first, wave second, braid loose and small, tie two inches short, then widen from the elastic upwards with the middle widest. Nothing in that list is difficult on its own, and every common failure is one of them done out of turn — usually pancaking a braid that has not been tied yet, which pulls the crossings apart instead of opening them.
If yours narrows through the day, that is friction and not technique. Braid on unwashed hair, wave the length first, and use a flexible spray rather than a firm one, because a rigid shell cracks where a soft one moves with the braid. More in Braids and Protective Styles. See also the blonde version and the boho version.
Frequently asked questions
Related posts
See all posts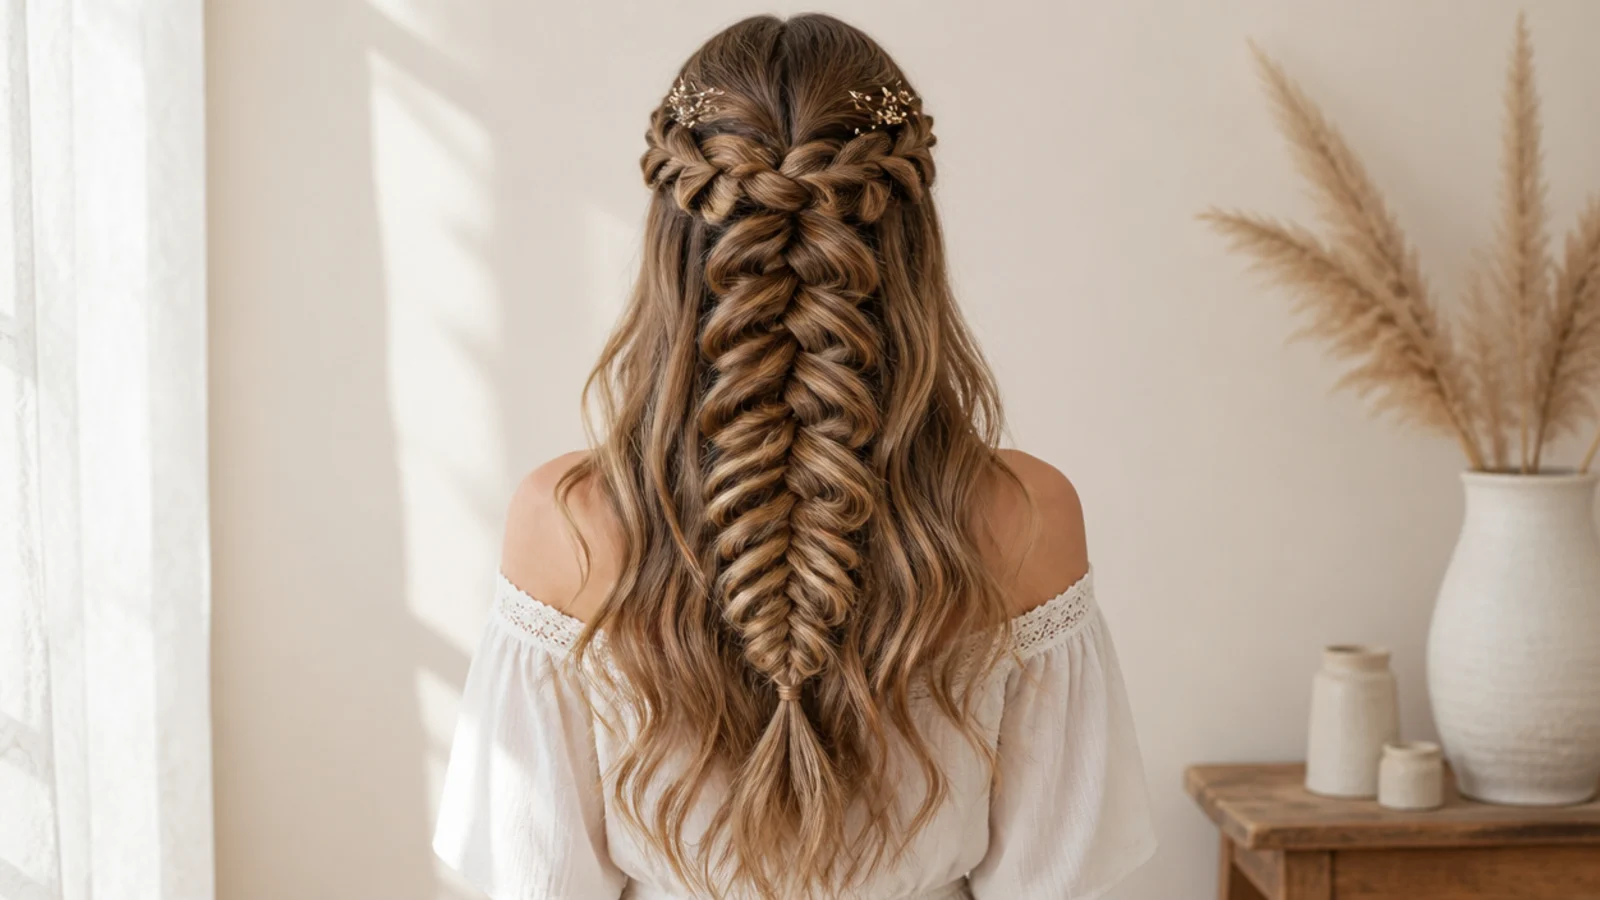
20 Waterfall Mermaid Braid Ideas That Hold
Read more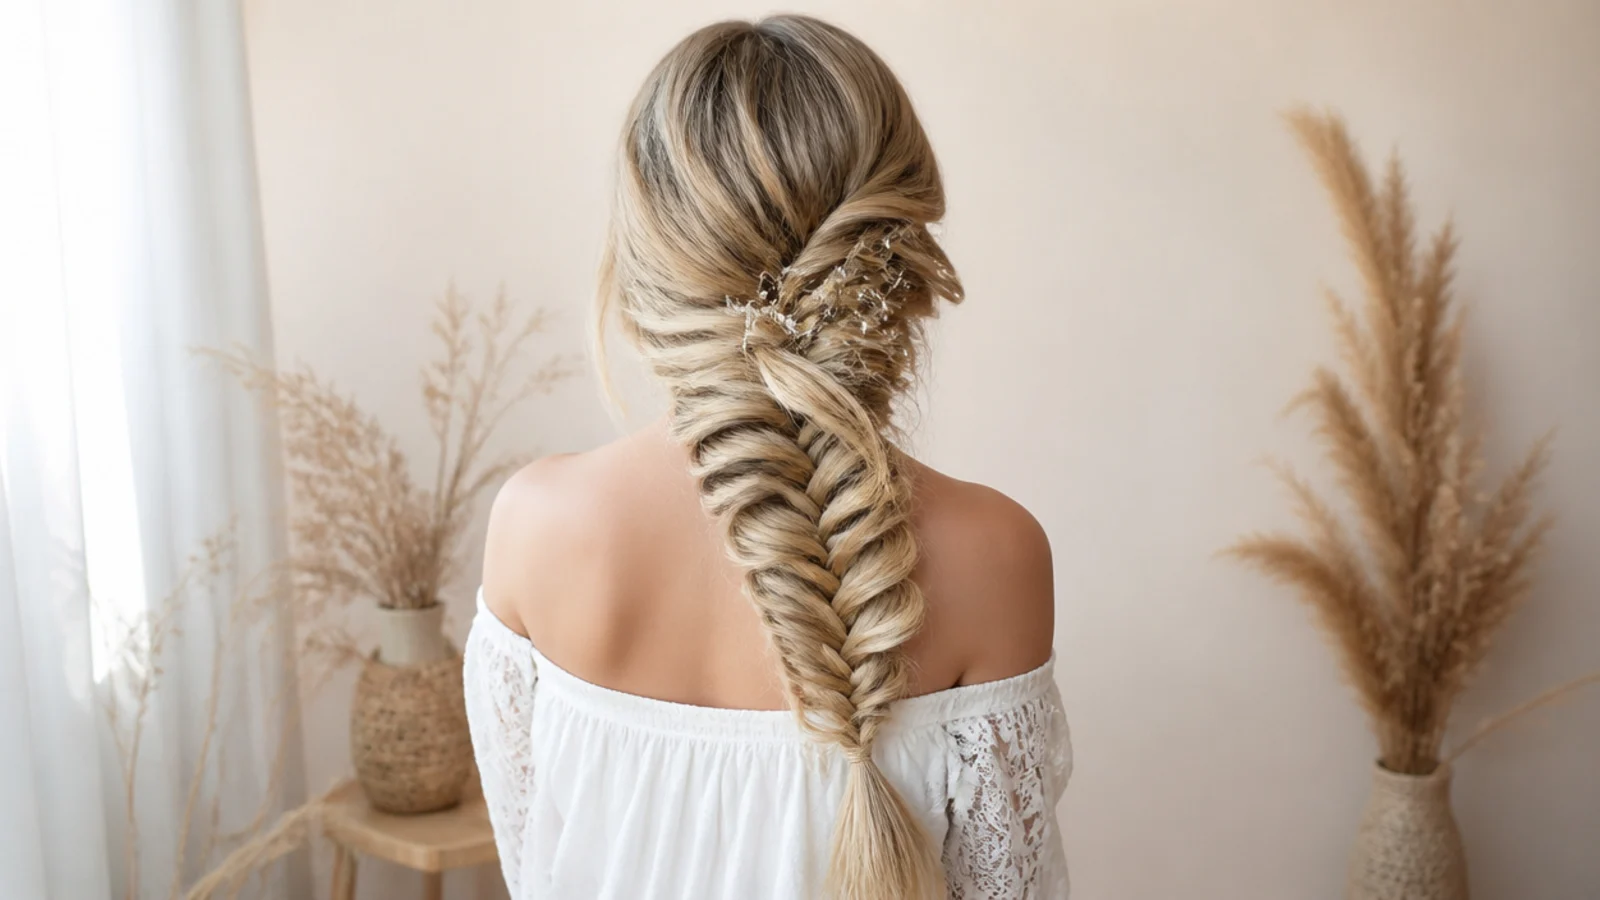
15 Side Mermaid Braid Ideas That Sit Right
Read more
20 Side Part Medium Knotless Braids I Saved
Read more