20 Half Up Mermaid Braids That Stay Wide All Day
Twenty half up mermaid braids, and the detail that decides whether yours reads as a mermaid or as a thin rope — the width comes from pancaking the braid after it is tied, not from how much hair went into it.
In this article · 28
- What Is a Half Up Mermaid Braid
- By Length and Thickness
- Fine and Slippery Hair
- Pancaking a Mermaid Braid
- Waves Accessories and Boho Finishes
- Making It Last
- The 20 Half Up Mermaid Braid Ideas
- 1. Classic on Long Hair
- 2. Loose Curls Underneath
- 3. Dutch Fishtail
- 4. Pancaked for Fine Hair
- 5. Deep Side Part
- 6. Double Braids Joined
- 7. Into a Low Bun
- 8. Face Framing Tendrils
- 9. Waterfall Into a Mermaid
- 10. Clear Elastic Finish
- 11. Boho Ribbon
- 12. Pearl Pins for a Wedding
- 13. Shoulder Length
- 14. Curly Hair
- 15. Crown Braid
- 16. Clip In Extensions
- 17. Beach Waves
- 18. Bubble Tail
- 19. Blonde Balayage
- 20. Second Day Hair
- Final Thoughts
Most half up mermaid braids fail in the same place, and it is not the braiding — it is the ten seconds after the elastic goes on.
The braid leaves your hands narrow. A fishtail worked in small pieces comes out as a tight patterned rope. That is the correct starting point, not a failure.
The width is pulled out afterwards. Pancaking is a separate step, and it is the entire difference between a mermaid braid and a plait.
What Is a Half Up Mermaid Braid
It is a fishtail, not a three strand plait. The hair is split into two halves. A thin piece is taken from the outer edge of one half and crossed over to join the inner edge of the other, then the same thing happens on the opposite side.
The piece size sets the pattern. Quarter inch pieces give the fine dense V that reads as scales. Inch pieces give a rope with a seam down it, which is a fishtail but not a mermaid braid.
Half up means only the crown section is braided. Temple to temple, back to the occipital bone. Everything below that stays loose and falls underneath the braid.
That gap is the whole effect. A braid with hair visible behind it reads as a tail laid over the head. A braid that contains all the hair is just a fishtail.
By Length and Thickness
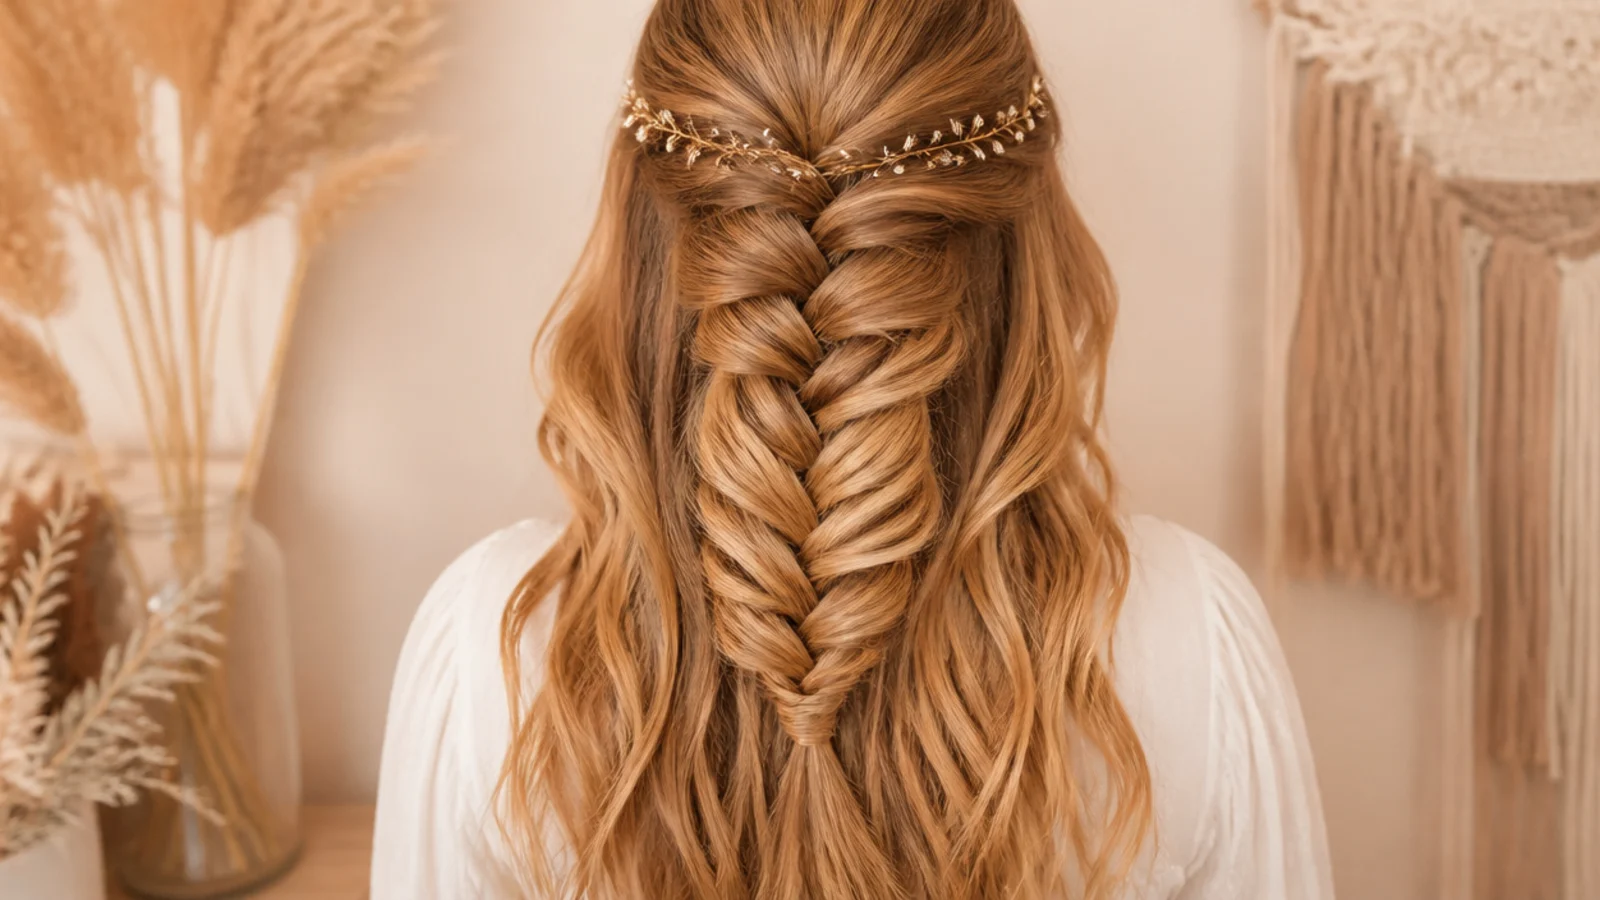
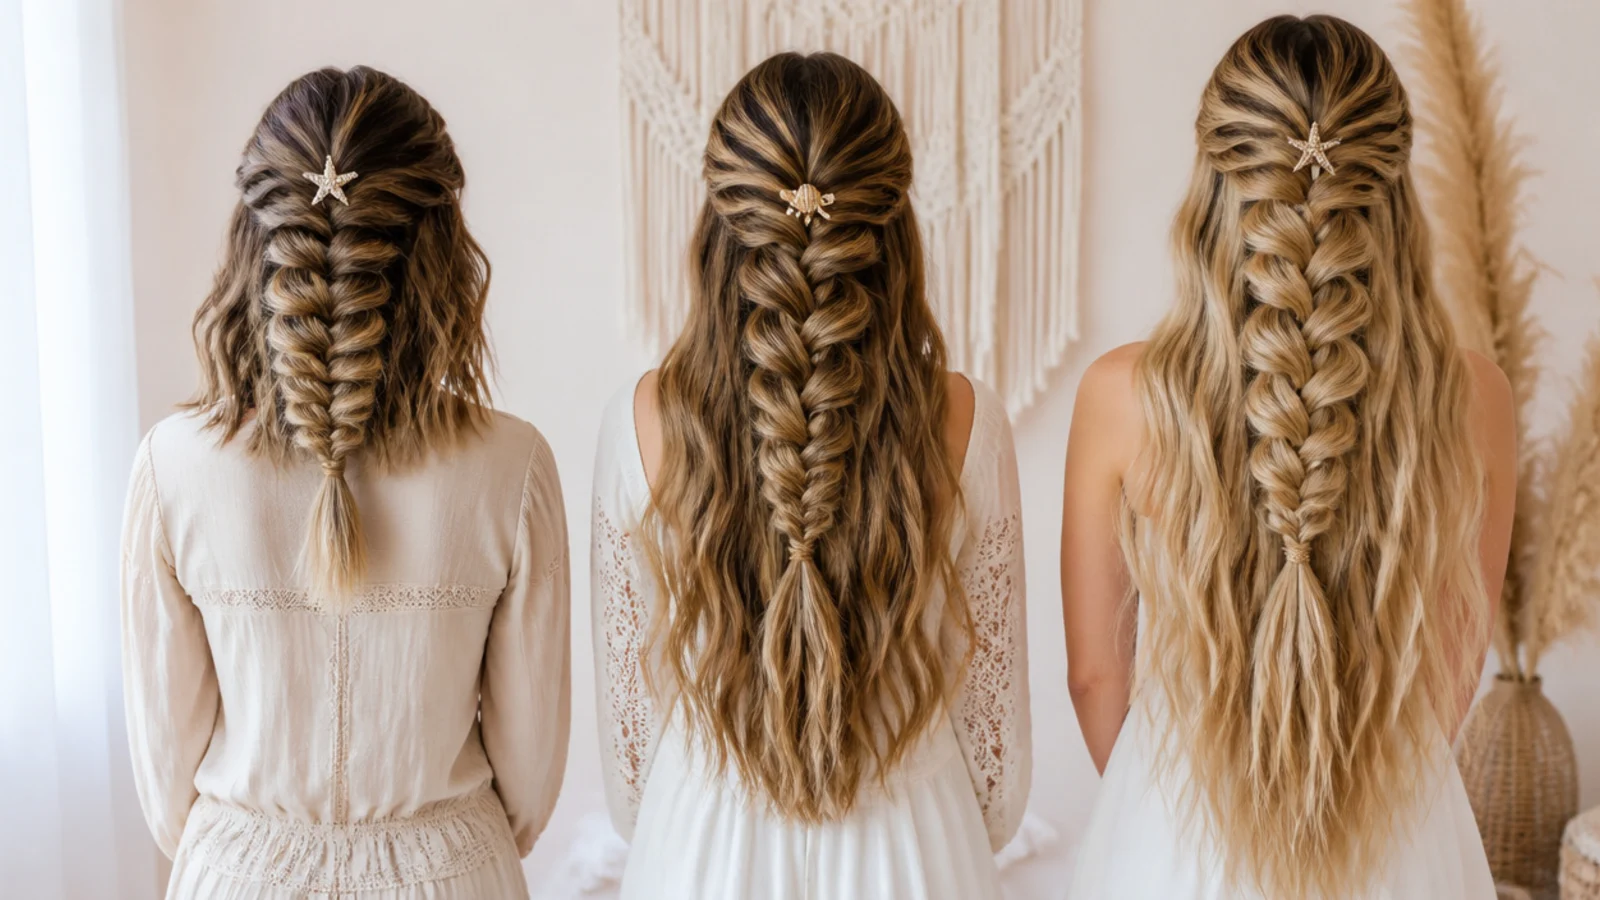
Shoulder length. The braid runs out of hair fast, so start it lower down the back and keep the pieces small. Ten fine crossings read as deliberate where four thick ones read as unfinished.
Mid back. The easiest length to work with. There is enough hair for twenty or more crossings and still several inches of loose end below the tie.
Waist and longer. Weight becomes the problem rather than length, because a long braid pulls steadily on the crown section all day. Tie it slightly higher than feels right so the anchor sits above the pull.
Thick hair. Take a smaller crown section than you think. A wide half up section on thick hair produces a braid so heavy it drags the parting backwards within an hour.
Thin hair. Take a slightly larger section, braid it loosely, and put all your effort into the pancaking rather than into the crossings.
Fine and Slippery Hair
Fine hair makes thin pieces. Each quarter inch section contains fewer strands, so the crossings are narrower and the finished braid is narrower with them. Nothing about the technique fixes that. Pancaking does.
Slippery is a surface problem. Smooth cuticles slide across each other, so the sections separate while you braid and the loops close after you finish.
Texture spray before you start. A light polymer or salt spray coats the strand and raises friction between sections. It is doing the same job as second day oil, faster.
Backcomb the base of the crown section. Half an inch of lift at the roots gives the braid somewhere to sit and stops the parting showing through.
Clear elastic at both ends. Fine hair slips out of the first crossing as readily as the last, so tie the top of the braid too if it keeps unravelling upwards.
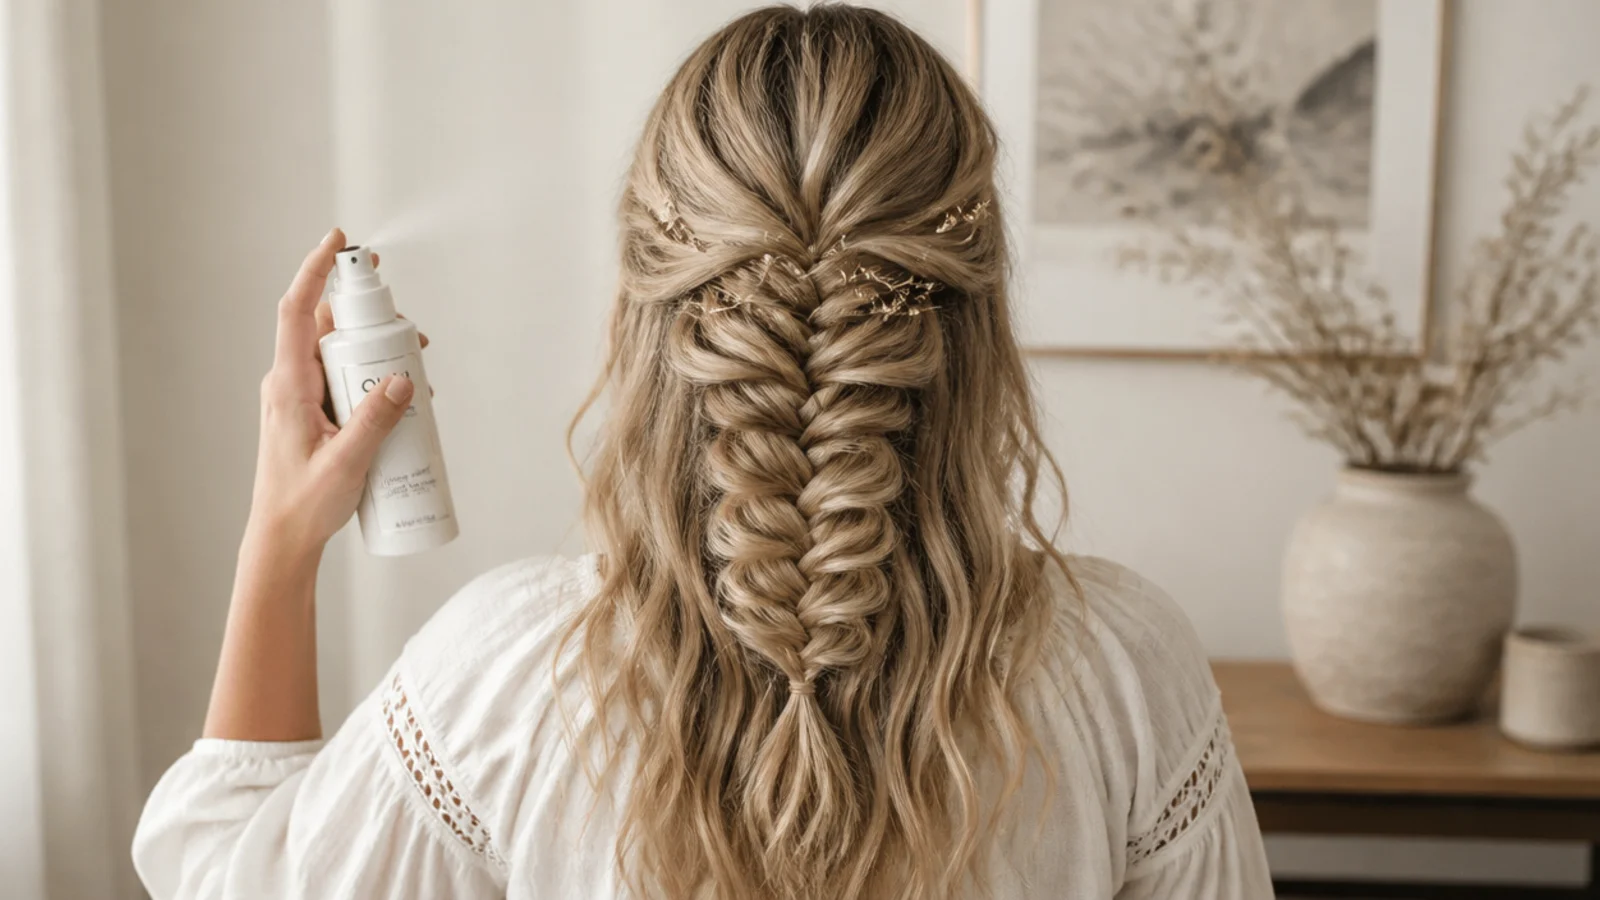
Pancaking a Mermaid Braid
Pull the loops, not the braid. Take the outer edge of a single crossing between finger and thumb and draw it outwards. The braid holds because the tension lives at the centre crossings, which you never touch.
Work from the tie upwards. Widening a loop borrows slack from above it, so starting at the bottom feeds that slack into hair you have not opened yet. Start at the top and you unravel the crown.
Hold the elastic while you pull. Without a fixed bottom the whole braid stretches instead of widening, and you lose length rather than gaining width.
Stop when the crossings start to gap. Once you can see through the braid to the hair behind it, the pattern stops reading as scales and starts reading as damage.
Set it with a light flexible hold. Enough to keep the loops from creeping back, not enough to glue the surface into a single sheet.
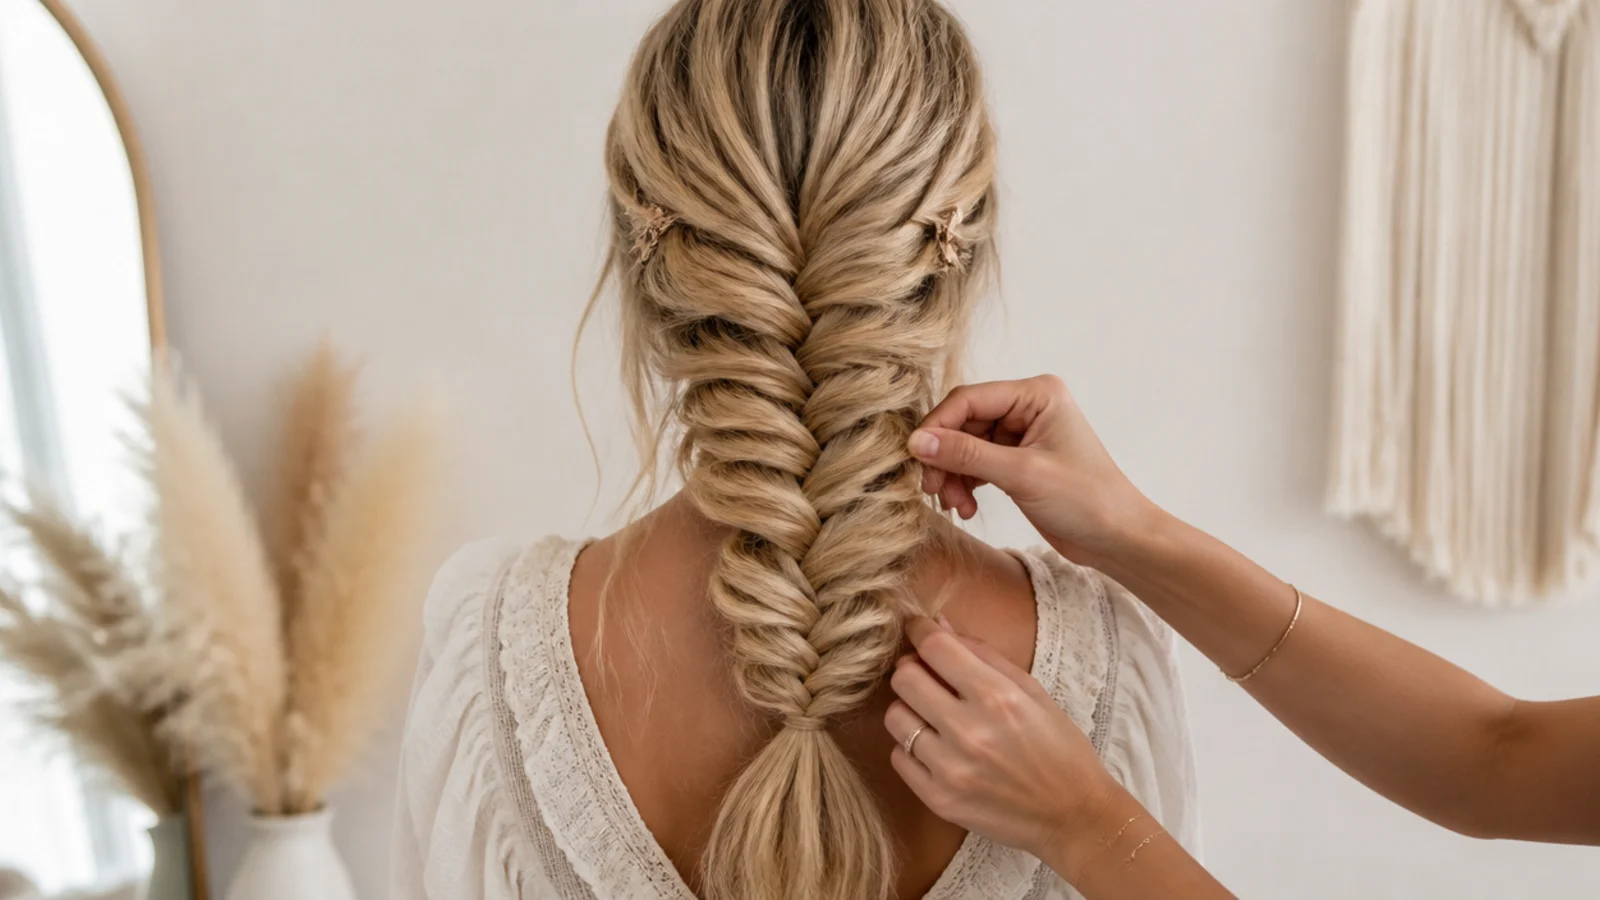
Waves Accessories and Boho Finishes
Wave the hair before you braid it. A bent strand catches on its neighbours where a straight one slides past. That friction is what holds the pancaked loops open, so waving is a structural step, not a decorative one.
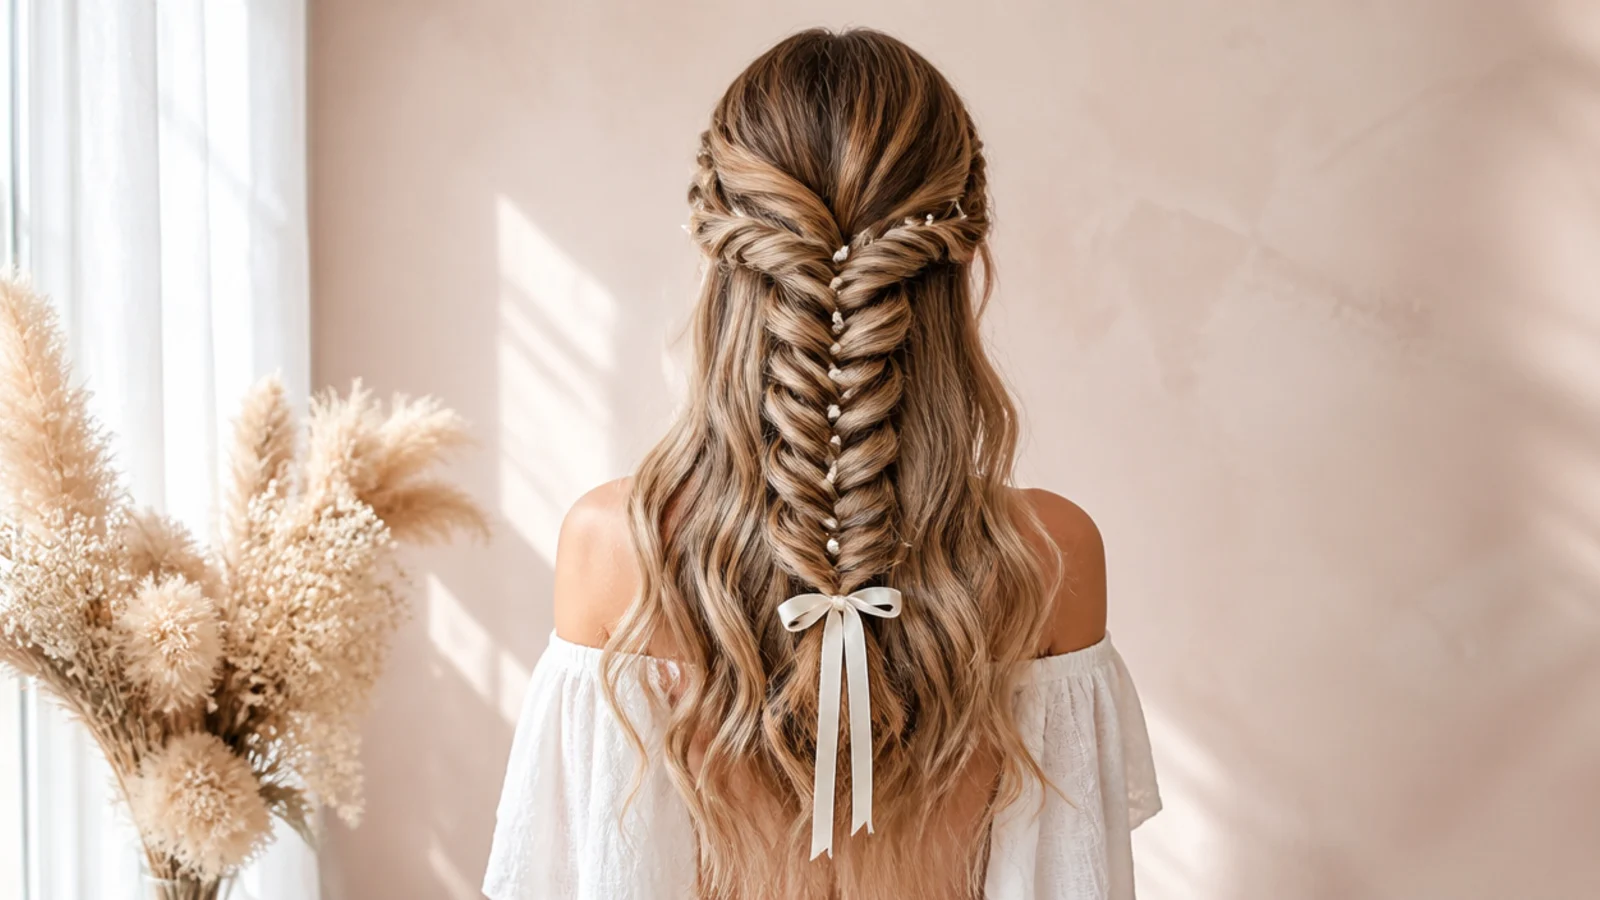
Lay ribbon in with a half, not on top. Fabric added at the start travels through every crossing and surfaces at intervals down the braid. Fabric tied on afterwards is a bow.
Push pins into the gaps. Pancaking creates open loops that hold a decorative pin with no grip of its own required. Space them unevenly or they read as a drawn line.
Leave the tendrils out before braiding. Pieces pulled free after tying come out of the braid and leave a visible hole at the temple.
Keep the loose length undone. The braid is the structure, so the hair below it should be the softest thing in the picture.
Making It Last
Braid on day two hair. Sebum and yesterday's product raise the friction between sections, which is what keeps a loose braid loose rather than letting it collapse.
Tie it before you pancake. Widening an untied braid pulls the whole thing apart from the bottom.
Re-tug rather than re-braid. A braid that has narrowed through the day is not undone, only closed. Thirty seconds of pulling on the outer loops resets it.
Sleep in it if you want next day waves. A pancaked fishtail leaves a fine even bend across the whole length, because the crossings are small and evenly spaced.
Take it out from the tie upwards. Cut a clear elastic rather than dragging it over the ends, where the braid is thinnest and the hair is oldest.
The 20 Half Up Mermaid Braid Ideas
1. Classic on Long Hair
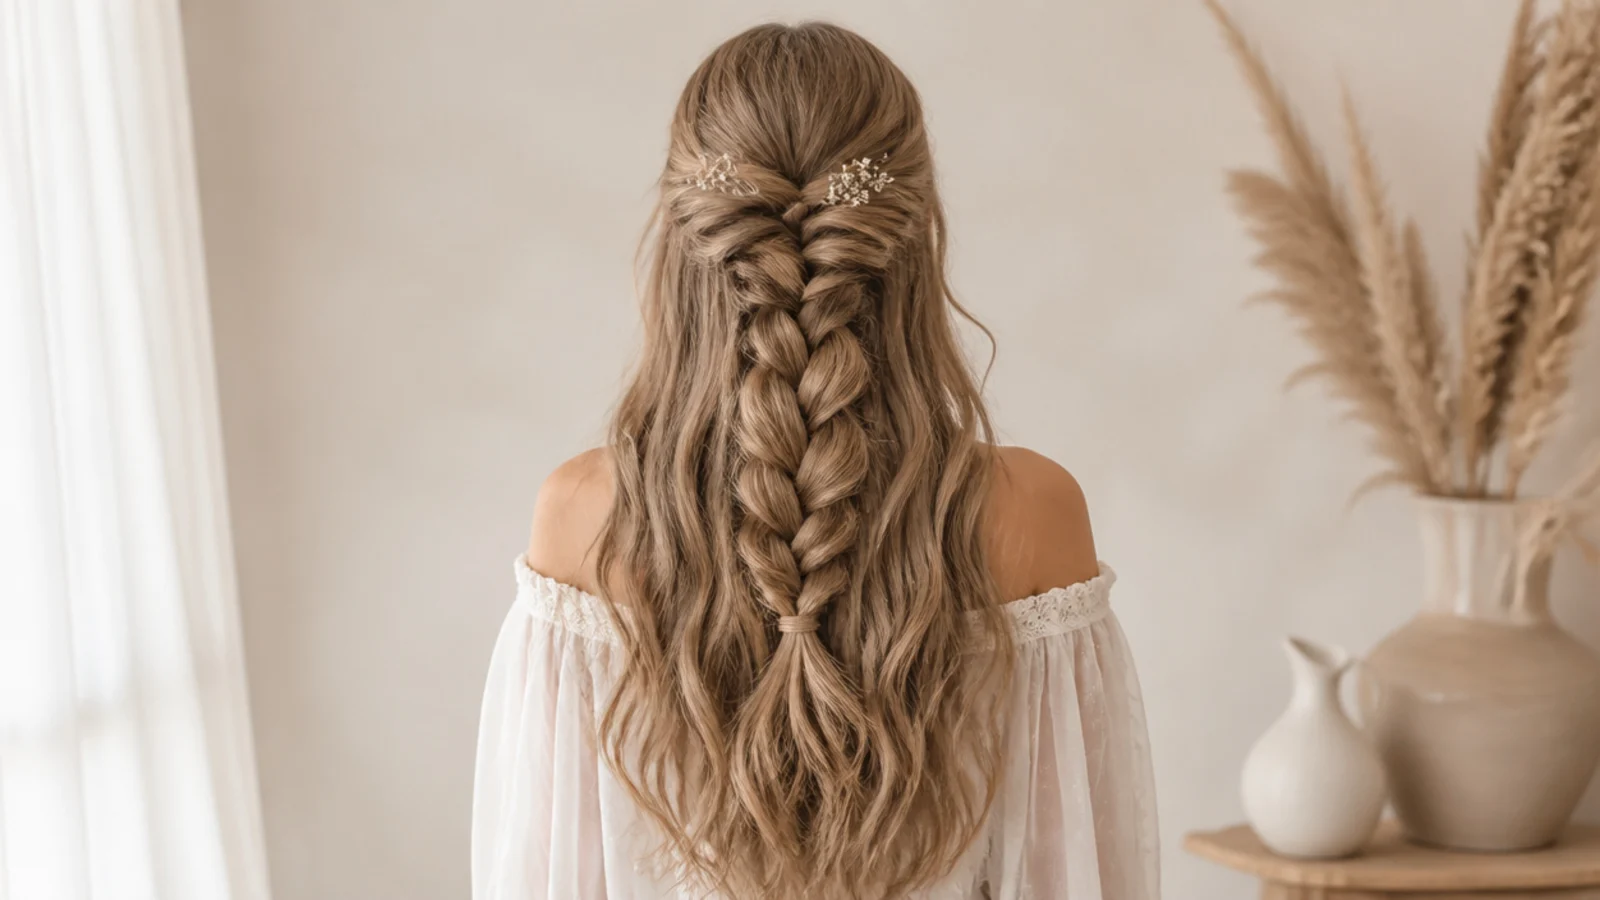
The crown section is taken from temple to temple and fishtailed straight down the back, so the braid lies on top of the loose length rather than containing it. Long hair gives the plait somewhere to fall through, which is what makes the shape read as a tail instead of a stripe.
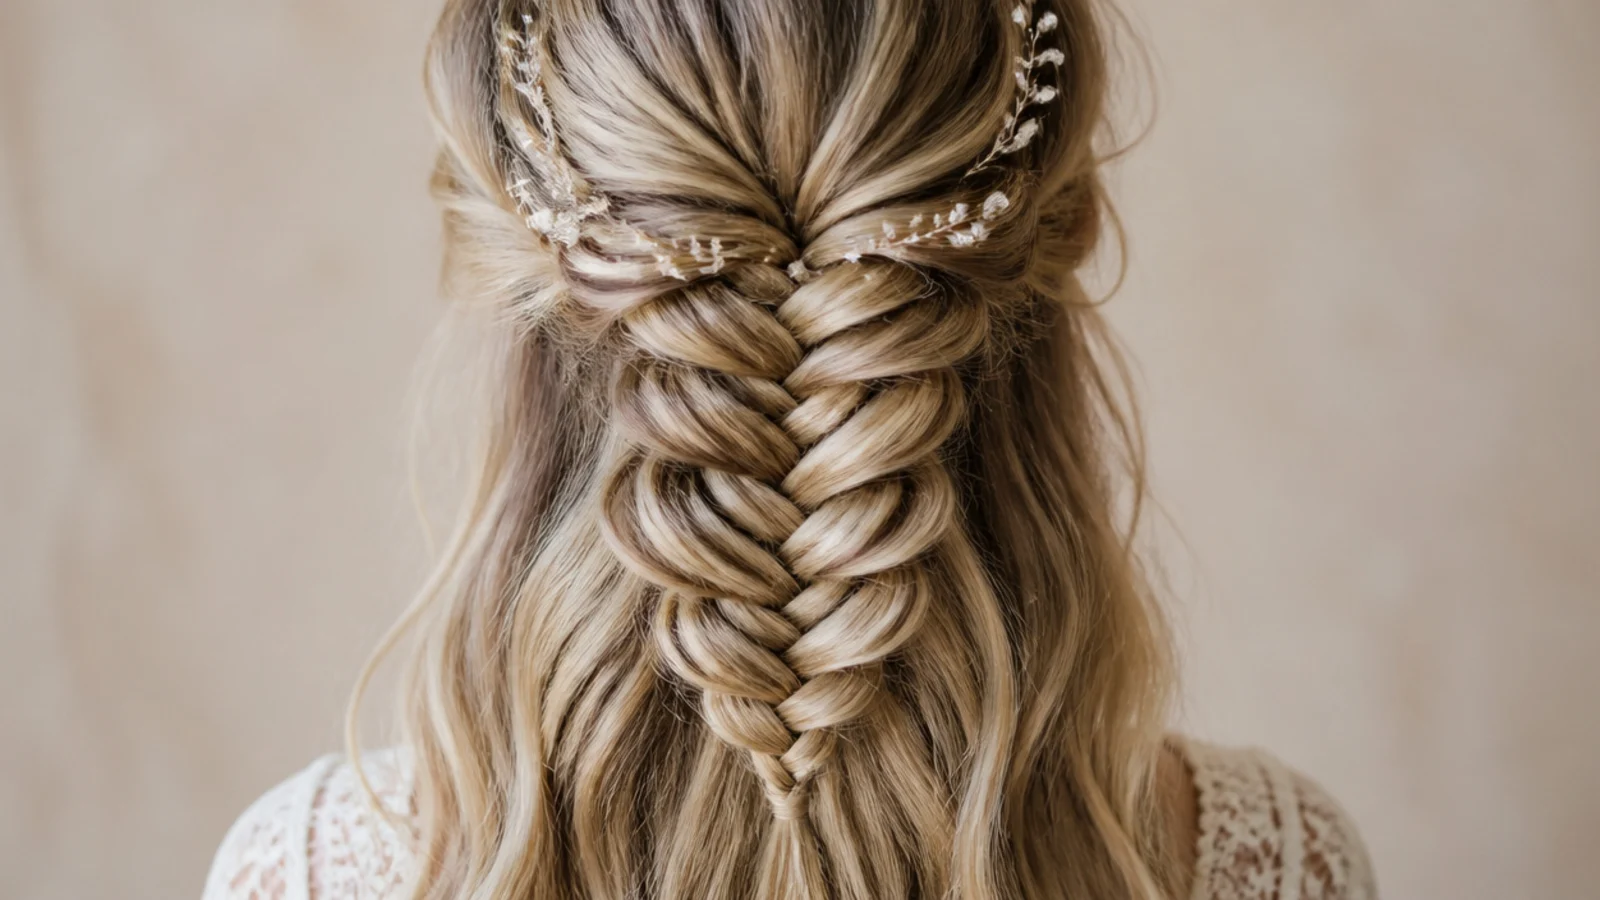
2. Loose Curls Underneath
Curling only the hair below the braid puts the volume where the braid is not, so the plait stays flat and defined against a soft background. The contrast also hides the join, because a curled underside has no visible line where the braided section ends and the loose hair begins.
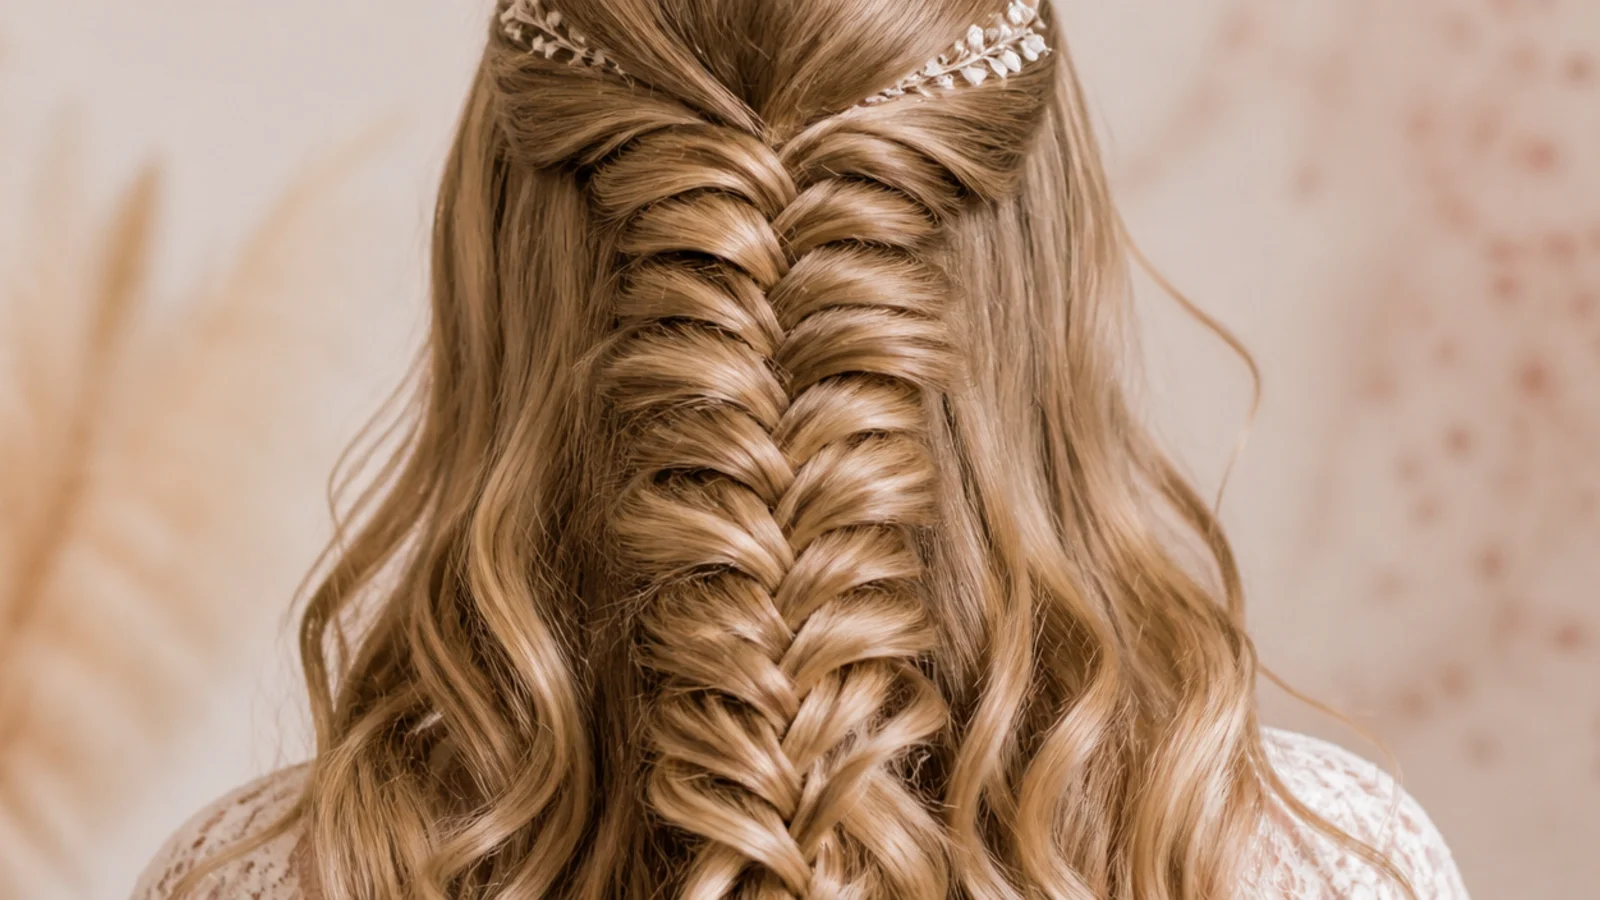
3. Dutch Fishtail
Crossing each piece under the opposite half instead of over it pushes the whole braid up onto the surface of the hair. It sits proud of the head, so every crossing catches light on its own edge and the scale pattern reads from across a room rather than close up.
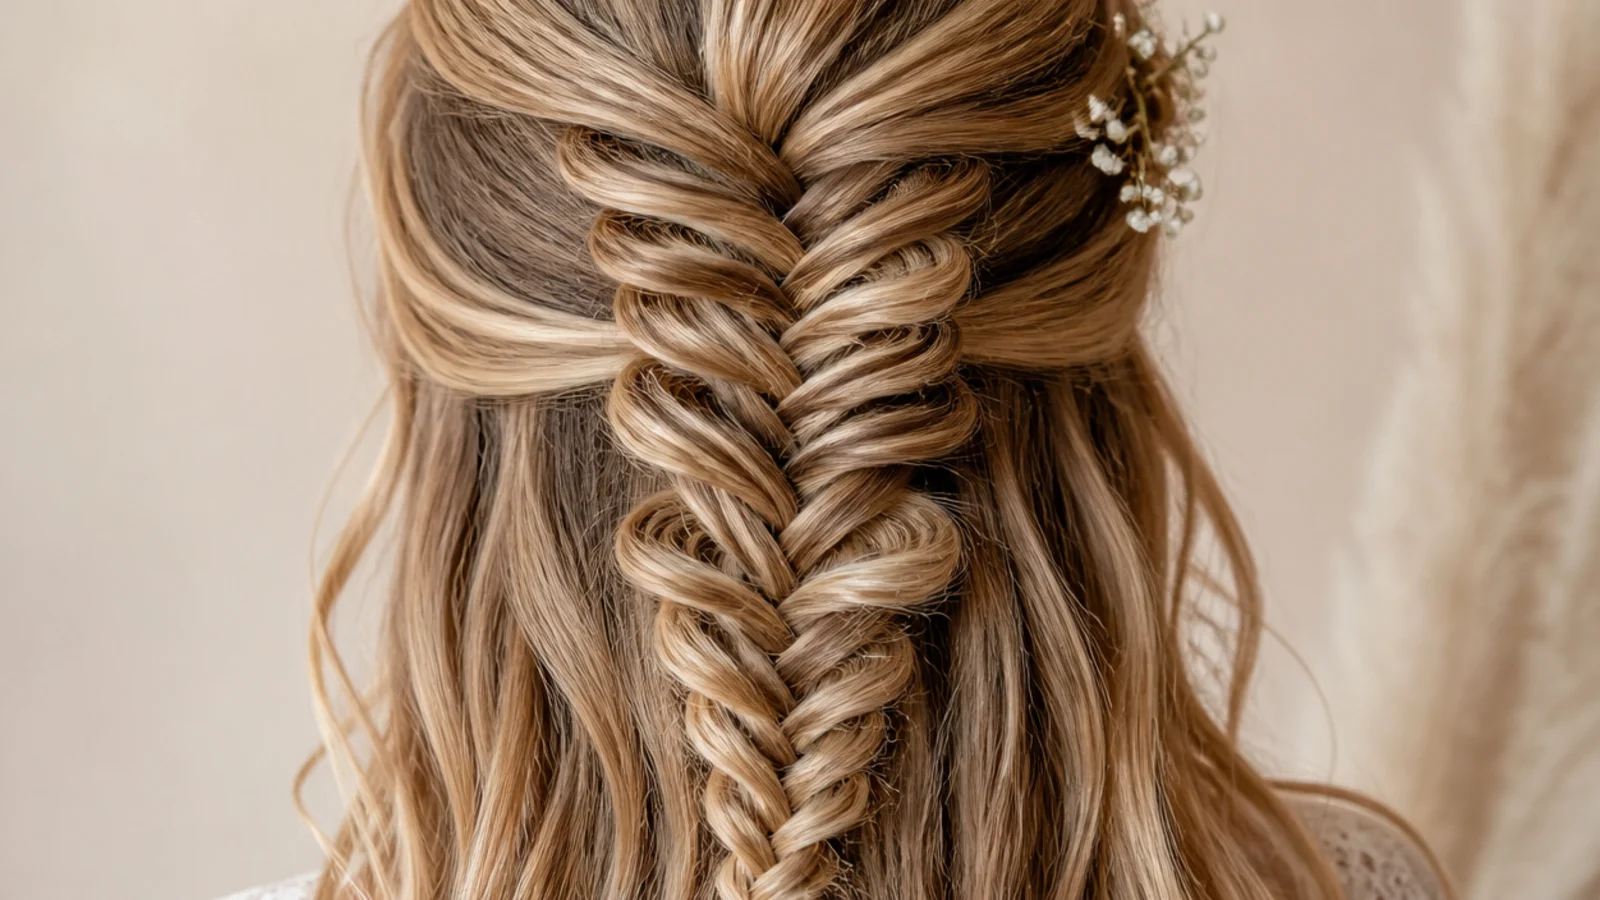
4. Pancaked for Fine Hair
Fine hair makes a narrow braid because each piece contains fewer strands, so the width has to be added rather than braided in. Tugging the outer loops open from the elastic upwards can double the apparent width without a single extra strand of hair being involved.
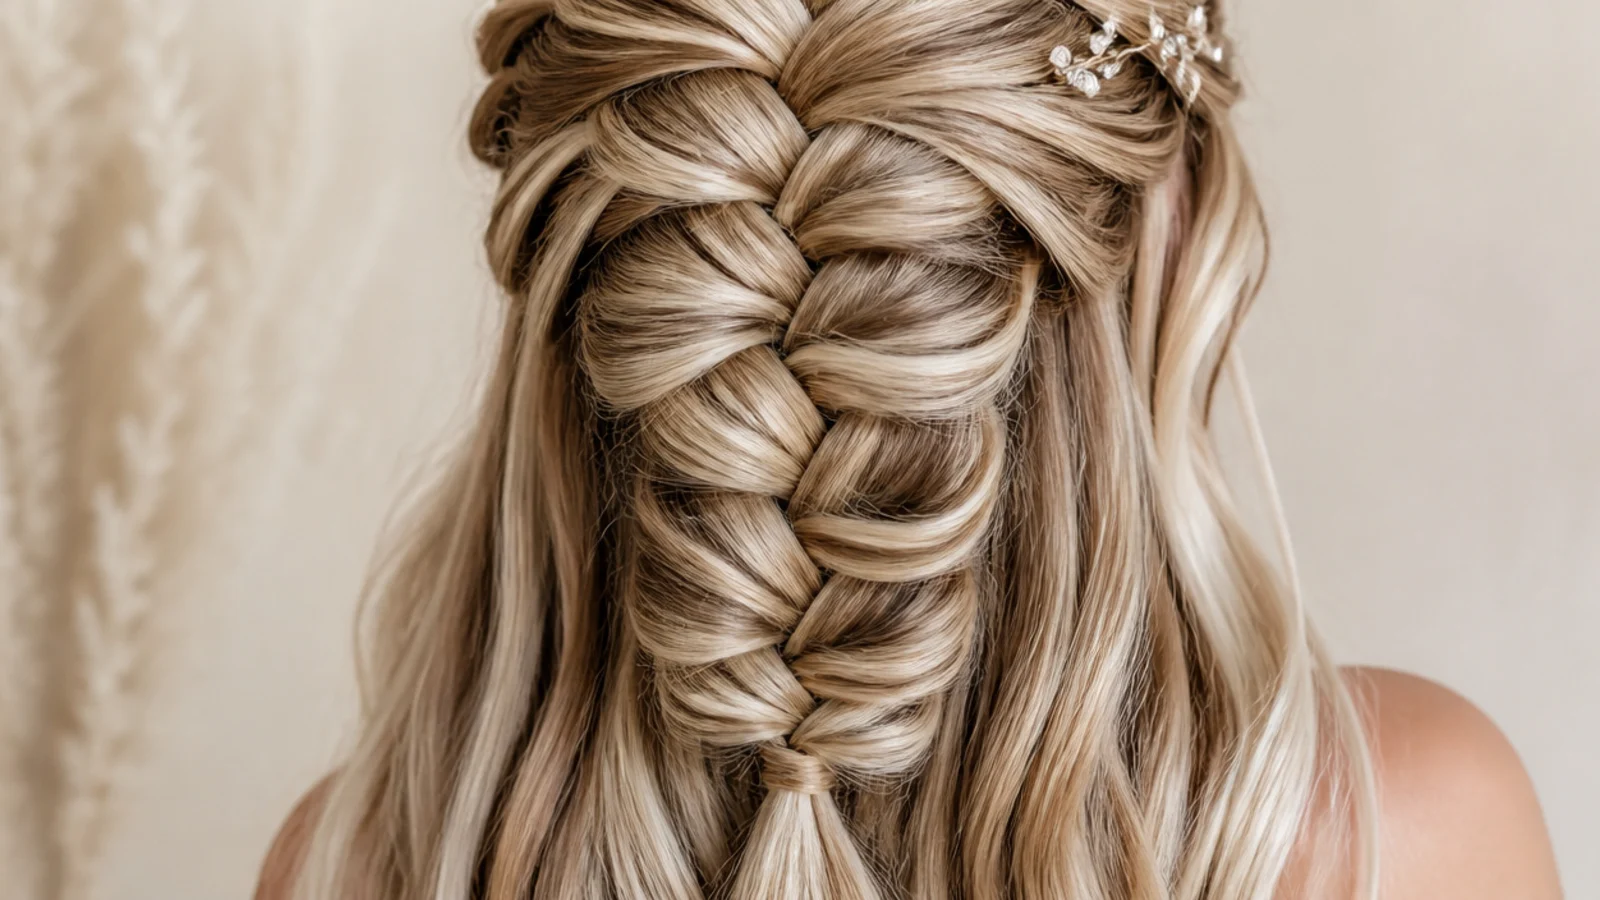
5. Deep Side Part
Taking the part well off centre sends more hair into one side of the crown section, so the braid starts asymmetrically and travels diagonally before it straightens. The heavier sweep also covers one temple, which softens the hairline without needing a separate face framing piece.
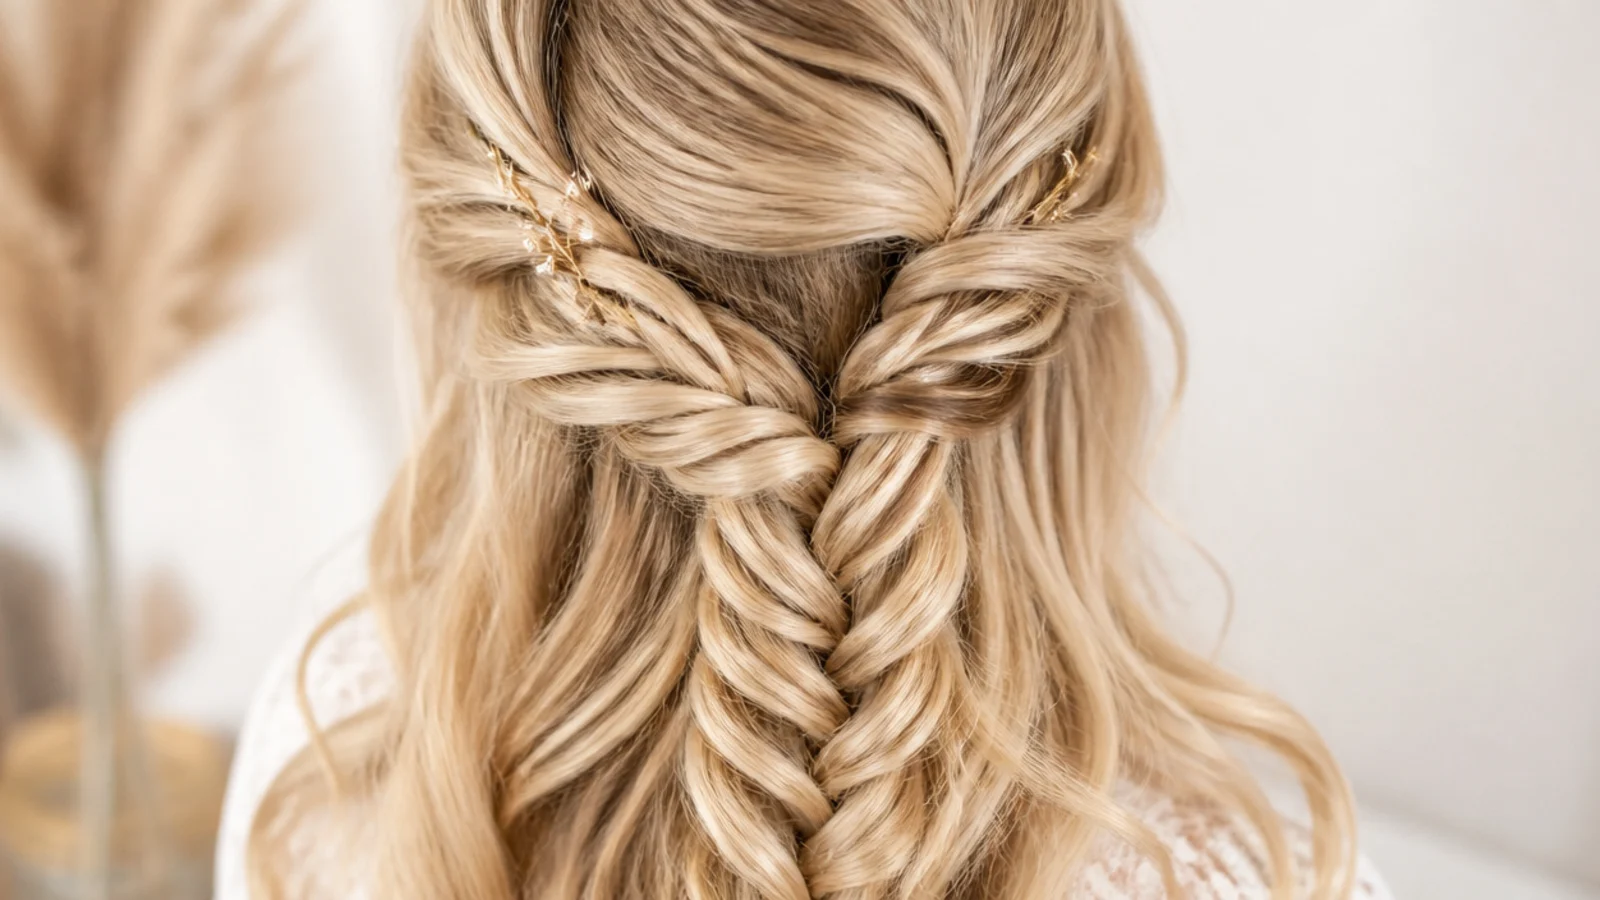
6. Double Braids Joined
Two smaller fishtails, one from each temple, meeting in the middle and tied as one. Splitting the work halves the width each braid has to carry, so both stay tight at the top while the joined section below reads as a single wide plait.
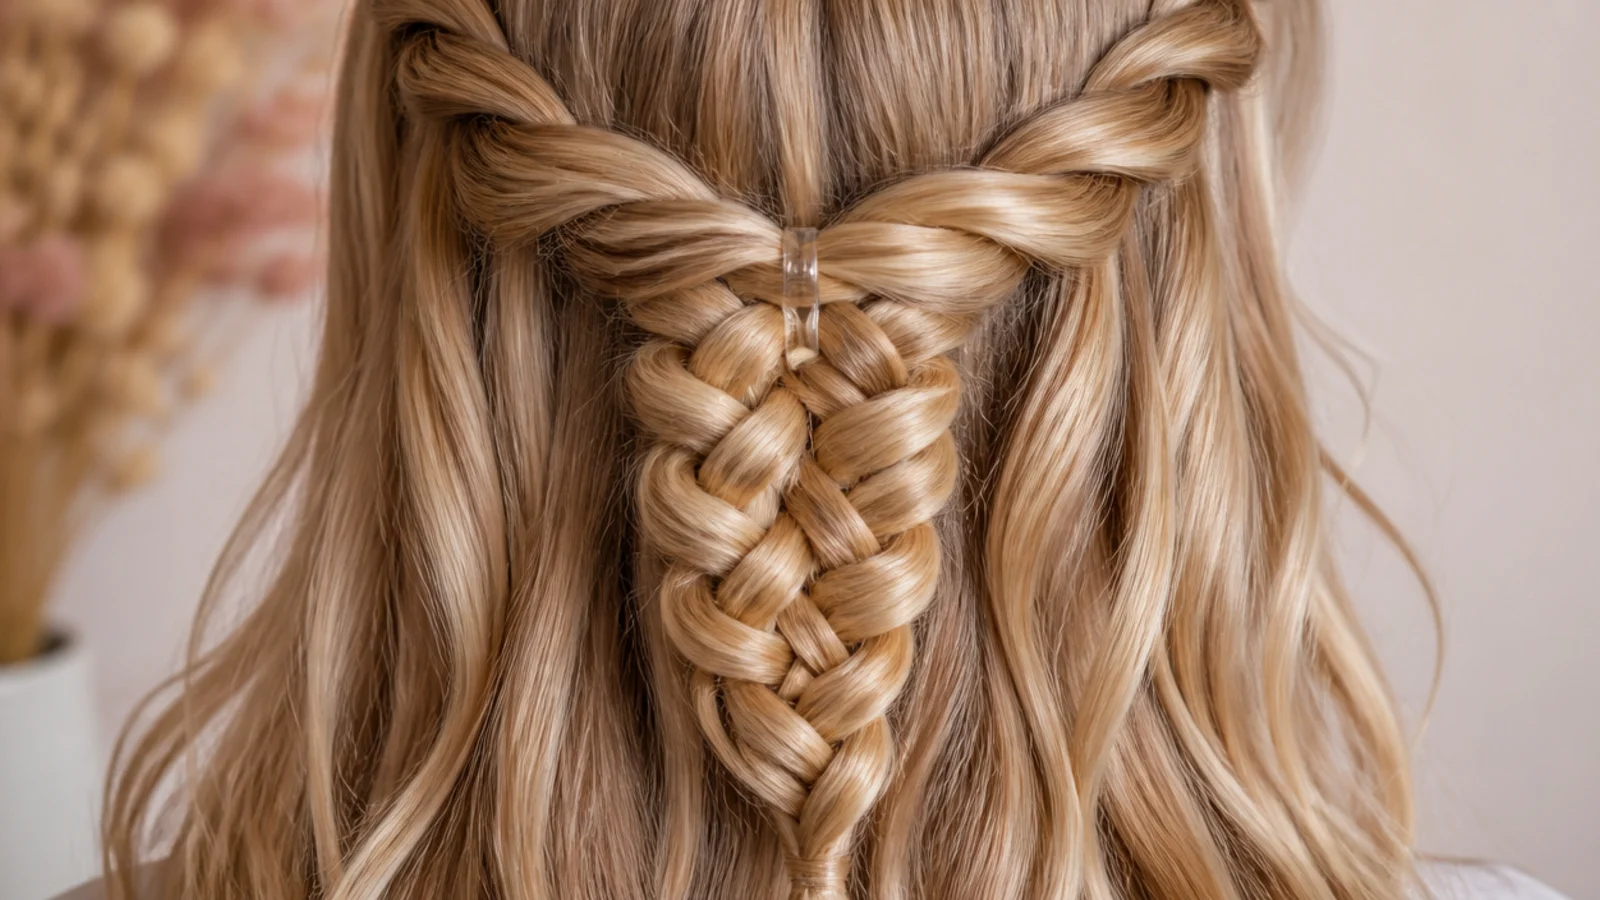
7. Into a Low Bun
The fishtail is braided first and then coiled at the nape, so the knot is built from a rope that is already patterned. Every wrap shows the crossings on its outer surface, which gives the bun texture that a plain twisted coil cannot produce.
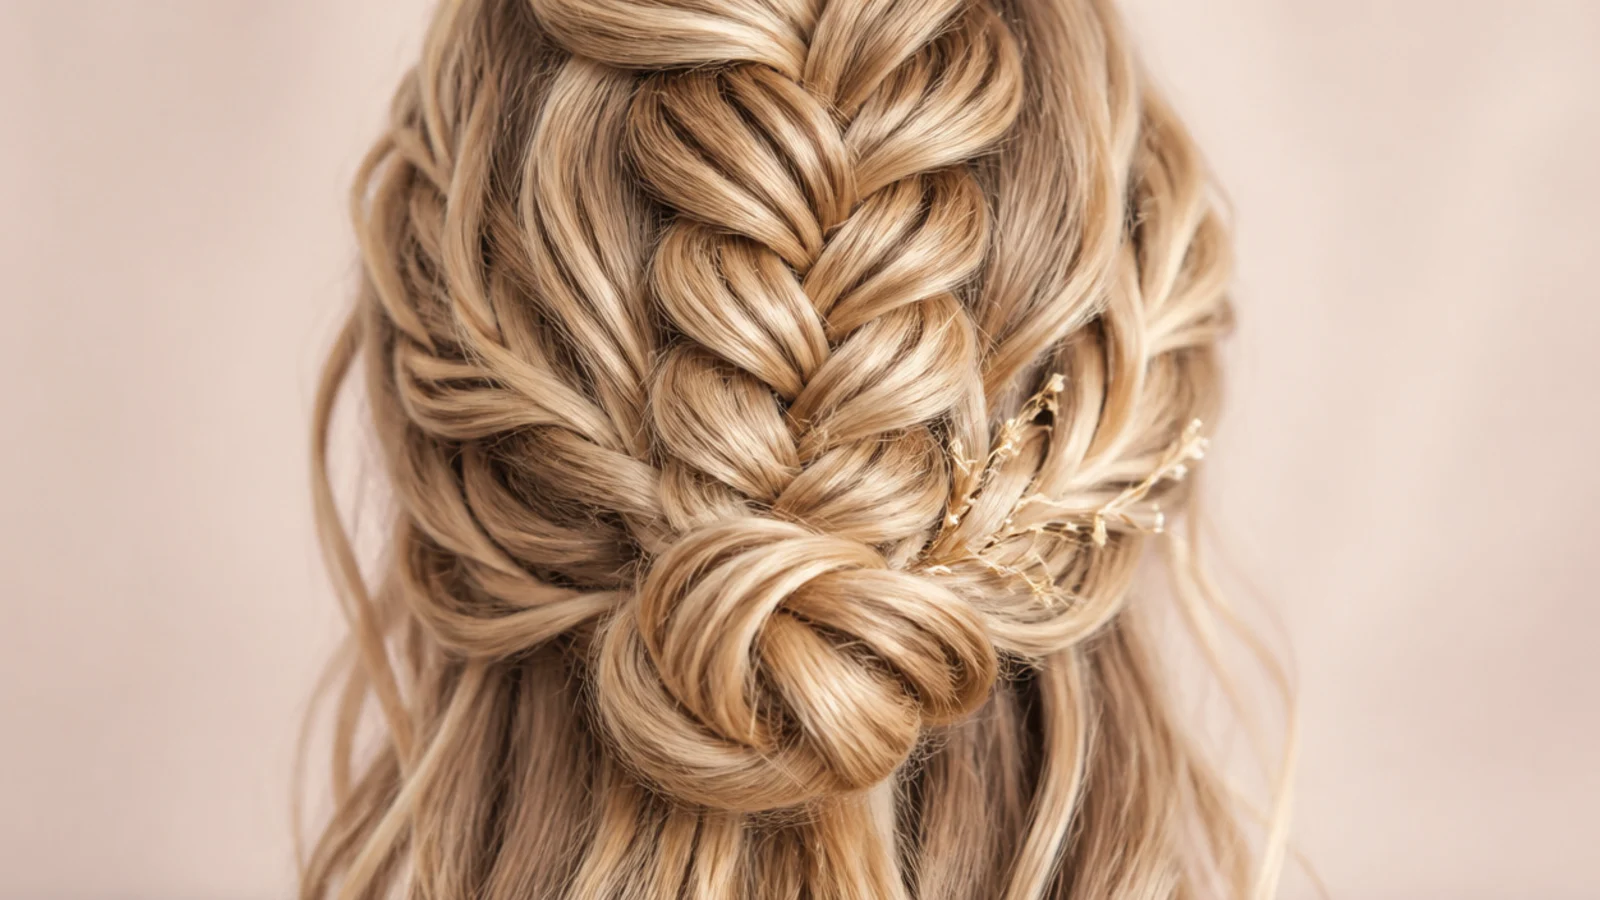
8. Face Framing Tendrils
Pull two thin pieces free at the temples before you braid rather than after, so the braid tension stays even along its whole length. Pieces released once the elastic is on come out of the braid itself and leave a gap at the hairline that shows as a hole in the pattern.
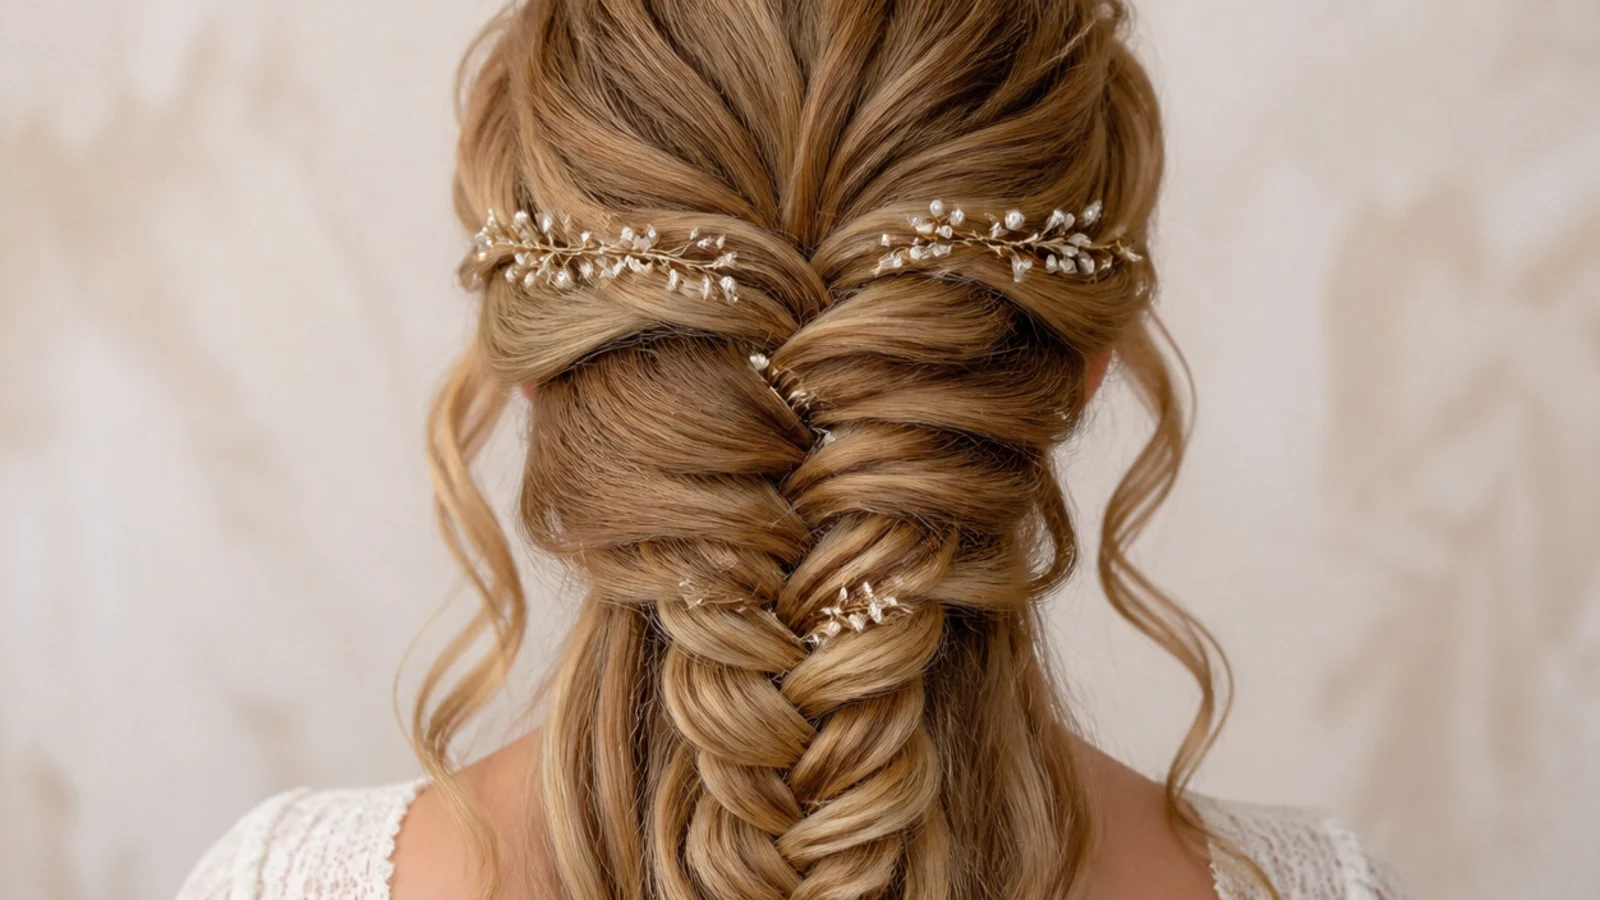
9. Waterfall Into a Mermaid
The braid starts as a waterfall across the crown, dropping a strand at every pass, then switches to a fishtail once it turns down the back. The dropped strands fall through the lower braid, so the loose length appears to come out of the plait rather than from behind it.
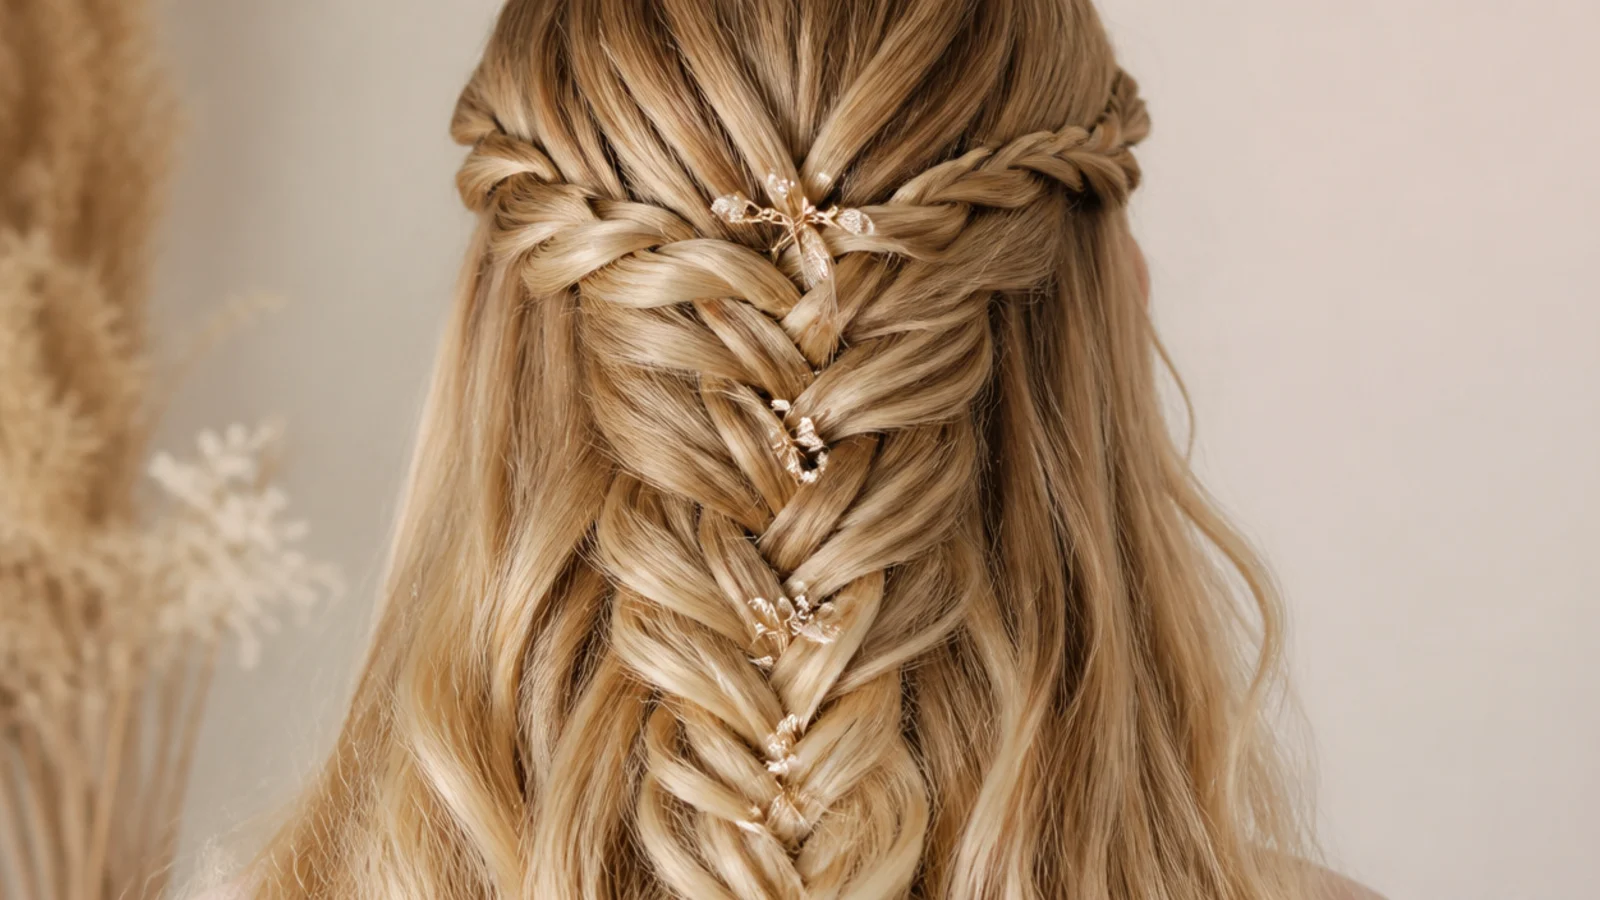
10. Clear Elastic Finish
A silicone band disappears against any hair colour, so the braid seems to dissolve into loose length instead of stopping at a visible full stop. It also grips smooth hair better than fabric, which matters at the tie, where the braid is thinnest and most likely to slide.
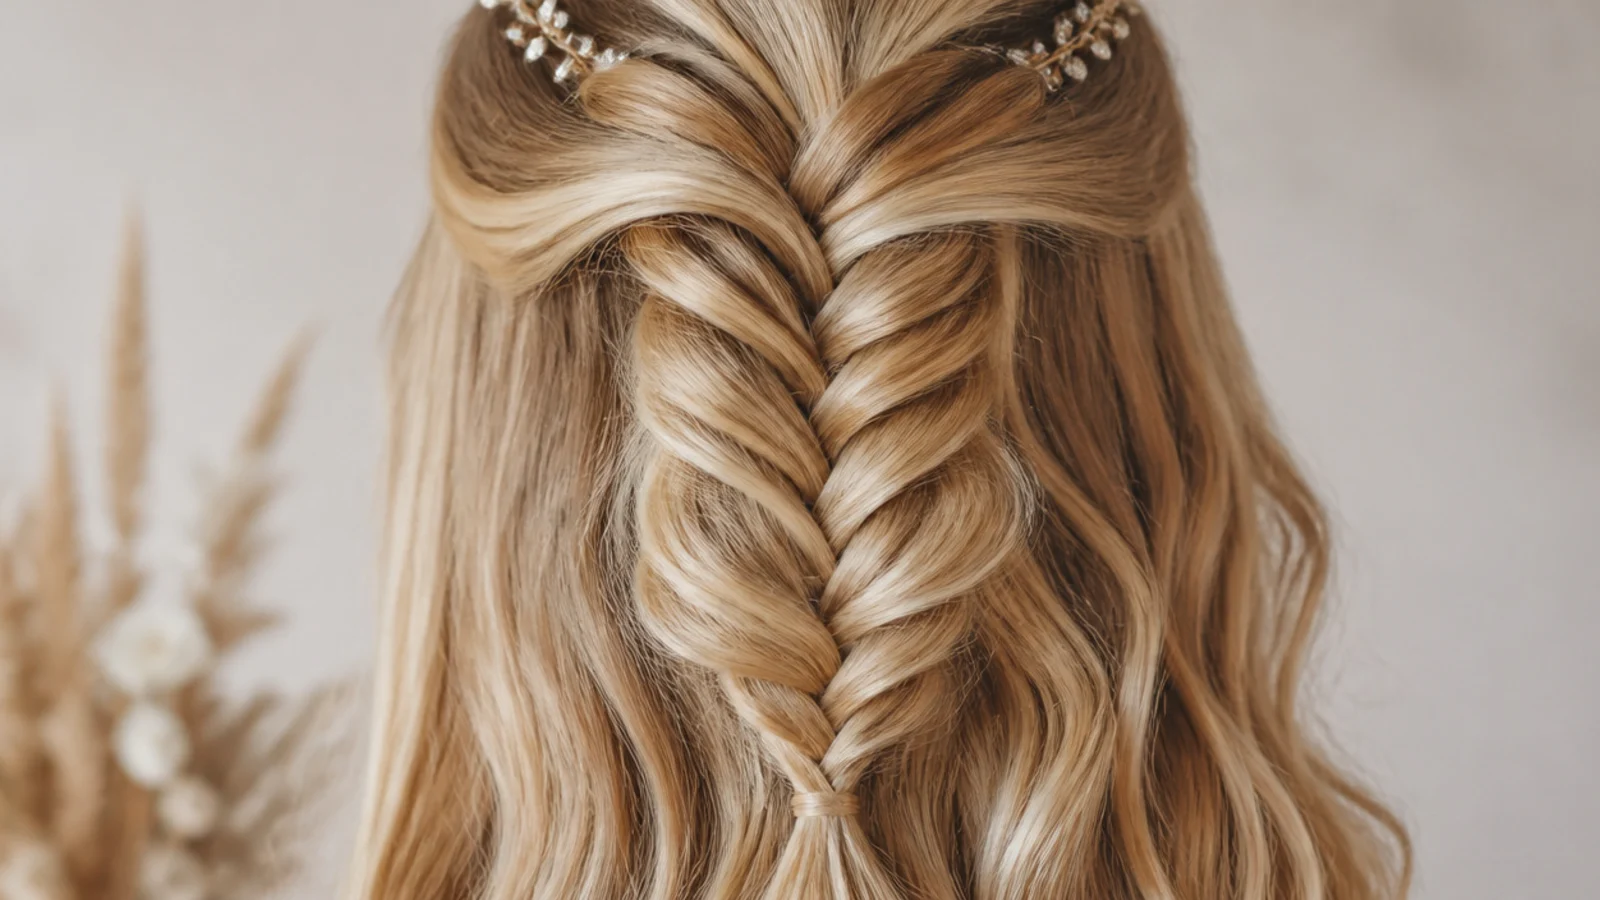
11. Boho Ribbon
A ribbon laid in with one of the two halves at the very start travels through every crossing and surfaces at regular intervals down the braid. Fabric also adds friction between the sections, which is why a ribboned braid stays open longer than the same braid without one.
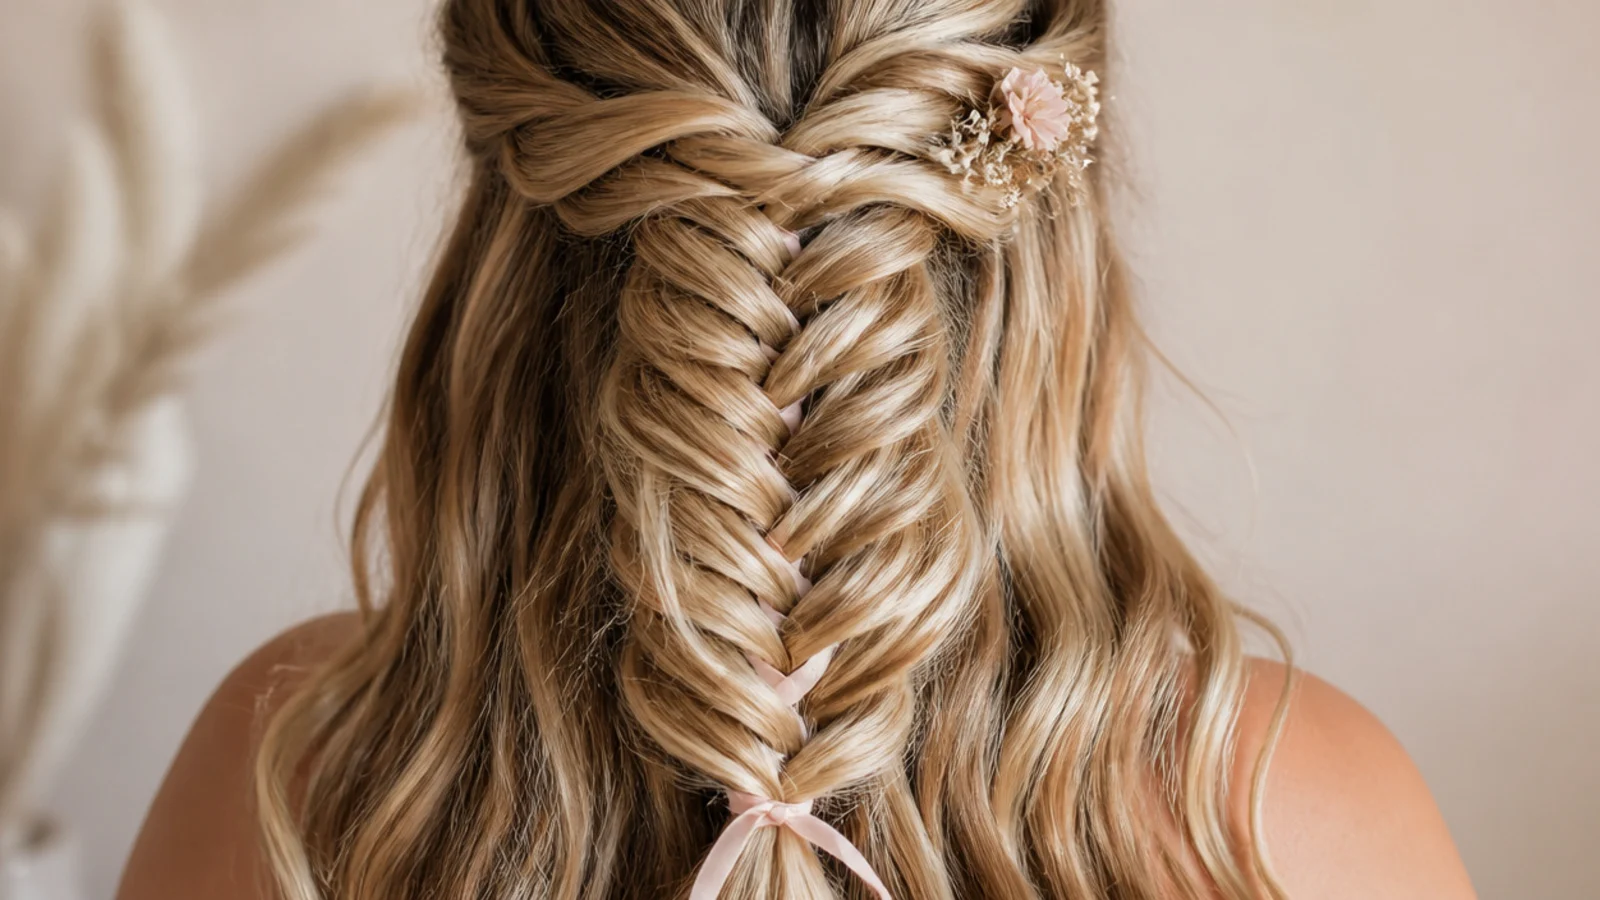
12. Pearl Pins for a Wedding
Small pins pushed into the outer loops sit in the openings the pancaking created, so they need no grip of their own to stay in place. Space them unevenly along the braid and the eye reads them as scattered rather than as a line ruled down the back.
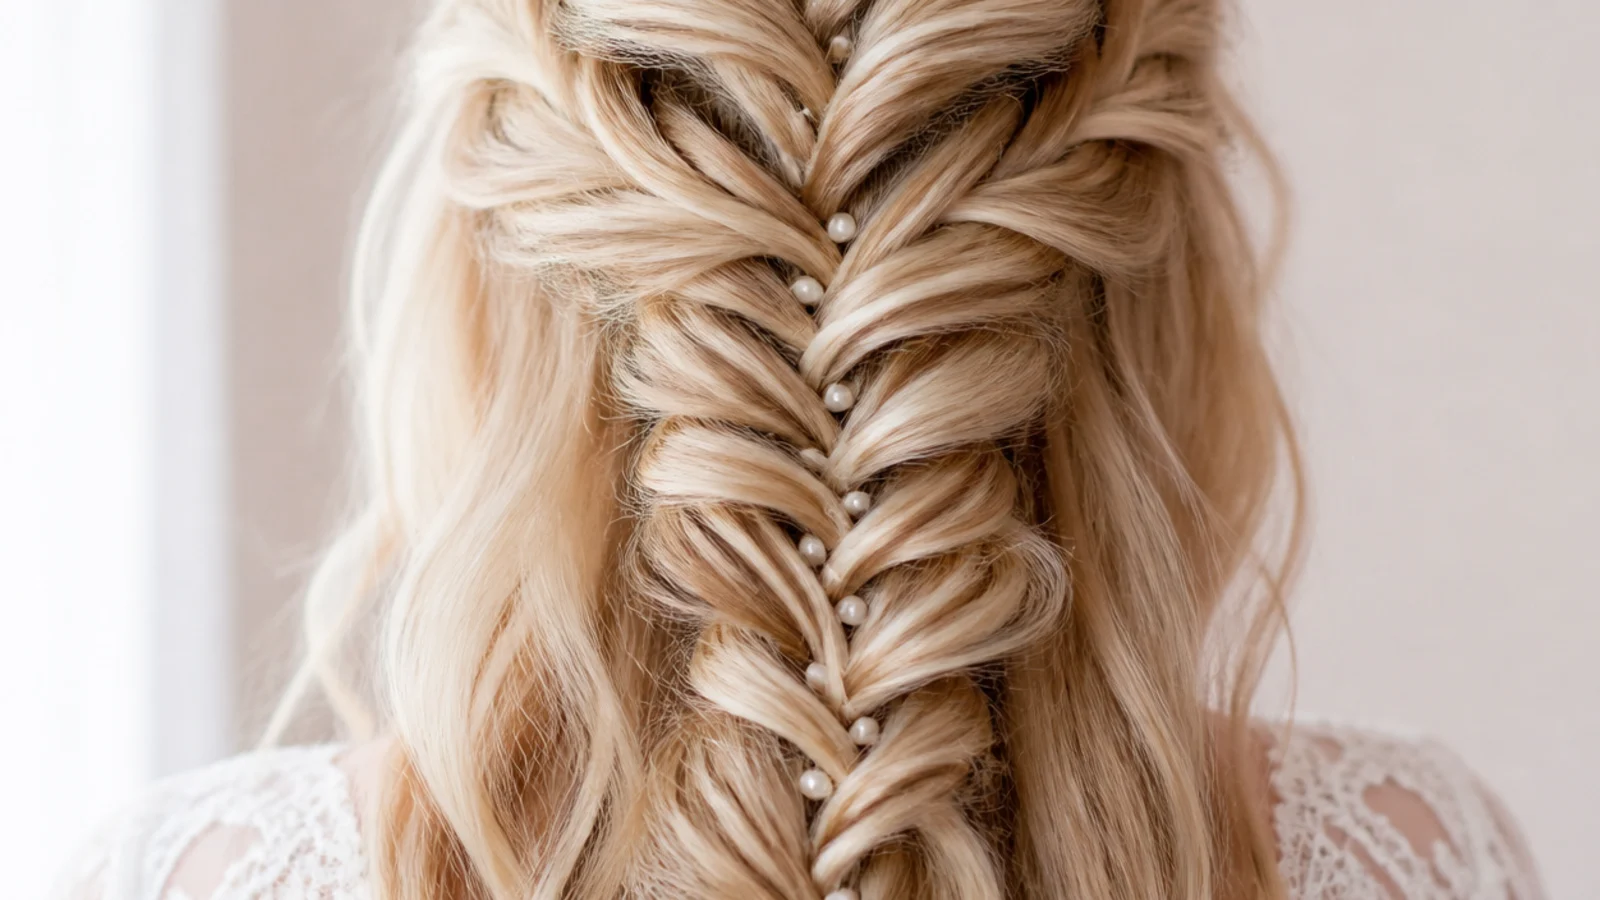
13. Shoulder Length
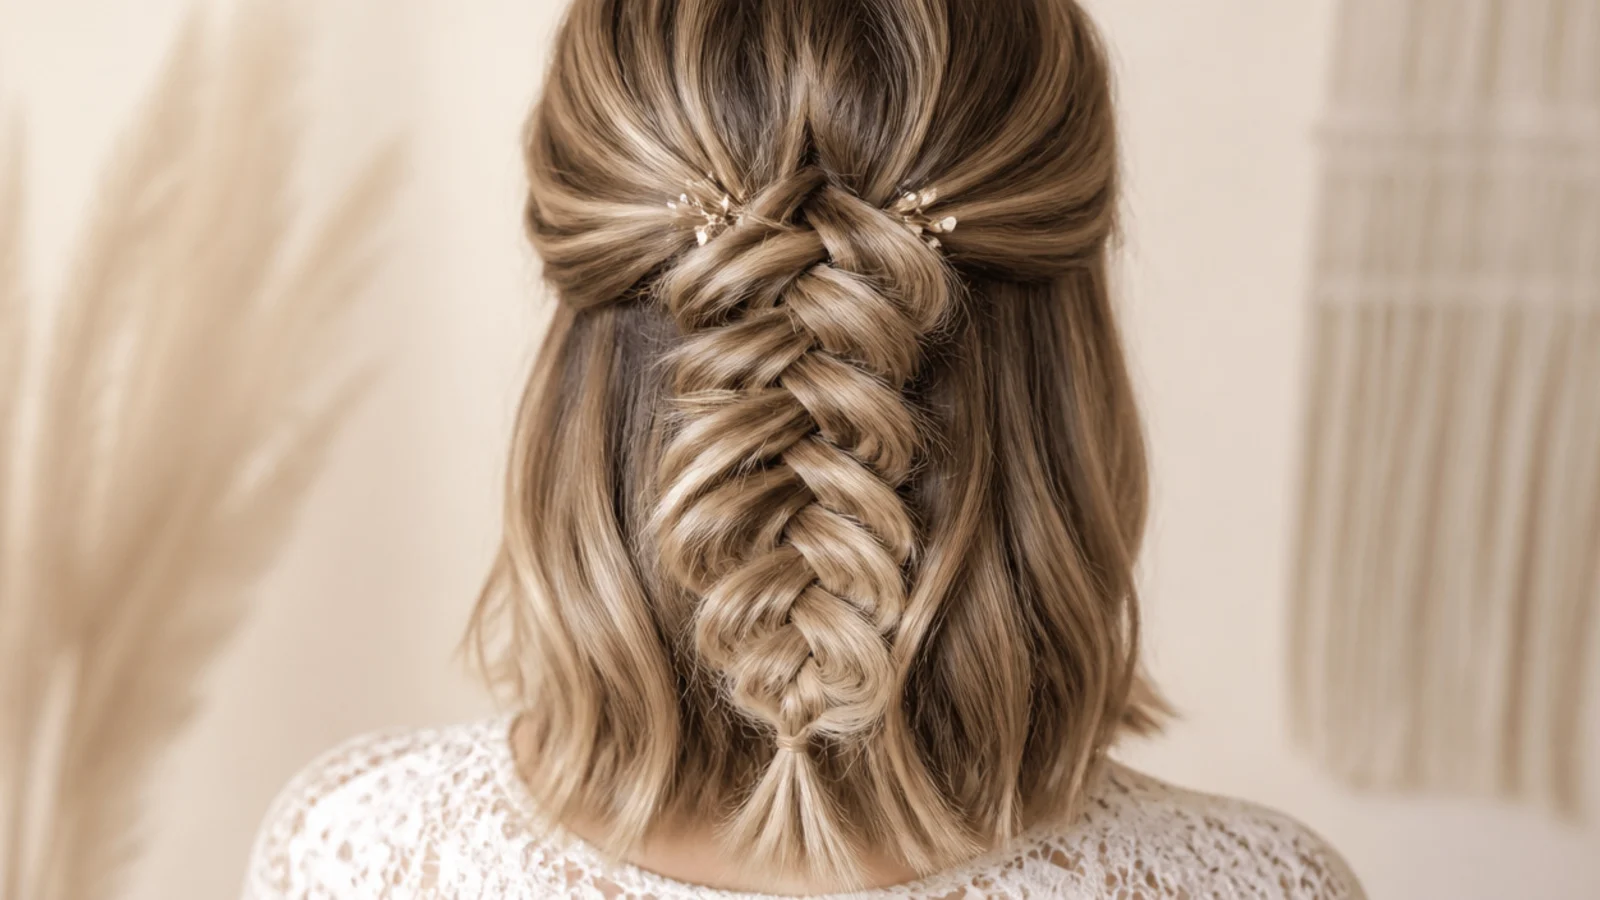
At shoulder length the braid has only a few inches to work with, so start it lower on the head and take the smallest pieces you can hold. A short fishtail with fine crossings reads as a chosen style, where a short one with thick pieces reads as a plait you gave up on.
14. Curly Hair
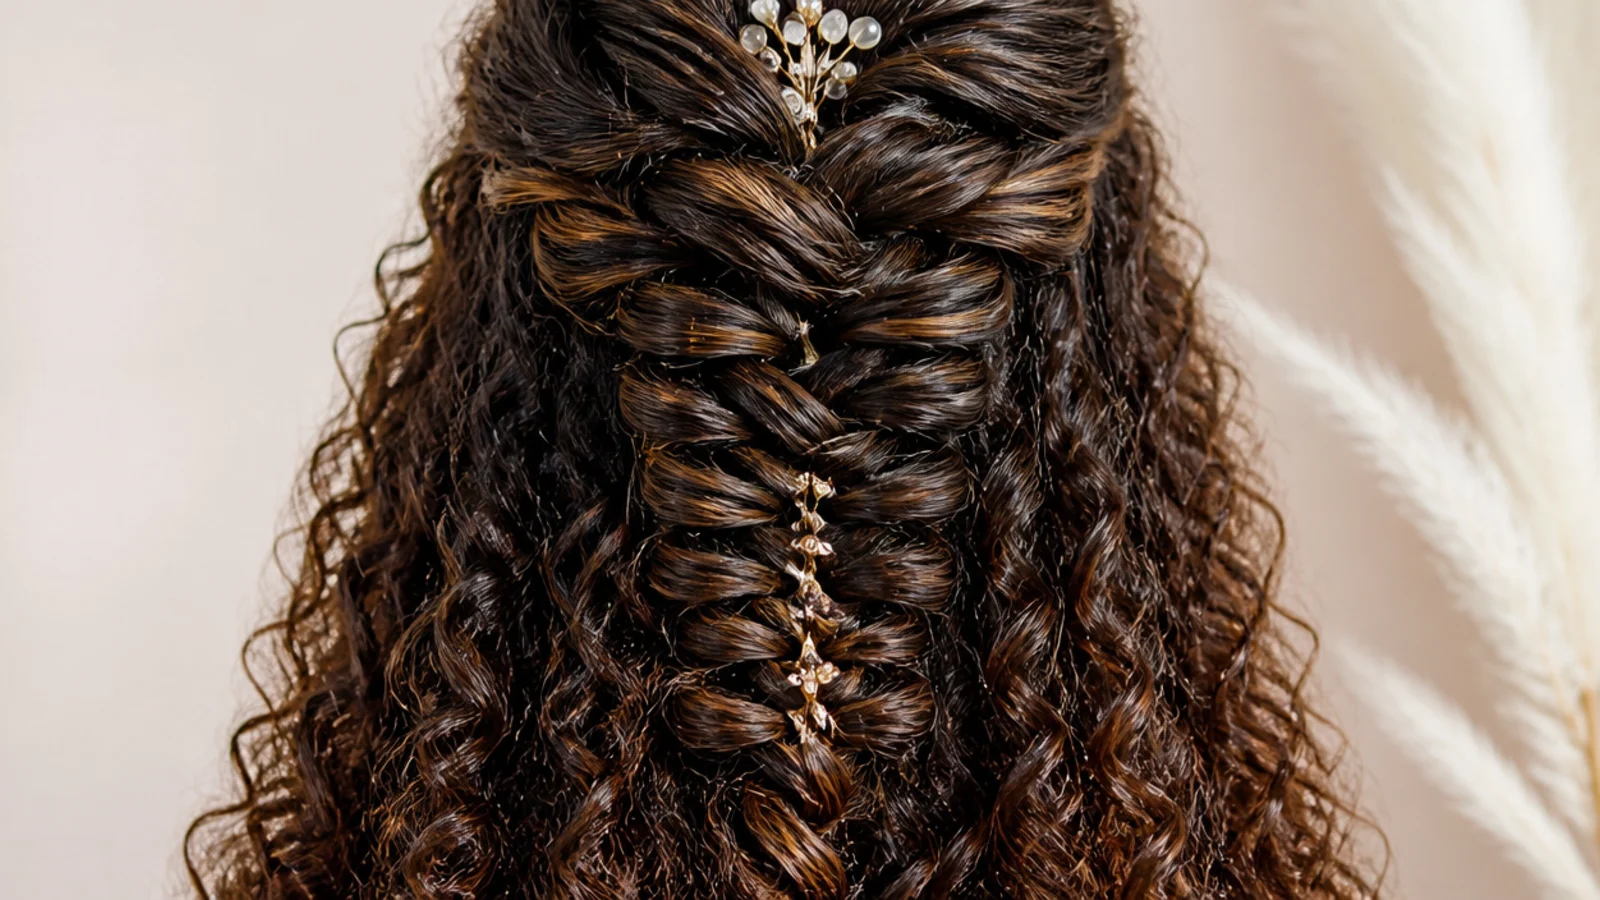
Curls grip one another, so a fishtail holds on curly hair with no product at all. Take slightly wider pieces and stretch the section gently as you go, because a tight coil pattern hides fine crossings and the braid otherwise disappears into its own texture.
15. Crown Braid
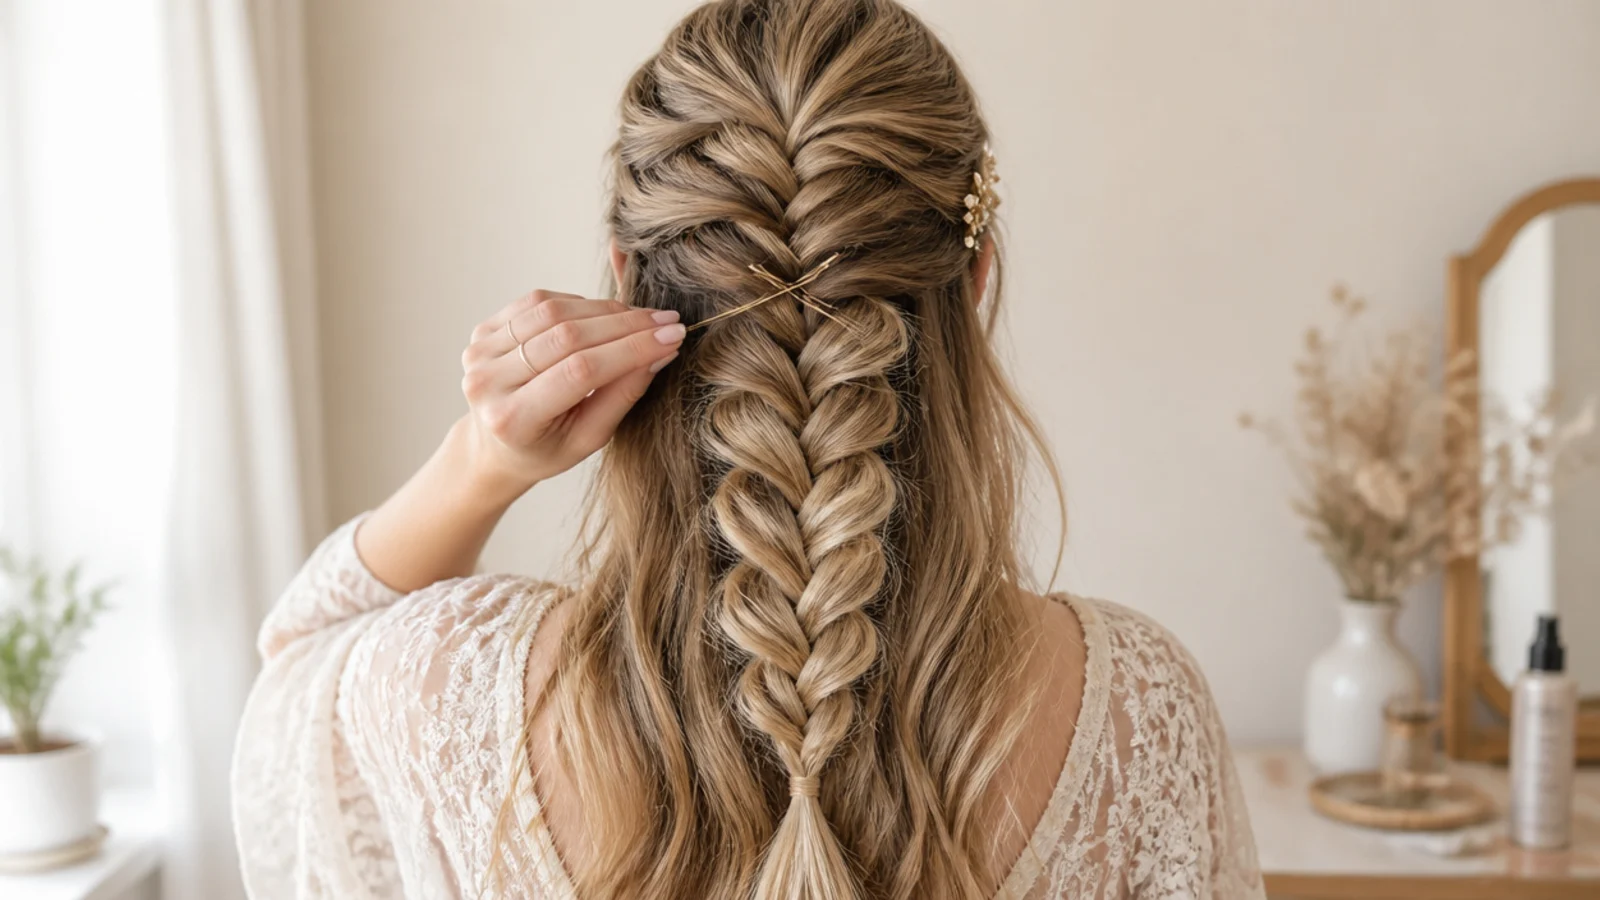
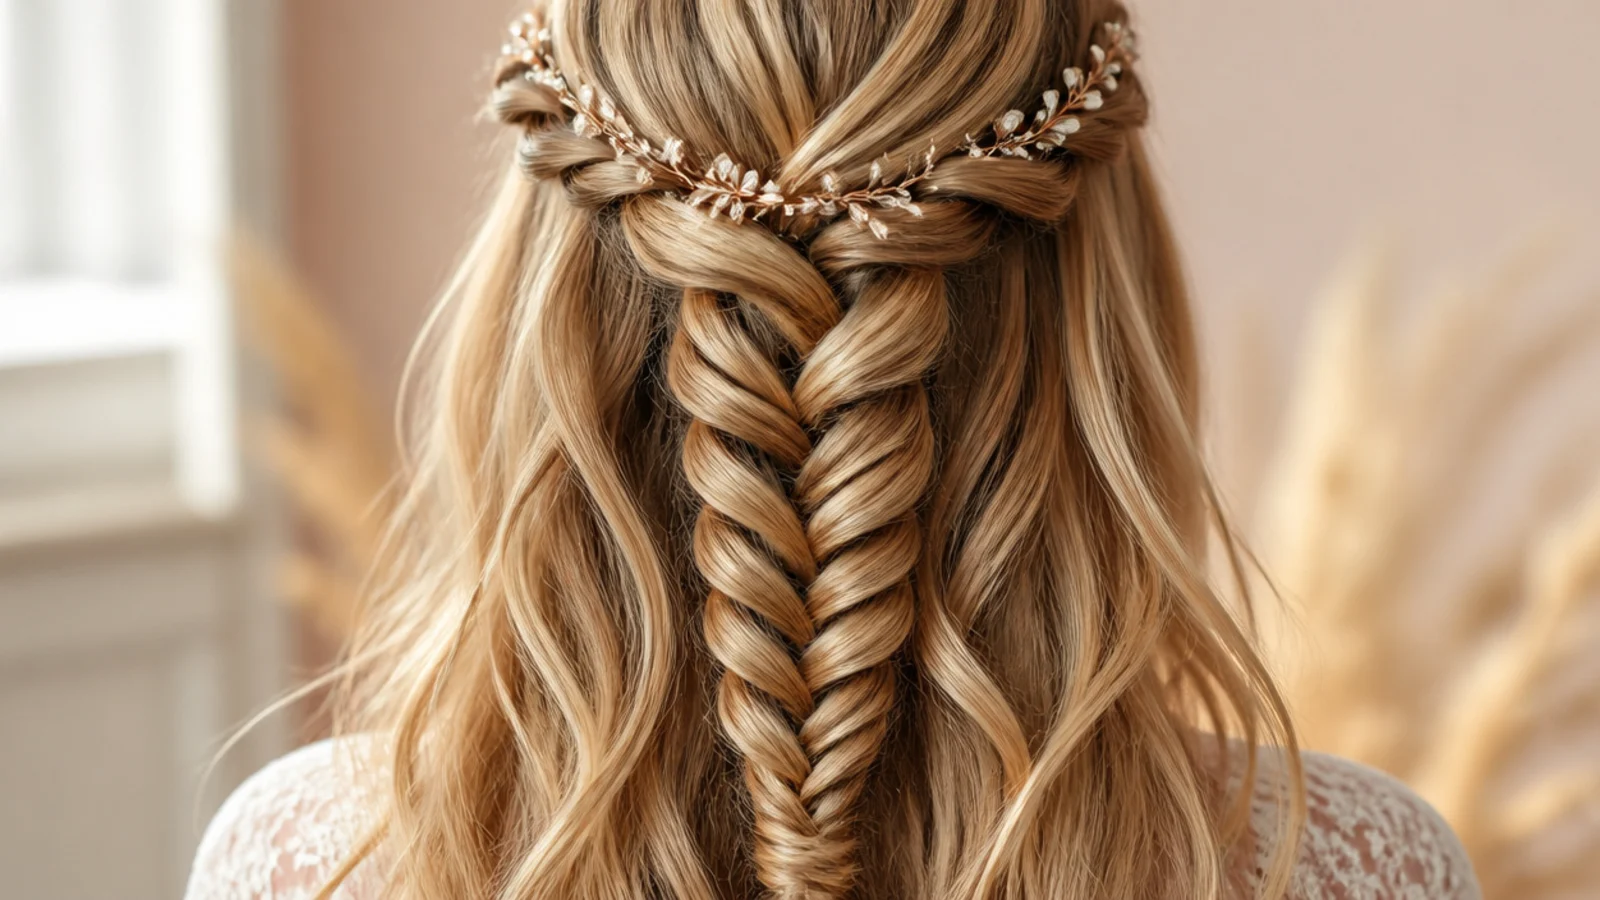
The crown section is braided around the head rather than down it, so the plait becomes a band across the widest part with everything below falling loose. Cross the pins as you anchor it, because a horizontal braid carries its weight sideways and a straight pin has nothing to pull against.
16. Clip In Extensions
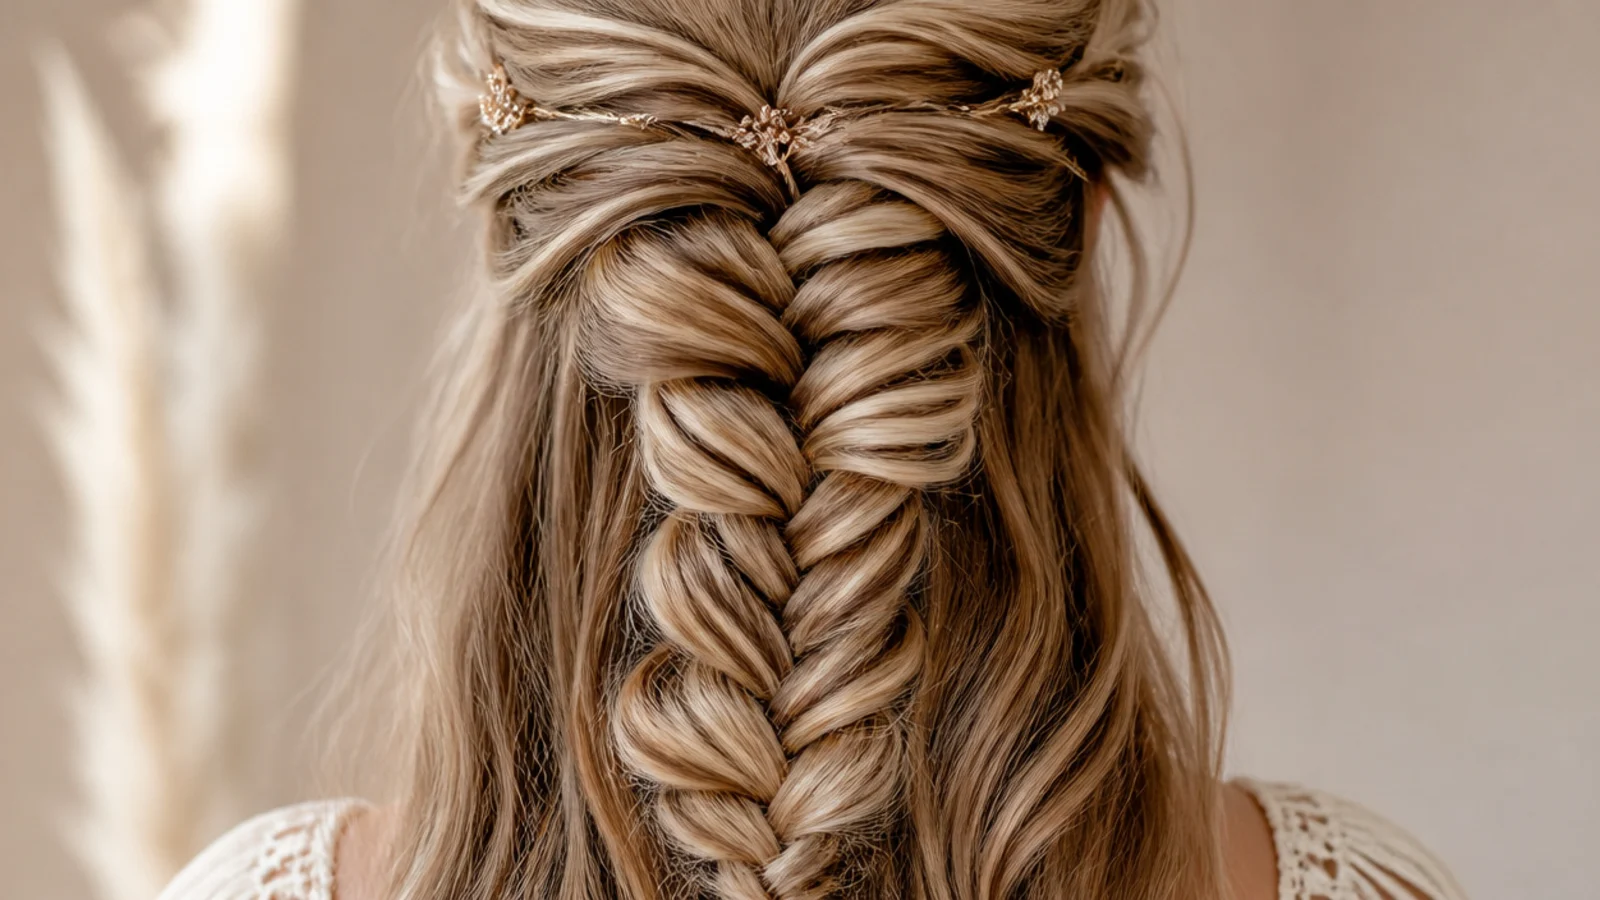
Wefts clipped under the crown section add length and thickness exactly where the braid needs them, below the parting where the clips stay hidden. The extra hair widens every crossing, which is what stops a long fishtail tapering to a point halfway down the back.
17. Beach Waves
Waving the length before braiding gives every strand a bend, and a bent strand catches on its neighbours instead of sliding past them. That friction is what holds the pancaked loops open all day, which is why the same braid on poker straight hair closes up first.
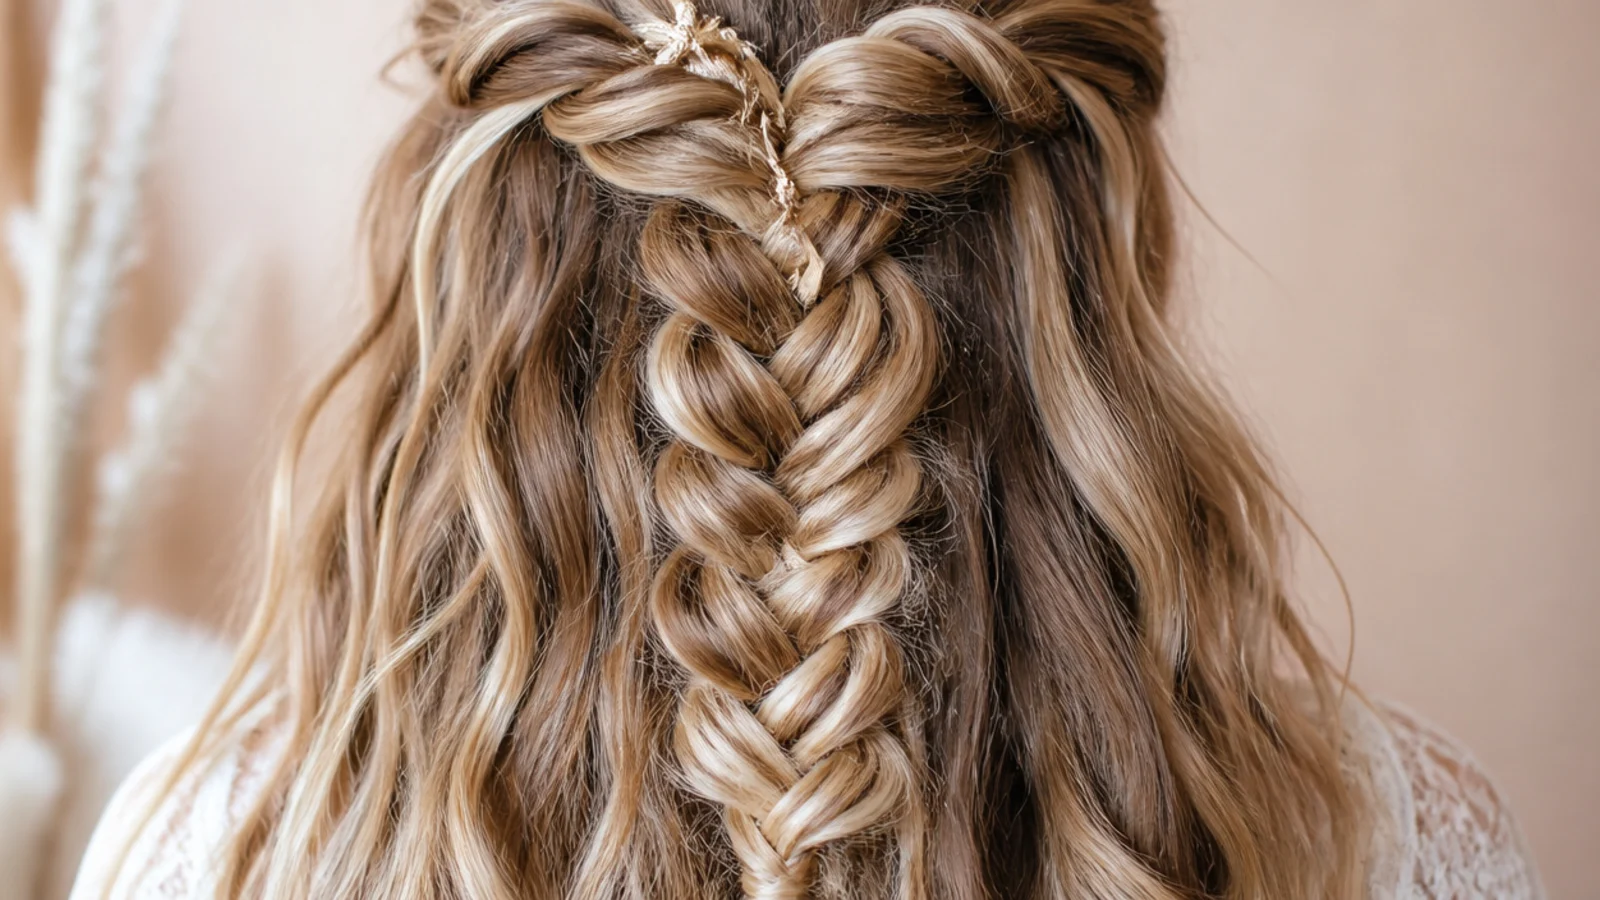
18. Bubble Tail
Below the braid the loose length is divided by clear elastics and each segment is pulled wide. It repeats the widening you already did above, so the whole tail keeps one rhythm from crown to ends instead of changing texture halfway down.
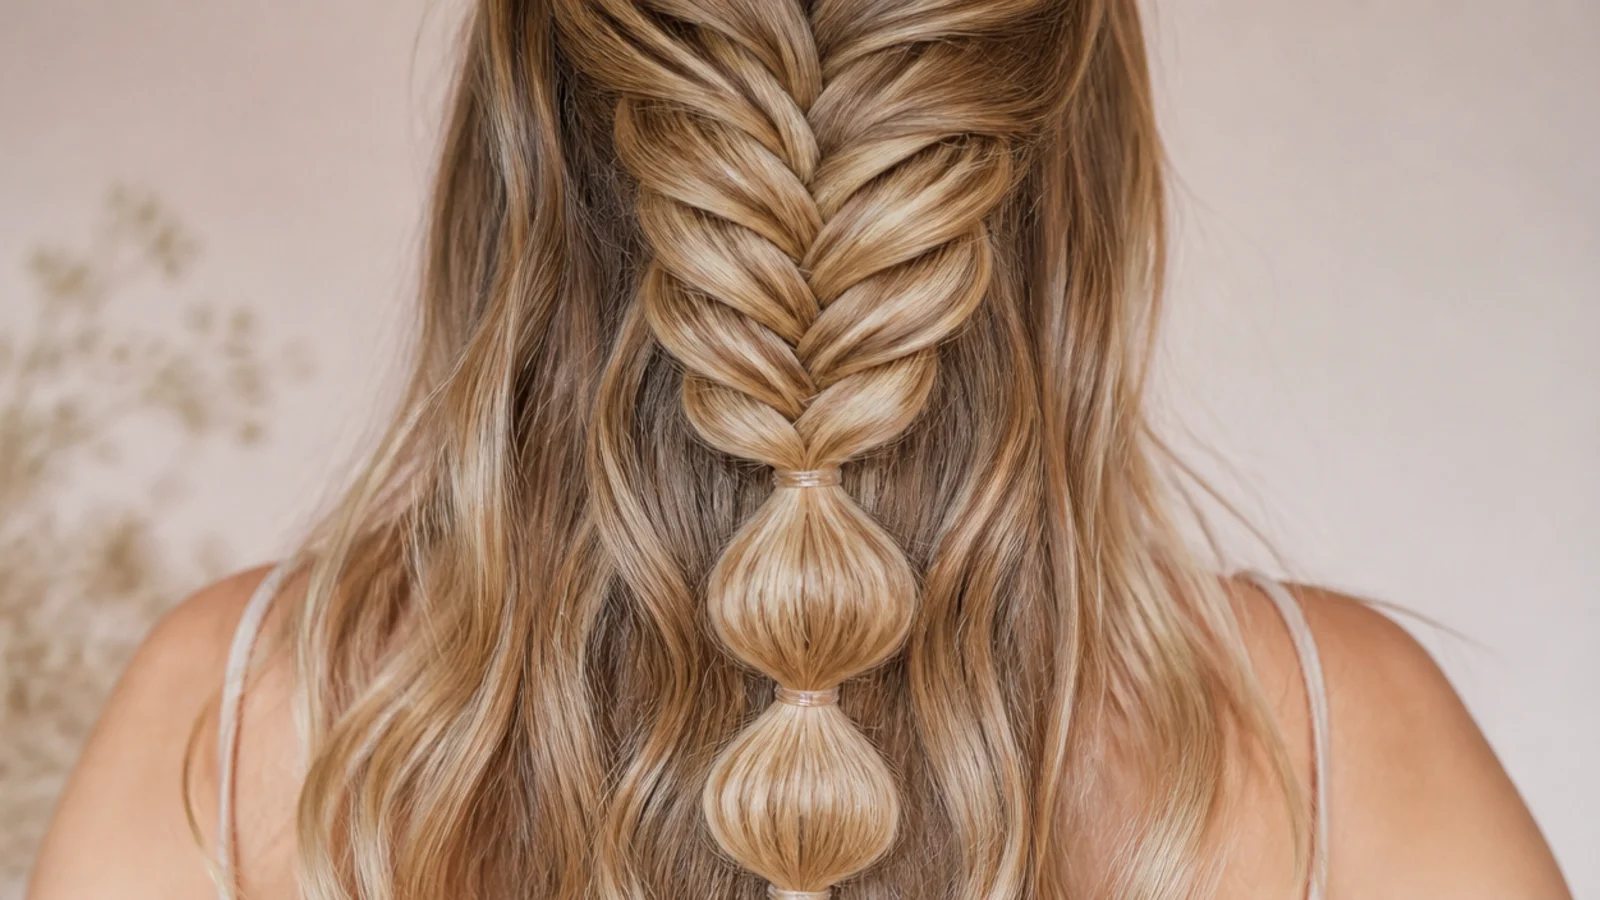
19. Blonde Balayage
Painted lightness travels through the crossings and lands on the outer face of each loop, so the pattern is picked out in tone as well as in shadow. A braid on flat single process colour has only light and shade to work with, which demands sharper crossings to read at all.
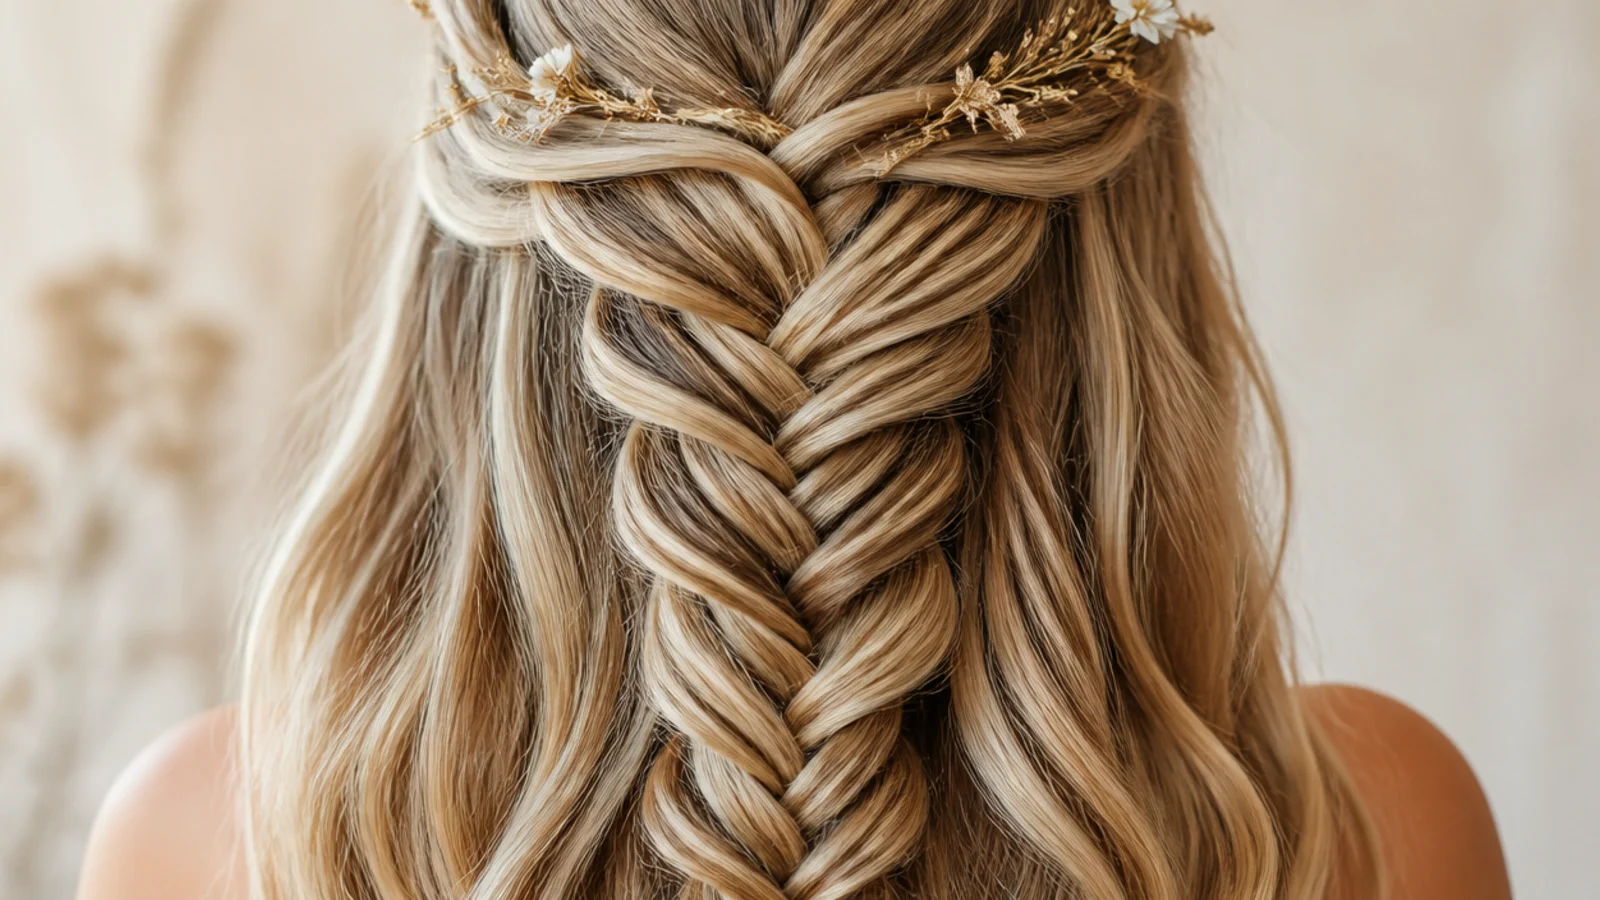
20. Second Day Hair
Residual oil and yesterday's product coat the strand surface and raise the friction between sections, so the pieces stay where you put them. The identical fishtail on freshly washed hair loosens within the hour, because there is nothing at all for the strands to hold on to.
Final Thoughts
Treat the braid and the width as two separate jobs. Braid tight, in the smallest pieces your fingers can manage, and accept that what comes out looks like a rope. Then tie it, hold the elastic, and open the loops from the bottom upwards until the crossings almost gap. That order is the whole technique, and doing it the other way round is why most attempts end up narrow at the top and loose at the ends.
The rest is friction. Second day hair, a wave through the length, and a light flexible spray at the end all do the same thing, which is to stop the loops creeping back towards the centre while you are not looking. For another half up shape that takes thirty seconds see 15 half up claw clip hairstyles we love, and for the dressed up version of the same parting see 15 dreamy half up hoco hair ideas. More in Braids and Protective Styles.
Frequently asked questions
Related posts
See all posts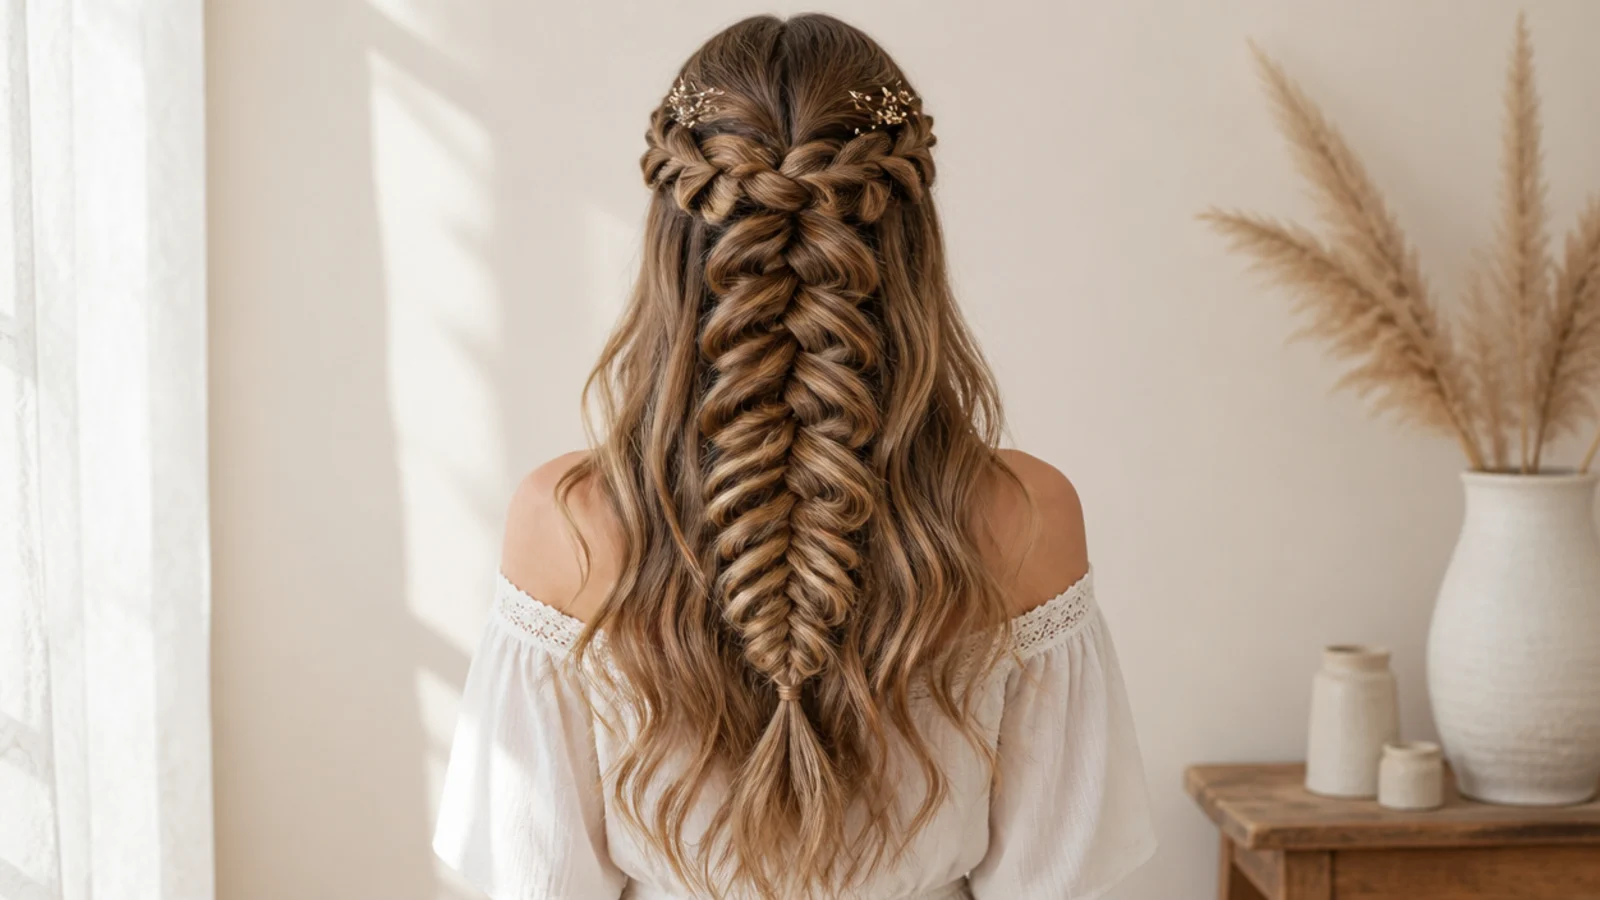
20 Waterfall Mermaid Braid Ideas That Hold
Read more
15 Side Mermaid Braid Ideas That Sit Right
Read more
20 Side Part Medium Knotless Braids I Saved
Read more