
20 Steps to Neat Medium Knotless Braids
Twenty steps to installing medium knotless braids, and the problem that only appears at this braid count — over eight hours and a hundred and forty sections, your section size drifts. Measure against a reference, not by eye.
In this article · 27
- What You Will Need
- Before You Start
- The 20 Steps
- 1. Stretch and Detangle Fully
- 2. Mark Your Reference Width
- 3. Make the Main Part
- 4. Section the First Row Only
- 5. Check Each Section Against the Reference
- 6. Start at the Nape
- 7. Mousse the Section Lightly
- 8. Begin with Your Own Hair Only
- 9. Add the First Small Piece
- 10. Add the Second and Third Pieces
- 11. Keep the Tension Even, Not Tight
- 12. Braid Down in a Consistent Rhythm
- 13. Stop Two Inches Before the End
- 14. Seal the End
- 15. Re-Check the Reference Every Ten Braids
- 16. Finish the Row Before Stopping
- 17. Check the Back in the Handheld Mirror
- 18. Compare Row Widths, Not Just Braid Widths
- 19. Leave the Hairline for Last, and Loosest
- 20. Rinse, Dry Fully and Leave It Alone
- Troubleshooting
- Mistakes to Avoid
- FAQ
- Final Thoughts
Medium is the size where the install becomes a project. A hundred and forty braids over six to eight hours, and one problem that does not exist at any larger size.
Your section size drifts. Judging each section against the previous one means the error compounds in a single direction, so the braids at the end are visibly wider than the ones at the start. It happens gradually enough that you never catch it in the moment.
Measure against a fixed reference instead — the width of your comb spine, a marked rat-tail, anything that does not itself drift.
What You Will Need
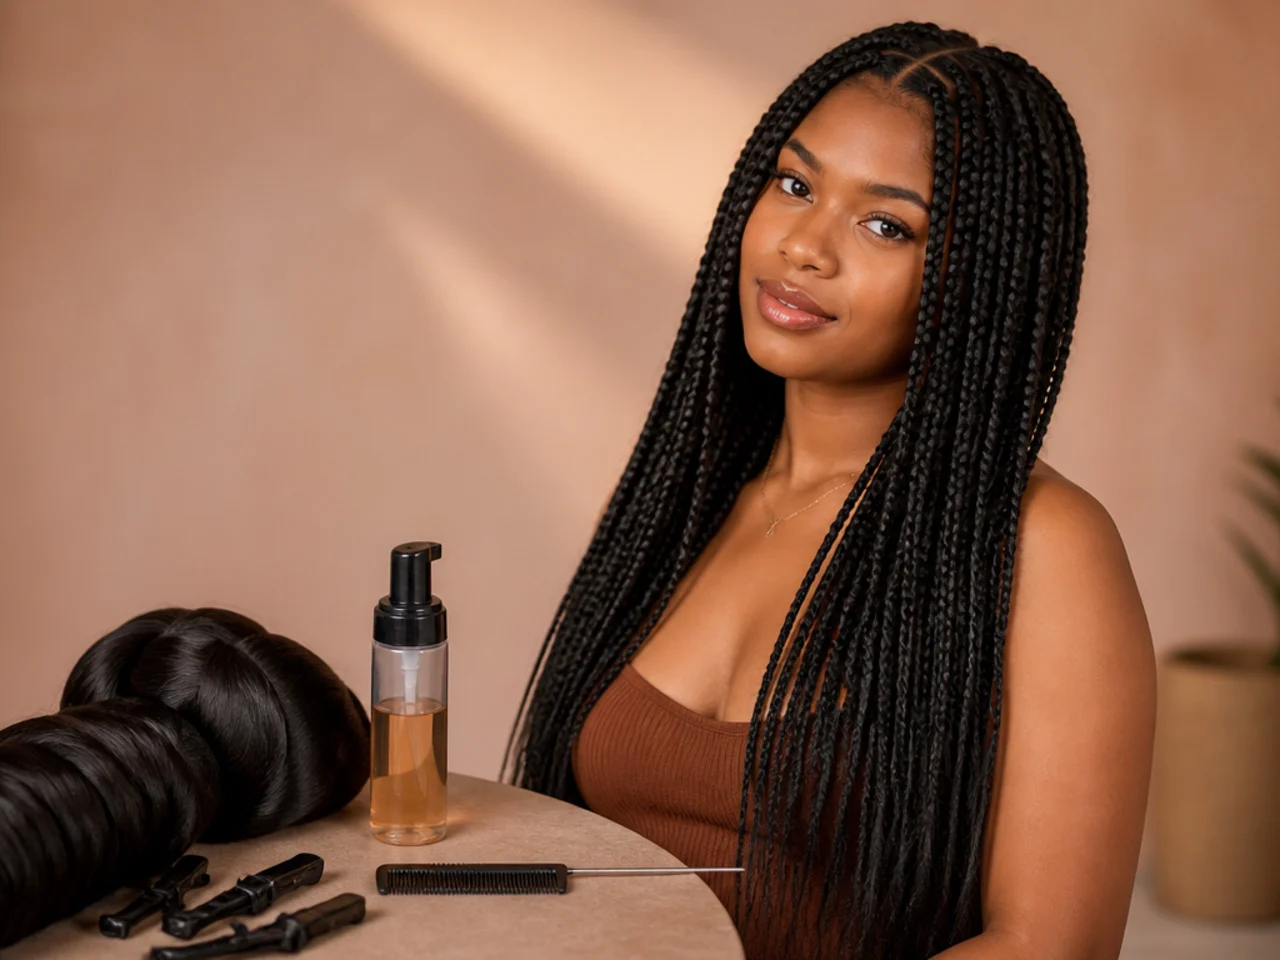
Pre-stretched braiding hair, eight to ten packs for a mid-back medium set, all bought at once.
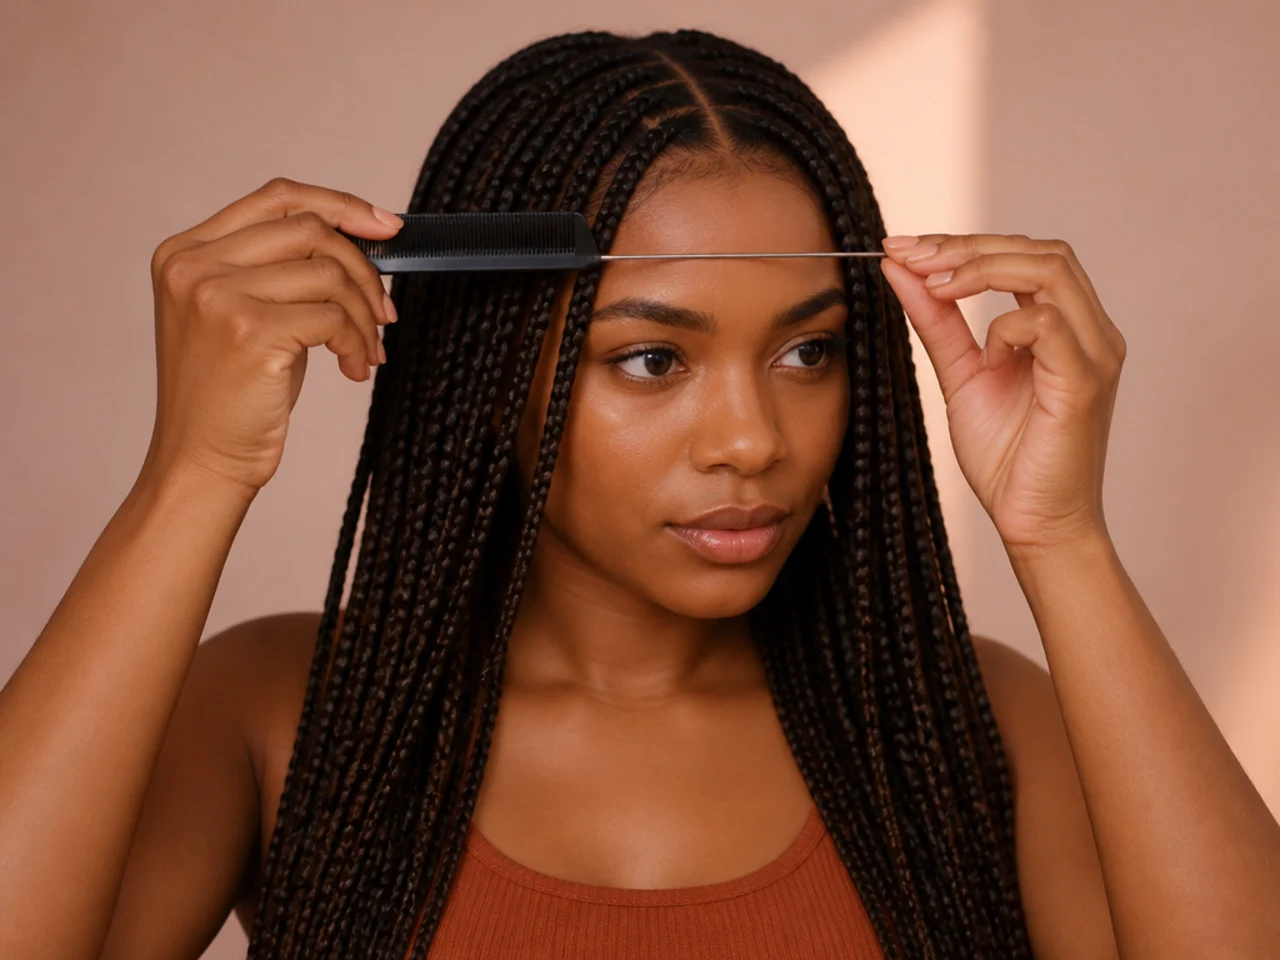
A rat-tail comb with a marked reference width. A piece of tape on the handle at your target section width works perfectly.
Sectioning clips for one row at a time, not the whole head — around fifteen.
Two mirrors, one handheld, for the back.
Mousse, edge control, and a spray bottle of water.
Two or three days. A first attempt at this count is twelve to eighteen hours.
Before You Start
Wash and deep condition two days ahead. Freshly washed hair is too slippery to hold a narrow section.
Blow-dry or stretch fully. At medium size a shrunken section is impossible to judge accurately.
Mark your reference width on the comb. Tape, at the width you want each section to be. Check every braid against it, not against its neighbour.
Separate the packs into braid-sized pieces. A hundred and forty pieces laid out in rows. It takes an hour and it is the main defence against drift in braid thickness as well as section width.
Plan the days. Nape to crown across two or three sittings, finishing a full row each time rather than stopping mid-row.

The 20 Steps
1. Stretch and Detangle Fully
No resistance anywhere before you start parting. A single tangle drags a section out of line, and at this braid count that error carries into every row above it.
2. Mark Your Reference Width
Tape on the comb. Every section gets checked against it. A physical reference cannot drift the way your eye does over six hours.
3. Make the Main Part
Centre or side, ear to ear. Everything is measured from this. Get it wrong and every row inherits the error.
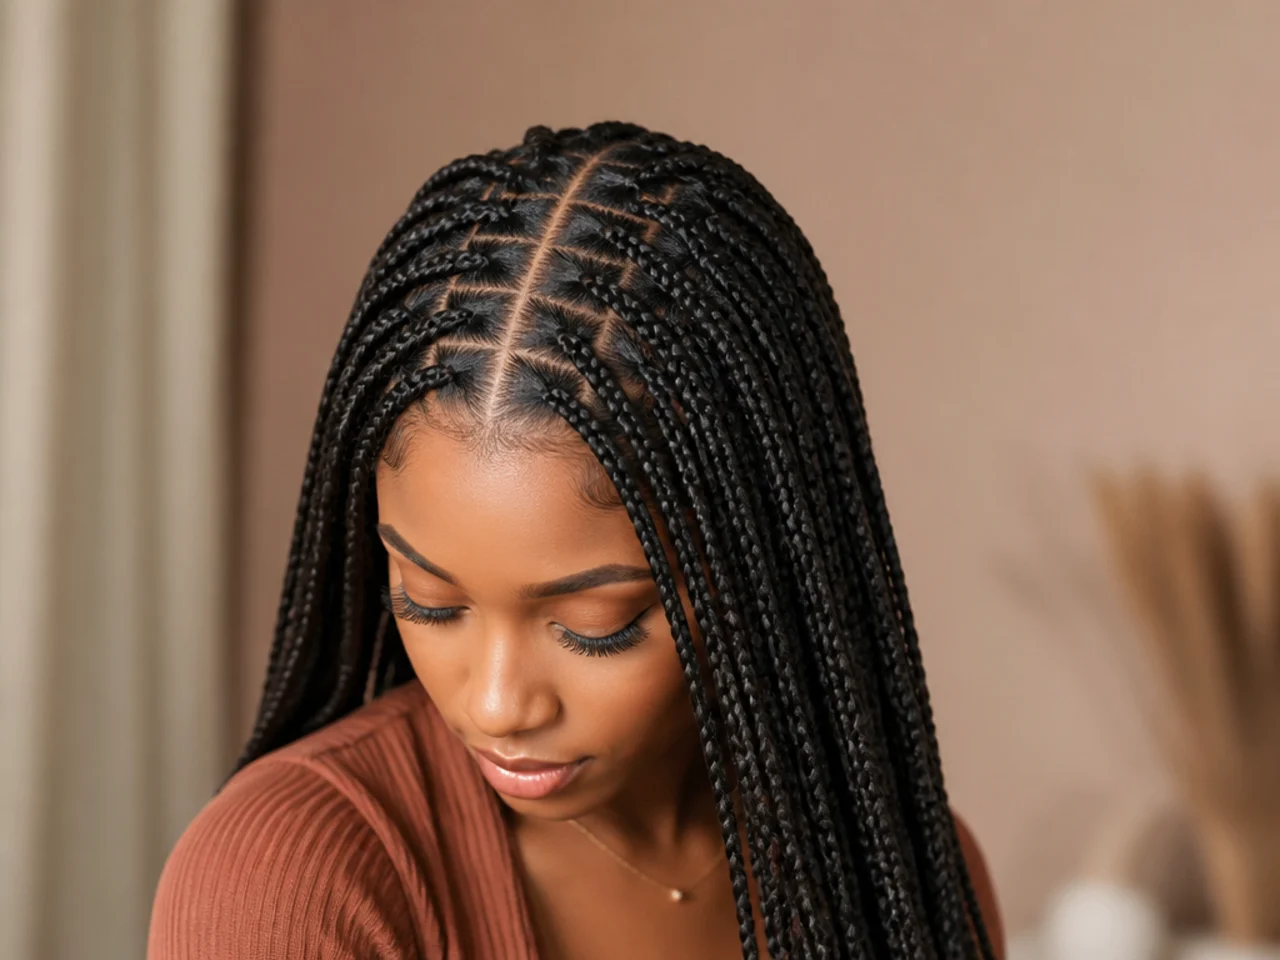
4. Section the First Row Only
One row at a time. Clipping the whole head at this count distorts the partings. The clips themselves pull sections out of shape.
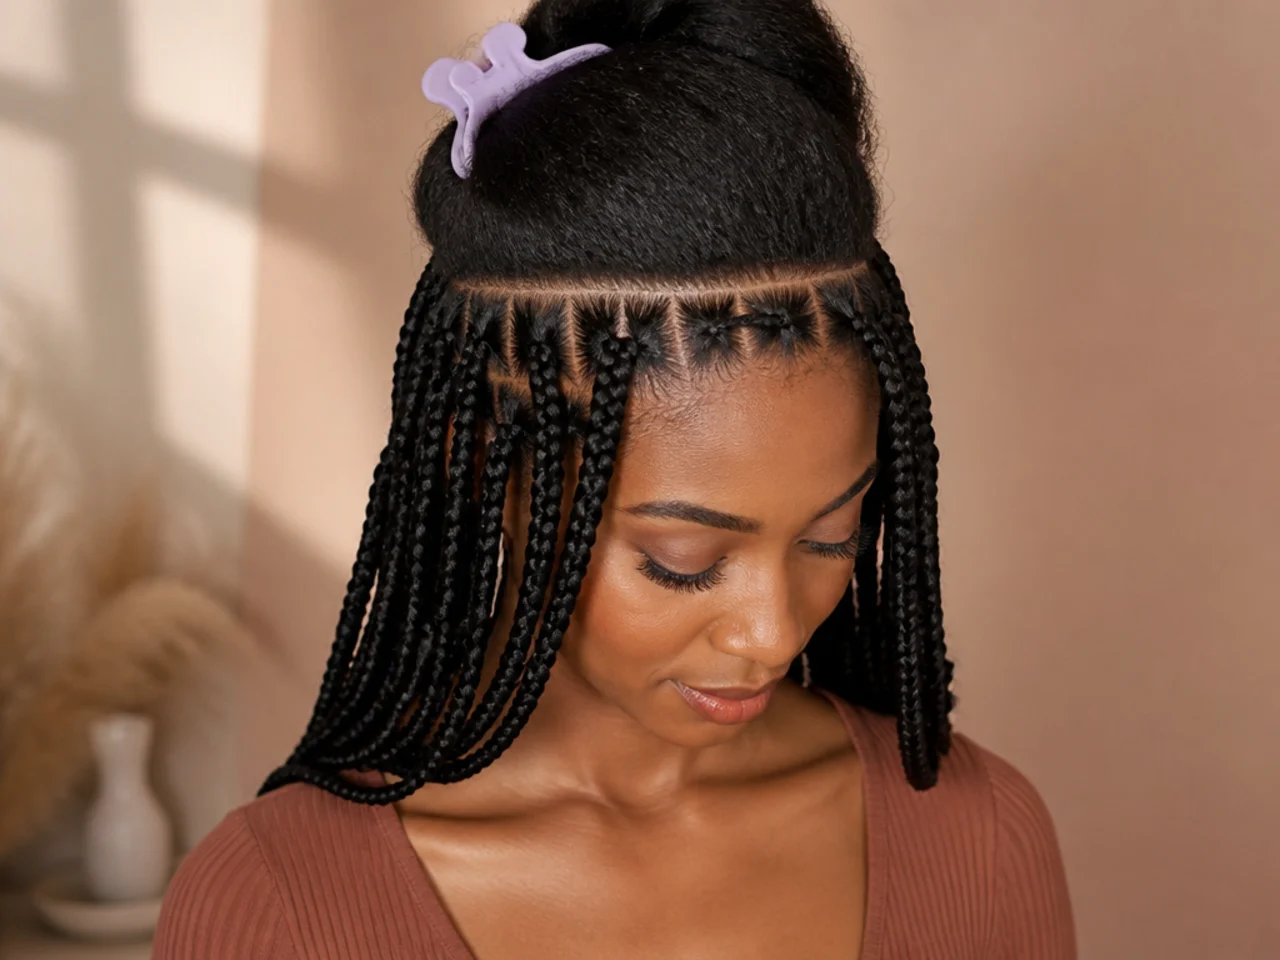
5. Check Each Section Against the Reference
Not against the last one. This is the step that prevents drift.
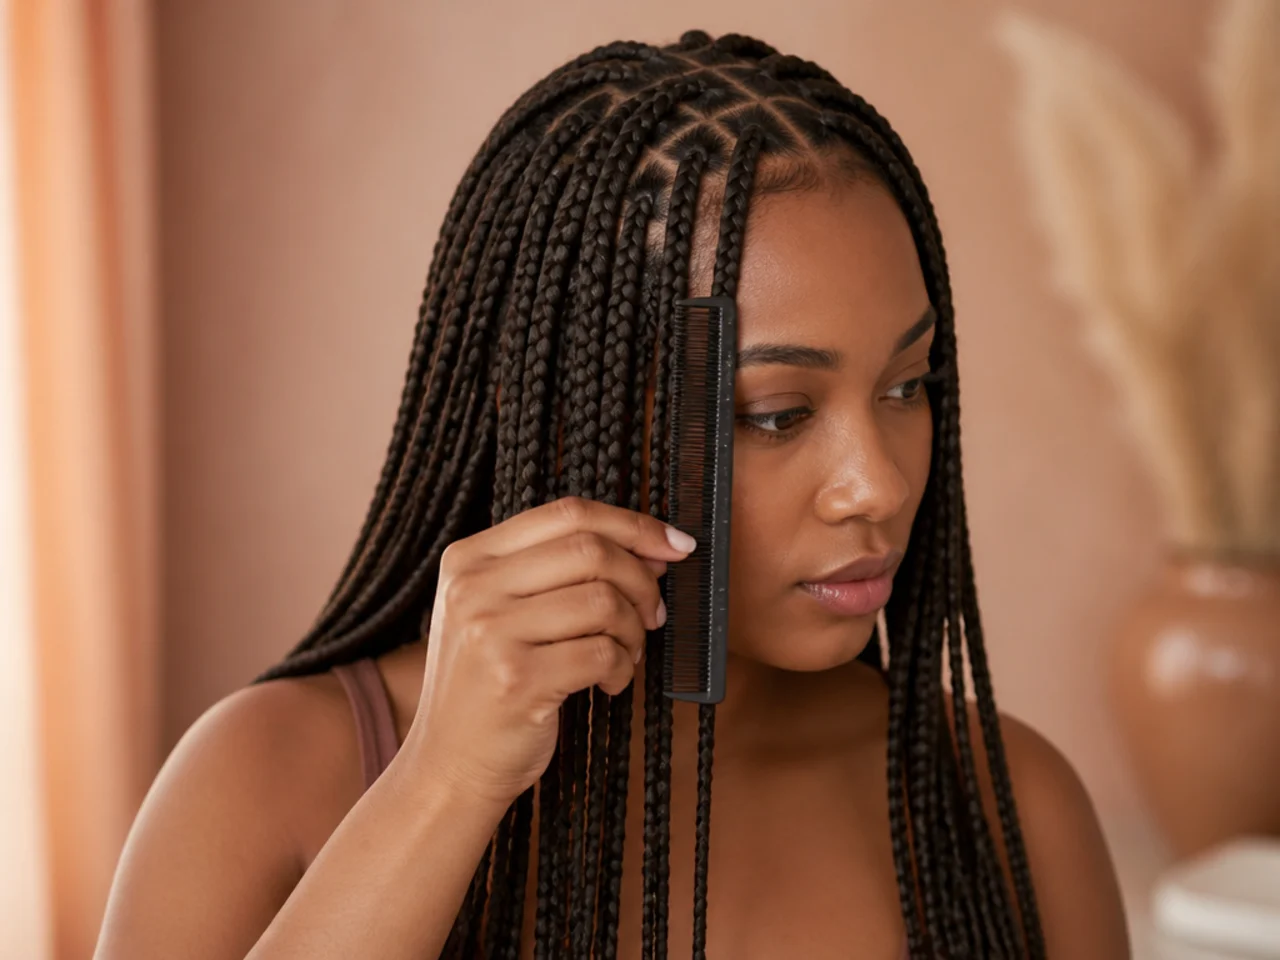
6. Start at the Nape
Work upward so finished braids hang out of the way.

7. Mousse the Section Lightly
Enough to control frizz, not enough to make it slip.
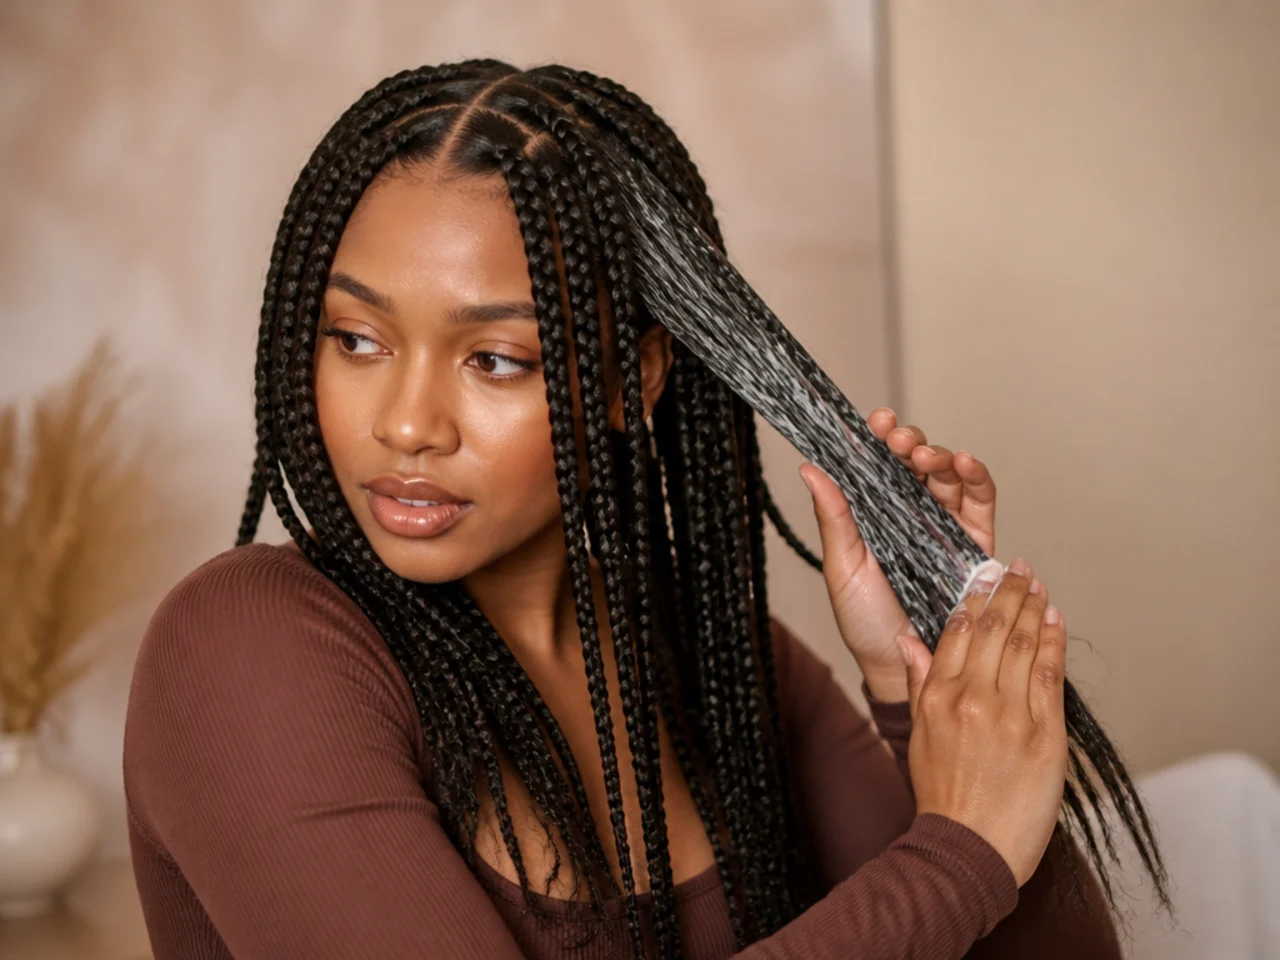
8. Begin with Your Own Hair Only
Two or three plain stitches before any extension.

9. Add the First Small Piece
A thin sliver, split across two strands. Smaller than a large braid would take.
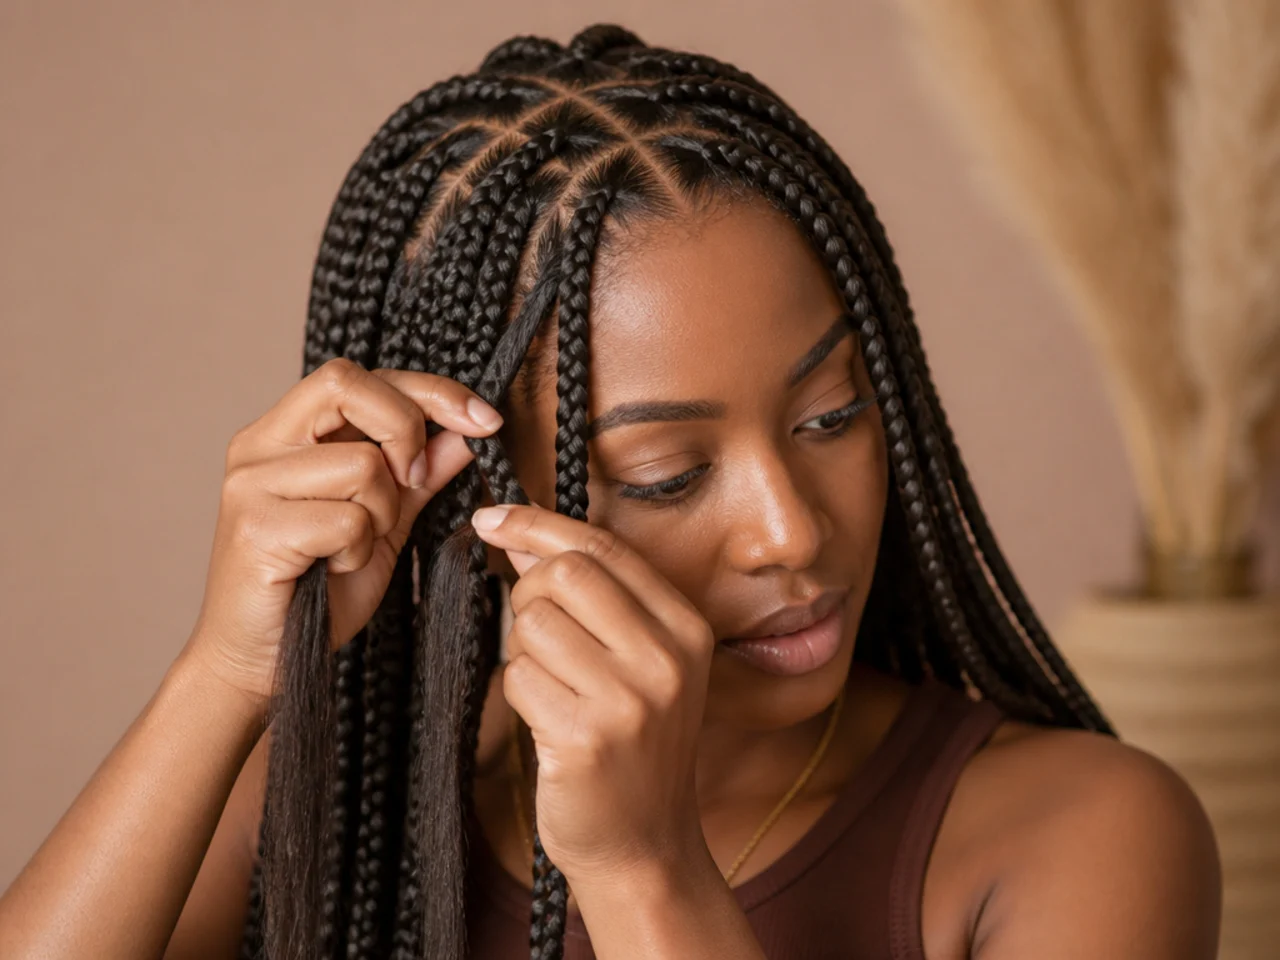
10. Add the Second and Third Pieces
Over the next inch or two, until the braid reaches full width.

11. Keep the Tension Even, Not Tight
The same firmness on every braid. Even tension is what makes a set look neat.
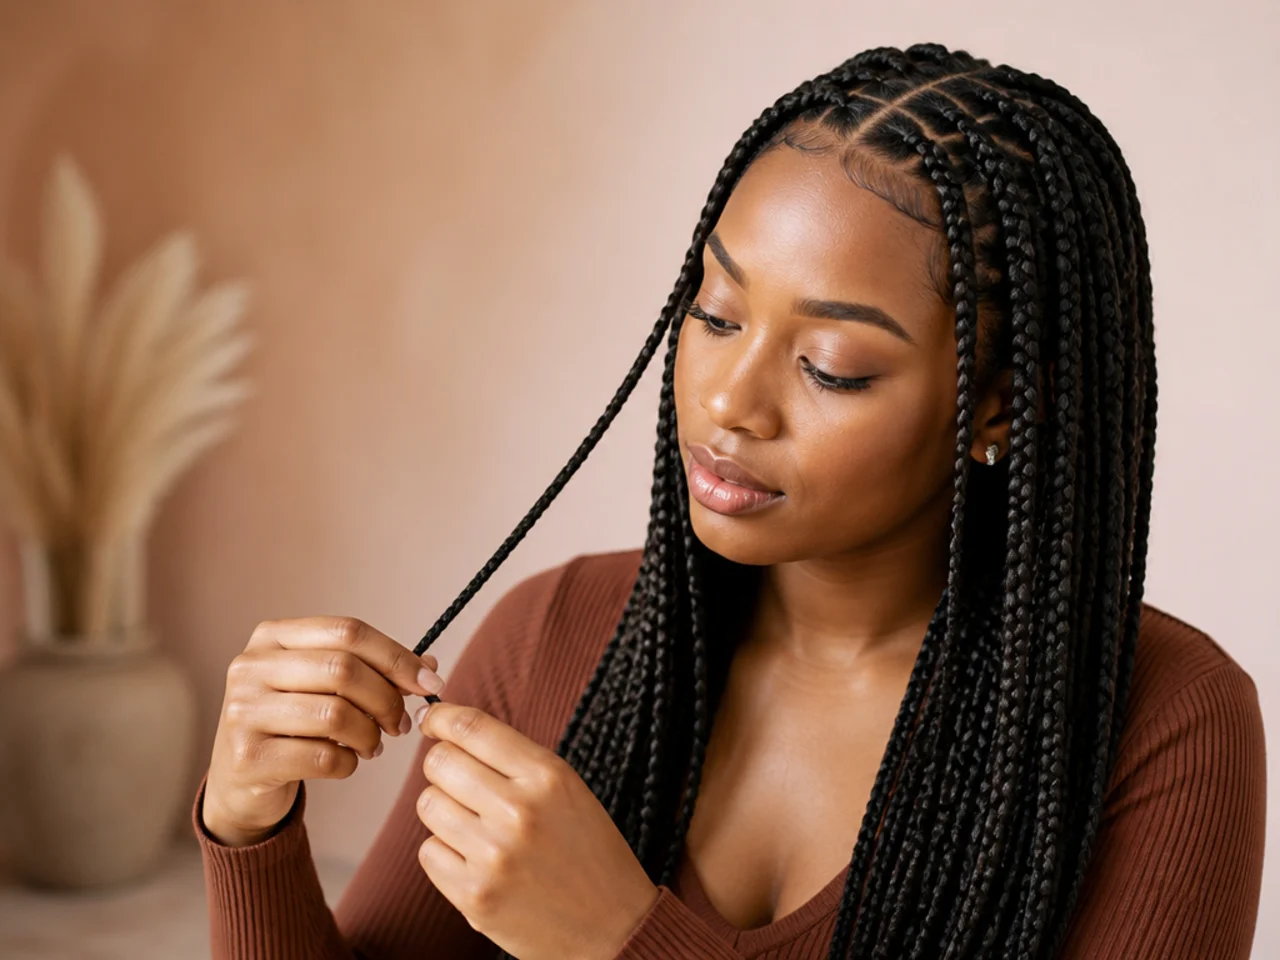
12. Braid Down in a Consistent Rhythm
Same strand size each stitch, all the way down.
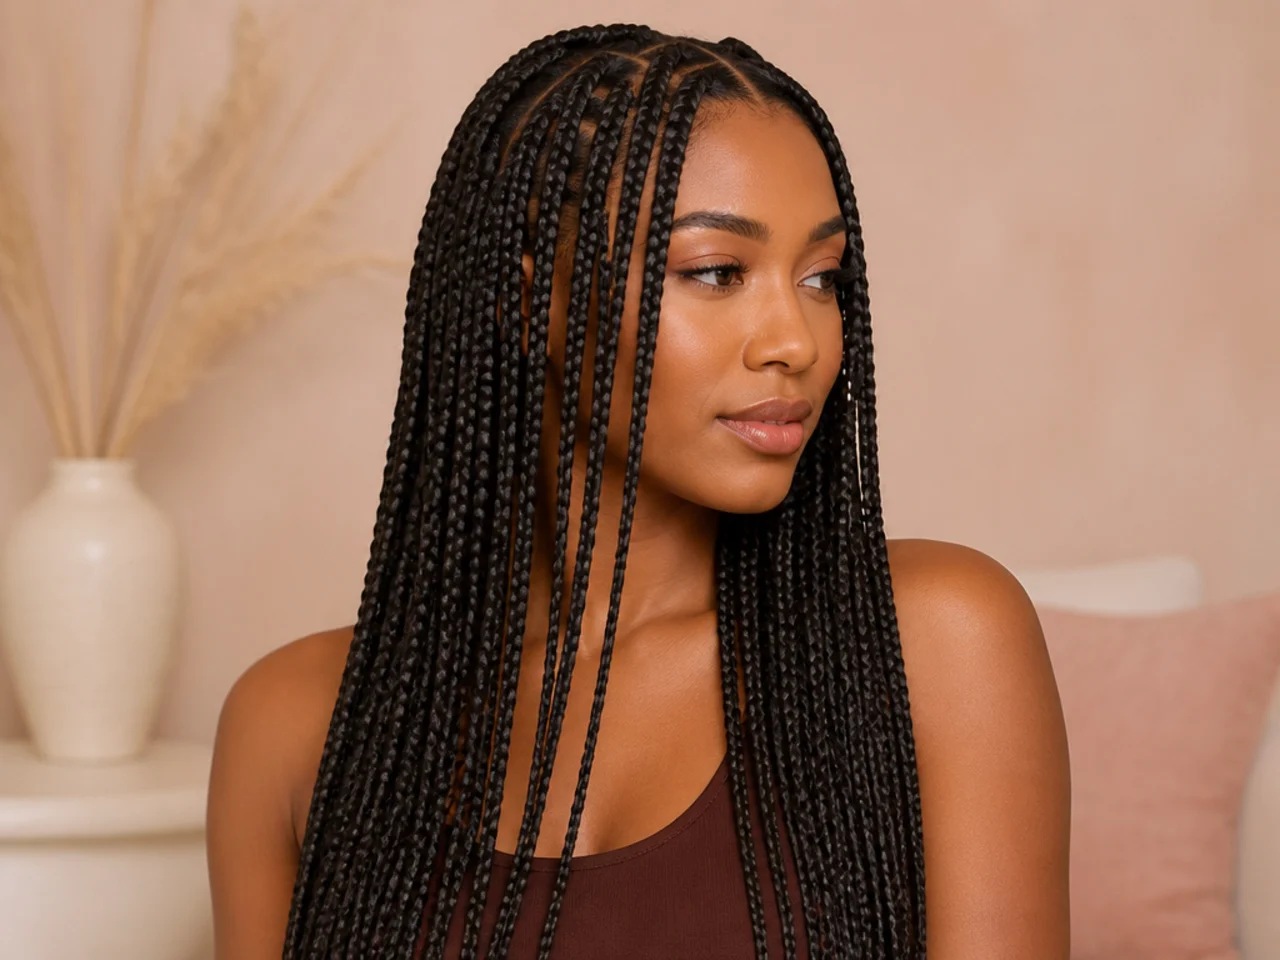
13. Stop Two Inches Before the End
Leave a tail to seal with.

14. Seal the End
Hot water, a knot or a bead with a stopper. Same method on all hundred and forty.

15. Re-Check the Reference Every Ten Braids
Drift creeps back in as you speed up. Ten is often enough to catch it.
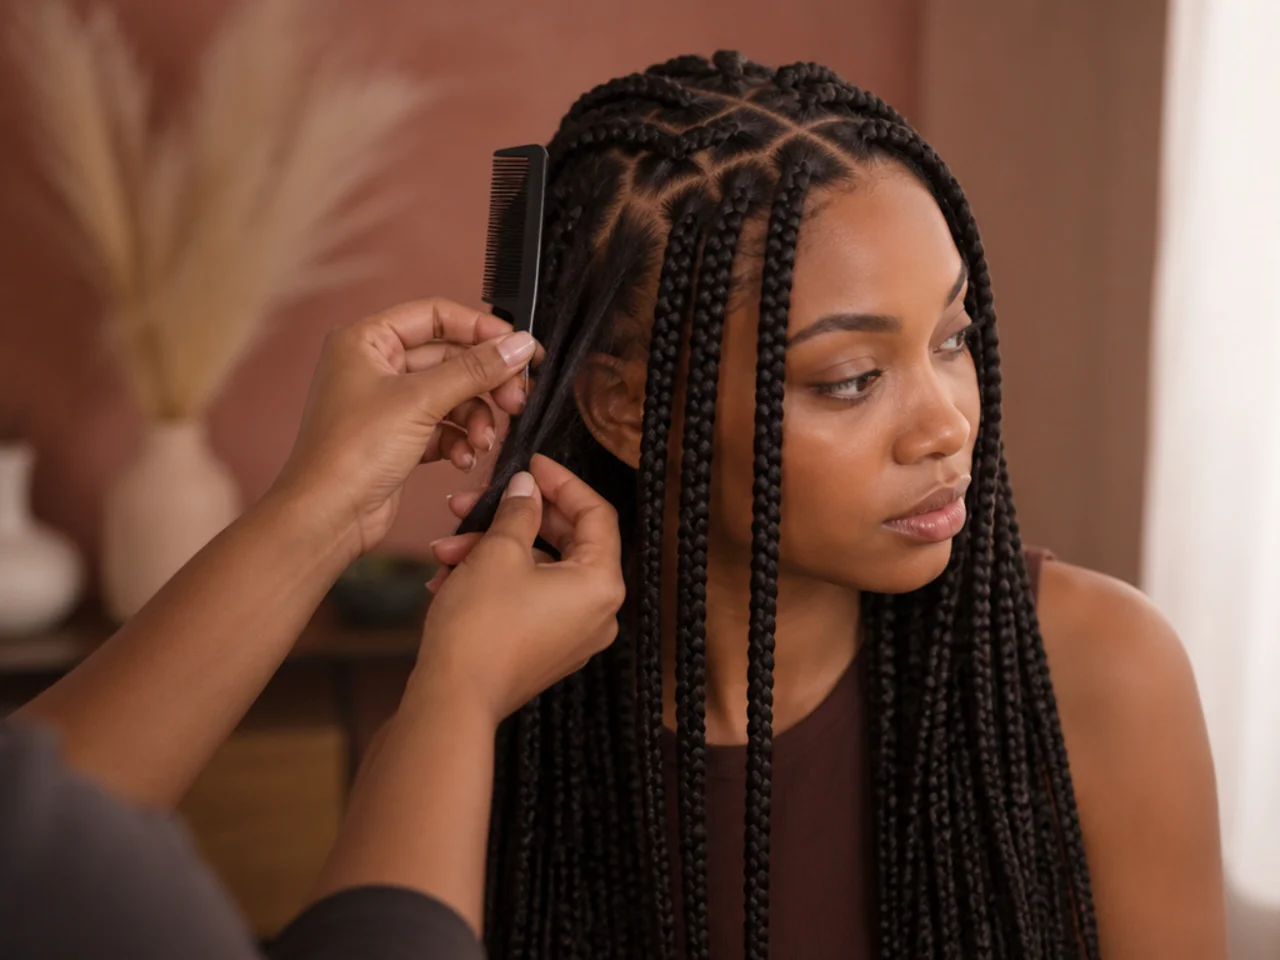
16. Finish the Row Before Stopping
Never break mid-row. Section size shifts between sittings.
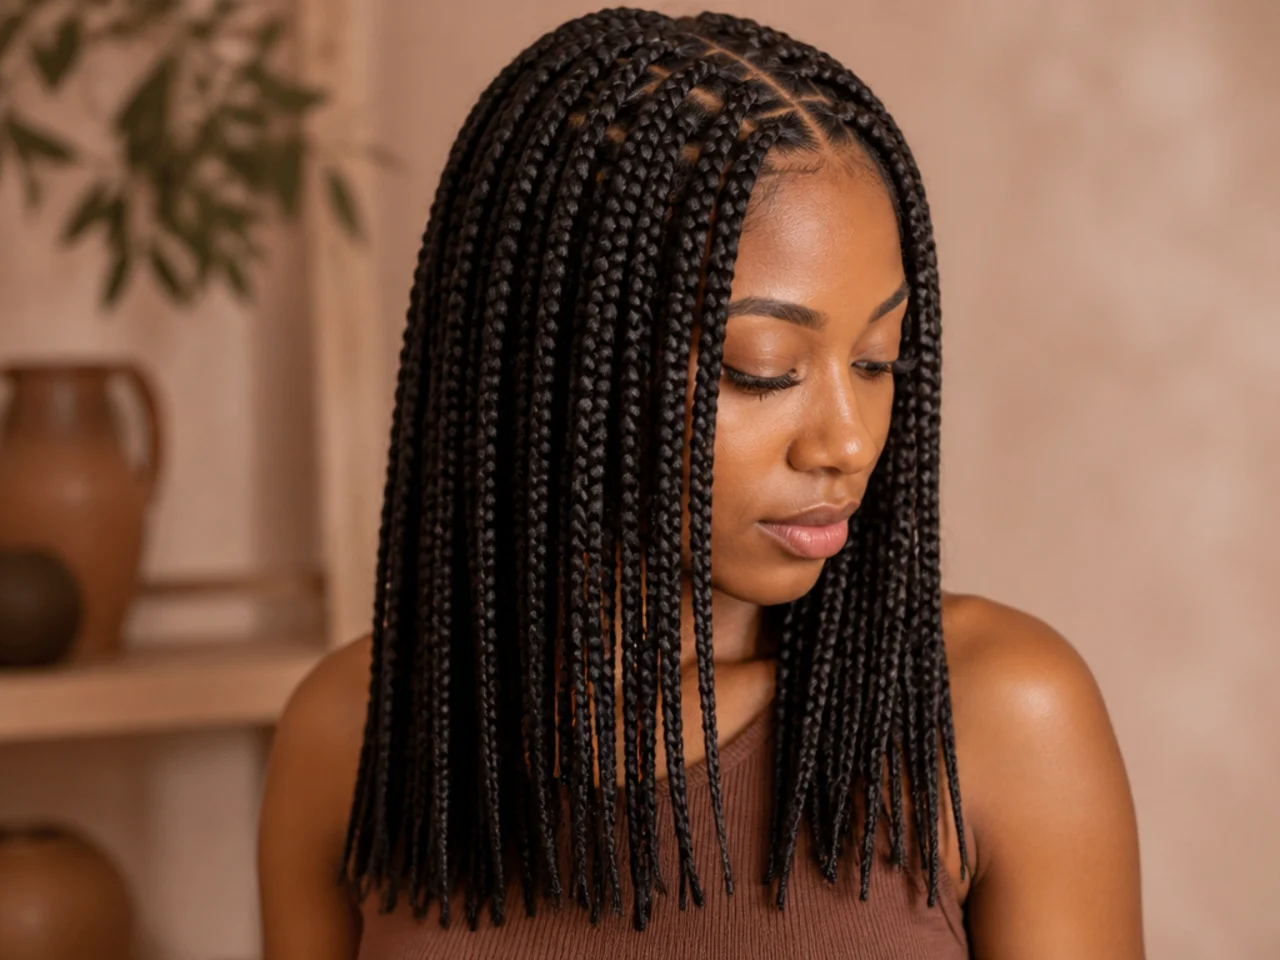
17. Check the Back in the Handheld Mirror
Row by row, while the next row is still unparted and fixable.
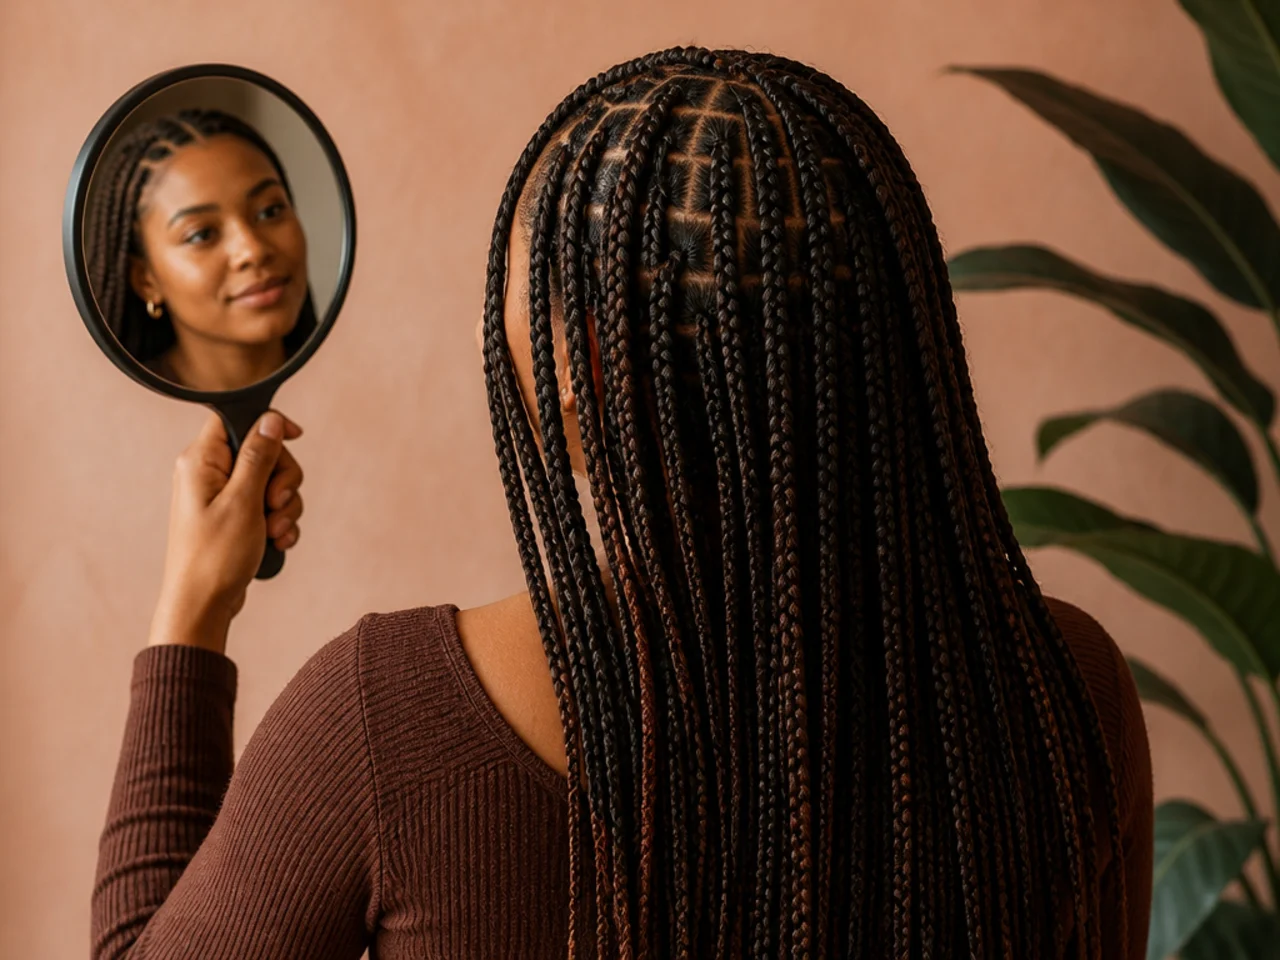
18. Compare Row Widths, Not Just Braid Widths
Rows drift too, and a drifting row shows as a band across the head.
19. Leave the Hairline for Last, and Loosest
Most visible braids, least tension, warmest hands.

20. Rinse, Dry Fully and Leave It Alone
A cool rinse settles frizz. At this density, dry thoroughly.

Troubleshooting
The braids got wider as you went. Classic drift. You were measuring against the previous section rather than a fixed reference. Only fixable by taking out and redoing the affected rows.
One row looks like a band across the head. Row depth drifted rather than section width. Check row depth against the reference too.
The braid is bulky at the root. Too much extension added too soon. Feed in three small pieces over the first inch or two.
The two sittings do not match. Your hands were at a different speed on day two. Re-check the reference at the start of every session, before the first braid.
The scalp lifts when you look up. Too tight. Take those braids out the same day.
It is taking far longer than expected. Normal at this count. Twelve to eighteen hours for a first attempt is not a sign you are doing it wrong.

Mistakes to Avoid
Sectioning the whole head first. It works at forty braids and fails at a hundred and forty — the clips distort the partings they hold.
Judging sections against the previous one. The error compounds in one direction.
Stopping mid-row. Section size shifts between sittings.
Braiding freshly washed hair. Too slippery to hold a narrow section.
Doing the hairline first. Your least practised braids on your most visible hair.

FAQ
Can you section the whole head first? Not at this count — clips distort the partings. Work row by row.
Why do sections get bigger? You are measuring against the last section rather than a fixed reference.
How long does it take? Twelve to eighteen hours for a first attempt, split across two or three days.

Final Thoughts
Put tape on your comb before you make the first parting. It is the whole difference between a set that is uniform from nape to hairline and one that quietly widens across eight hours — and unlike almost every other mistake in braiding, this one cannot be fixed afterwards.
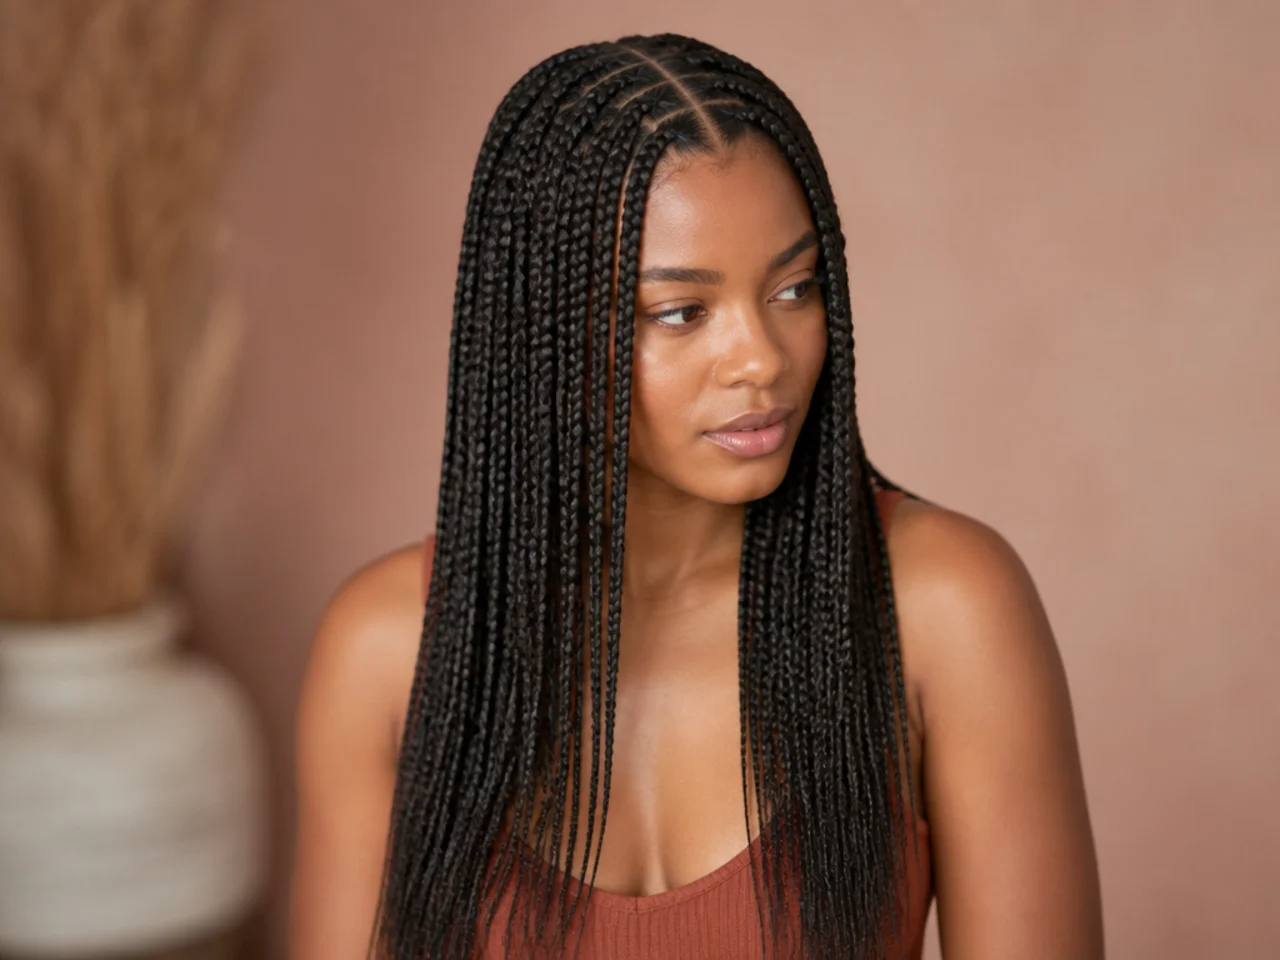
For what a neat finished set looks like see 20 neat medium knotless braids ideas, and for the same process at a wider braid size see 20 steps to neat large knotless braids. More in Braids & Protective Styles.
Frequently asked questions
Related posts
See all posts
20 Waterfall Mermaid Braid Ideas That Hold
Read more
15 Side Mermaid Braid Ideas That Sit Right
Read more
20 Side Part Medium Knotless Braids I Saved
Read more