20 Steps to Neat Large Knotless Braids
Twenty steps to installing large knotless braids yourself, including the one that separates a neat set from an obvious one — section the entire head before you braid a single braid, not as you go.
In this article · 27
- What You Will Need
- Before You Start
- The 20 Steps
- 1. Stretch and Detangle Fully
- 2. Decide Your Parting Layout
- 3. Make the Main Part First
- 4. Section the Entire Head Before Braiding
- 5. Check the Grid in the Second Mirror
- 6. Start at the Nape
- 7. Mousse the Section Lightly
- 8. Begin with Your Own Hair Only
- 9. Add the First Small Piece
- 10. Add the Second Piece an Inch Down
- 11. Add the Third and Final Piece
- 12. Keep the Tension Even, Not Tight
- 13. Braid Down in a Consistent Rhythm
- 14. Stop Two Inches Before the End
- 15. Seal the End
- 16. Compare Against the Previous Braid
- 17. Work Row by Row Upward
- 18. Leave the Hairline for Last
- 19. Braid the Hairline Loosest of All
- 20. Rinse, Dry and Leave It Alone
- Troubleshooting
- Mistakes to Avoid
- FAQ
- Final Thoughts
Large is the right size to learn on. Forty to sixty braids instead of two hundred, and the technique at the root is identical to every other knotless size.
The braiding is not the hard part. Sectioning the back of your own head evenly is, and that is why the whole head gets parted before a single braid is made.
What You Will Need
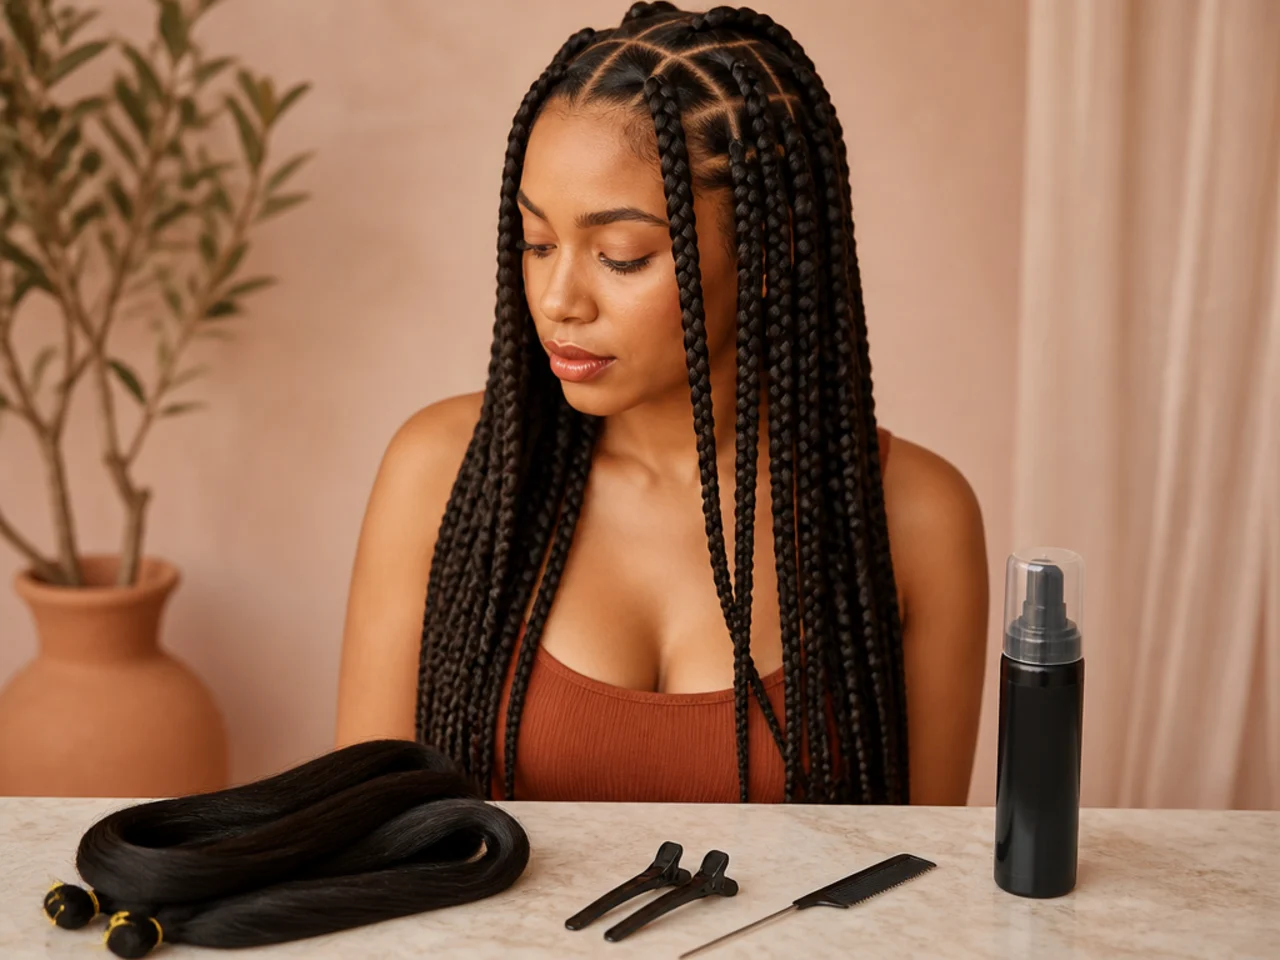
Pre-stretched braiding hair, four to six packs for a large mid-back set. Pre-stretched saves an hour of preparation and gives a cleaner taper.
A rat-tail comb for parting. The metal-pin versions give the sharpest lines.
Sectioning clips, more than you think — one per section, so thirty to sixty.
Two mirrors, one handheld. Working the back blind is the main reason home sets look uneven.
Mousse or a light gel, edge control, and a spray bottle of water.
Apple cider vinegar and a basin, if you are using any colour lighter than natural.
Before You Start
Wash and deep condition two days ahead, not the same day. Freshly washed hair is slippery and hard to grip; hair with a day or two on it braids far more neatly.
Blow-dry or stretch fully. Knotless braiding on shrunken hair means you cannot judge section size, and the braid loosens as the hair relaxes.
Soak light-coloured hair in vinegar. Twenty minutes, rinse, hang to dry. Skip it and you will spend the first week itching.
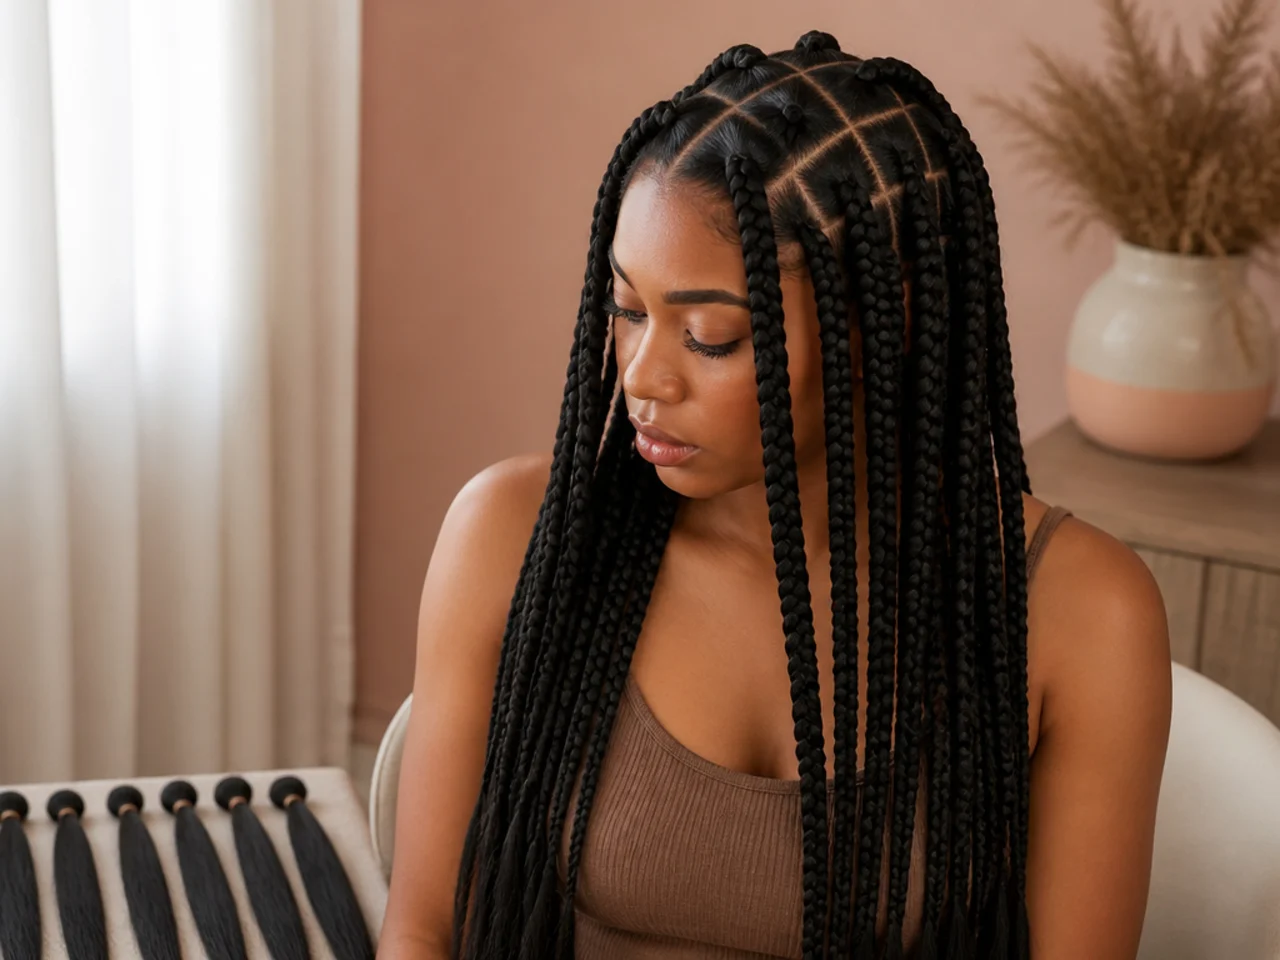
Separate the packs into braid-sized pieces first. Sixty pieces laid out in order is worth the twenty minutes. Pulling pieces mid-braid is how sizes drift.
Block out the time honestly. Eight to twelve hours for a first attempt. Split it over two days rather than rushing the back.
The 20 Steps
1. Stretch and Detangle Fully
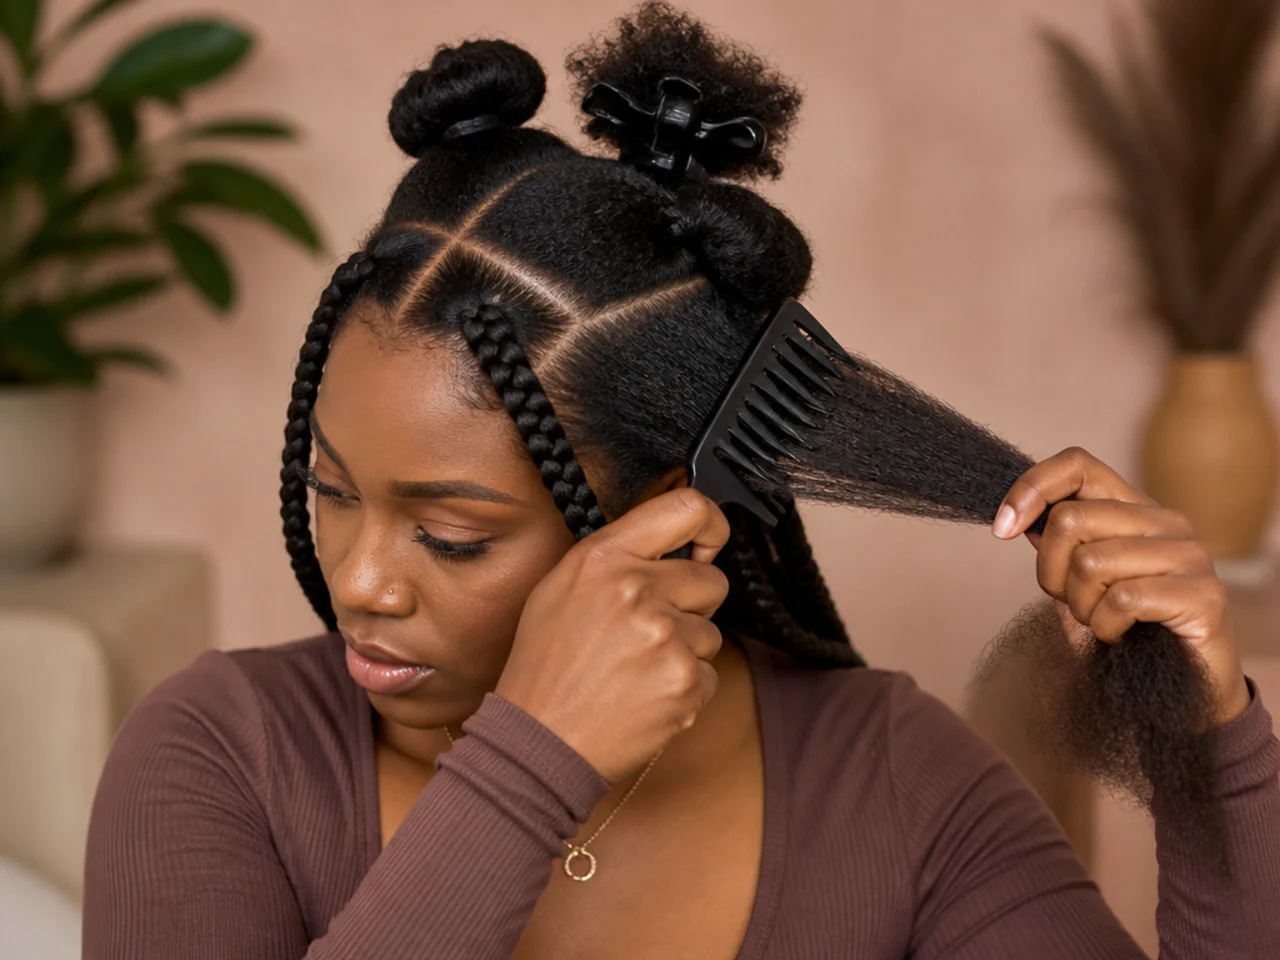
Comb through in sections until there is no resistance anywhere. A single tangle drags a section out of line, and on a wide braid that error is visible for the whole six weeks.
2. Decide Your Parting Layout
Square, triangle or curved, and the direction the grid runs. Decide now. At this braid count the grid is on permanent display, so it is a design decision rather than a technical one.
3. Make the Main Part First
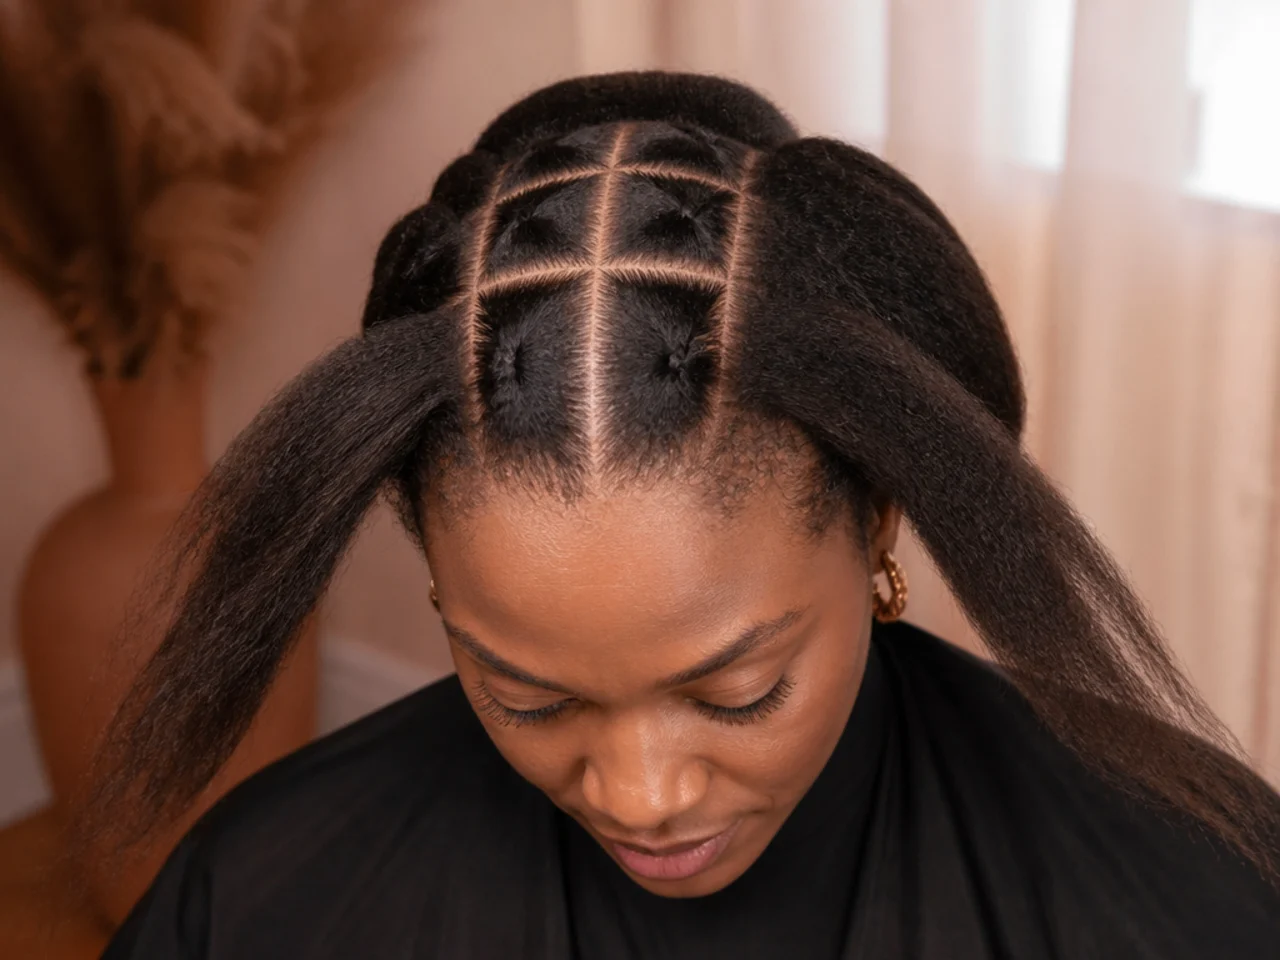
Centre or side, ear to ear. Every other section is measured from it.
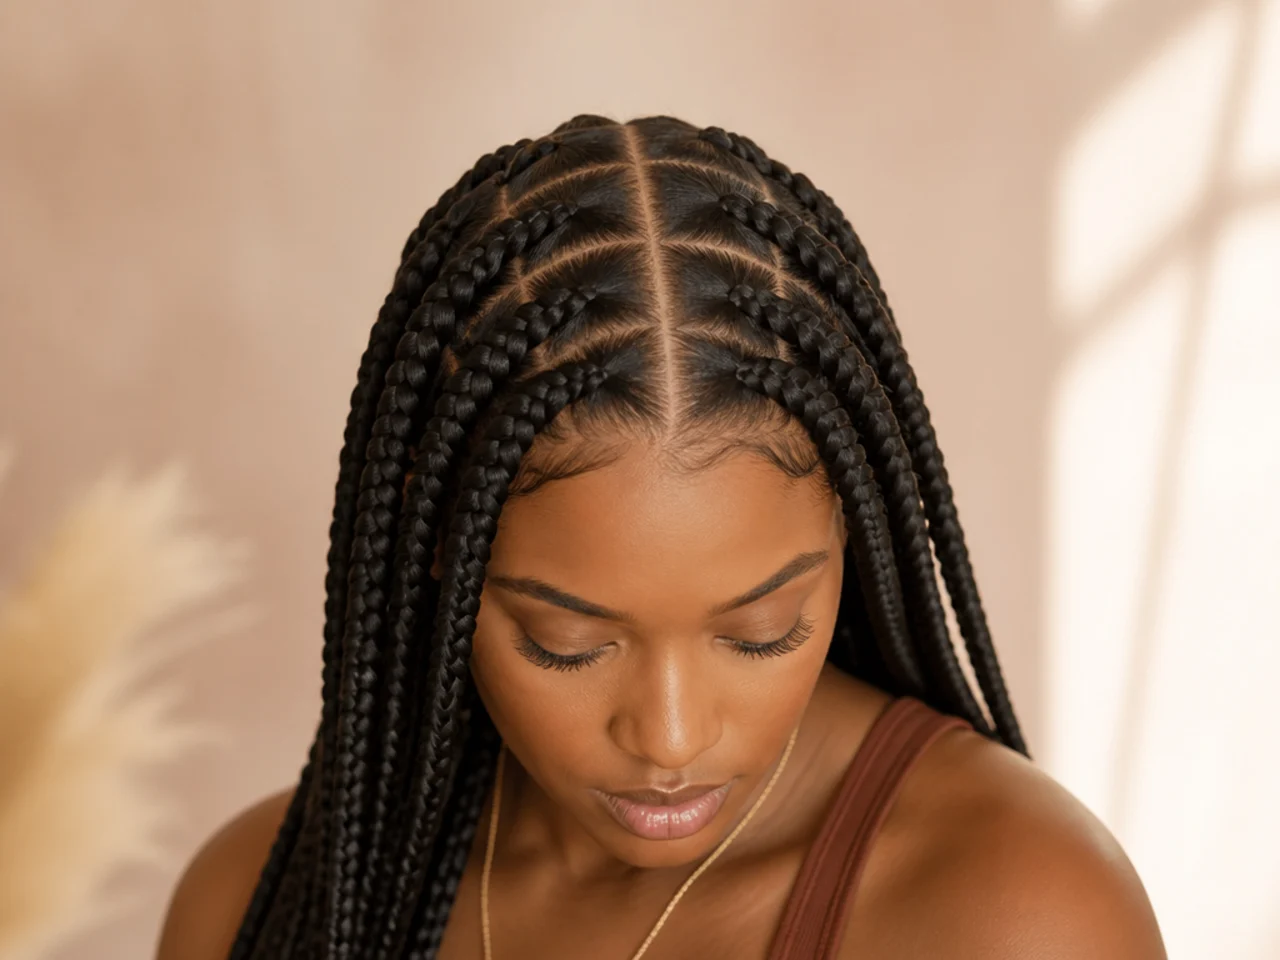
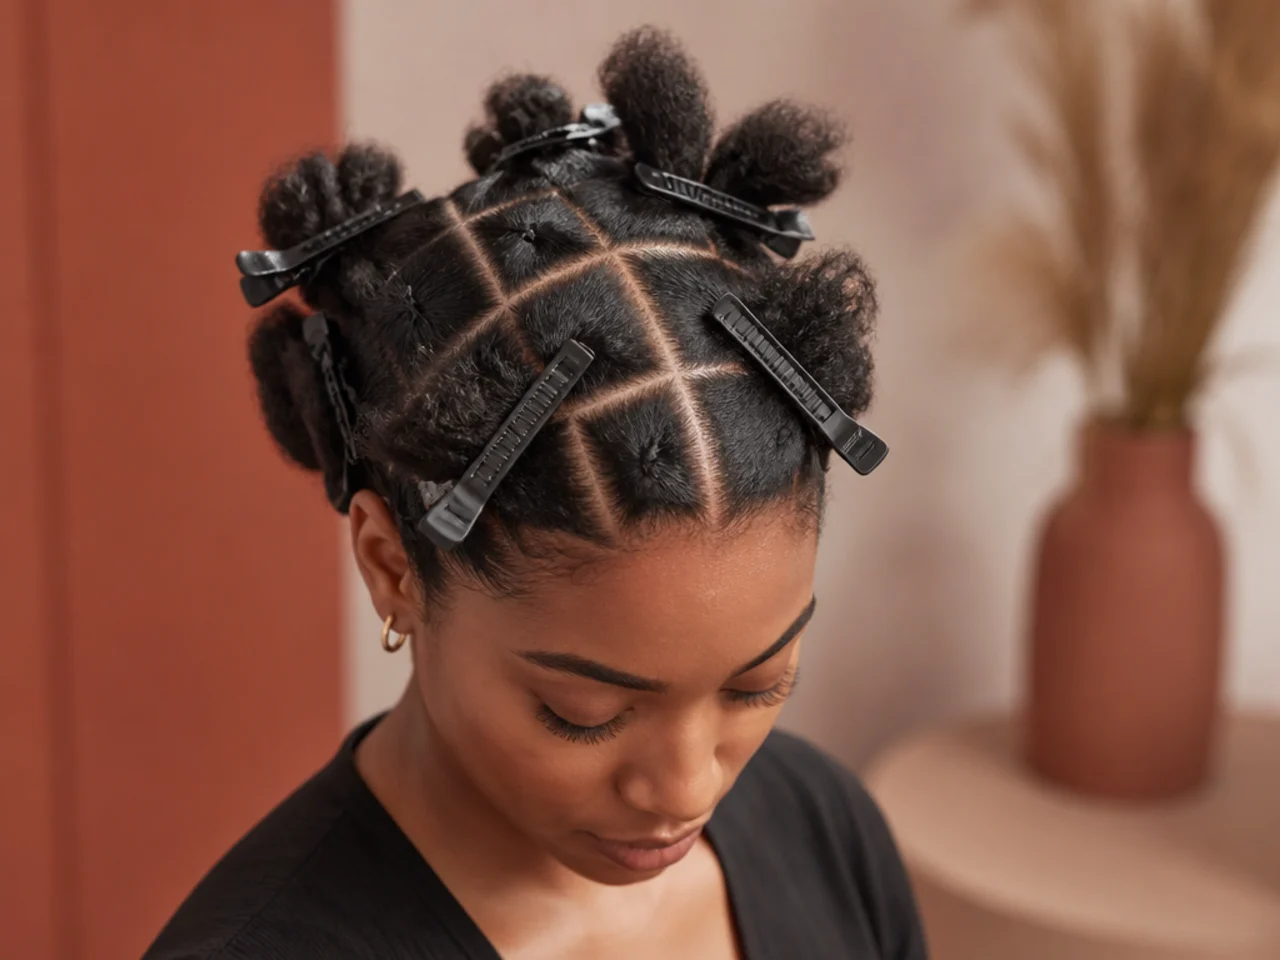
4. Section the Entire Head Before Braiding
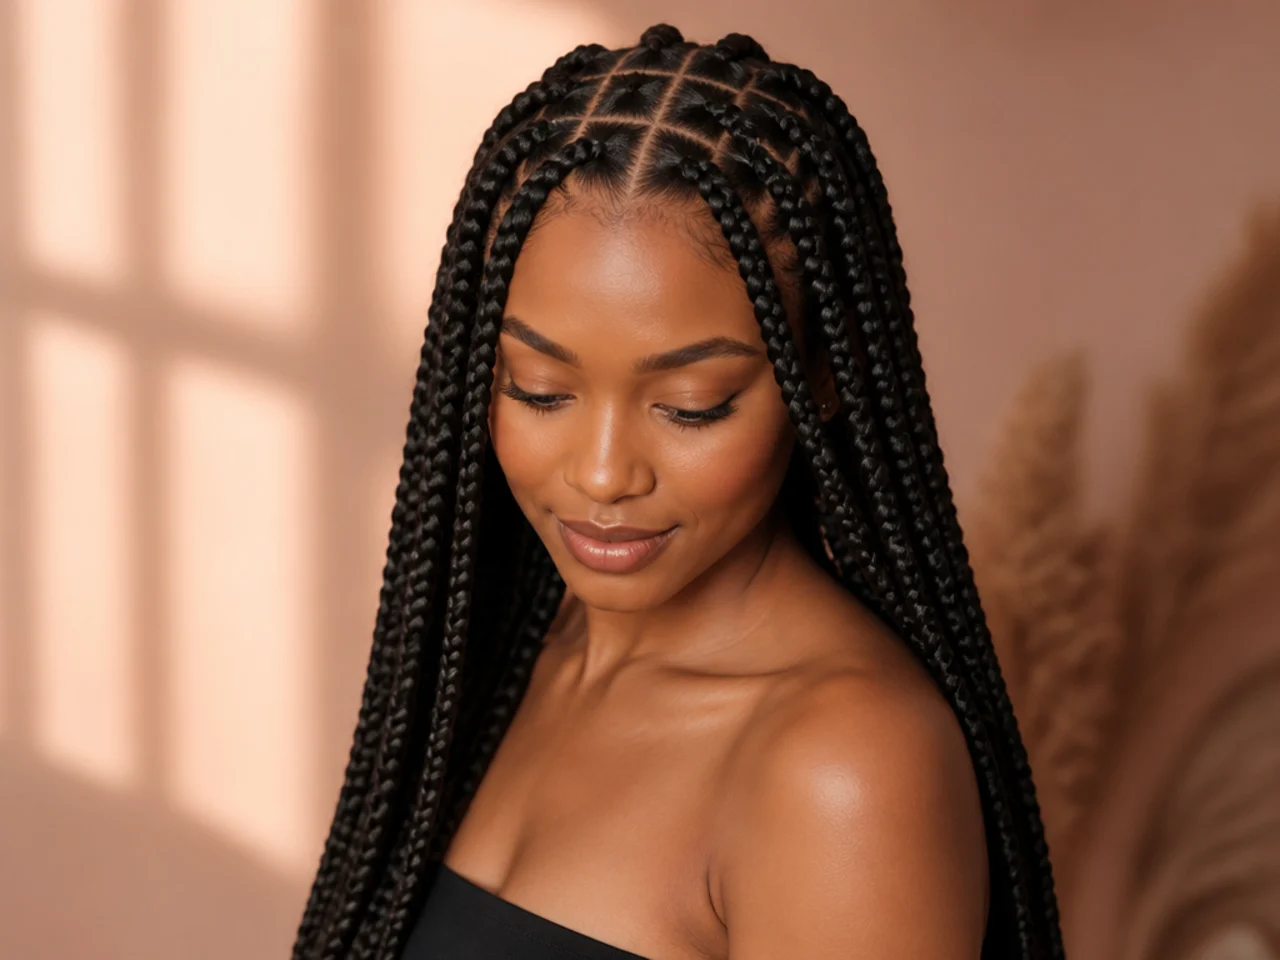
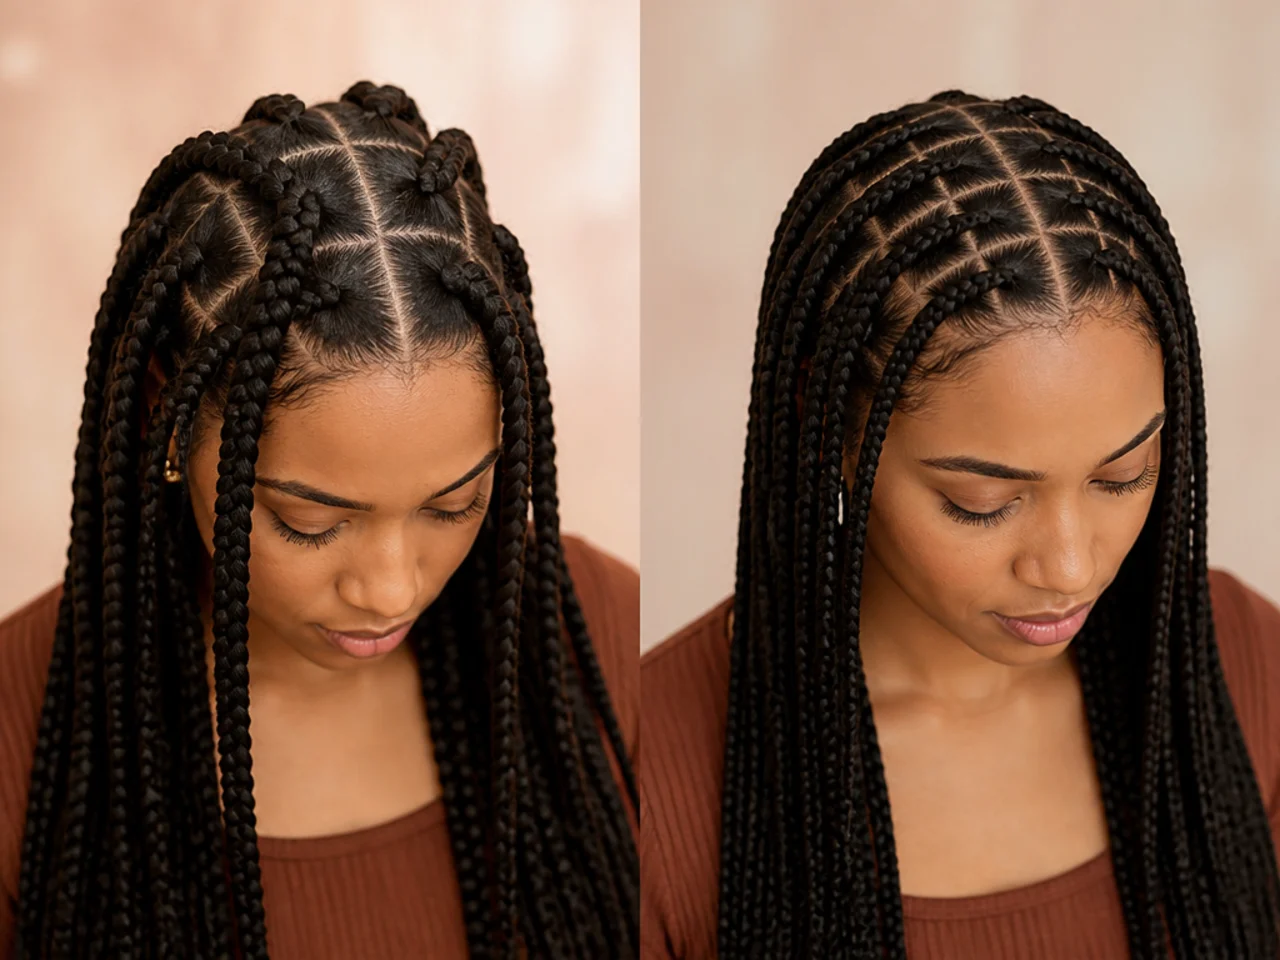
The step that decides whether the set looks neat. Clip every section. Sectioning as you go lets each row drift a little, and the drift compounds upward across the head.
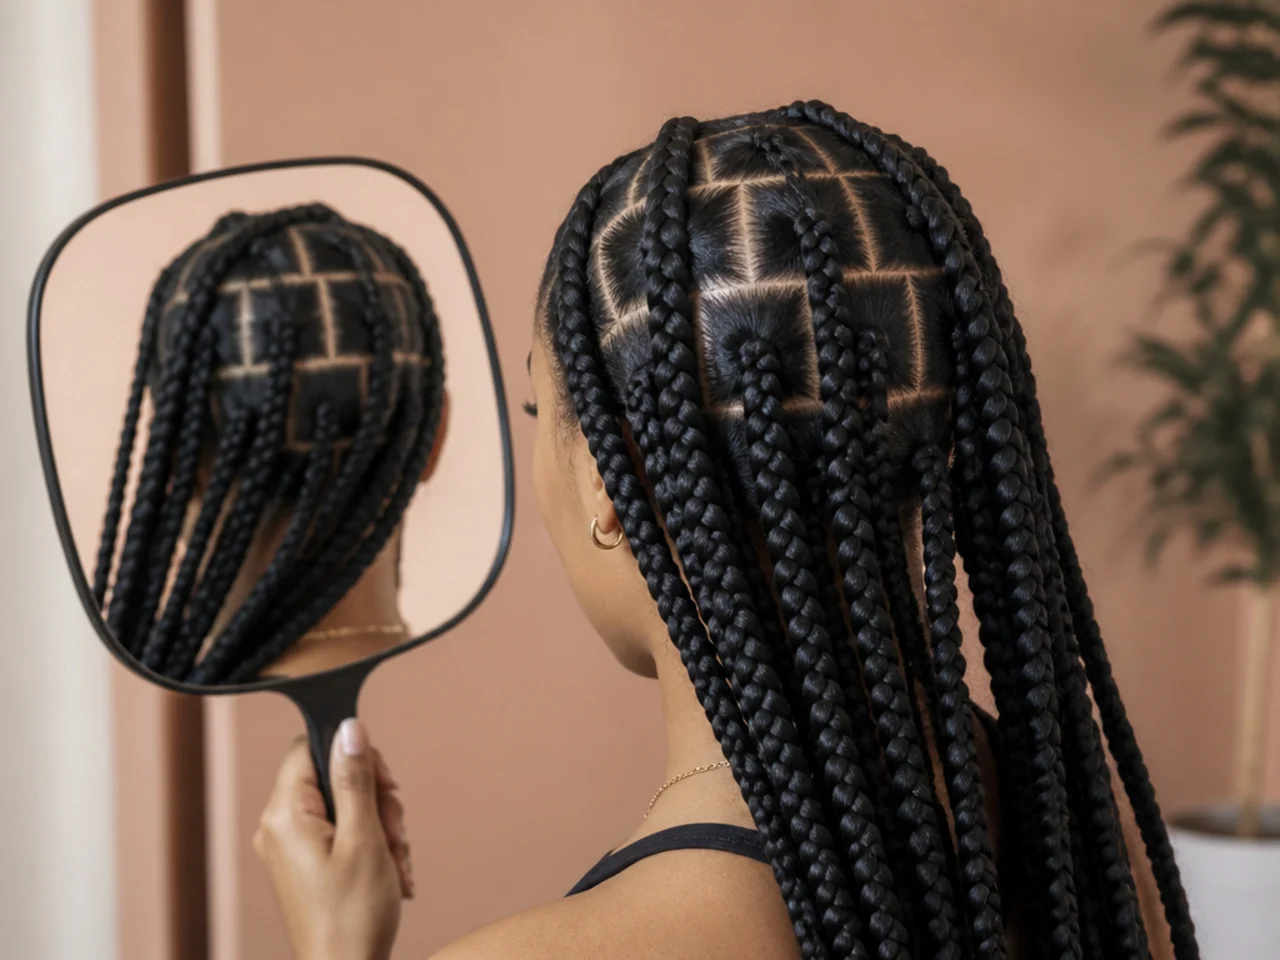
5. Check the Grid in the Second Mirror
Look at the back before anything is braided, while it is still fixable.
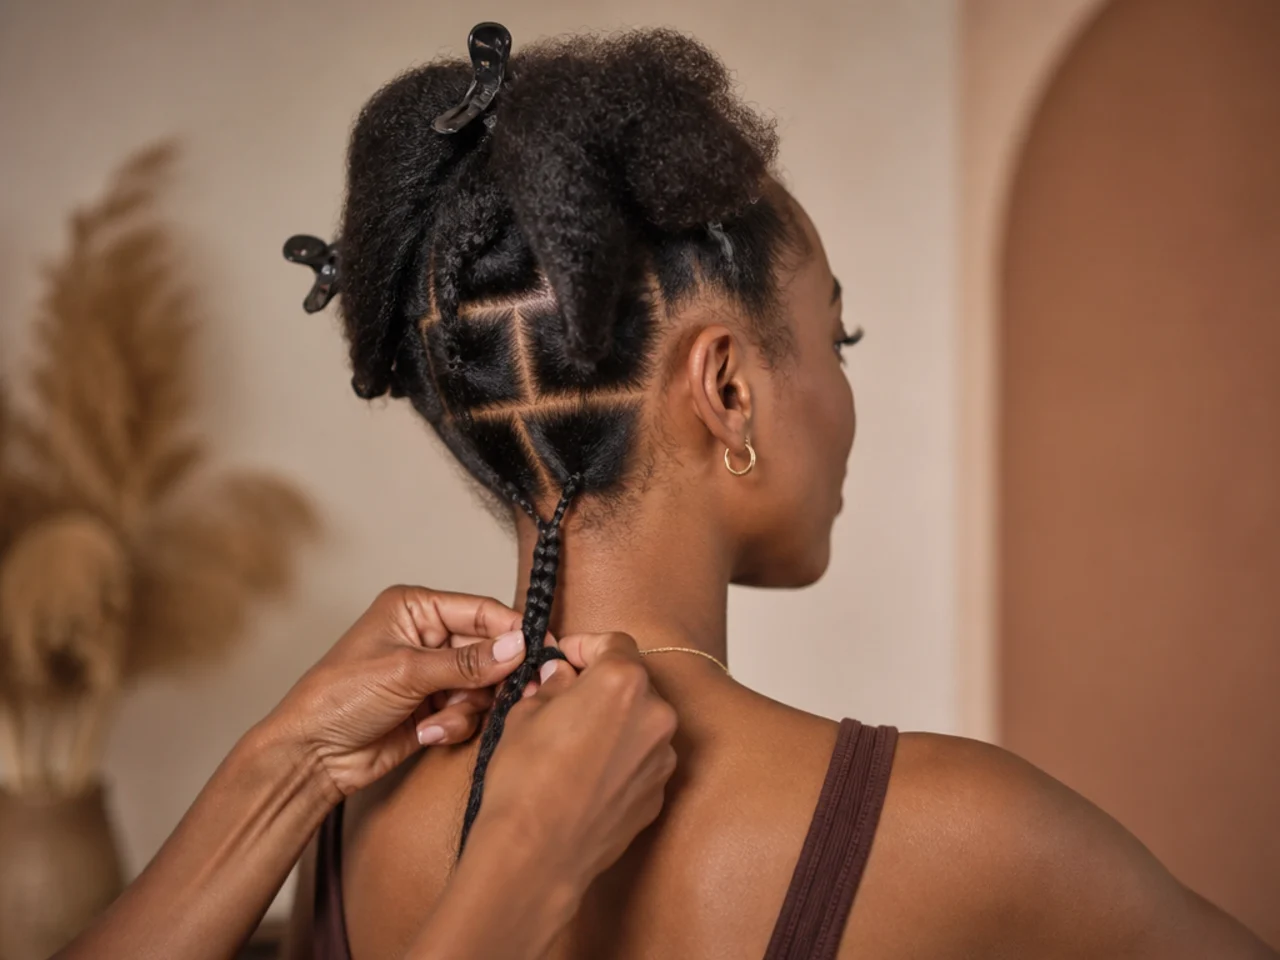
6. Start at the Nape
Work upward. Finished braids then hang out of your way rather than into it.
7. Mousse the Section Lightly
Enough to control frizz, not enough to make it slippery.
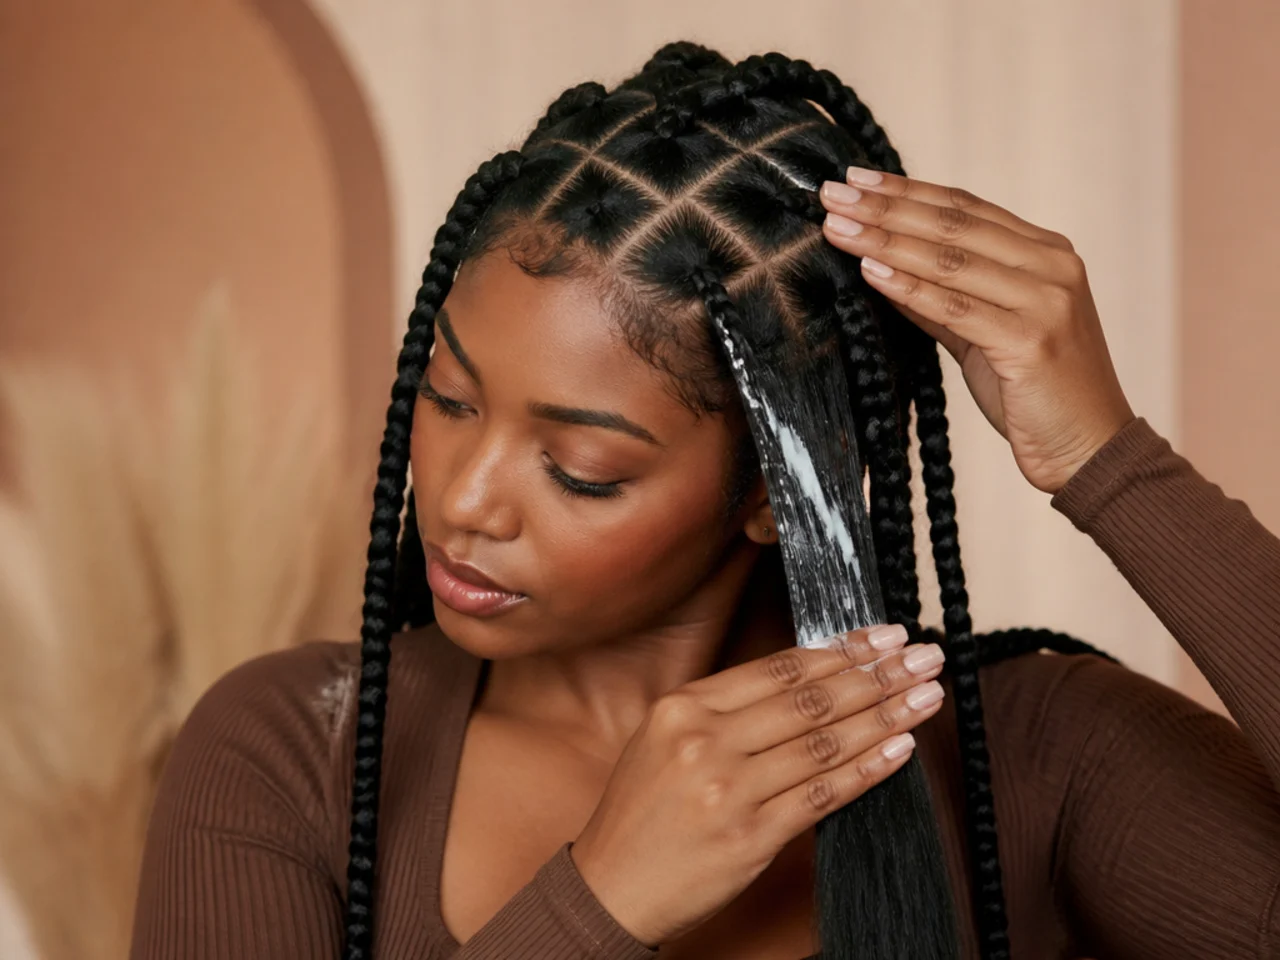
8. Begin with Your Own Hair Only
Two or three plain stitches of your natural hair. No extension yet.
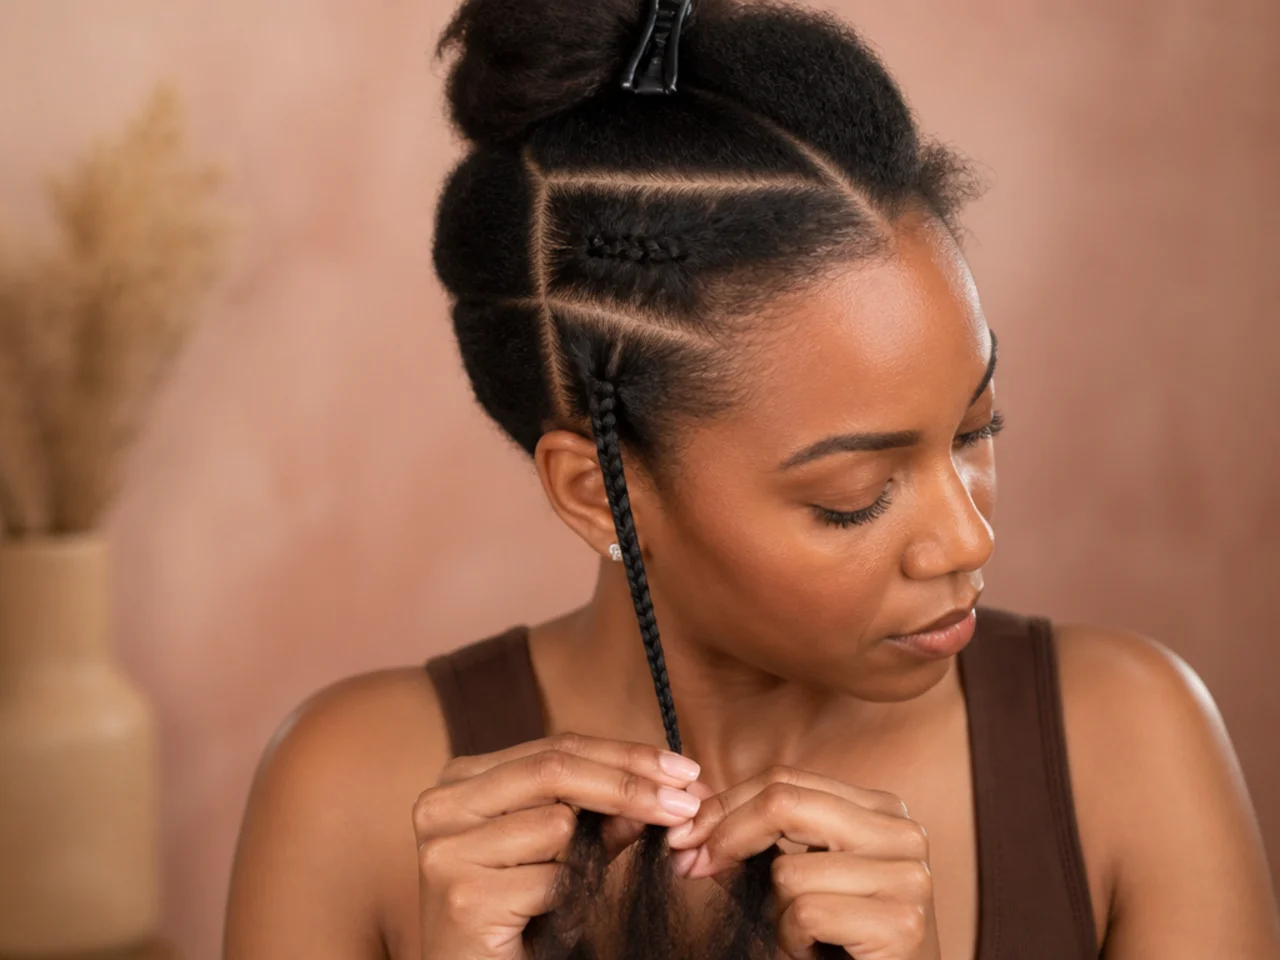
9. Add the First Small Piece
A thin sliver, split across two strands. Small — this is the step people rush.
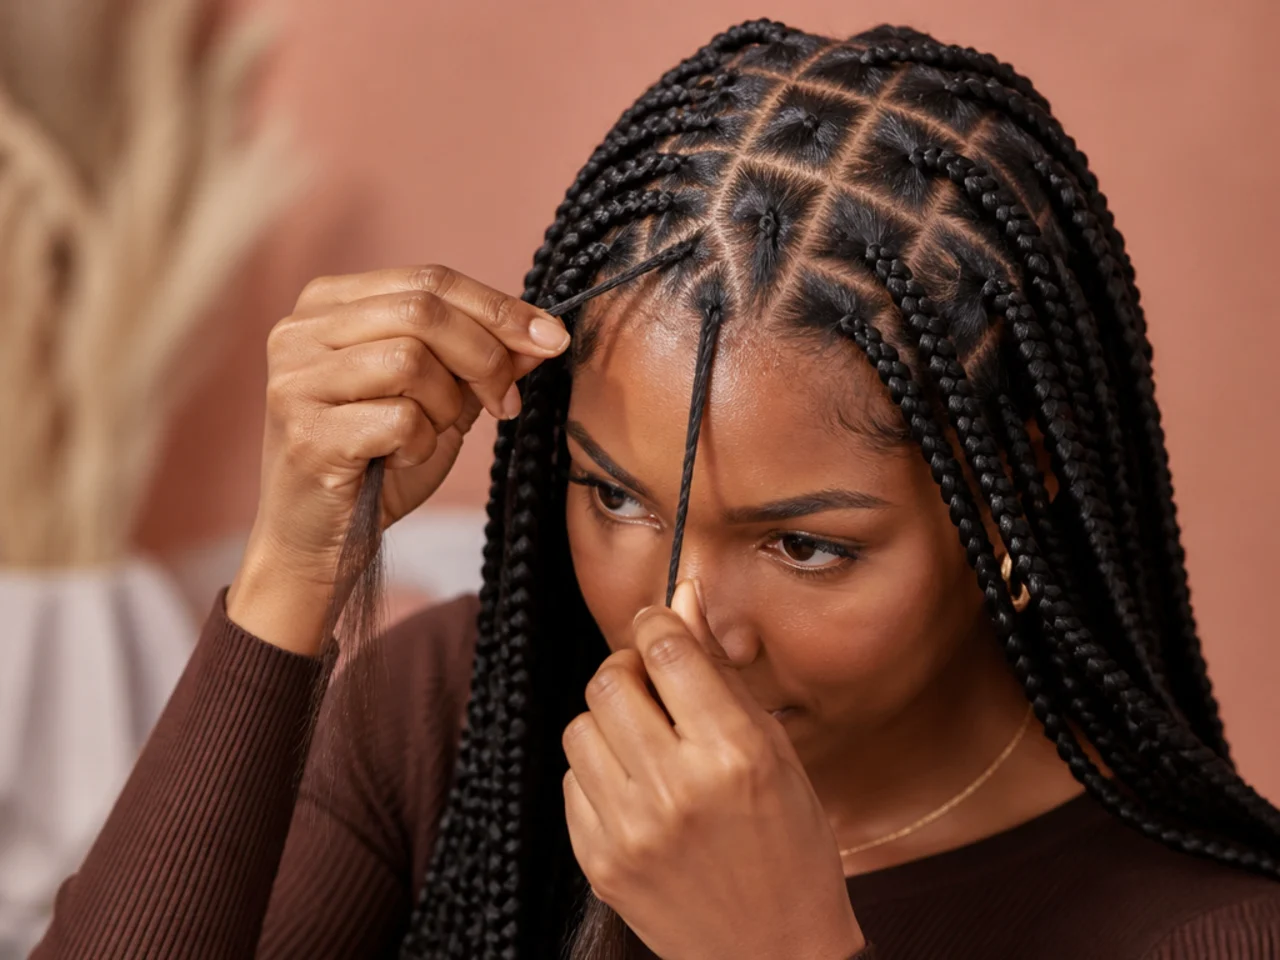
10. Add the Second Piece an Inch Down
Slightly larger. The braid should still look thin at this point.
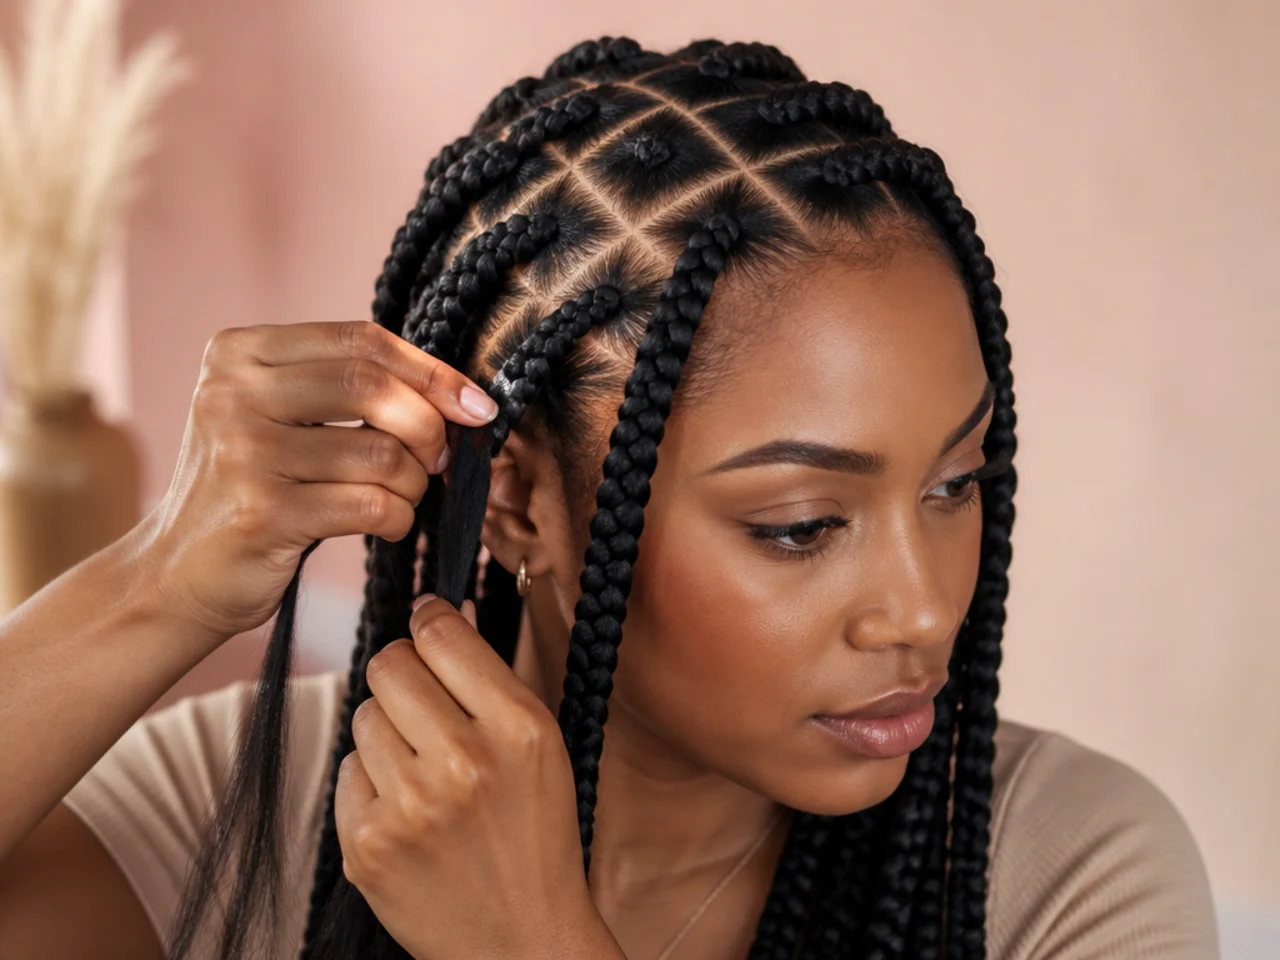
11. Add the Third and Final Piece
Now the bulk. By two inches down, the braid reaches full width.
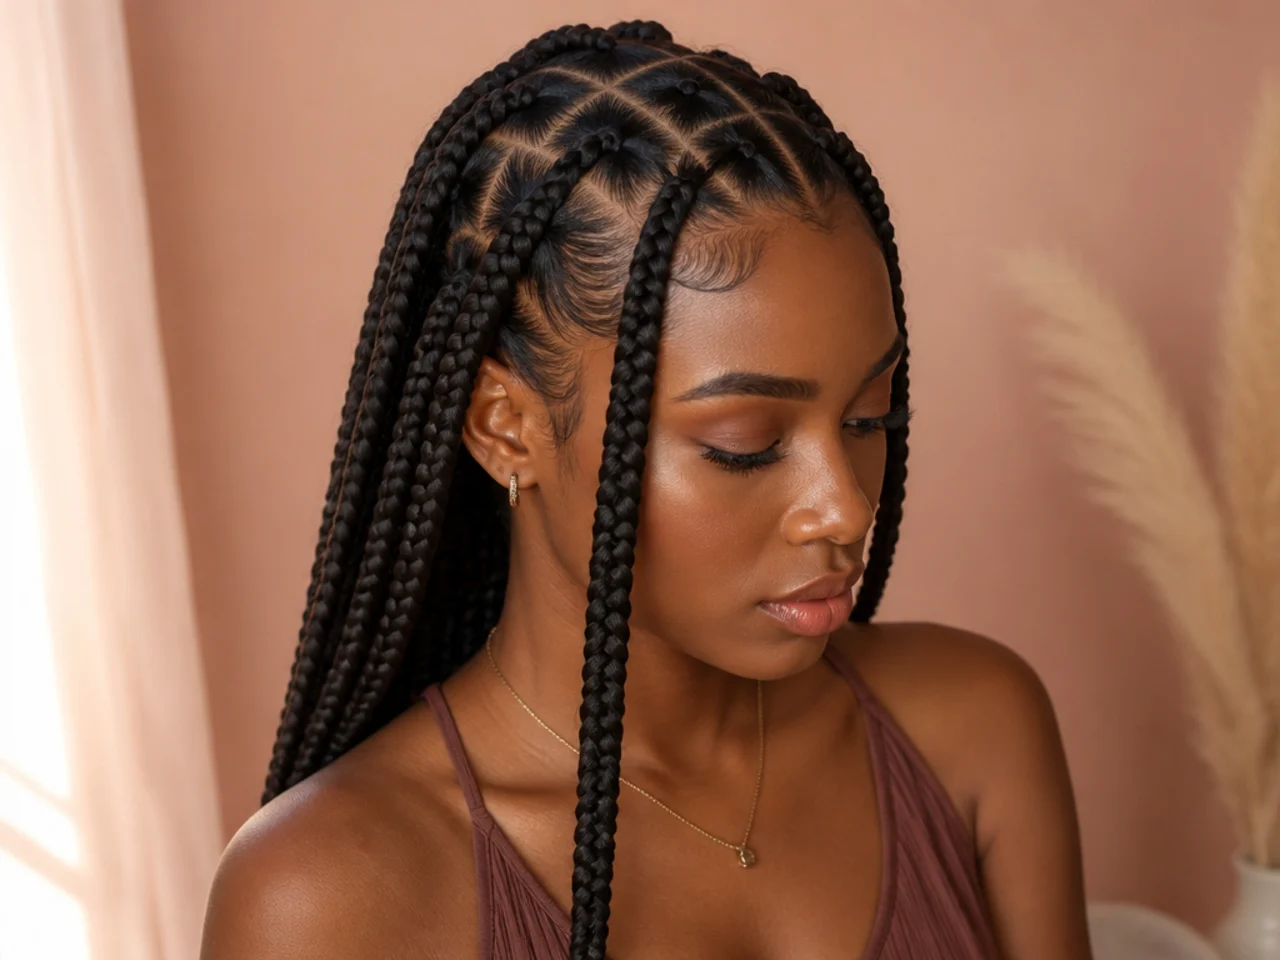
12. Keep the Tension Even, Not Tight
Firm enough to hold, loose enough that the scalp does not lift.
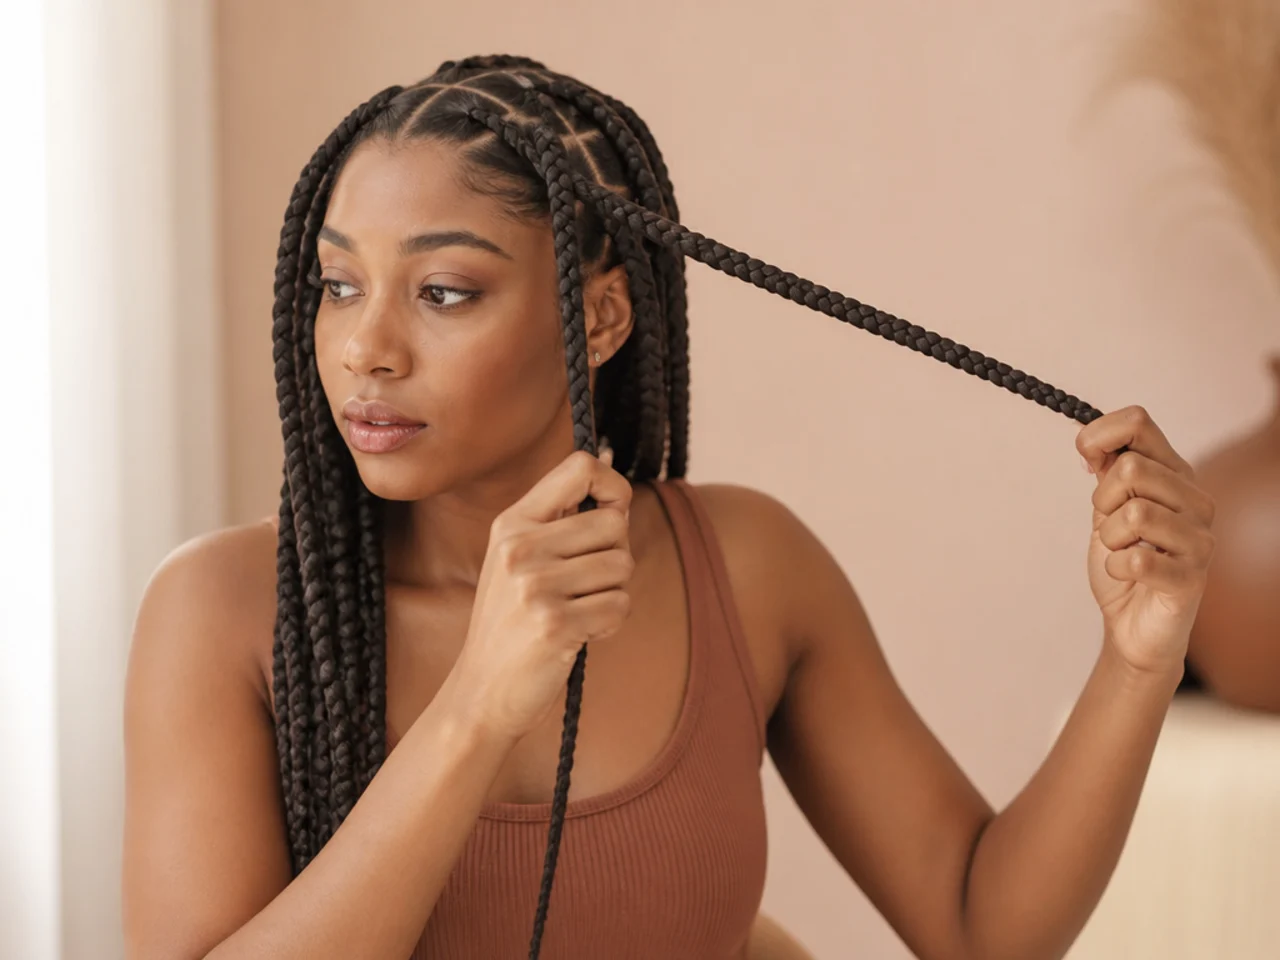
13. Braid Down in a Consistent Rhythm
Same strand size each stitch. Rhythm is what makes a braid look uniform.
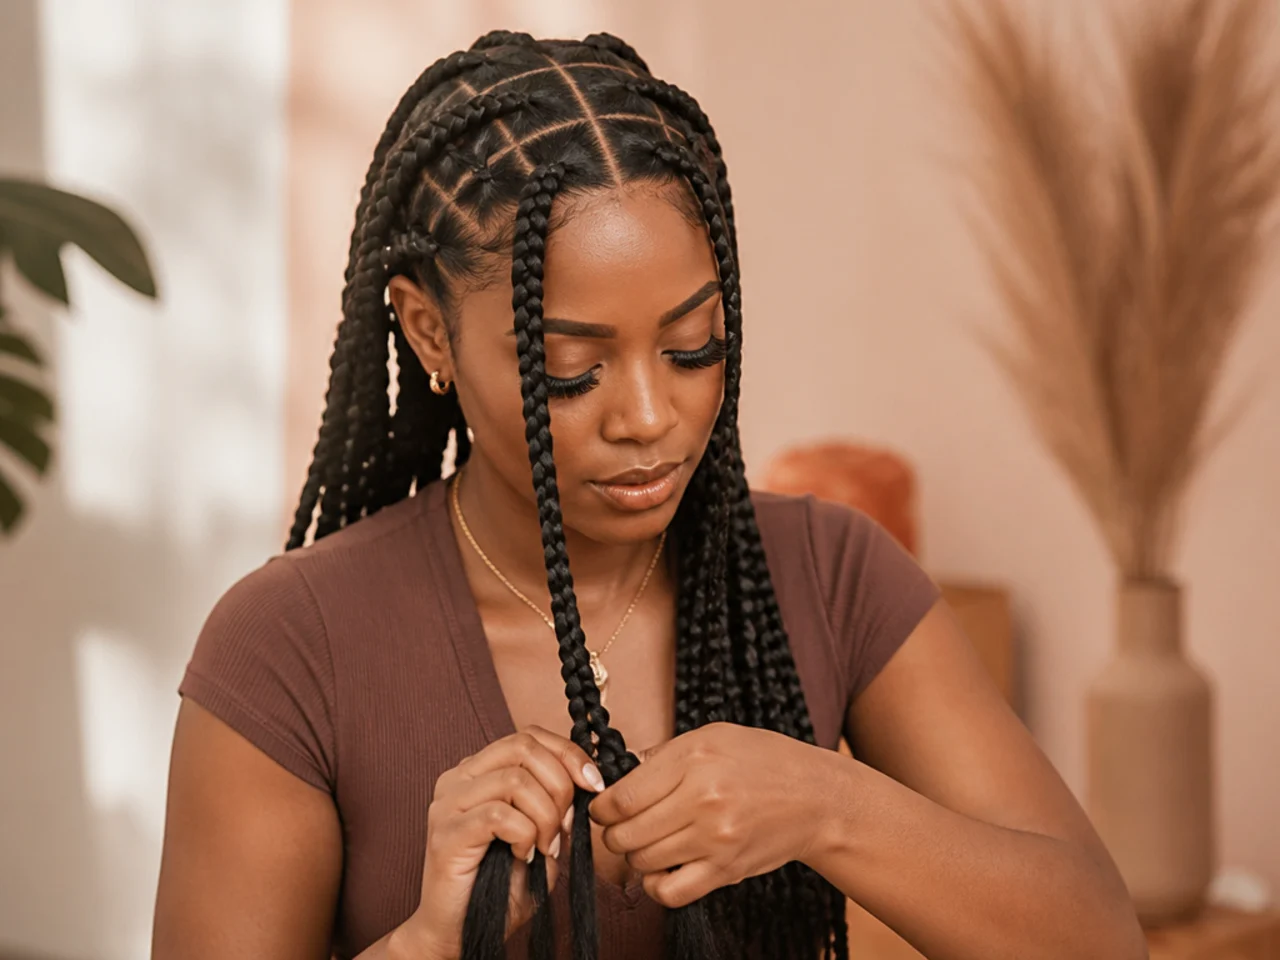
14. Stop Two Inches Before the End
Leave enough tail to seal. Braiding to the very tip leaves nothing to work with.
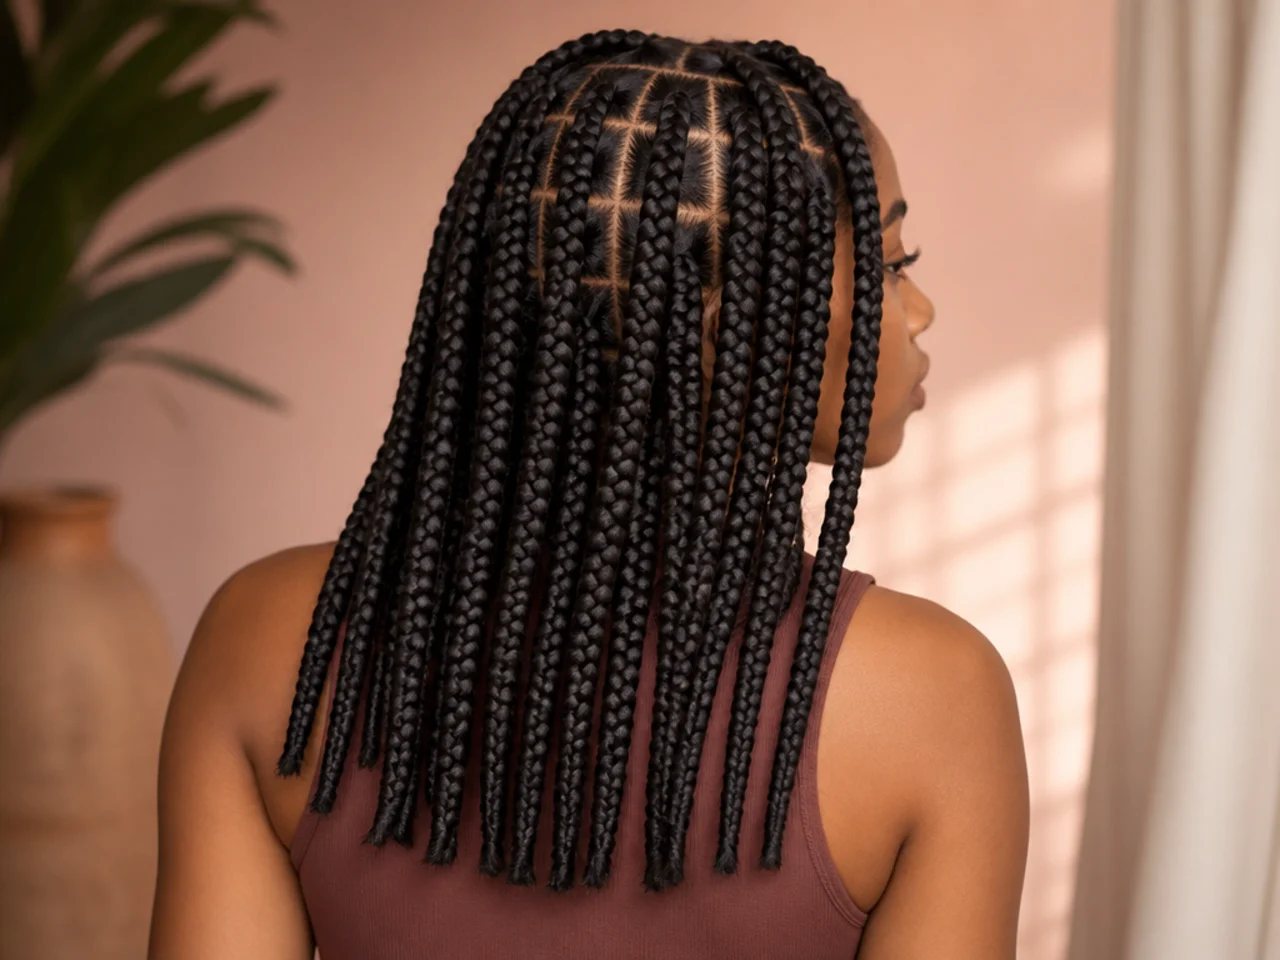
15. Seal the End
Hot water dip, a small knot, or a bead with a stopper. Pick one and be consistent.

16. Compare Against the Previous Braid
Width, tension and start point. Drift is easier to fix one braid later than ten.
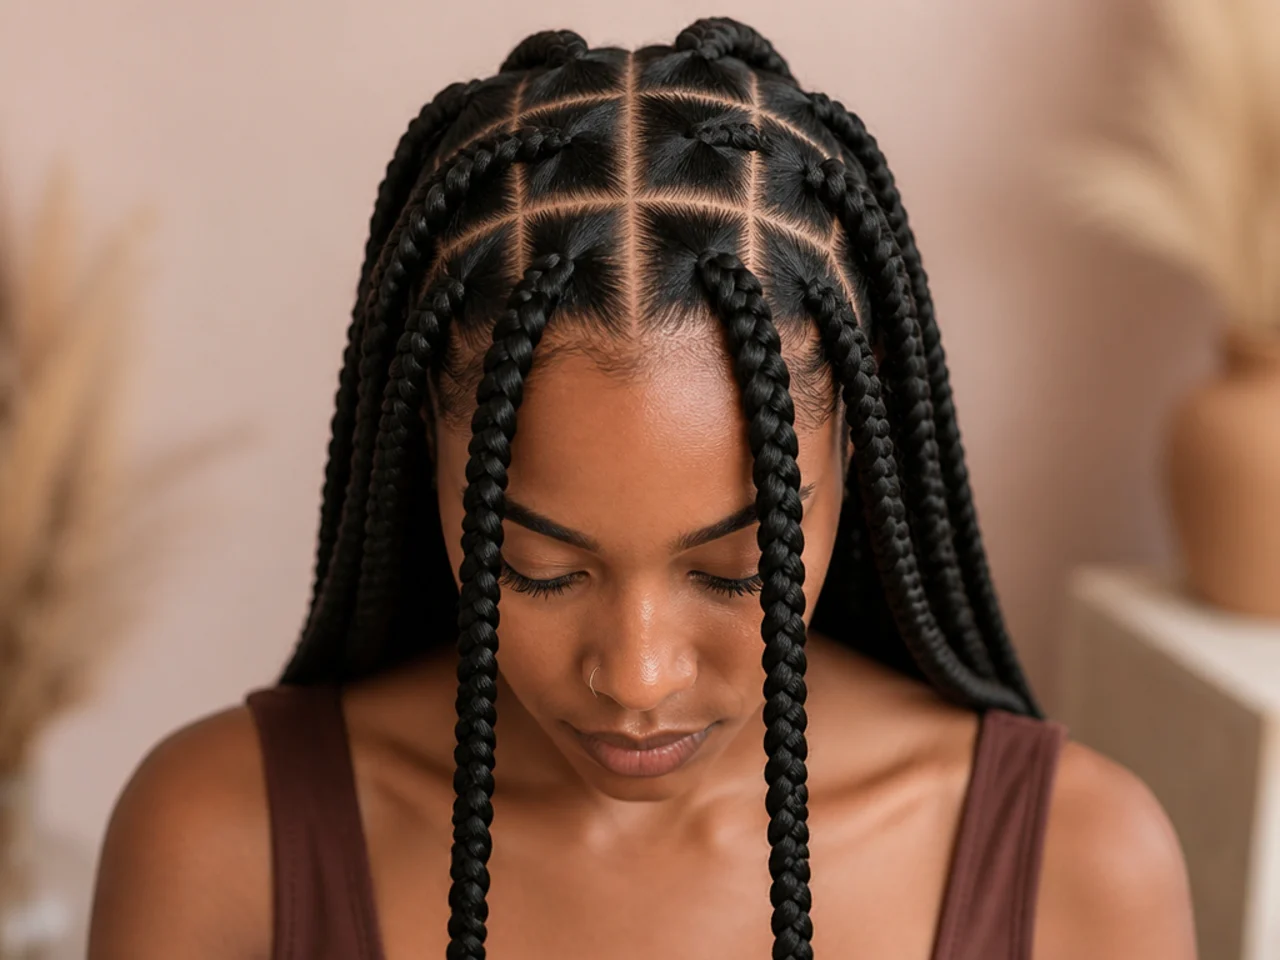
17. Work Row by Row Upward
Finish a full row before starting the next. Do not jump around the head.
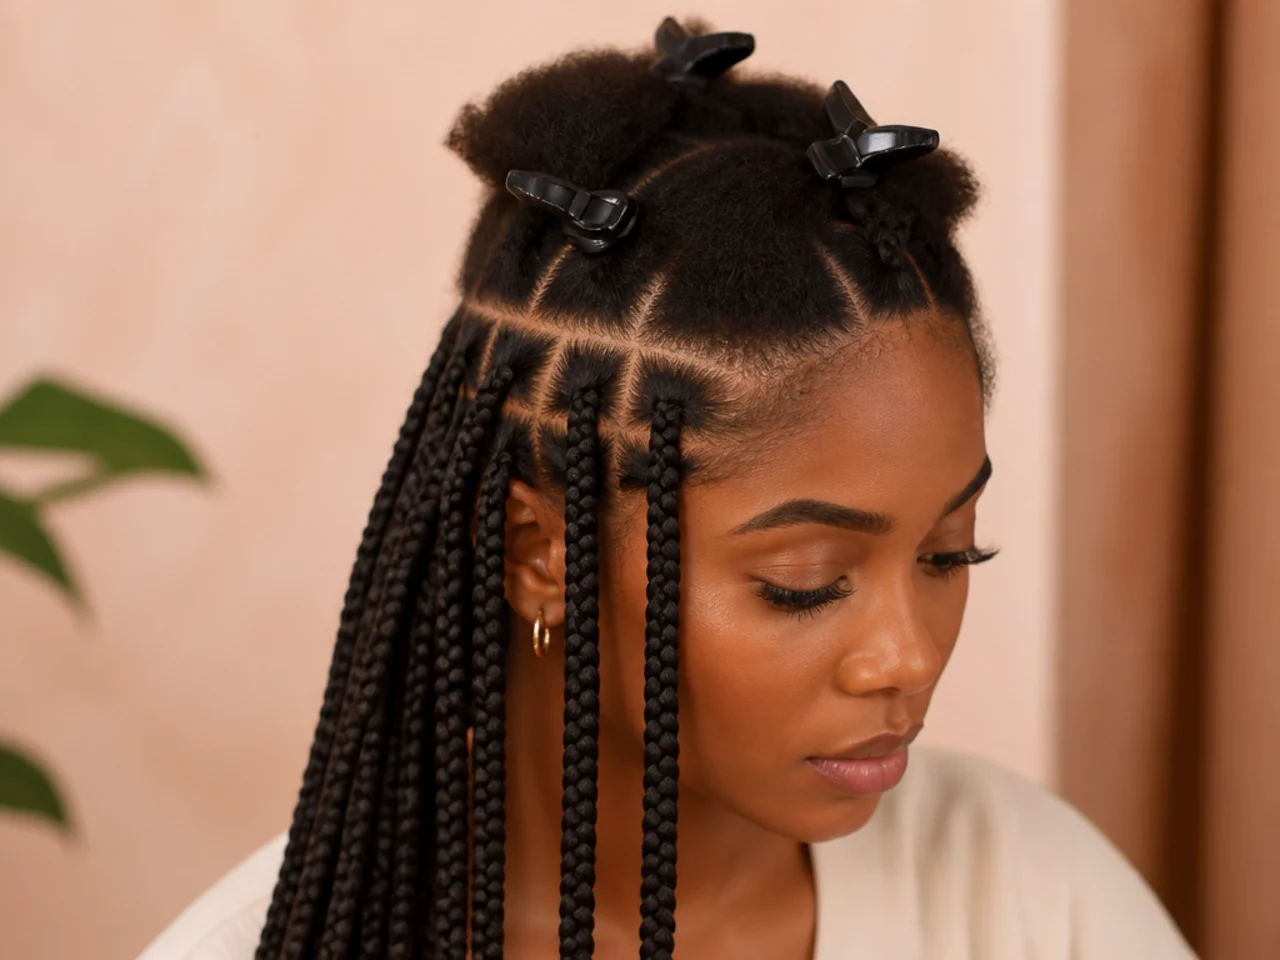
18. Leave the Hairline for Last
The most visible braids, done when your hands are warmed up rather than cold.
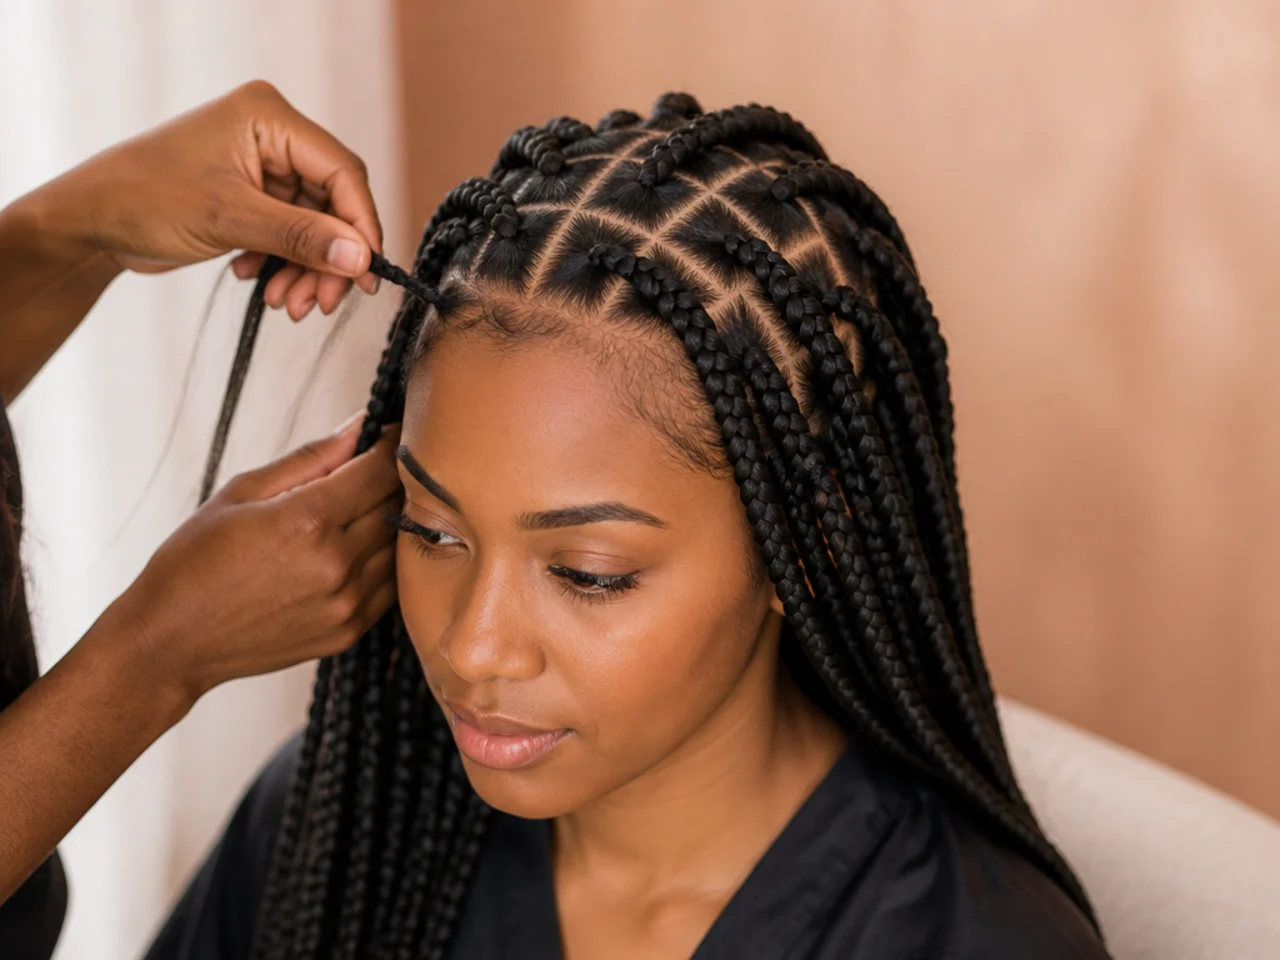
19. Braid the Hairline Loosest of All
Lightest tension anywhere on the head. Edges do not grow back quickly.
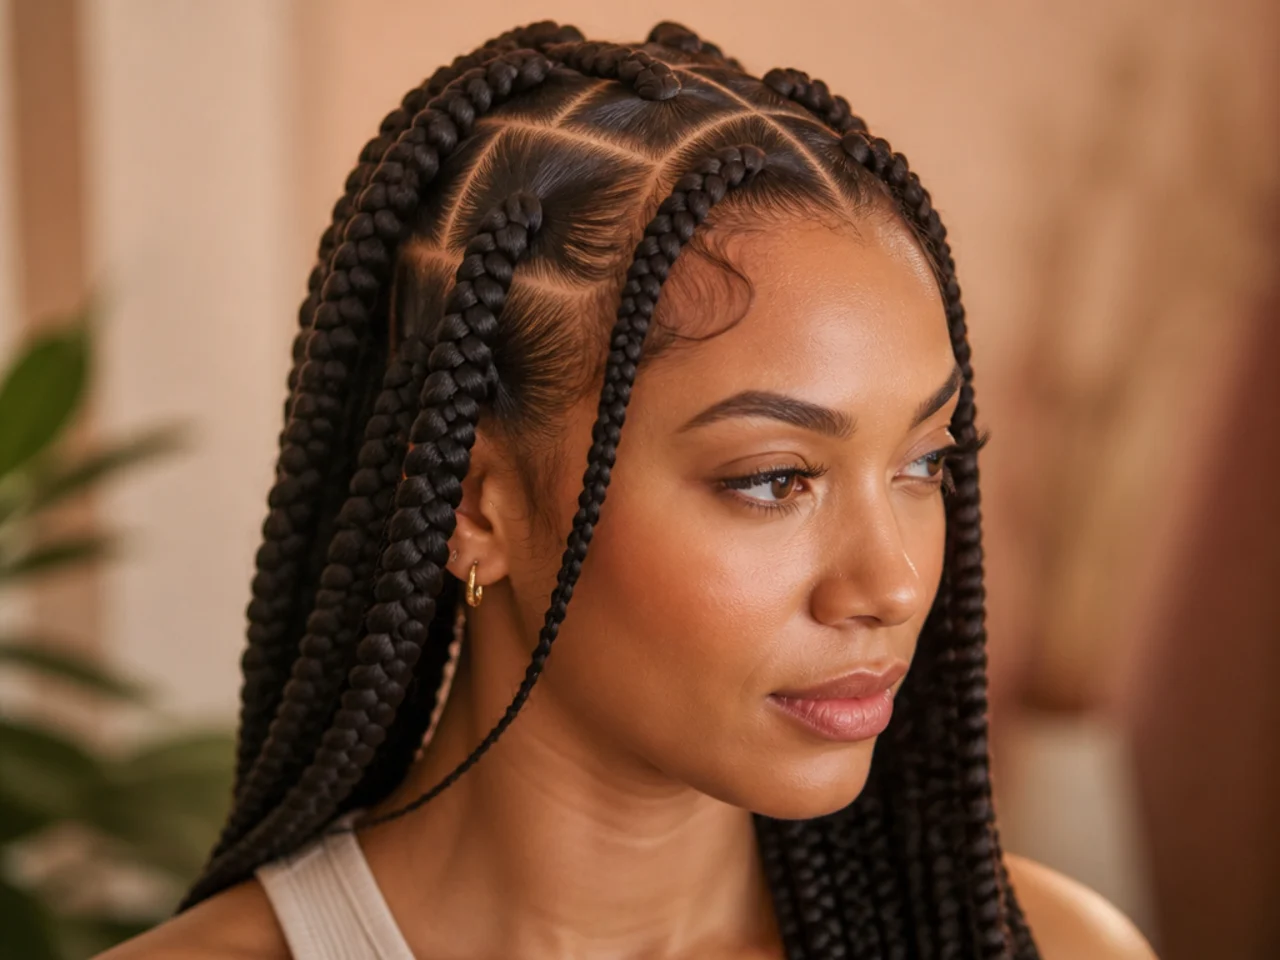
20. Rinse, Dry and Leave It Alone
A cool rinse settles frizz. Then give the scalp a full day untouched.
Troubleshooting
The braid is bulky right at the root. Too much extension added too soon. Undo it and feed in three small pieces over two inches instead of one large one.
Braids are different widths. The sections drifted. This is unfixable once braided, which is why the whole head is parted first.
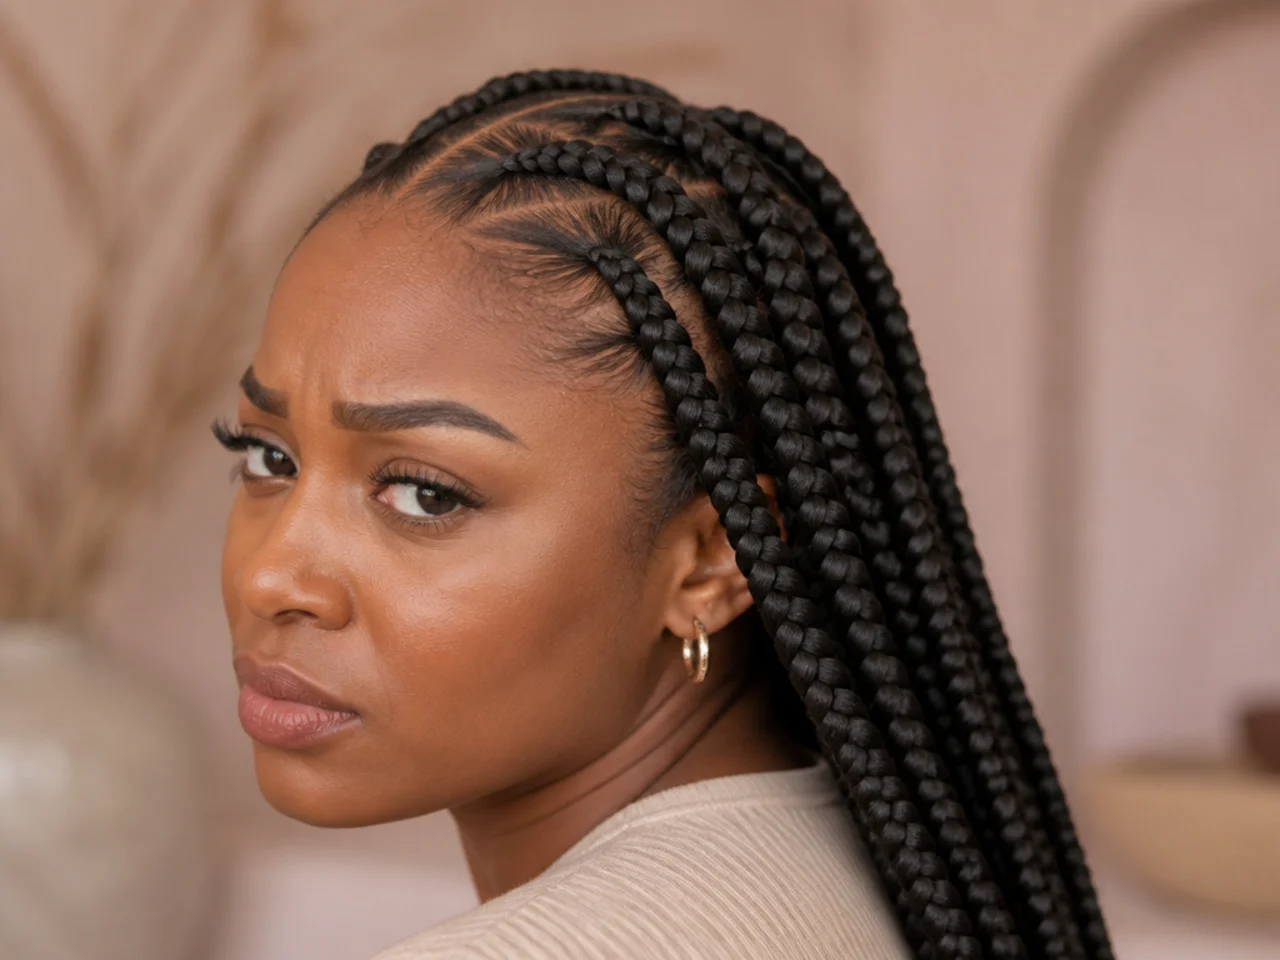
The scalp lifts when you look up. Too tight. Take those braids out the same day — waiting does not loosen them, it just extends the pull.
The braid unravels at the end. The seal failed. Reseal with hot water, and hold it in longer than feels necessary.
The back looks messy and the front looks fine. Normal for a first attempt. Use the handheld mirror at the sectioning stage next time, not the braiding stage.
Small bumps along the hairline the next day. Tension, not infection. They subside as the braids settle, but treat it as a signal to braid looser next time.
Mistakes to Avoid
Adding a big piece at the first stitch. It recreates exactly the tight root knotless braiding avoids.
Sectioning as you go. The grid drifts, and a large set shows every drift.
Braiding freshly washed hair. Too slippery to hold a clean section.
Doing the hairline first. Your least practised braids on your most visible hair.
Ignoring a braid that stings. Take it out the same day.
FAQ
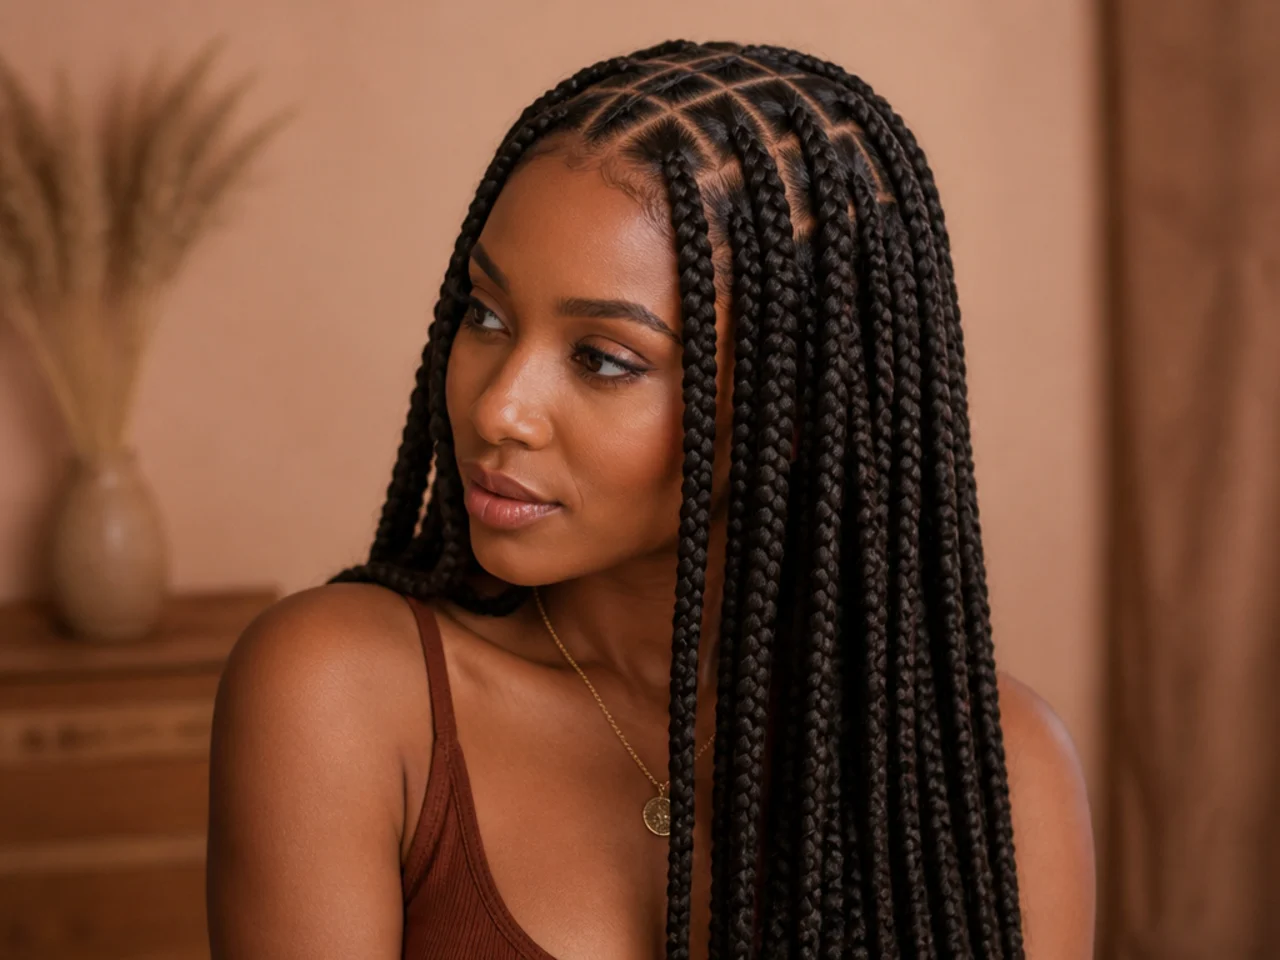
Can you do them on yourself? Yes, and large is the size to learn on.
How much hair at the start? Very little — three small feeds over the first two inches.
How long does it take? Eight to twelve hours for a first attempt, best split over two days.
Final Thoughts
If you take one thing from this, take step four. Sectioning the entire head before braiding anything is the difference between a set that looks salon-installed and one that looks home-made, and it costs nothing but forty minutes at the start.
For what to expect from the finished style see 25 large knotless braids ideas, and for the size decision see large vs medium knotless braids. More in Braids & Protective Styles.
Frequently asked questions
Related posts
See all posts
20 Waterfall Mermaid Braid Ideas That Hold
Read more
15 Side Mermaid Braid Ideas That Sit Right
Read more
20 Side Part Medium Knotless Braids I Saved
Read more