20 Hair Styles Sketch Ideas That Read From the Silhouette
Twenty styles to draw, from a blunt bob to a fishtail braid, and the test that decides all of them. A hairstyle is identifiable as a solid black shape before a single strand exists, so the outline is the drawing and the detail is finish.
In this article · 28
- Pencils Paper and Tools
- Start With the Silhouette
- The Shading Value Map
- The Four Hair Textures
- Using References
- Common Mistakes and Fixes
- The 20 Hair Styles to Sketch
- 1. Blunt Bob From the Front
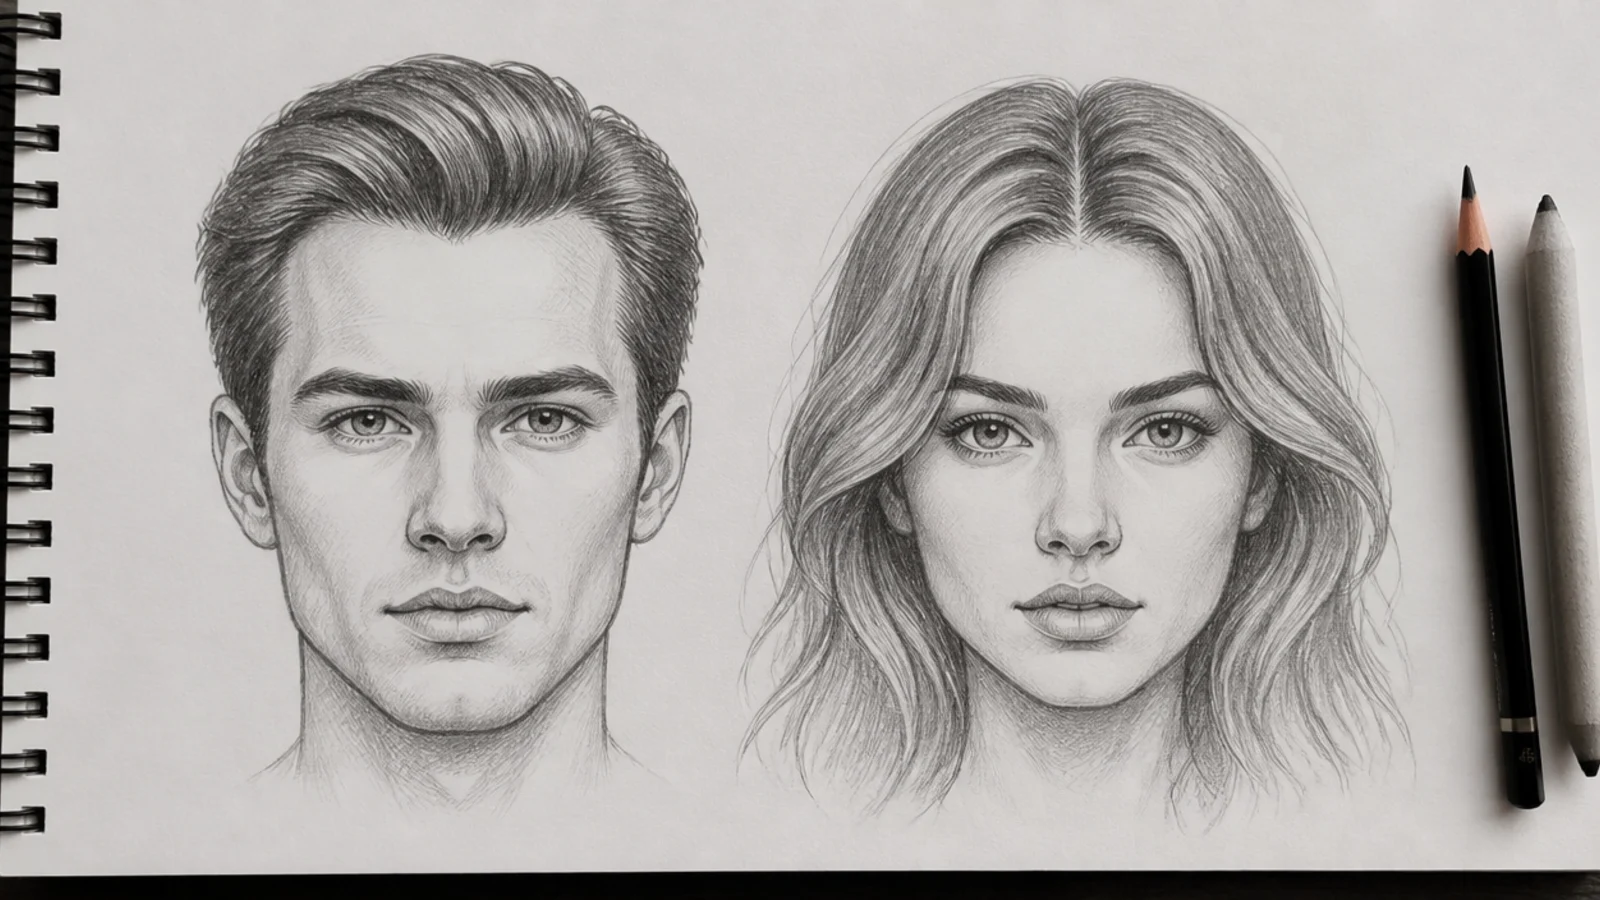
- 2. Long Straight With a Centre Part
- 3. High Ponytail With a Crown Bump
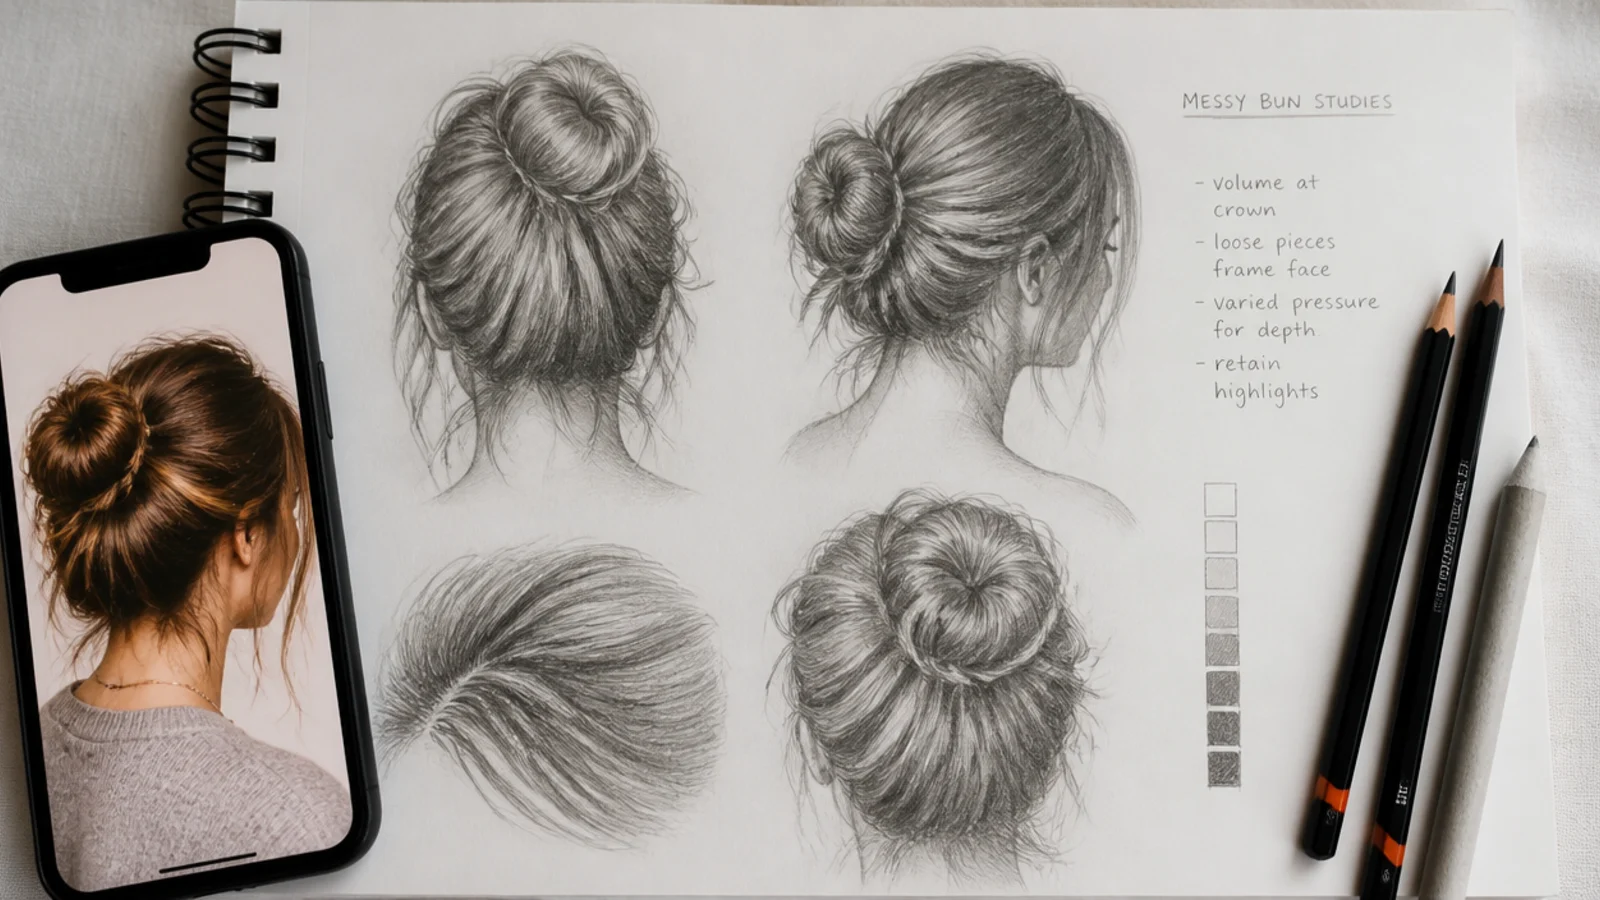
- 4. Low Messy Bun
- 5. Curtain Bangs in Three Quarter View
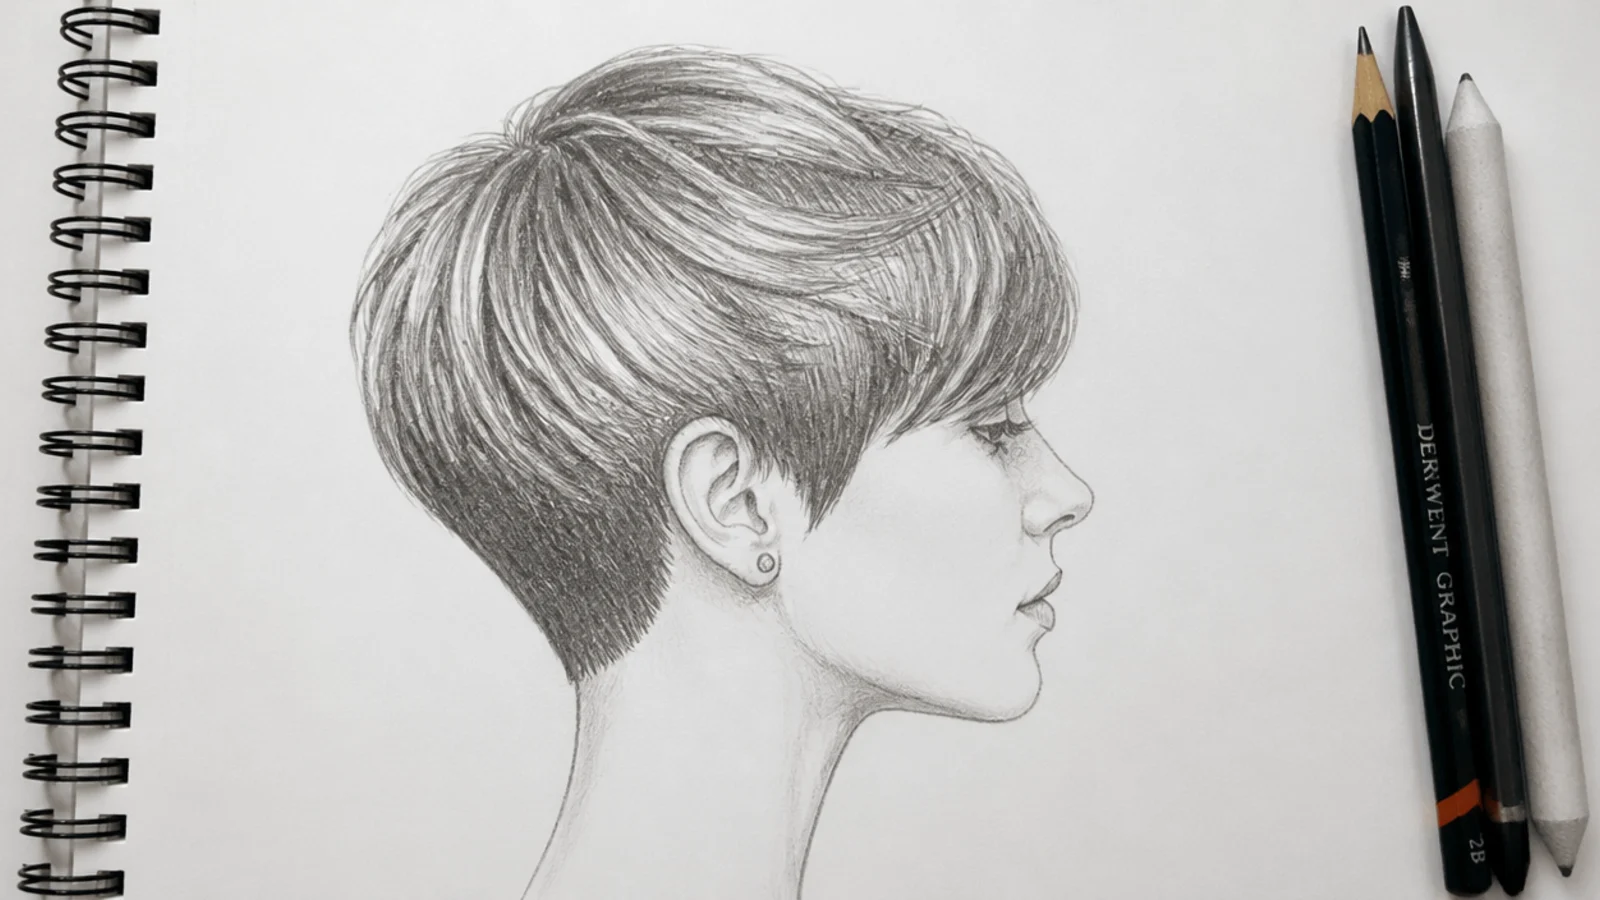
- 6. Pixie From the Side
- 7. Spiky Textured Crop
- 8. Three Strand Braid
- 9. Beach Waves
- 10. Half Up Twisted Crown
- 11. Buzz Cut With a Fade
- 12. Chibi Space Buns
- 13. Wet Hair Clinging
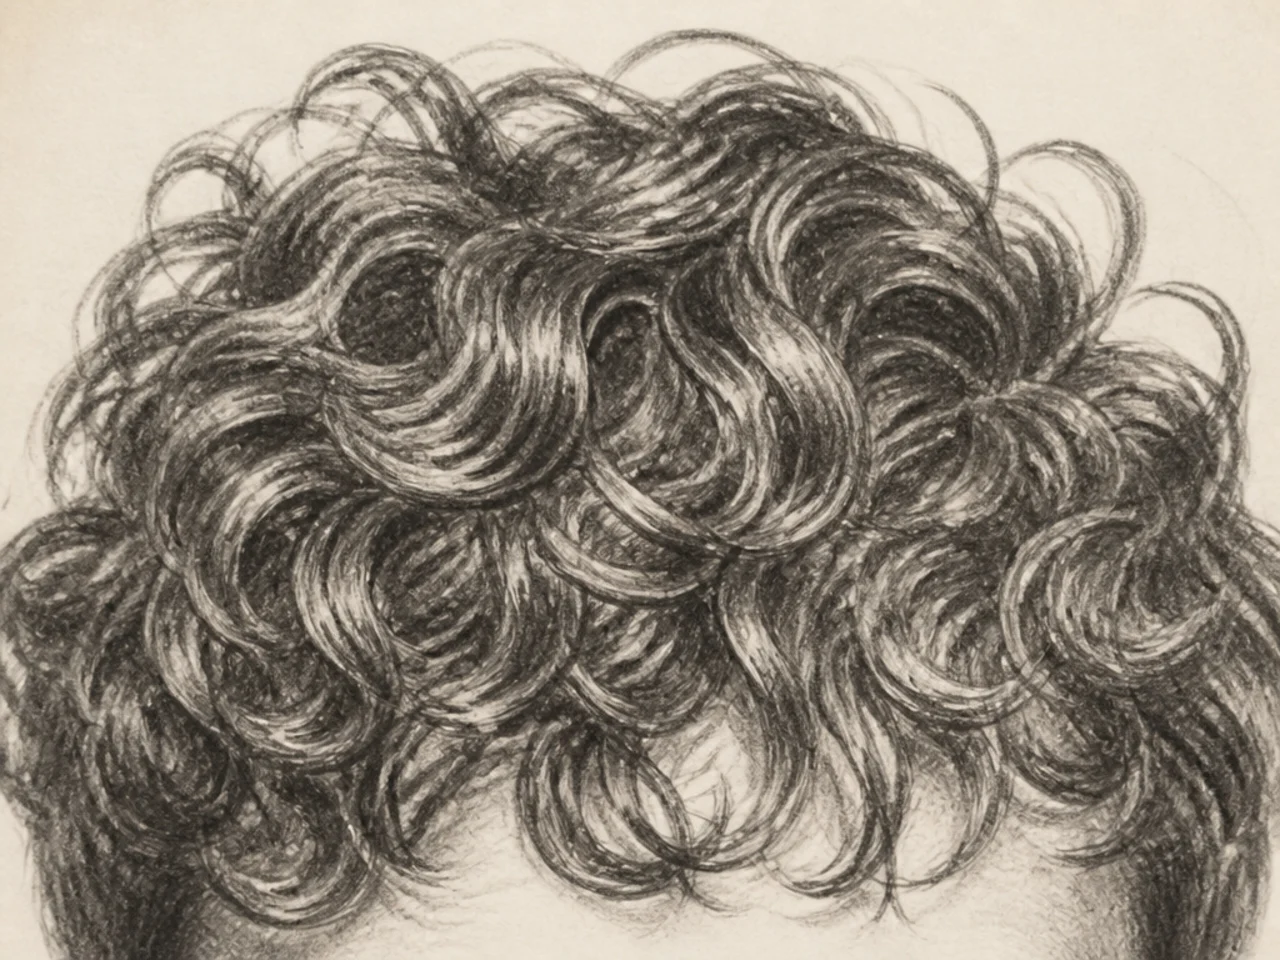
- 14. 3B Spiral Curls
- 15. Dutch Crown Braid
- 16. Shoulder Length Locs
- 17. 4C Coily Afro
- 18. Hair in Motion
- 19. Fishtail Braid From the Back
- 20. Blonde in Side Light
- Final Thoughts
Beginners collect hairstyles to draw and then draw all of them the same way, which is why the page ends up looking like twenty variations of one wig.
A hairstyle is a shape before it is a texture. Filled in solid black at thumbnail size, a bob, a pixie and an afro are still instantly separable — that is the level the drawing has to work at.
The interior is finish, not identity. Strands, gloss and stray flicks make a sketch look finished. They never make a wrong outline look like the right style.
Pencils Paper and Tools
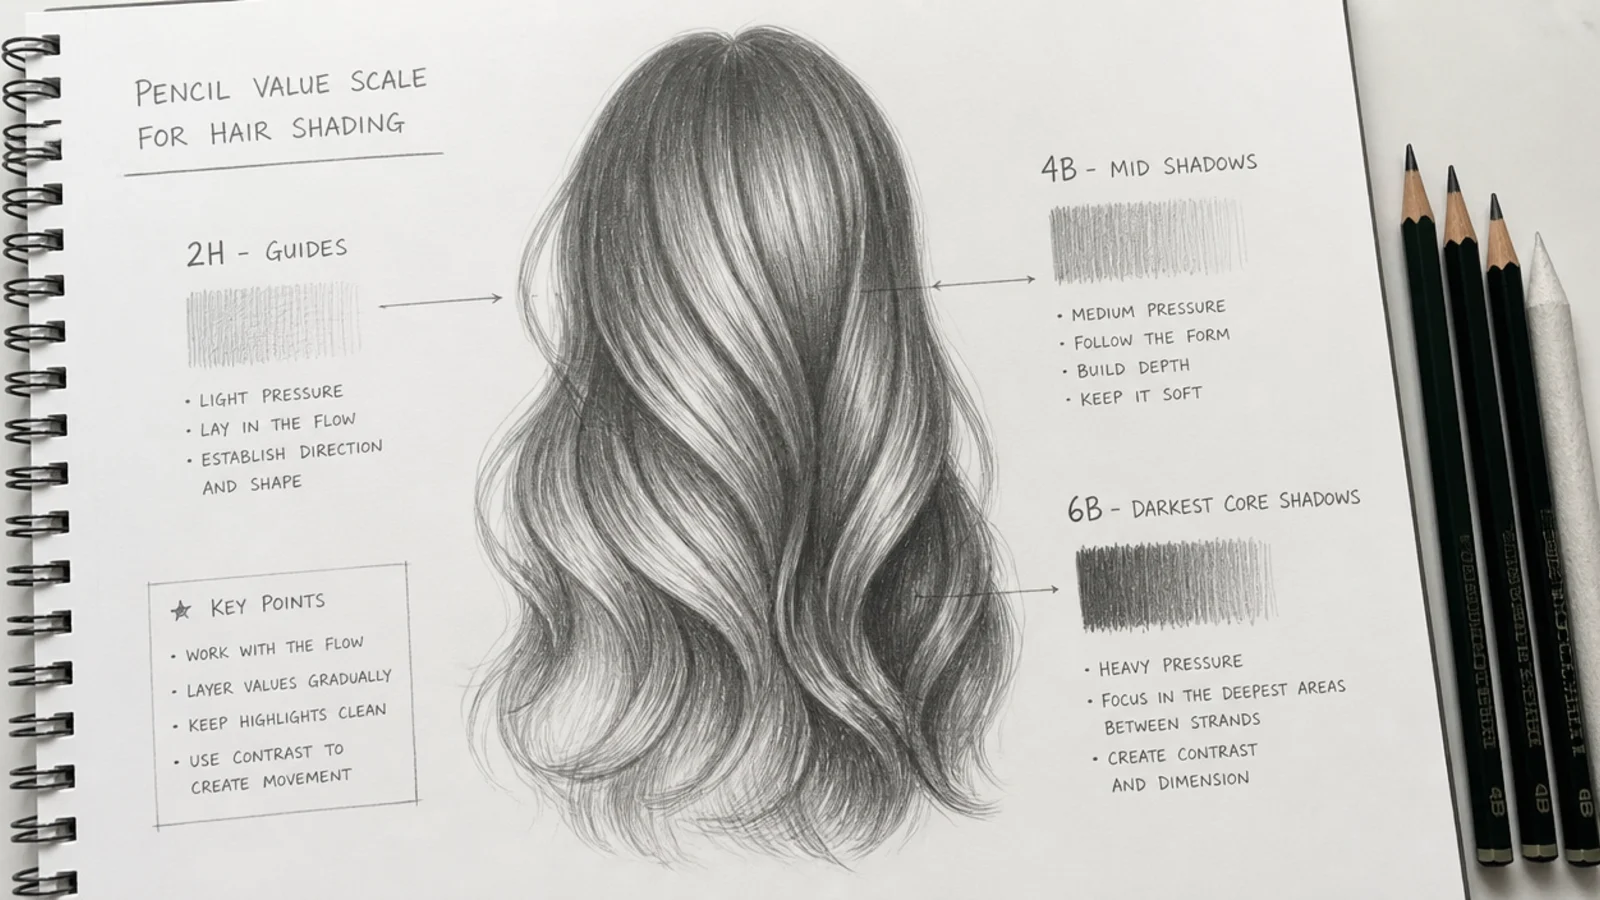
Two pencils do most of the work. A 2B lays every mid tone and a 6B does every core shadow. The 2H is for construction only and should be invisible by the time you finish.
Sharpen to a long point, not a stub. A long exposed lead lets you roll onto the side of the pencil for broad tone and back onto the tip for a strand without swapping tools.
A kneaded eraser is a drawing tool. Pull it into a wedge and lift the highlight band out of laid tone. A lifted highlight sits above the mass in a way a drawn one never manages.
Work larger than feels necessary. Most style sketches fail because the hand cannot make a mark finer than the paper tooth at the size chosen. Doubling the size halves the problem.
Start With the Silhouette
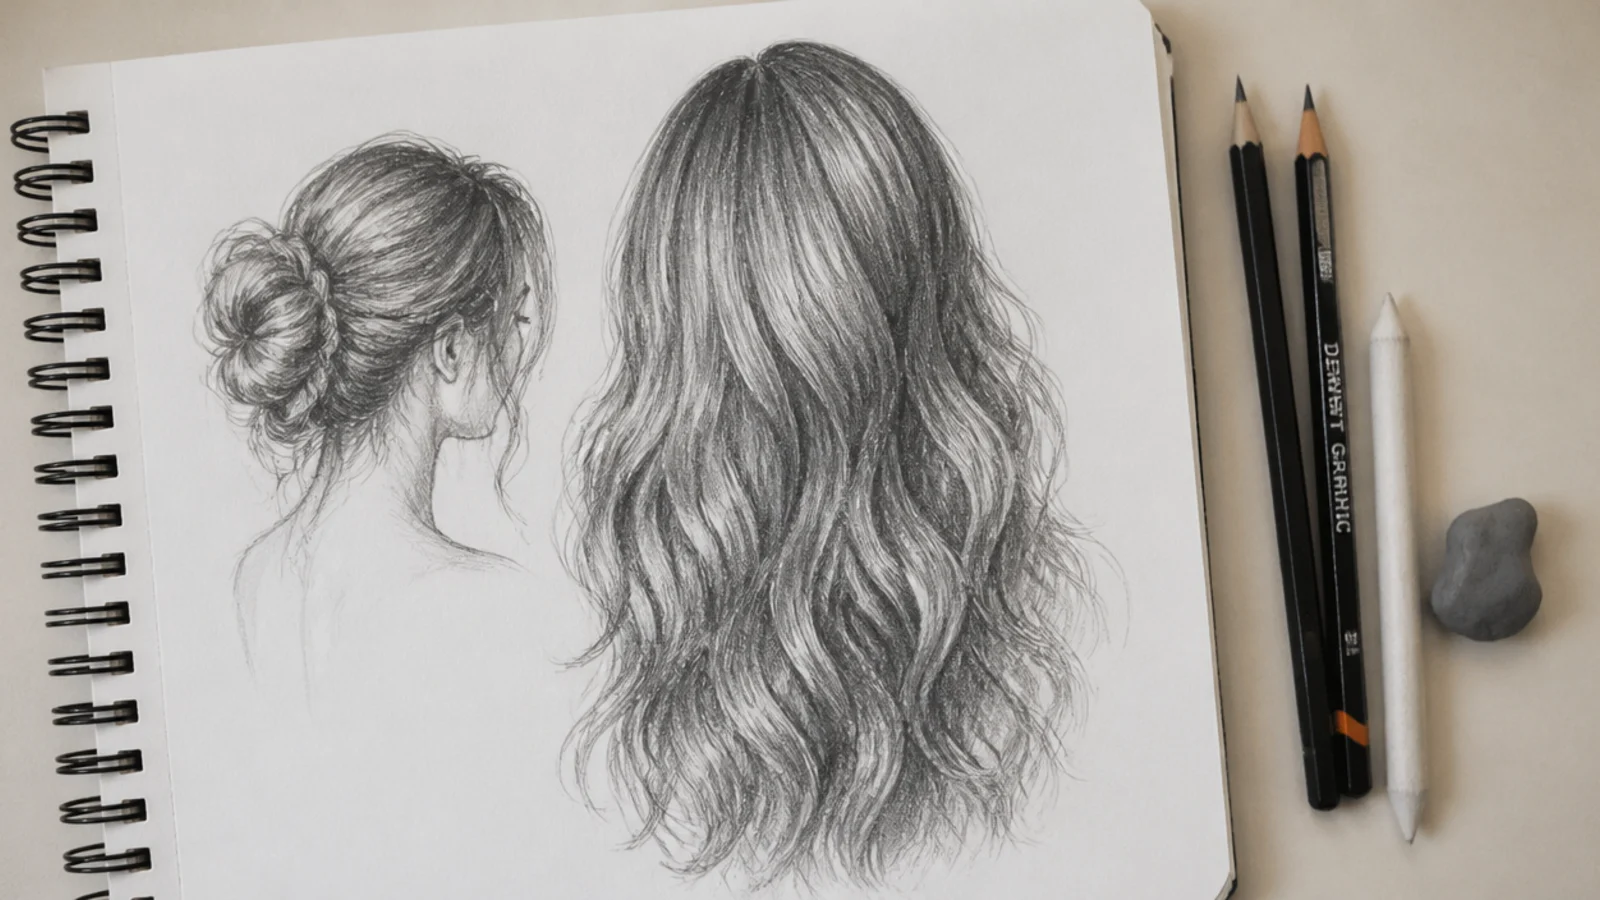
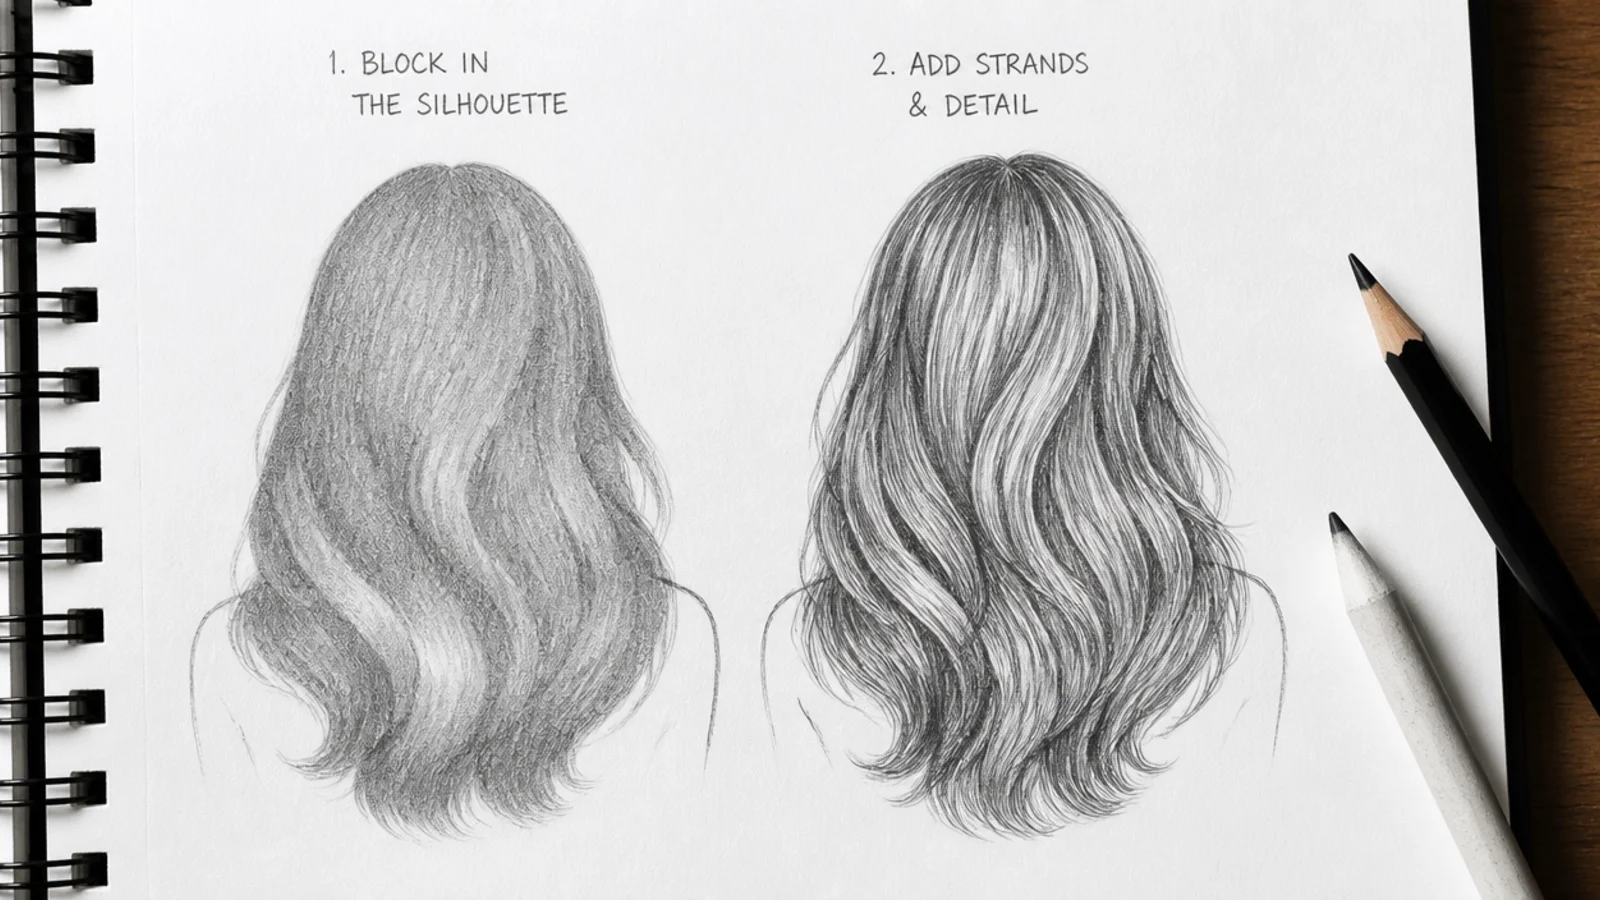
Block the outline before the face. Hair frames the face, so its width sets the proportions of everything inside it. Drawing features first locks you into a head shape the style may not fit.
Leave a gap between skull and hair. That gap is thickness, and it changes per style — a buzz cut sits almost on the bone while a blowout stands an inch clear at the sides.
Check the shape upside down. Rotating the sketchbook removes your reading of it as hair and leaves only the shape, which is the level the silhouette has to survive at.
If the black shape is wrong, stop. Fixing an outline costs one minute at this stage and an hour once it carries three layers of shading.
The Shading Value Map
Map three values before laying any. Decide where the light band, the mid tone and the cores will sit while the page is still empty, and shading becomes execution rather than negotiation.
The highlight follows the skull, not the strands. It curves around the head as a band because the head is round. A highlight running straight down a strand flattens the entire mass.
Cores go in the channels. Between sections, under overlaps, and at the roots beside a parting. Those three places carry nearly every dark value in a hair drawing.
Keep the range honest per colour. Black hair uses the full scale, brown the middle of it, blonde only the top half. The structure is identical and only the ceiling and floor move.
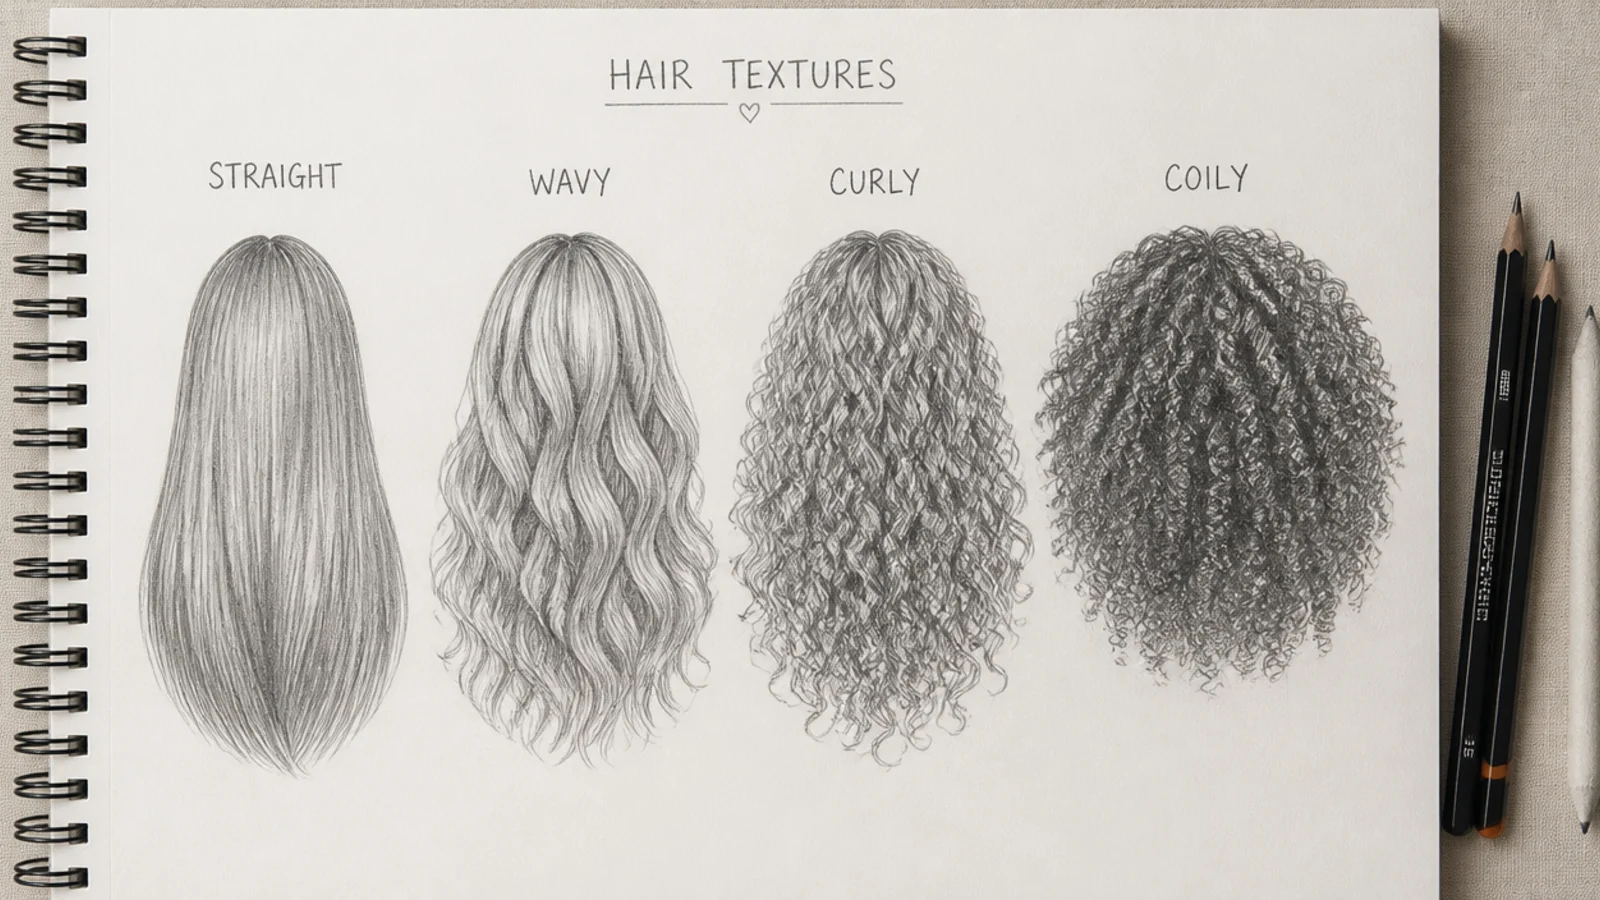
The Four Hair Textures
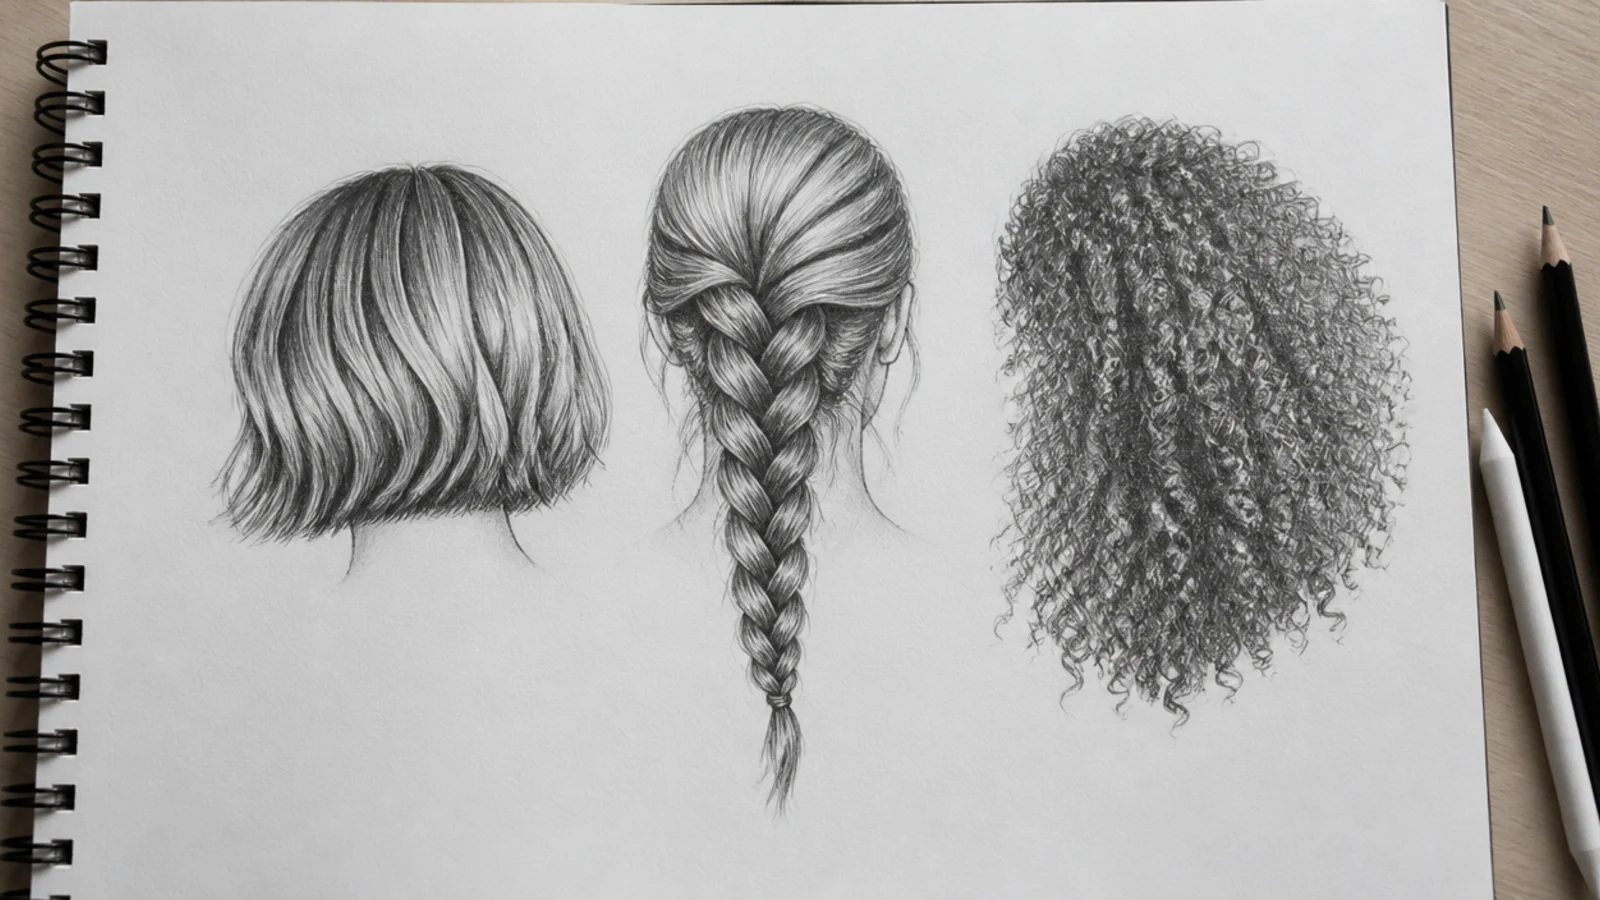
Straight is drawn with the stroke. Long, tapering, in the direction of fall, and any hesitation in the hand shows up as a kink.
Wavy is drawn with the bend. Value flips at every turn of the S, because a new face of the strand rotates toward the light at each one.
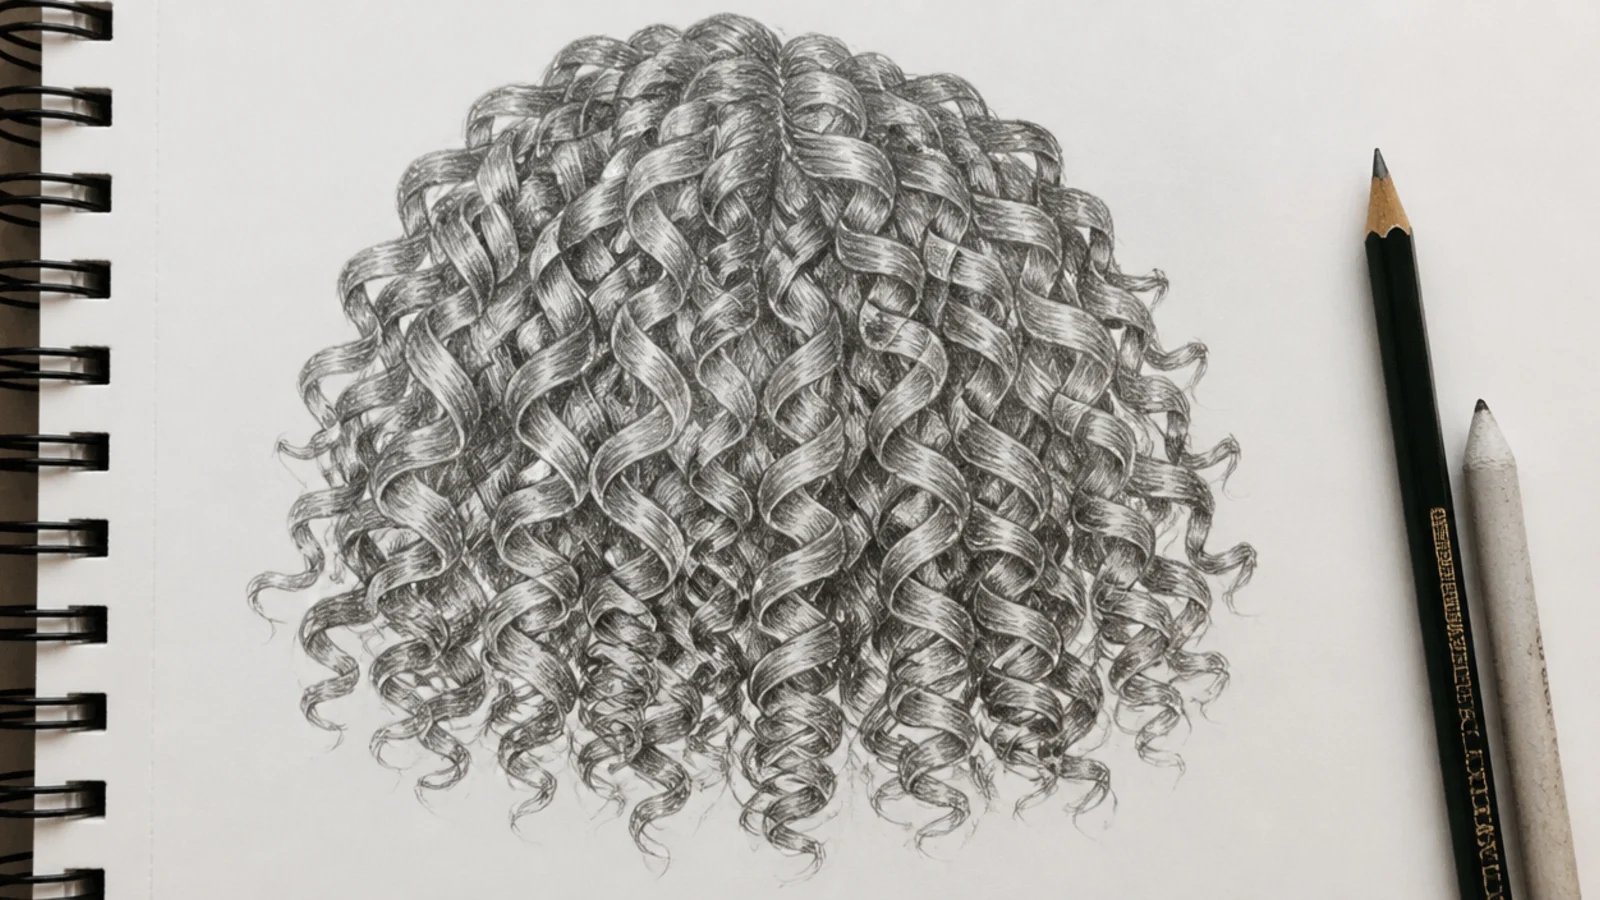
Curly is drawn as ribbon. Outer face light, inner face dark, and the curl diameter held consistent right across the head.
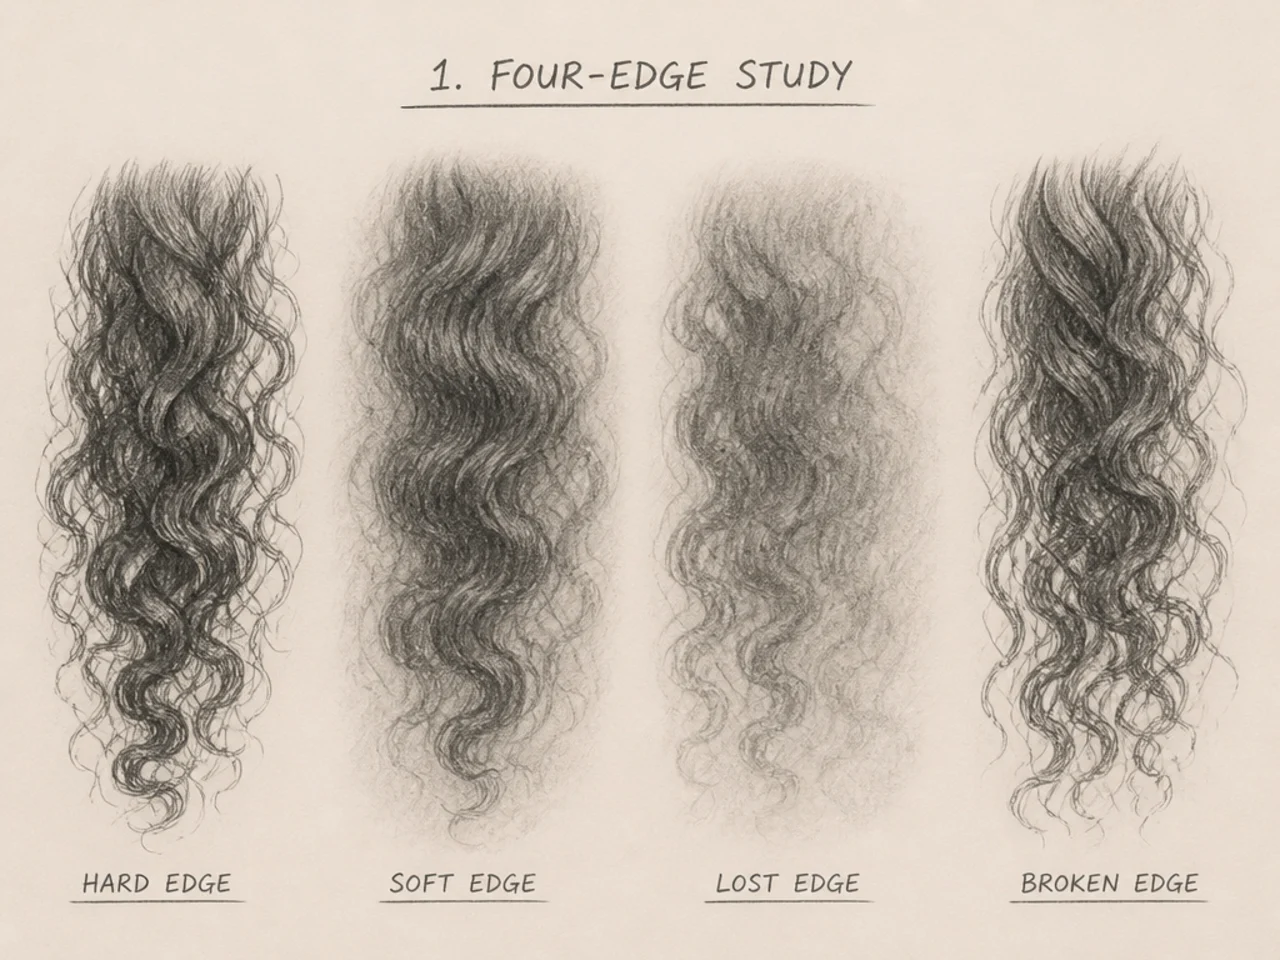
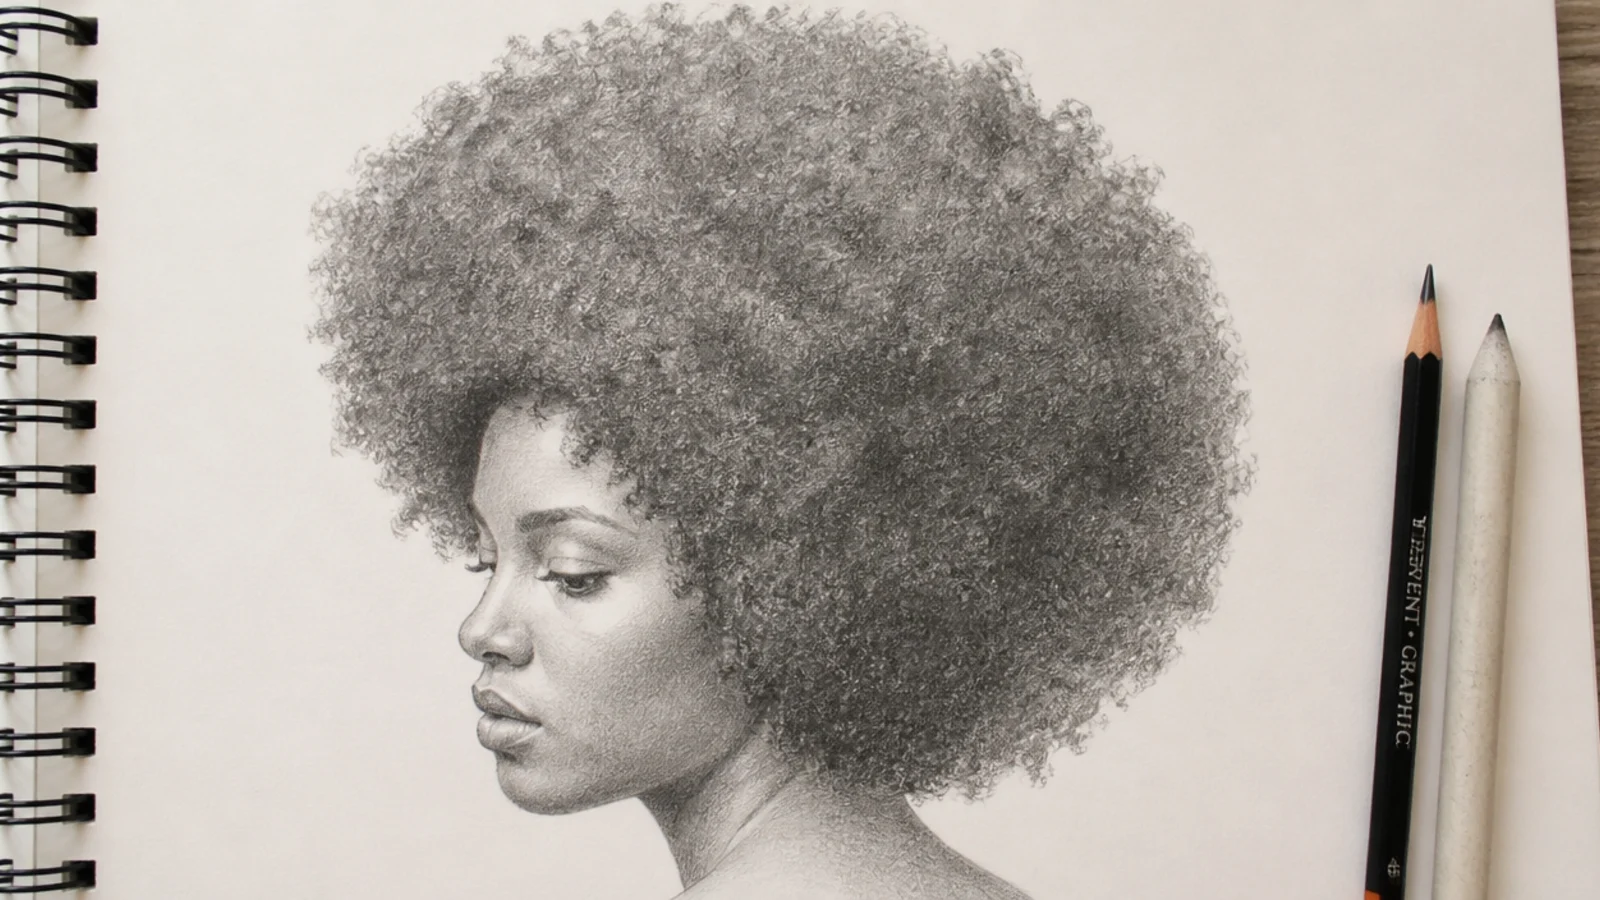
Coily is drawn as mass. Sphere shading inside, fine broken texture at the edge, and no attempt at individual coils anywhere in the interior.
Using References
Choose references lit from one side. Side light separates the three values cleanly, where flat frontal light gives an even grey with nothing in it to draw.
Photograph the back of your own head. Back views are the hardest angle to find online and the easiest to shoot yourself with a phone and a mirror.
Collect by silhouette, not by name. Six photographs of one shape from different angles teach more than sixty different styles seen once each.
Copy the structure, then change something. Redrawing a reference exactly trains the hand; altering the length or the light direction forces you to understand what you copied.
Common Mistakes and Fixes
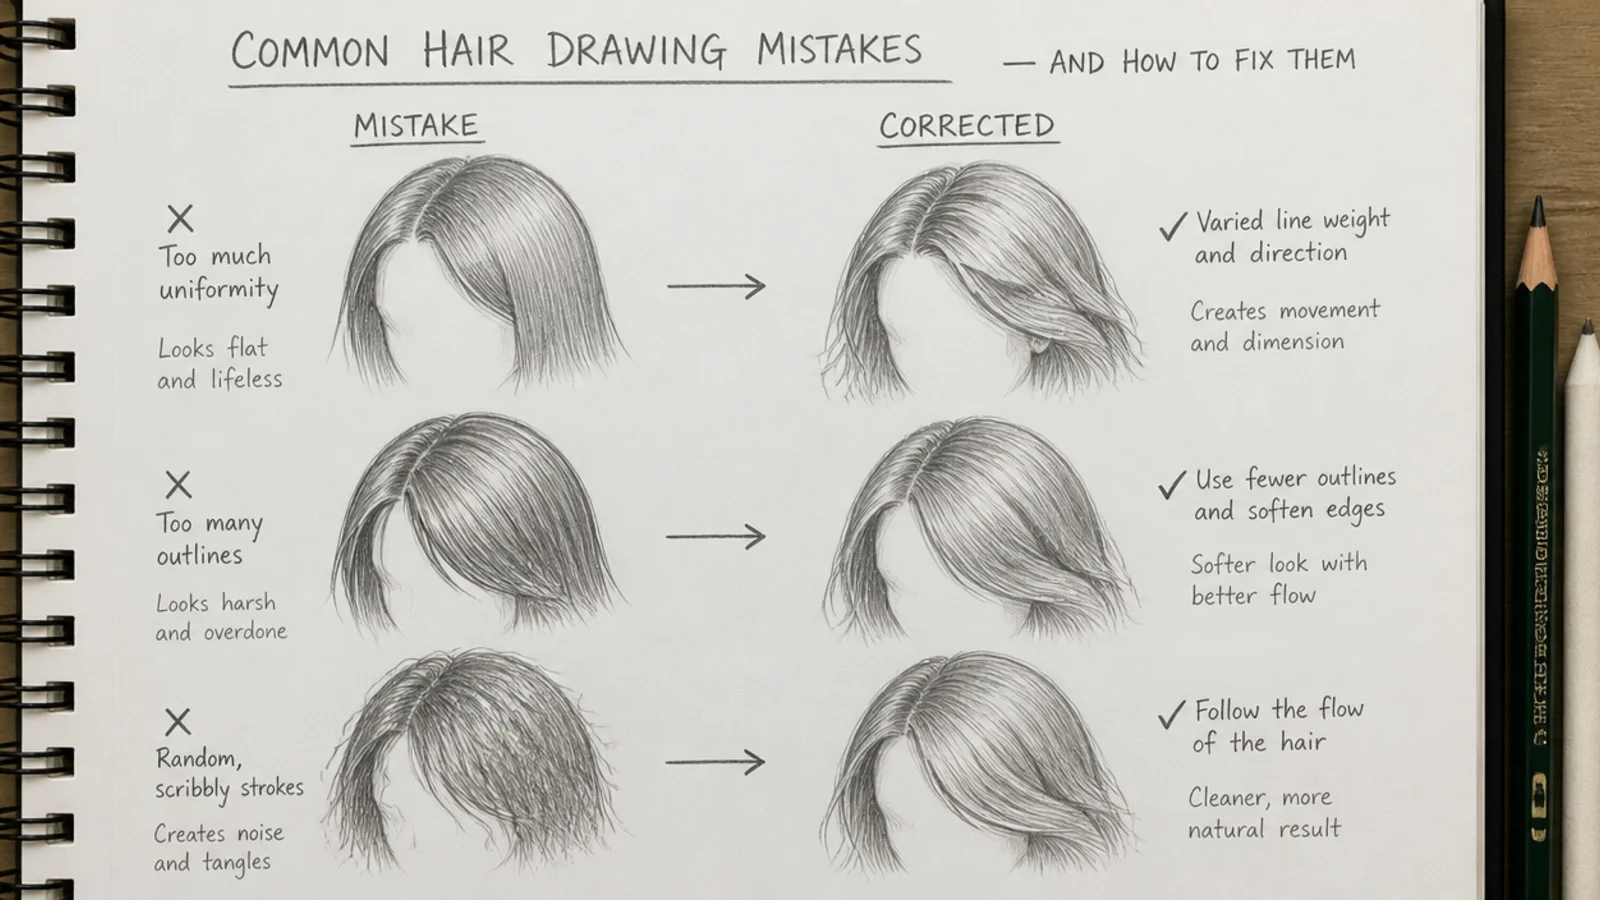
Every style drawn at the same angle. Rotate the head. Three quarter and back views are where the errors actually live.
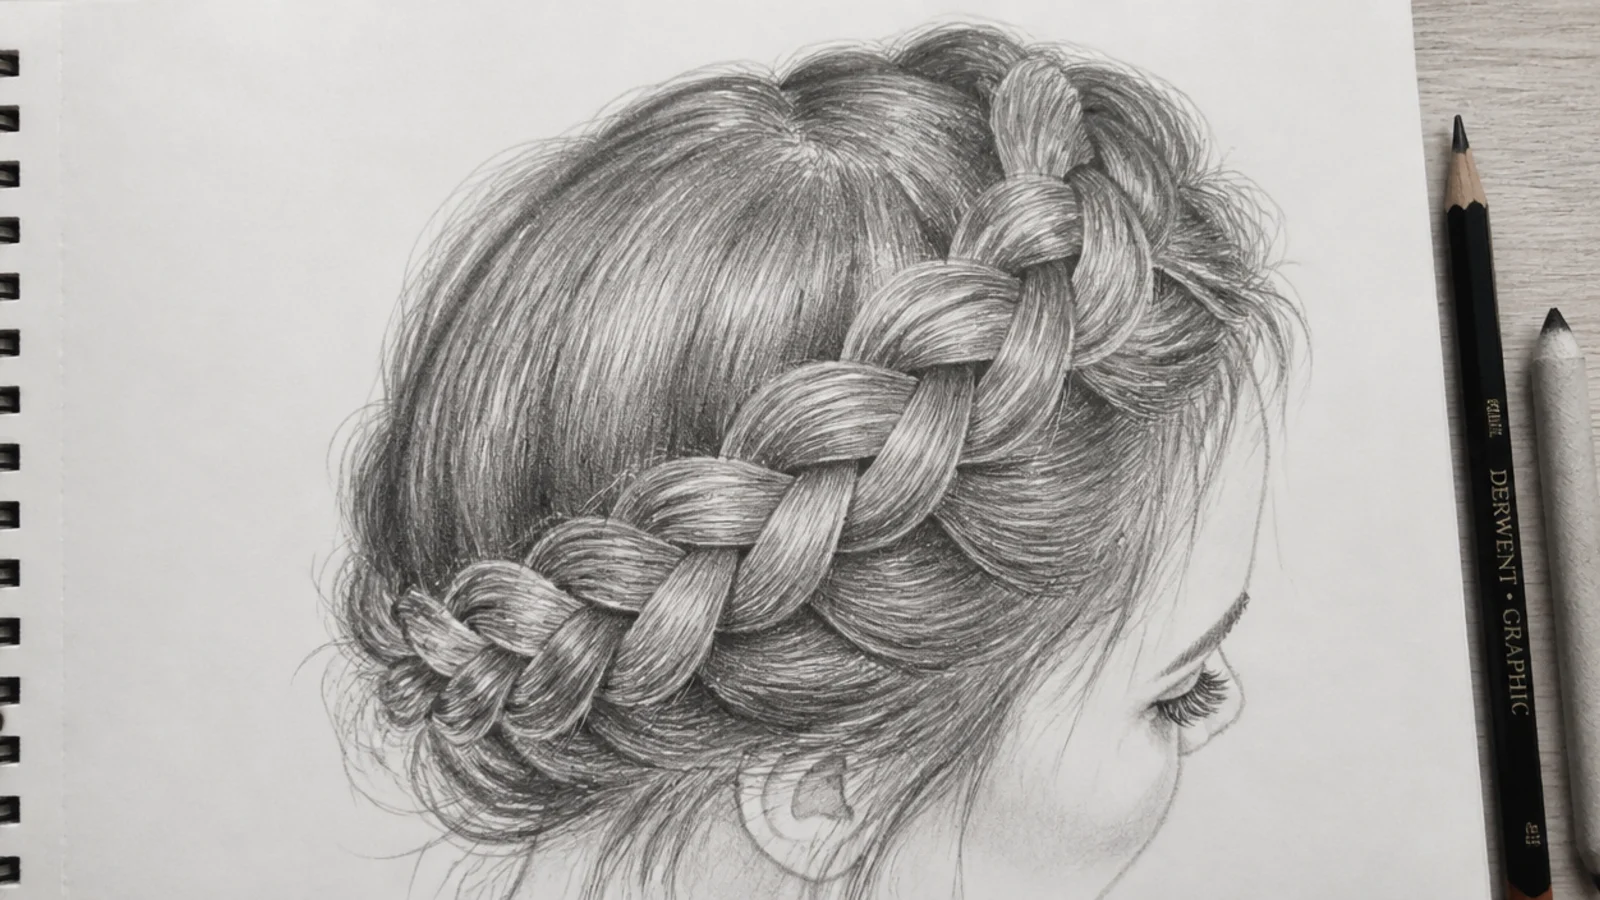
Braids drawn as equal stacked units. Real plaits taper, so shrink each wedge slightly on the way down the length.
A fringe drawn as one solid block. Split it and let skin show through, or it becomes a shape sitting on the brow rather than hair.
Highlights running down the strands. They run across them, following the curve of the skull underneath.
Detail everywhere at once. Finish one area and leave the rest as blocked tone, which is also how the eye reads a photograph.
The 20 Hair Styles to Sketch
1. Blunt Bob From the Front
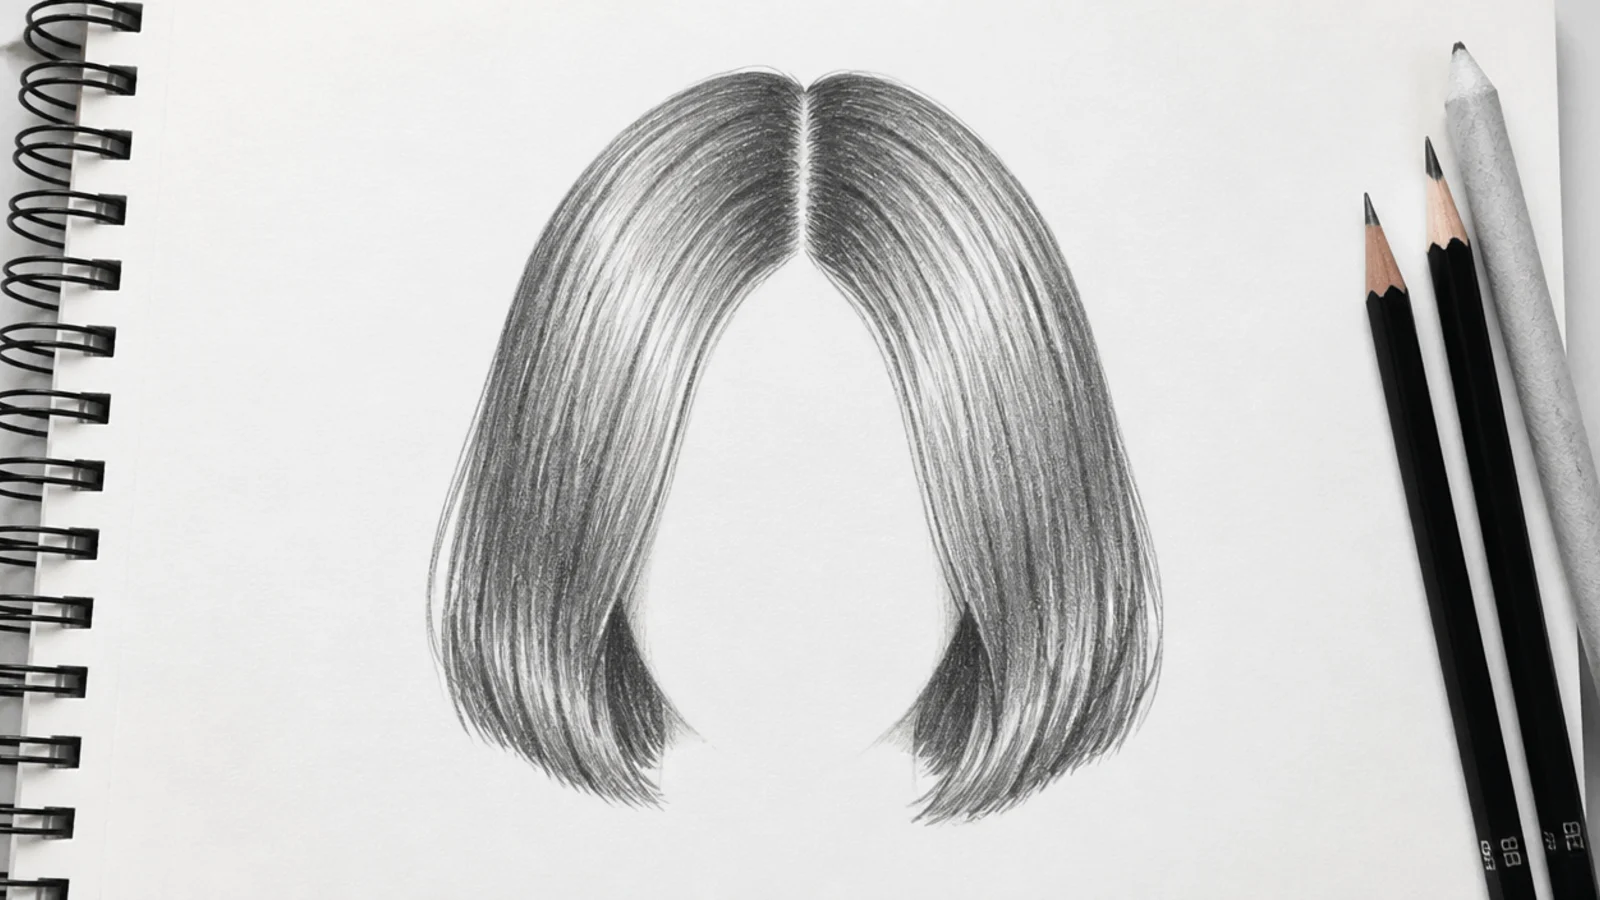
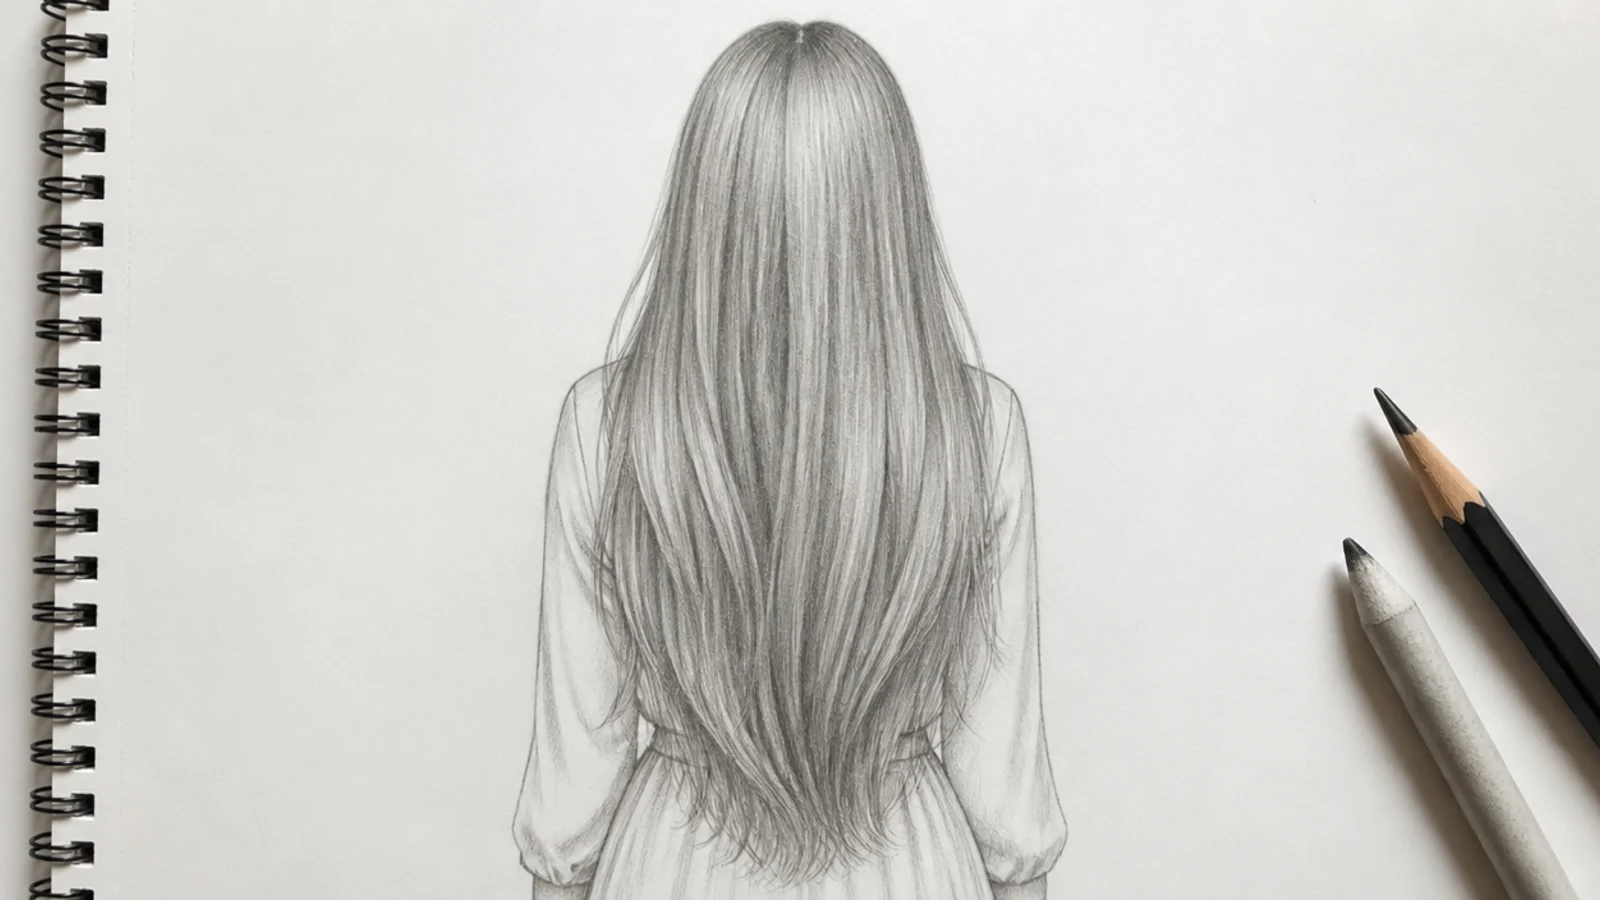
A blunt bob is one straight line across the ends with two vertical masses either side of the face, so the drawing depends entirely on that bottom edge staying level. Rule a light horizontal guide first and cut every strand to it, because a bob whose ends wander stops reading as a bob.
2. Long Straight With a Centre Part
A centre part splits the mass into two mirrored halves that must not be identical. Offset the widths slightly and let one side tuck while the other falls forward, since exact symmetry reads as a drawn object while slight asymmetry reads as a head that has just moved.
3. High Ponytail With a Crown Bump
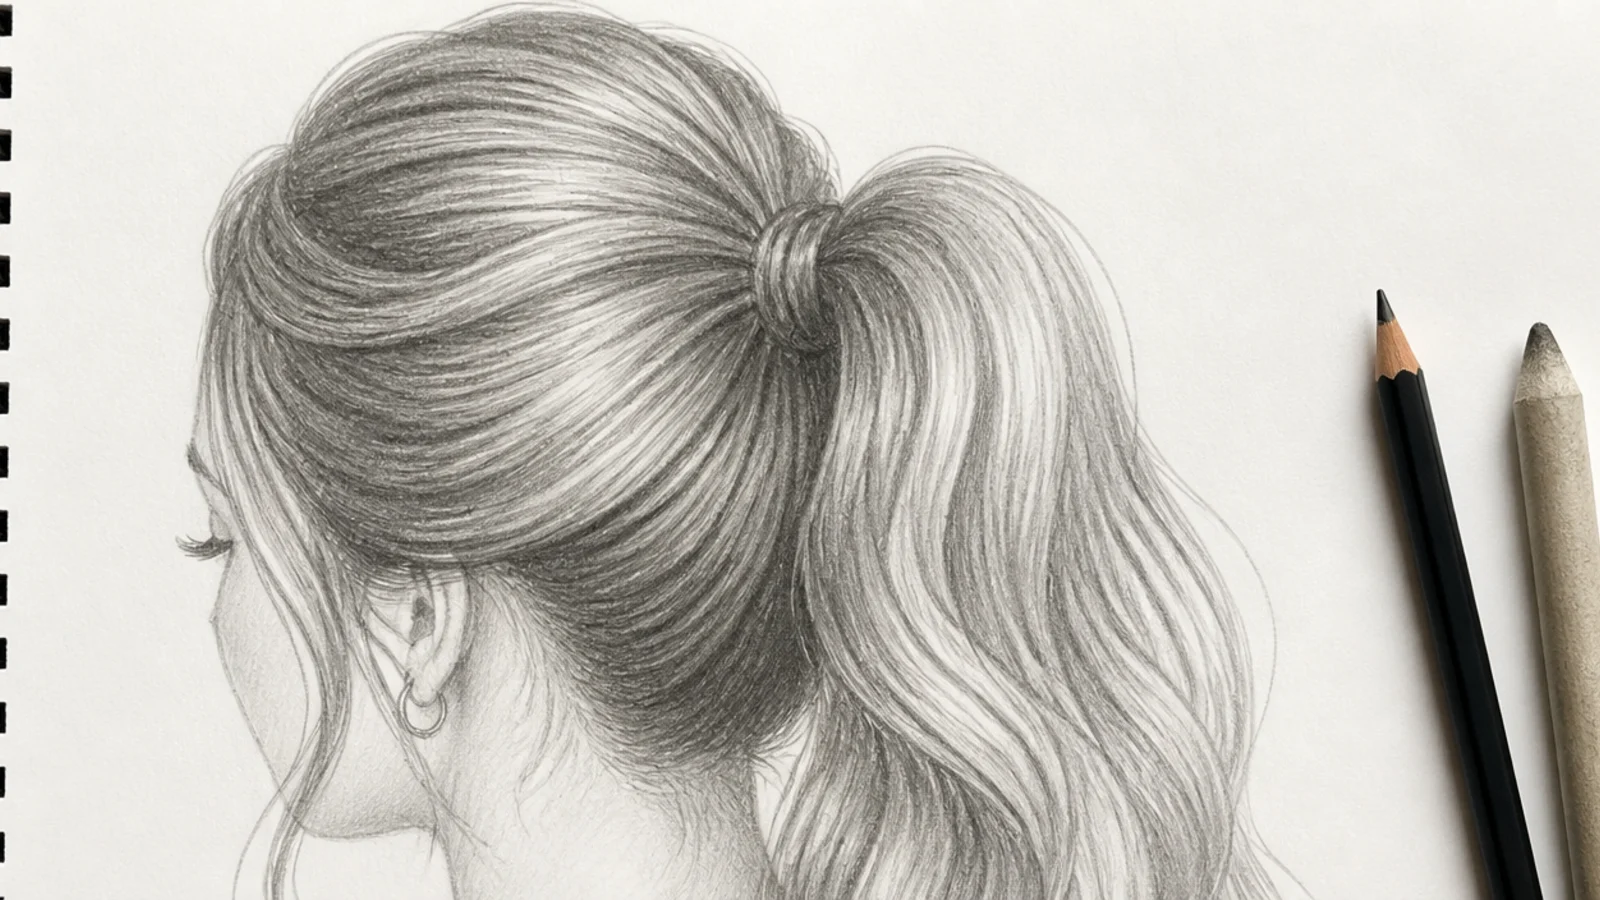
The bump above the tie is the whole point, because gathered hair lifts off the skull before it reaches the elastic. Draw the skull, then place the crown line clearly above it, and run every gathering stroke into the tie so the tension shows in the direction of the lines.
4. Low Messy Bun
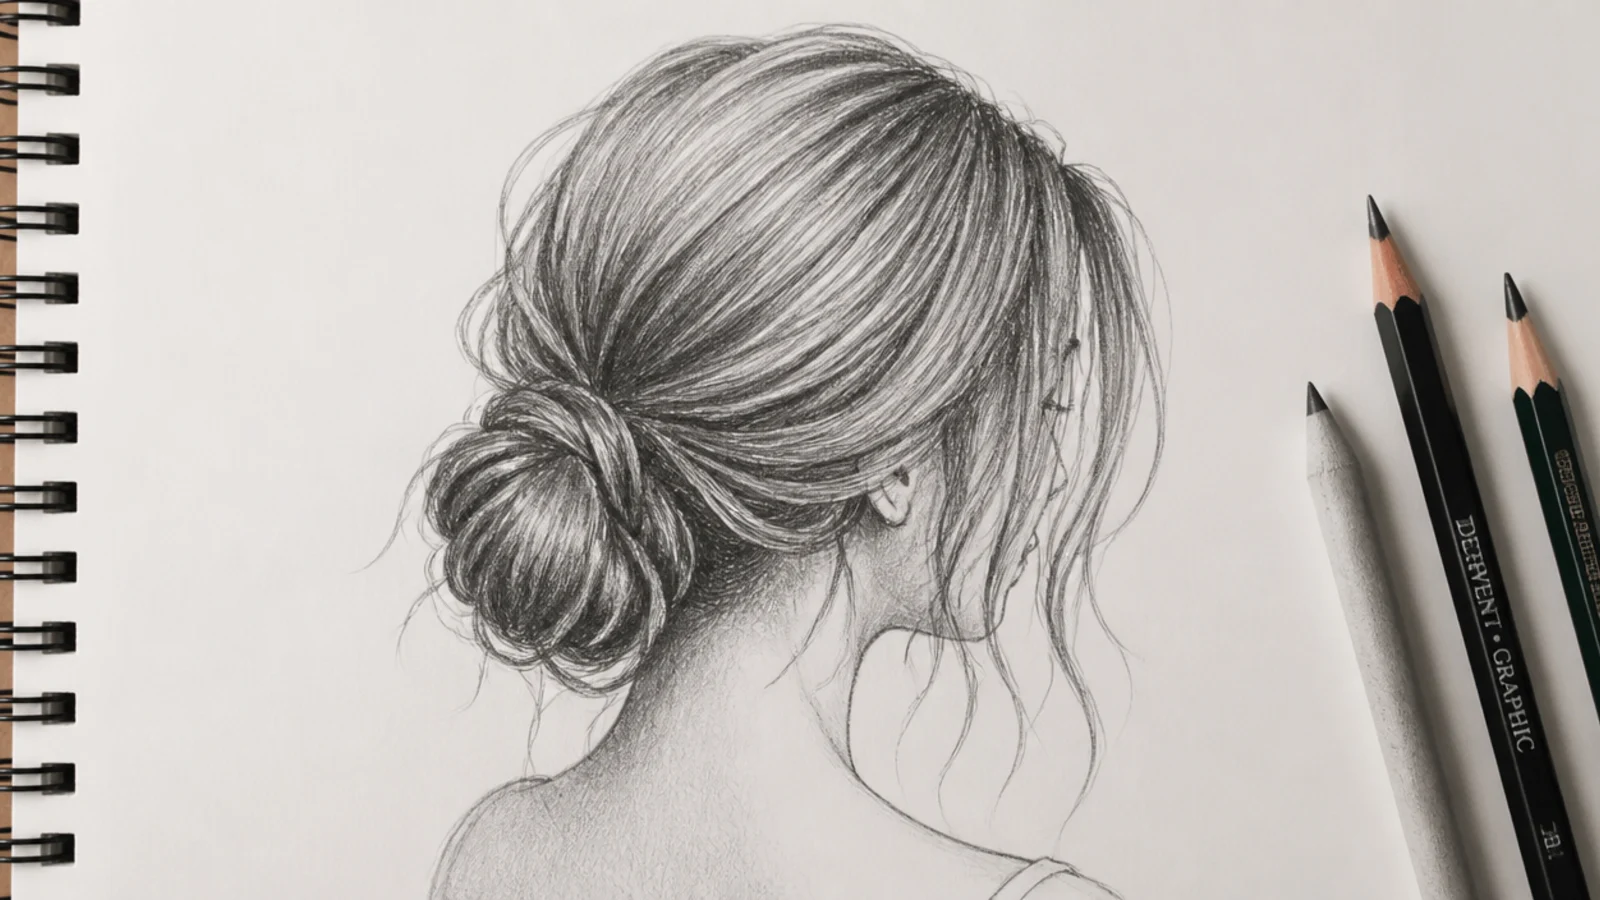
The knot sits at the nape where the skull turns under, so it is half hidden from the front and fully visible from behind. Keep loose strands falling from the same crown as the rest of the hair, or they read as separate pieces stuck on after the fact.
5. Curtain Bangs in Three Quarter View
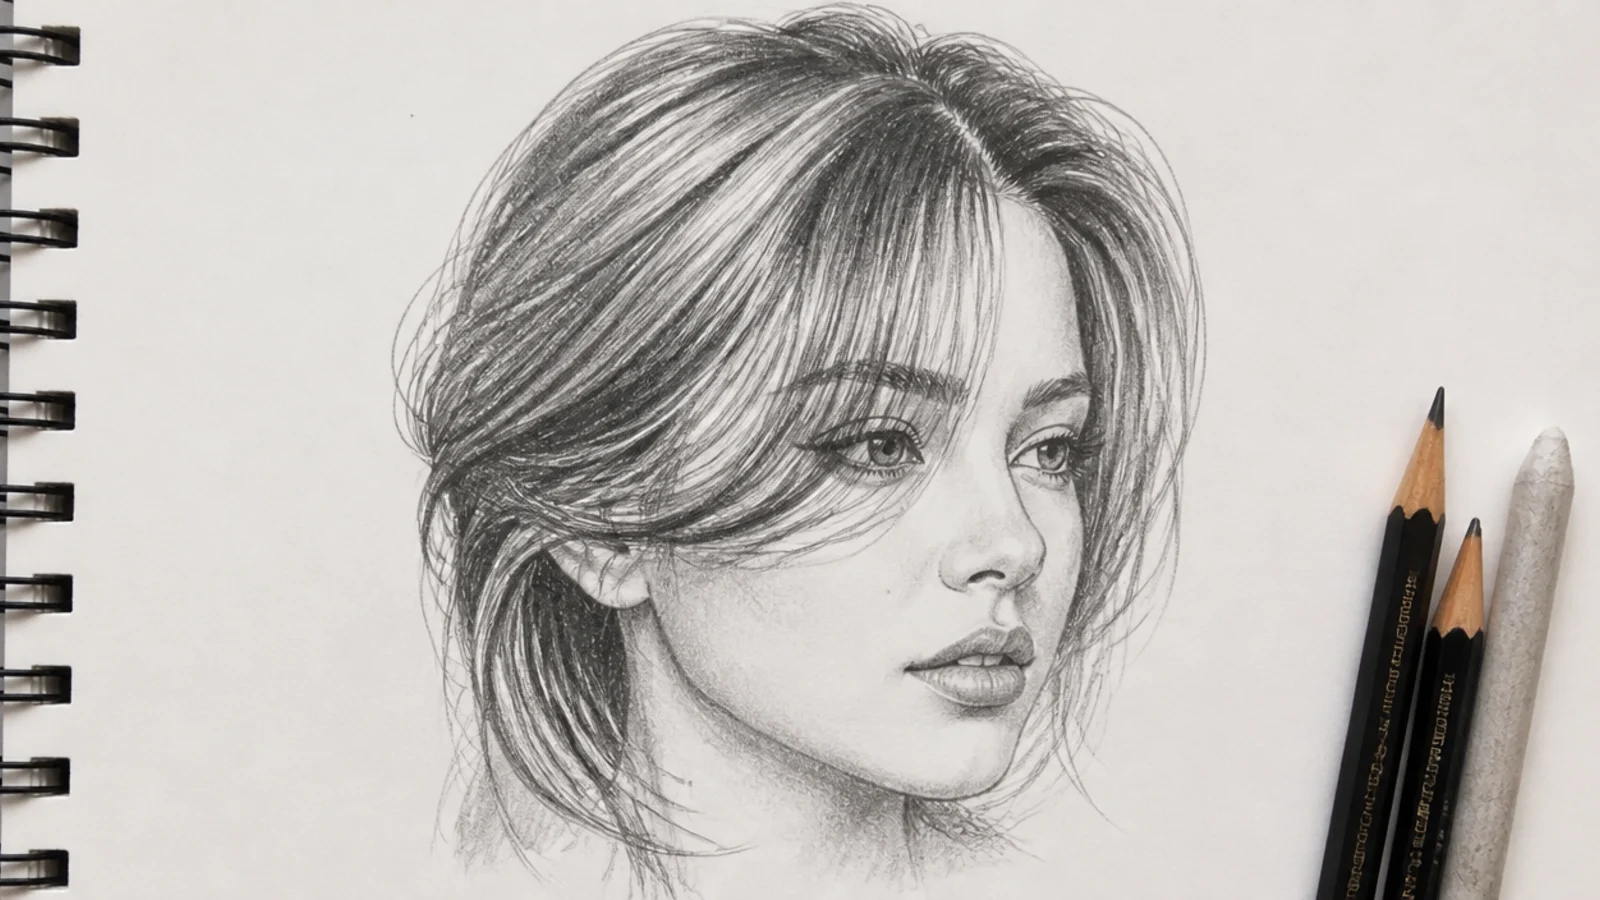
In three quarter view the far side of the fringe compresses and the near side opens out, so the two halves cannot be the same width. Narrow the far curtain to roughly half the near one and the head immediately reads as turned rather than as flat.
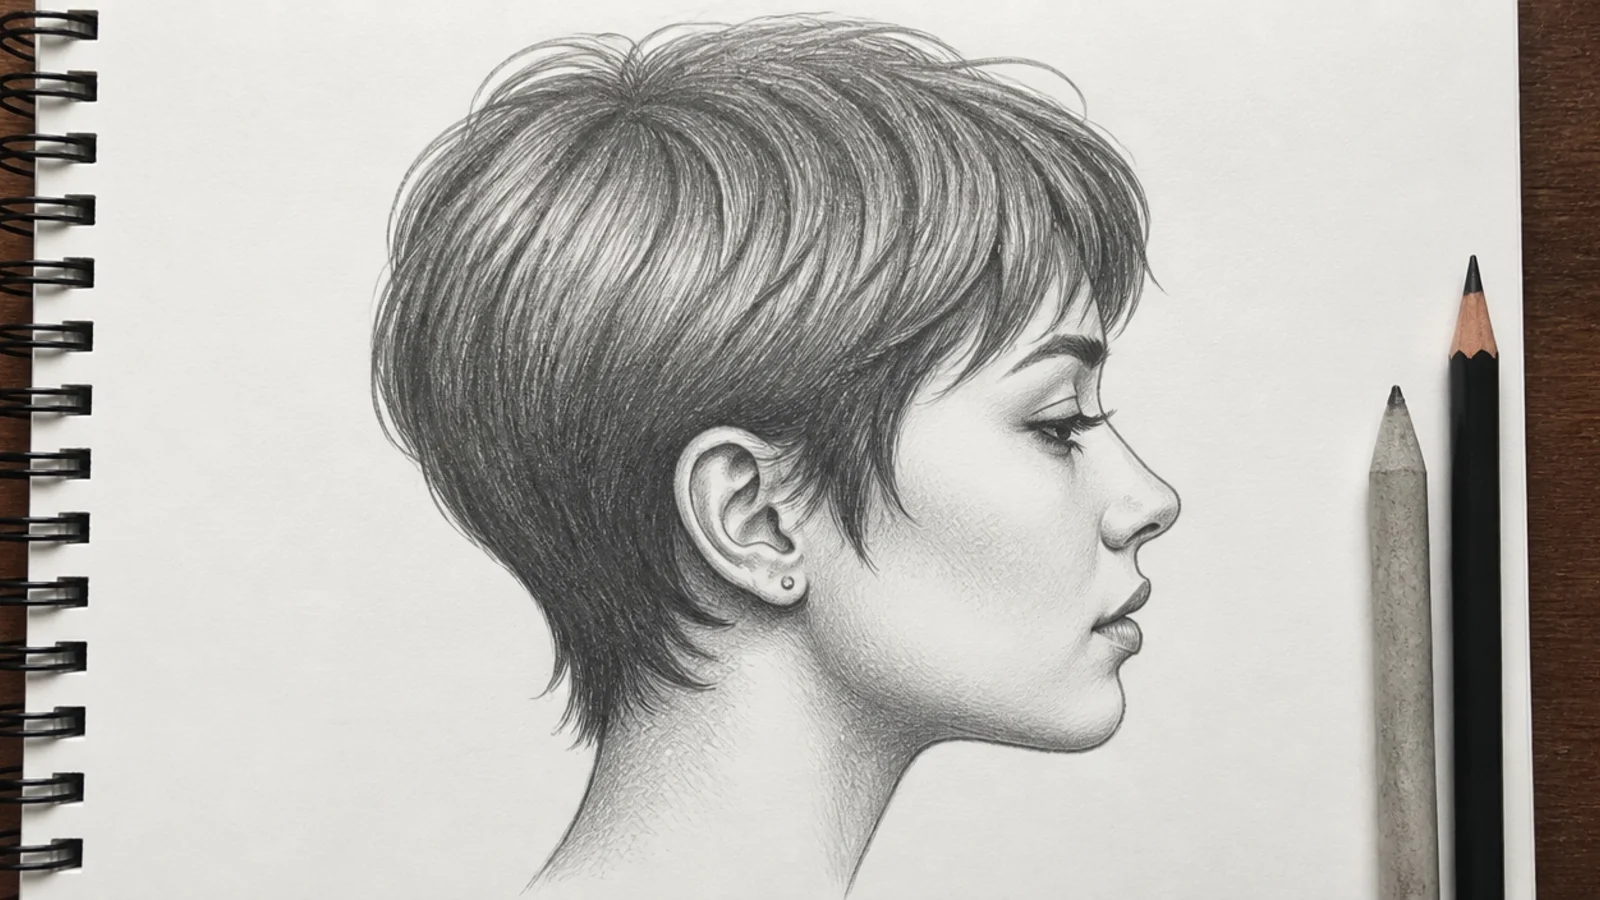
6. Pixie From the Side
A pixie is short enough that the skull shows through the shape, so the drawing lives on the curve behind the ear and the taper at the nape. Keep the outline broken with fine flicks all along the back, because a smooth contour on short hair reads as moulded plastic.
7. Spiky Textured Crop
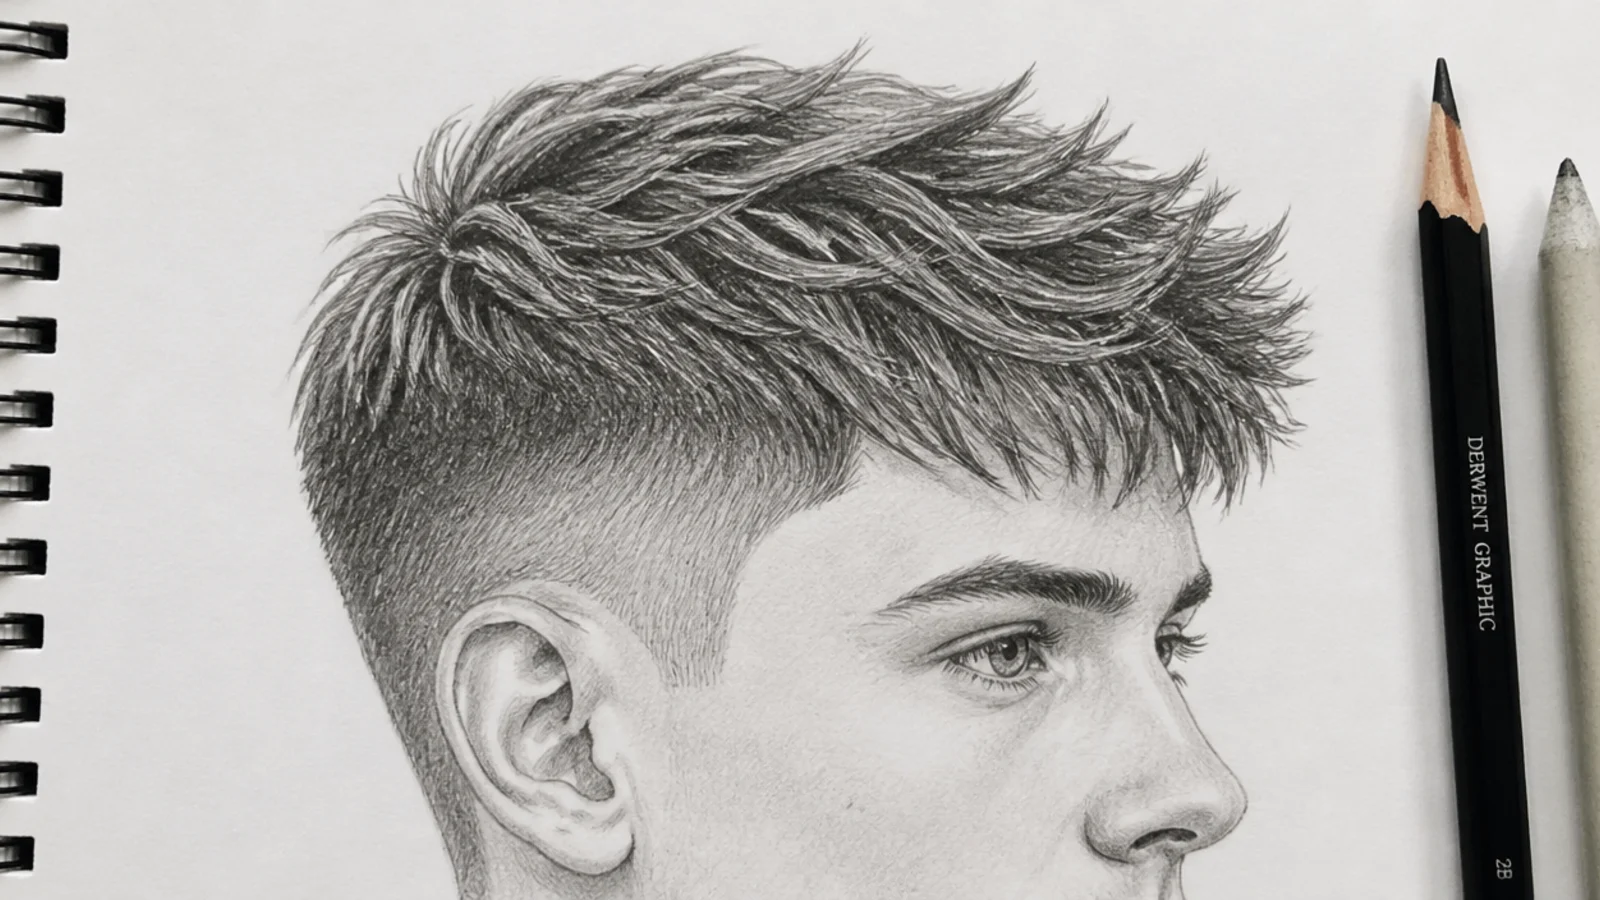
Spikes need a shared origin and varied lengths or they read as a comb. Point every clump away from one crown, keep the base of each clump wider than its tip, and shade the gaps between clumps rather than the clumps themselves so separation comes from shadow.
8. Three Strand Braid
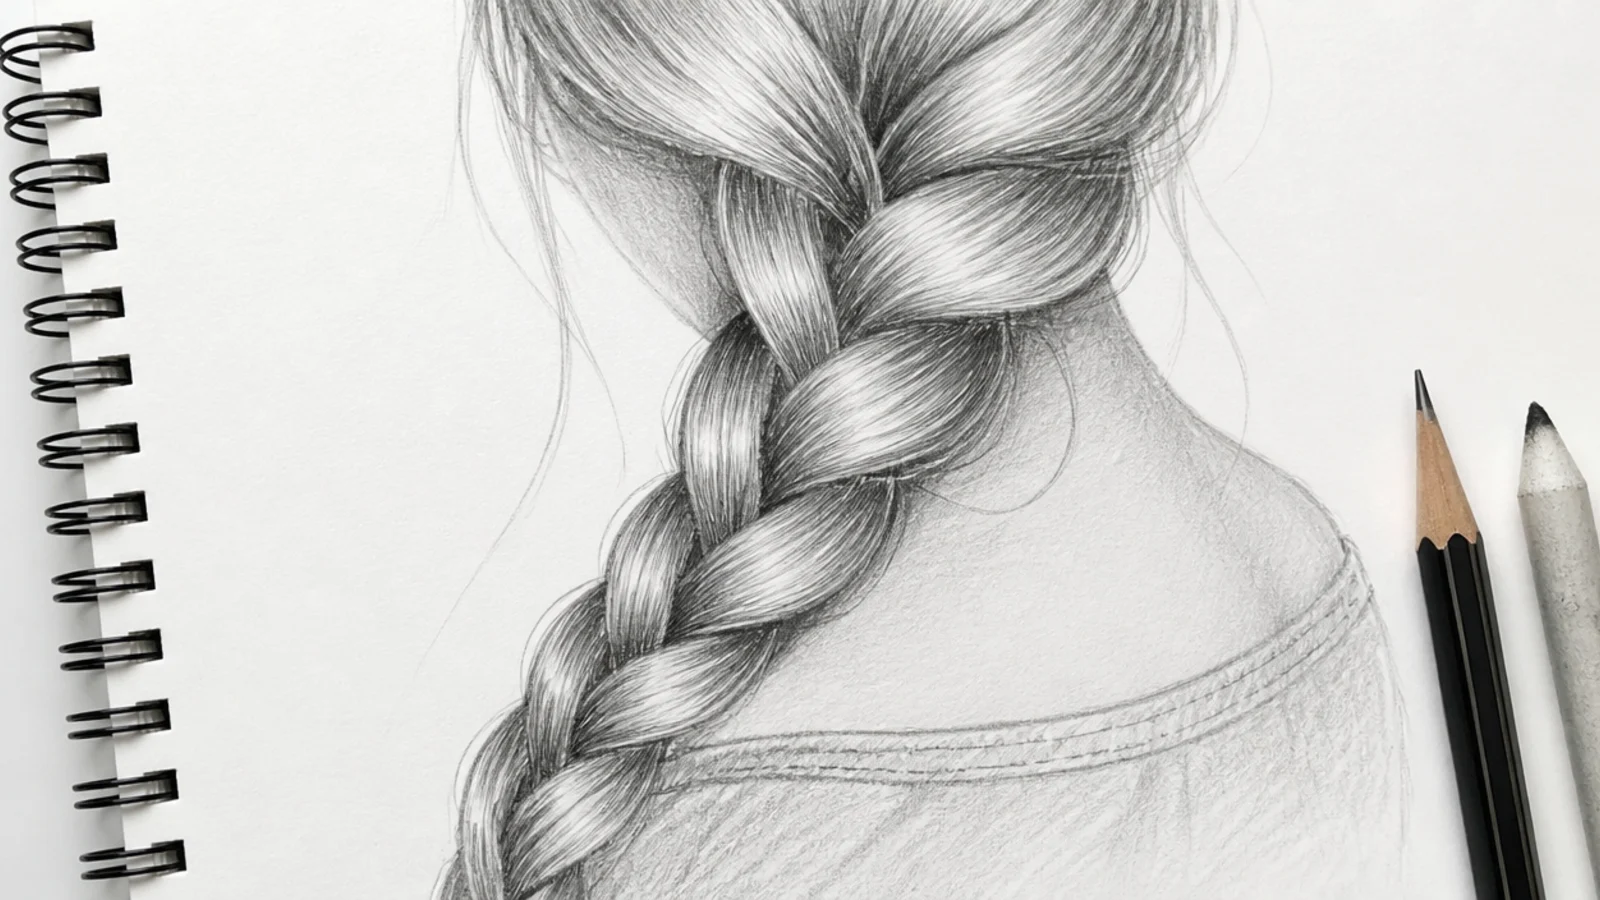
A braid narrows as it descends because the sections lose hair toward the tail. Reduce each successive wedge by a small consistent amount instead of stacking equal ones, and the plait tapers naturally rather than running down the page as a straight ladder.
9. Beach Waves
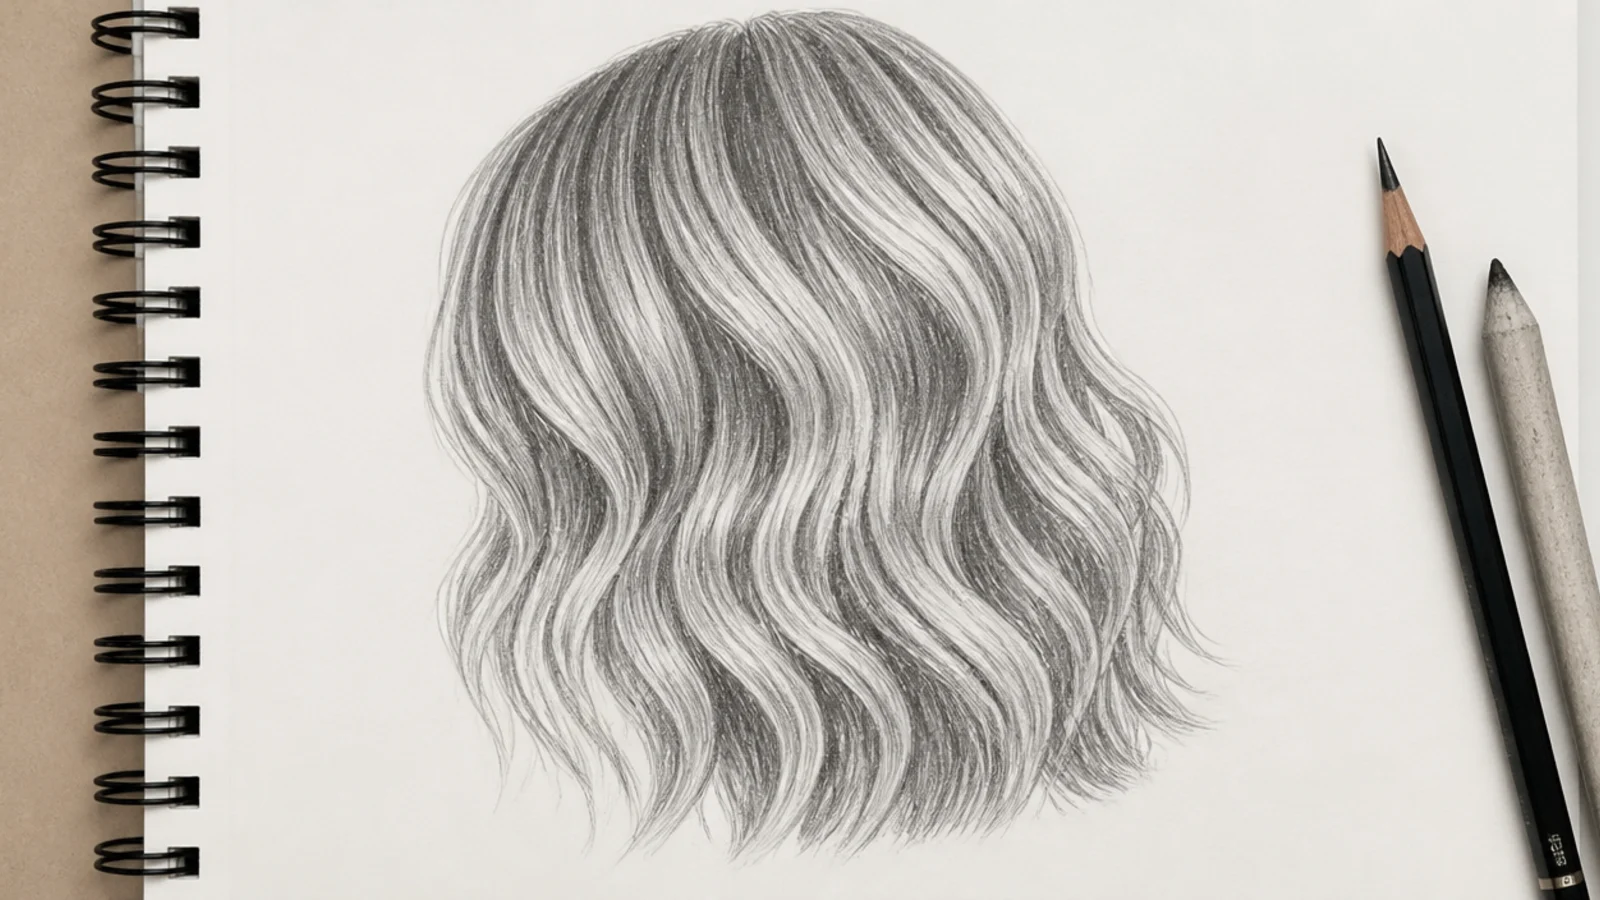
Beach waves are irregular by definition, so the failure is drawing the same S three times down every section. Vary the wavelength — a tight bend near the ear, a long lazy one below the shoulder — and keep the ends straighter than the middle, which is how set waves actually drop.
10. Half Up Twisted Crown
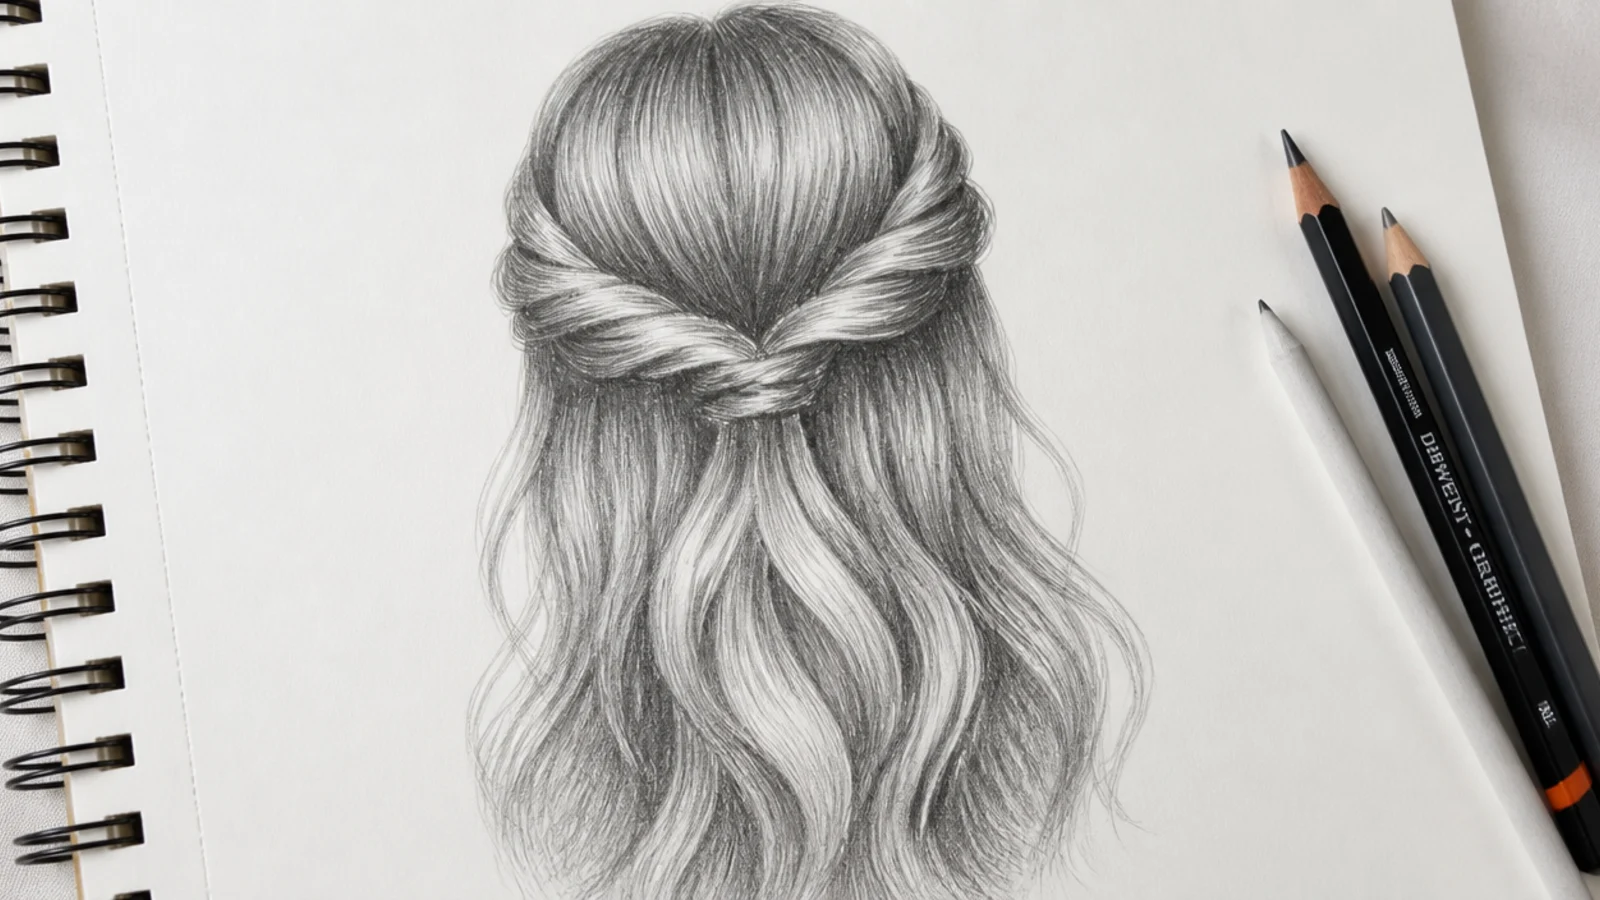
The twist is a rope of two strands crossing at a steady angle, and its readability depends on that angle staying constant. Draw the crossings as evenly spaced diagonal wedges first, then shade the tuck under each crossing darkest so the rope reads as over and under rather than as a zigzag.
11. Buzz Cut With a Fade
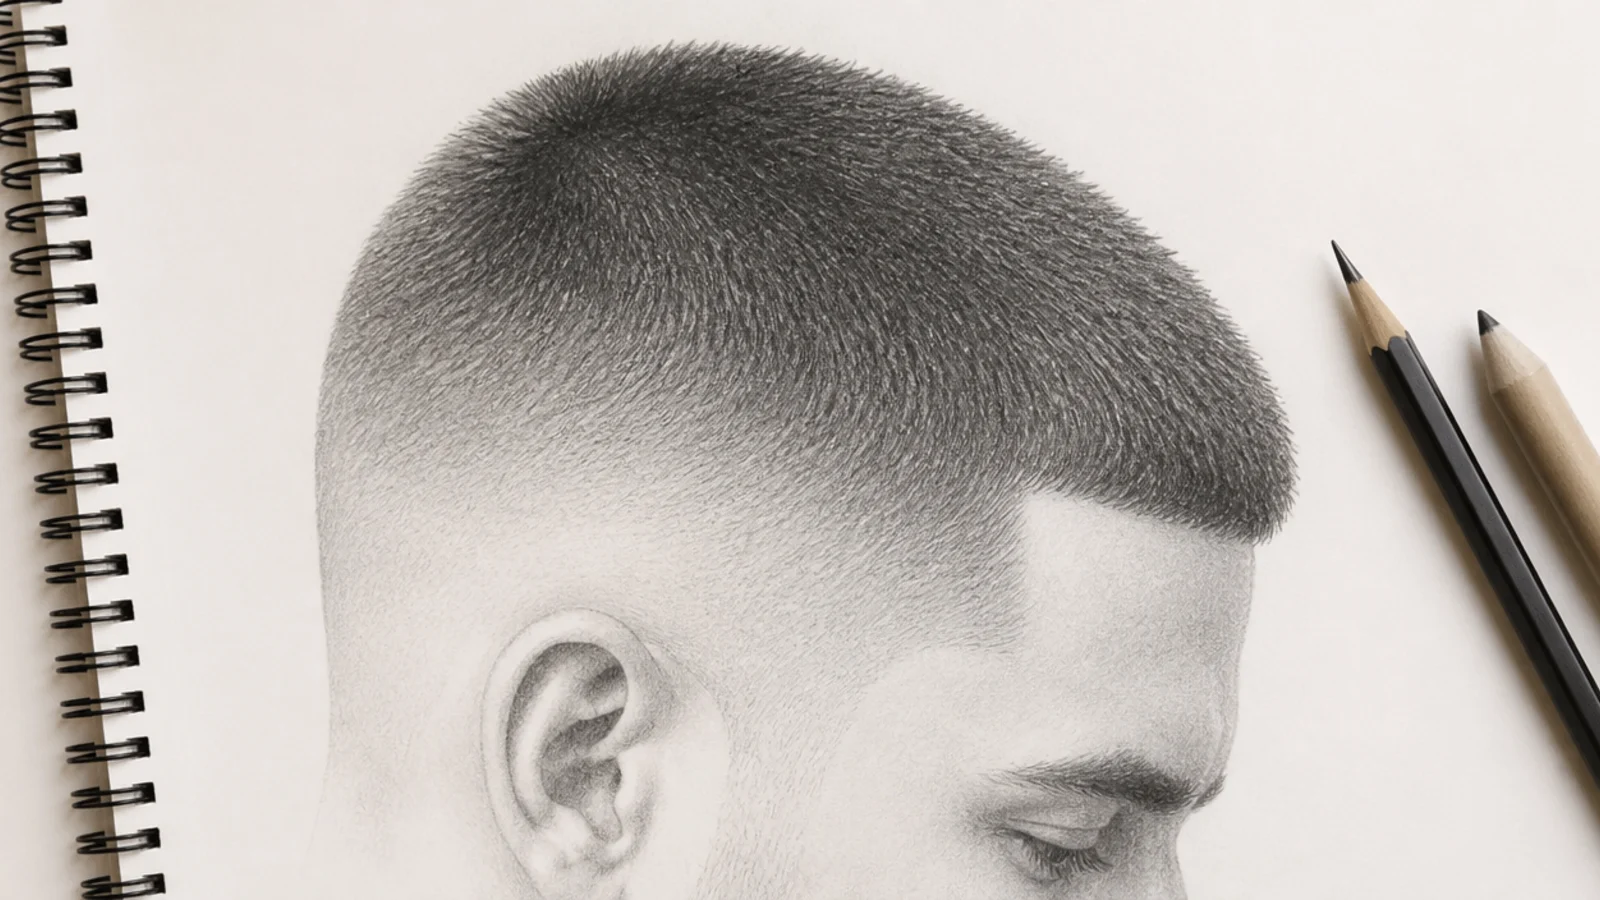
A buzz is a value problem rather than a line problem. Shade the whole scalp as one continuous curved surface, then lighten gradually toward the bottom where the guard drops, since a number one leaves three millimetres and a number four leaves thirteen and that difference shows purely as tone.
12. Chibi Space Buns
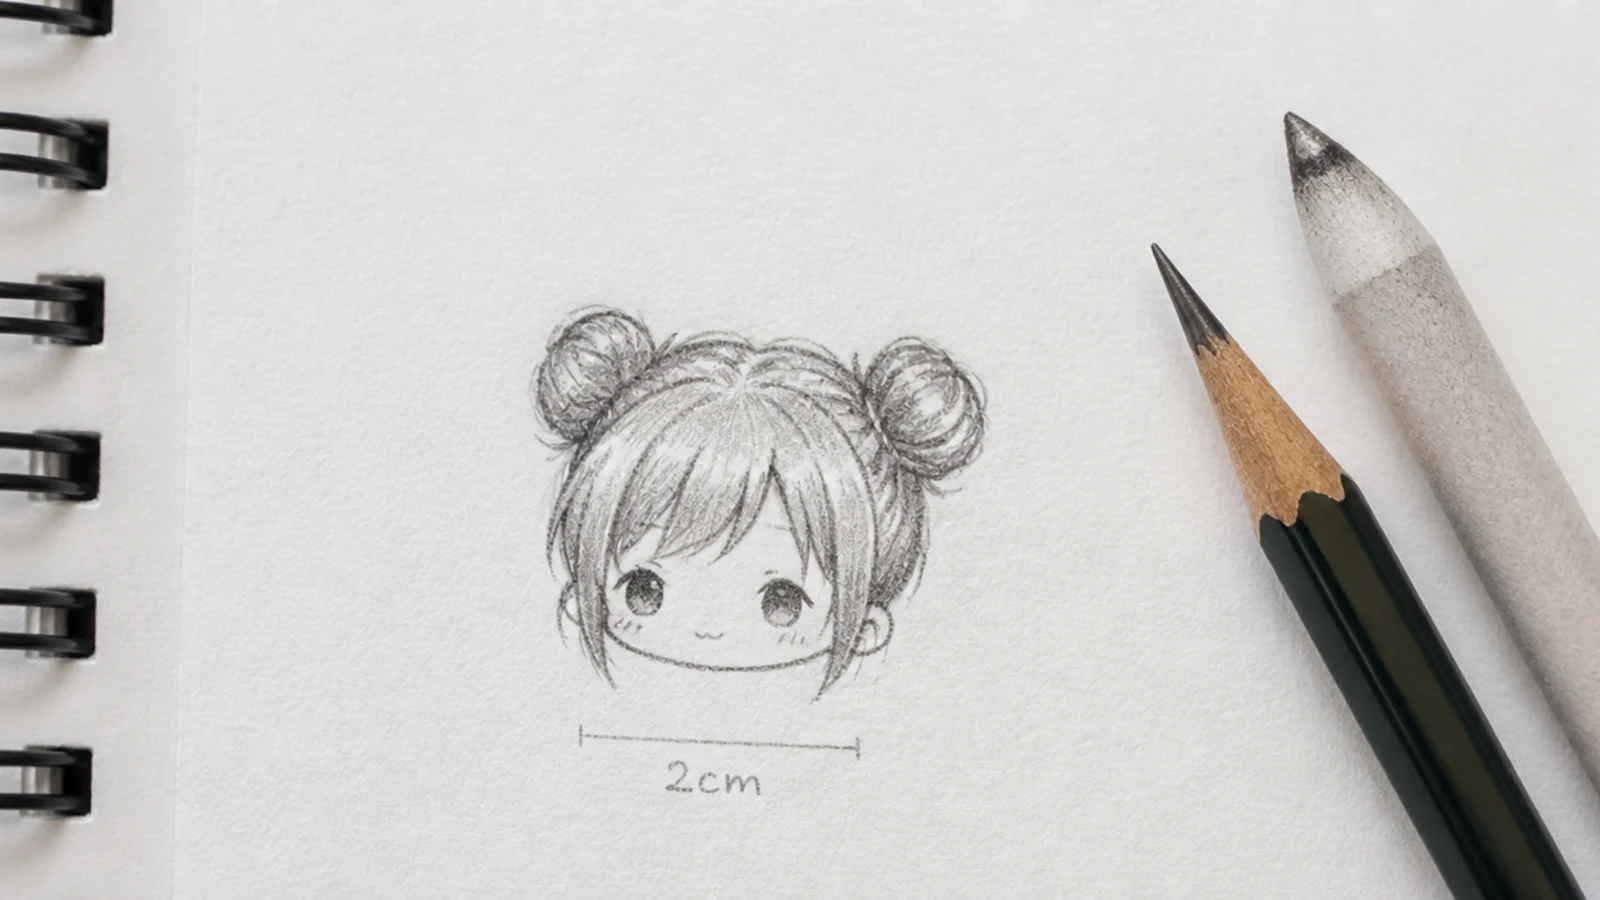
Stylised proportions put the head at roughly half the total height, so the buns have to be oversized to hold their share of the silhouette. Place them high and wide of the skull line and give each a single flat highlight, because chibi shading works through shape rather than gradient.
13. Wet Hair Clinging
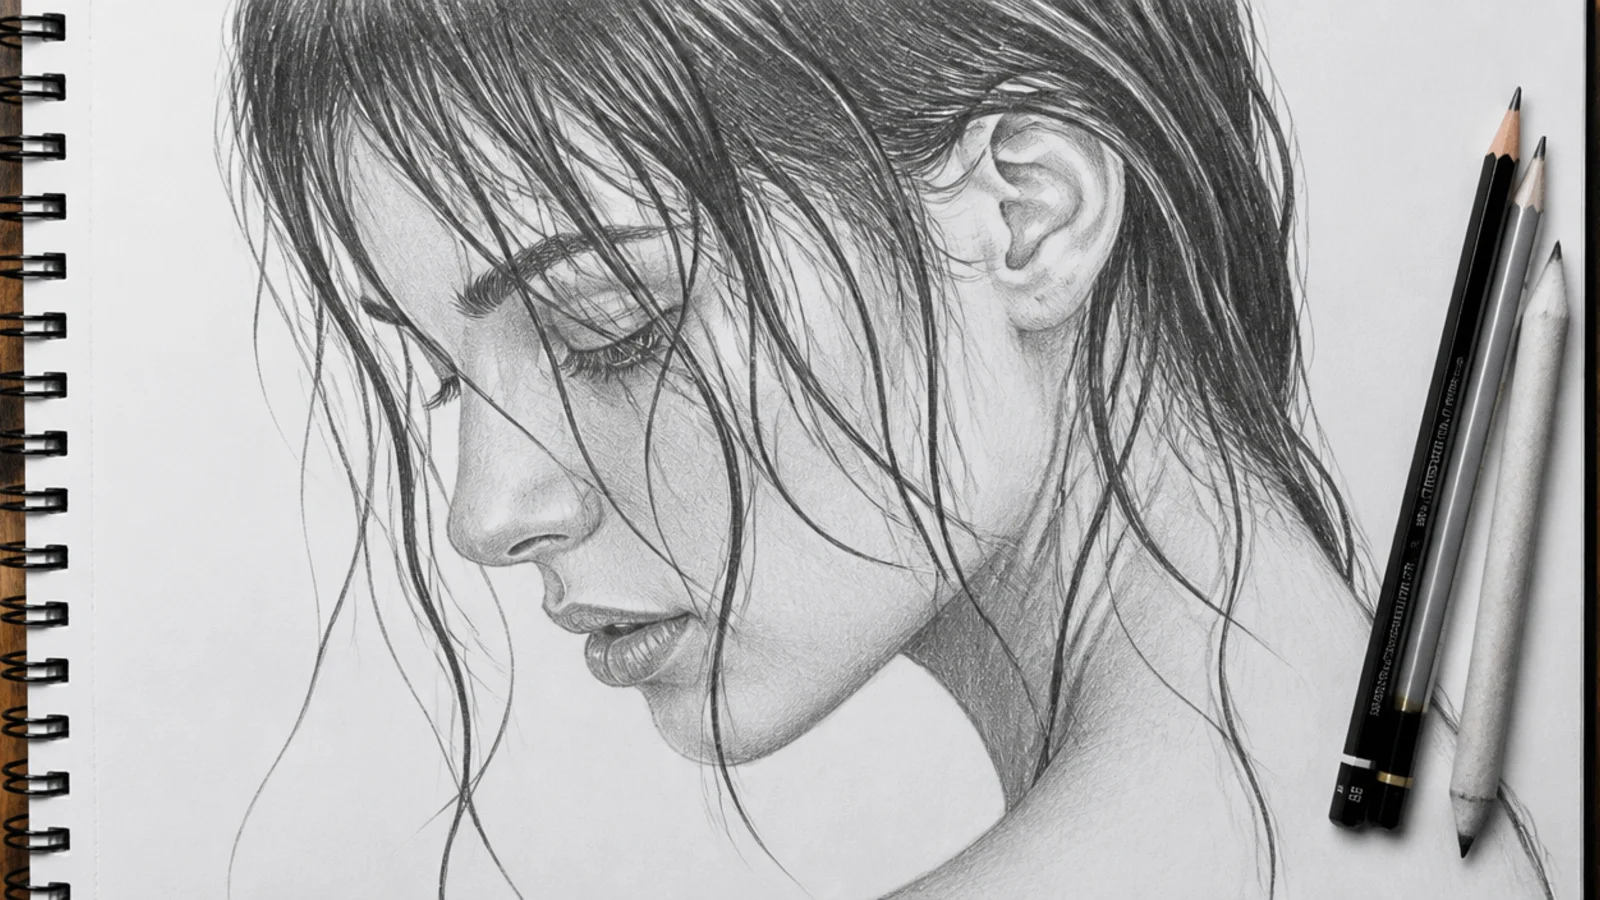
Wet hair loses volume and follows the skull, so the silhouette tightens sharply and the parting shows scalp. Push both ends of the range further than on dry hair, because water flattens the cuticle and a flat surface throws a hard specular strip instead of a soft diffused band.
14. 3B Spiral Curls
A 3B curl is roughly the diameter of a marker pen, and that sets the scale for every mark on the page. Draw the curls as overlapping ribbons at that consistent size, let them clump into groups of three or four, and save the darkest value for where one curl passes behind another.
15. Dutch Crown Braid
A Dutch braid crosses under rather than over, which makes it sit proud of the scalp instead of sinking into it. Draw a raised rope following the curve of the head and cast a small shadow beneath its lower edge, because that shadow is the only proof it is not painted on.
16. Shoulder Length Locs
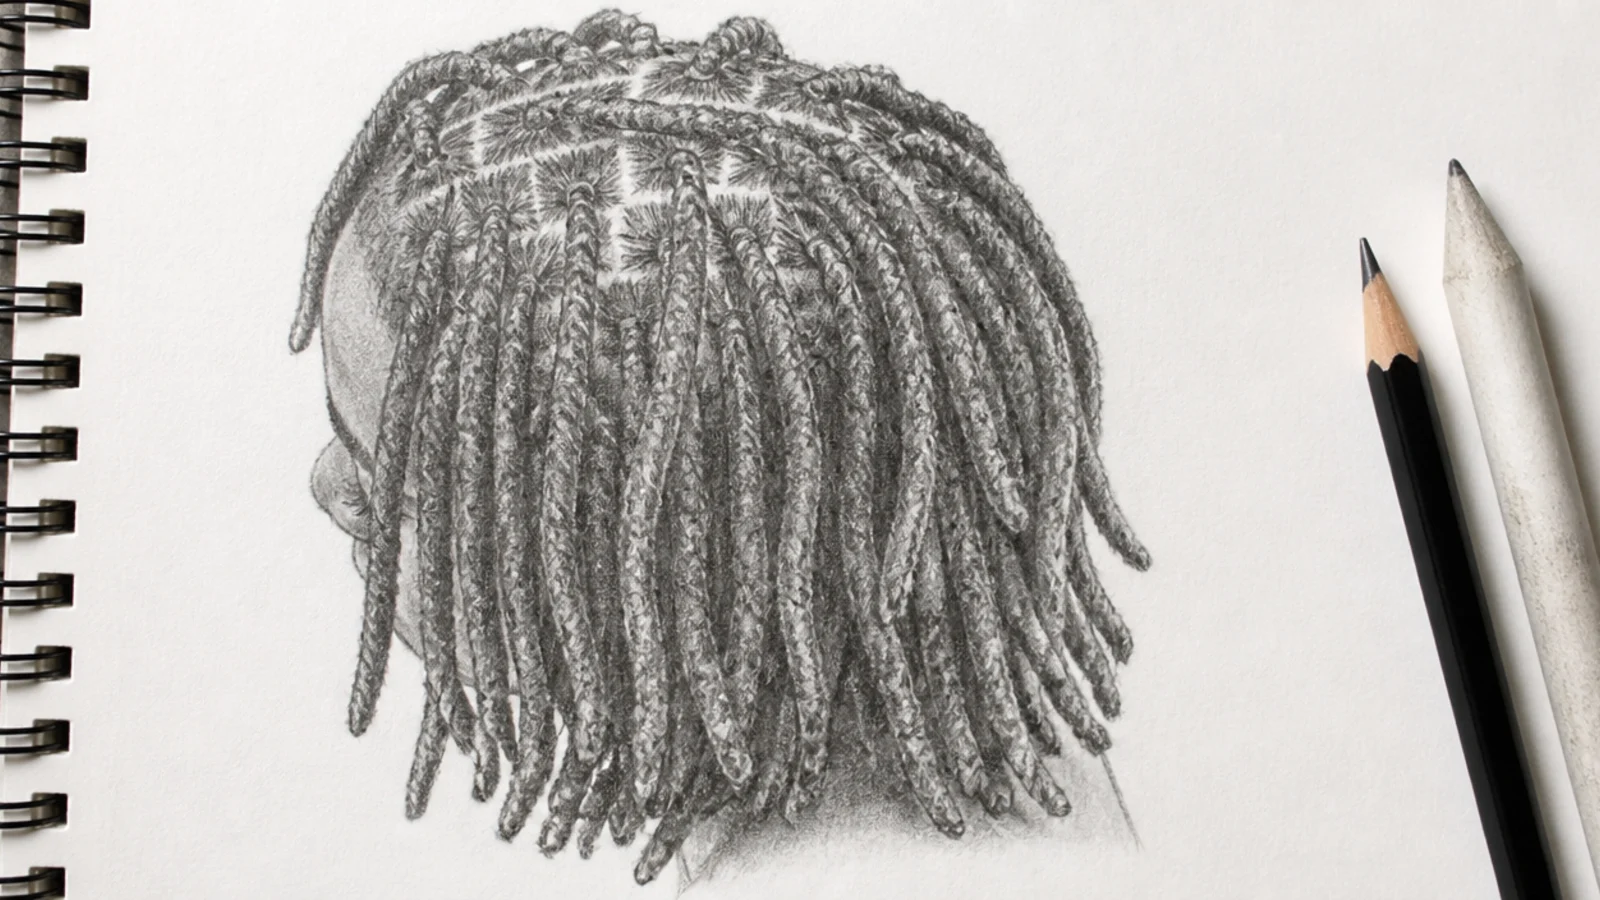
Locs read as separate cylinders, so the space between them matters more than their surfaces. Vary the widths, tilt a few out of parallel, and put the darkest value in the channels between them so the eye counts distinct ropes instead of one striped mass.
17. 4C Coily Afro
The silhouette is a soft sphere and nearly all the information lives at its edge. Keep the interior as a smooth gradient with one broad highlight following the skull, and spend the detail on breaking the outline into a fine irregular fuzz rather than on drawing coils inside it.
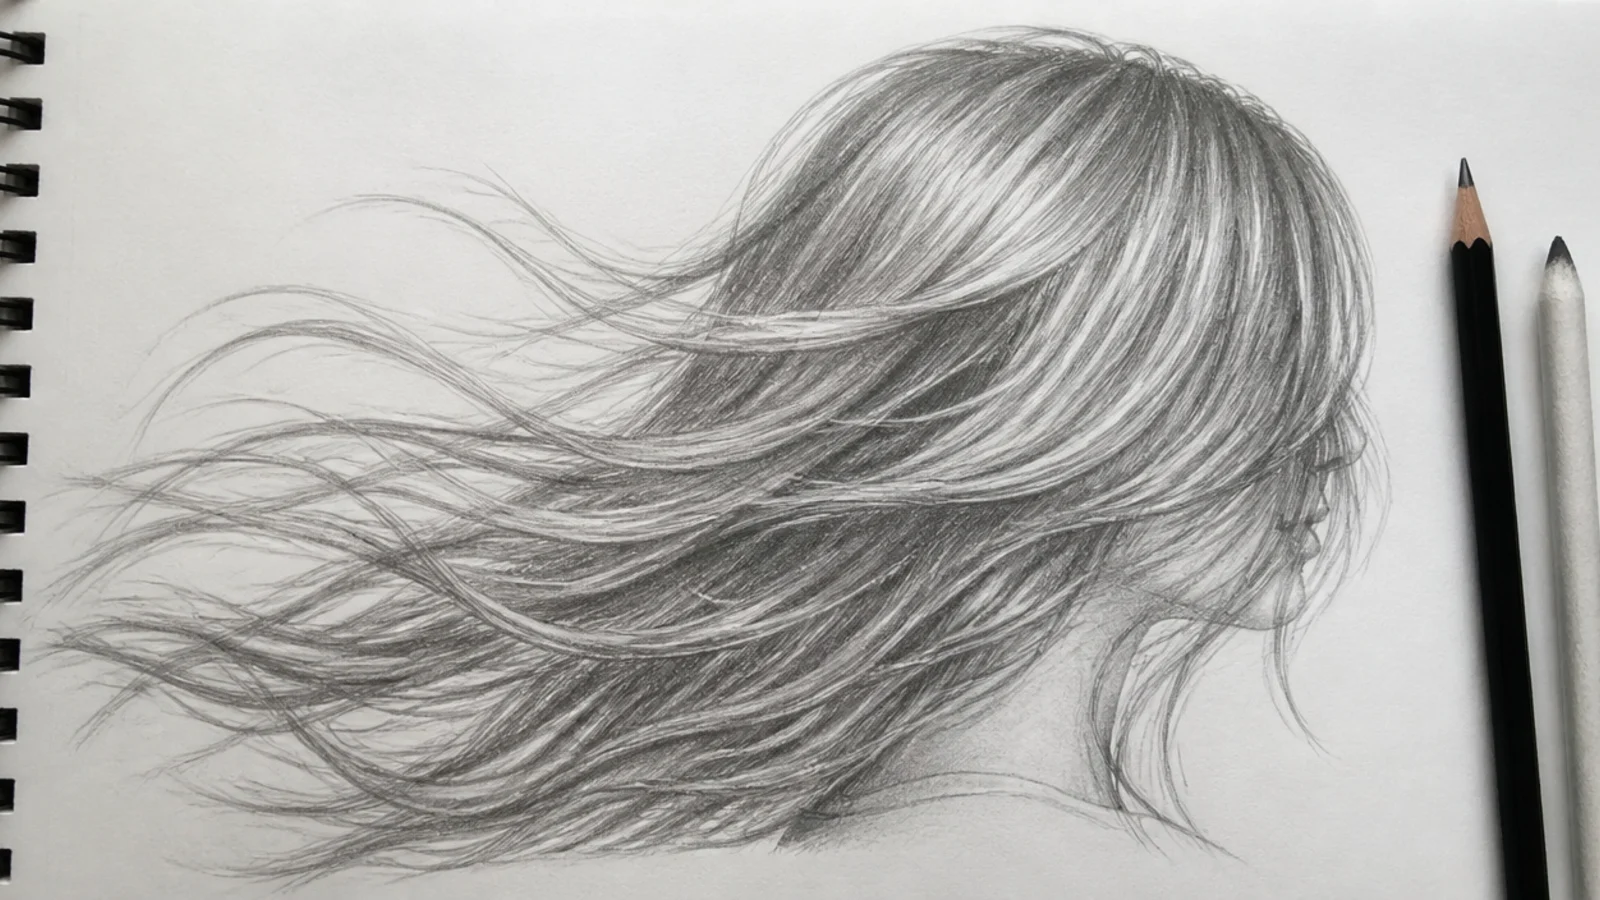
18. Hair in Motion
Moving hair lags behind the head, so the mass trails opposite to the direction of the turn. Draw the tips further along the arc than the roots, keep every flow line curving the same way, and separate two or three strands from the bulk to make the lag visible.
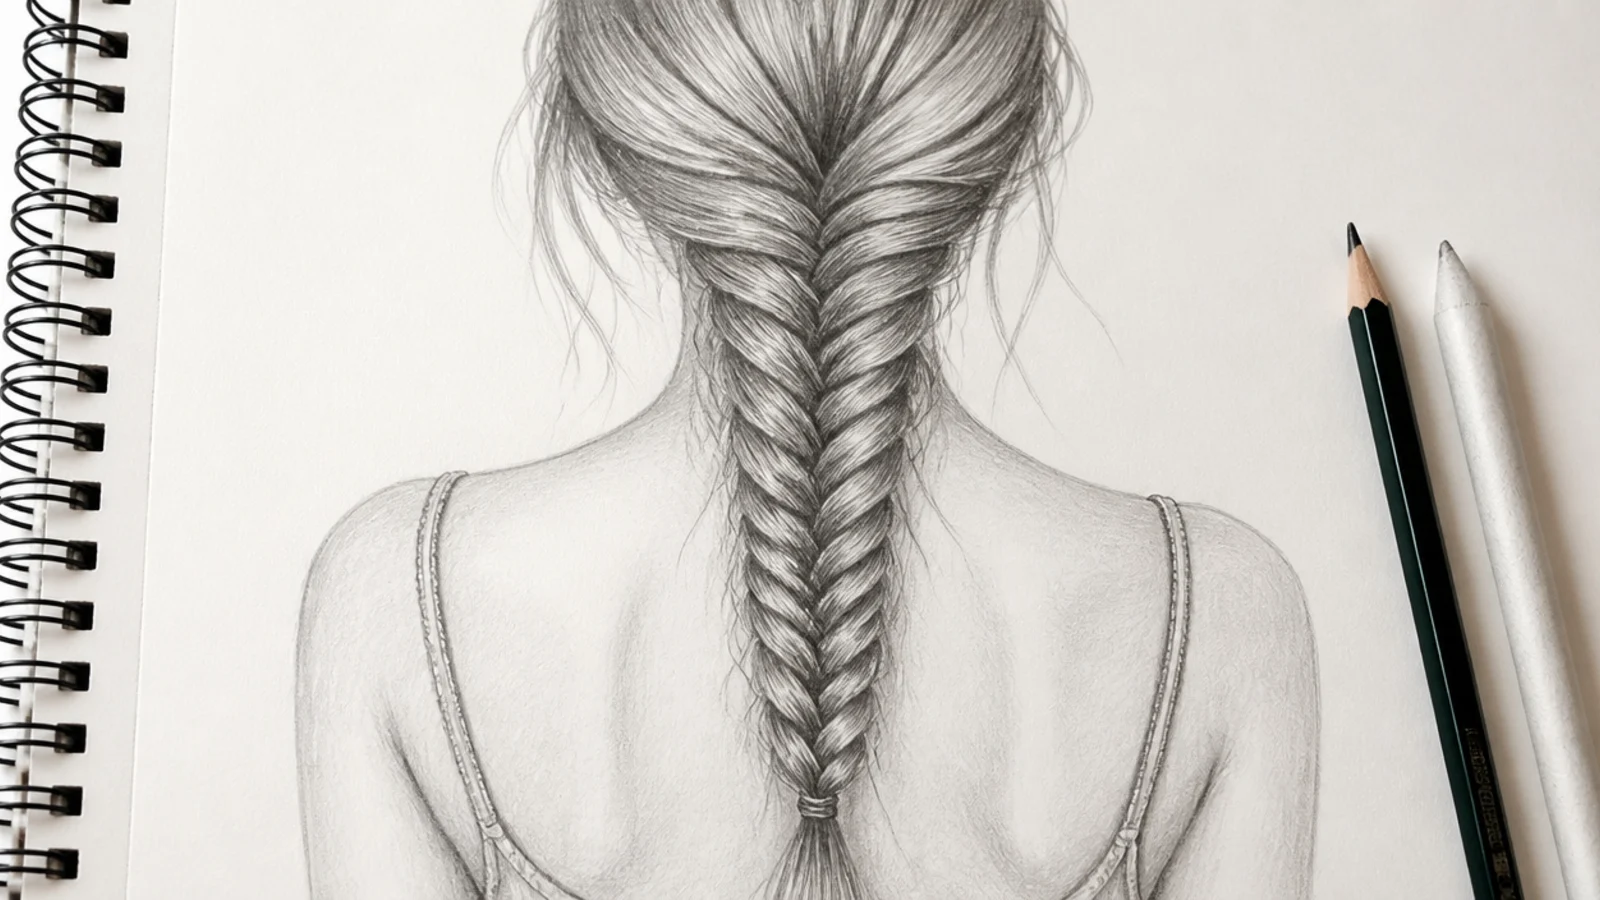
19. Fishtail Braid From the Back
A fishtail is built from many thin sections rather than three fat ones, so it produces a fine chevron pattern instead of a chunky stack. Draw a light central seam and hang short angled wedges from it alternately, keeping each wedge no wider than a fifth of the plait.
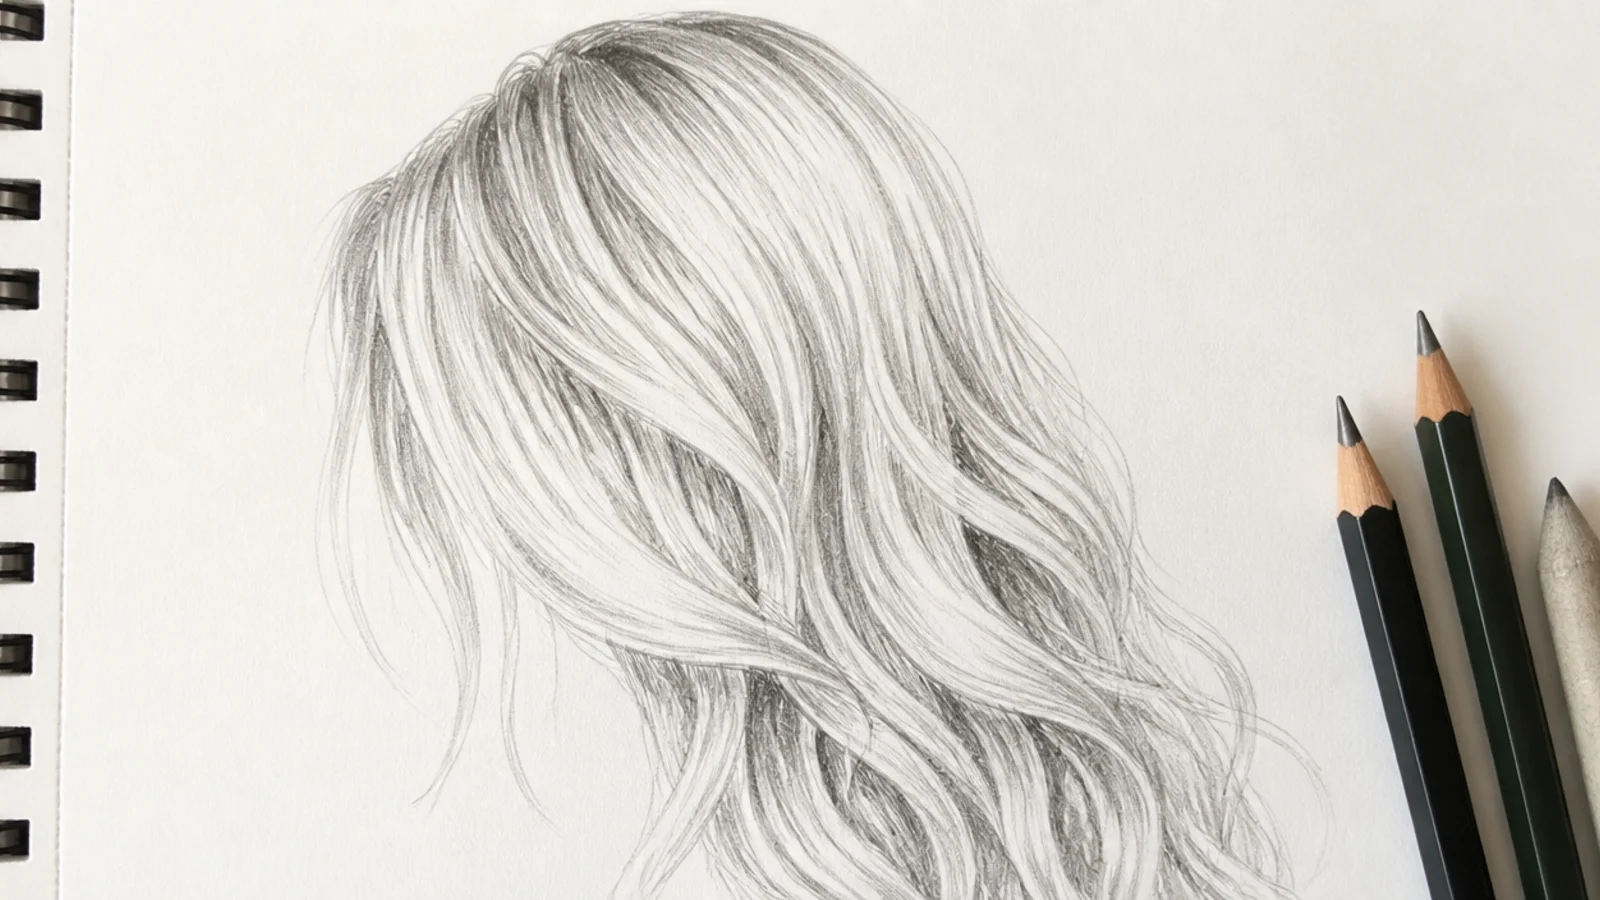
20. Blonde in Side Light
Side lighting puts the highlight band on one edge and lets the far side fall into a deep mid tone, which is the quickest way to make pale hair look solid. Keep the lit edge as untouched paper and never take the shadow side past a 3B, or the blonde starts reading as brown.
Final Thoughts
Draw the twenty small and draw them as shapes. Four to a page, outline only, no shading — you will get further in an hour than you would rendering one portrait, because the thing that separates a fishtail from a three strand braid is decided in the outline and nowhere else. Once a shape is unmistakable in flat black, the three value structure on top of it is the same job every time regardless of which style you chose.
The angle matters more than the style list. Twenty hairstyles all drawn from the front teach you one view twenty times over, so rotate the head and take at least a third of them in three quarter or back view. For the texture worth its own session see the how to curly version, and for reference photographs of layered short shapes see layered short hair styles. More in Hair Drawing.