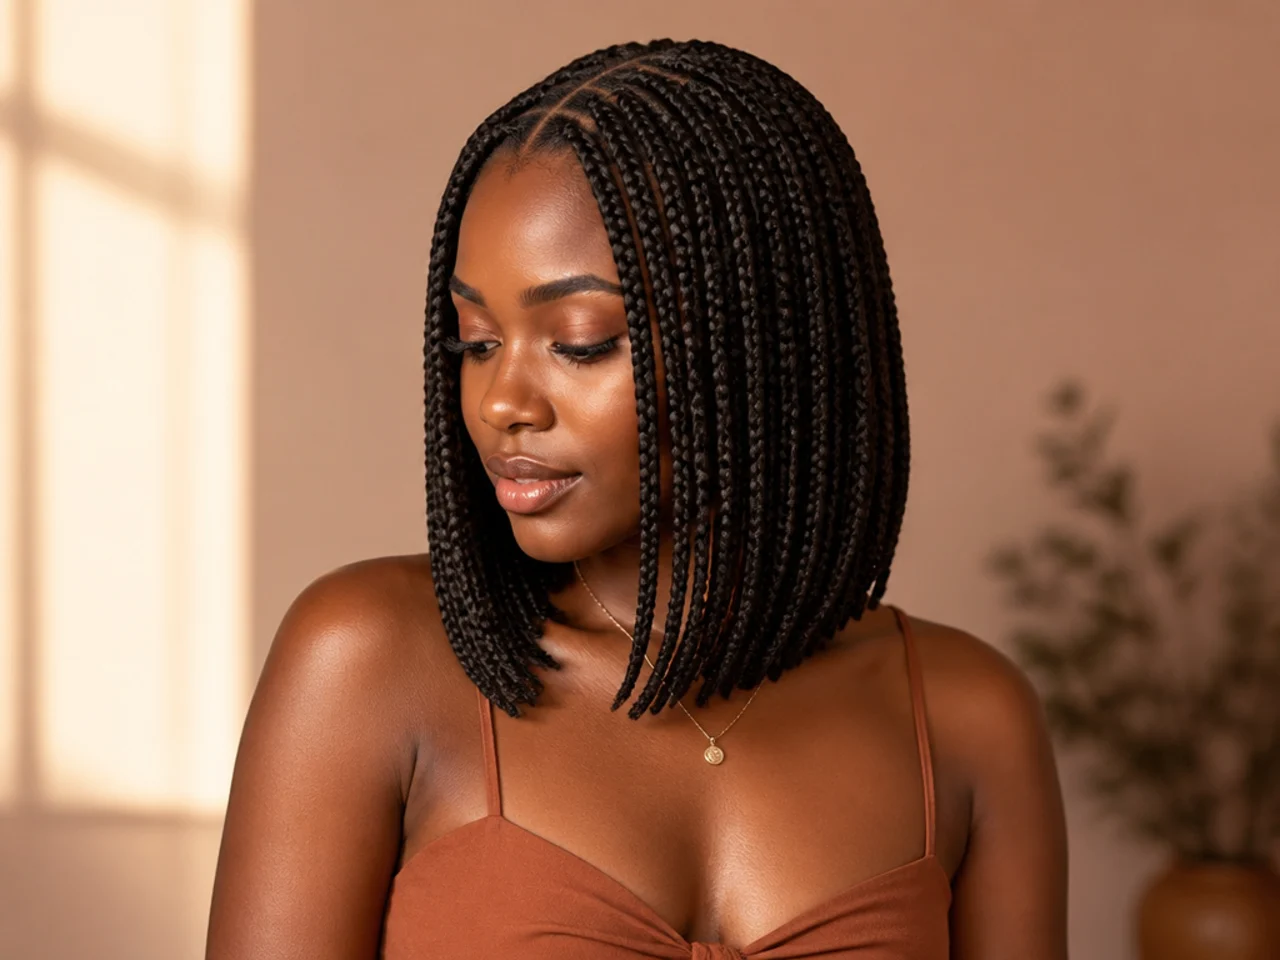
20 Festival Mermaid Braids That Survive Three Days
Twenty festival mermaid braids, built around the thing a weekend braid is actually judged on. A pancaked braid closes steadily as you move, so the width you leave with on day one is the budget you spend across the rest of the weekend rather than the width anyone sees.
In this article · 28
- What Is a Mermaid Braid
- By Length and Thickness
- Fine and Slippery Hair
- The Pancaking Technique
- Accessories and the Boho Finish
- Making It Last
- The 20 Festival Mermaid Braid Ideas
- 1. Wide Pancaked on Day One
- 2. Double Braids for Camping
- 3. Side Braid Under a Bandana
- 4. Half Up Over Waves
- 5. Silver Cuffs
- 6. Ribbon Woven
- 7. Braid Crown
- 8. Waterfall Mermaid
- 9. Under a Bucket Hat
- 10. Glitter Roots
- 11. Dried Flowers
- 12. Day Two Refresh
- 13. Braid From a Ponytail
- 14. Fine Hair With Clip Ins
- 15. Star Charms
- 16. High Pigtails
- 17. Hair Tinsel
- 18. Braid Into Waves
- 19. Scarf Wrapped
- 20. Curly Stretched
- Final Thoughts
A festival braid is not judged on the morning it was made. It is judged on the third afternoon, after two nights in a tent and no mirror worth using.
A pancaked braid closes as you move. Every hour of walking, dancing and sleeping pulls the widened segments back toward the centre, and nothing you do at the time stops it.
So the width on day one is a budget, not a result. Overshoot it deliberately, and pick the versions that hold their shape mechanically rather than by friction alone.
What Is a Mermaid Braid
A fishtail with the length left loose. Only the crown section is braided, so the braid lies on top of the hair rather than gathering all of it.
Two sections rather than three. A thin piece crosses from the outer edge of one section to the inside of the other, and it is those thin pieces that make the fine herringbone.
It holds better than a plait. A fishtail packs roughly twice as many crossovers into an inch, which means twice as many points of friction resisting the braid coming apart.
Half up gives you somewhere to hide. Loose hair beneath the braid covers the flat patch a hat or a night in a sleeping bag presses into the back of the head.
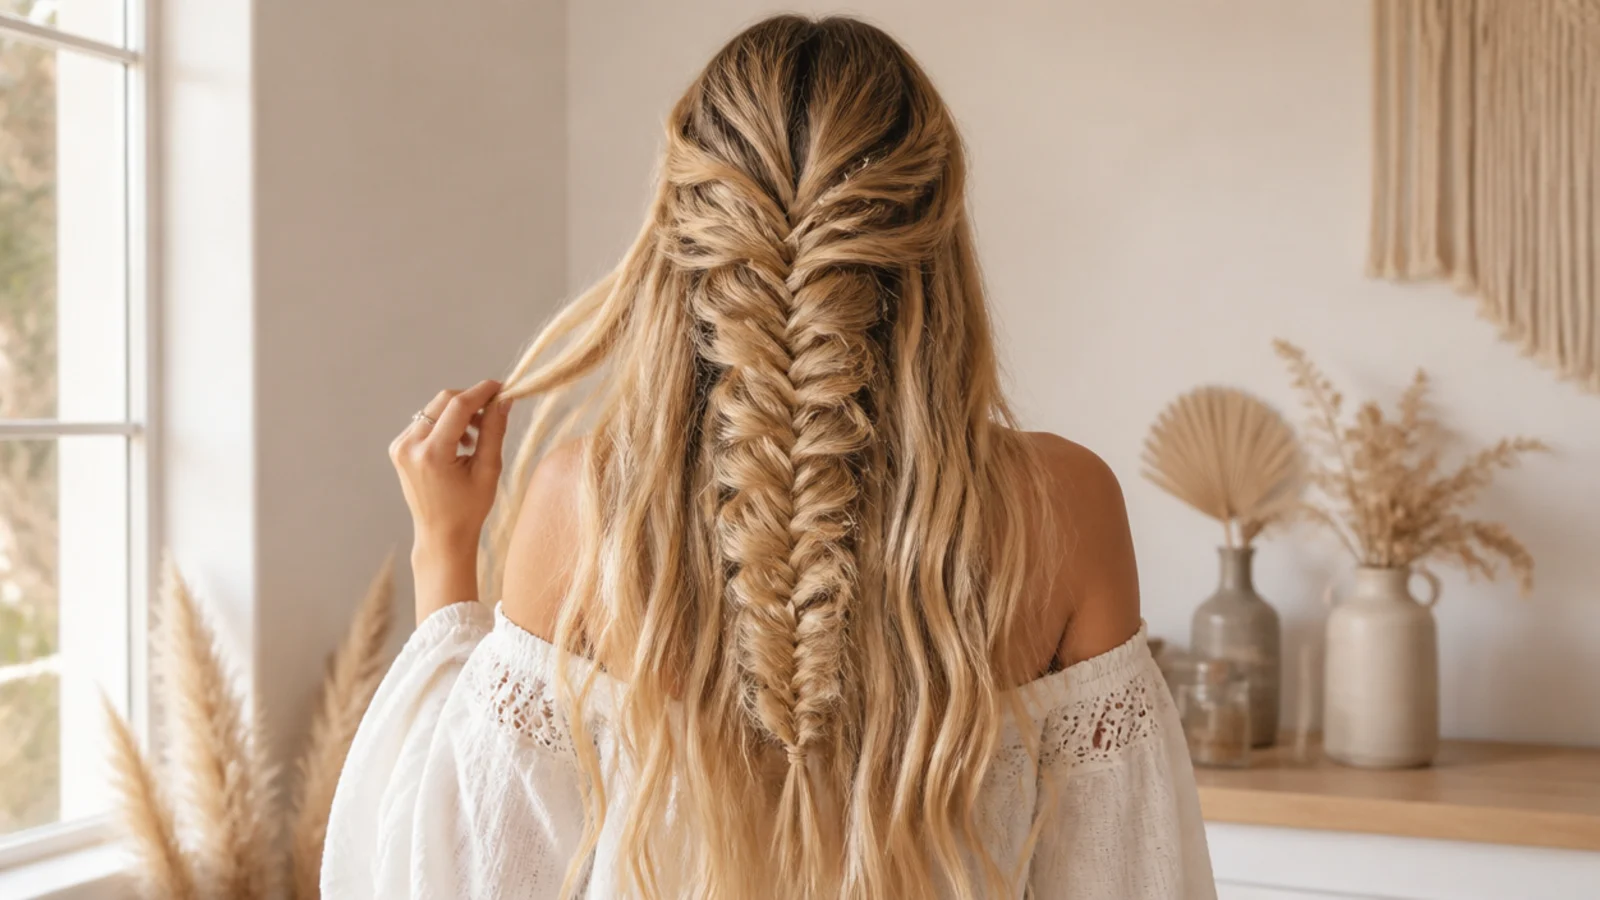
By Length and Thickness
Past the shoulder is where the pattern reads. The herringbone repeats about every inch, so a short braid never shows enough of it to register as a weave.
Shoulder length braids all the way to the ends. There is no spare tail to leave loose, so the width has to come from pancaking the upper half.
Thick hair splits into two braids. One fishtail on very thick hair becomes a tube, and a tube is also miserable to sleep on.
Fine hair needs mass added. Clip ins or a woven scarf both work, because a crossover has to carry enough hair to hold its own position for three days.
Long braids get tied up at night. A waist length braid left loose in a sleeping bag takes the entire weight of your head across it.
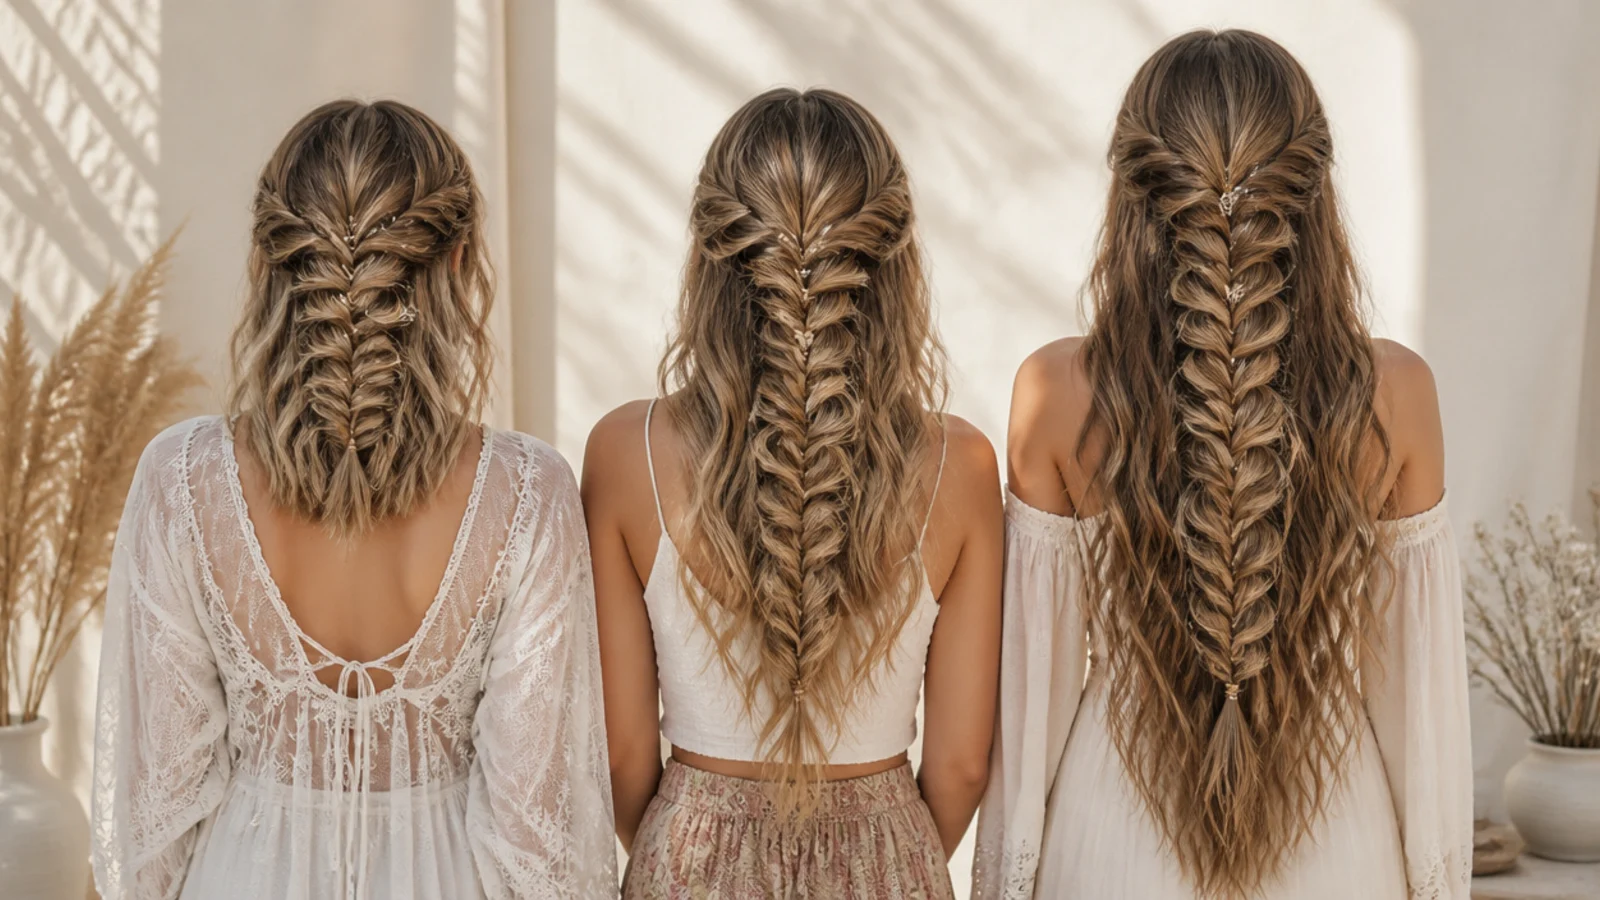
Fine and Slippery Hair
Mass is the problem, not grip. A thin crossover has too little hair in it to stay where you put it, so it slides back toward the centre of the braid.
Texture spray goes on before the parting. Once the sections are held, the grit cannot reach the surfaces that need it.
Arrive on second day hair. Wash the day before, not the morning of, so the braid starts with the friction it needs rather than against a clean cuticle.
Two clear elastics, top and bottom. The top one stops the tension you release while widening from unlocking the first crossovers.
Braid tighter than the finish you want. Everything soft is added afterwards, and there is nothing to loosen if the base was never tight.
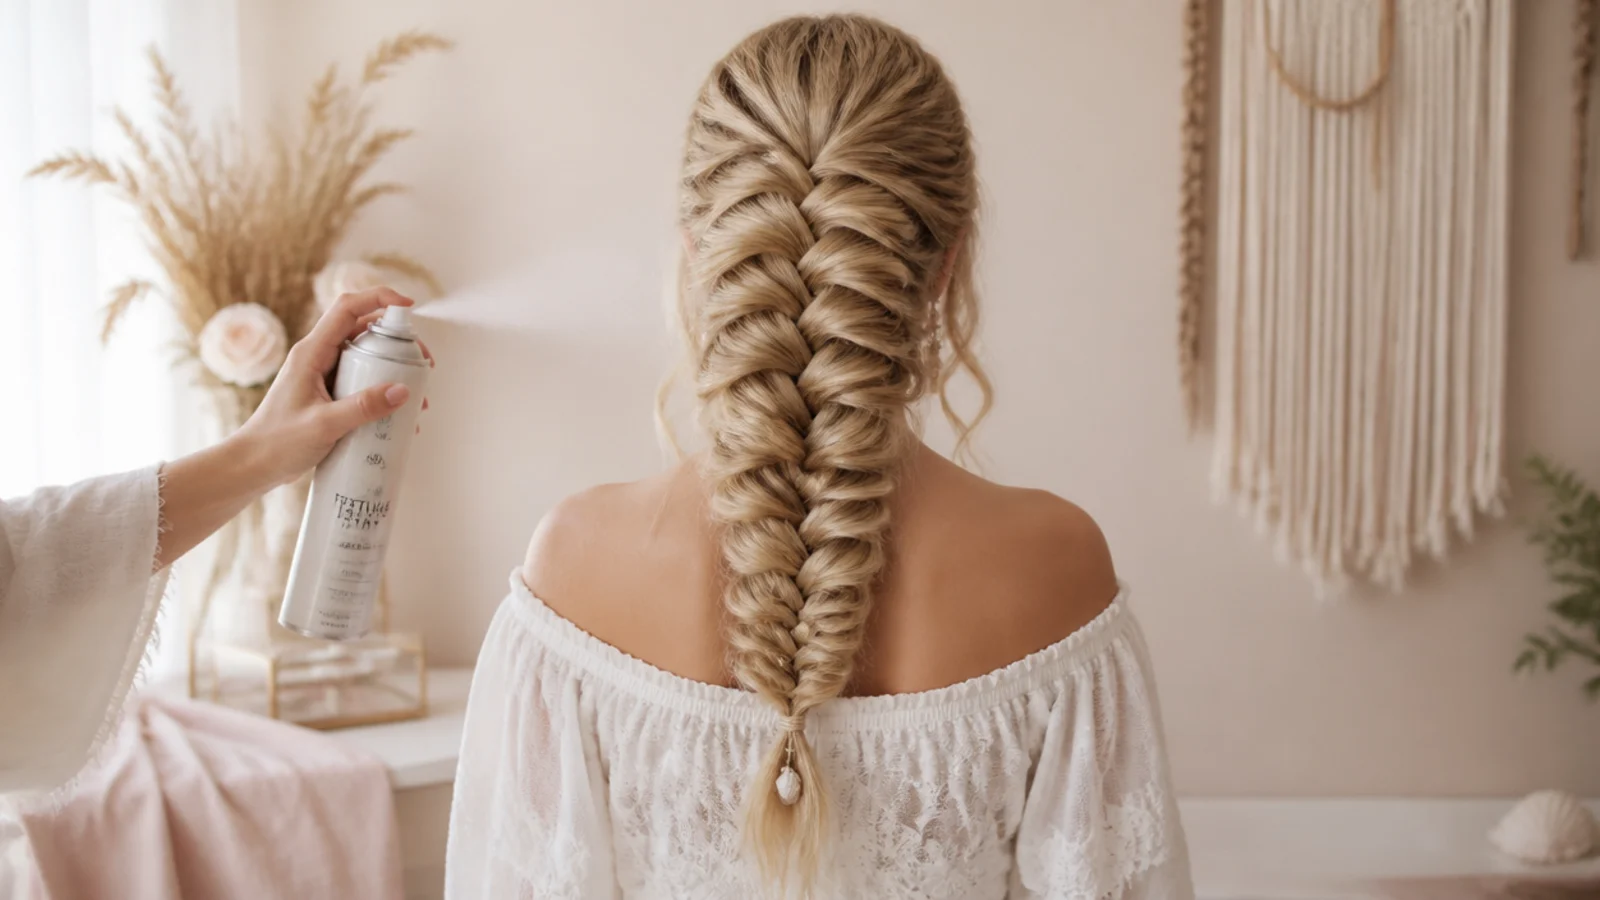
The Pancaking Technique
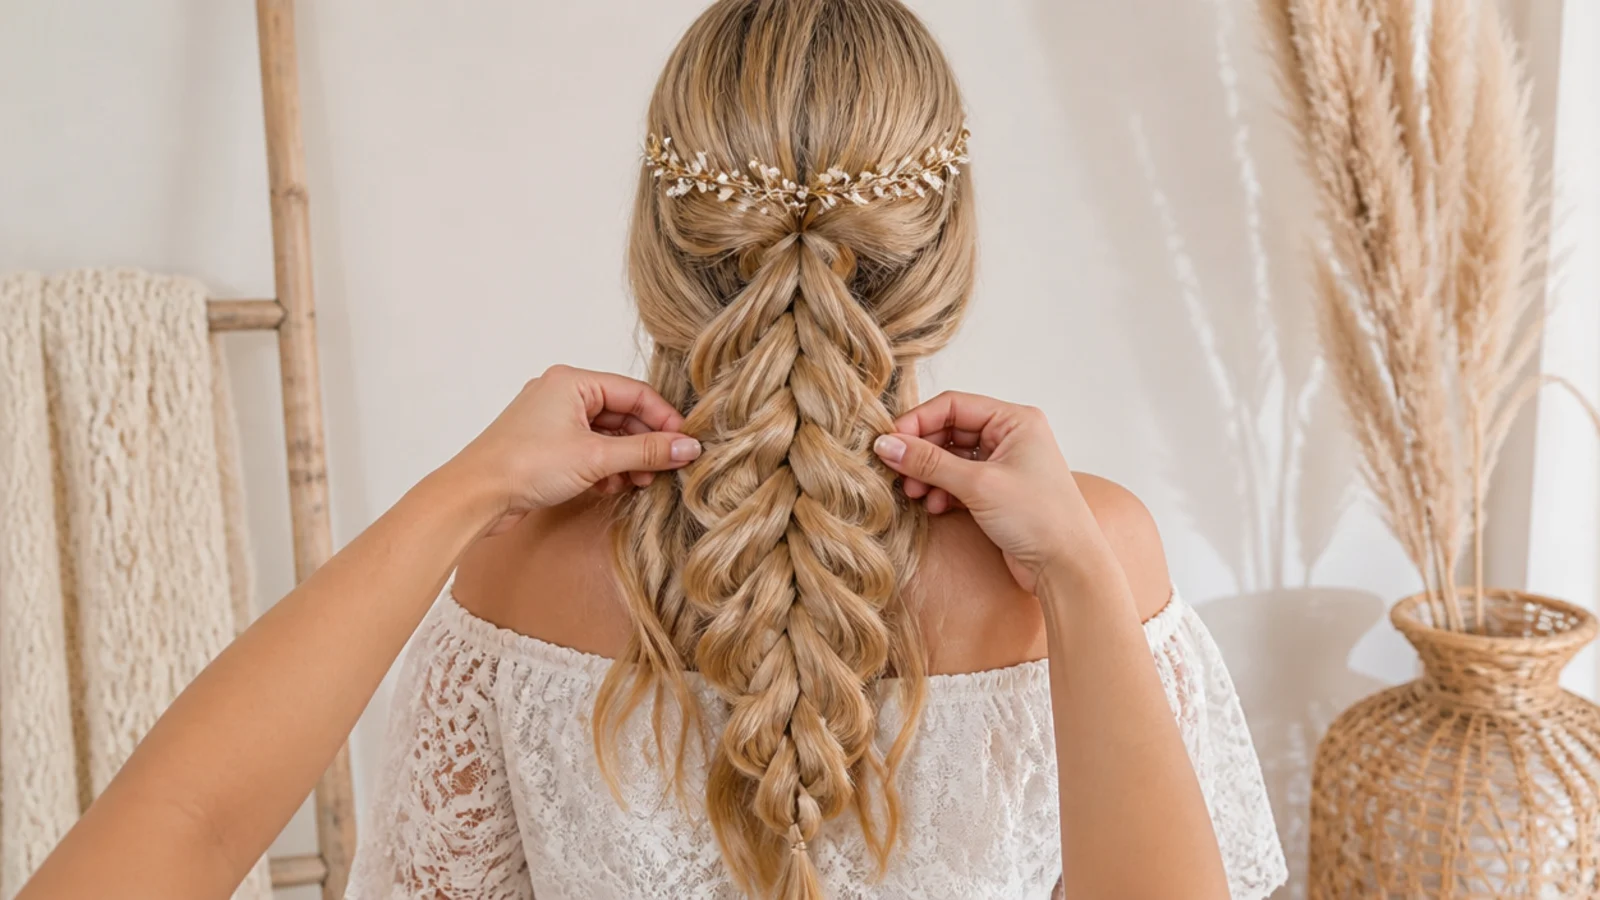
Pull the outer edge, not the segment. All the slack in a crossover sits at its outer edge, and slack is the only place width comes from.
Work bottom to top. Widening the top first drives tension down the braid and closes everything below it.
Secure the tail before you widen. Without an elastic there is nothing anchoring the loosened pieces and the braid opens rather than widens.
Overshoot by more than feels sensible. Three days of movement is three days of closing, so the braid that looks slightly overdone at the campsite is the one still readable on Sunday.
Accessories and the Boho Finish
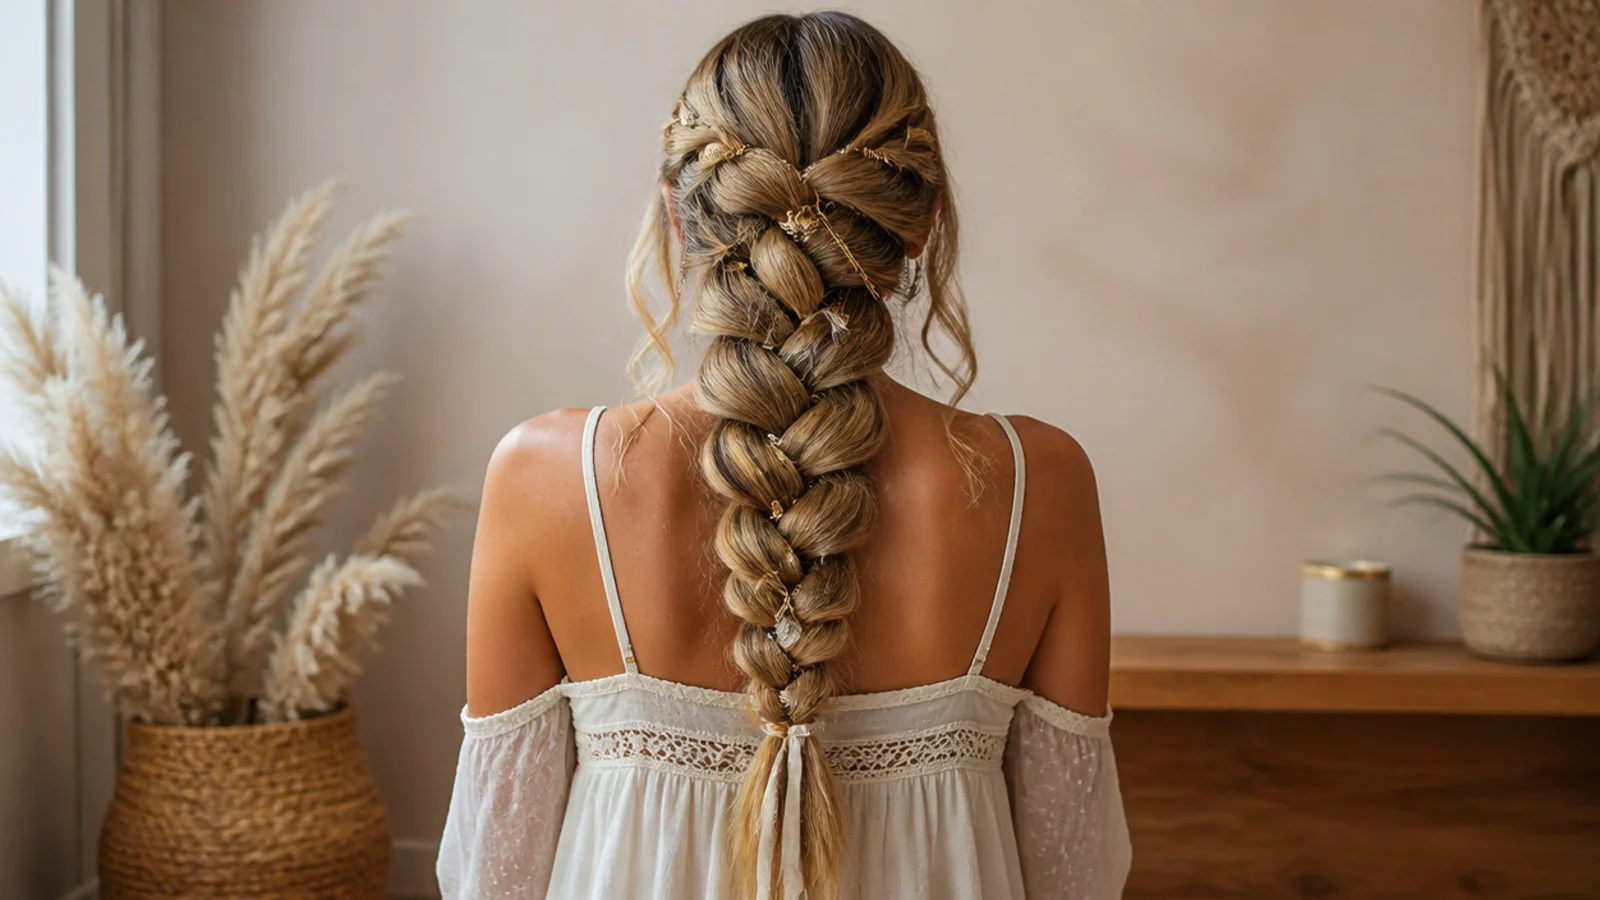
Weight holds width. Anything hung down the tail pulls downward on every crossover above it, which is the only passive force working in your favour all weekend.
Each type does a different job. Metal cuffs clamp a fixed width, a ribbon or scarf carries tension, and flowers and tinsel add neither.
Nothing sharp if you plan to sleep in it. Rigid charms near the scalp become a problem at about two in the morning.
Wave the hair before braiding it. An iron cannot get inside a finished braid, and heat over a braid sets a crimp rather than a wave.
Take one spare of everything small. Cuffs and charms come off in crowds, and a gap in a spaced run is more obvious than no accessory at all.
Making It Last
Tie it up and off the neck overnight. The braid is not damaged by sleeping, it is compressed, and compression happens wherever your head rests on it.
Re widen before you reach for powder. Most of what looks wrong on day two is closed segments rather than greasy hair.
Dry shampoo at the roots only. Powder in the crossovers dulls exactly the edges that make the pattern visible.
Rebraid the top, not the whole thing. The first few inches loosen first because they carry the most movement, and redoing six inches takes two minutes.
Three days is the ceiling. By the fourth the crossovers have lost the definition that lets them be widened at all.

The 20 Festival Mermaid Braid Ideas
1. Wide Pancaked on Day One
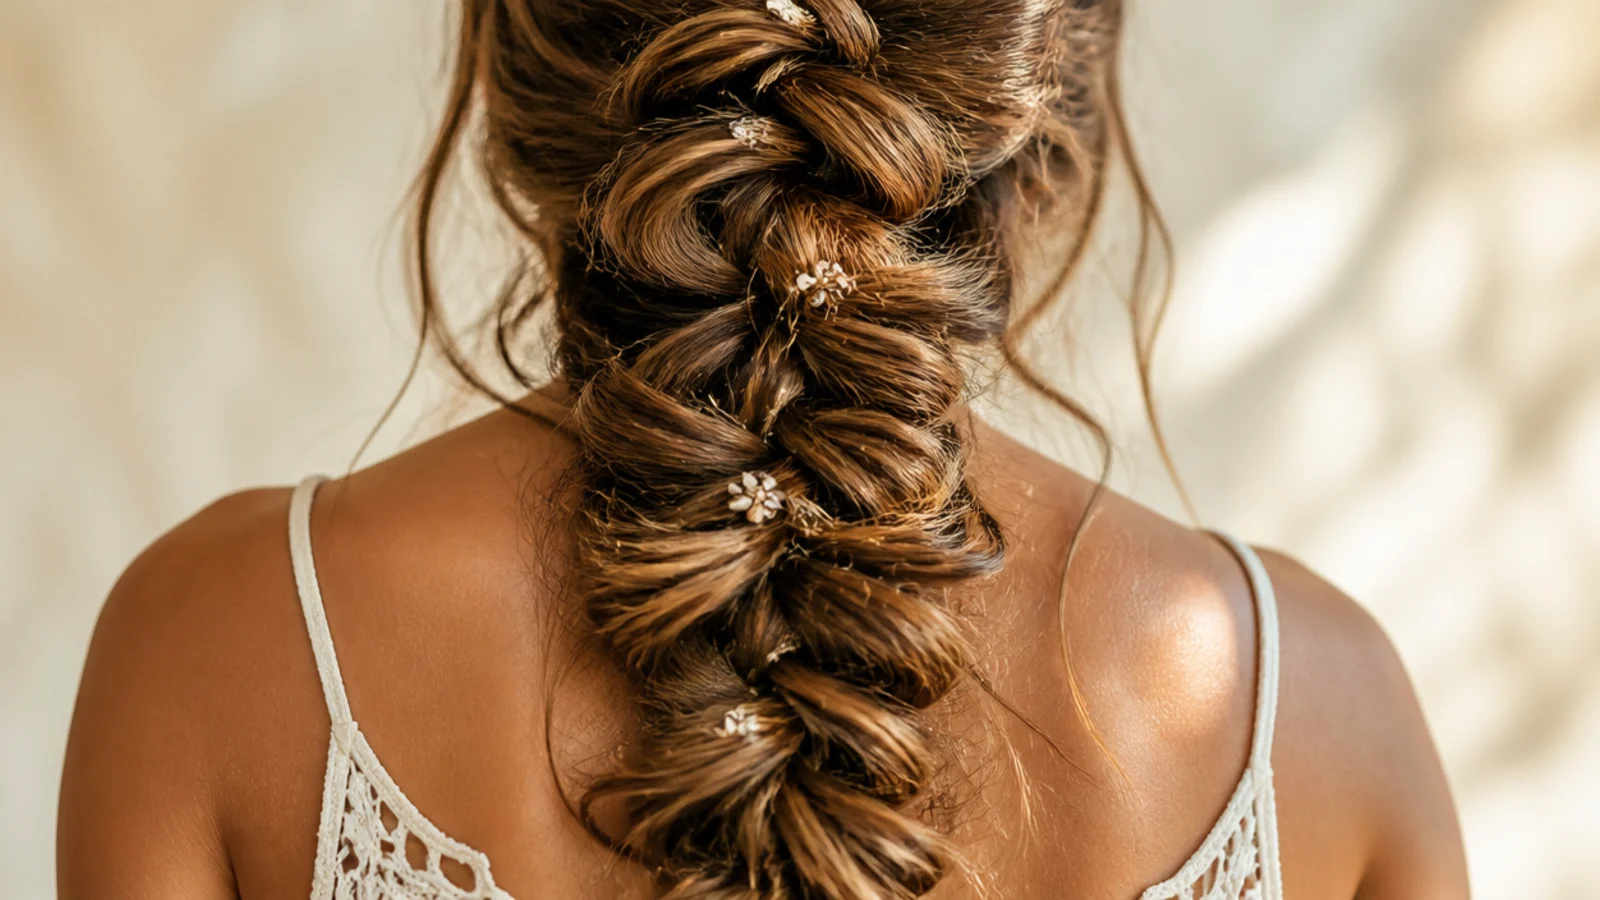
The widest this braid will ever be, and worth overshooting for exactly that reason. A pancaked braid settles inward over the first few hours and keeps settling, so day one width is the reserve you draw down across the rest of the weekend.
2. Double Braids for Camping
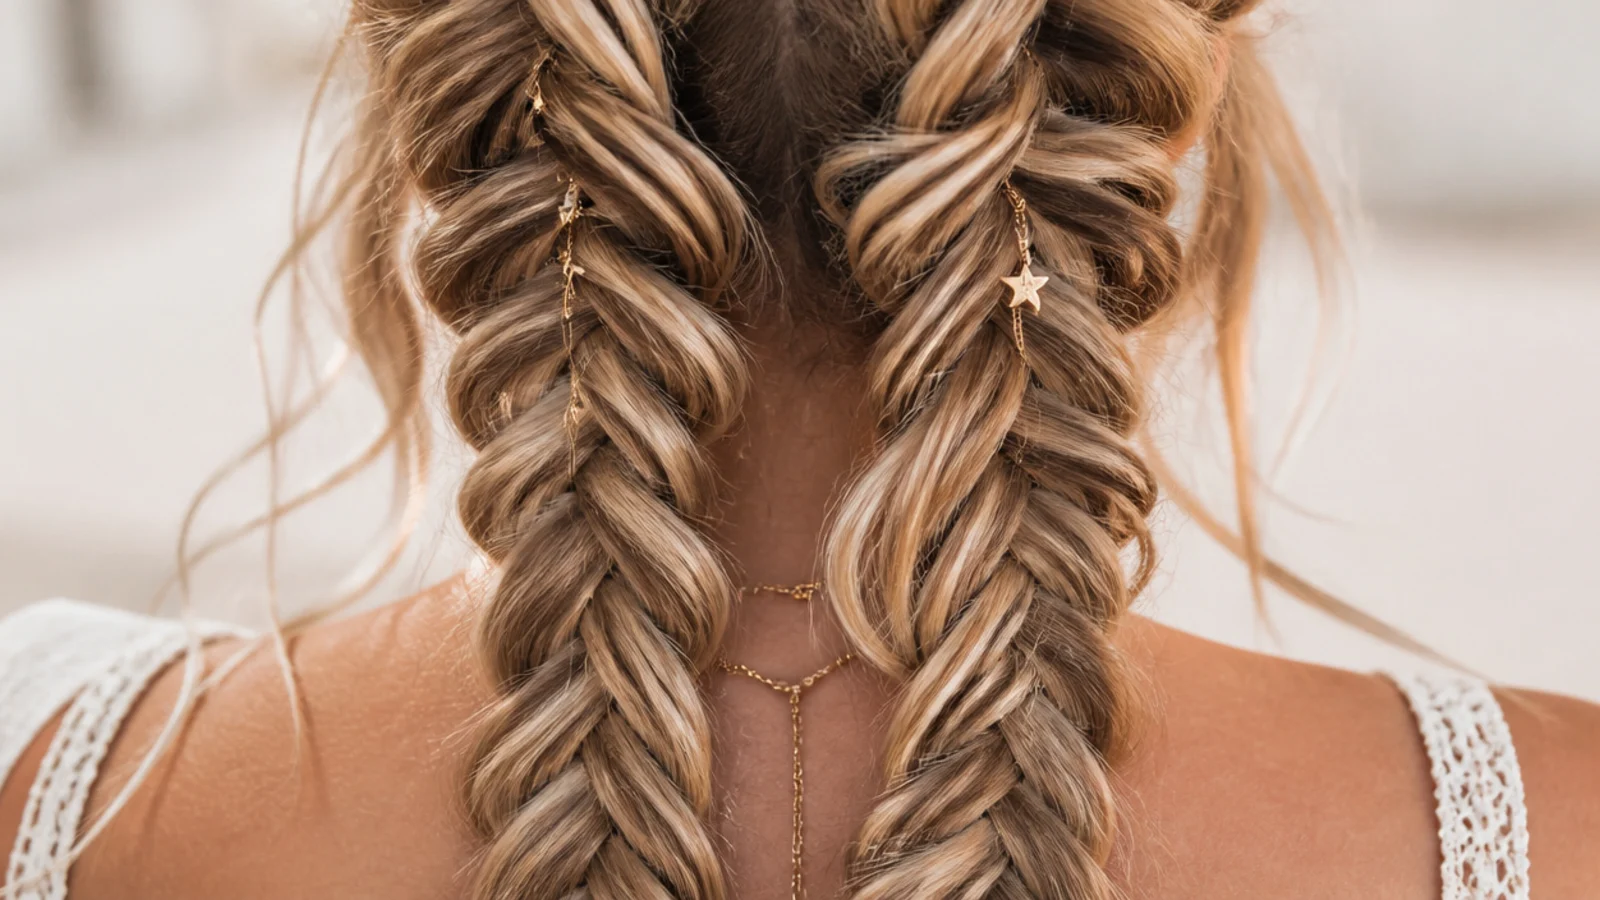
Splitting the hair halves the mass in each braid, which makes both thinner and far easier to sleep on than one thick rope down the spine. They also fail independently, so a bad night that flattens one leaves the other still wearable.
3. Side Braid Under a Bandana
A bandana takes pressure at the hairline where the braid pulls hardest and covers the roots where oil shows first. Moving the braid to one side keeps it out from under the knot, which is what stops the tie crushing the crossovers flat.
4. Half Up Over Waves
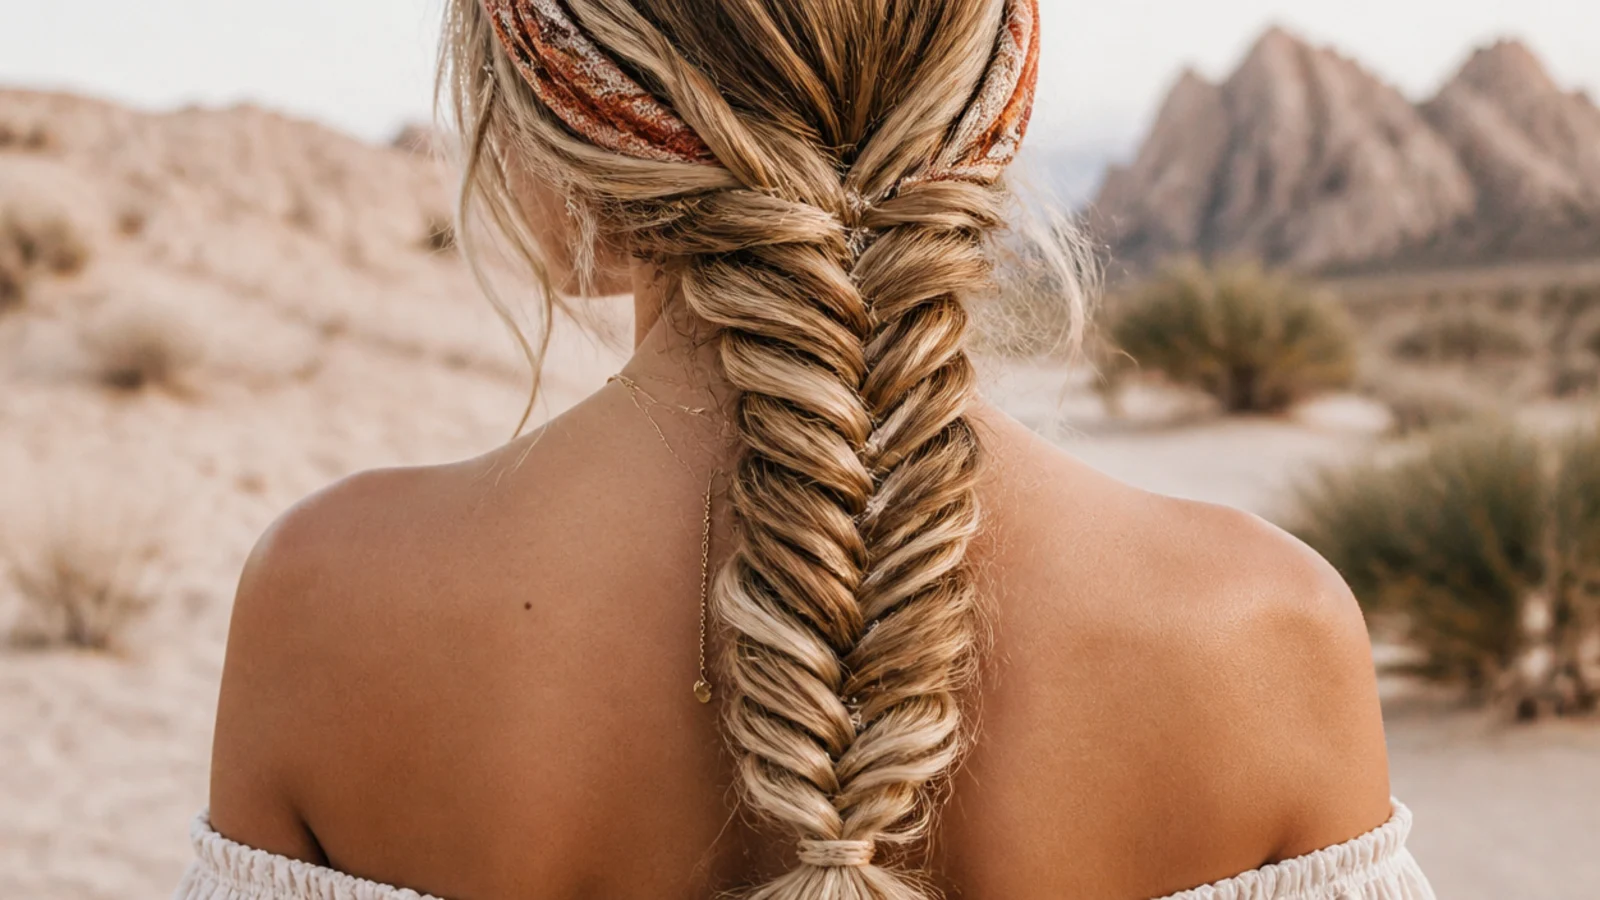
Braiding only the top third leaves far less braid to maintain across three days. The loose waves underneath also cover the flattened patch that a hat or a night in a sleeping bag presses into the back of the head.
5. Silver Cuffs
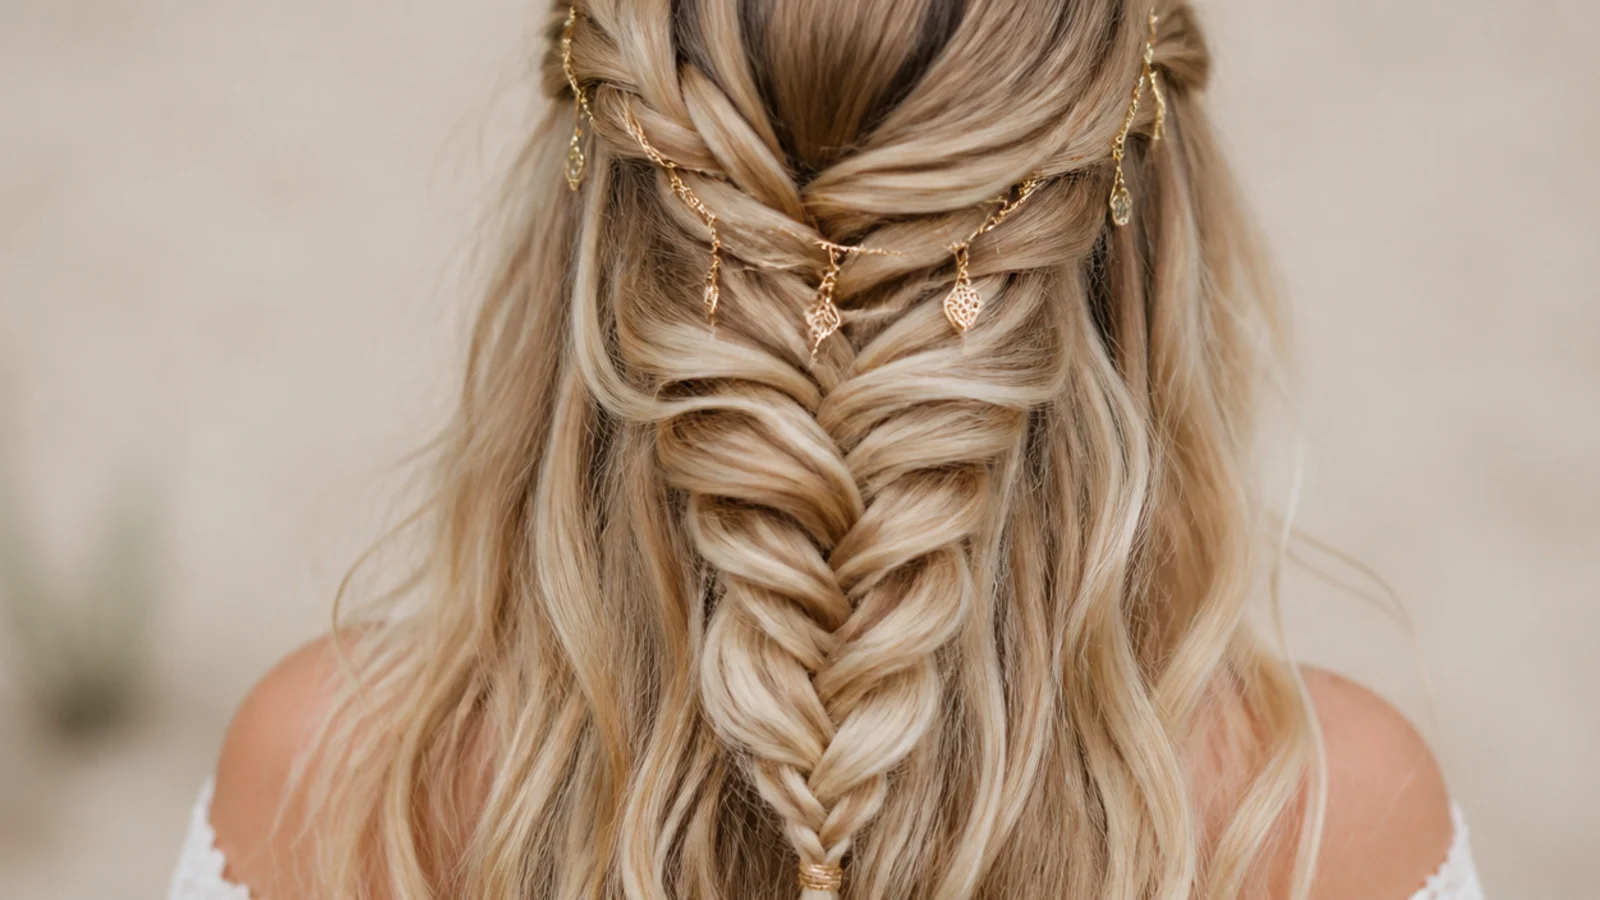
Metal cuffs clamp a section at a fixed width and hold it mechanically rather than by friction, which is the only kind of hold that does not decay. Spaced down the braid they set its widest points for you, and that matters most on the third day.
6. Ribbon Woven
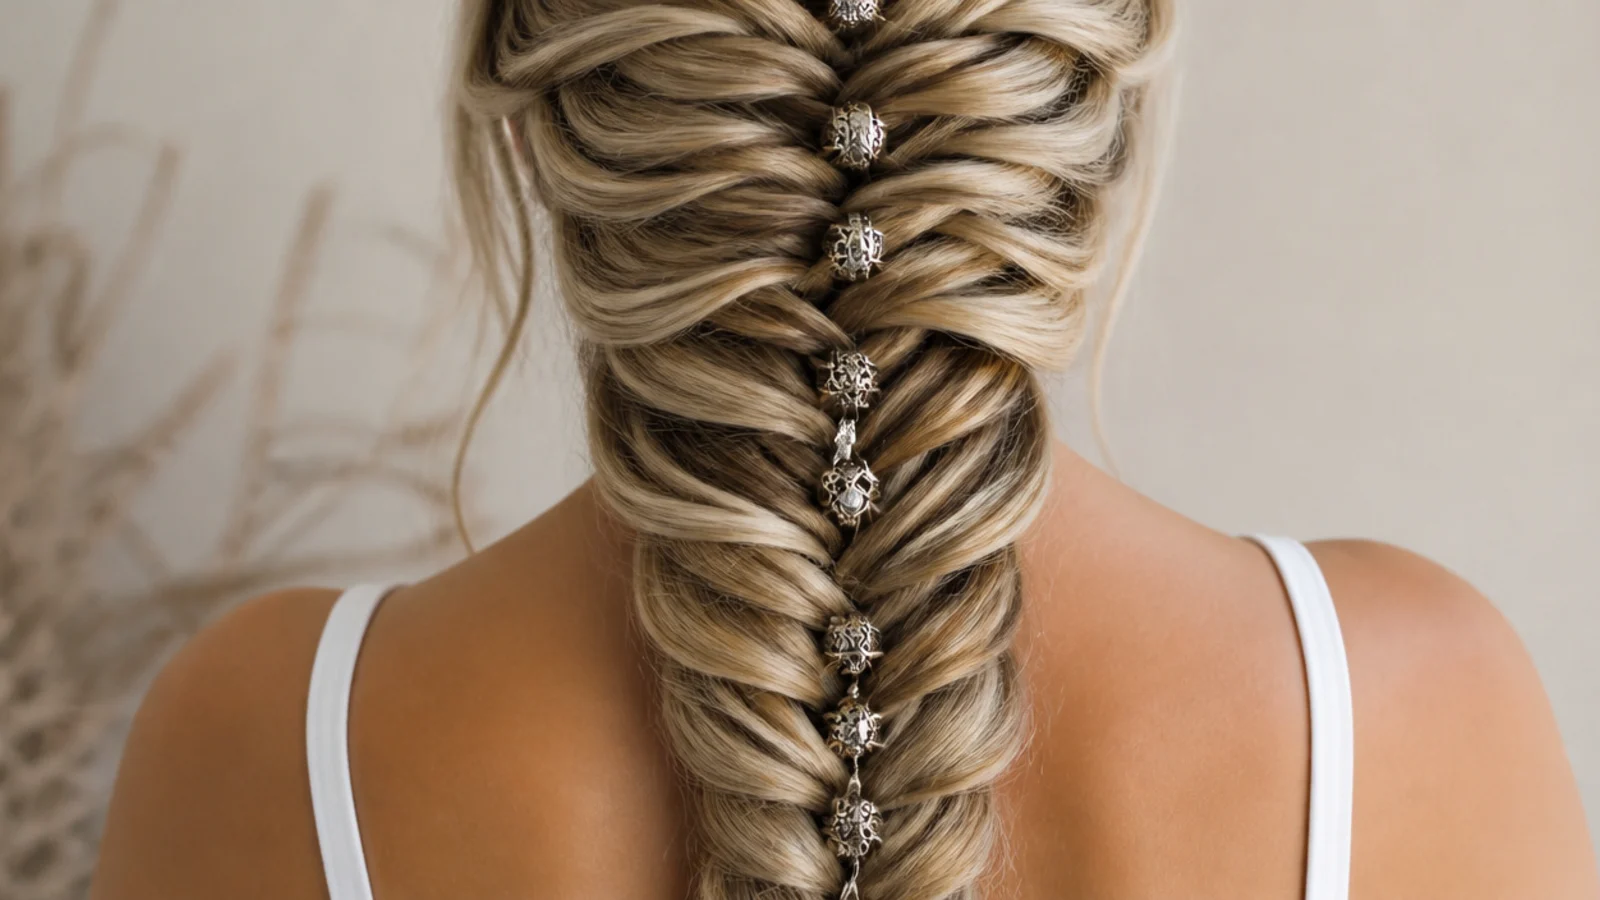
A ribbon threaded through the crossovers carries part of the tension, so the braid can be widened past what hair alone would hold. It also draws a fixed line down the braid, which keeps the shape readable once the crossovers have softened.
7. Braid Crown
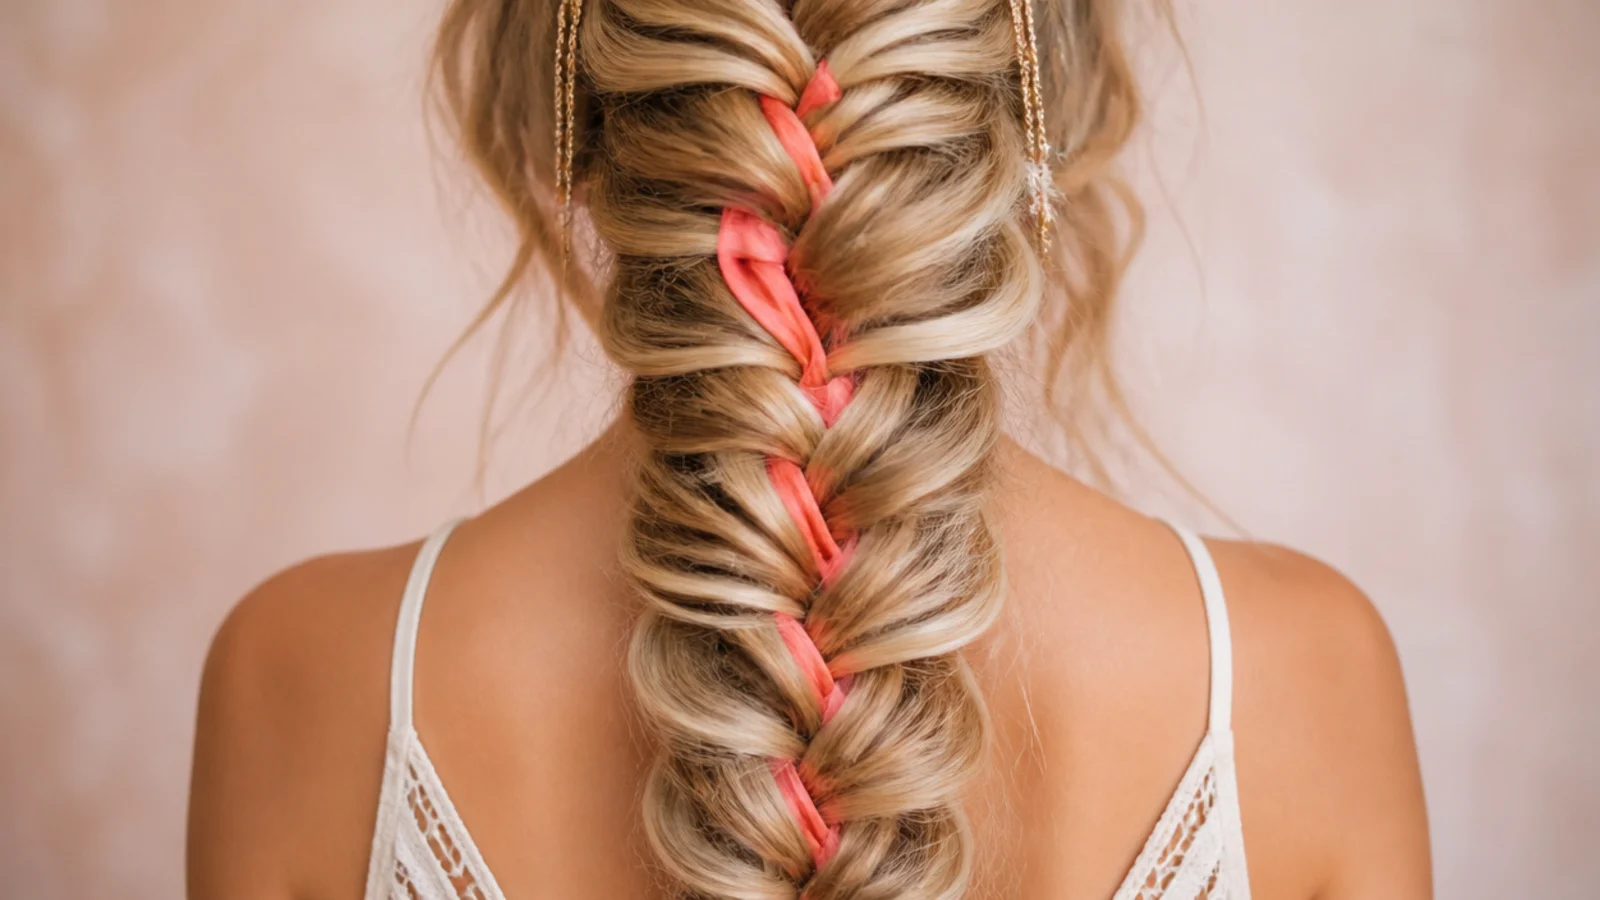
Wrapped around the head and pinned above the ear, which puts the entire braid clear of a rucksack strap and a camp pillow. Nothing hangs down to be sat on or slept on, which is why this version looks much the same on day three as on day one.
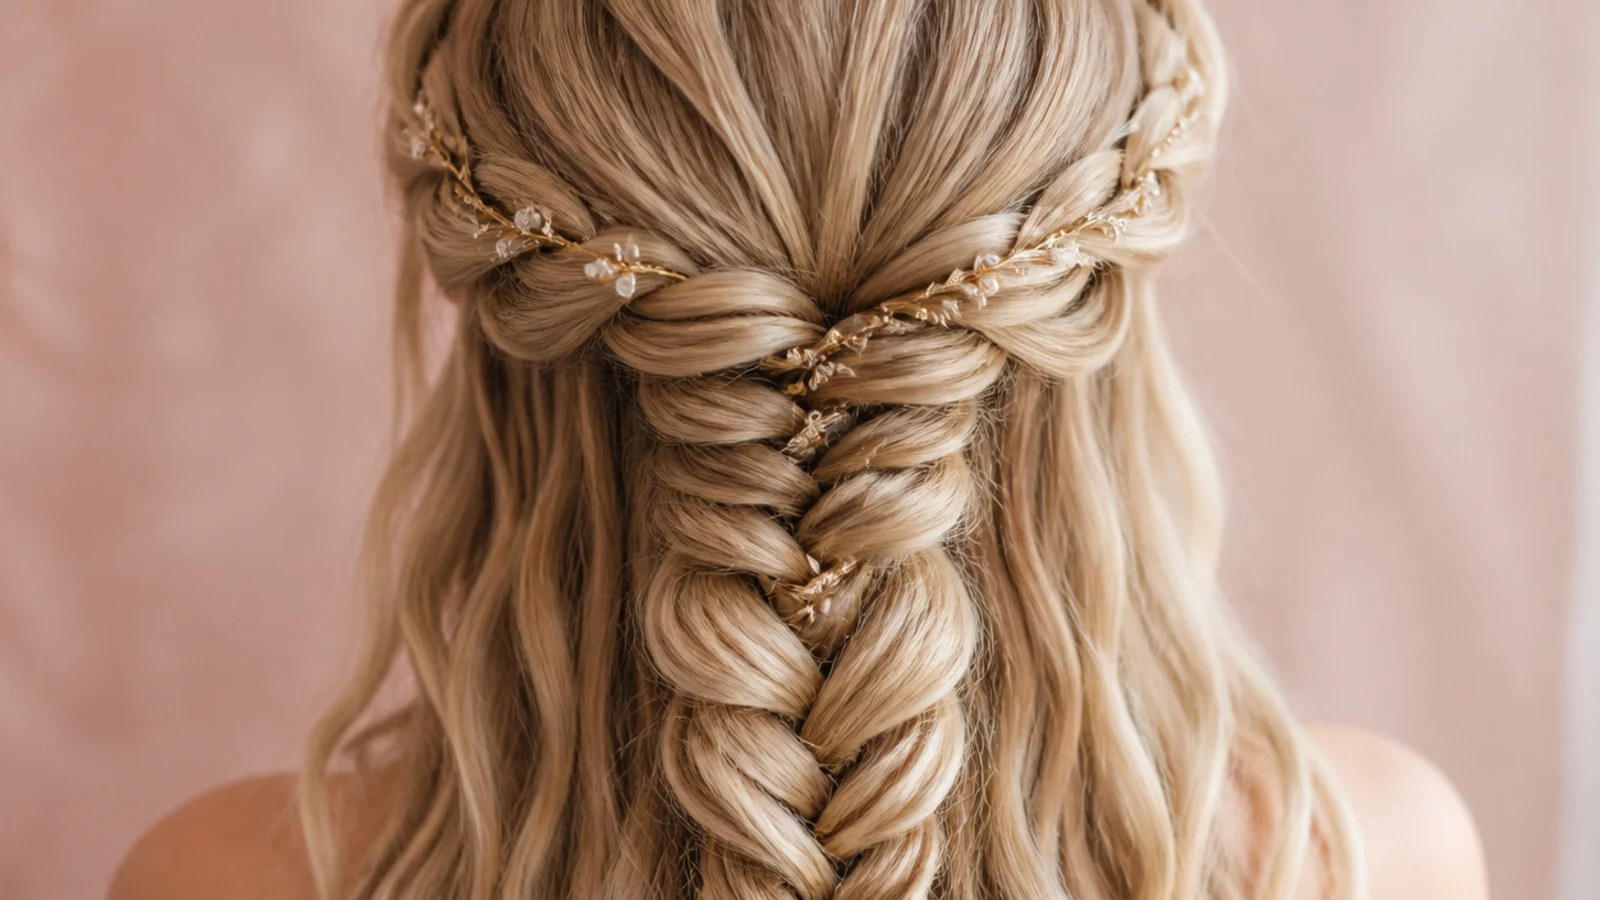
8. Waterfall Mermaid
A waterfall drops one section out at every crossover and picks up a fresh one, so the braid travels across the head while releasing hair below it. That makes it the version for medium length hair, because it never needs a long tail to finish on.
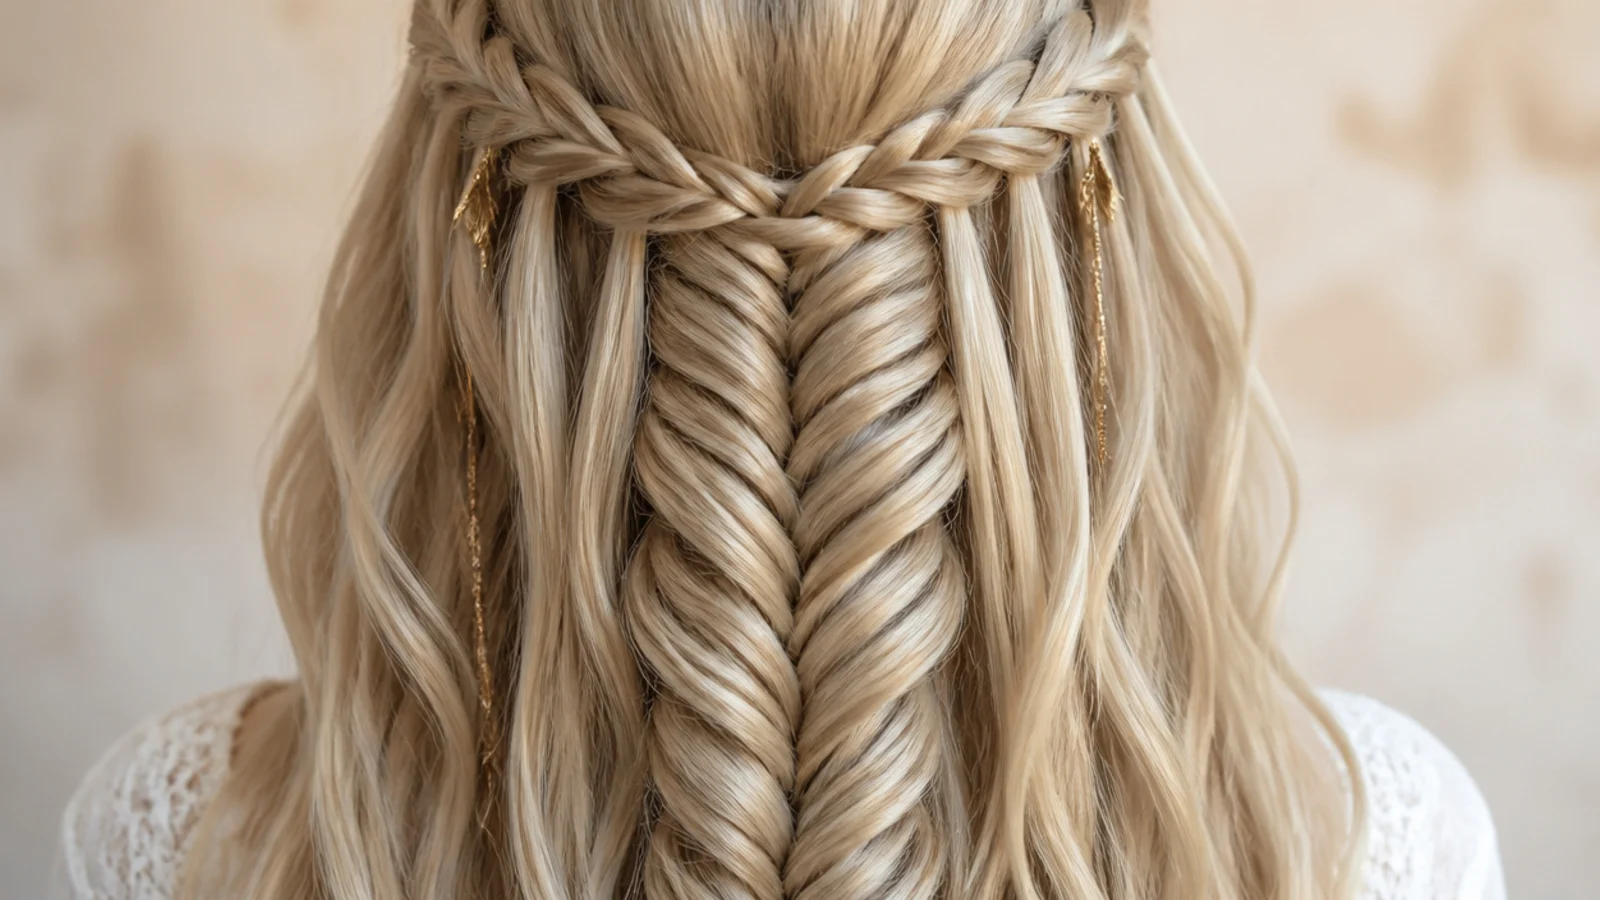
9. Under a Bucket Hat
A hat flattens whatever sits beneath it, so the braid has to start below the brim rather than at the crown. Set the first crossover around the occipital bone and the hat compresses only loose hair, which recovers, instead of braided hair, which does not.
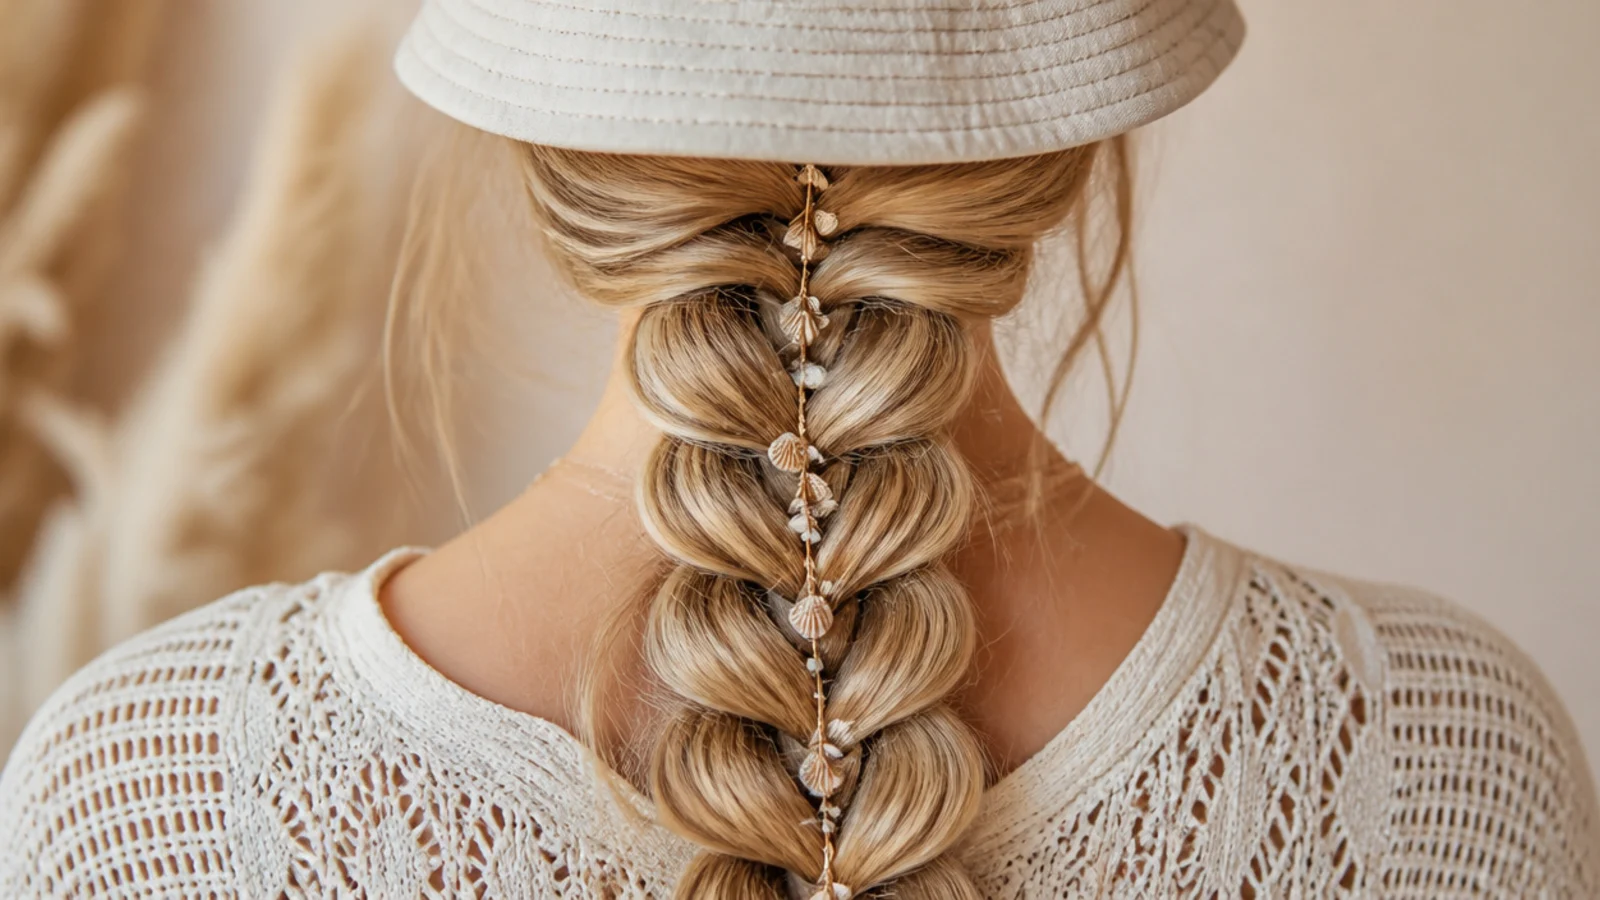
10. Glitter Roots
Cosmetic glitter set in gel along the parting covers exactly the strip that goes greasy first. It is the one day two fix that adds something rather than absorbing something, which is why it outlasts dry shampoo in heat.
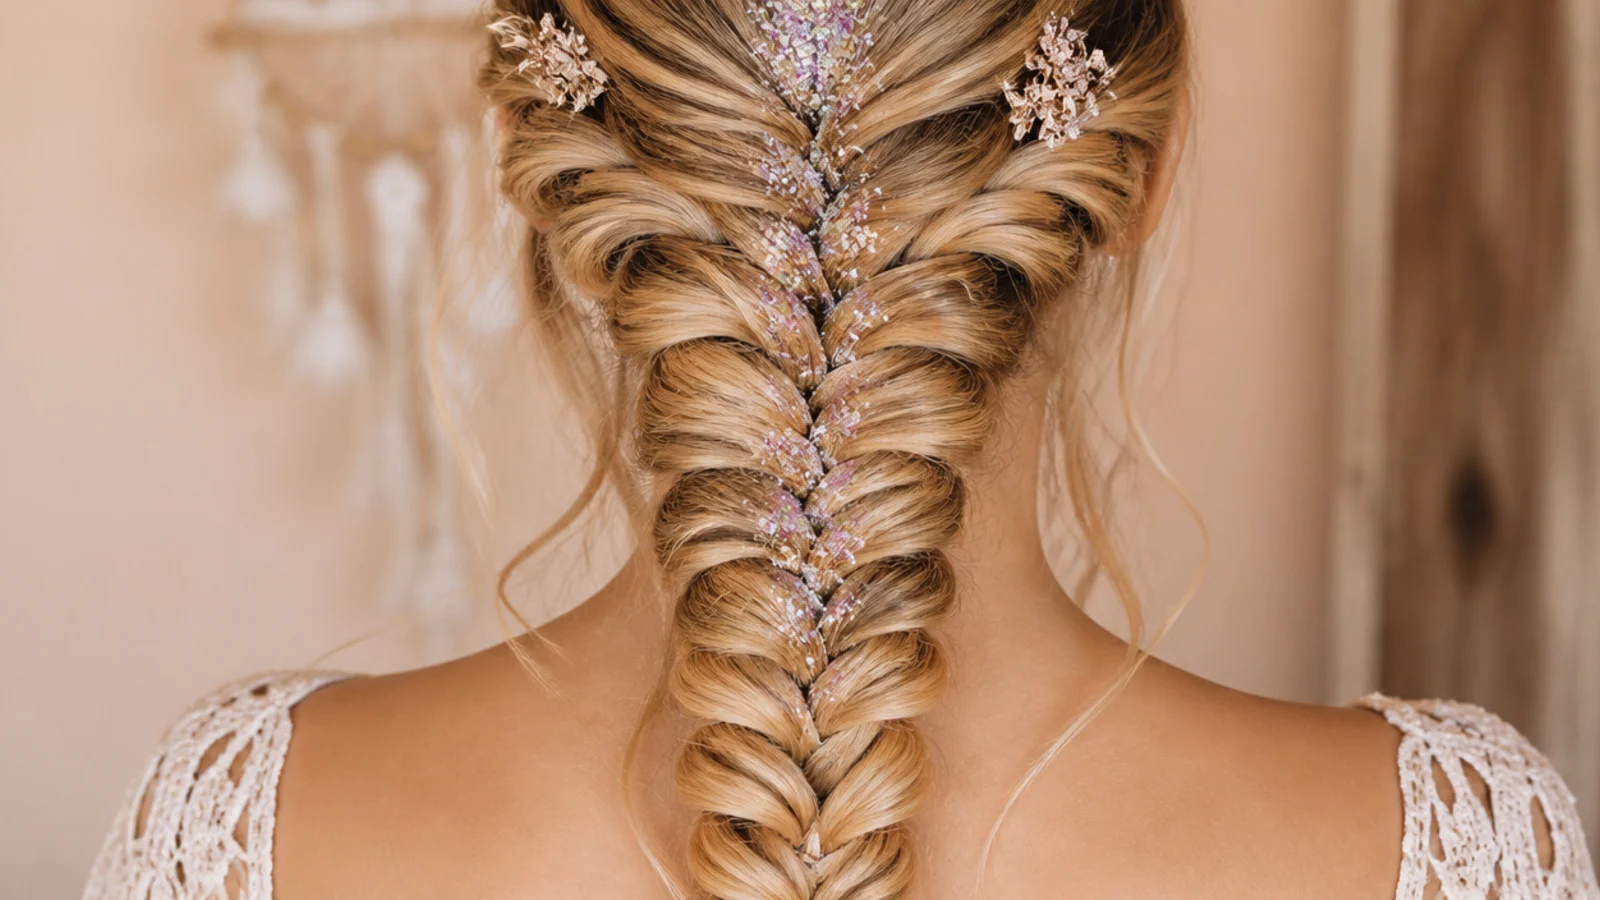
11. Dried Flowers
Dried stems are rigid enough to push into a crossover and stay there without a pin, where fresh ones wilt within an hour and slide straight out. Insert them from the side so the stem tucks under the segment above rather than standing proud of it.
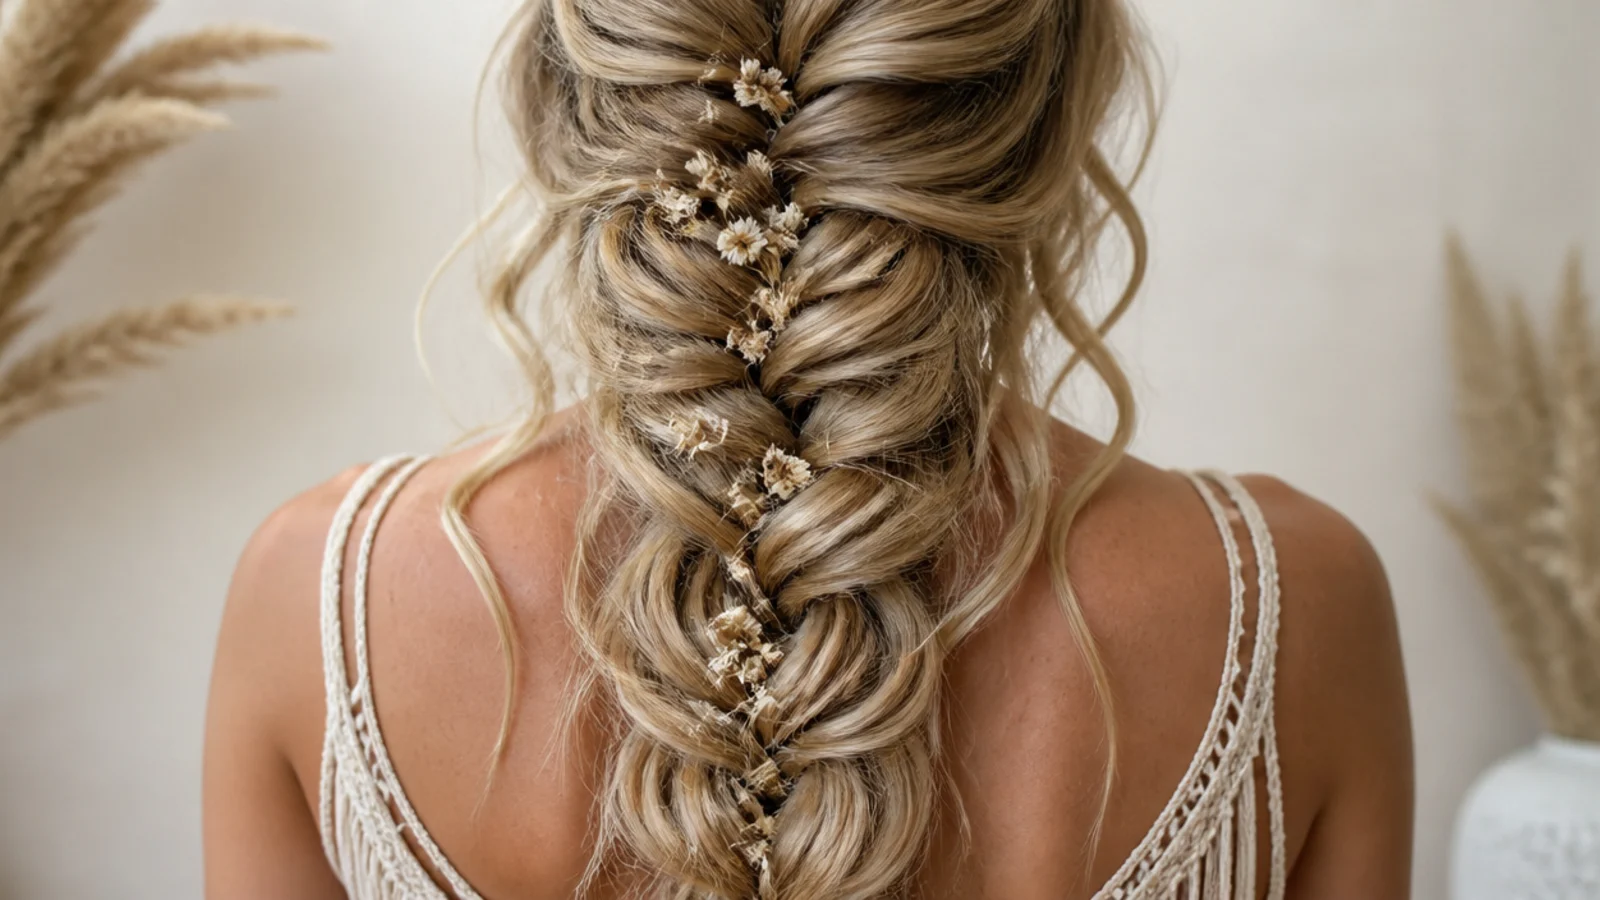
12. Day Two Refresh
A braid slept in has closed rather than come undone, so the repair is widening rather than rebuilding. A minute of pulling on the edges, dry shampoo at the roots and one new accessory covers it, because the crossovers themselves are still intact underneath.
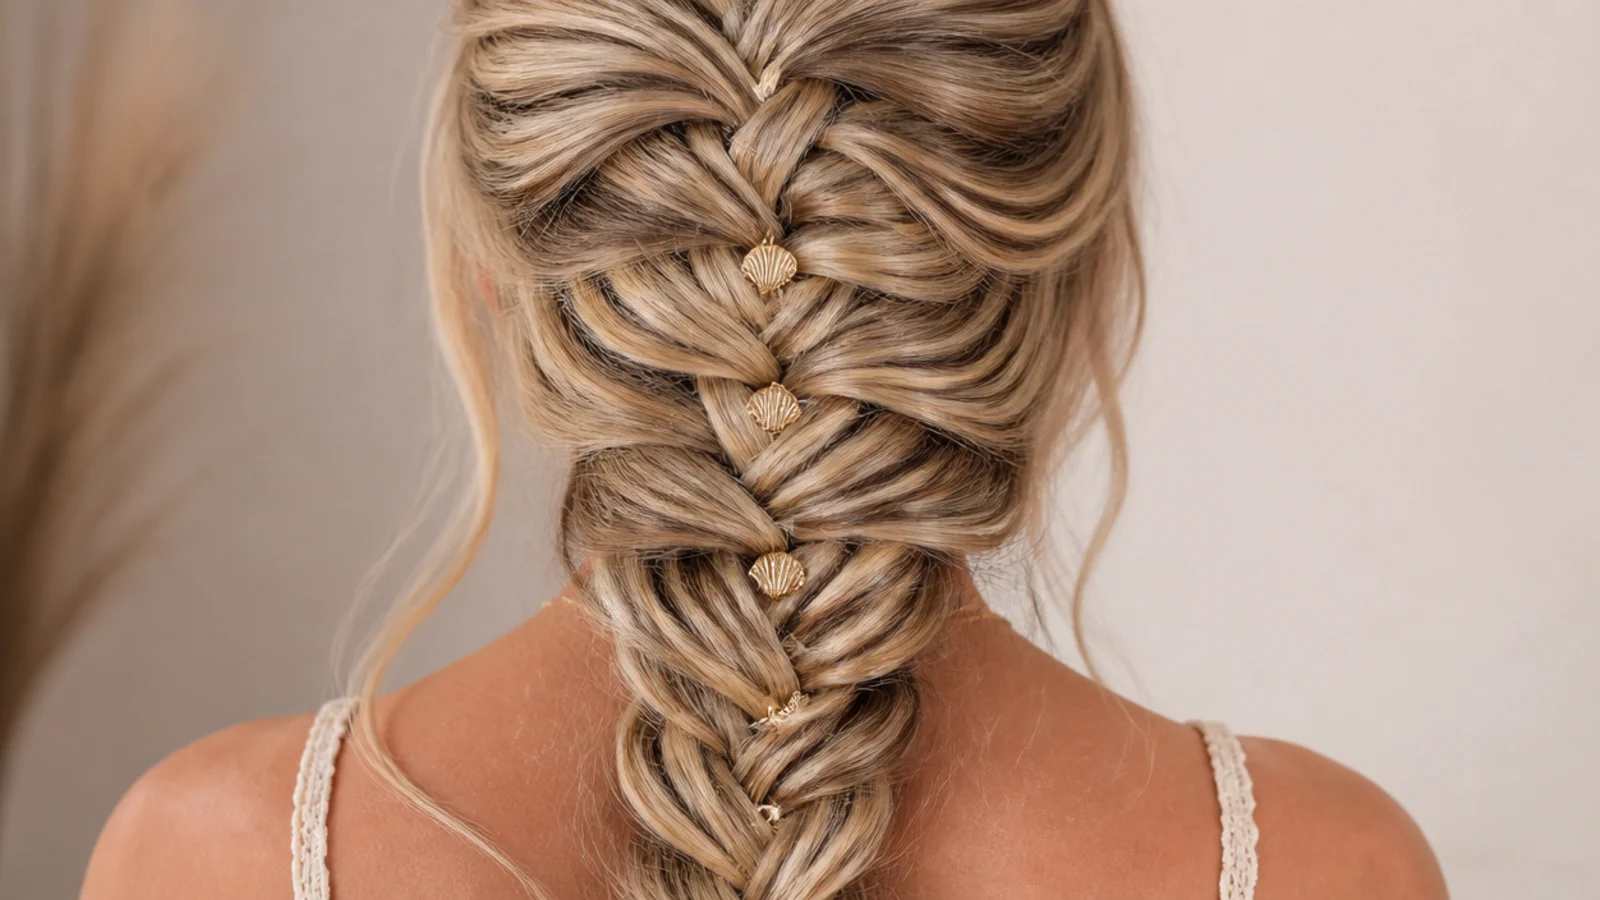
13. Braid From a Ponytail
Gathering into an elastic first gives the braid one anchor point rather than relying on friction across the whole head. Nothing escapes at the sides and the tension is fixed before you start, which makes this the version that survives a full day of dancing.
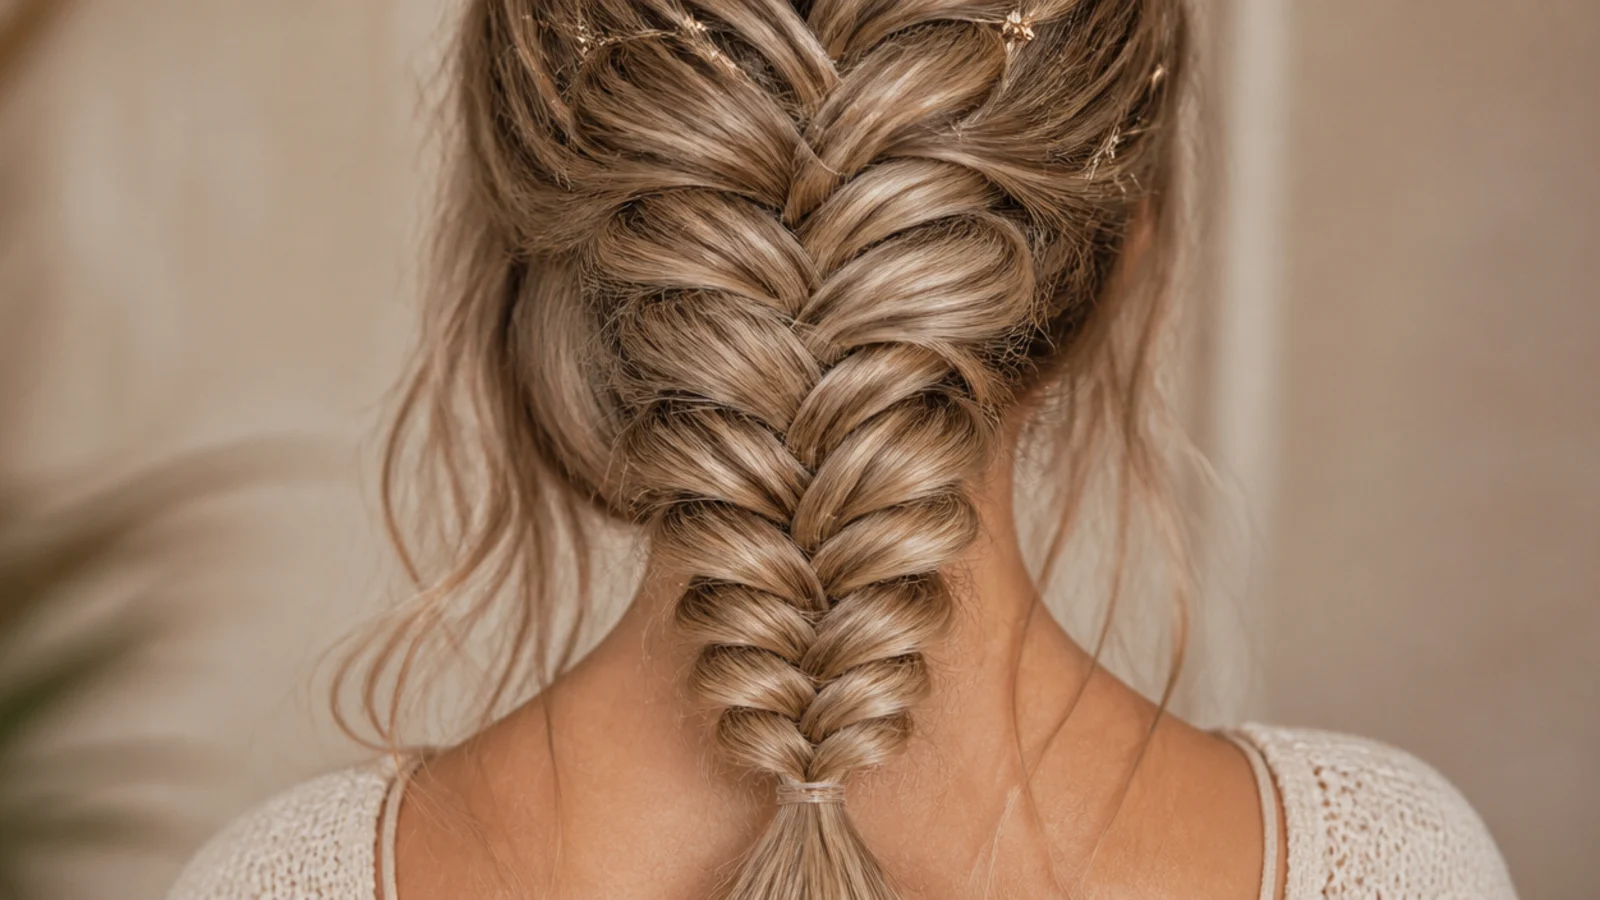
14. Fine Hair With Clip Ins
Wefts supply the mass a fine crossover is missing, and mass is what stops a segment sliding back to the centre. Clip them a couple of inches below the crown so the join sits inside the braided section where the crossovers hide it.
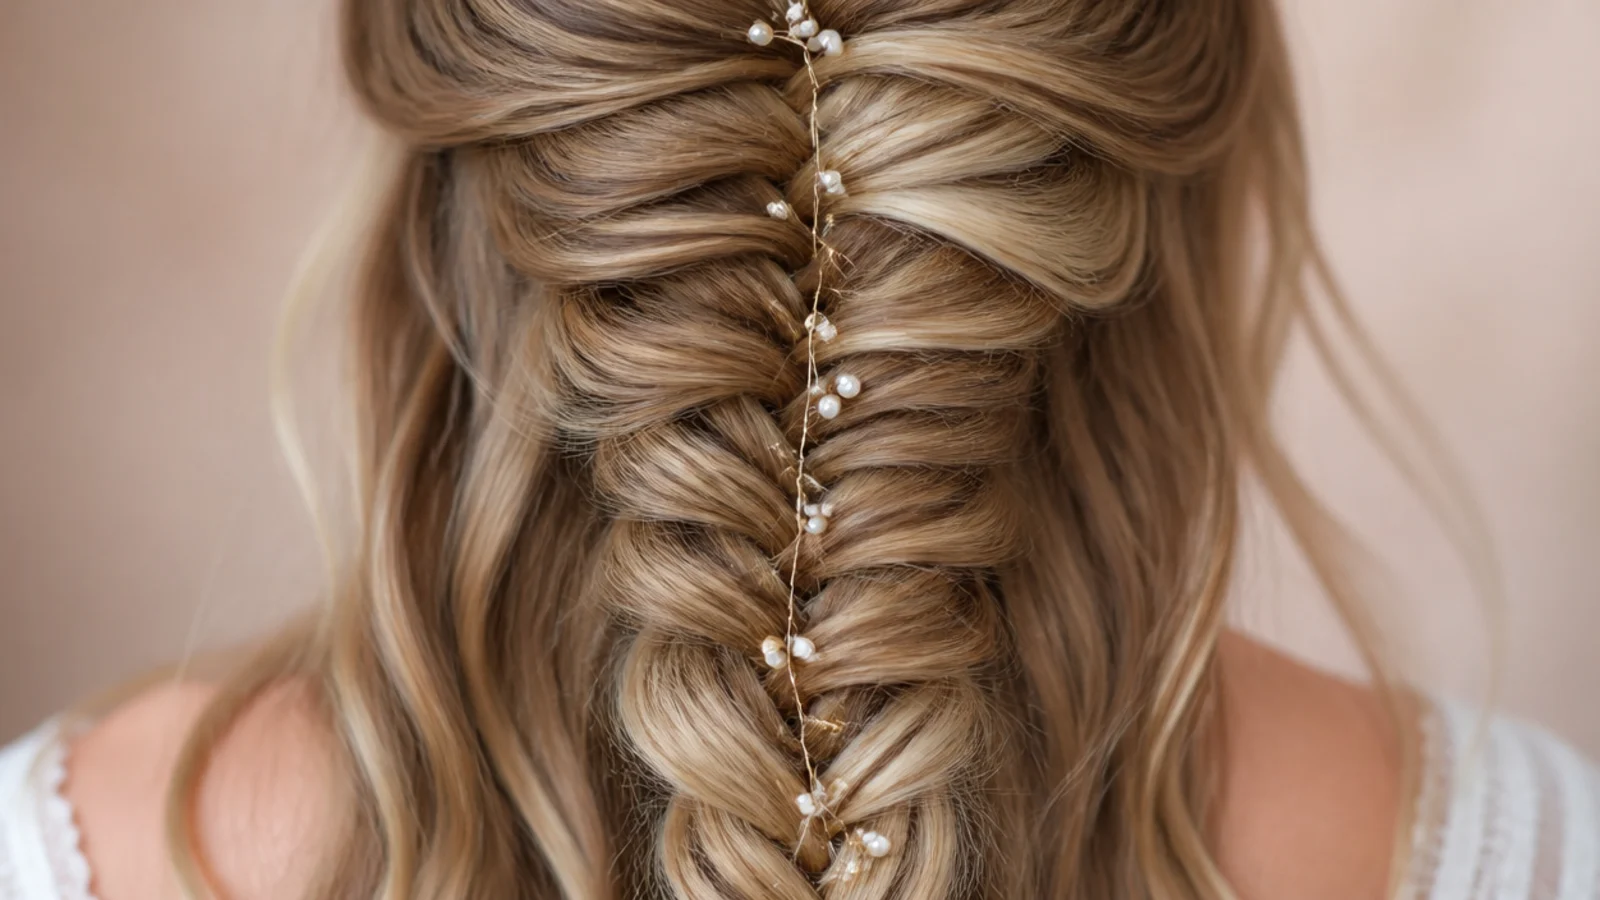
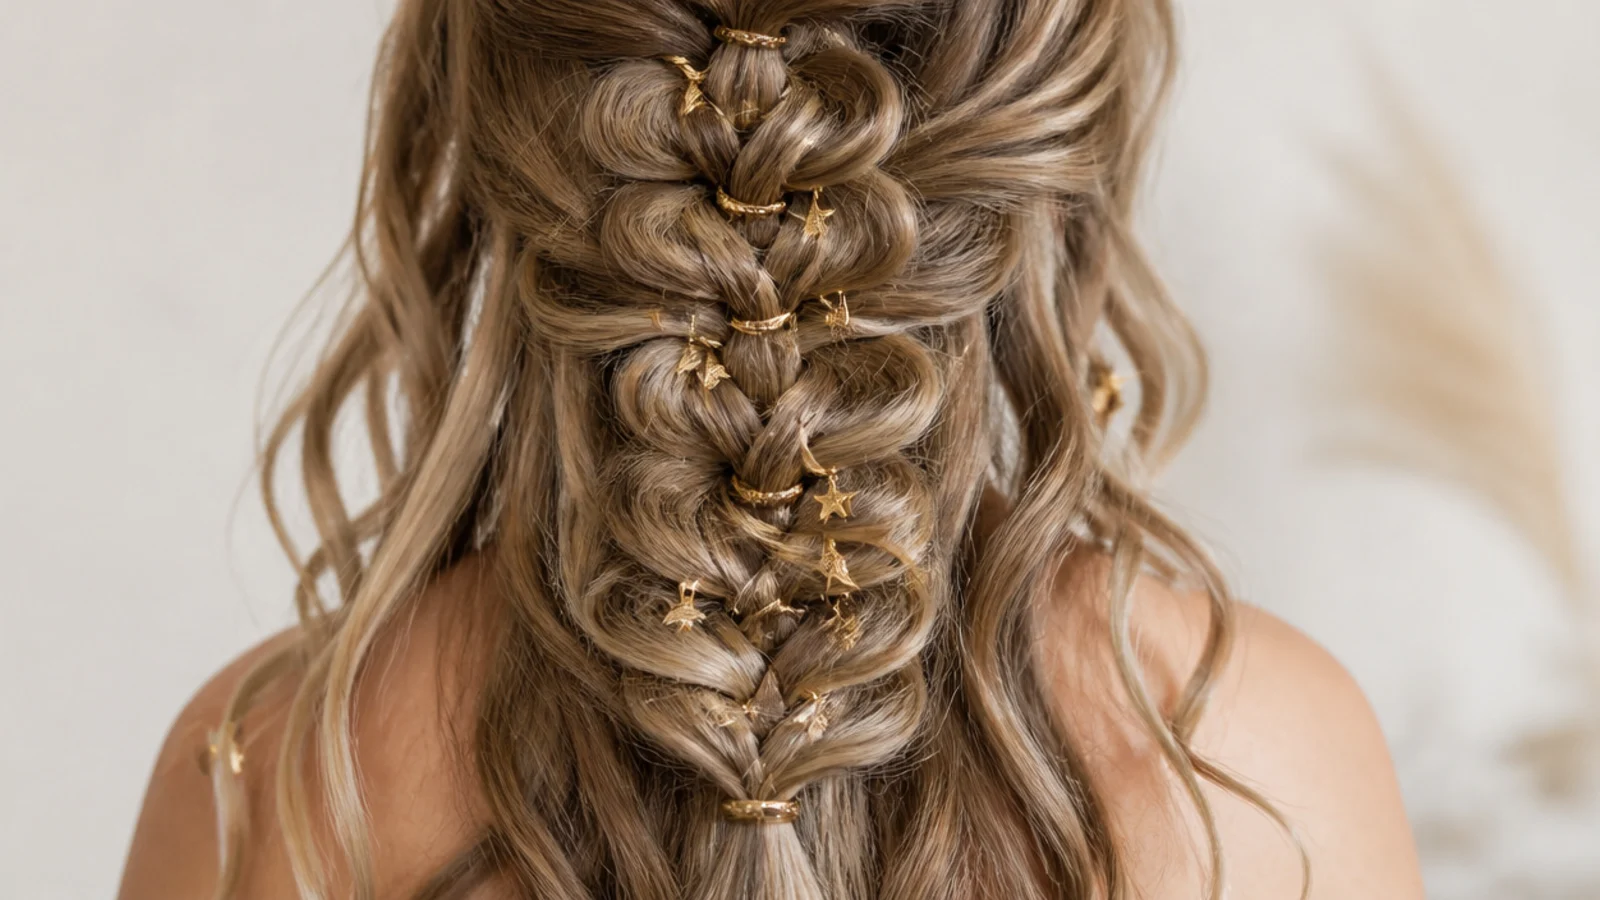
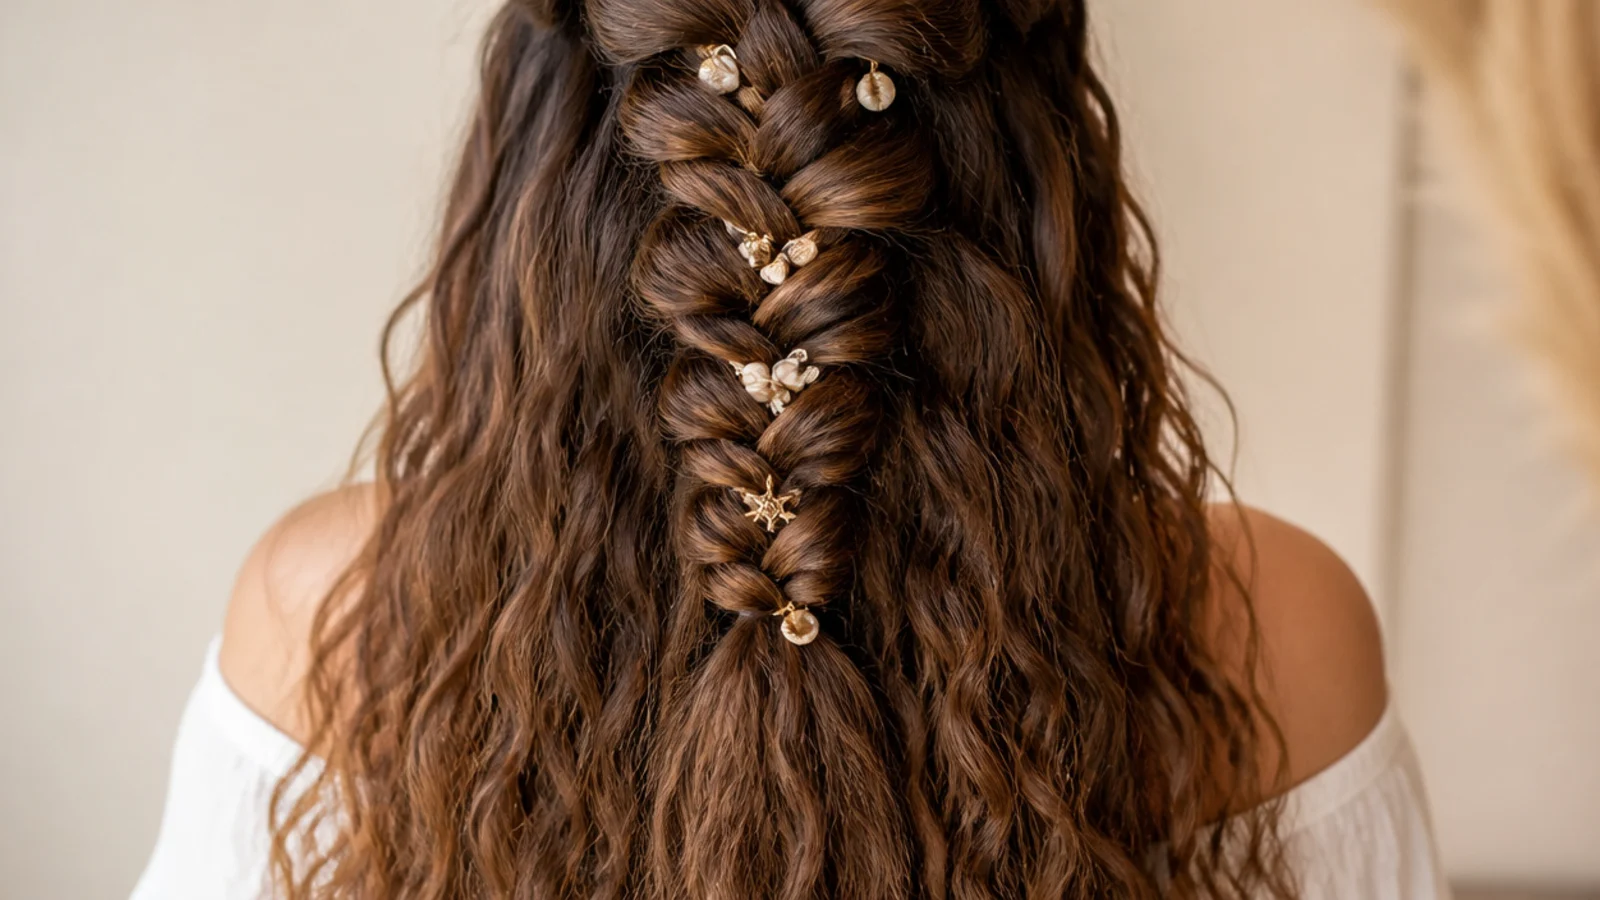
15. Star Charms
Charms threaded down the tail add weight, and weight pulls downward on every crossover above them. That constant downward load is what keeps a widened braid from creeping shut across a long hot day on your feet.
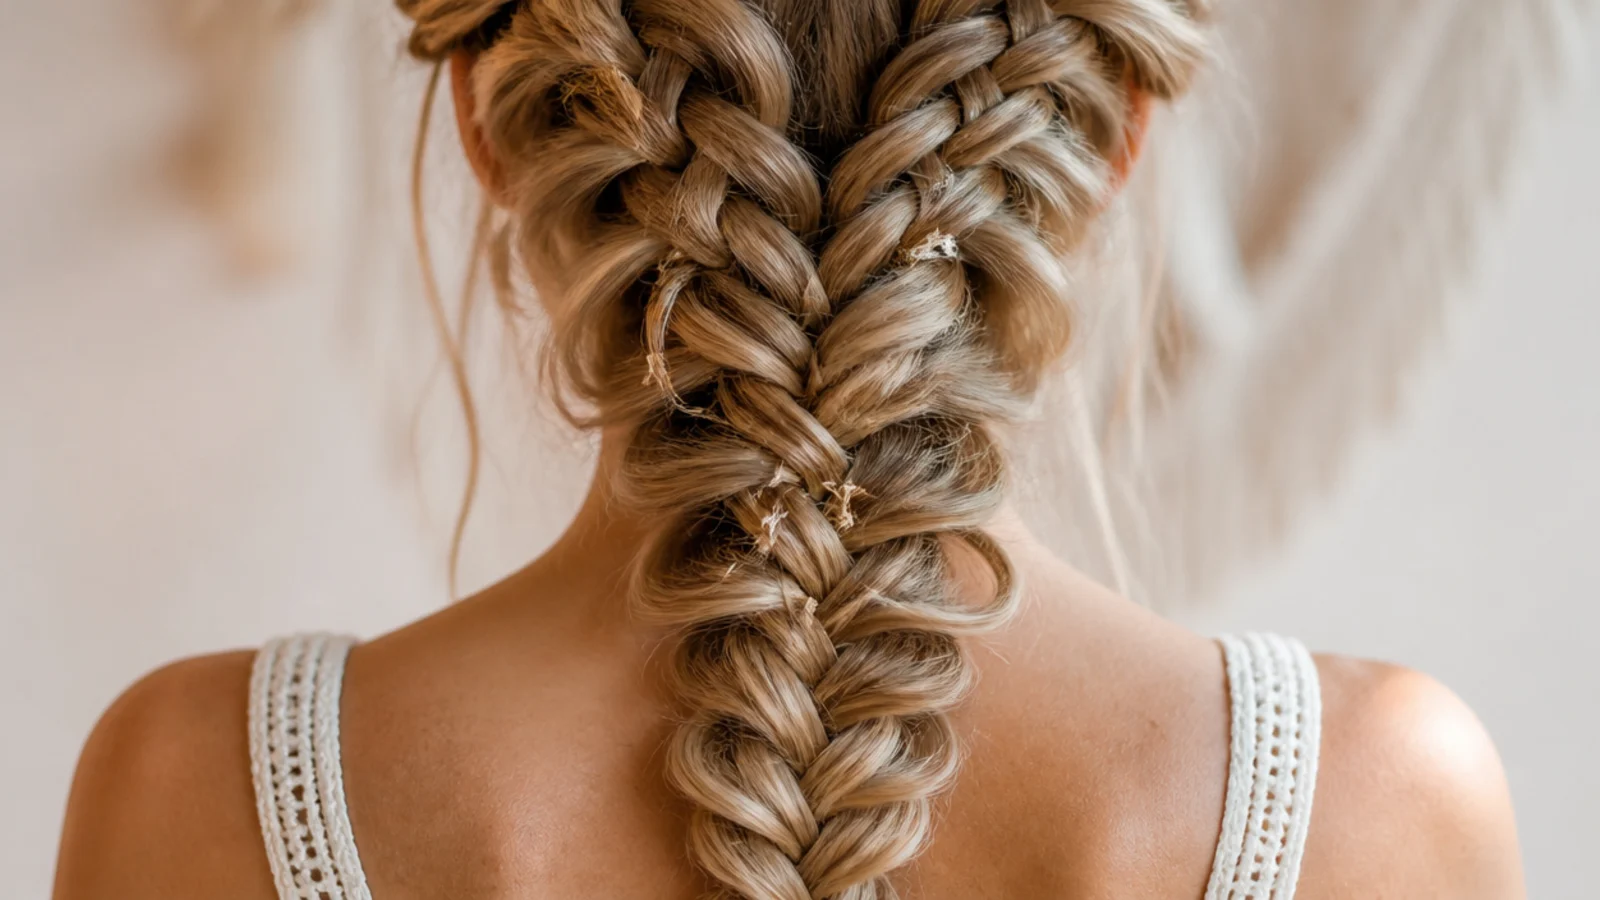
16. High Pigtails
Set above the ear so neither braid touches the neck, which is the whole difference between comfortable and unbearable in heat. A high anchor also holds tension better than a low one, because the weight of the braid pulls straight down from the elastic.
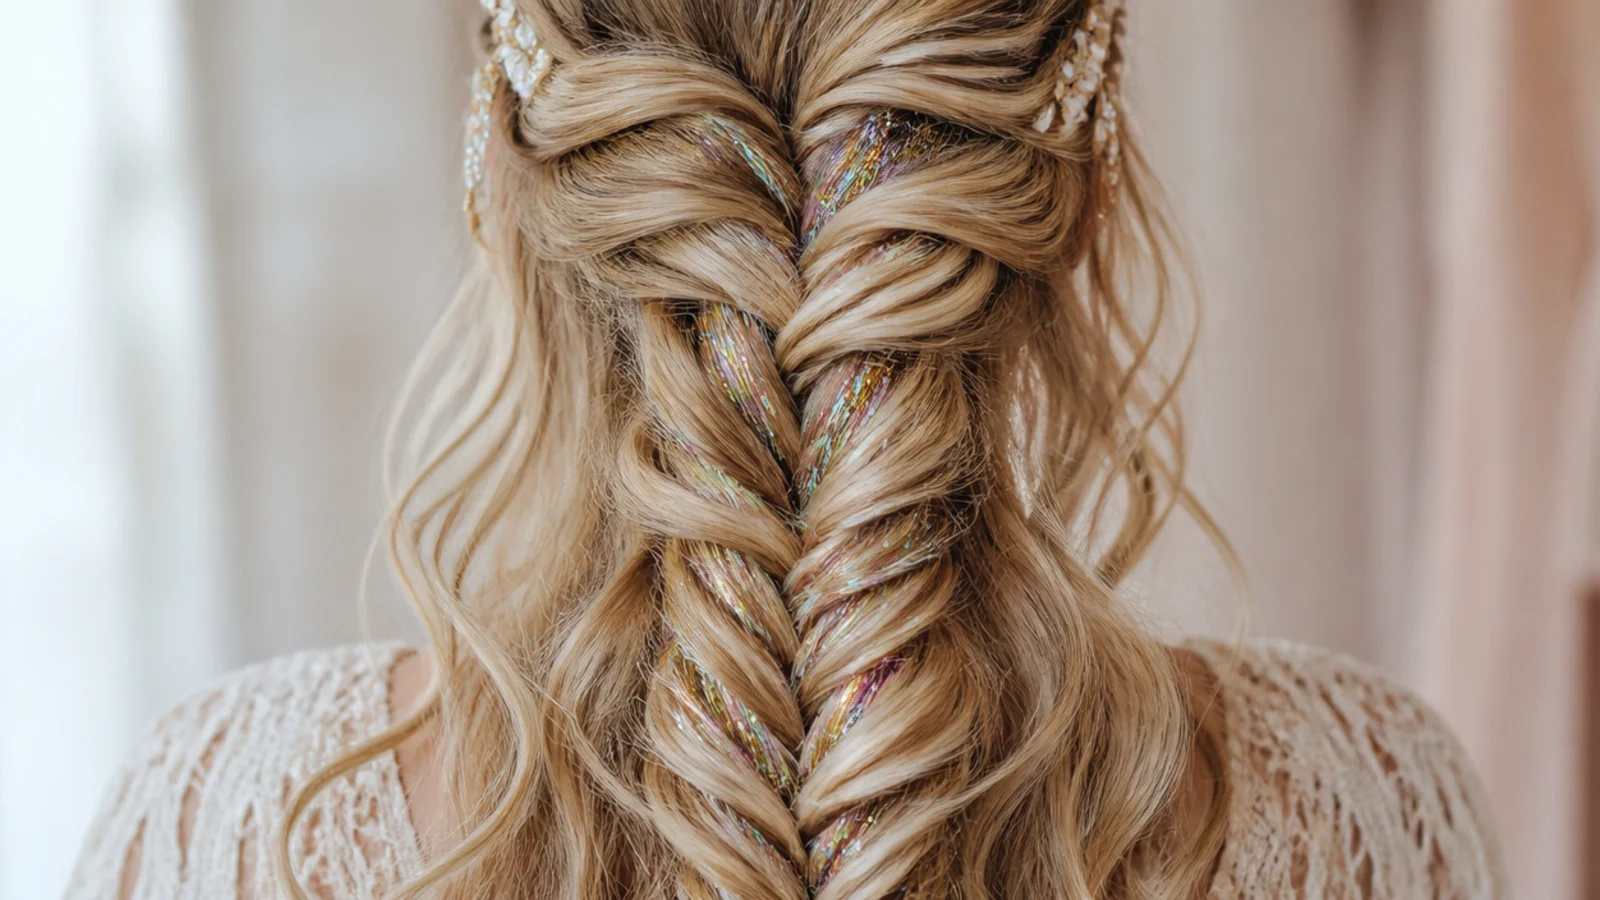
17. Hair Tinsel
Fine strands knotted onto individual hairs at the root, so they move with the hair rather than sitting on top of it. Because each one is tied to a single strand they stay put for weeks, and they catch stage light at angles hair simply cannot.
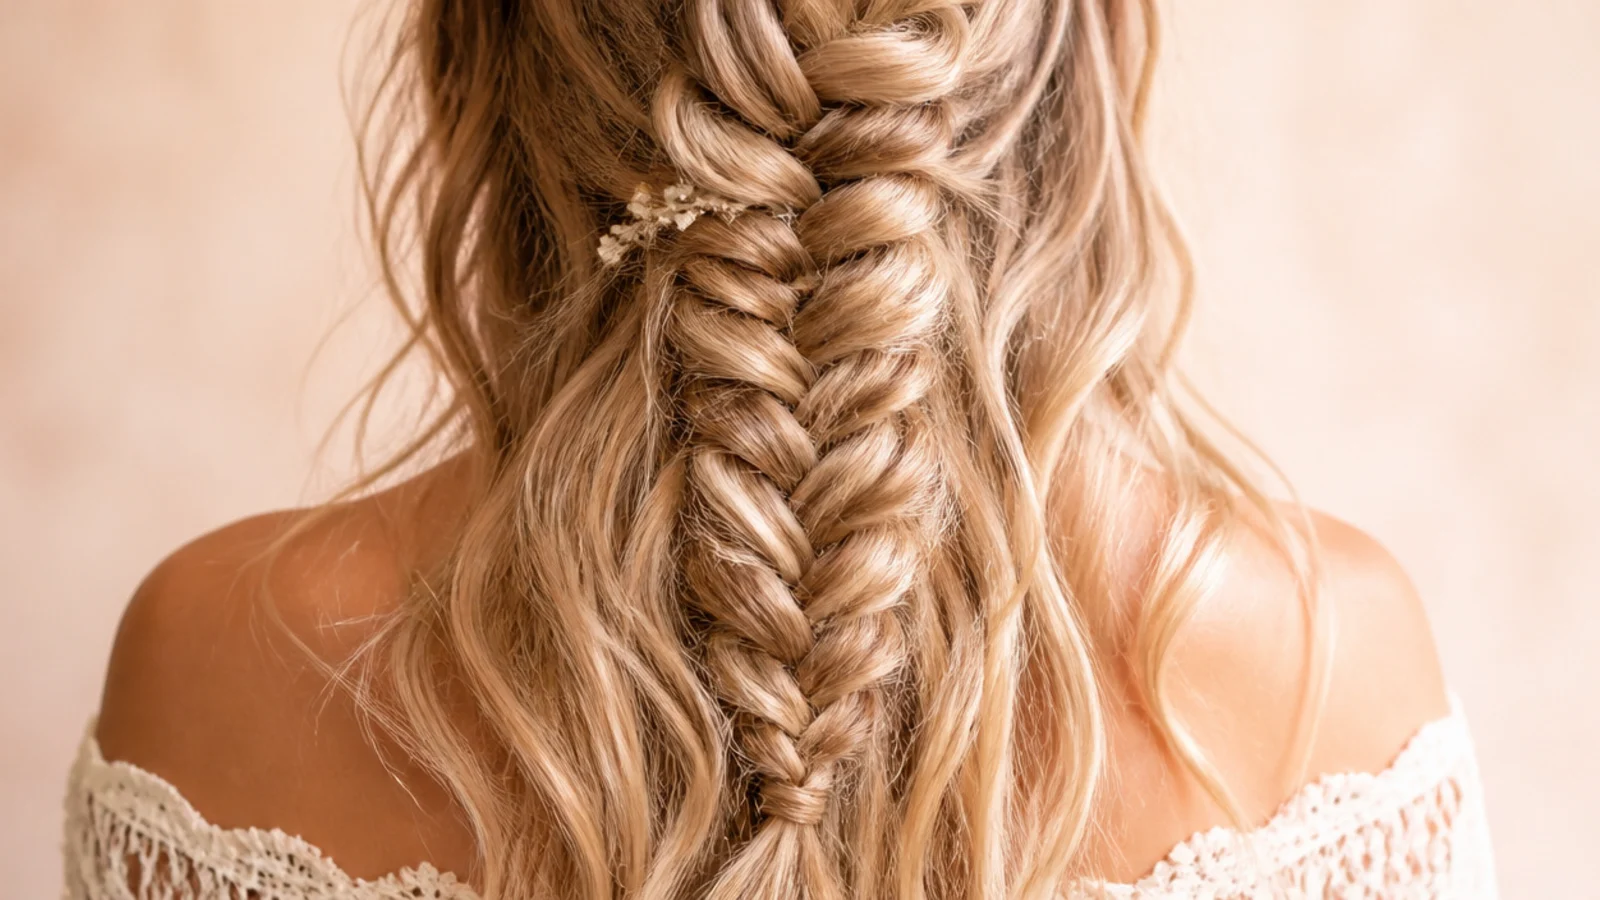
18. Braid Into Waves
The braid stops halfway down and is released into loose waves instead of being carried to the ends. Ending it while it is still thick makes the transition read as a decision, where ending it thin just looks like the braid came undone.
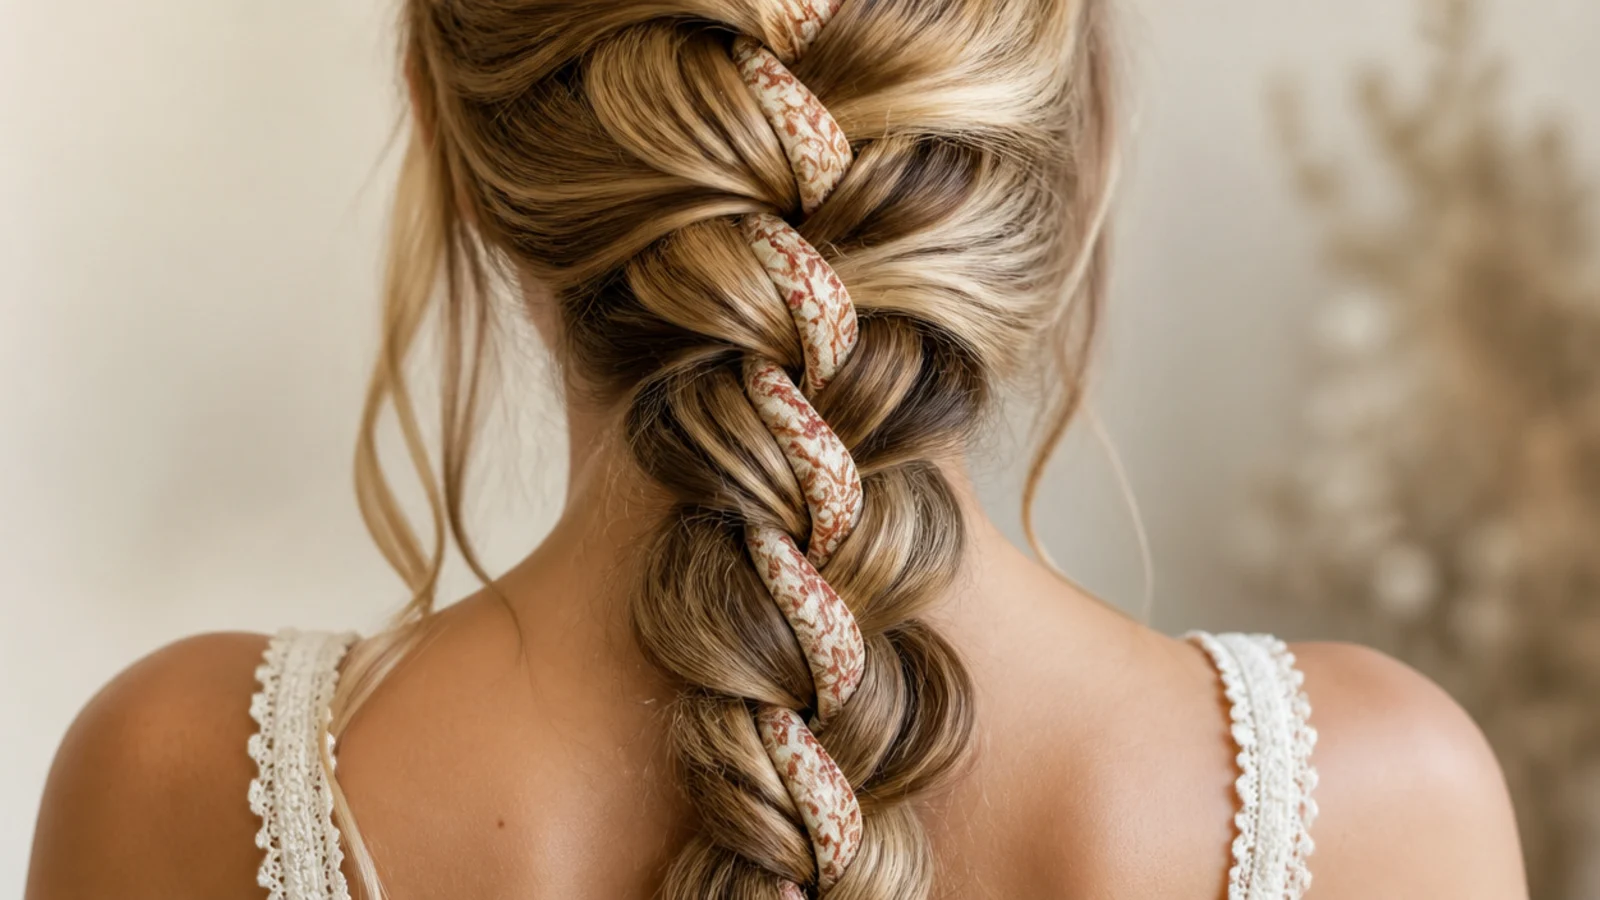
19. Scarf Wrapped
A scarf braided in as a third element carries load and adds width at the same time. On fine hair it can double the apparent thickness of every crossover, which makes it the fastest available fix for a braid that looks thin.
20. Curly Stretched
Unstretched curl gives up so much length inside a braid that the pattern never repeats often enough to read as a fishtail. Band it overnight or blow dry on low first, then braid, so the curl still bulks out each crossover without eating the length.
Final Thoughts
Braid on the second day of your hair, not the first, and build at least one thing into the braid that holds width mechanically. Friction fades over three days in heat and dust, but a cuff clamped at a set width does not, and neither does the pull of a weighted tail.
Then leave the rest alone. Widening the edges each morning and keeping powder off the crossovers will take a fishtail through a whole weekend, which is more than most styles manage without a mirror. More in Braids and Protective Styles. See also the blonde version and the boho version.
Frequently asked questions
Related posts
See all posts
20 Waterfall Mermaid Braid Ideas That Hold
Read more
15 Side Mermaid Braid Ideas That Sit Right
Read more
20 Side Part Medium Knotless Braids I Saved
Read more