20 Long Mermaid Braids for Waist Length Hair and Beyond
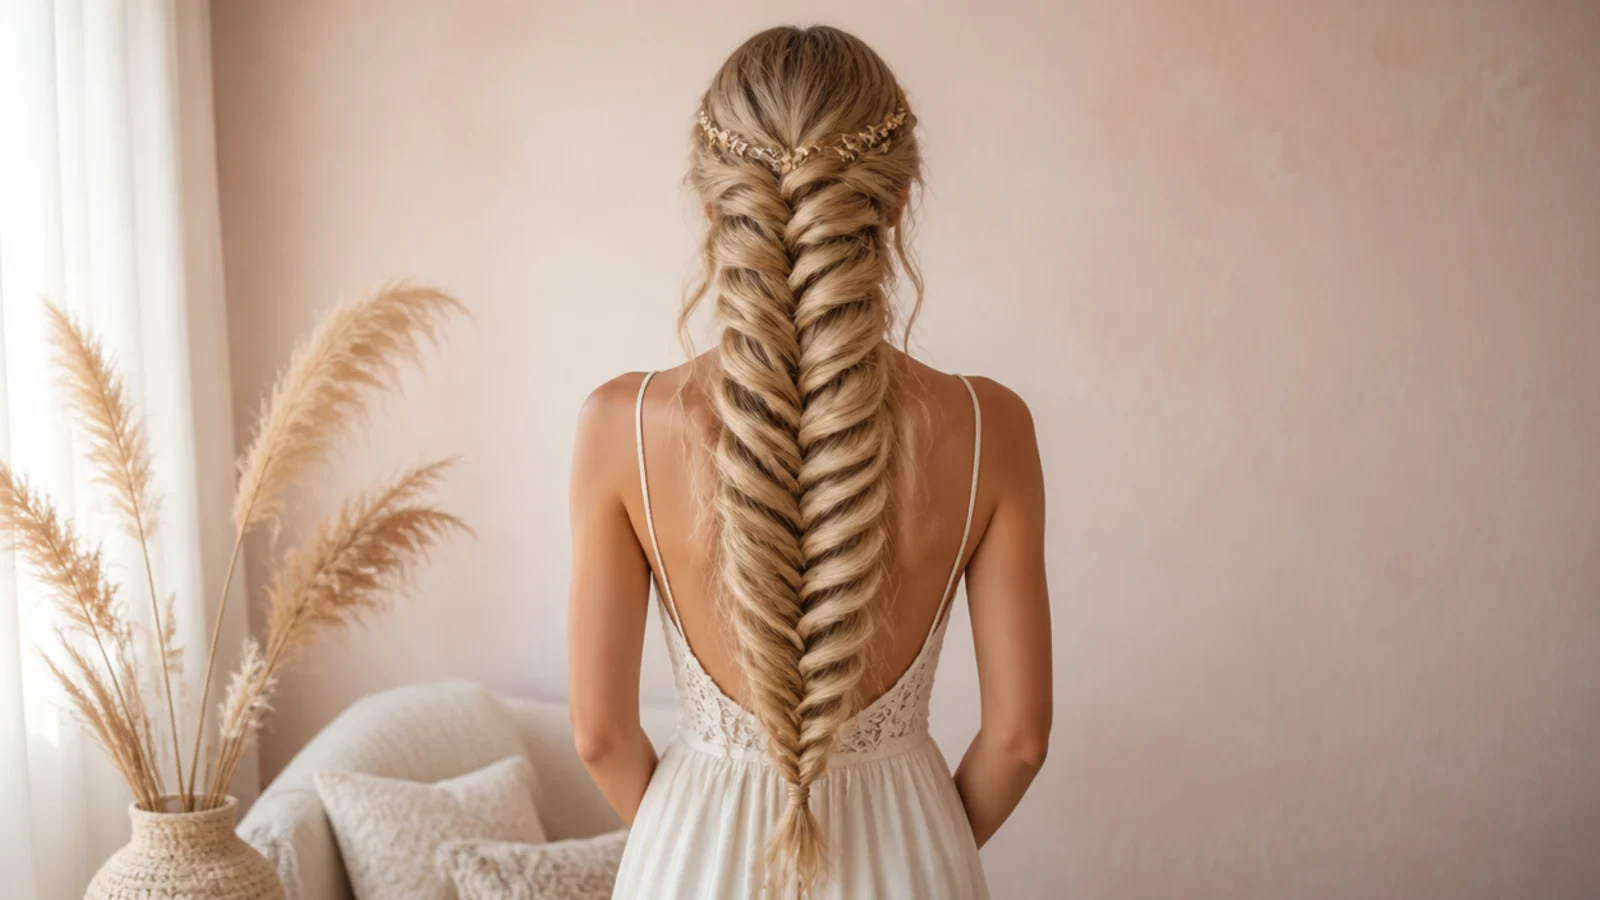
Twenty long mermaid braids, and the problem length brings that shorter braids never have — a long braid tapers to a point because fewer strands reach the ends, and the fix is width in the middle rather than more hair at the bottom.
In this article · 28
- What Is a Long Mermaid Braid
- Mermaid Braid Length Guide
- Fine Hair Mermaid Braid
- Pancaking Technique
- Boho Accessories on a Long Braid
- Overnight Mermaid Waves
- The 20 Long Mermaid Braid Ideas
- 1. Waist Length Straight
- 2. Hip Length With Extensions
- 3. Mid Back on Fine Hair
- 4. Side Over the Shoulder
- 5. Half Up With Loose Ends
- 6. Beach Waves
- 7. Dutch Mermaid
- 8. Thick and Curly
- 9. Ribbon Woven Through
- 10. Blonde With a Shadow Root
- 11. Face Framing Tendrils
- 12. Double Braids
- 13. Low Loose Bun
- 14. Pearl Pins
- 15. Boho Loose Waves
- 16. Crochet Lengths
- 17. Waterfall Mermaid
- 18. Under a Wedding Veil
- 19. Pastel Ocean Colours
- 20. Day Two Messy
- Final Thoughts
A long mermaid braid is not a short one with more inches. It has a problem the short version does not, and it shows up in exactly the same place every time.
A long braid tapers. Fewer strands reach the ends than reach the middle, so the bottom third is always the thinnest part of the plait.
The answer is width, not length. Pancake the centre of the braid hardest and let the ends stay fine. Fighting the taper with more hair at the bottom just makes the whole thing heavy.
What Is a Long Mermaid Braid
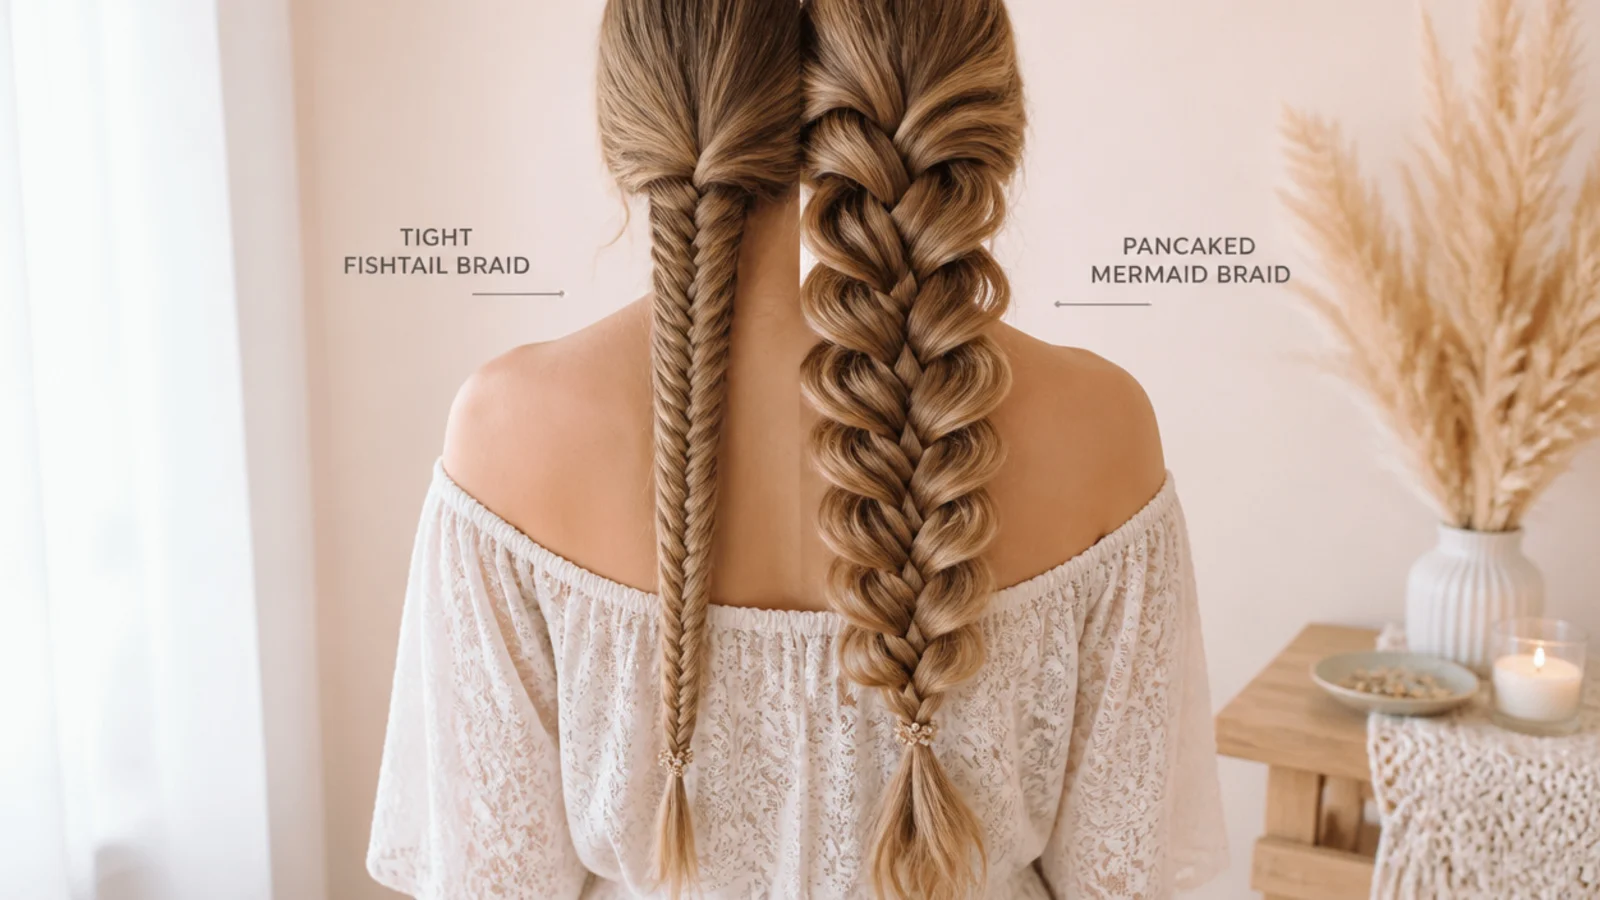
It is a fishtail worked in small pieces. The hair is split into two halves and a thin piece is crossed from the outer edge of one half to the inner edge of the other, alternating sides all the way down.
Length multiplies the crossings. A waist length braid at quarter inch pieces has several times the pattern a shoulder length one does, which is why the scale effect reads so strongly at this length.
It is pancaked after tying. The braid leaves your hands narrow and is opened out afterwards by pulling the outer loops sideways.
The taper is the shape. Widest through the middle, narrowing to a soft tail — that silhouette is the reason it is called a mermaid braid rather than a plait.
Mermaid Braid Length Guide
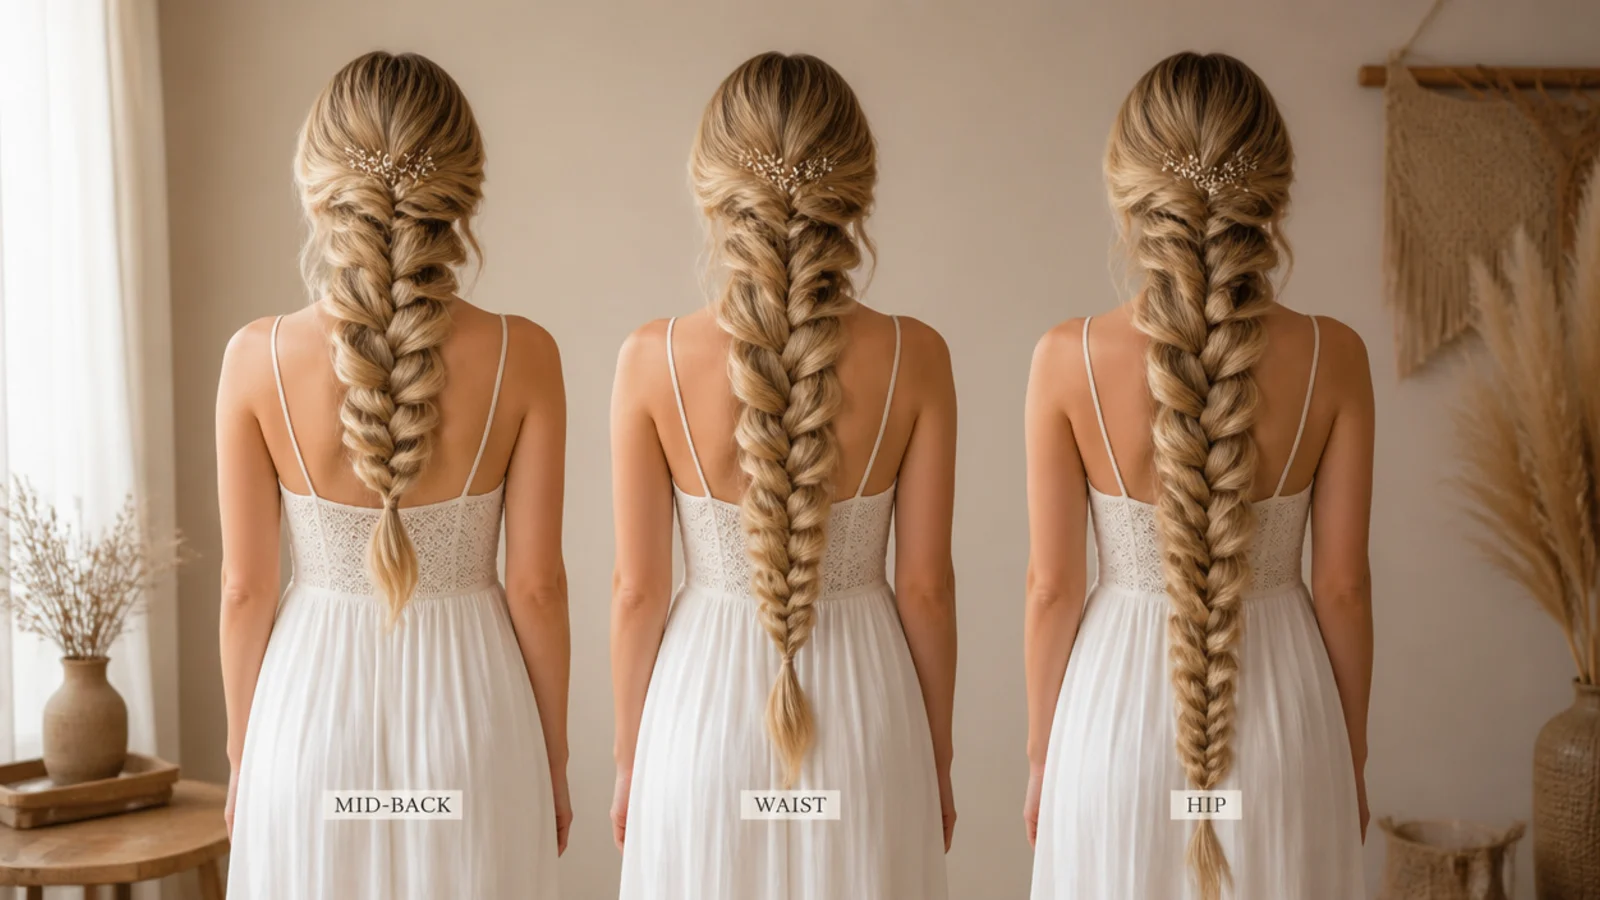
Mid back. The shortest length that still reads as a long mermaid braid. Enough crossings for the pattern and light enough to sit where you put it.
Waist. The classic. Hair grows roughly half an inch a month, so most people reach this from shoulder length after two to three years without a real cut.
Hip and past it. Almost always extensions or crochet lengths, because natural hair thins considerably before it gets there.
Layered long hair. Short layers escape the crossings and stick out along the braid. Pancaking hides them, so widen more than you would on one length hair.
One length long hair. The cleanest braid of all, and the most demanding, because there is nothing escaping to disguise an uneven crossing.
Fine Hair Mermaid Braid
Fine and long is the hardest combination. Each quarter inch piece holds very few strands, and the natural taper takes more of them away with every inch.
Braid higher. Starting at the crown rather than the nape adds hair to the top of the braid, which is where a fine braid needs the bulk.
Take smaller pieces than feels sensible. More crossings means more loops to widen, and width on fine hair is bought entirely with loops.
Second day hair or texture spray, always. Fine hair is usually smooth hair, and a smooth cuticle lets the loops slide shut within the hour.
Stop the braid earlier. Tie off before the taper becomes obvious and let three or four inches hang loose, which reads as intentional where a thinning braid does not.
Pancaking Technique
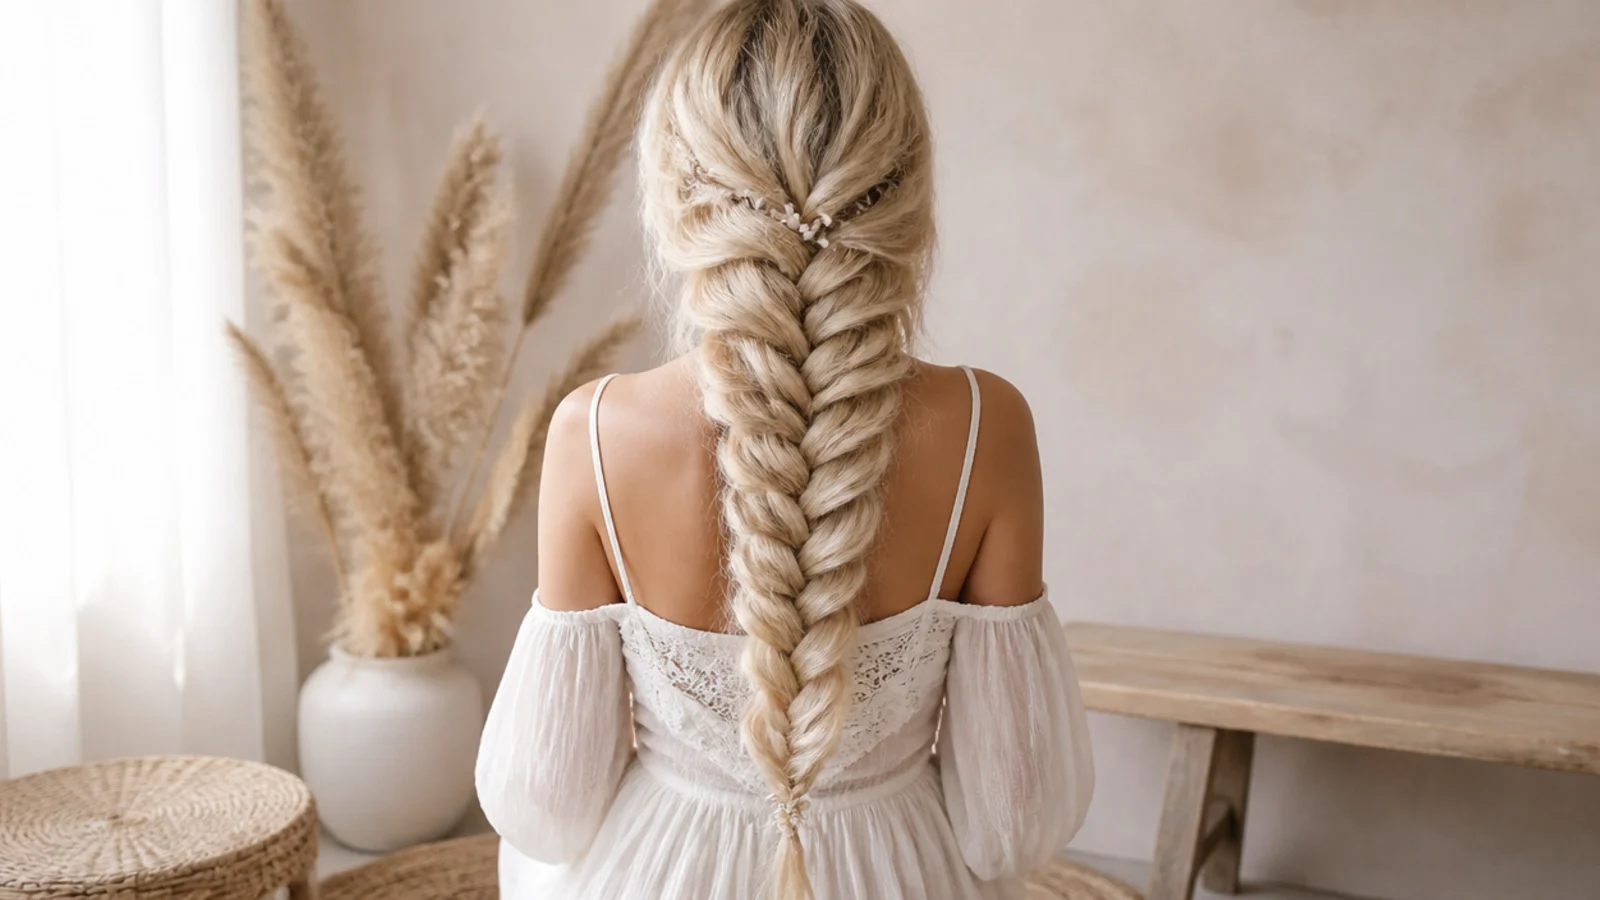
Hold the elastic. Anchor the bottom or the braid stretches lengthways instead of widening, which costs you an inch and gains nothing.
Pull one outer loop at a time. The tension is held by the centre crossings, so the outer edge can be drawn sideways without loosening the braid at all.
Work upwards from the tie. Every loop you open borrows slack from above it. Going upwards pushes that slack into hair you have not reached yet, and going downwards drags the crown apart.
Widest at the middle. On a long braid this is the single decision that makes it look designed. Even width top to bottom reads as a strip of fabric rather than a tail.
Do it in two passes. A long braid has too many loops to judge in one go, so open everything roughly, then walk back up correcting the ones that lag.
Boho Accessories on a Long Braid
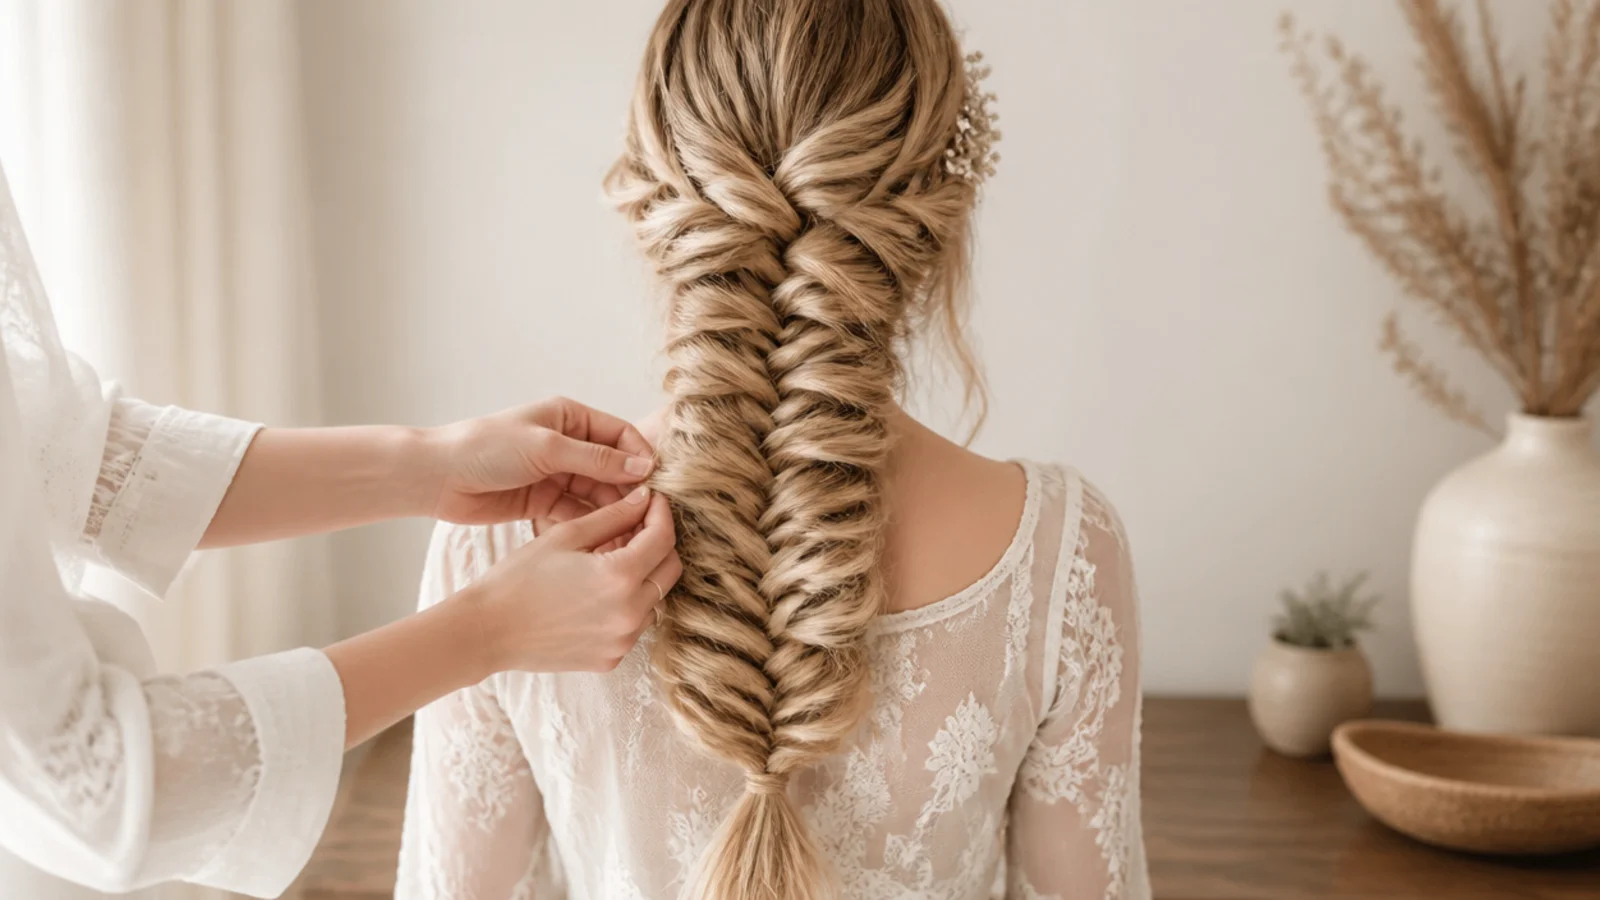
Ribbon goes in at the first crossover. Laid in with one of the halves it travels the whole length and surfaces at intervals. It also adds friction, which a long braid needs more than a short one.
Pins carry weight as well as decoration. A long braid is heavy, and a pin set into a loop mid length takes load off the elastic and off your roots.
Cuffs belong on the taper. They need a narrow section to close on, so the last third is the only part of a long braid that holds them.
Space accessories towards the widest part. Detail in the middle reinforces the silhouette, while detail near the ends draws the eye to the thinnest point.
Nothing heavy above the shoulders. Weight at the crown pulls the parting backwards over a few hours, and on a long braid there is already plenty of it.
Overnight Mermaid Waves
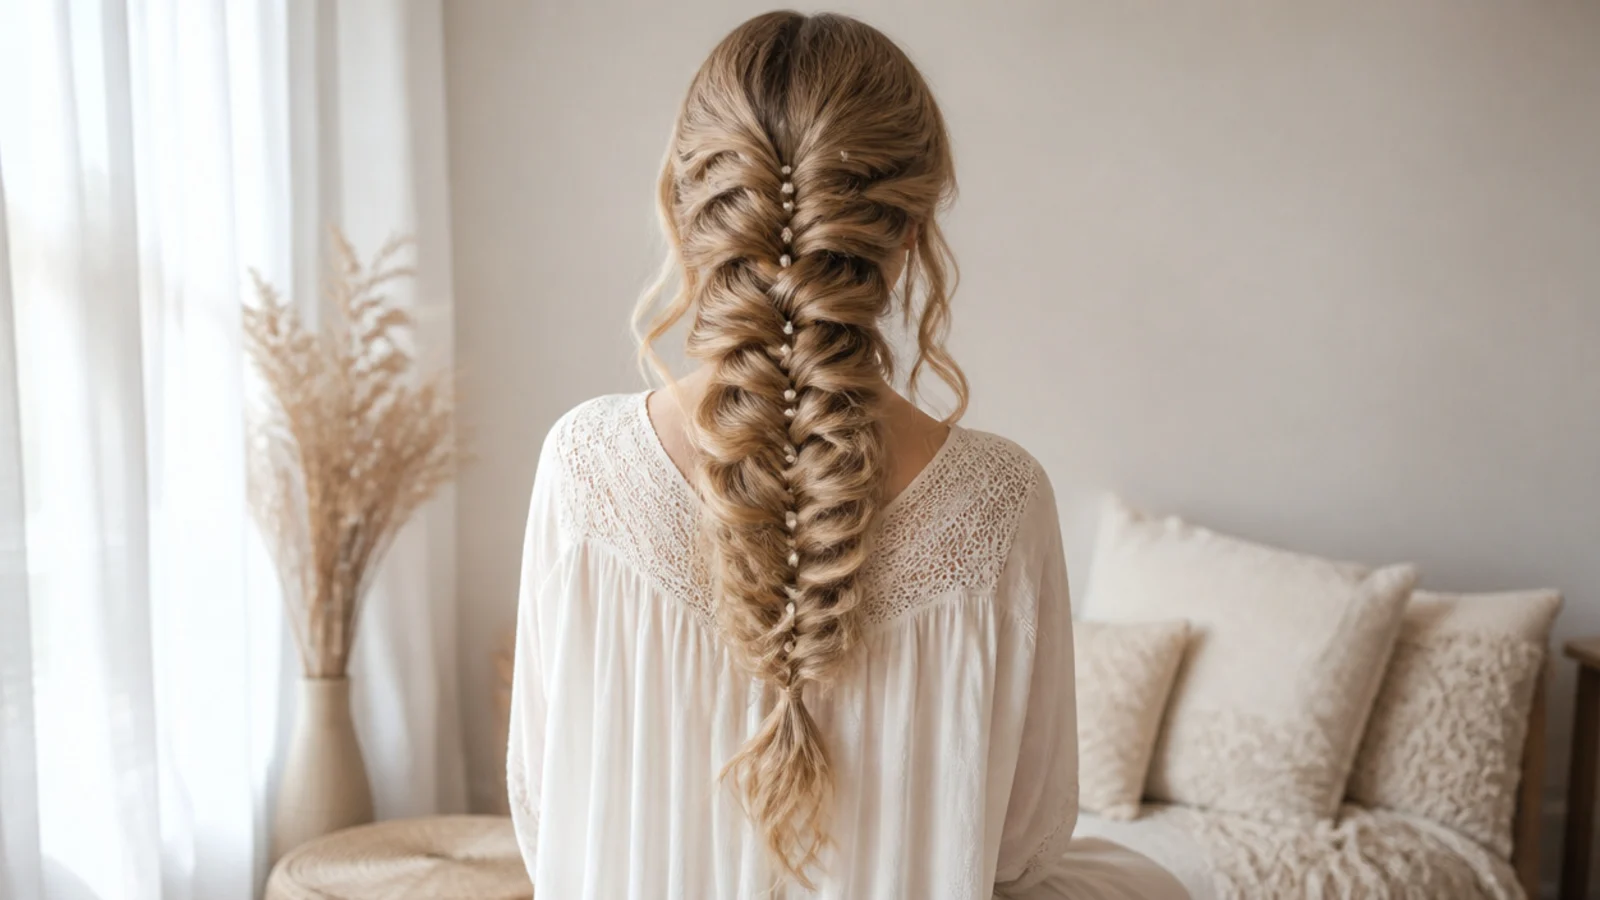
The braid is also a setting tool. Small evenly spaced crossings leave a fine consistent bend along the entire length.
Damp, not wet. Hair takes a set as it dries, so braid at towel dry and it will hold. Braid soaking wet and it will still be damp in the morning.
Loosen the tie before bed. A tight elastic left in overnight leaves a crease at exactly the point where a long braid is already weakest.
Two braids give a tighter wave than one. Splitting the hair halves the width of each section, which halves the radius of the bend.
Take it out with fingers. A brush pulls the set straight out again, and on long hair it also finds every knot the night created.
The 20 Long Mermaid Braid Ideas
1. Waist Length Straight
Straight hair gives the cleanest crossings of any texture and the least forgiving braid, because there is no bend to scatter light across an uneven pass. Every piece has to be the same width, and the reward is a pattern that reads sharply from the crown to the tie.
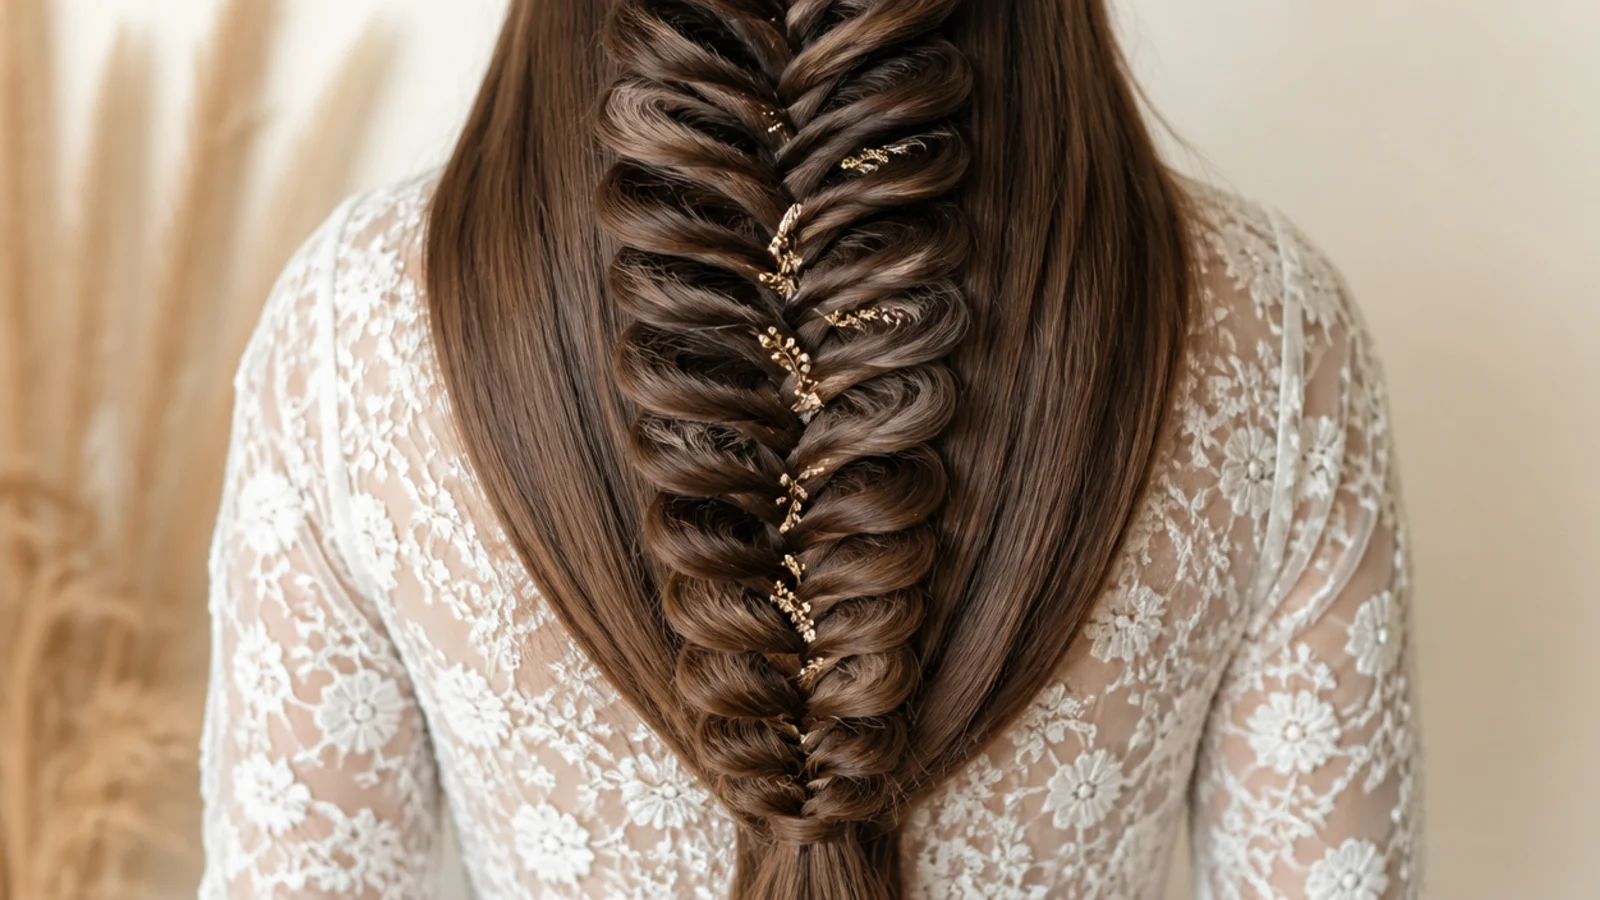
2. Hip Length With Extensions
Wefts clipped in below the parting add strands to the middle and lower braid, which is exactly where a long braid runs out of hair. The extra bulk fills the taper, so the braid keeps its width down to the tie instead of narrowing to a point at the hip.
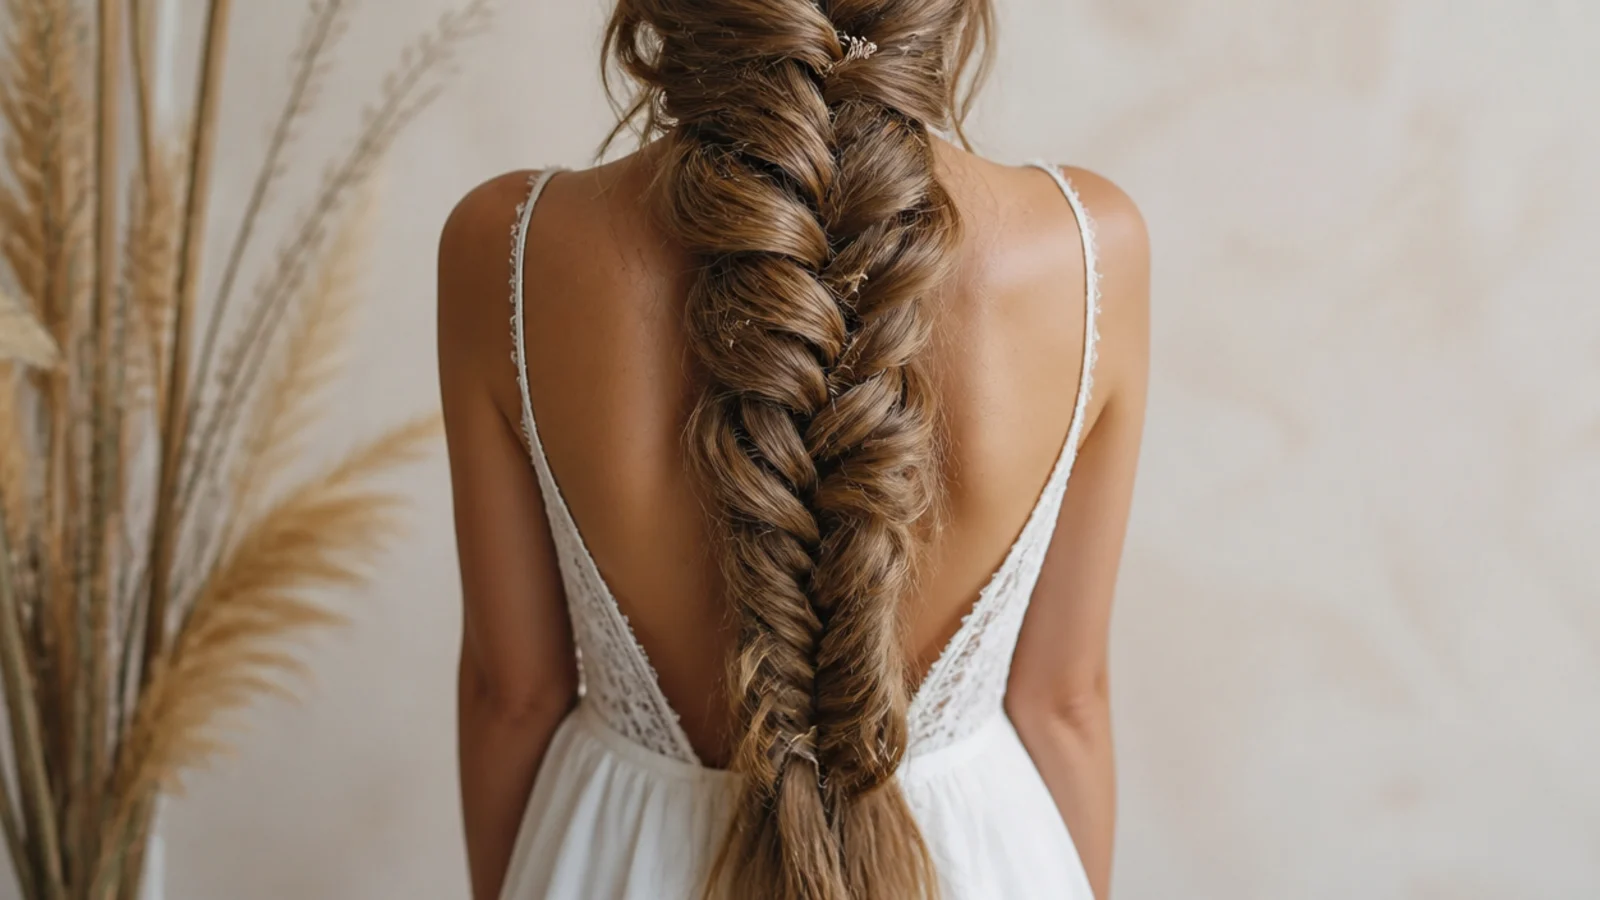
3. Mid Back on Fine Hair
Fine hair at this length carries very few strands to the ends, so start the braid high and take smaller pieces than feel sensible. More crossings means more loops to open, and on fine hair every bit of width comes from loops rather than from volume.
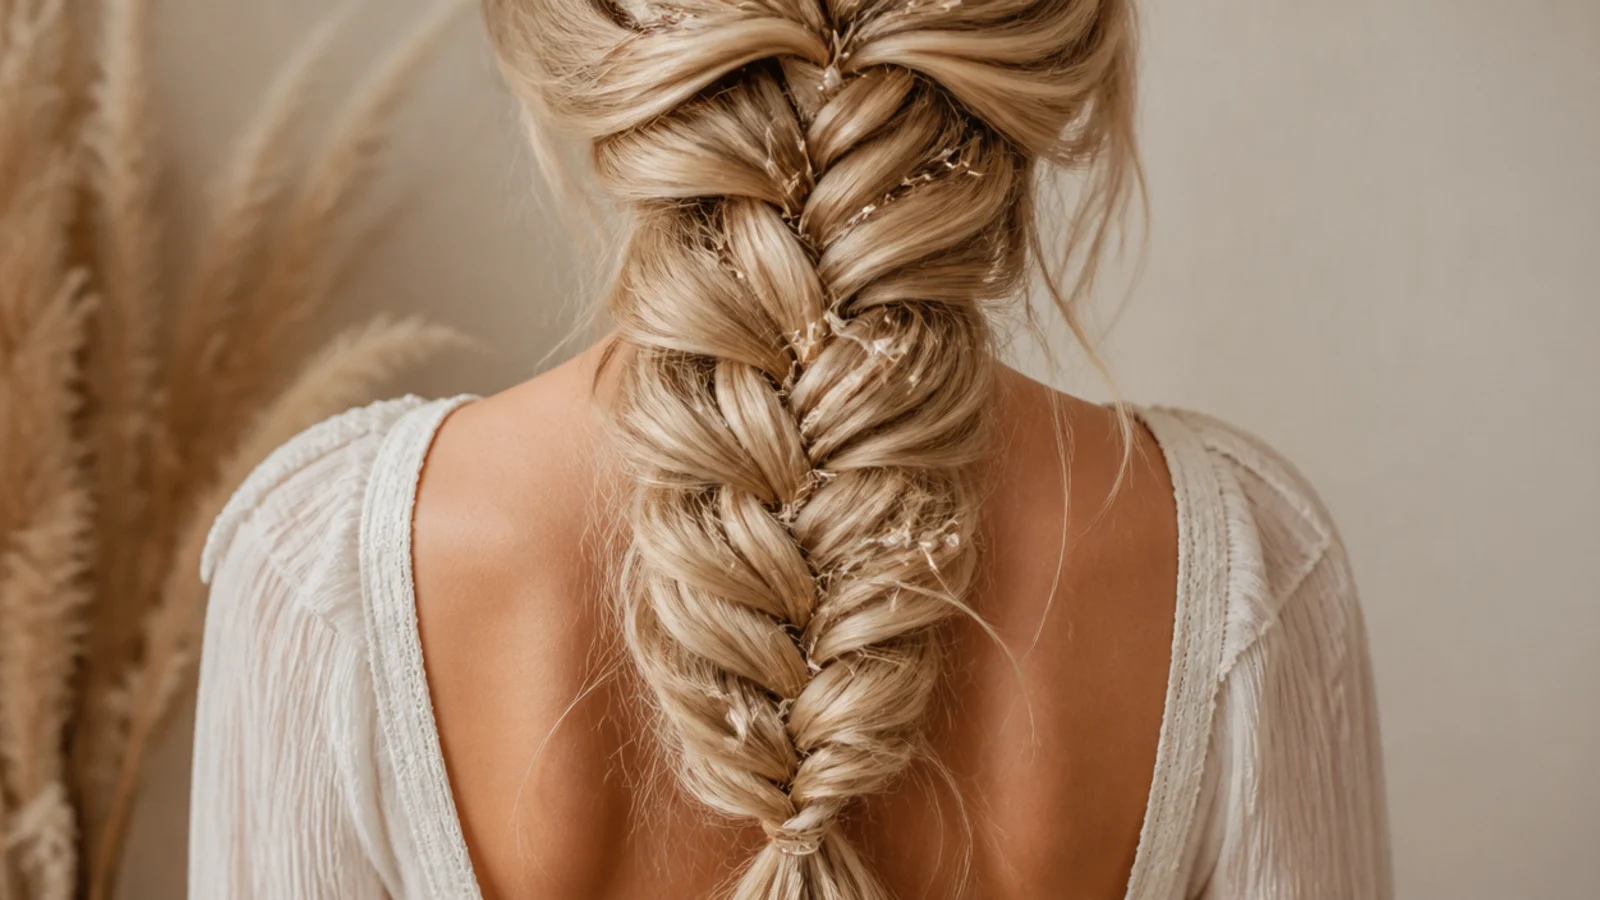
4. Side Over the Shoulder
Bringing the braid forward puts the work in front of your own hands, which removes most of the difficulty of braiding your own hair. It also stops the braid rubbing against a collar all day, and collar friction is what closes pancaked loops fastest.
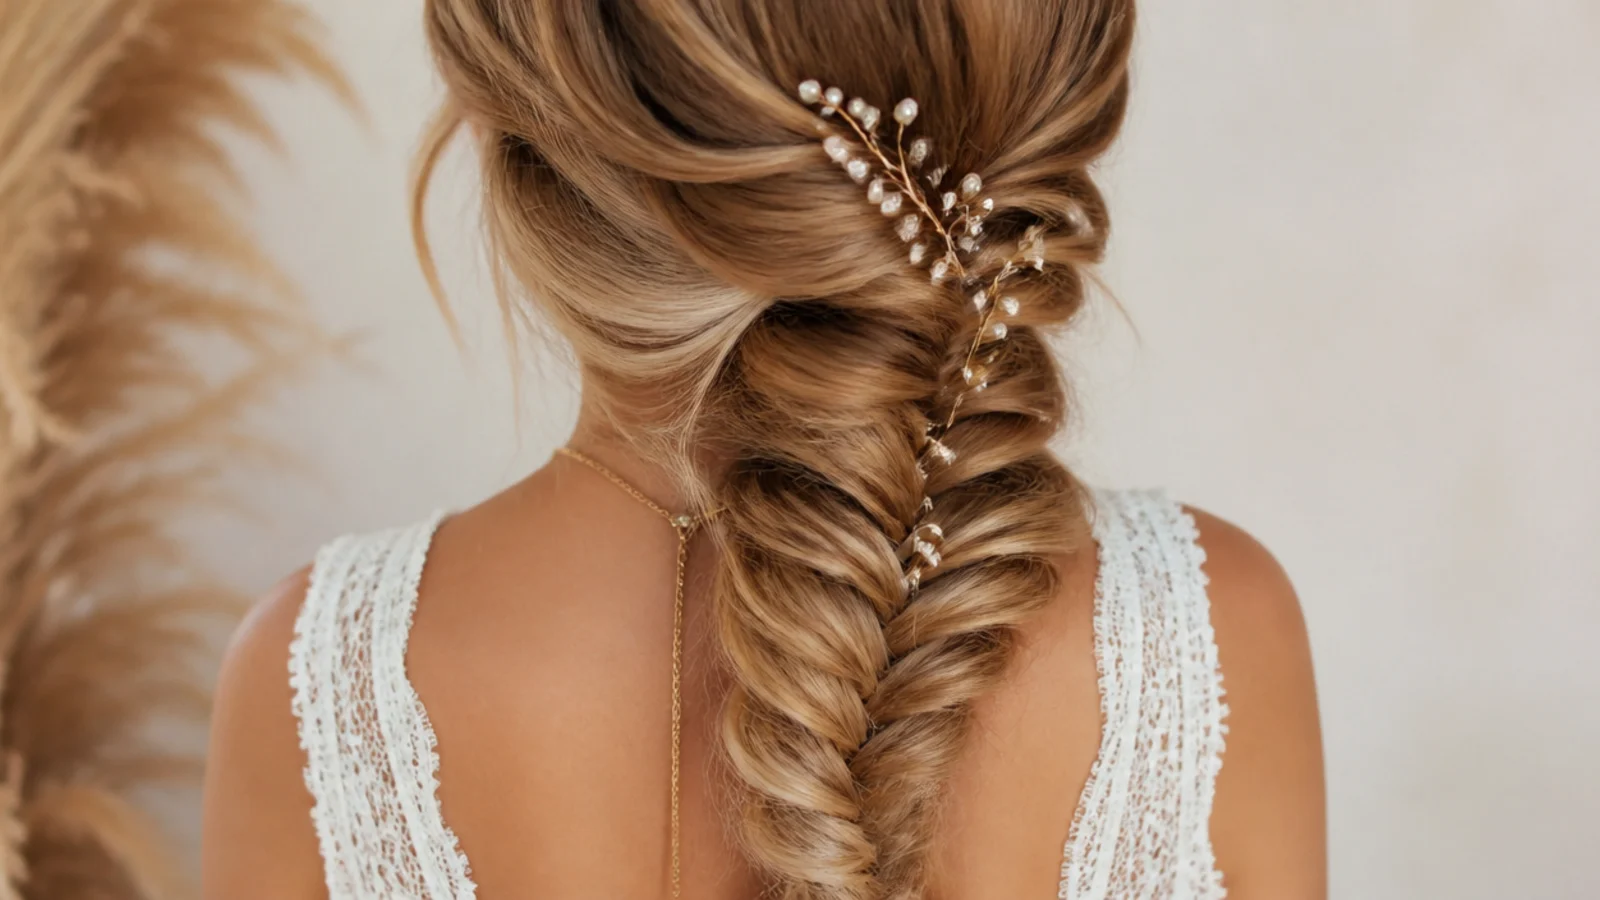
5. Half Up With Loose Ends
Only the crown section is braided, so the plait floats over loose length rather than containing it. On long hair this gives two visible textures at once, and it halves the weight hanging from the anchor because most of the hair is carrying itself.
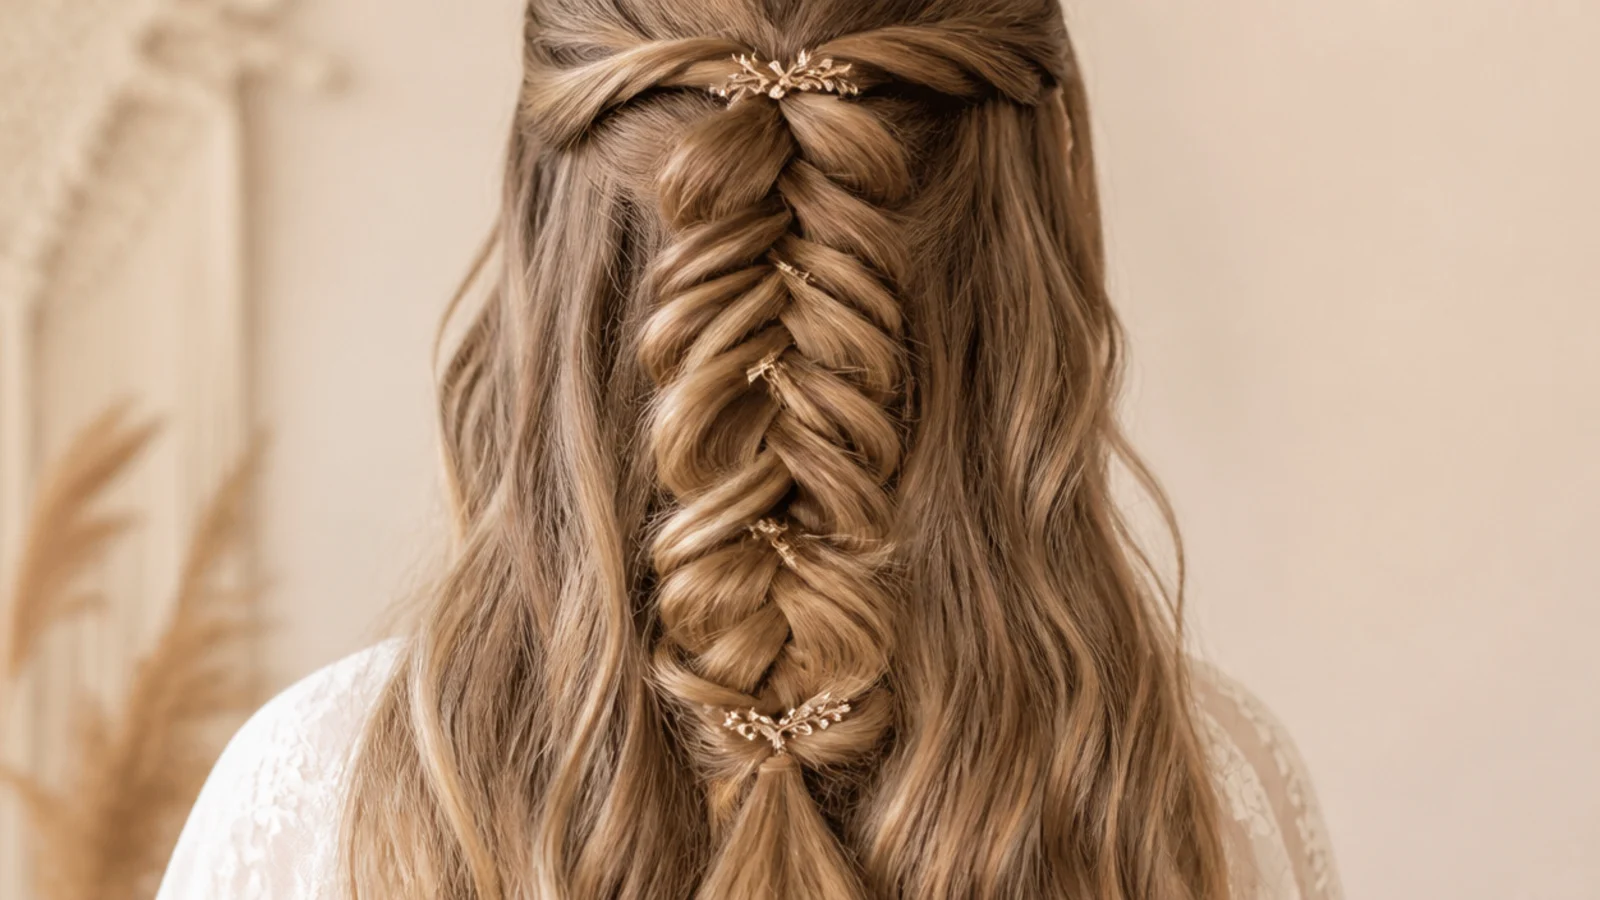
6. Beach Waves
Waving the length before braiding gives every strand a bend, and bent strands catch on each other where straight ones slide past. On a long braid that friction matters more than anywhere else, because the braid swings and every swing works the loops back towards the centre.
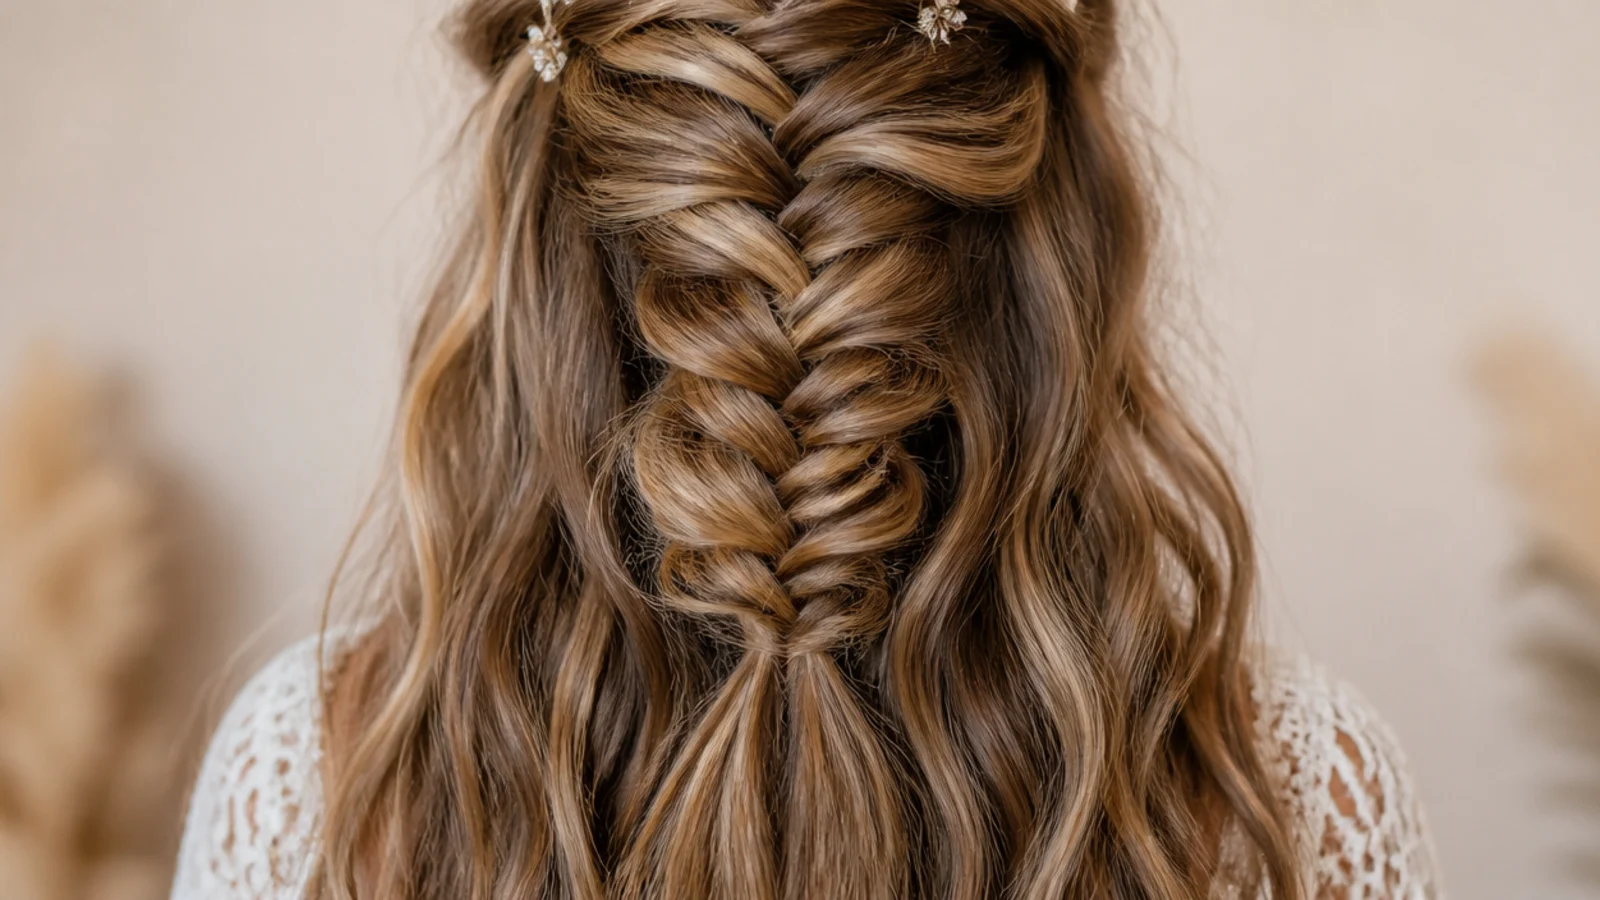
7. Dutch Mermaid
Crossing each piece under the opposite half rather than over it lifts the braid onto the surface of the hair. On long hair that raised profile also casts a shadow down its own length, which makes the crossings read from much further away.
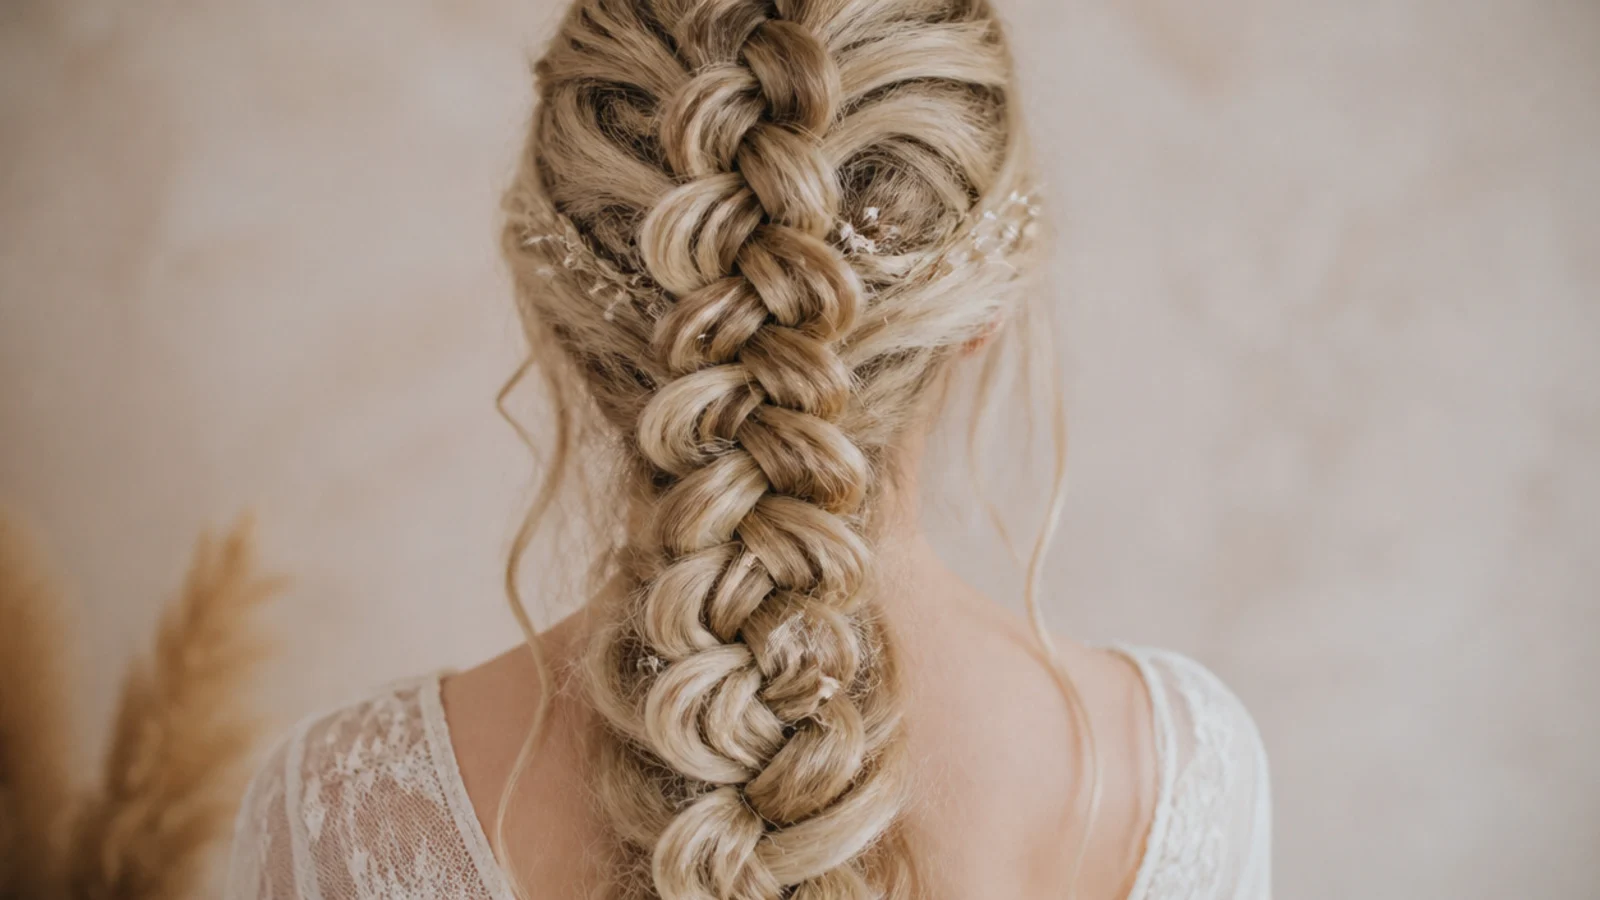
8. Thick and Curly
Coils grip one another, so a long curly braid holds without product and rarely slips. Stretch each section gently as you cross it and take slightly wider pieces, because a tight curl pattern swallows fine crossings and the braid vanishes into its own texture.
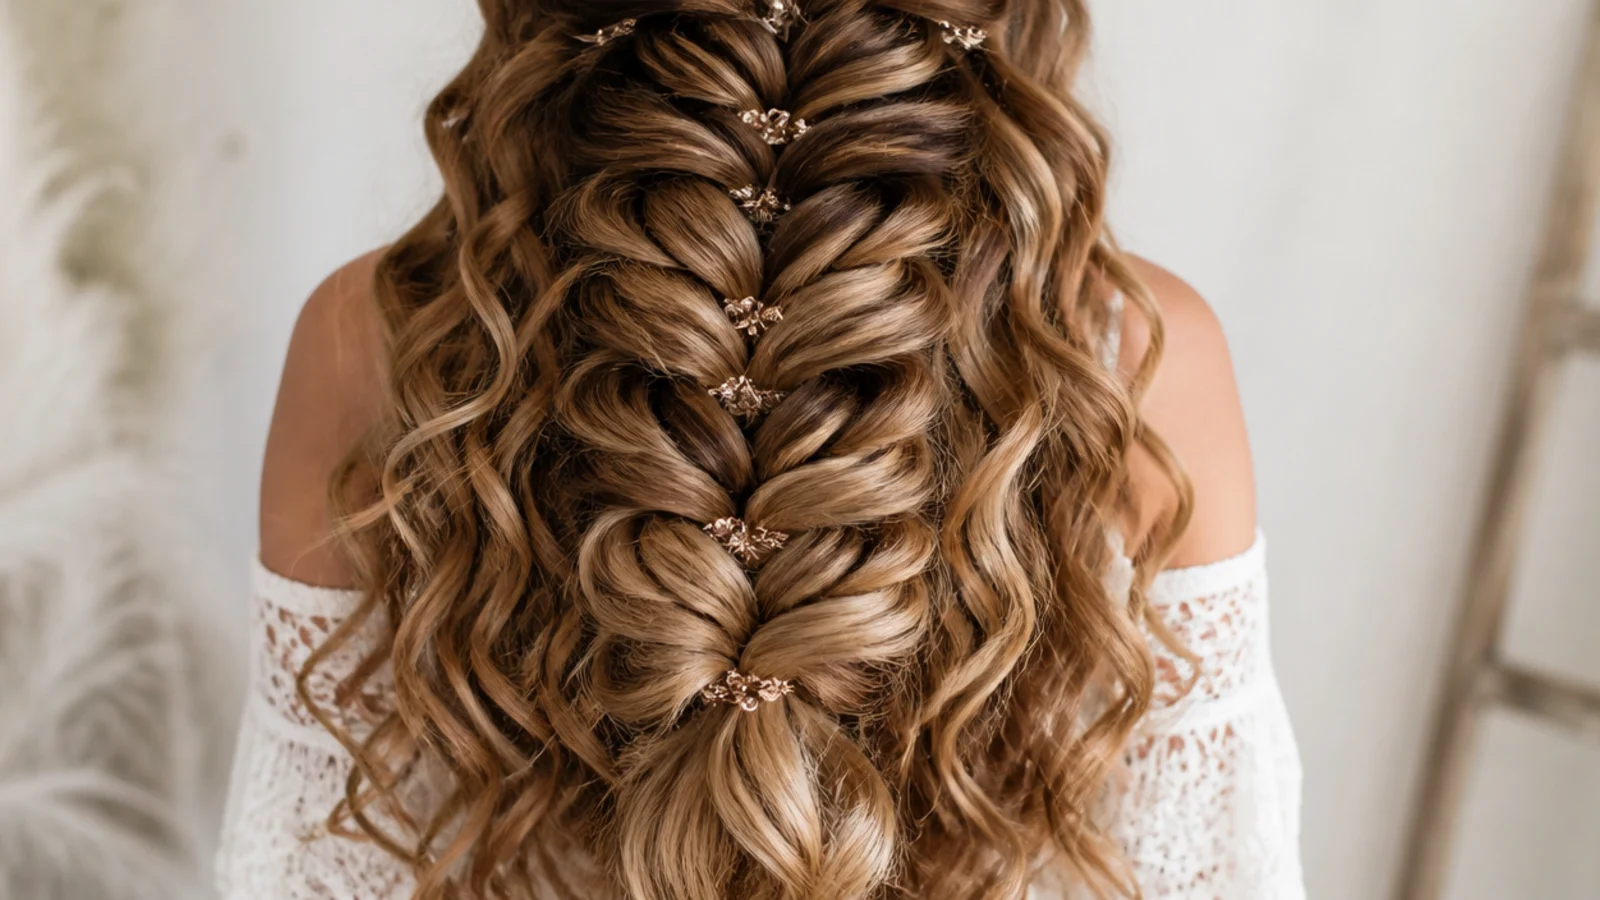
9. Ribbon Woven Through
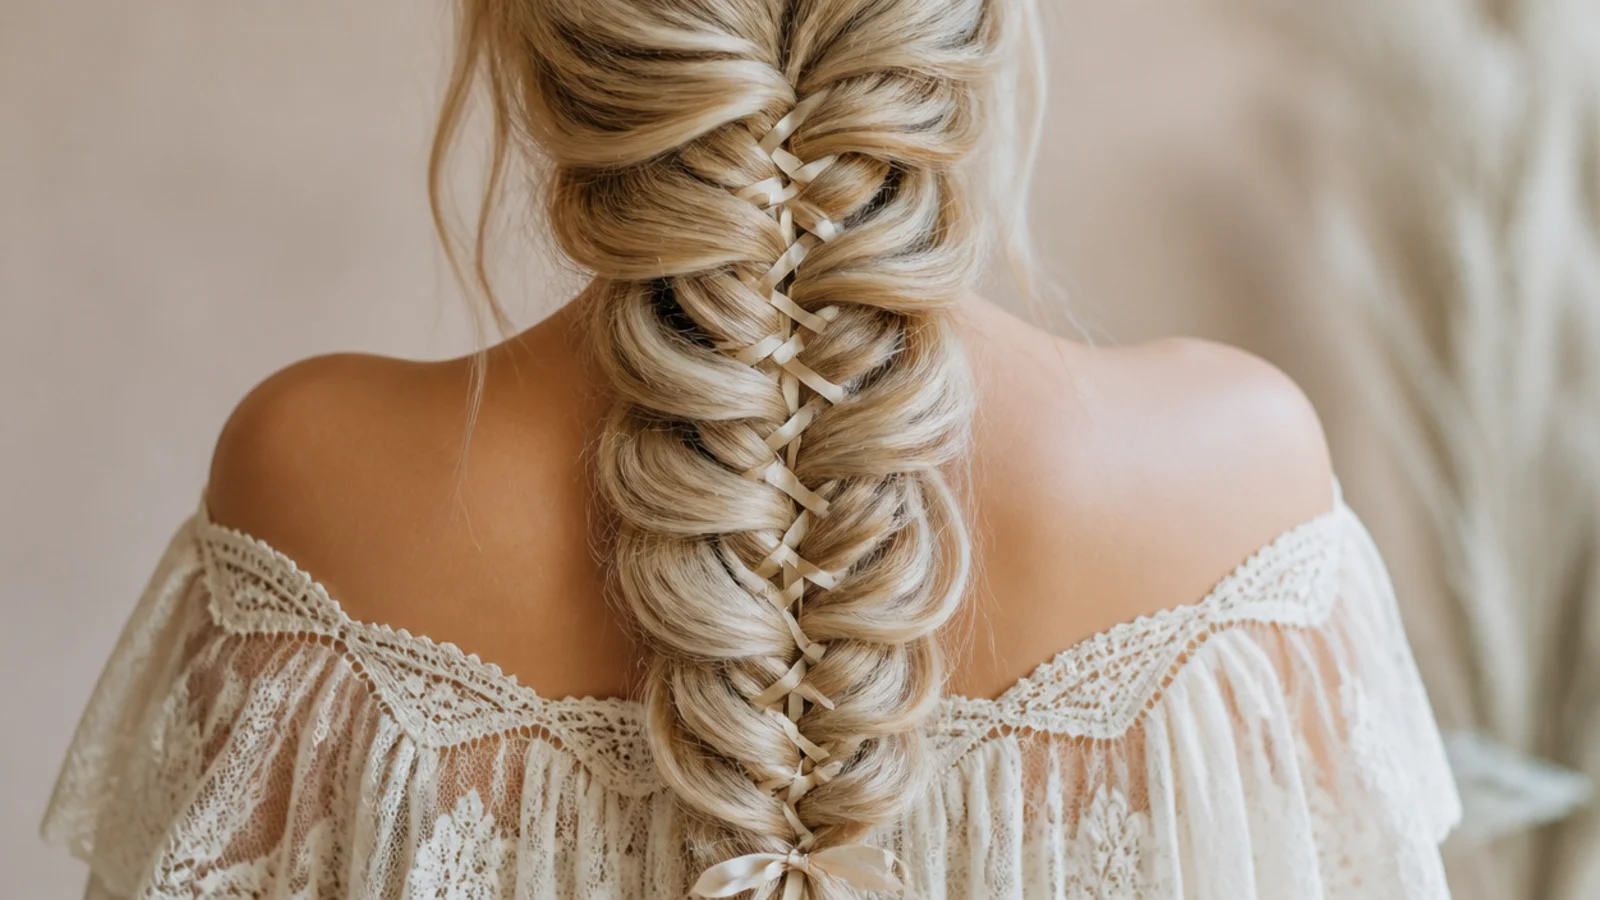
A ribbon added to one half before the first crossover passes through every crossing and surfaces at regular intervals down the whole length. Over waist length hair that means dozens of appearances, which turns a single ribbon into a pattern rather than a detail.
10. Blonde With a Shadow Root
A darker root under lighter length gives the braid depth at the top and brightness through the middle, which reinforces the taper the shape already has. It also means grow out lands in the section nearest the scalp, where the braid hides it completely.
11. Face Framing Tendrils
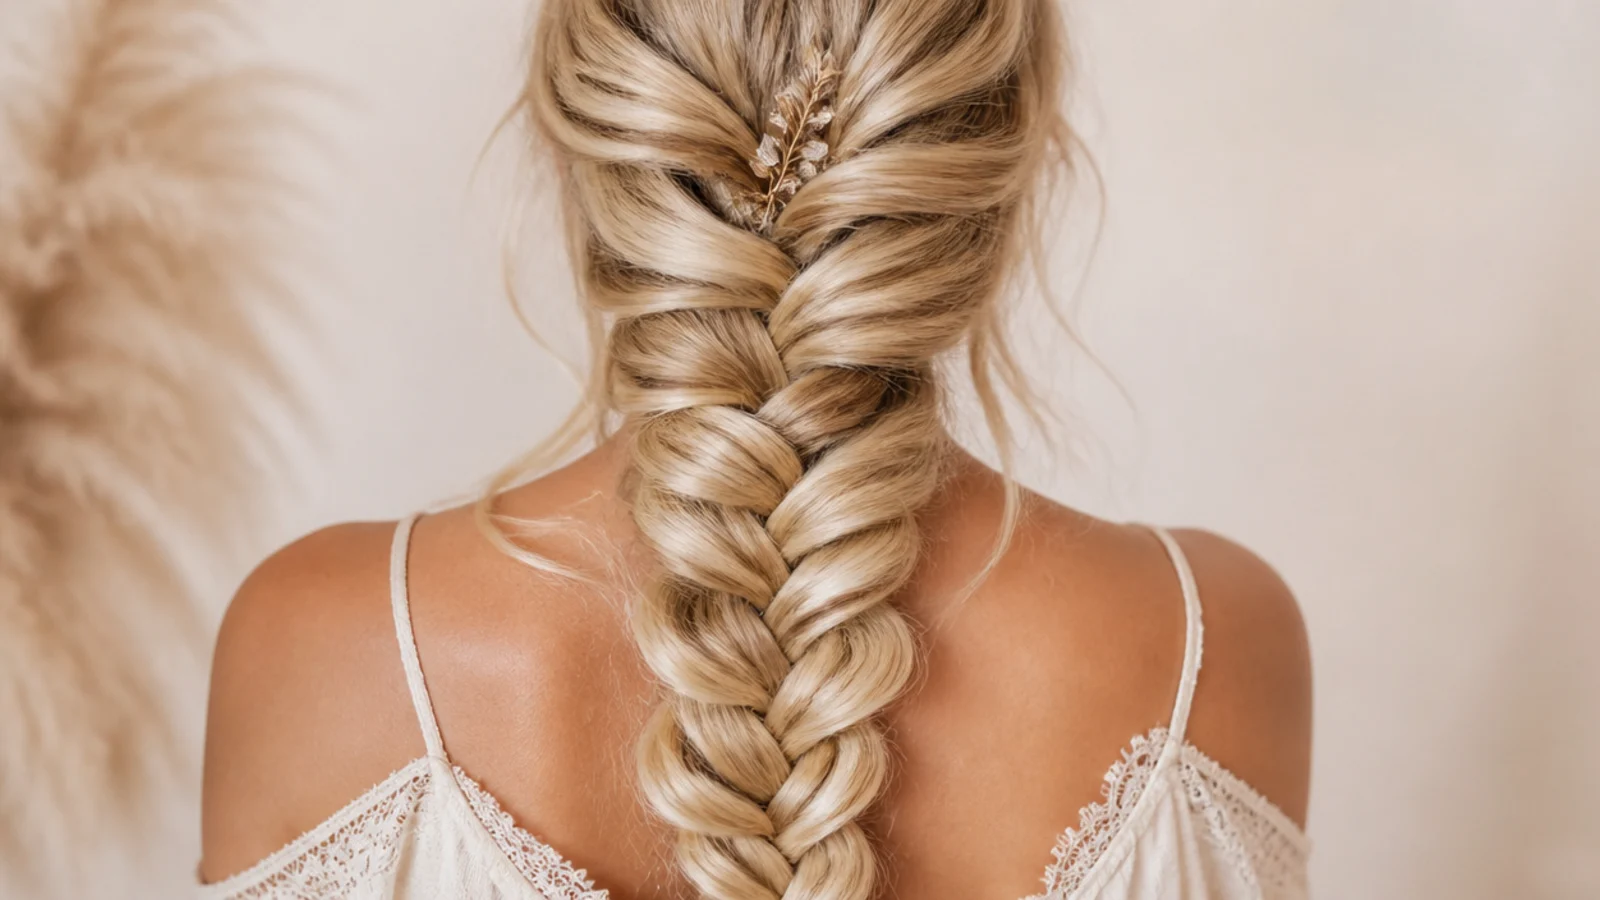
Release two fine pieces at the temples before you start braiding, never afterwards. Anything pulled free once the elastic is on comes out of the braid itself, and on a long braid that gap travels down the pattern rather than staying at the hairline.
12. Double Braids
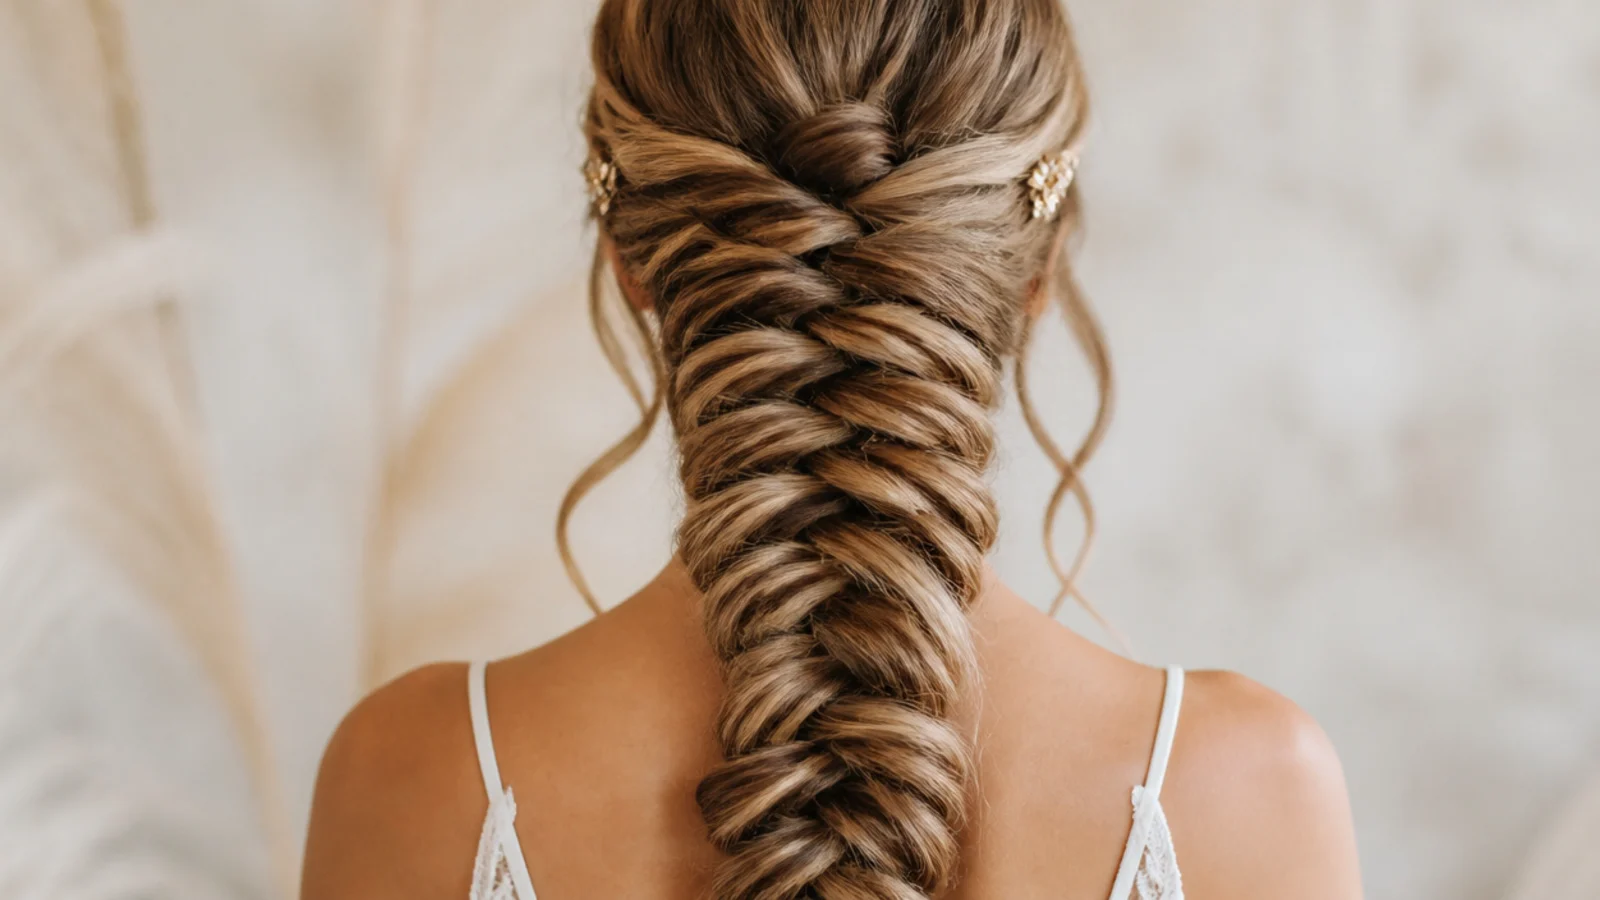
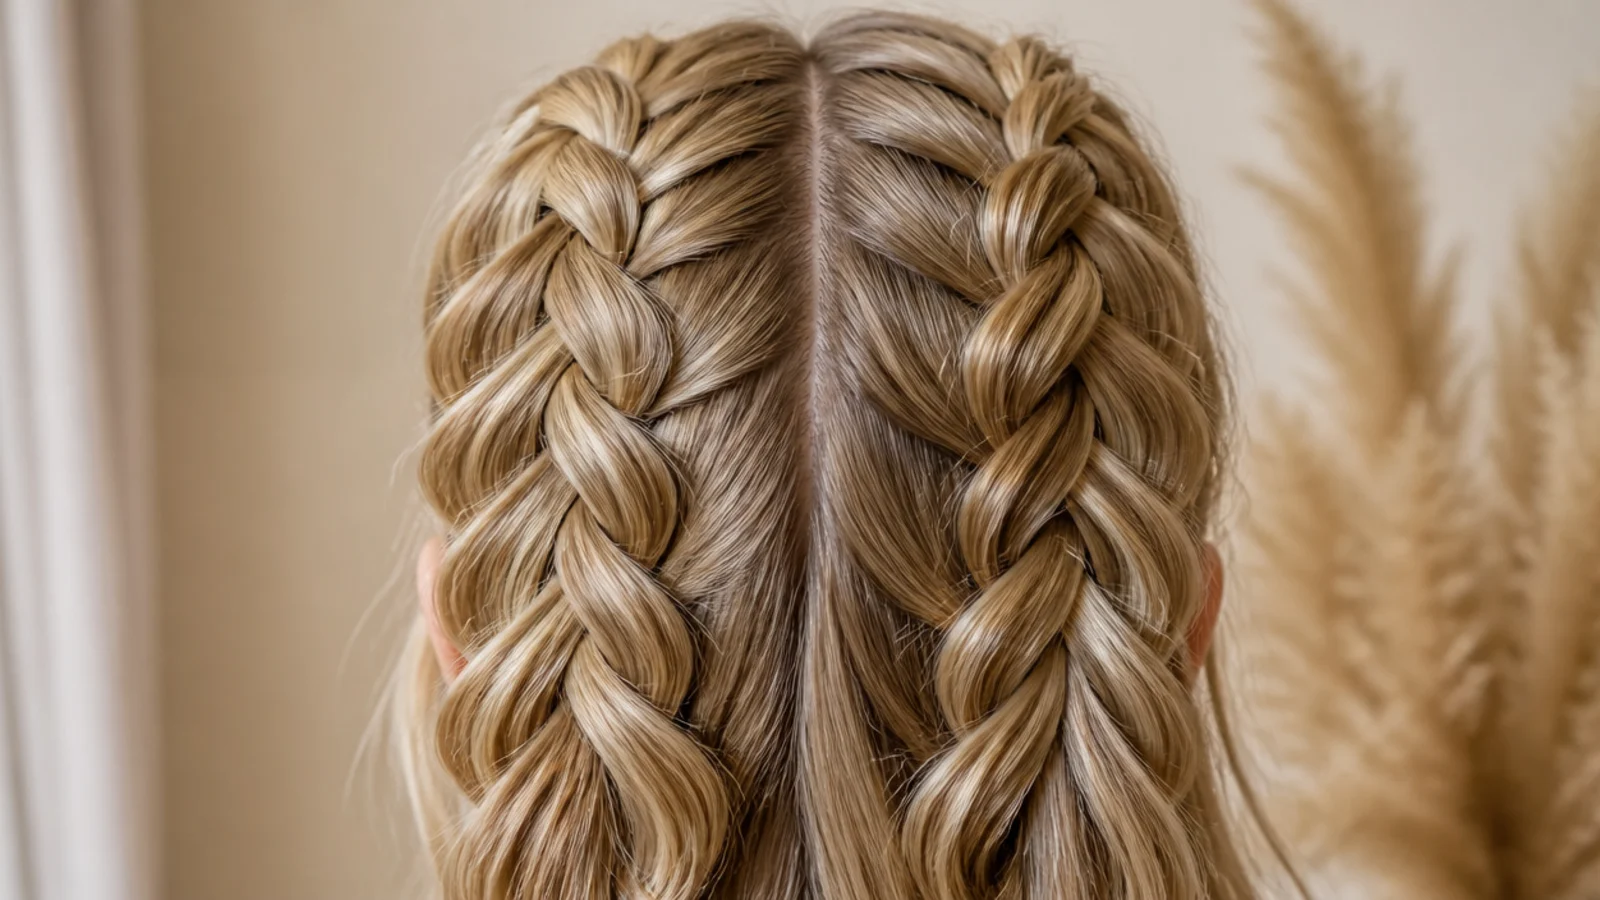
Two long braids split the load between two anchors, which halves the pull on any one part of the scalp. Each braid also holds half the hair, so the sections are narrower and the crossings finer, giving a denser pattern than one braid of the same total volume.
13. Low Loose Bun
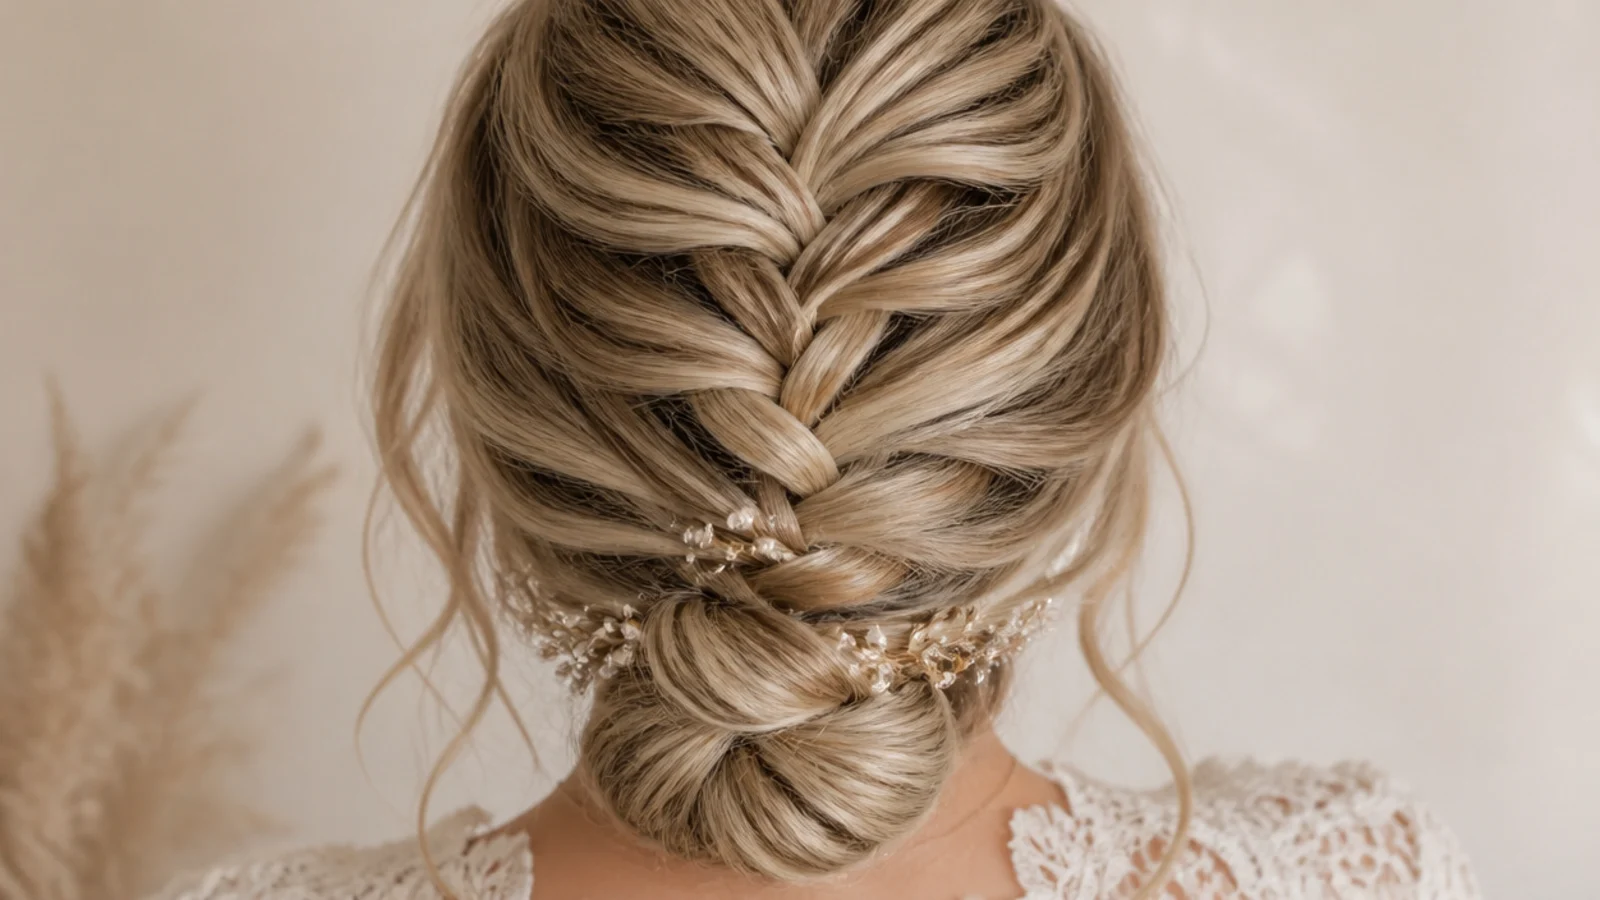
Coiling a long braid at the nape converts several feet of swinging weight into a compact knot resting on the neck. The bun shows the crossings on its outer surface, which is texture no twisted coil produces, and it keeps the ends off a collar entirely.
14. Pearl Pins
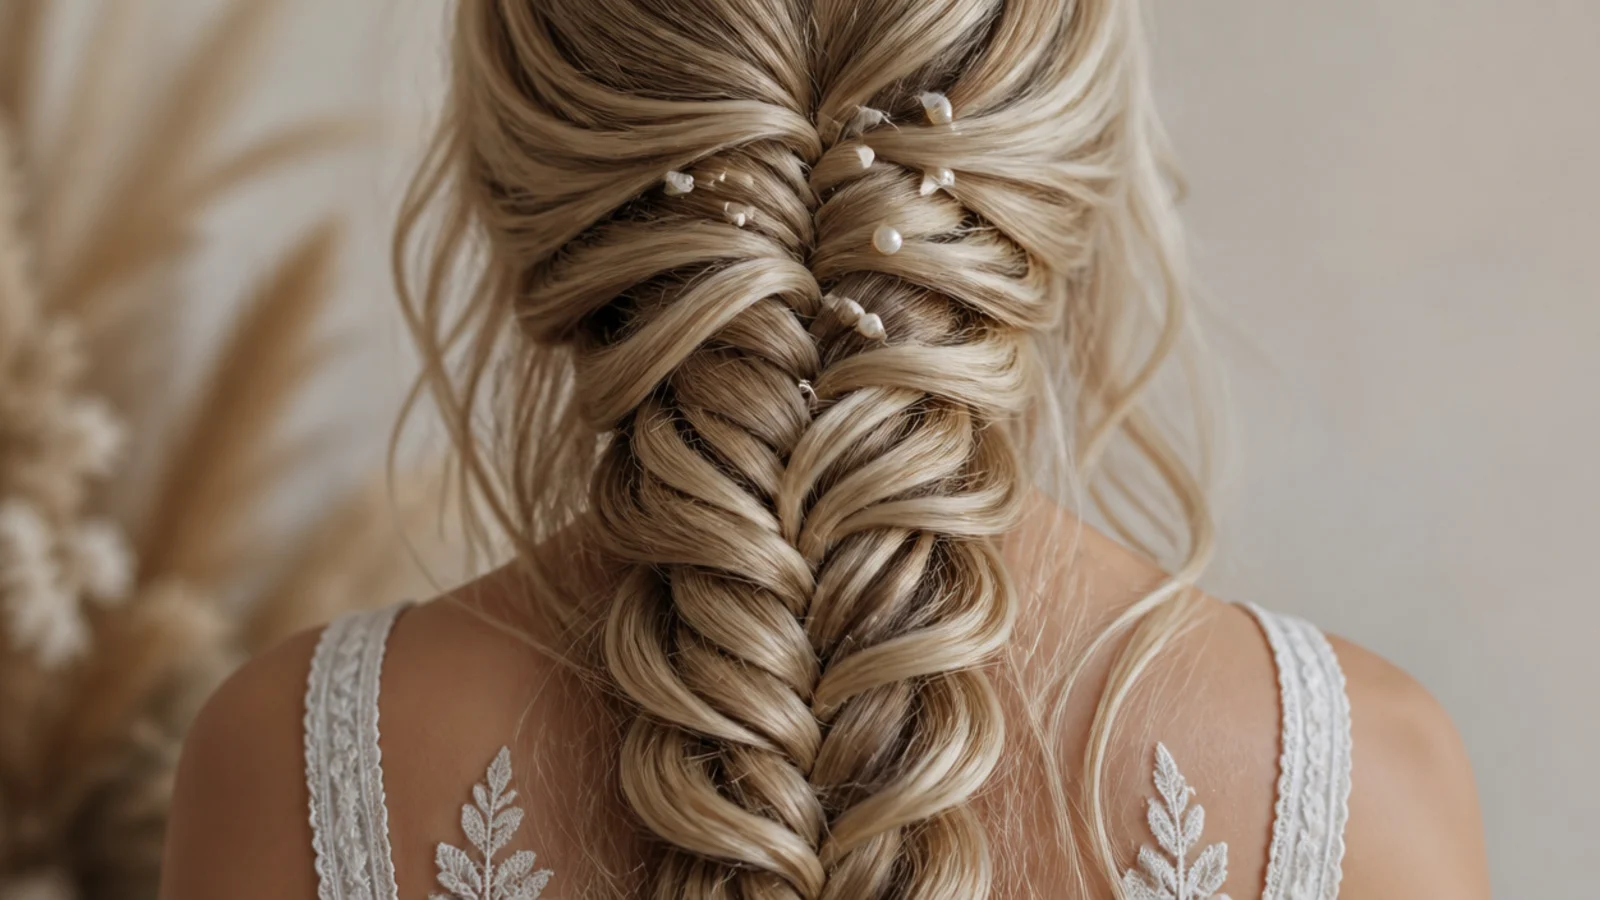
Pins set into the loops the pancaking opened need no grip of their own, and on a long braid they earn their place twice. Placed mid length they also carry a little of the braid's weight, taking strain off the elastic at the bottom.
15. Boho Loose Waves
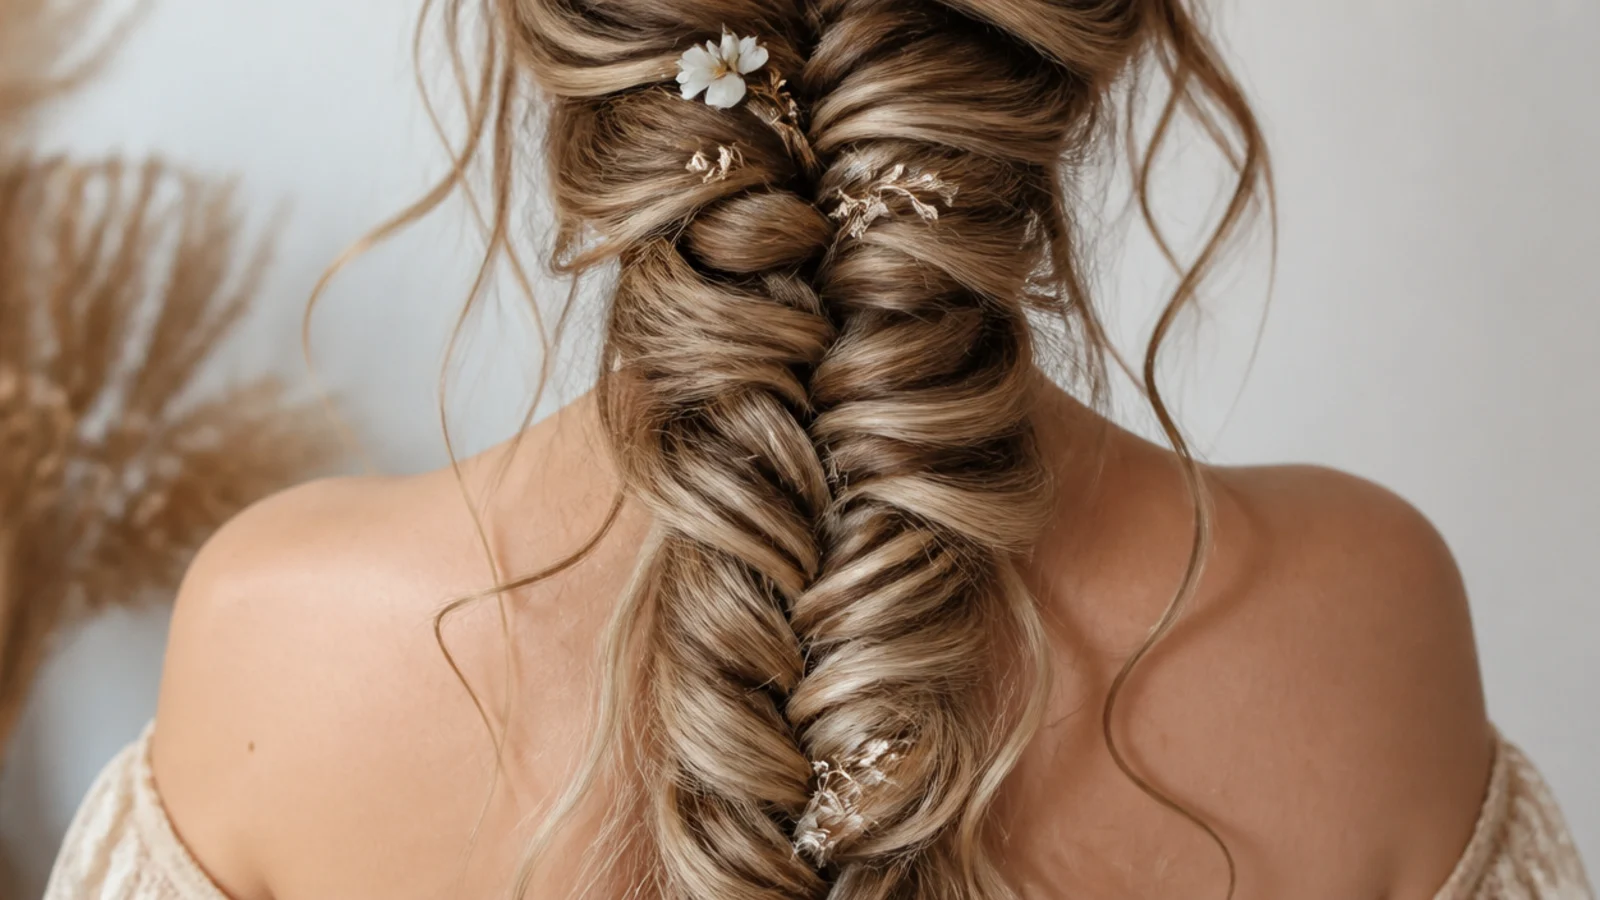
The braid is left deliberately soft and the waves around it are left undone, so the two textures blur into each other. It works because a heavily pancaked braid and a loose wave are the same width, and nothing in the picture holds a hard edge.
16. Crochet Lengths
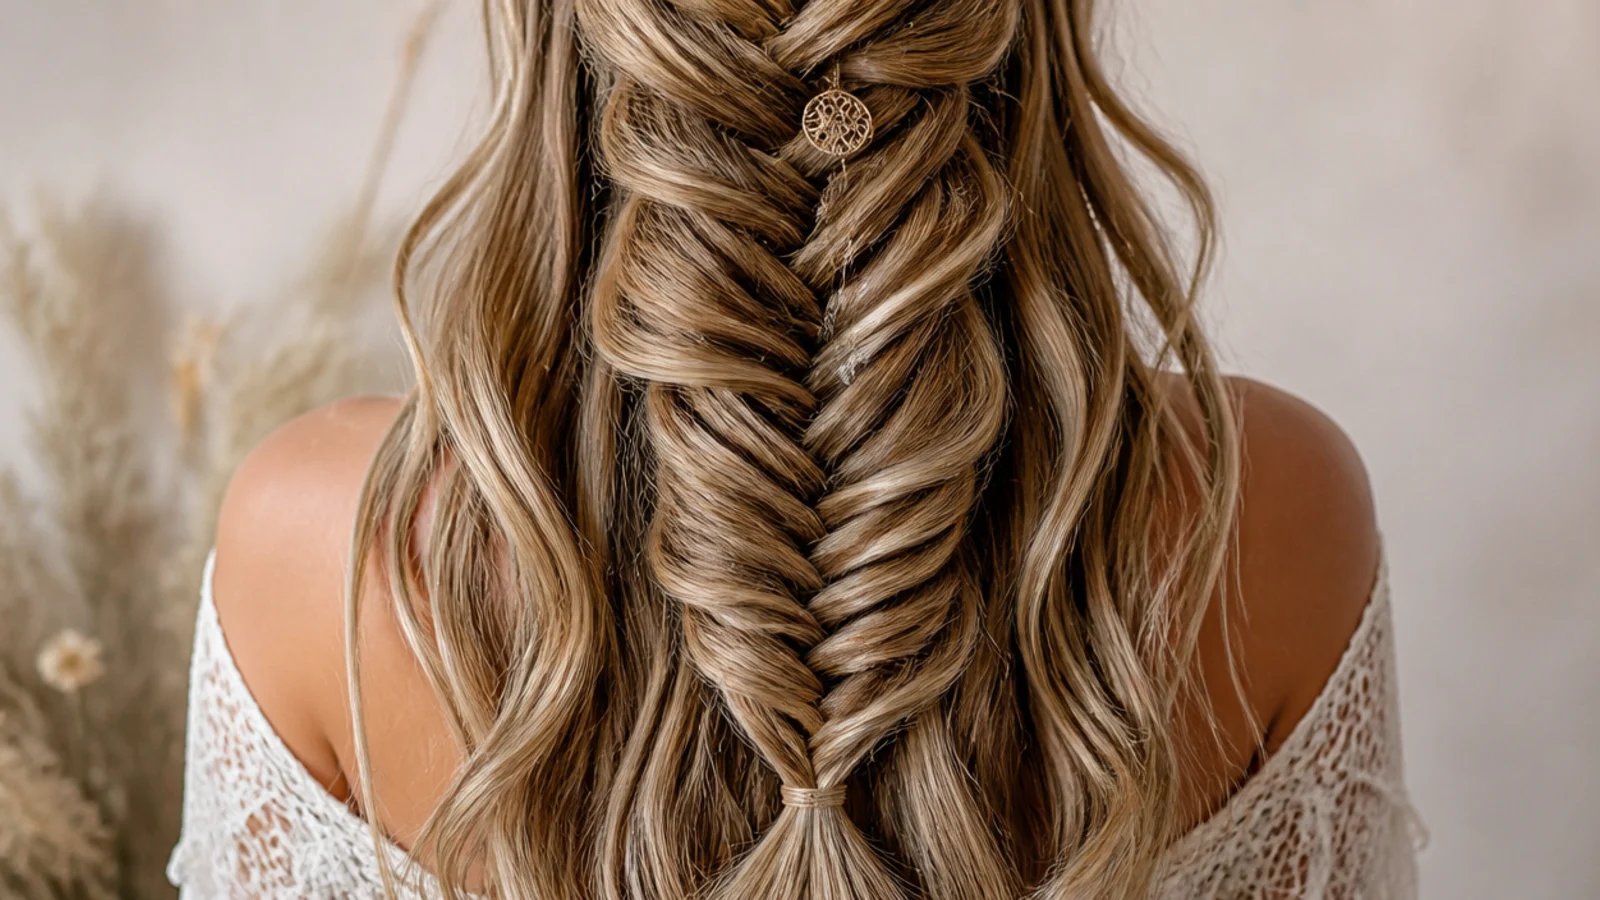
Pre made lengths installed at the root add hair that reaches the ends, which natural long hair rarely does. That fills the taper from the inside, so the braid keeps an even width without the weight of clipping a full set of wefts underneath it.
17. Waterfall Mermaid
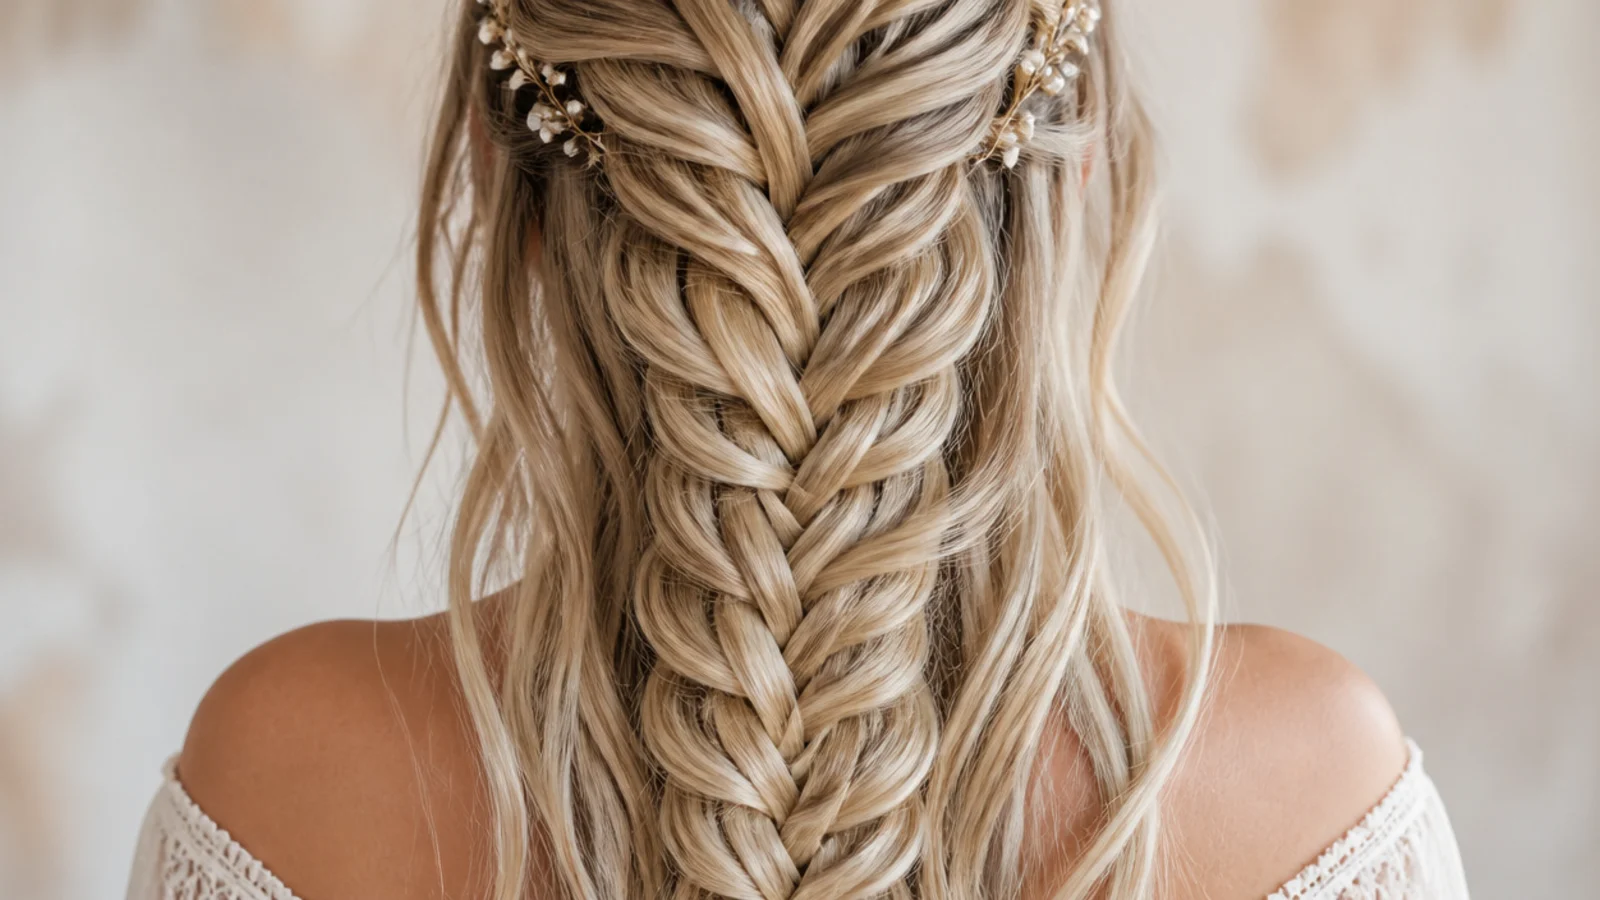
The braid travels across the head dropping a strand at every pass, then turns down the back as a fishtail. The dropped strands fall through the braid below, so on long hair the loose length appears to pour out of the plait rather than hang behind it.
18. Under a Wedding Veil
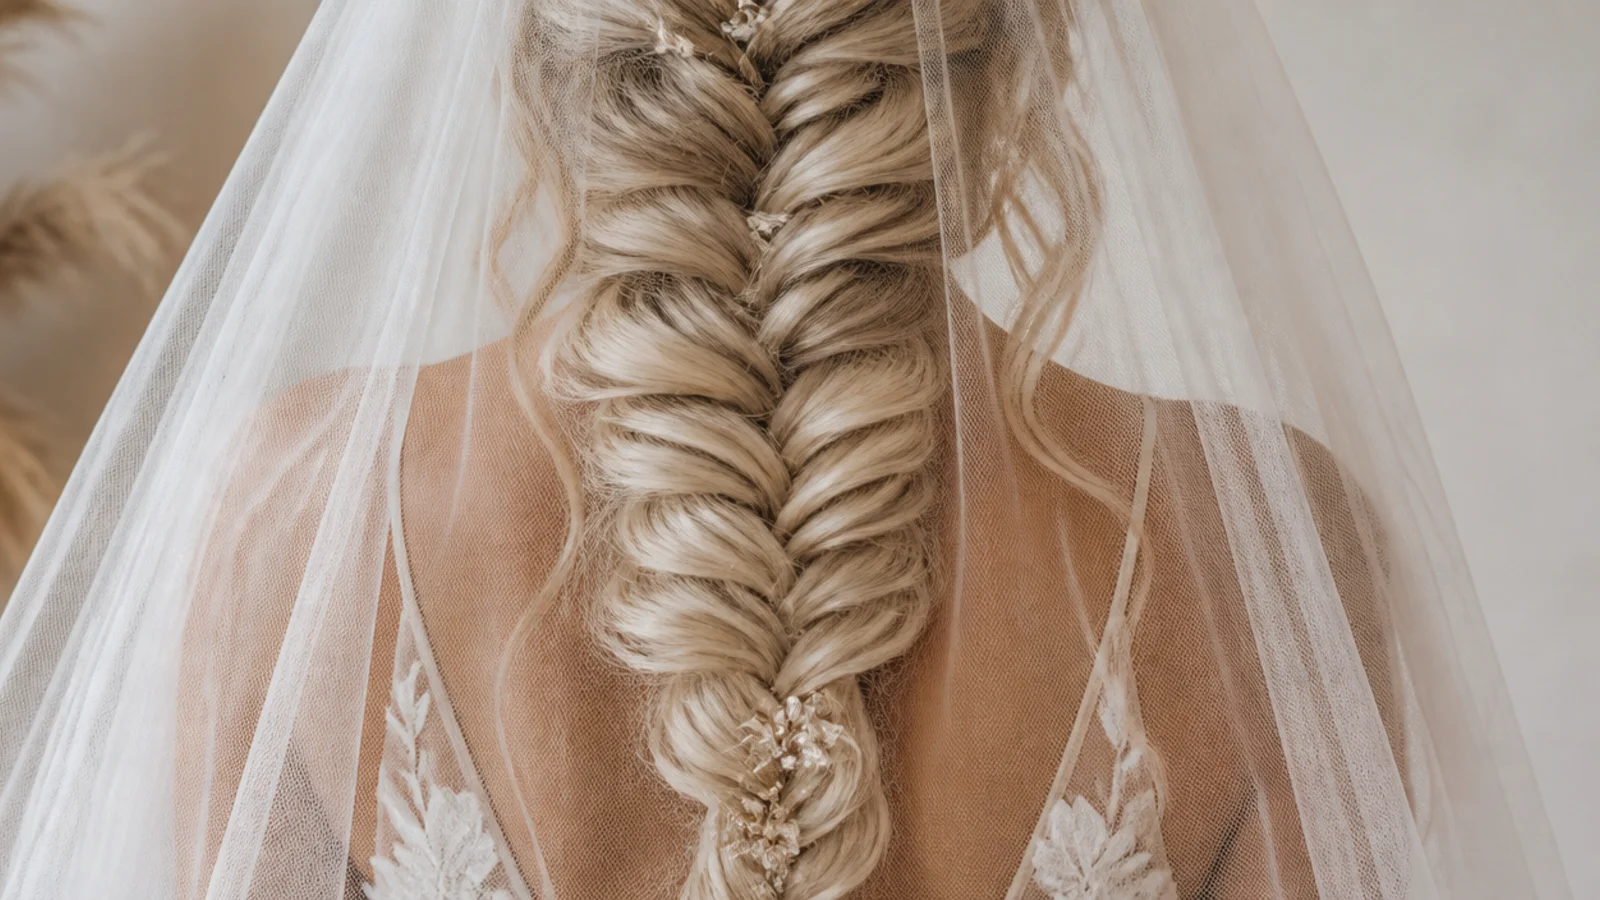
A pancaked braid is flat, which is the only property that matters under a veil, because bulk lifts the comb and tips it forward. Pin the braid at one point mid length so it cannot swing and drag the veil sideways as you move.
19. Pastel Ocean Colours
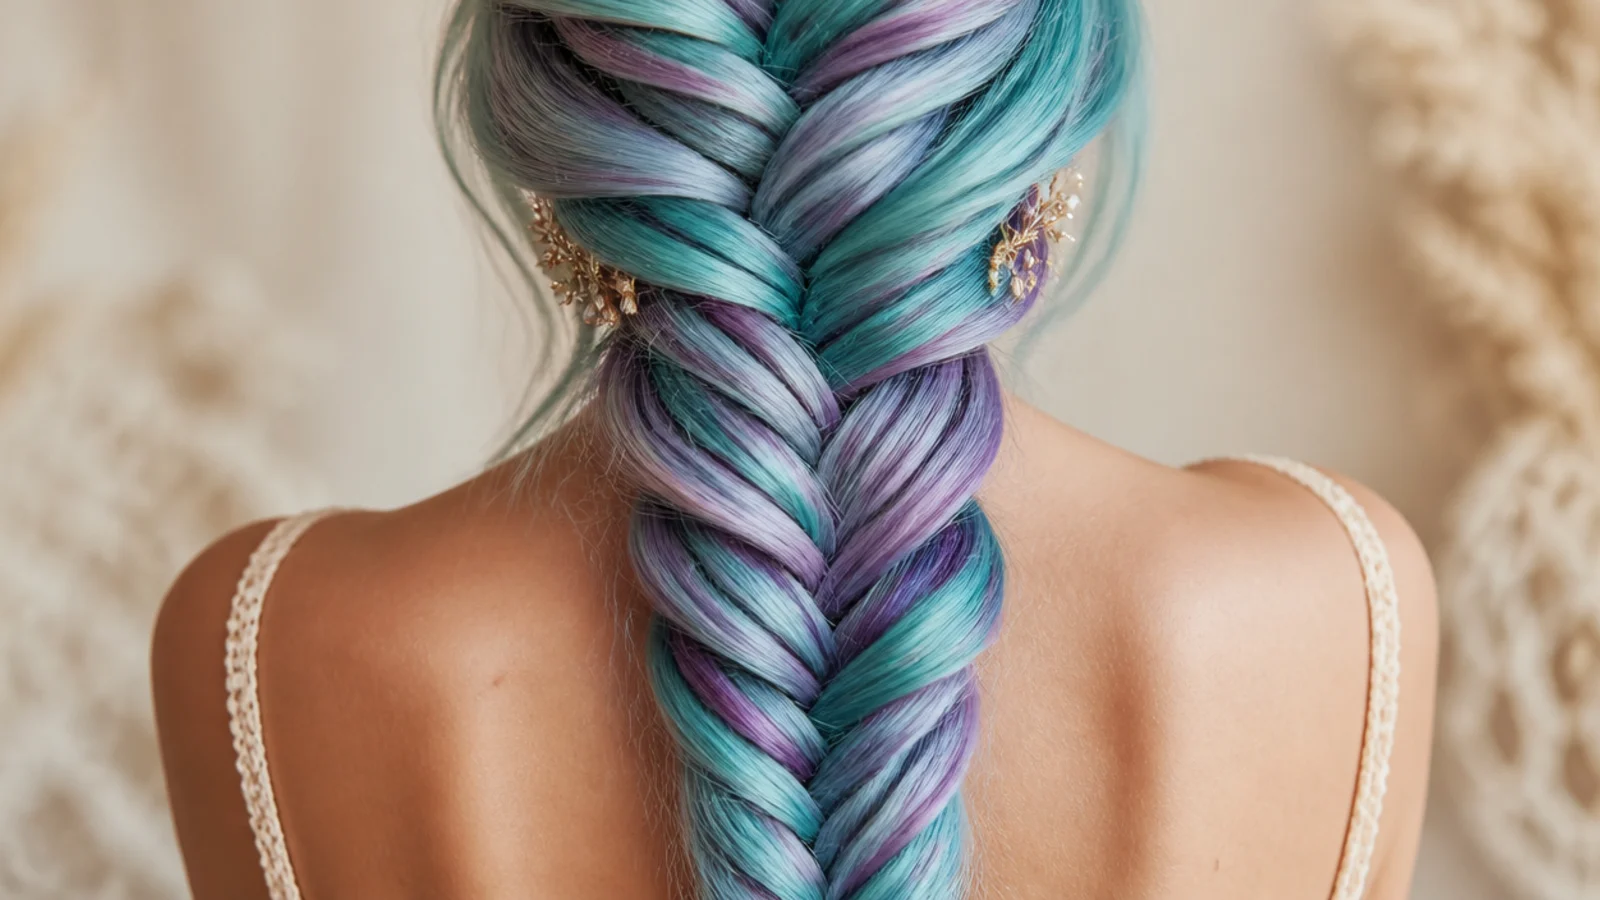
Bands of colour laid along the length show on the outer face of every loop, so the crossings are picked out in hue instead of only in shadow. That means the pattern reads at a distance where the same braid in one flat shade would not.
20. Day Two Messy
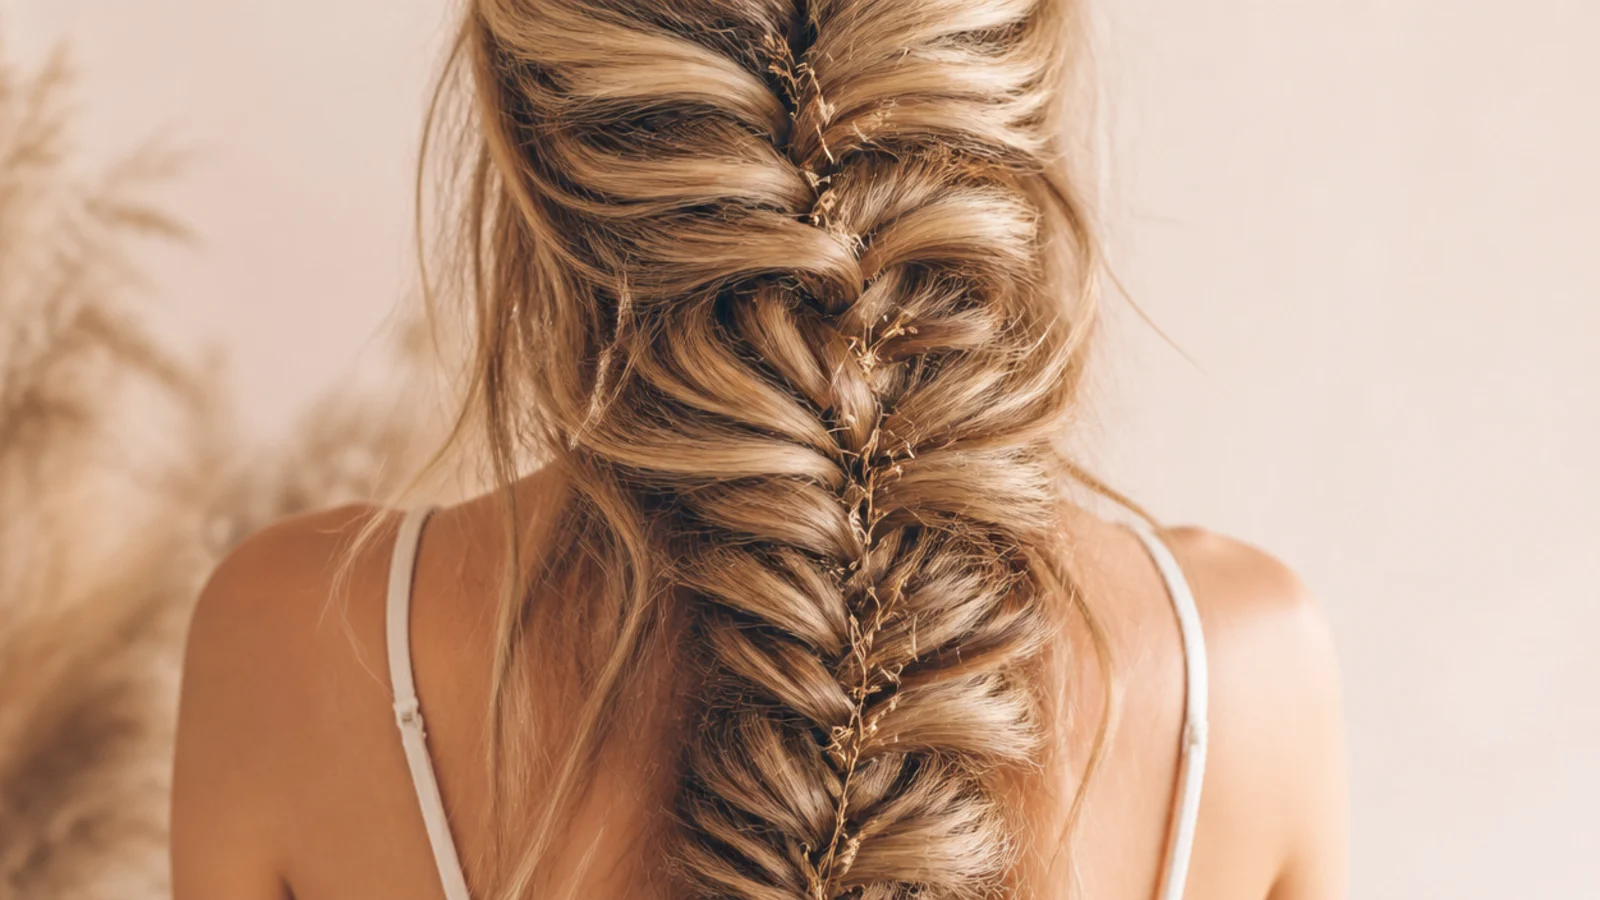
Yesterday's braid, retugged rather than rebraided. A braid that has narrowed overnight has closed rather than come undone, so thirty seconds of pulling on the outer loops restores most of the width, and the extra oil in the hair holds it open longer than day one did.
Final Thoughts
Long hair makes the braid easier and the finish harder. There is more than enough length for the pattern to build, but the ends are the oldest and thinnest hair you own, so the plait always narrows there. Widen the middle hardest, tie off before the taper becomes obvious, and leave a soft tail below the elastic — the shape you are aiming for is a tail, not a strip.
Anchor above the weight. A clear elastic around the top section before the first crossover means several feet of braid hangs from a band rather than from a few strands at the crown, which is where the pulling and the breakage both start. For another braided style built for this length see 20 long large knotless braids to save, and for a flatter scalp braided version see 20 long simple fulani braids to save. More in Braids and Protective Styles.
Frequently asked questions
Related posts
See all posts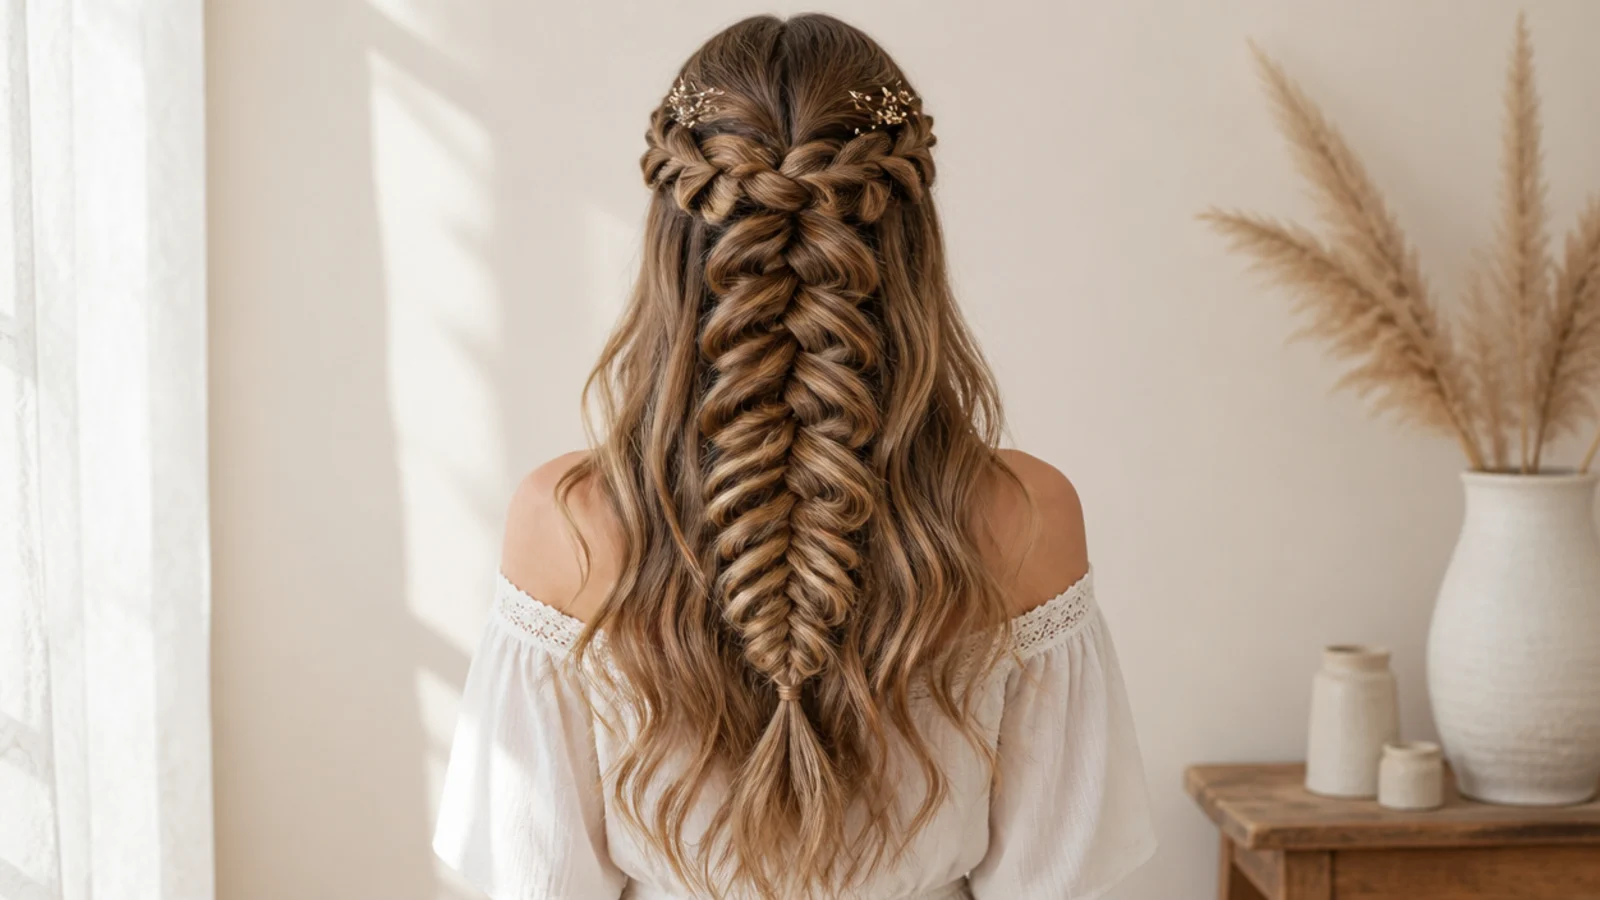
20 Waterfall Mermaid Braid Ideas That Hold
Read more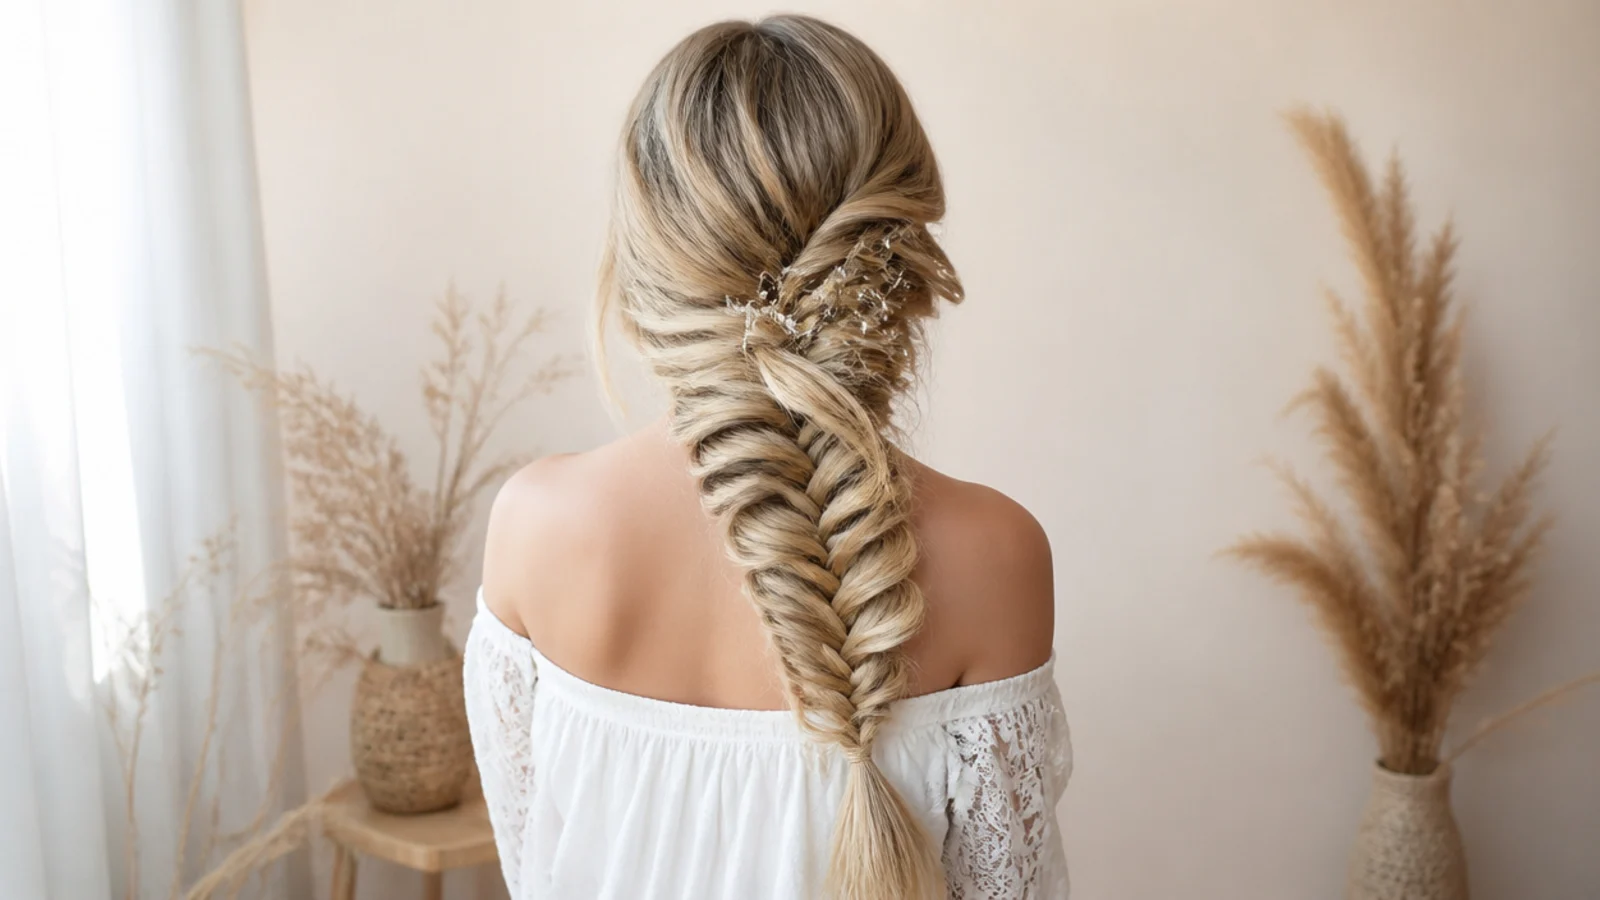
15 Side Mermaid Braid Ideas That Sit Right
Read more
20 Side Part Medium Knotless Braids I Saved
Read more