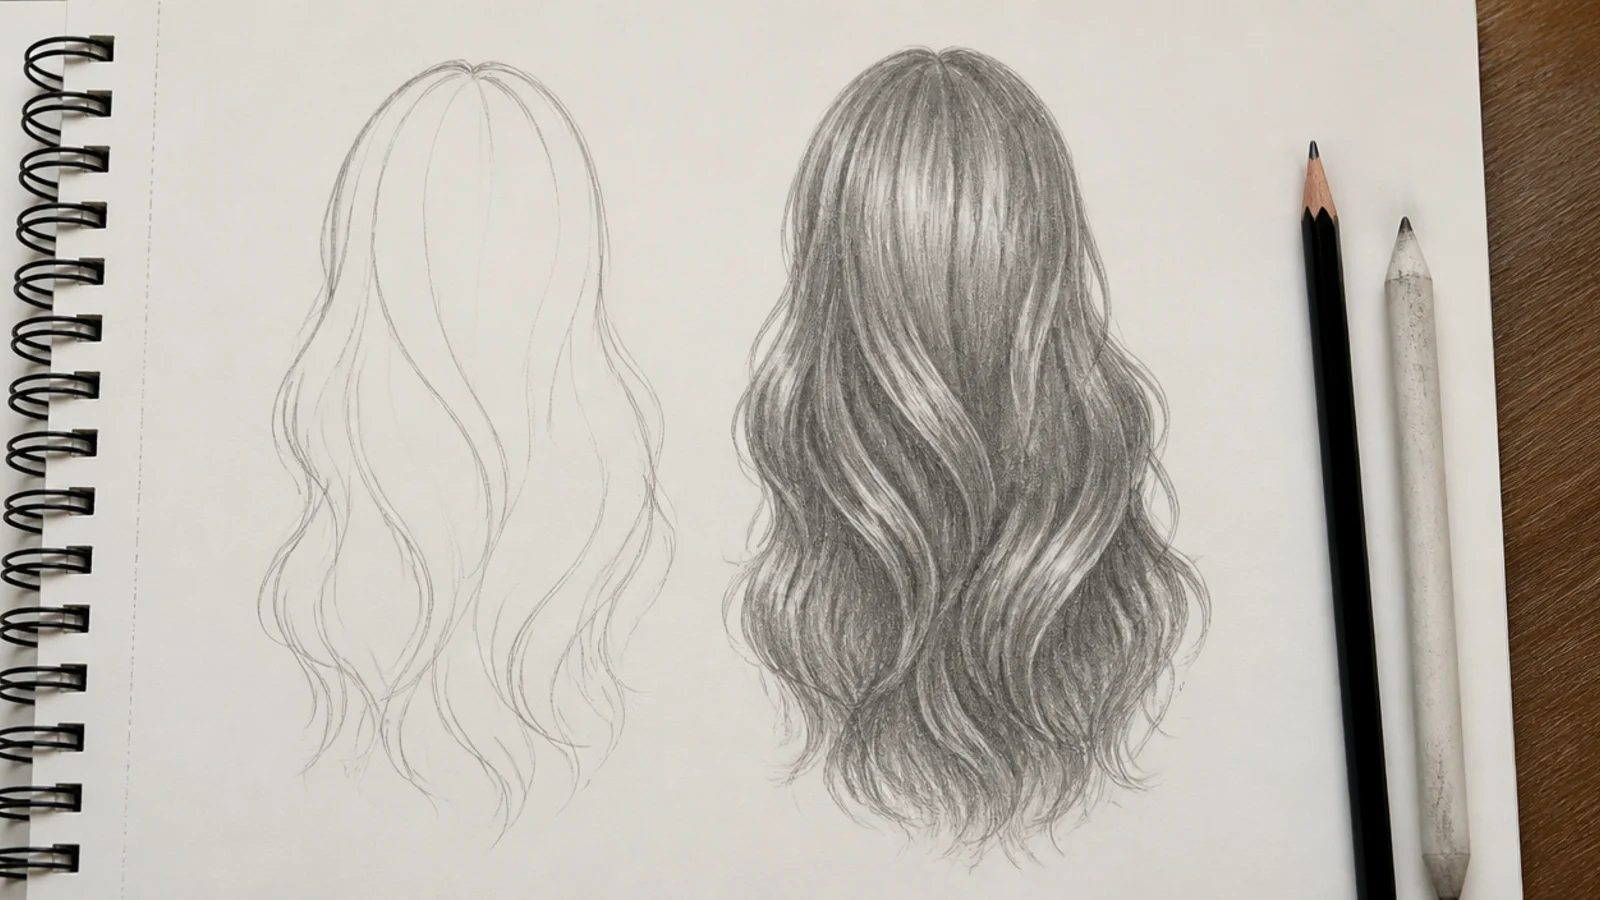
25 Hair Sketch Studies for Every Hair Texture
Twenty five hair sketch references, and the distinction that makes them worth doing. A sketch is not an unfinished rendering — it is a record of flow and mass, and a failing one needs restarting rather than more detail.
In this article · 33
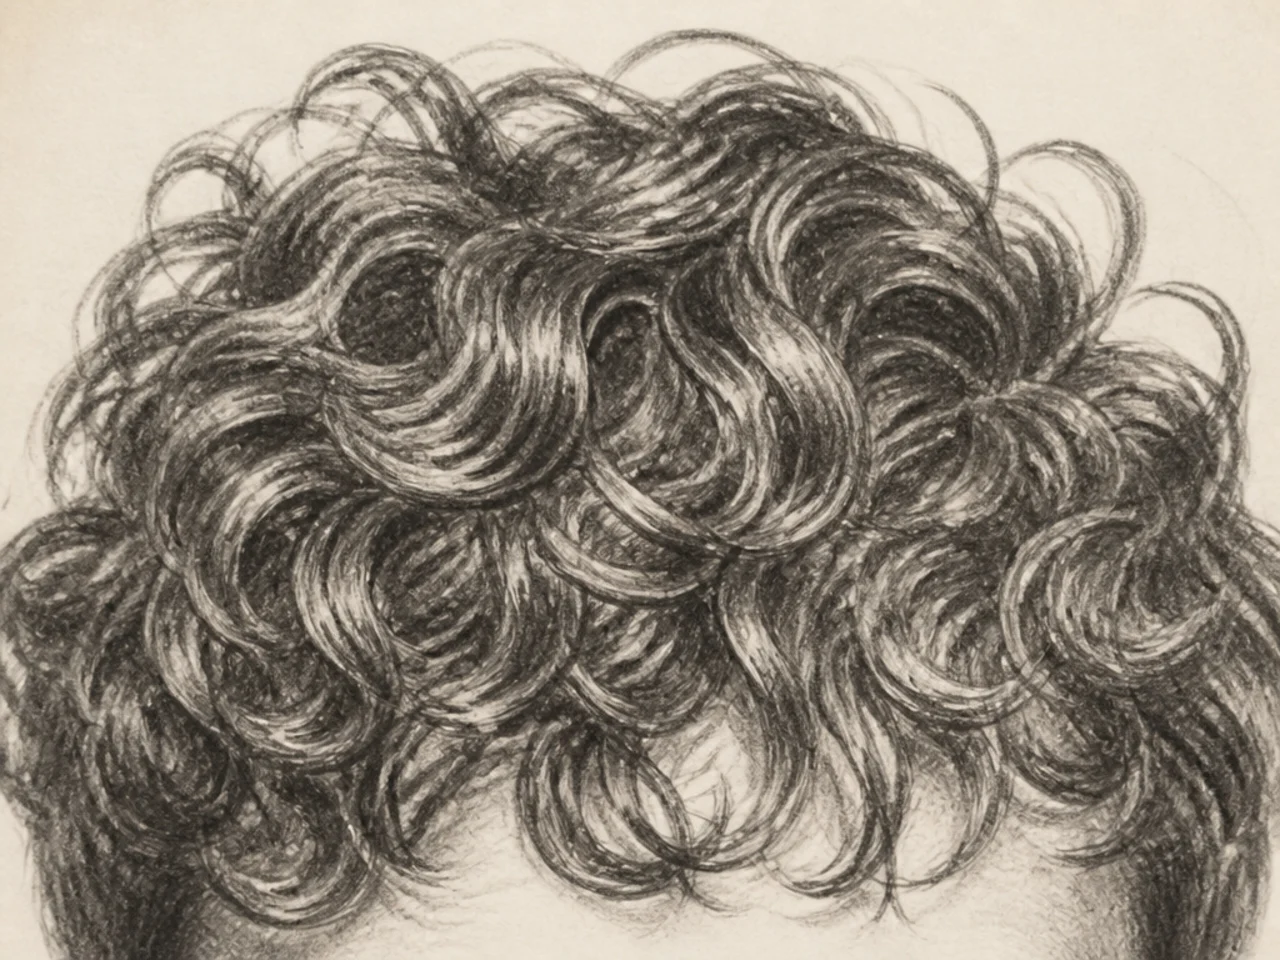
- Pencils Paper and Blending Tools
- How to Start a Hair Sketch
- Straight Wavy Curly and Coily
- Shading Hair for Volume and Depth
- Using Hair References
- Common Hair Sketch Mistakes
- The 25 Hair Sketch Studies
- 1. Straight Shoulder Length Hair
- 2. Long Waves Over One Shoulder
- 3. Loose Curls as Ribbons
- 4. High Messy Bun
- 5. Ponytail From the Back
- 6. Blunt Bob
- 7. Pixie From the Side
- 8. Curtain Bangs
- 9. Three Strand Braid
- 10. Dutch Braid Crown
- 11. Space Buns
- 12. Rounded Afro
- 13. Coily 4C Sponge Curls
- 14. Shoulder Length Locs
- 15. Two Strand Twists
- 16. Boys Textured Crop
- 17. Buzz Cut Stubble
- 18. Man Bun With an Undercut
- 19. Spiky Anime Hair
- 20. Hime Cut
- 21. Wind Blown Hair
- 22. Wet Hair Clinging to the Head
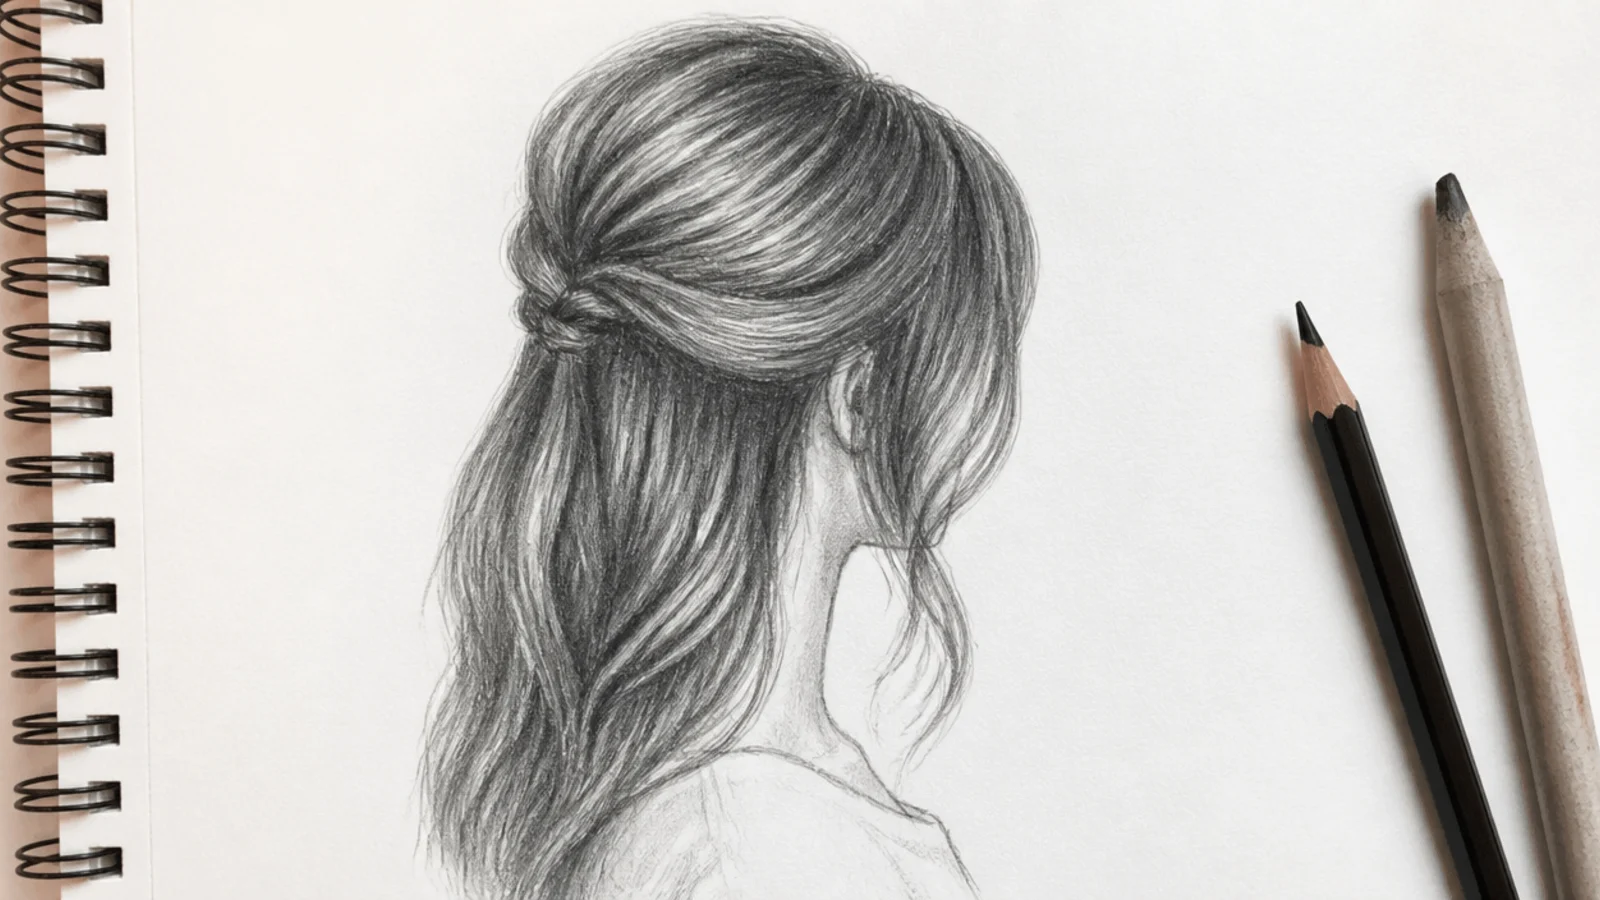
- 23. Half Up Half Down
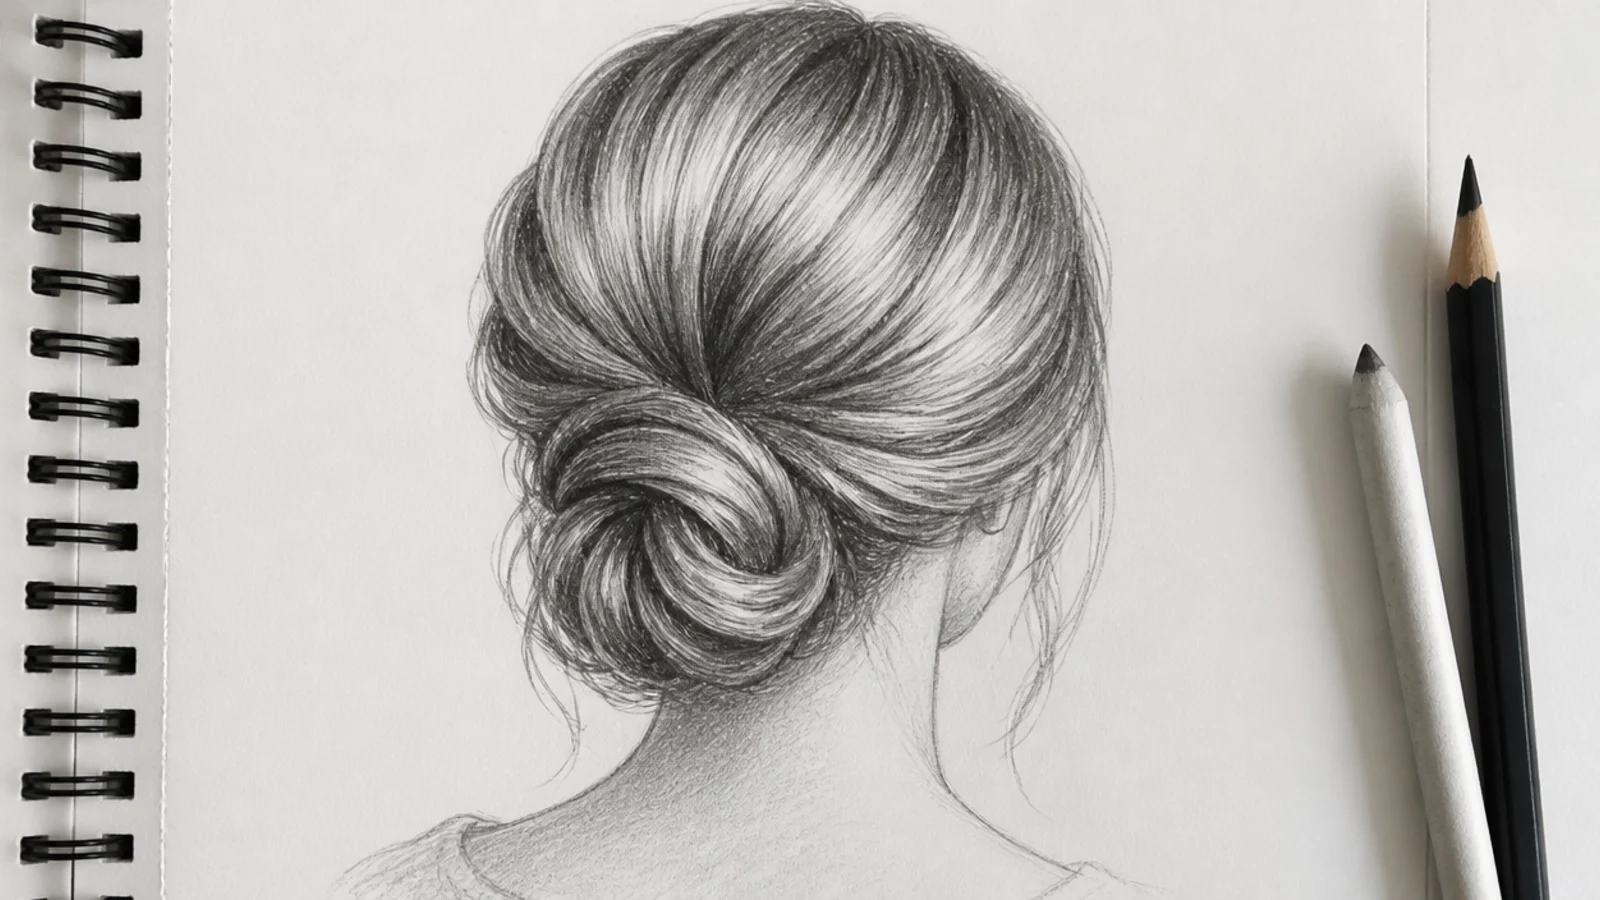
- 24. Low Chignon From the Back
- 25. Hair Over One Eye
- Final Thoughts
A hair sketch that is going wrong does not need another twenty minutes of shading. It needs starting again at a different shape.
A sketch records flow and mass. Where the crown sits, where the hair travels, where the light crosses it. Those three decisions carry the drawing, and everything else is variation on them.
Detail cannot rescue a wrong silhouette. Rendering a beautiful clump inside an outline that is the wrong shape means rendering a clump you are about to erase.
Pencils Paper and Blending Tools
Three grades do almost all the work. A 2H for the construction you intend to erase, a 2B for the body of the hair, a 6B reserved for the gaps between clumps.
A kneaded eraser is a drawing tool. Lay tone across the mass, then lift the highlights back out. Leaving white paper for a highlight commits you to its position before you know where the form turns.
Toothed paper holds an even mid tone. Long hair is mostly a large field of mid grey, and smooth paper goes blotchy across an area that size.
Blend the head, not the hair. Soften the shadow of the skull underneath, then lay the texture on top of it. A blended texture stops being hair and becomes smoke.
How to Start a Hair Sketch
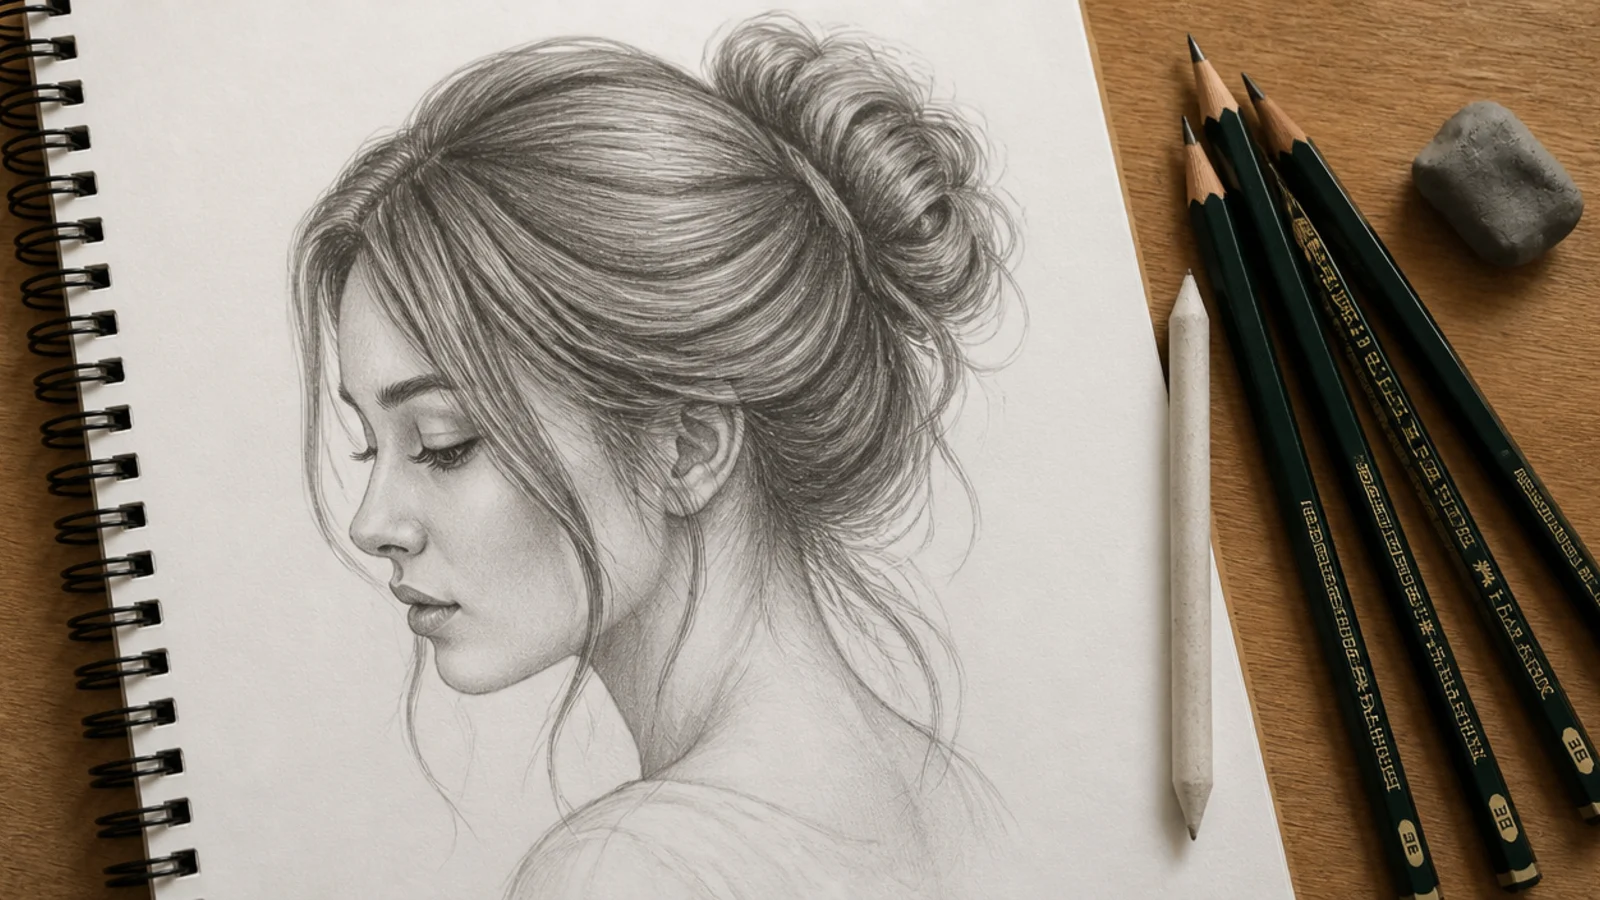
Silhouette first, always. Hair sits outside the skull because it has thickness, so the outer shape is drawn well clear of the head, and further out the tighter the pattern.
Mark the crown swirl before any strand. It is the origin of every direction in the drawing, and skipping it is why flow lines end up contradicting each other.
Divide the mass into four or five ribbons. Those divisions become your dark cores. More than five at this stage means you have started rendering too early.
Set the light direction and hold it. One source, one highlight band wrapping across the ribbons. Changing your mind halfway is what produces hair lit from two sides at once.

Straight Wavy Curly and Coily
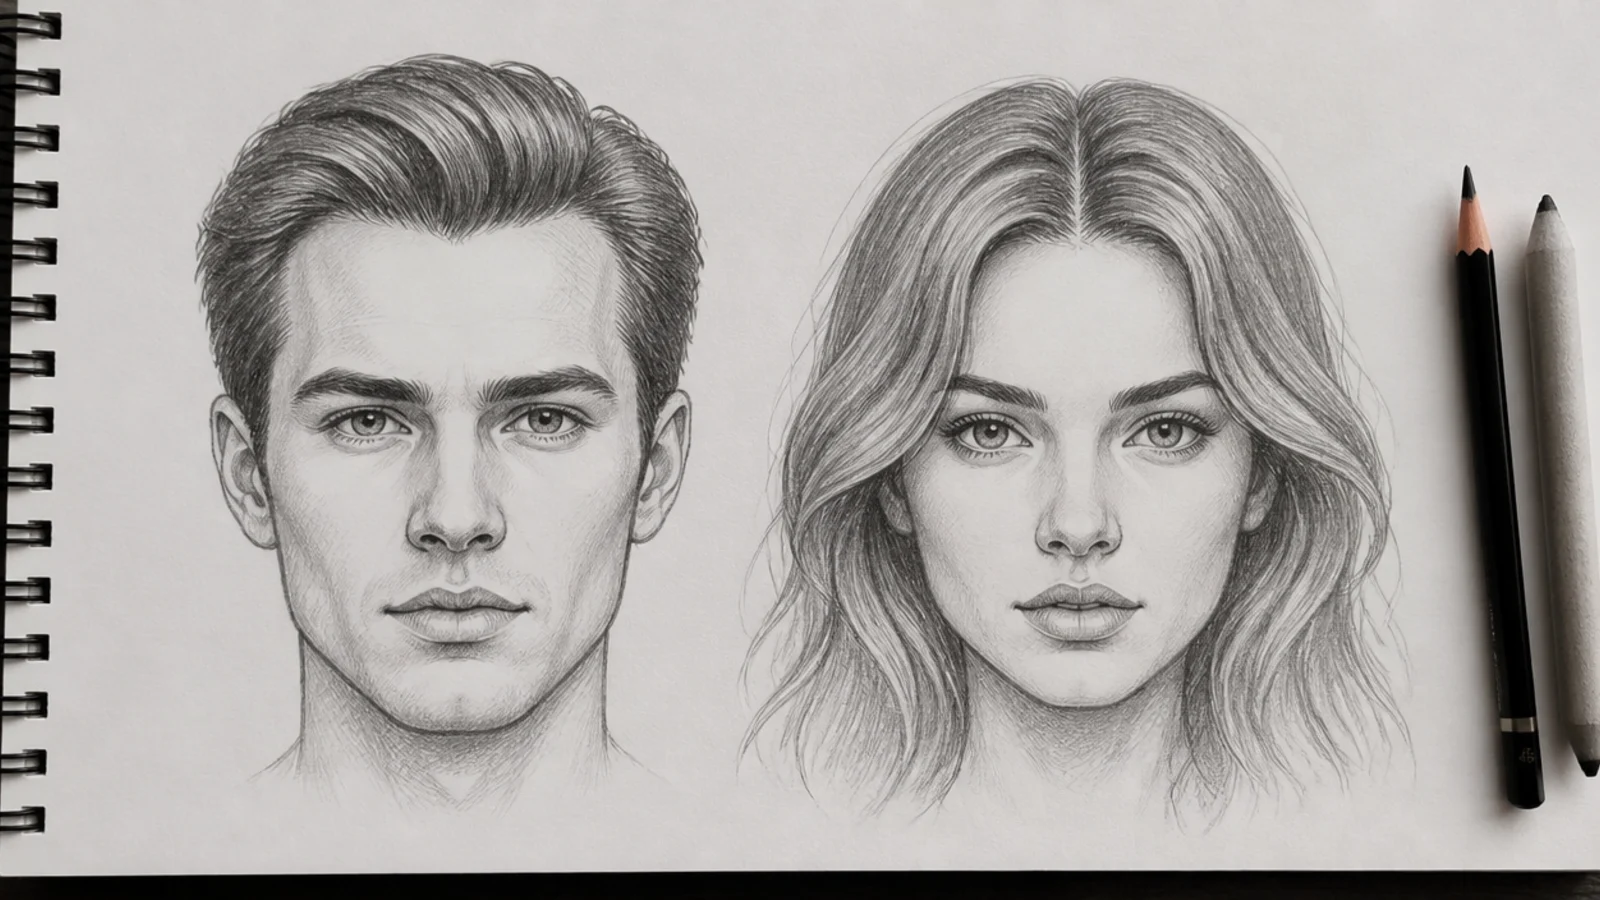
Straight hair is one surface with one long highlight. No pattern to hide behind, which makes it the most demanding of the four to shade evenly.
Wavy hair alternates between two faces. Each bend turns the ribbon outward then inward, so the tone alternates down its length without a wave ever being outlined.
Curly hair resolves into separate ringlets. Between roughly marker width and pencil width the eye can pick out a single curl, and that is the only range where drawing curls individually is correct.
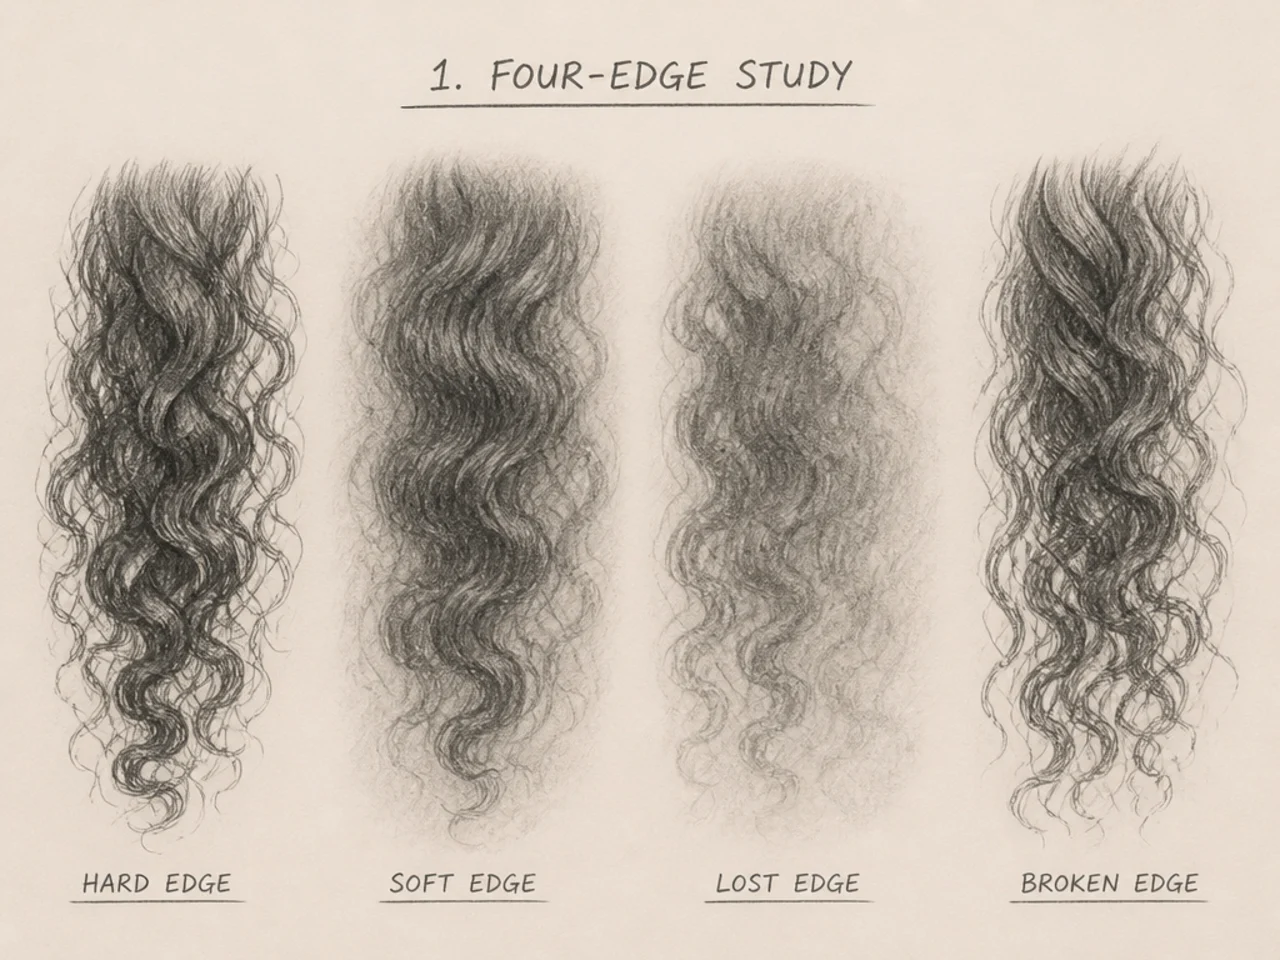
Coily hair reads as a surface. The loops are too small to resolve, so shade it as a mass with detail at the silhouette only, and take it darker than you expect since tight loops trap light between them.

Shading Hair for Volume and Depth
Three values inside every clump. Dark core, mid body, lifted highlight. One flat tone across a clump produces a paper cutout in the shape of hair.
The darkest tone lives in the gaps. Where two clumps meet, almost no light arrives, and those small deep shadows do more for depth than any amount of strand work.
The highlight crosses the clumps. It wraps around the skull over several ribbons at once and breaks wherever one lifts away from the head.
Darken whatever passes behind. When one ribbon crosses another, one of the two has to drop a value. Drawing both at the same tone collapses the crossing flat.

Using Hair References
Single light source, every time. A reference lit by three lamps carries three highlight bands, and copying them faithfully makes hair look cast in chrome.
Read the structure, then look away. Find where the mass divides, where it overlaps and where it turns from the light, then draw those decisions rather than copying square inches.
Gather the same style from several angles. A back view shows the crown swirl, which no front view can ever tell you.
Do not trace and publish. A photograph stays somebody else's copyright after you have redrawn it in pencil, and a traced outline is recognisable to anyone who knows the source.
Common Hair Sketch Mistakes
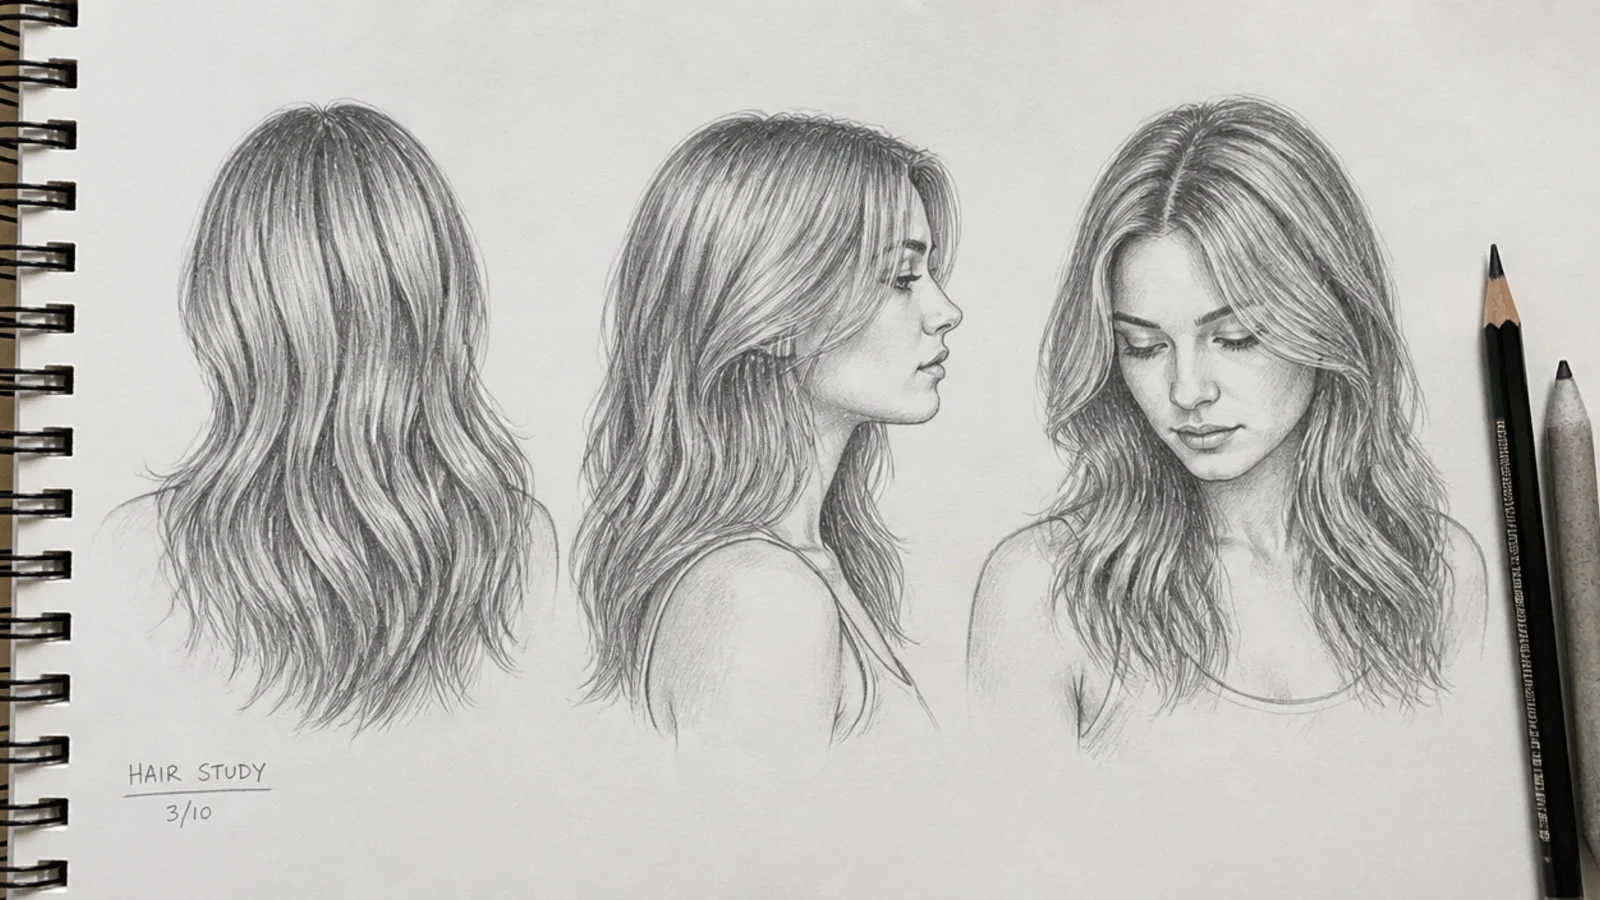
Even pressure across the whole head. It removes the grouping that makes hair read as hair rather than as fur.
A highlight band with no breaks. Real shine is interrupted by every clump it crosses, which is what keeps it off the surface of a helmet.
Ends all stopping on one line. Unless the cut is blunt, ends stagger. A single hard line under loose hair reads as a costume wig.
Symmetry. Both sides drawn the same presses the head flat. One side always carries more mass.
Rendering before the shape is settled. The most expensive mistake on this list, because the fix is an eraser.

The 25 Hair Sketch Studies
1. Straight Shoulder Length Hair
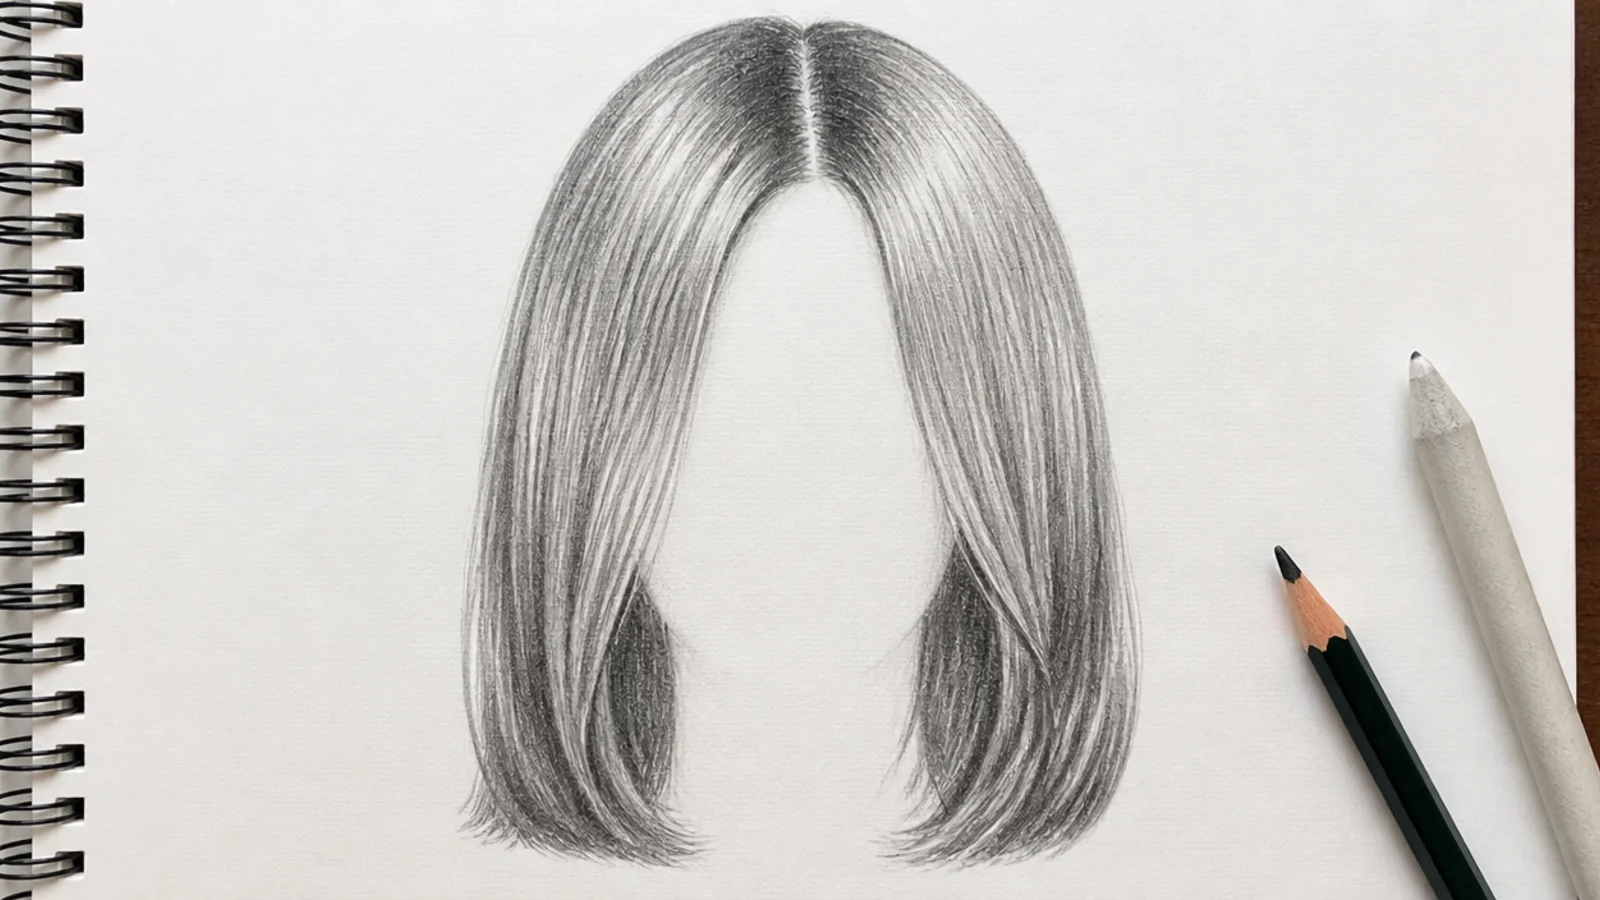
The standard first exercise, because the mass is simple and every error is visible. Draw it as two ribbons falling either side of the face with a third behind the shoulder, and stagger the ends slightly so they do not all terminate on the same line.
2. Long Waves Over One Shoulder
Gathering the length onto one shoulder makes the arrangement asymmetric, which reads as three dimensional far more easily than a balanced one. Keep the far side tight to the skull and load the volume onto the near side, and the head turns without a single perspective line being drawn.
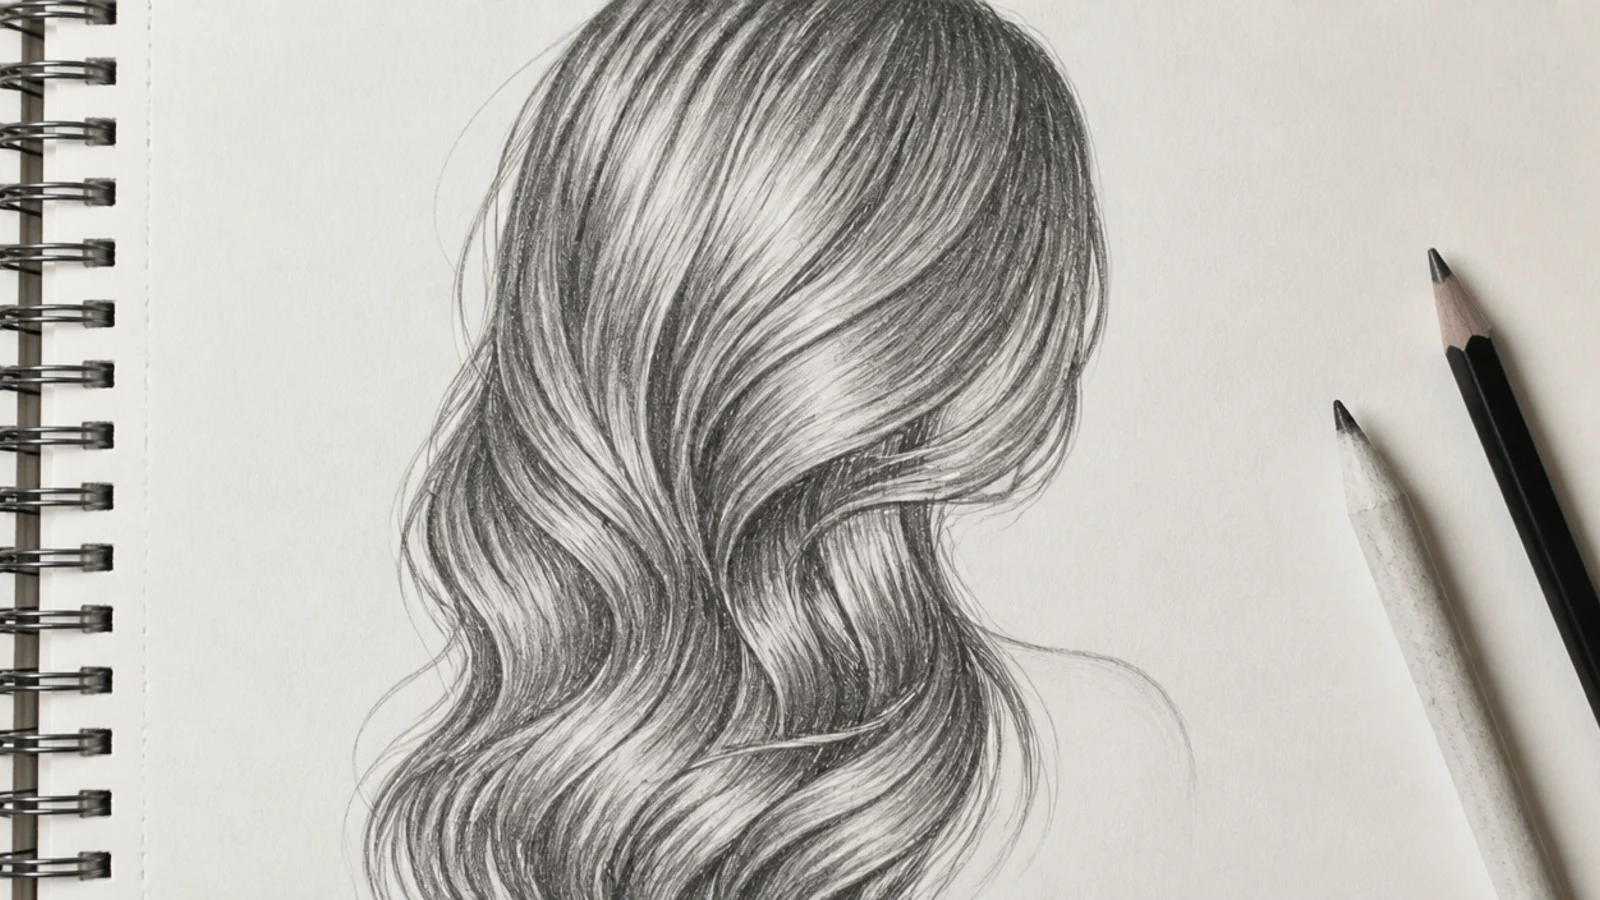
3. Loose Curls as Ribbons
A loose curl is a ribbon twisting slowly, showing its outer face, then its thin edge, then its inner face. Shade that sequence down the length and the curl reads as a solid form even when the outline is little more than a wavy line.
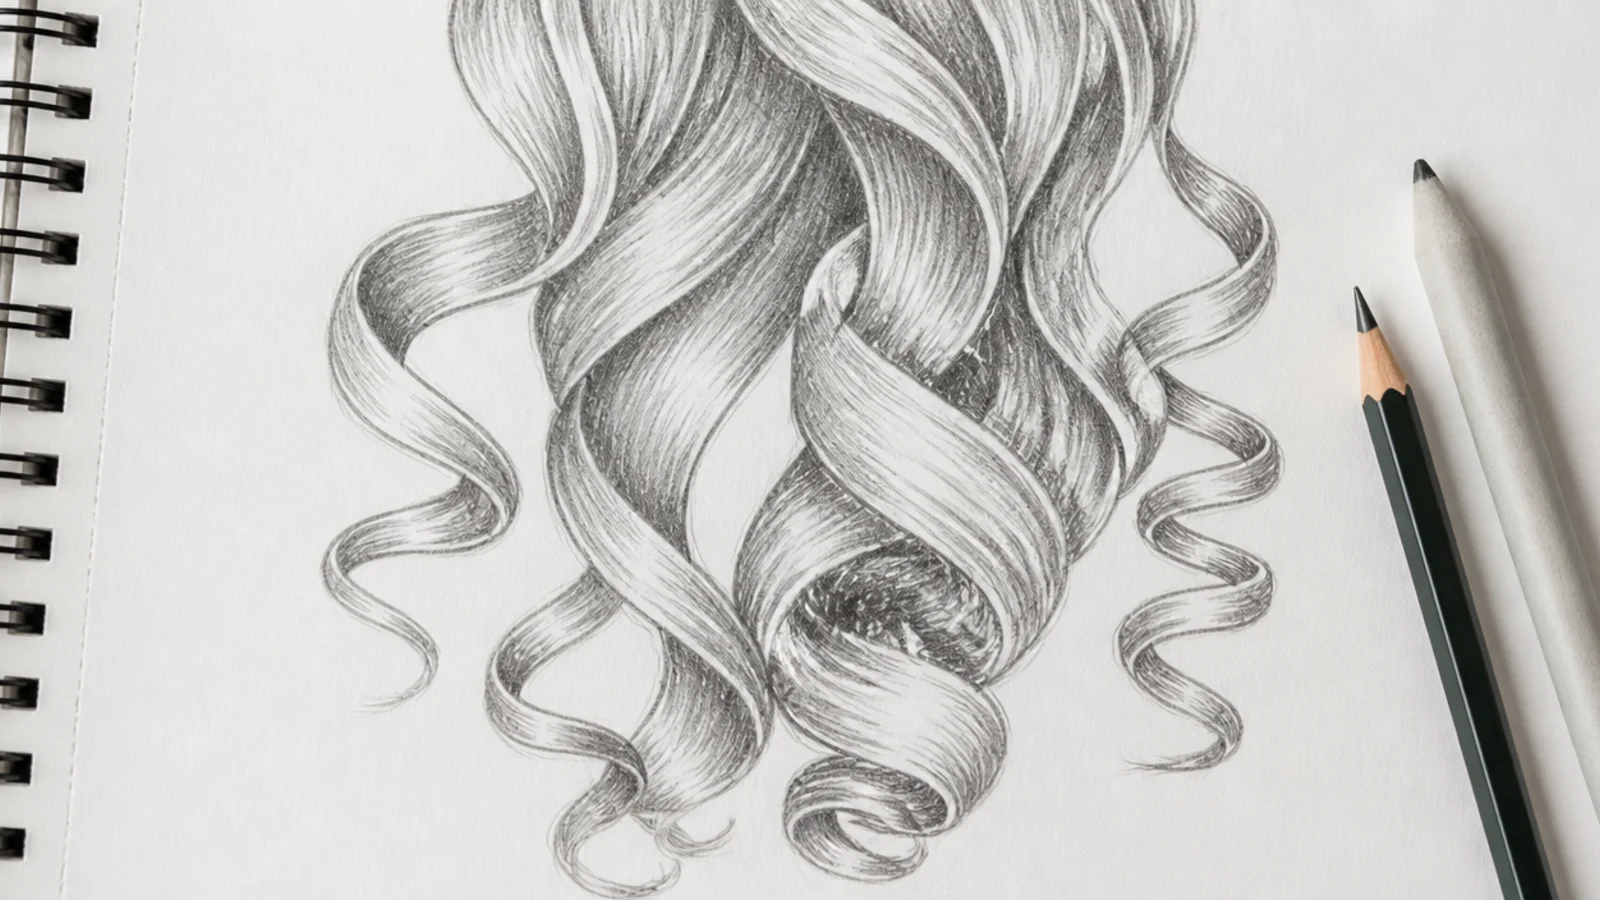
4. High Messy Bun
The bun sits above the skull, so it needs visible air underneath and a shadow where it meets the head. Build it from two or three loops of different sizes rather than a ball of scribbled texture, since varied loop size is what separates messy from simply badly drawn.

5. Ponytail From the Back
Every tension line converges on the tie, and making that convergence convincing is the whole drawing. Curve the lines over the surface of the skull rather than running them straight, because straight lines across a curved head flatten the back of the skull completely.

6. Blunt Bob
Every strand ends on the same line, so the bottom edge is one hard shape carrying the entire cut. Keep it dark and unfeathered and let the top surface stay smooth, because a blunt bob is the one style where the silhouette does more work than the texture.

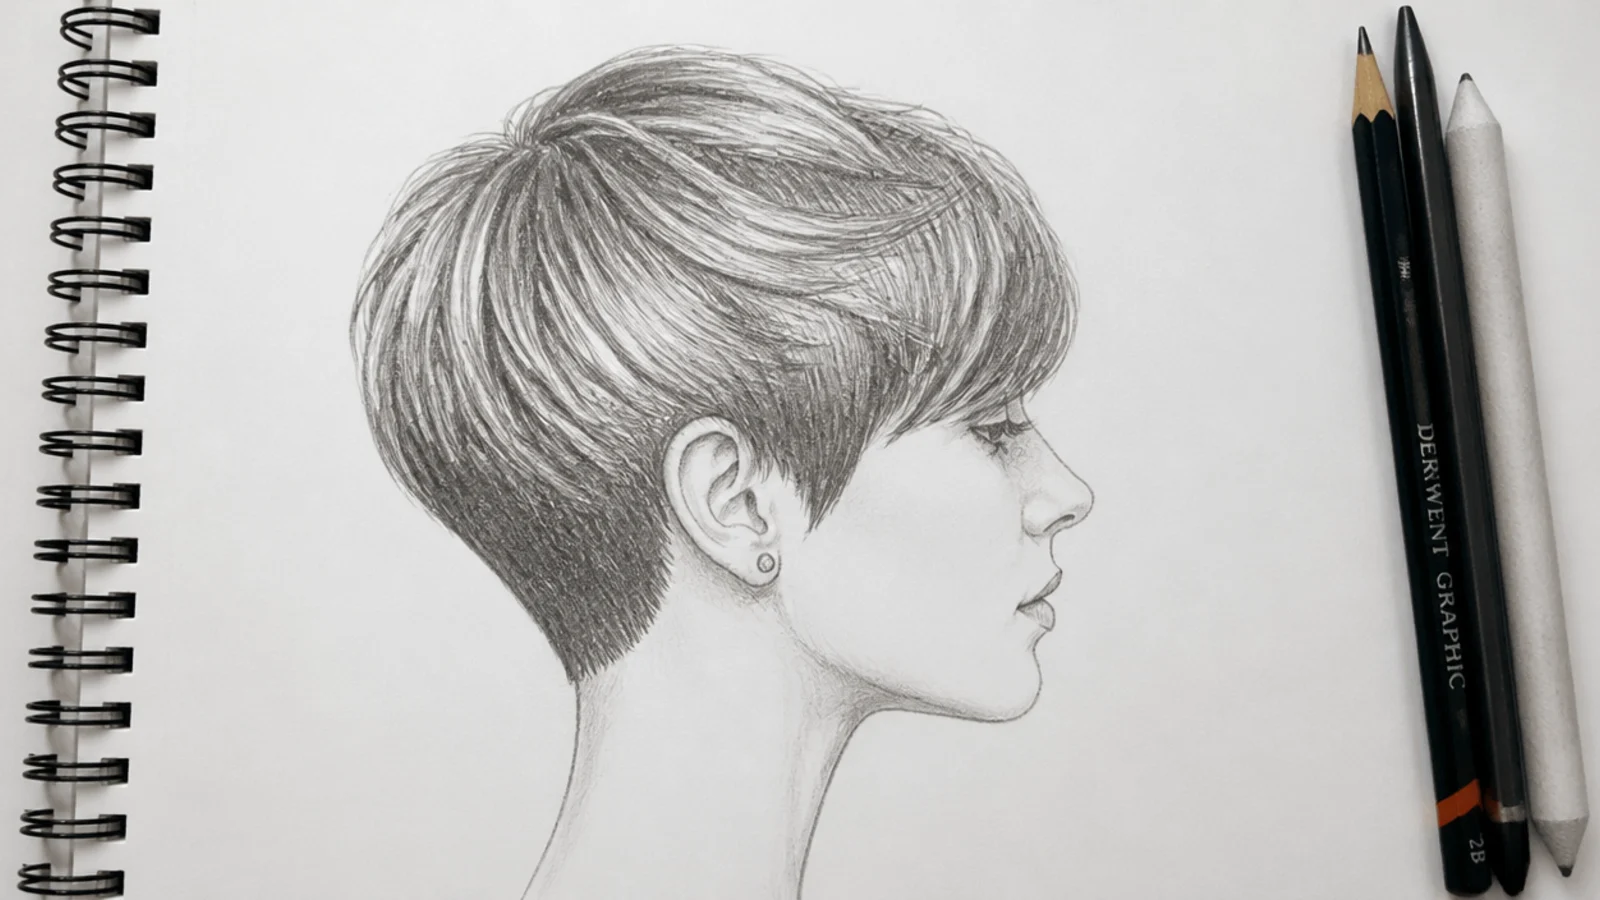
7. Pixie From the Side
Short hair exposes the skull, so the shading has to describe a sphere rather than a curtain. Send every clump away from the crown swirl and thin the hair toward the nape, where a real pixie is cut shortest and scalp begins to show through.

8. Curtain Bangs
Two ribbons split at the centre and sweep outward, longest where they blend into the rest of the length. All the volume comes from lifted roots at the part, so drawing the roots flat turns curtain bangs into an ordinary centre parted fringe.
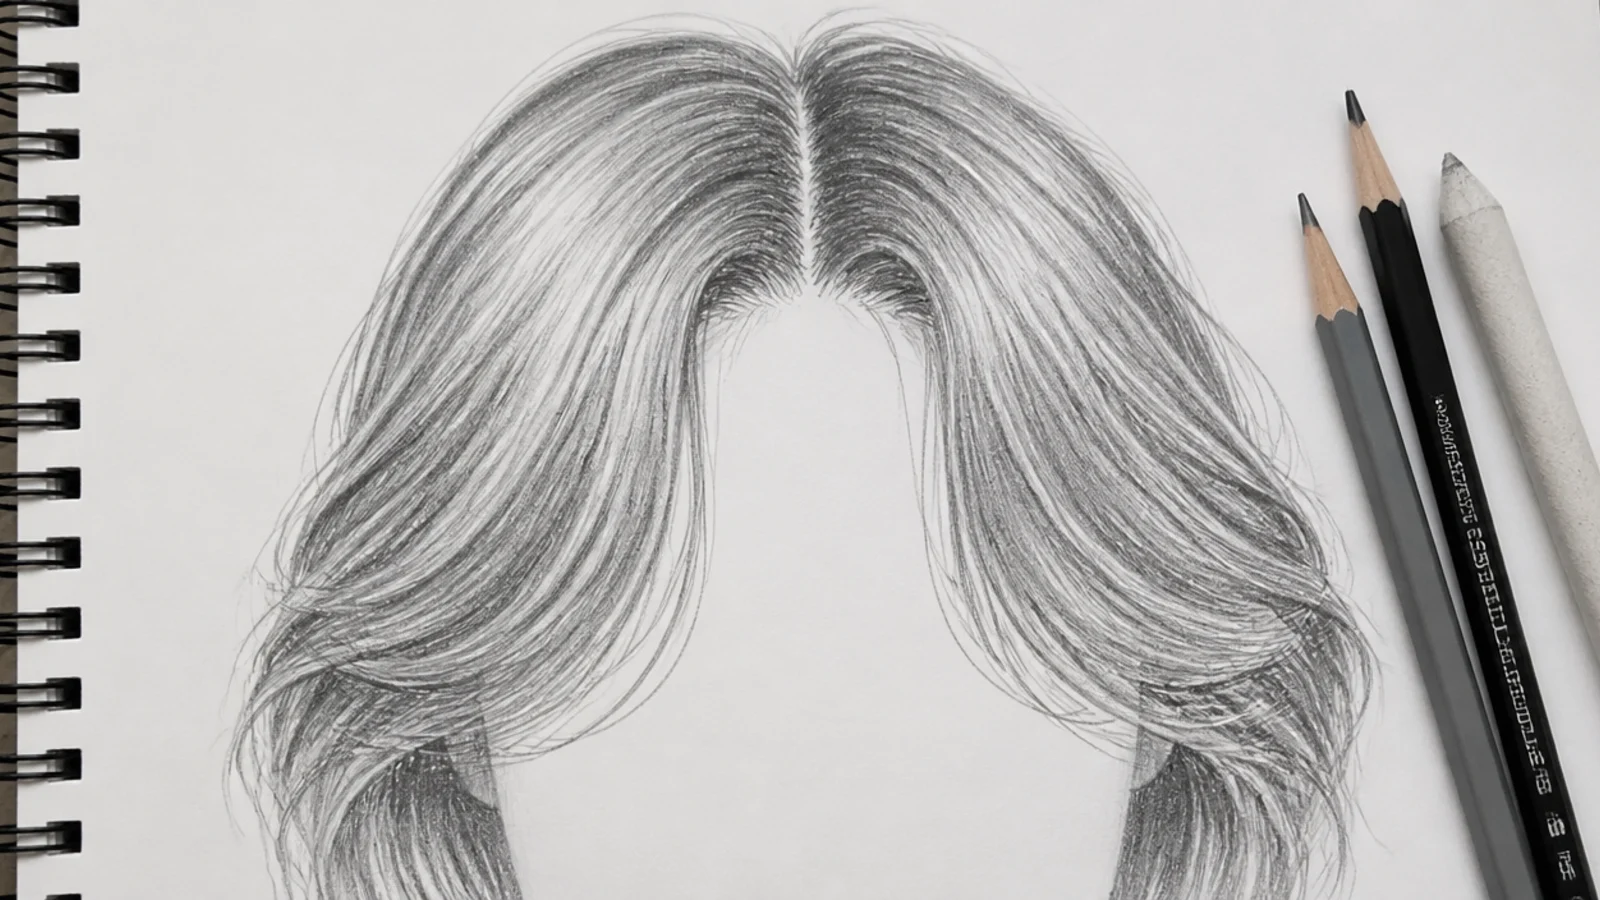
9. Three Strand Braid
Three strands produce a stack of teardrops alternating left and right down a centre line. Draw that line first, hang the teardrops off it at a steady angle, then darken each tuck point where one shape disappears beneath the next.
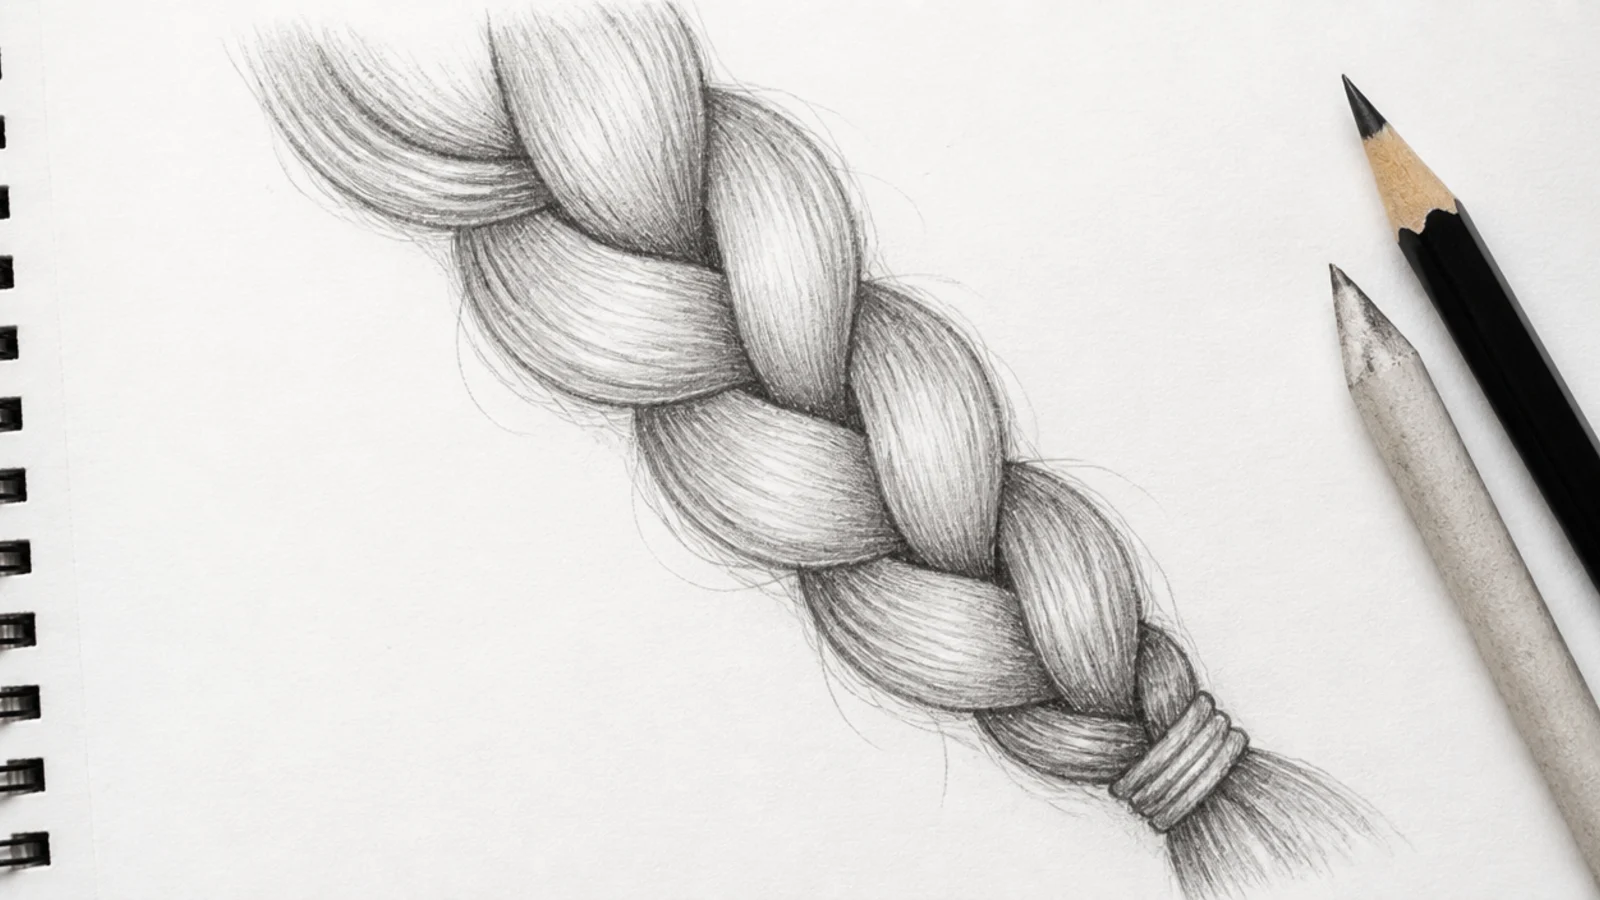
10. Dutch Braid Crown
In a Dutch braid the strands cross under rather than over, so the braid sits proud of the scalp and casts a shadow onto it. That cast shadow is the only visible difference from a French braid in a drawing, and it is the reason to choose one.

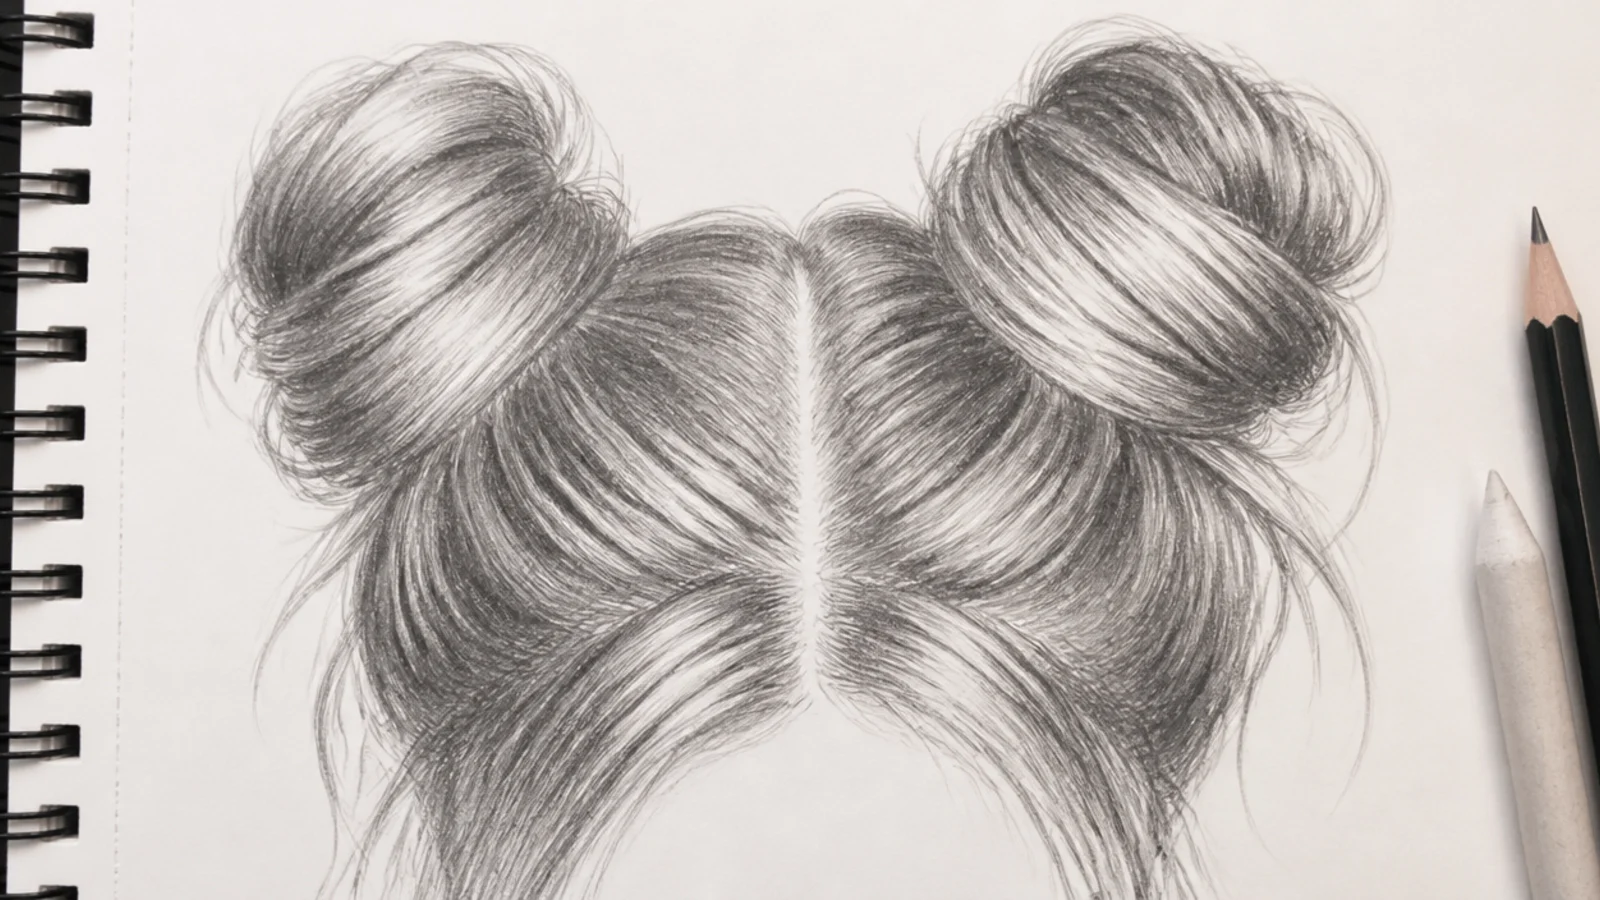
11. Space Buns
Two buns invite symmetry, and symmetry removes any sense of a rounded head. Vary their size and position slightly, then sweep the tension lines up from a visible parting so both read as gathered from the scalp rather than attached to the outside of it.
12. Rounded Afro
Close to a circle in silhouette but never actually one, which is the trap. Flatten it slightly at the temples, break the outline with small coils, and keep the interior mid toned with real dark cores so the shape reads as a volume rather than a disc.

13. Coily 4C Sponge Curls
Sponge curls are small, regular and nearly identical, which makes the pattern easy to draw and easy to overdo. Vary the coil size a little, light only the top plane of the mass, and let the shadow side lose the pattern entirely rather than repeating it in the dark.

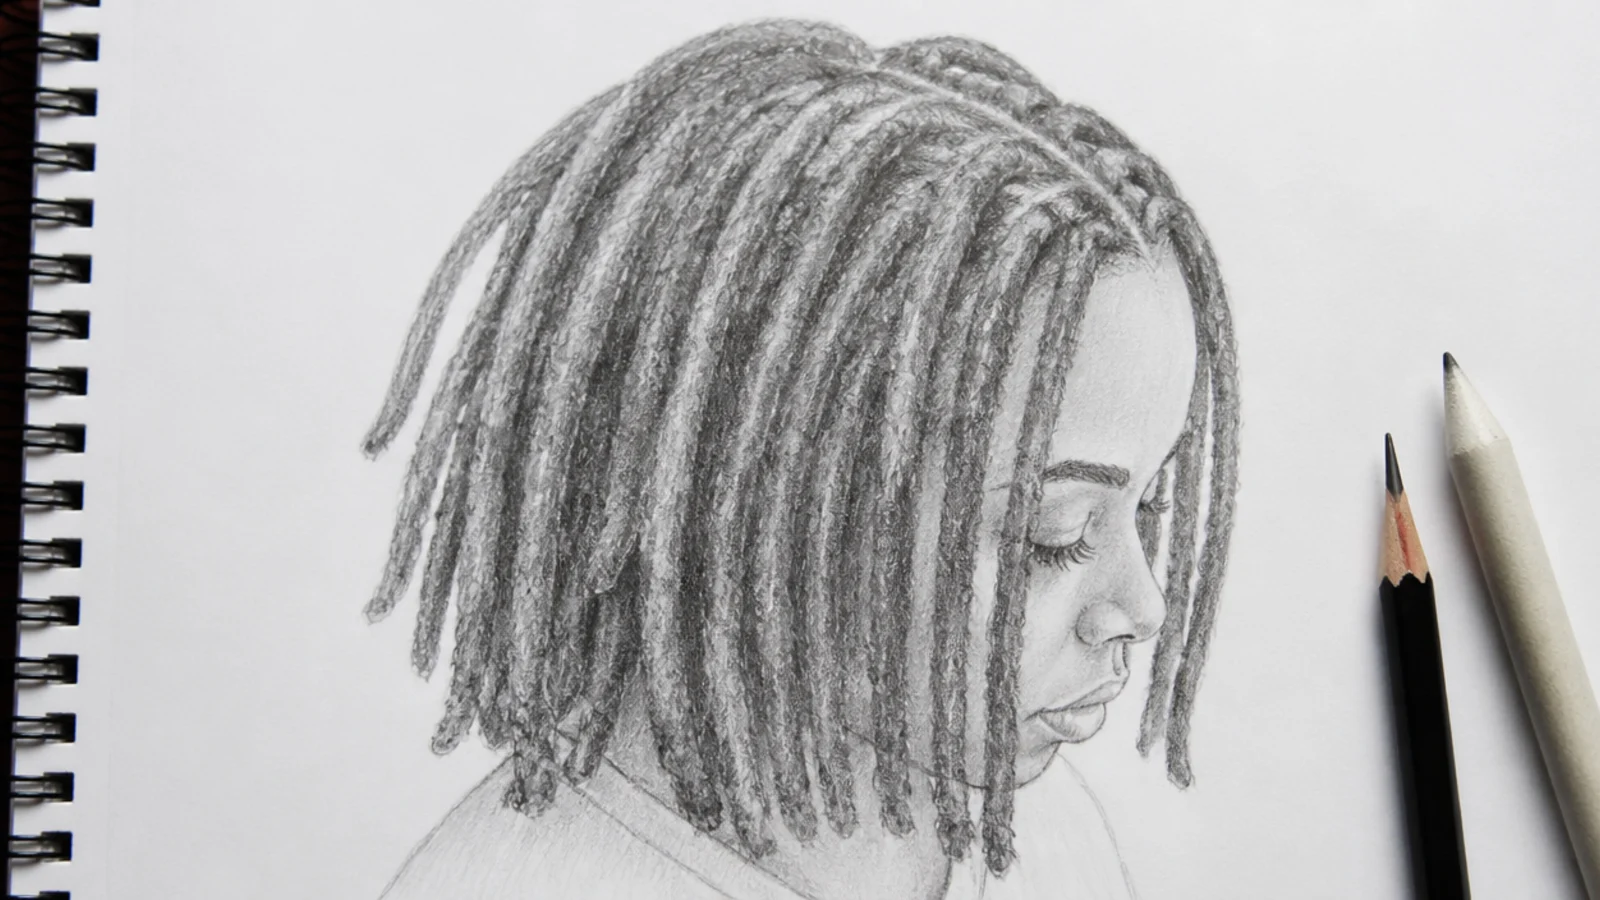
14. Shoulder Length Locs
Each loc is a cylinder, so it takes a dark edge, a mid body and a thin highlight running its length. Stagger the lengths and let a few pass behind others, because parallel locs of identical length read as a barcode rather than as hair.
15. Two Strand Twists
Two ropes crossing at a regular interval make a repeating chevron, not a spiral. Keep the interval even, compress it toward the root where the tension was applied, and let the ends unravel slightly into loose curl so the twist has somewhere to finish.

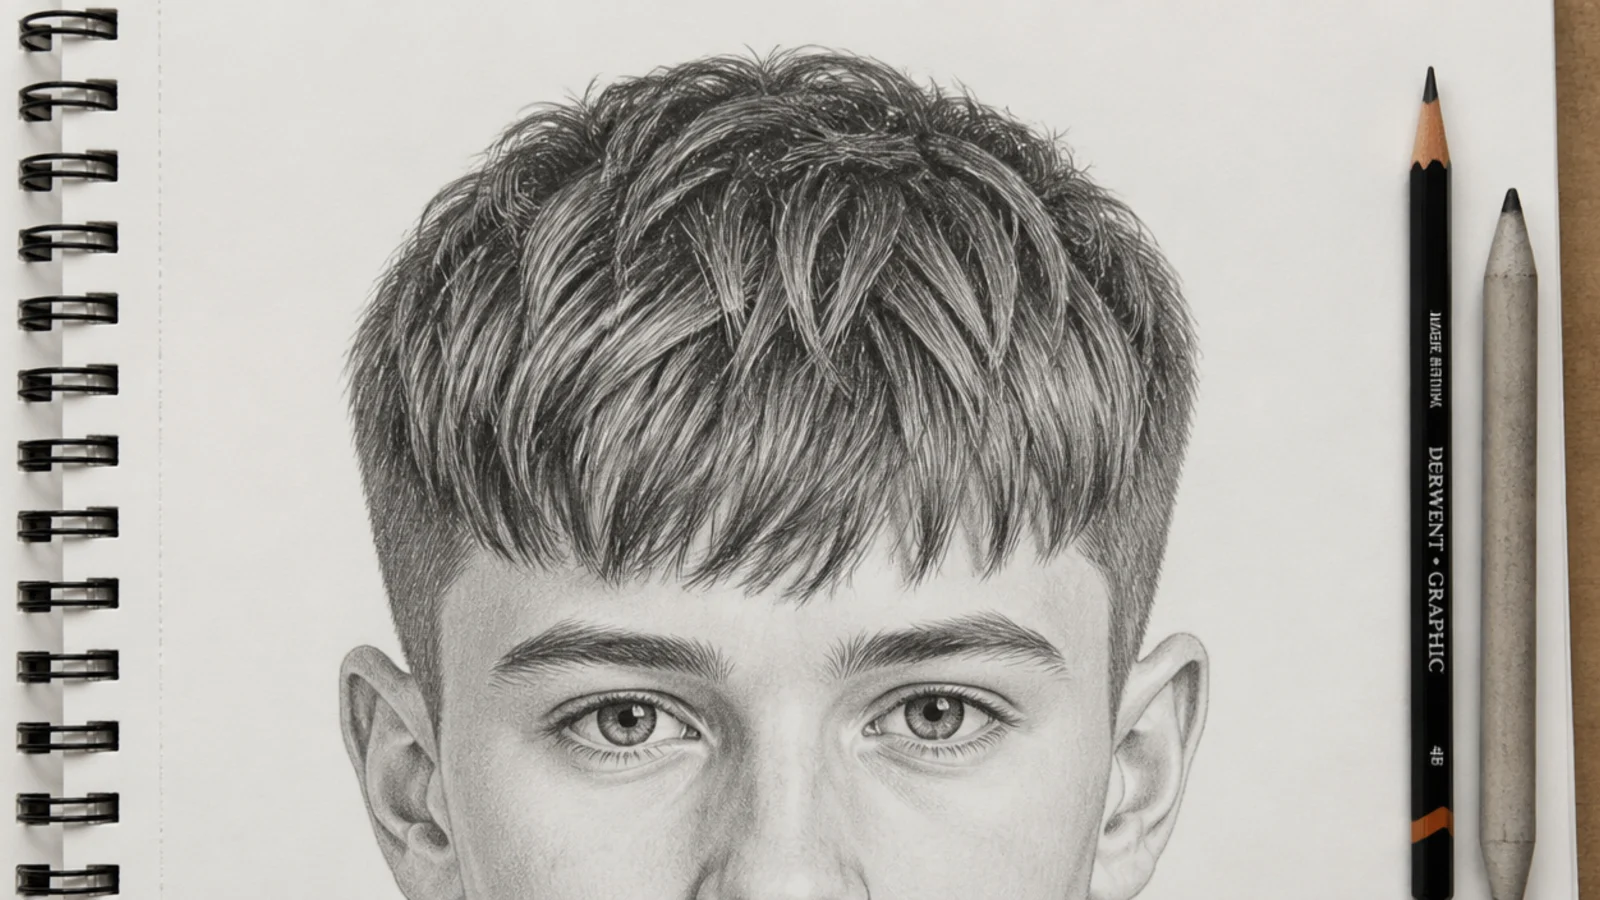
16. Boys Textured Crop
The crop is defined by its front edge, a short fringe pushed forward with visible separation between the pieces. Draw those pieces as wedges rather than strands and keep the sides much lighter than the top, because that contrast is the actual shape of the cut.
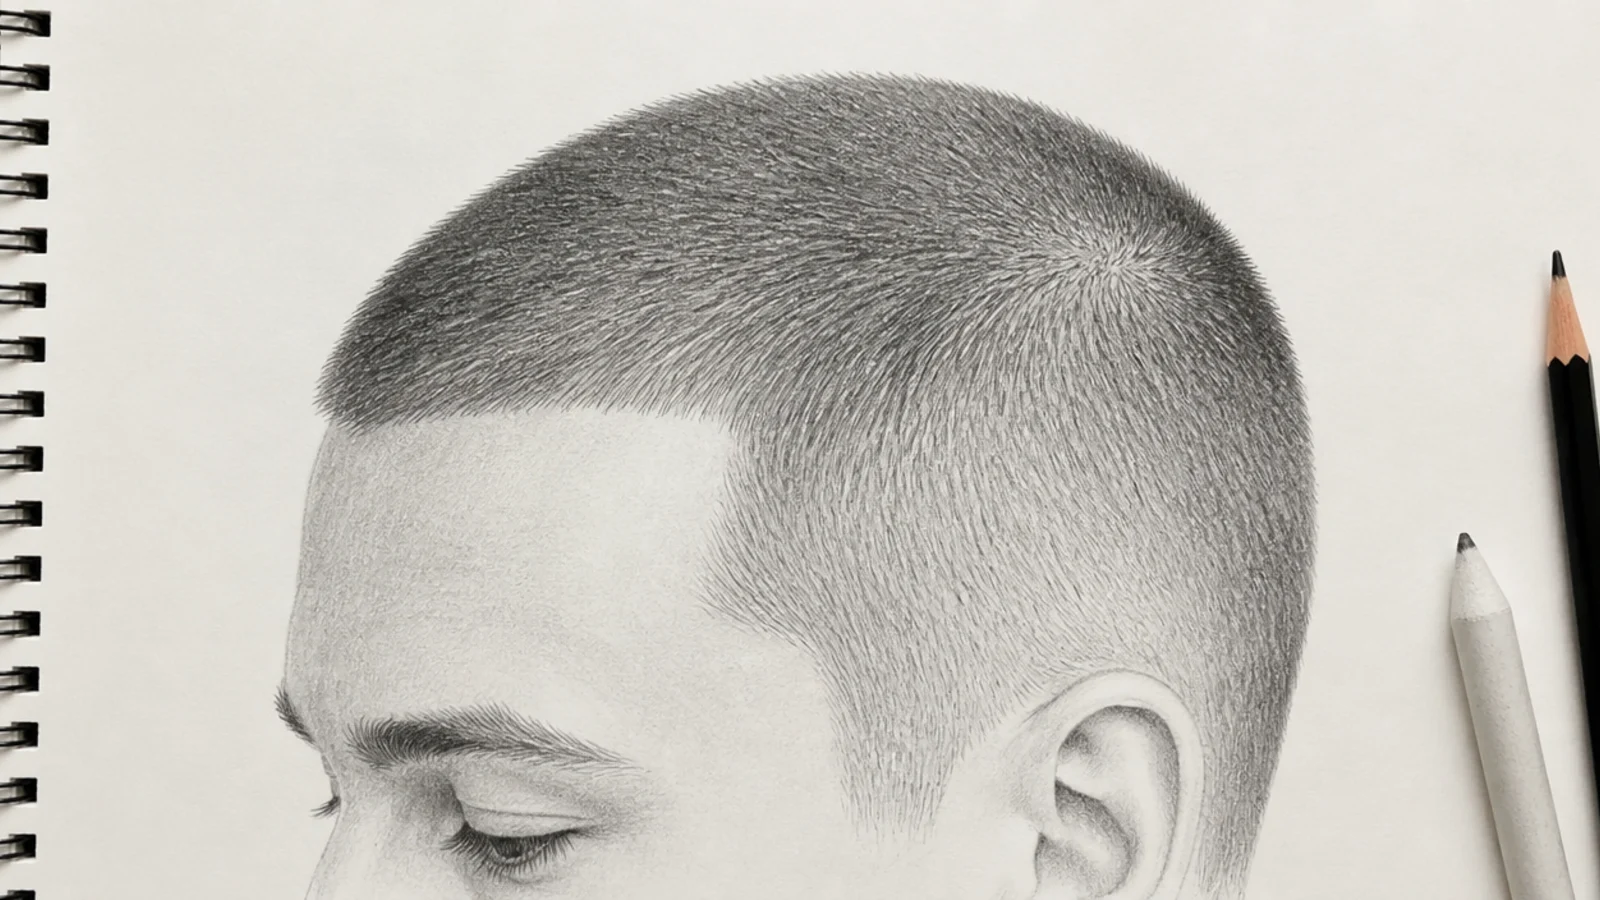
17. Buzz Cut Stubble
At a number one guard the hair is three millimetres long, far too short to have a shape, so this is a study of a skull with a texture laid over it. Shade the head as a sphere first, then stipple slightly darker where growth is denser around the crown.
18. Man Bun With an Undercut
The hard boundary between the shaved side and the gathered length is the point of the drawing. Keep that edge crisp and unblended, and run every tension line from it back to the tie so the two halves of the cut clearly belong to the same head.
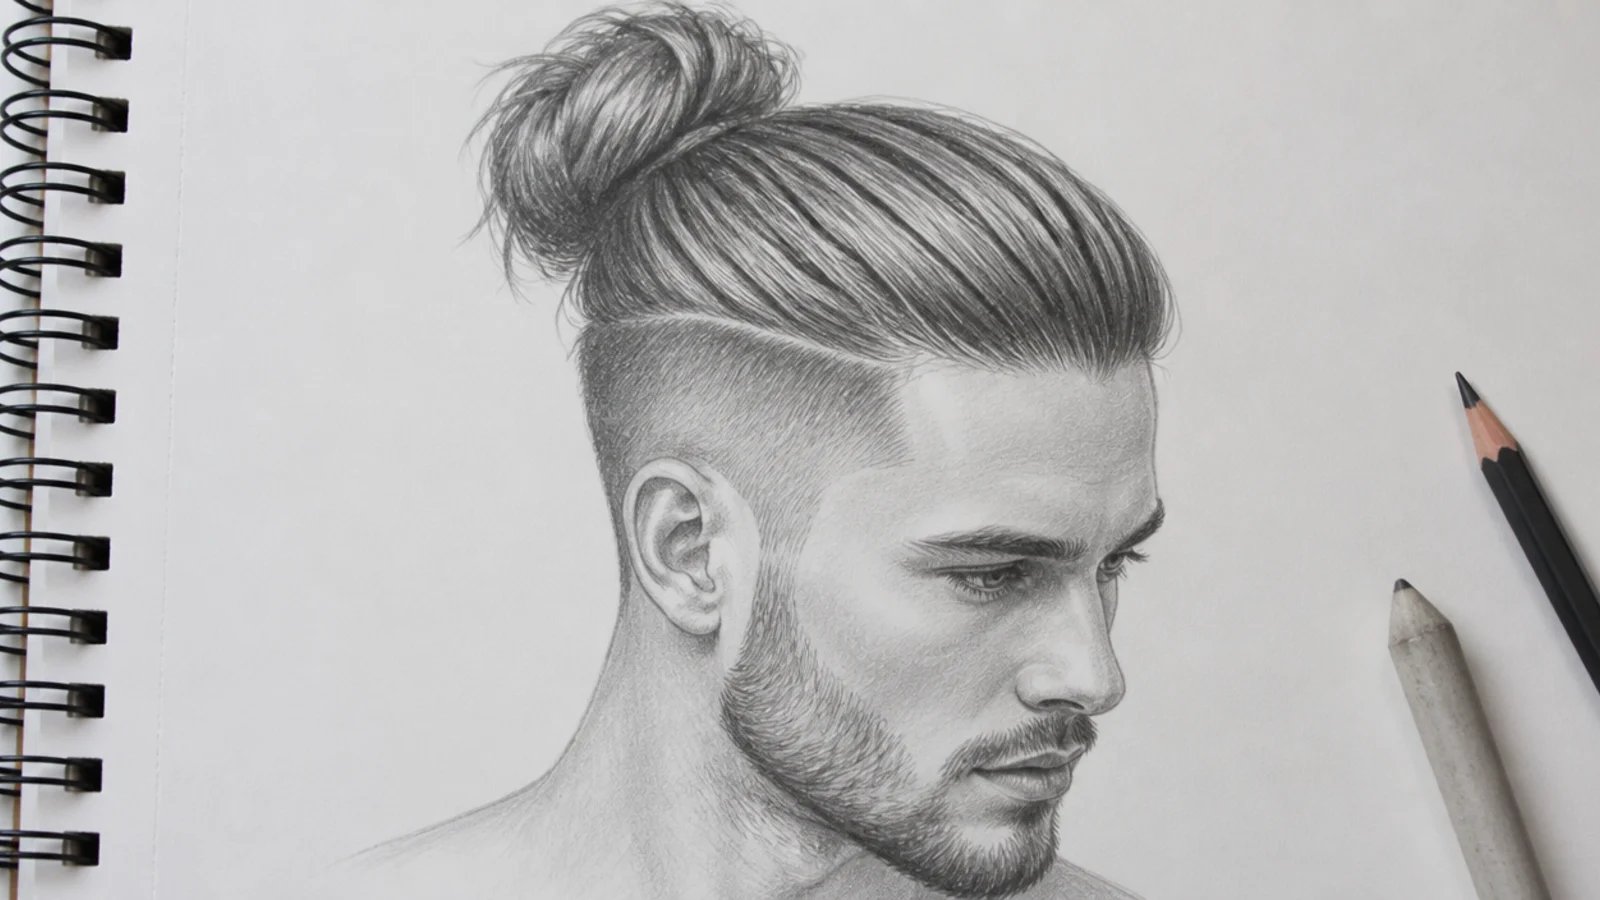
19. Spiky Anime Hair
Anime hair is a few large wedges rather than many small spikes. Group the spikes into three or four clusters sharing one silhouette and give each cluster a single highlight band, which is what keeps a stylised head from turning into a sea urchin.
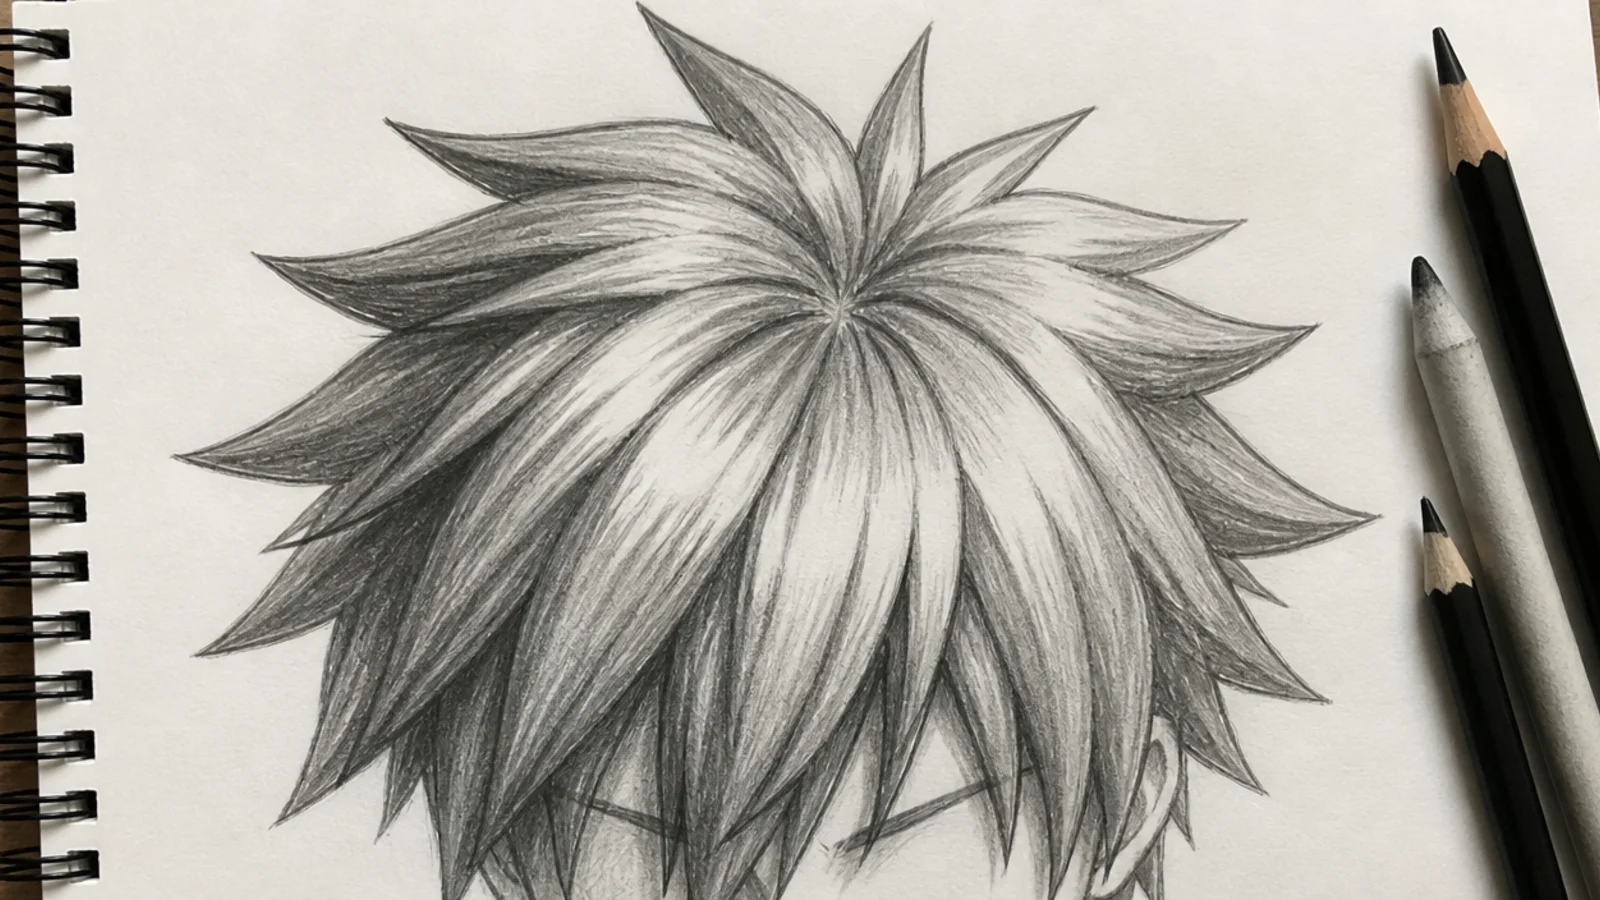
20. Hime Cut
Two blunt lines, one across the fringe and one at the jaw, with long length falling behind them. Both have to be genuinely straight, because the whole cut is the contrast between those hard horizontals and the soft length passing beyond them.
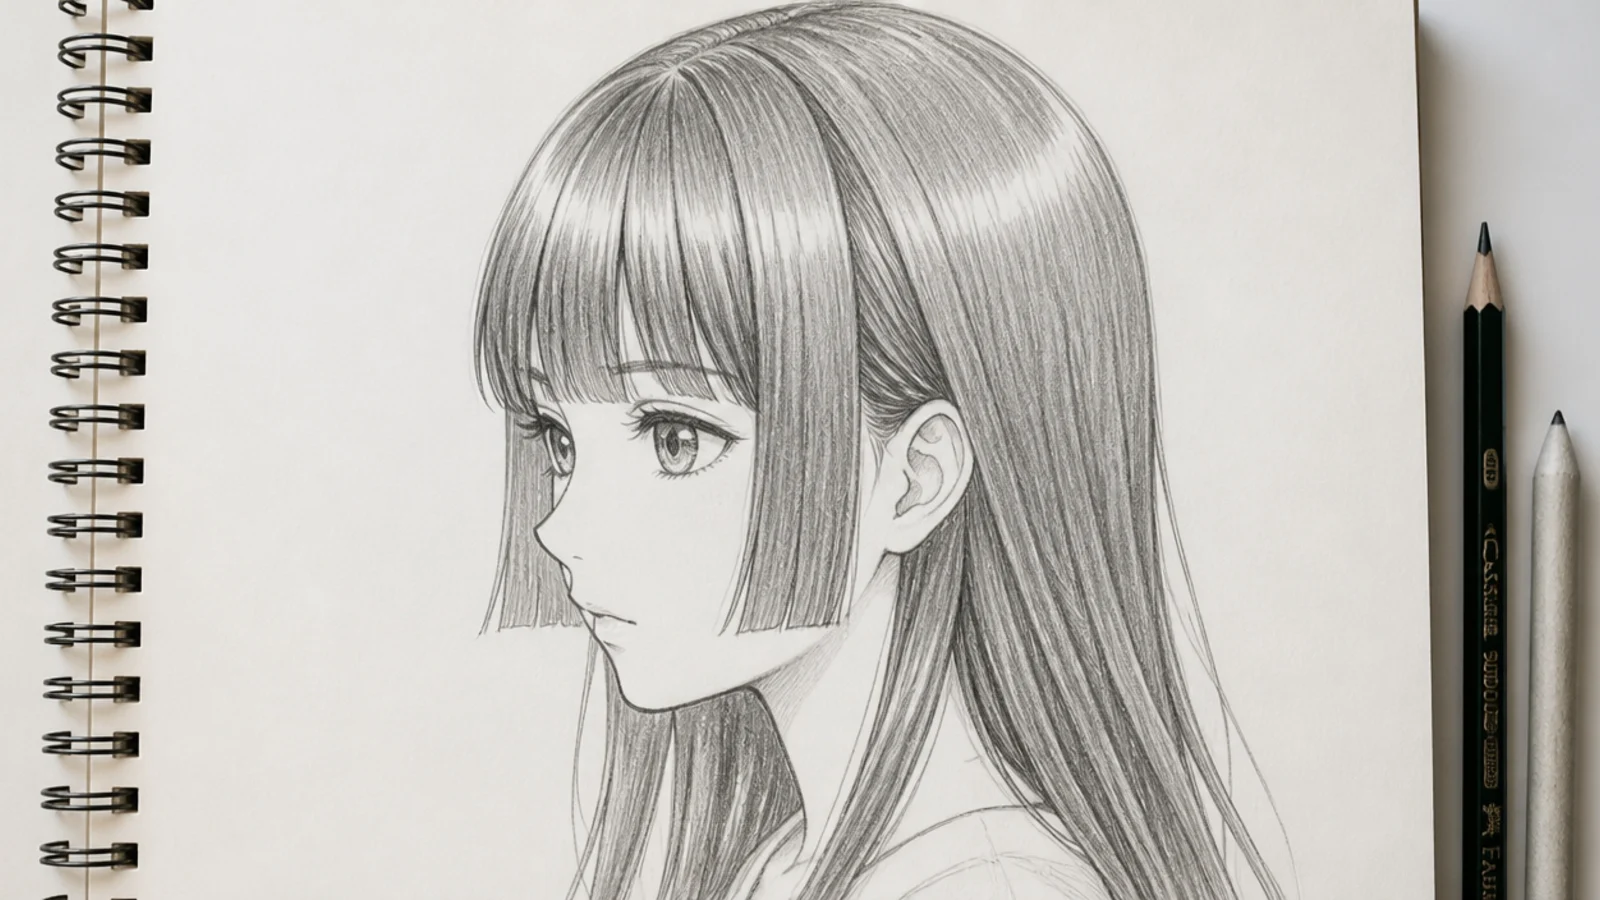
21. Wind Blown Hair
Wind separates the mass into ribbons with visible air between them, and those gaps matter more than the strands do. Keep the roots gripped at the scalp and widen the separation toward the ends, since the force travels from the ends inward rather than lifting from the head.
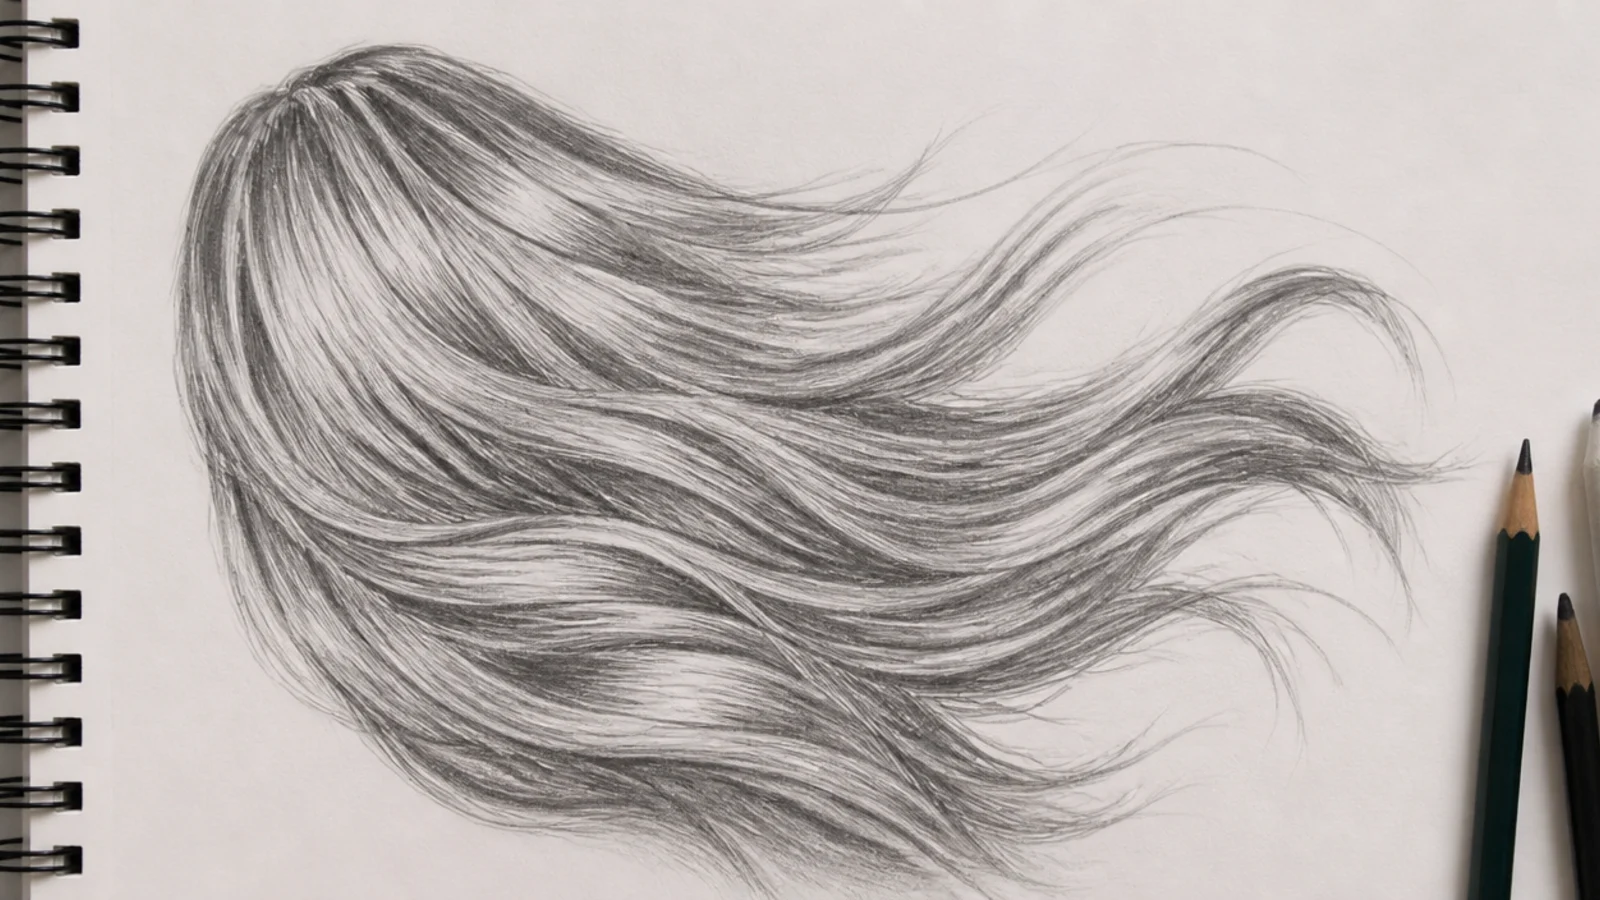
22. Wet Hair Clinging to the Head
Wet hair clumps into fewer, heavier pieces and collapses toward the skull, so pull the silhouette in noticeably from where you would draw it dry. Replace the soft highlight band with small hard bright points, which is the most reliable signal that hair is wet rather than simply dark.

23. Half Up Half Down
The drawing has two jobs at once, a gathered section under tension and a loose section falling free. Make them look different — tight converging lines above, broken ribbons with staggered ends below, and a clear shadow where the upper section passes over the lower.
24. Low Chignon From the Back
A chignon is a coiled rope, so draw the coil as a spiral that narrows as it turns inward rather than as a smooth ball. The back of the head is a large even curve, and the shadow the chignon casts onto the nape is what places it in front of that curve.
25. Hair Over One Eye
A sweep across the face changes a portrait more than the haircut does, because it breaks the symmetry of the features. Keep the sweep as one clean ribbon with a soft edge and let it cast a real shadow on the brow, which is what stops it looking pasted onto the face.

Final Thoughts
Twenty short sketches teach more than one long one, because every short sketch forces the two decisions a long drawing avoids — where the silhouette actually sits and where the light actually comes from. Render only once those are settled, and only in the few places that deserve it.
For curly textures in detail see 15 ways to sketch curly hair easily. More in Hair Drawing. See also the anime version.