15 Ways to Style French Bangs
Fifteen techniques for styling a French fringe day to day — starting with the one that decides everything. A fringe is set in the first two minutes after washing, and nothing you do later overrides it.
In this article · 21
- The Two-Minute Rule
- The Core Techniques
- 1. The Side-to-Side Rough Dry
- 2. The Round Brush Roll
- 3. The Velcro Roller
- 4. The Cool Shot Finish
- 5. The Flat-Palm Press
- 6. Drying Against the Growth
- 7. The Finger Separation
- 8. The Deep Side Sweep
- 9. The Centre Split
- 10. The Straightener Bend
- 11. The Overnight Set
- 12. The Sink Wash
- 13. Dry Shampoo at the Roots
- 14. The Damp Reset
- 15. Two Pins and Move On
- How Much Product a Fringe Needs
- Mistakes to Avoid
- FAQ
- Final Thoughts
Styling a fringe is not really a daily task. It is one task, done properly once, immediately after washing — and then a series of very small adjustments for the next two days.
Almost everyone has this backwards. They towel-dry, get on with the rest of their hair, and then try to style a fringe that set twenty minutes ago in whatever direction it happened to fall. That does not work, and no product fixes it.
The Two-Minute Rule
A fringe dries faster than any other section of your hair. It is thin, it is exposed, and it sits against a warm forehead. By the time you have finished with the rest of your head it has been dry for a while, and whatever shape it dried into is now the shape.
So the fringe gets dried first, within a minute or two of getting out of the shower, while it is genuinely wet rather than damp.
That two minutes is the entire styling routine. Everything else on this page is either a variation on it or a way of rescuing a day when it did not happen.

The Core Techniques
1. The Side-to-Side Rough Dry
Fingers at the roots, airflow moving left and right rather than straight down. Breaks the natural parting before it forms.
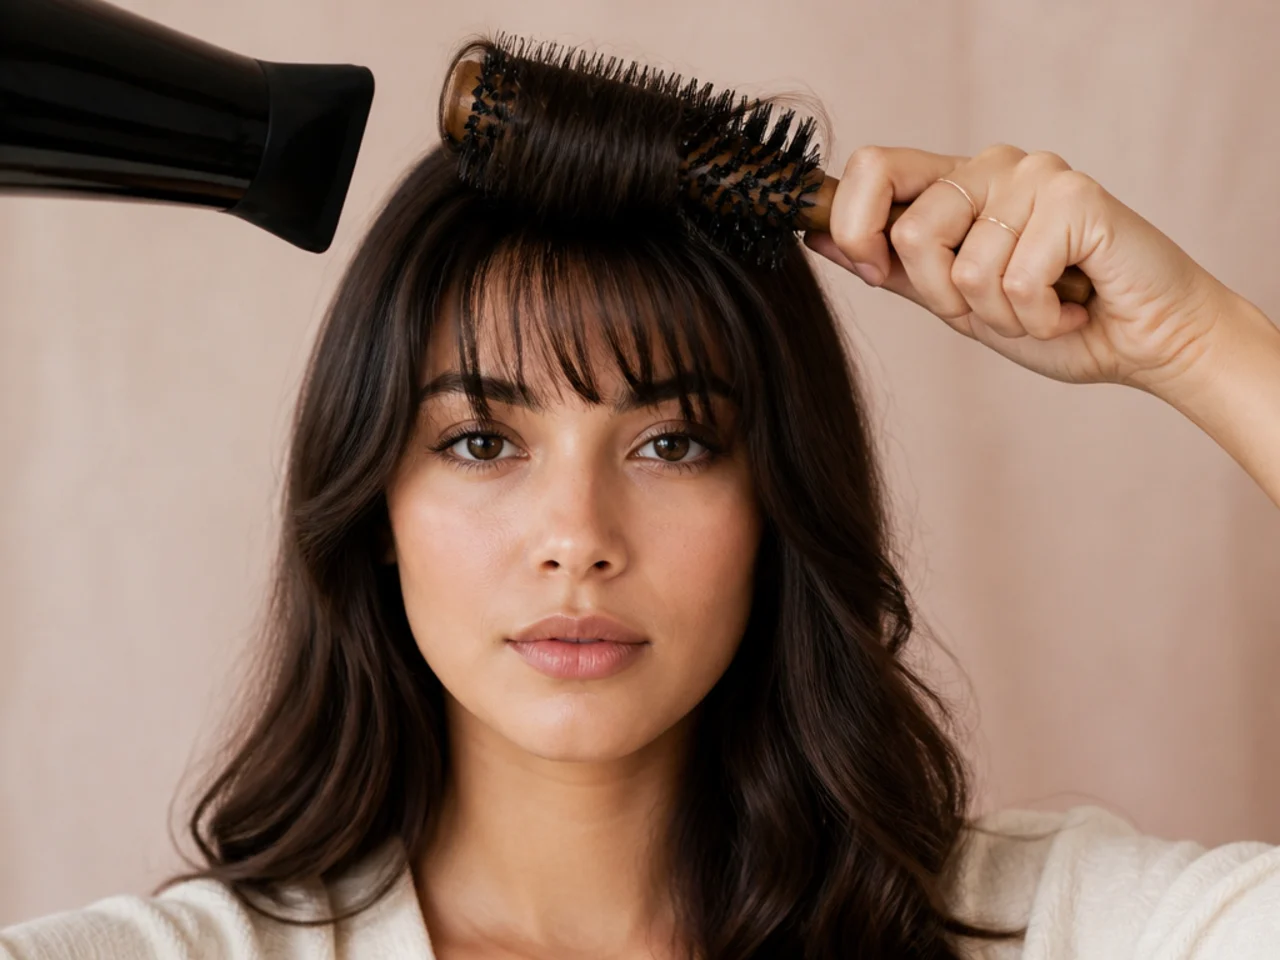
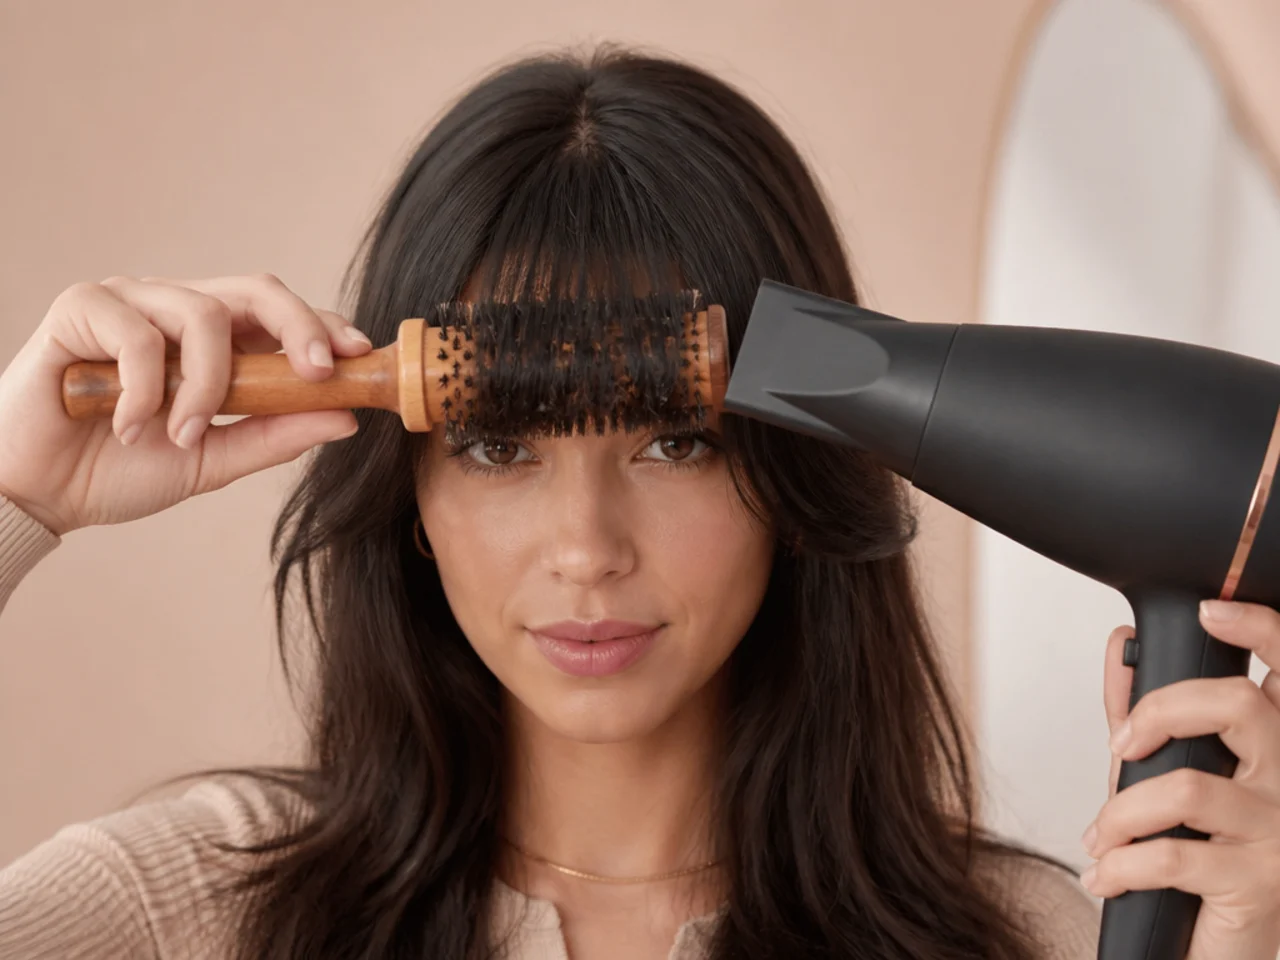
2. The Round Brush Roll
One rotation under at the ends. Any more and it starts to look set rather than soft.
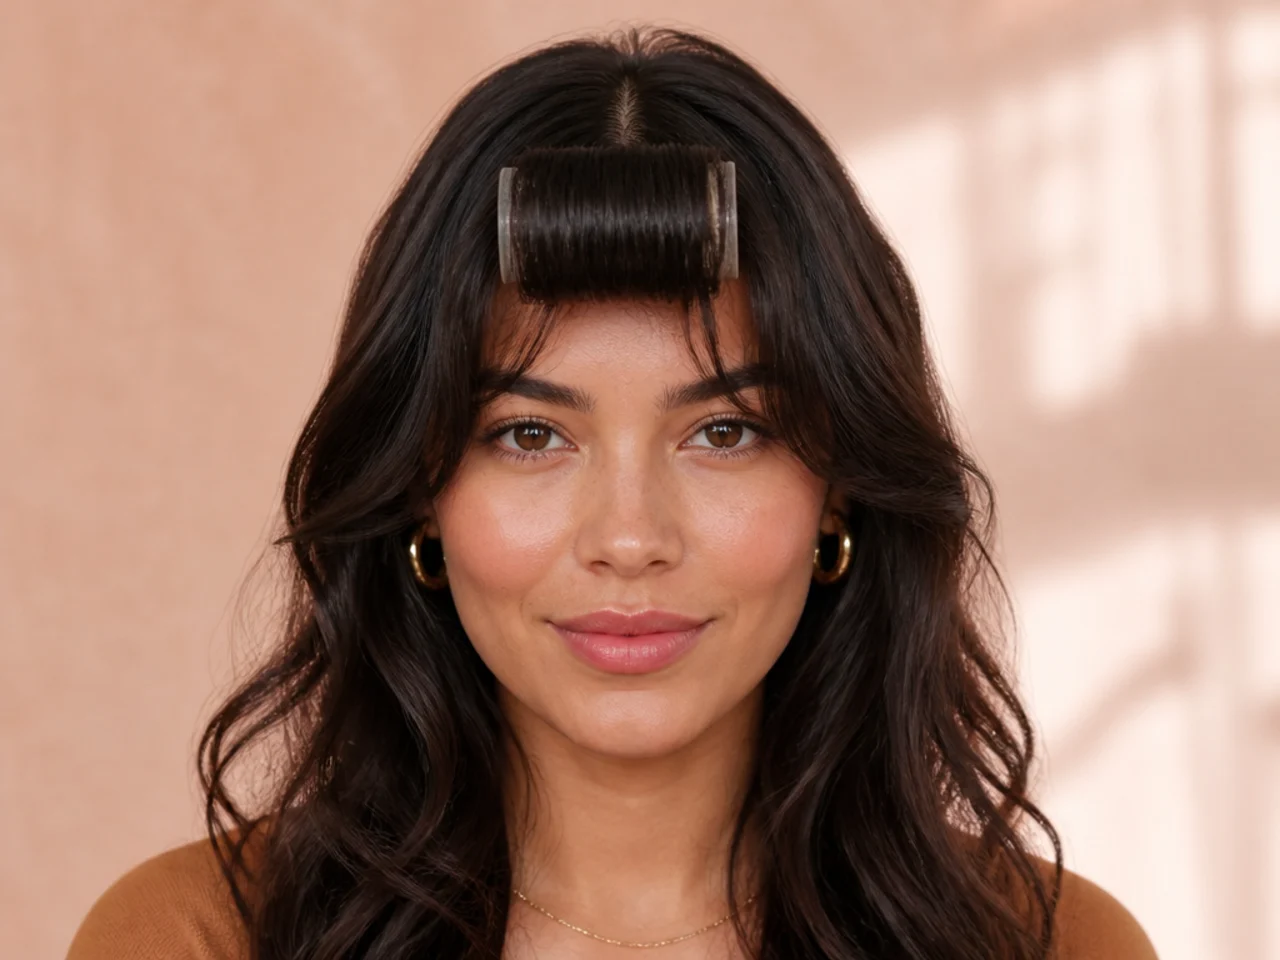
3. The Velcro Roller
Rolled in while warm, left for five minutes while you do the rest of your hair. The most reliable volume method there is.
4. The Cool Shot Finish
Cold air at the roots once the shape is right. Warm air moves hair; cold air fixes where it landed.
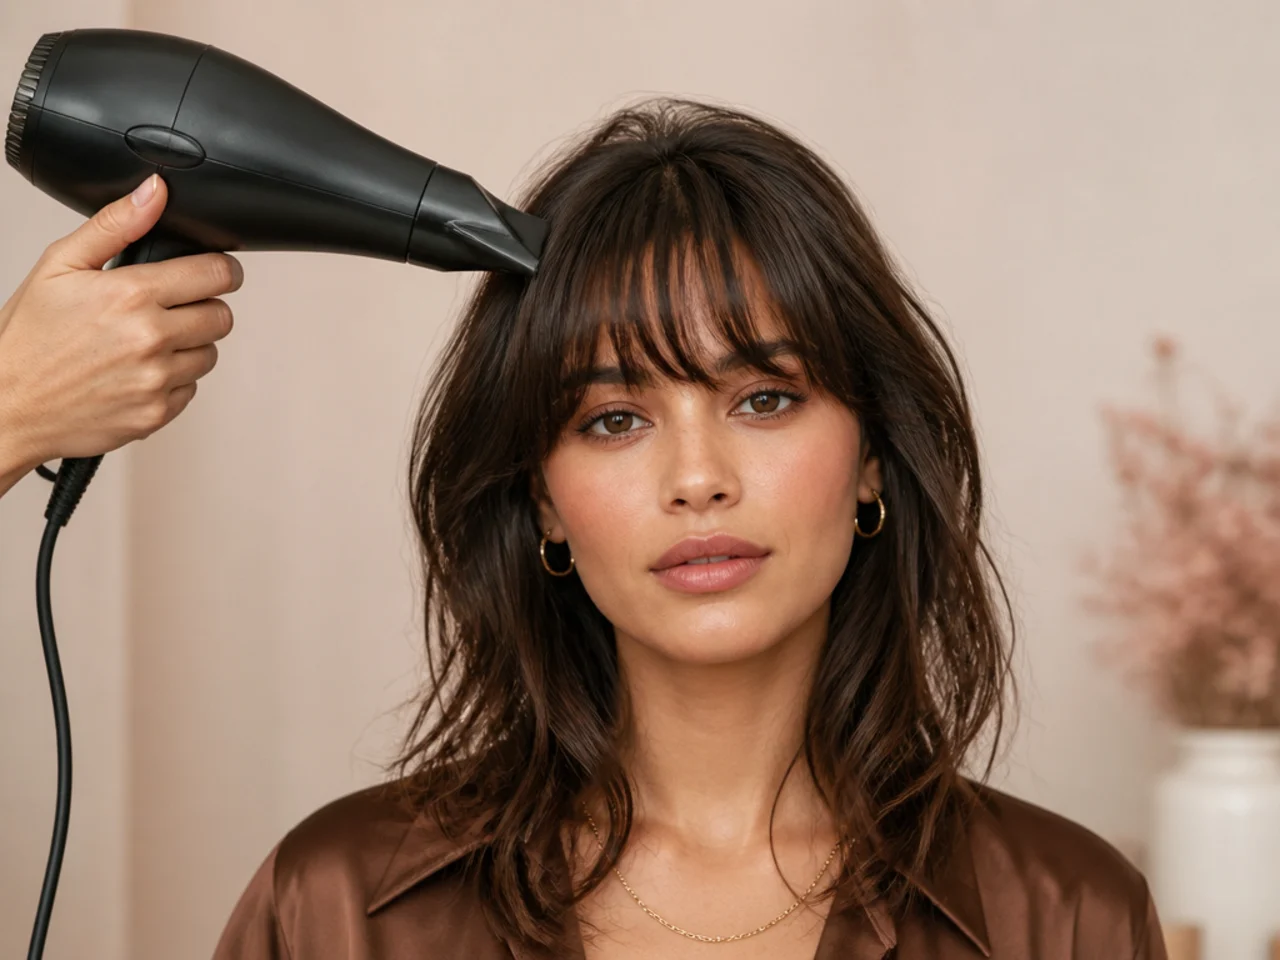
5. The Flat-Palm Press
Palm pressing the fringe against the forehead while drying. For fringes that lift when you want them flat.
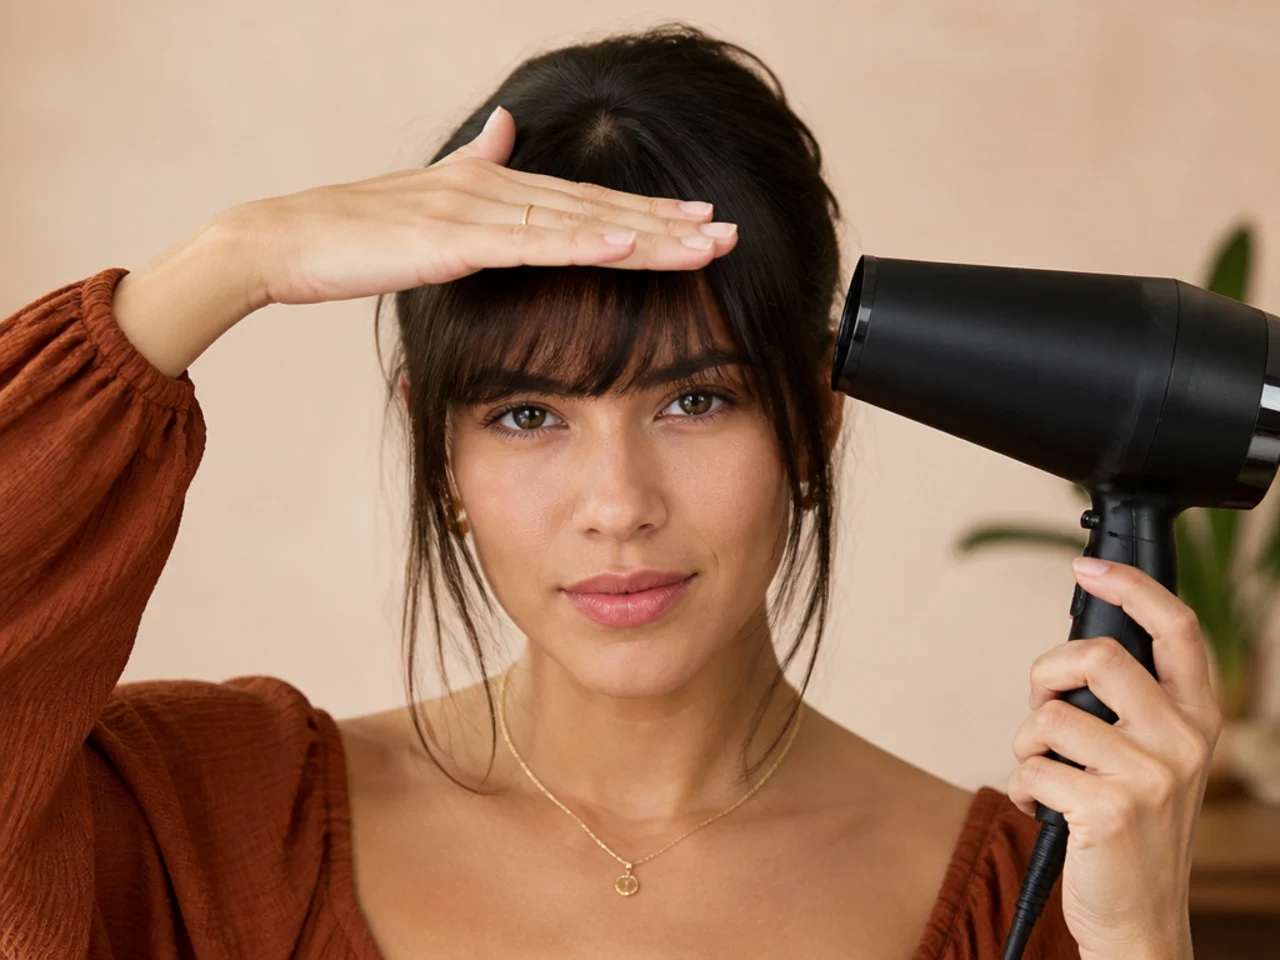
6. Drying Against the Growth
Push the fringe the opposite way to where it wants to go, then bring it back. It cancels a mild cowlick.

7. The Finger Separation
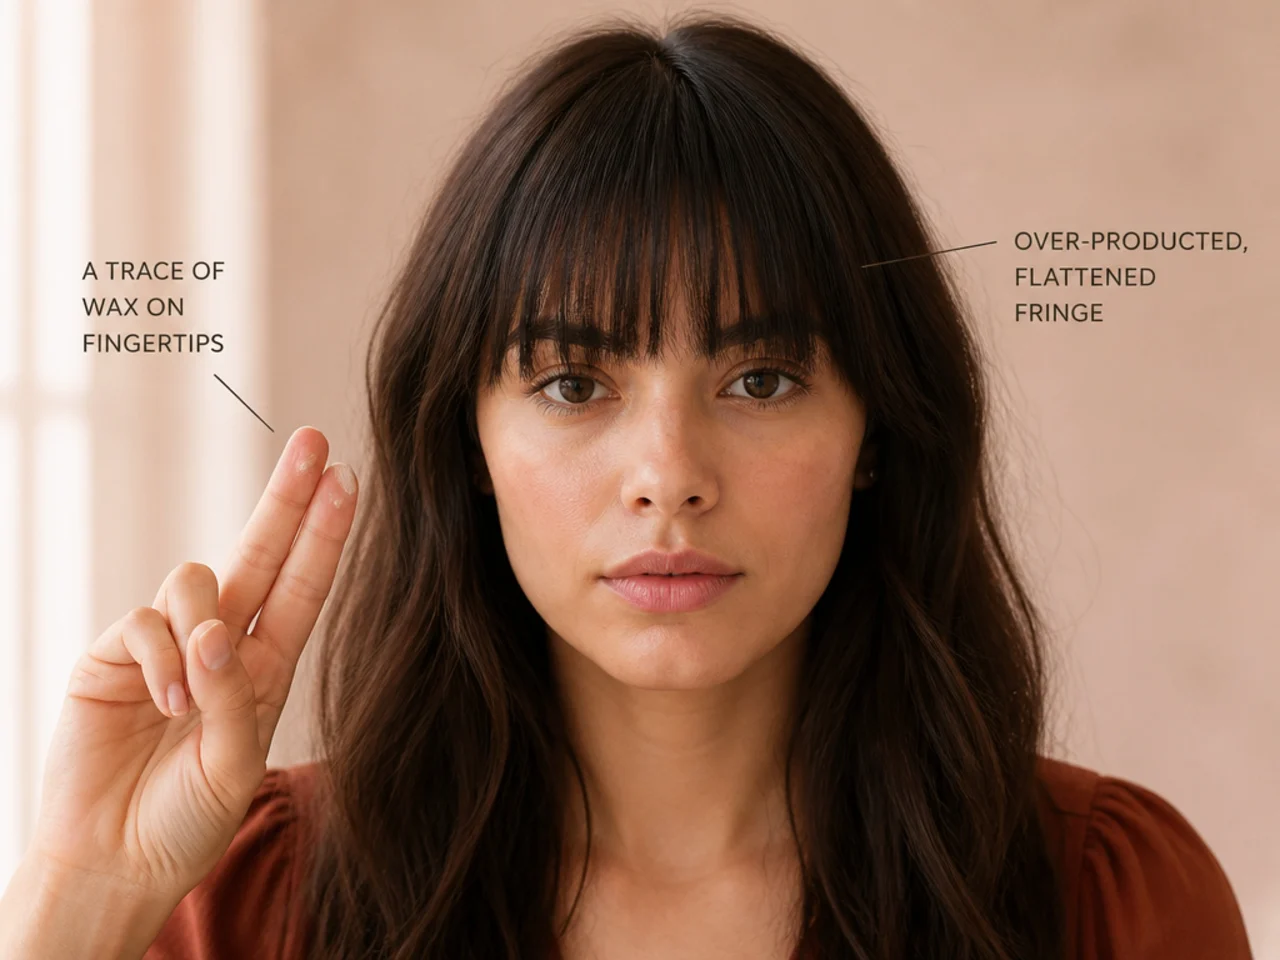
A trace of wax on fingertips, worked through the ends only. This is what makes a fringe read as French rather than blunt.

8. The Deep Side Sweep
Everything dried one way from a parting three inches over. Changes the whole face in thirty seconds.

9. The Centre Split
Parted and dried outward, so the same fringe reads as curtain pieces.

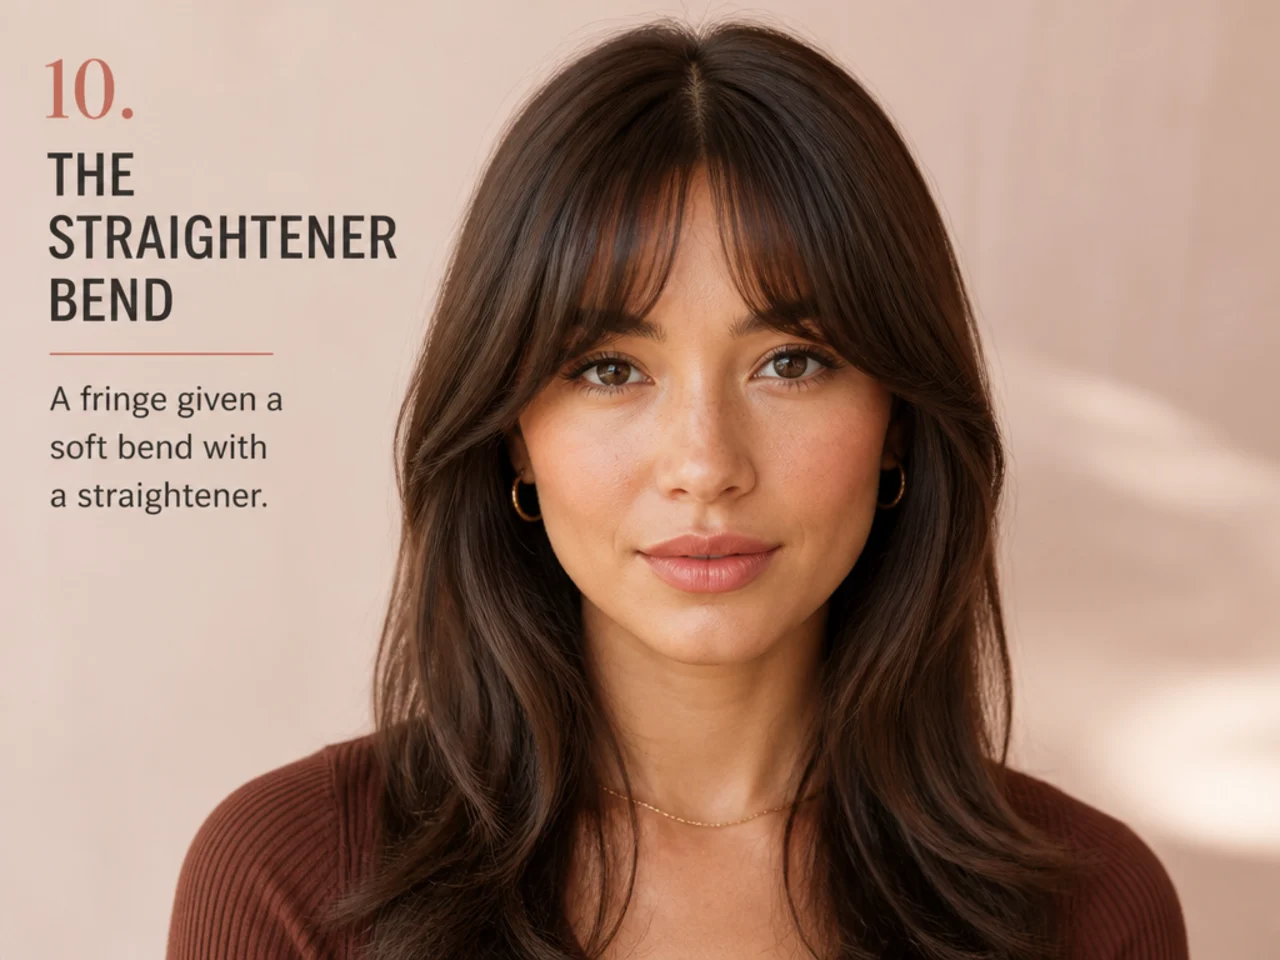
10. The Straightener Bend
One gentle pass with a wide iron, turning under at the last inch. Only for a fringe that will not take a brush.
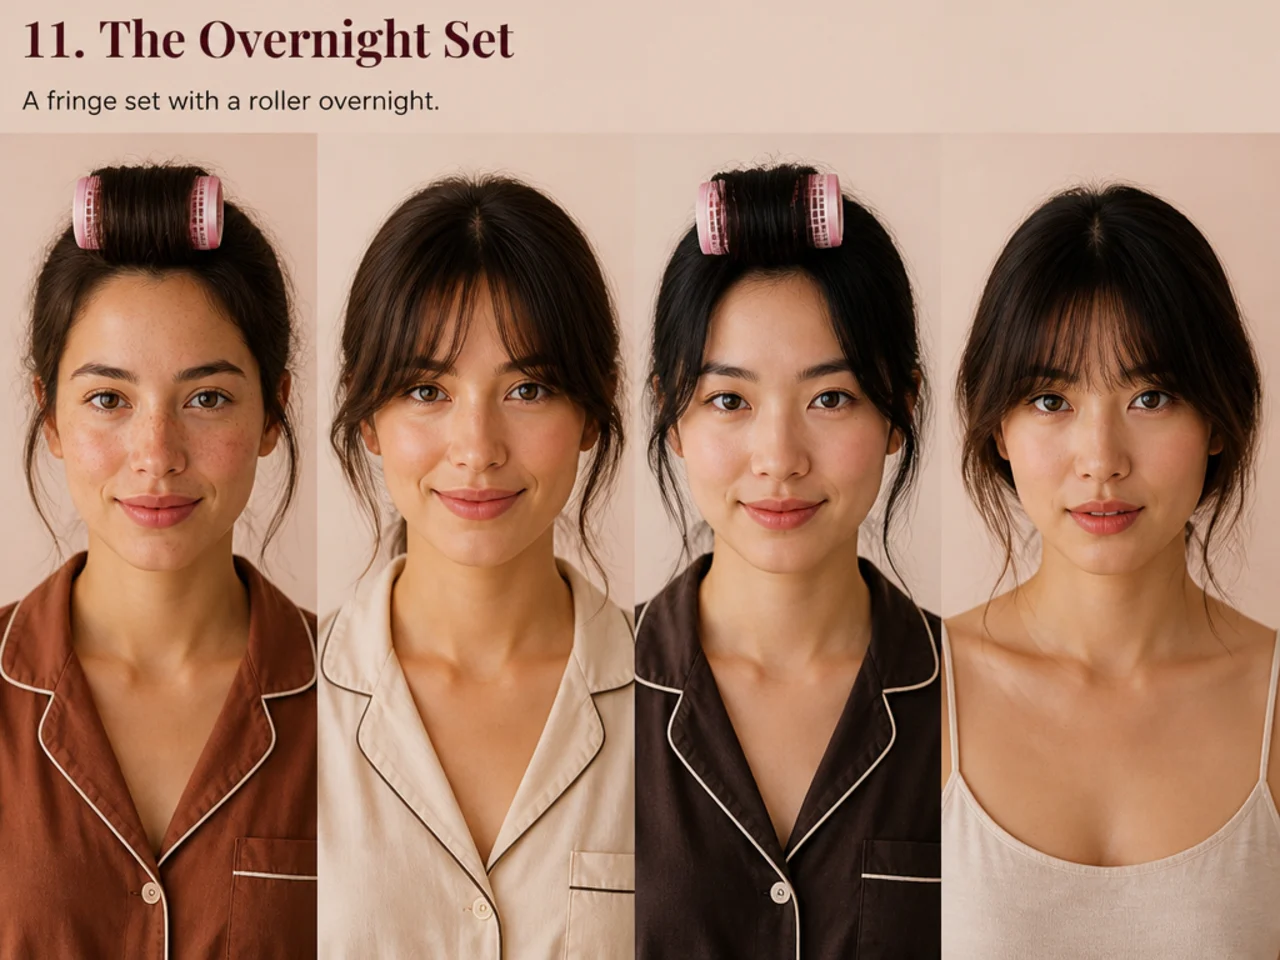
11. The Overnight Set
A wide roller or a clip in a damp fringe before bed. No heat, and it holds all the next day.
12. The Sink Wash
Fringe only, over the sink, then rough-dried. Two minutes, and it resets a greasy fringe entirely.

13. Dry Shampoo at the Roots
Day-two lift without water. Apply at the root, wait thirty seconds, then work it in.

14. The Damp Reset
Water on the fingertips, run through the fringe, thirty seconds with a dryer. Fixes a fringe that lifted during the day.

15. Two Pins and Move On
Some days the fringe wins. Two crossed pins at one temple, ten seconds, done.

How Much Product a Fringe Needs
Far less than you think, and never anything conditioning.
A fringe is perhaps a twentieth of the hair on your head, sitting against skin that produces oil all day. Apply the amount you would use on your lengths and it collapses flat within the hour.
Wax or pomade: a trace, fingertips only, ends only. Never at the root.
Dry shampoo: at the root only, on day two, worked in properly rather than left sitting white.
Texture spray: one short burst from a distance, for fine hair that will not hold a shape.
Never: conditioner, oil, serum, leave-in cream, or hairspray. All five flatten a fringe, and hairspray additionally welds the separated ends back into a solid line.
If a fringe looks greasy by lunchtime and you have not touched it, the cause is almost always product from that morning rather than your skin.
Mistakes to Avoid
Drying it last. It set twenty minutes ago, and no amount of styling overrides that.
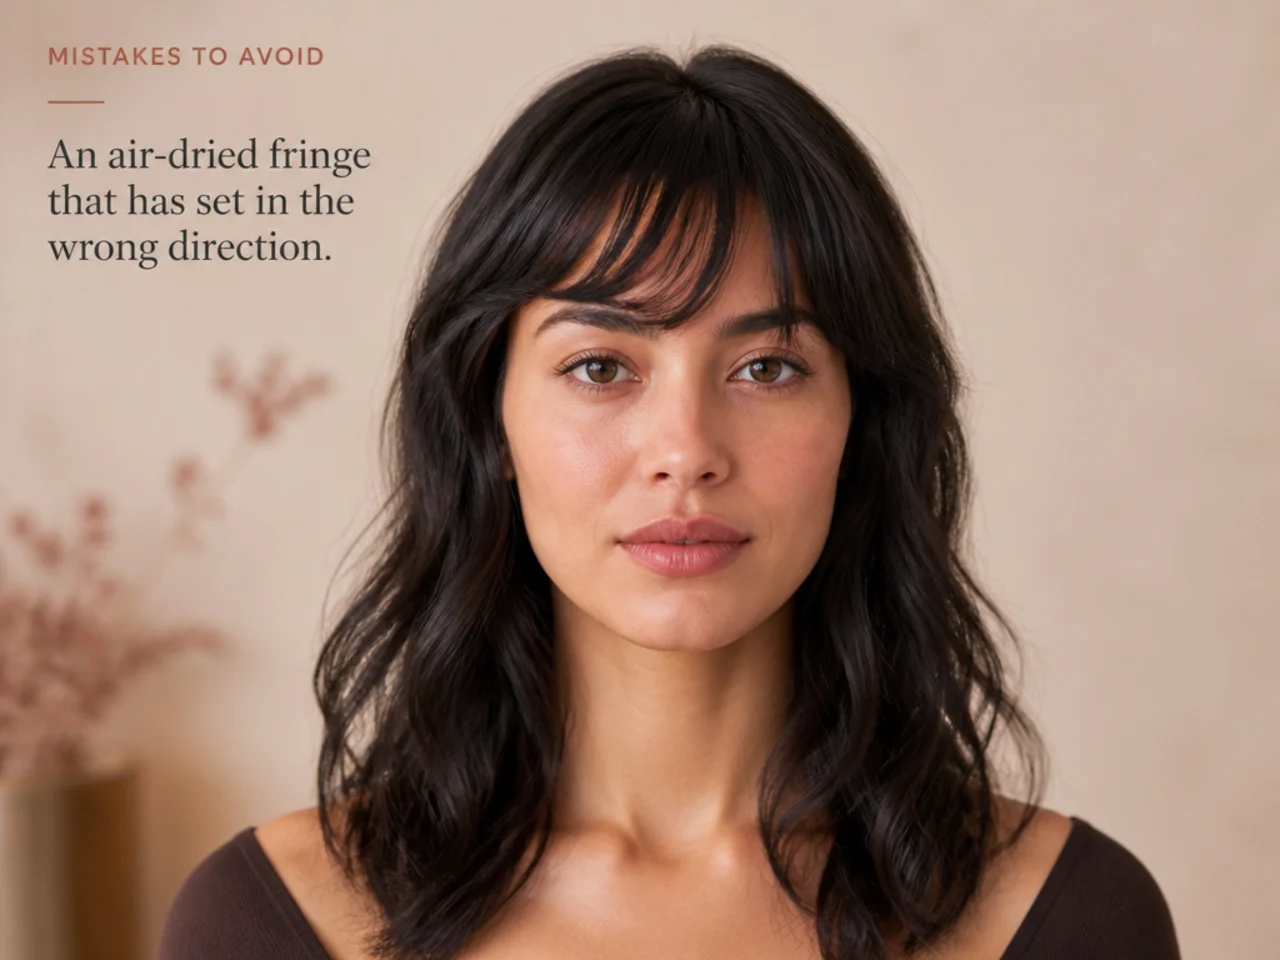
Letting it air-dry. It keeps whatever direction it fell in.
Any conditioning product. Oil, serum, cream and conditioner all flatten it against the forehead.
Hairspray. It re-joins the ends into a line and removes the softness the cut created.
Touching it all day. The fringe is in your eyeline, so it is the piece you unconsciously handle most — and every touch transfers oil and pulls it straighter.
FAQ
How do you style them daily? Dry them first, within two minutes of washing. The drying is the styling.
What product? Almost none, and nothing conditioning. A trace of wax at most.
How do you fix greasy bangs? Wash the fringe alone in the sink — two minutes — or dry shampoo at the roots.

Final Thoughts
Move the fringe to the front of your routine and dry it while it is properly wet. That one change does more than every product and tool on this page combined — because a fringe is not styled after it dries, it is styled while it dries.
For the grow-out stages see 20 grown out French bangs, and for the full range see 25 chic French bangs ideas. More in Bangs & Fringe.