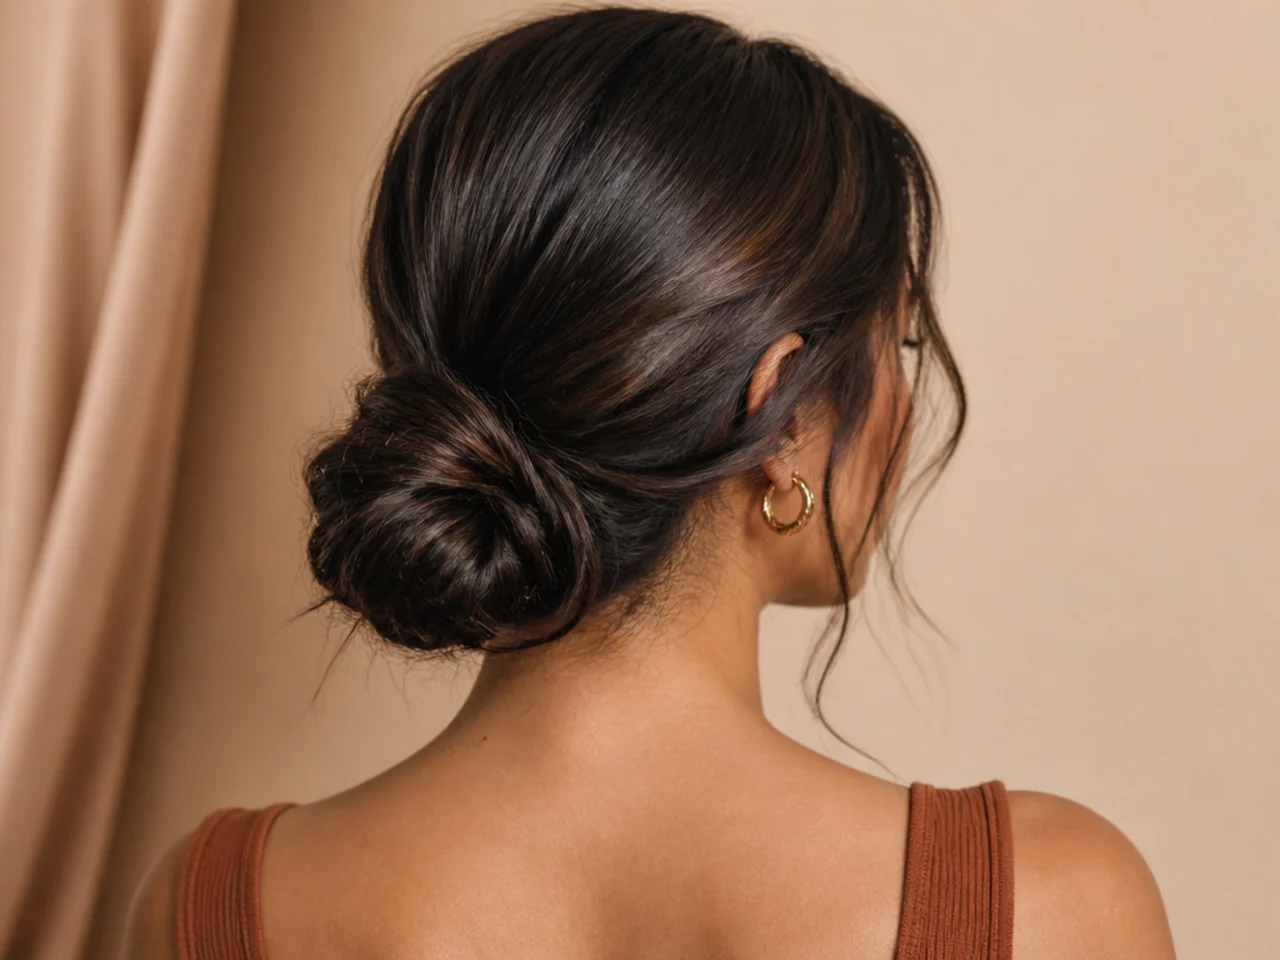
25 Easy Bun Ideas for Lazy Hair Days
Twenty-five buns you do once and never touch again, and the reason most buns descend by mid-afternoon — the hair loosens at the root, not at the tie. Anchoring into the hair beats tightening the elastic.
In this article · 32
- What Makes a Bun Last
- How to Choose Yours
- The 25 Easy Buns
- 1. Anchored Low Bun
- 2. Low Twisted Knot
- 3. Nape Chignon
- 4. Claw Clip Low Bun
- 5. Double-Anchored Bun
- 6. Low Bun with a Fabric Tie
- 7. Mid-Height Anchored Bun
- 8. Rope Twist Bun
- 9. Flat Coiled Bun
- 10. Bun Over a Hair Tie Base
- 11. Braided Base Bun
- 12. Two Low Buns
- 13. Half-Up Anchored Bun
- 14. Bun with a Headband Behind It
- 15. Low Bun on Fine Hair
- 16. Low Bun on Thick Hair
- 17. Low Bun on Curly Hair
- 18. Bun for a Long Day at a Desk
- 19. Bun Under a Hat
- 20. Bun for Sleeping In
- 21. Second-Day Bun
- 22. Bun with One Piece Tucked
- 23. Bun Reset in Ten Seconds
- 24. A Bun Tightened Too Far
- 25. A High Bun at 4pm
- Styling and Upkeep
- Mistakes to Avoid
- FAQ
- Final Thoughts
The buns that survive a full day are not the tightest ones. They are the ones anchored in the right place.
A bun descends because the hair loosens at the root, not because the tie fails. Ordinary head movement gradually frees the hair at the scalp, and the whole bun travels downward as a unit. Tightening the elastic does nothing about that — it just makes your scalp ache.
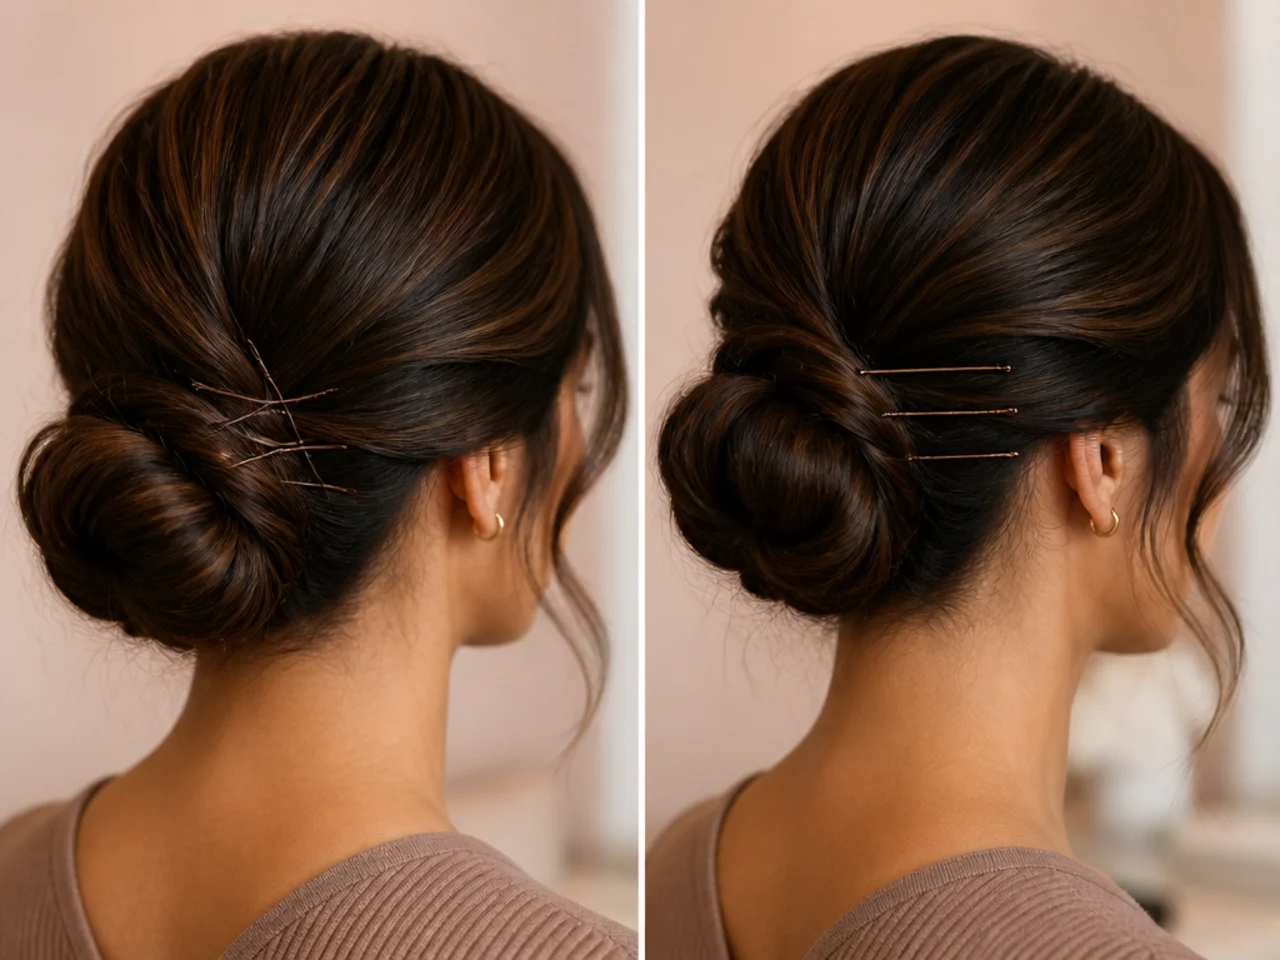
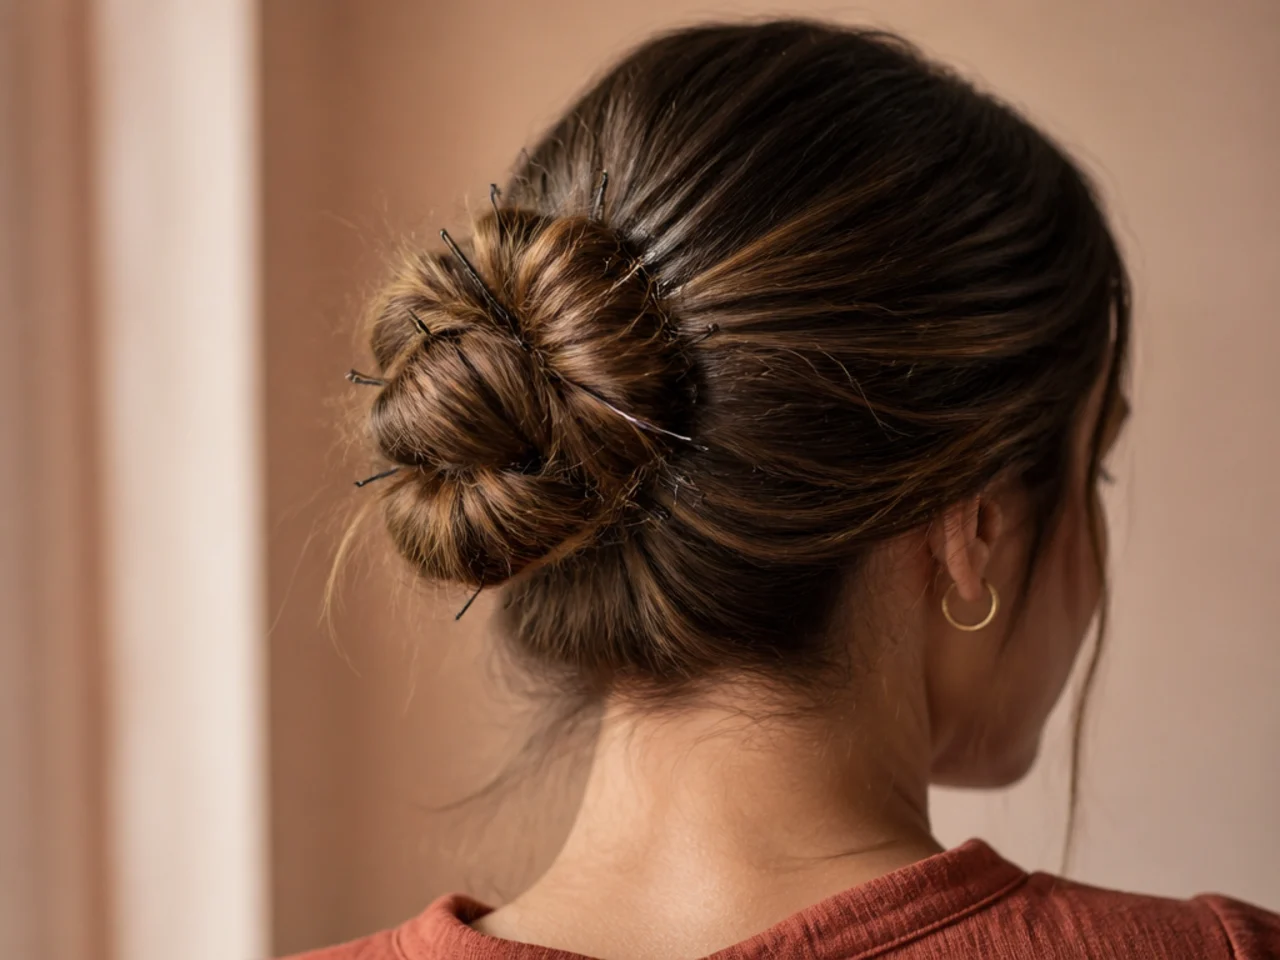
Anchor into the hair instead. Two pins crossed into the hair close to the scalp hold the position. Pins pushed around the outside of the bundle slide out within an hour.
What Makes a Bun Last
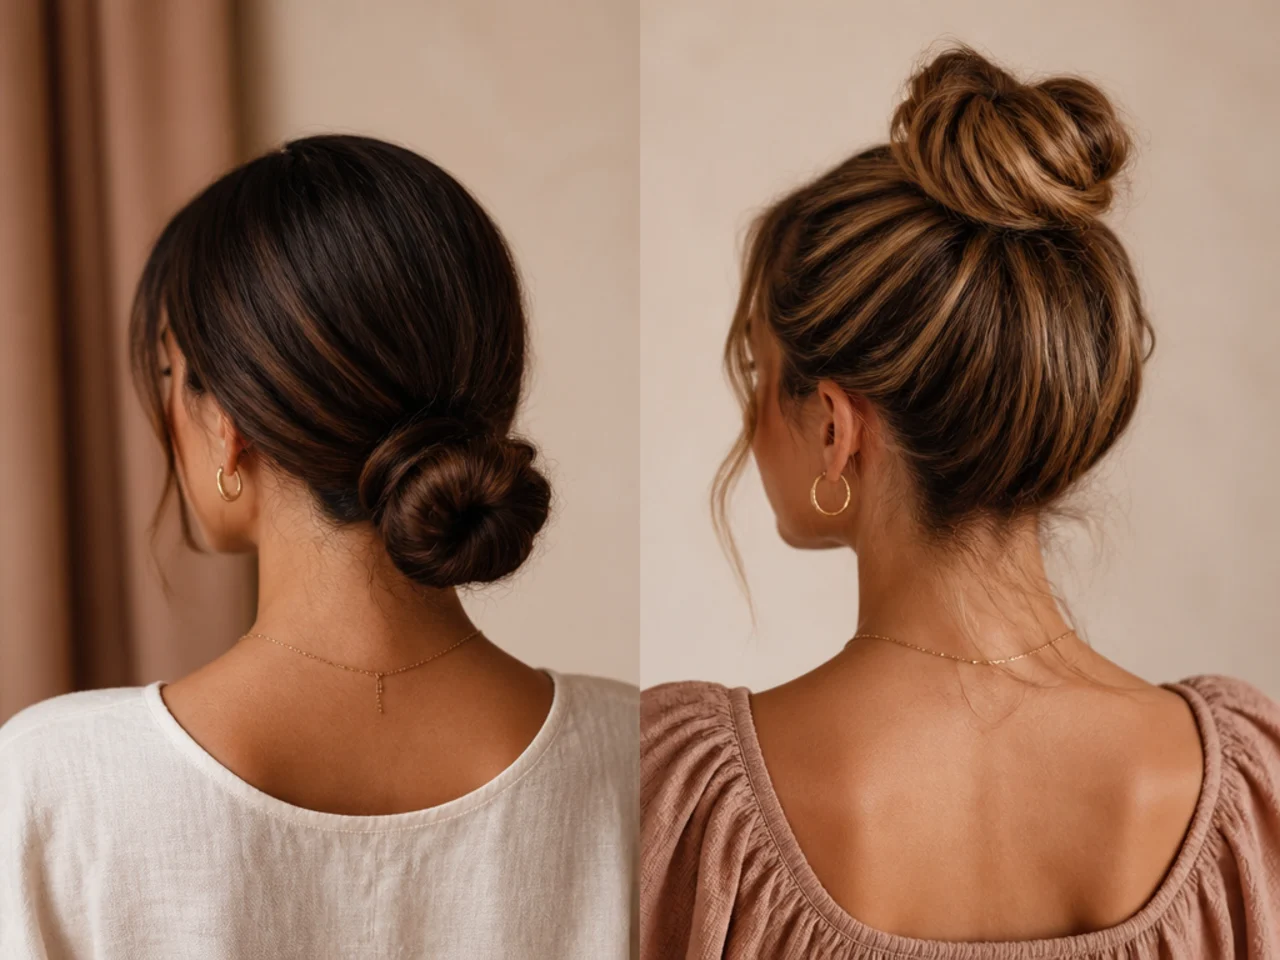
Position matters more than tension. A low bun receives less movement than a crown bun on the same head.
Crossed pins grip; parallel pins slide. Two pins forming an X lock against each other. Two pointing the same way work loose.
Anchor near the scalp, not around the bundle. The bundle is not what is moving. The root is.
Tighter is not longer. Past a certain point extra tension buys nothing and costs comfort.
How to Choose Yours
Go low if you want it to last. The single most effective change available.
Learn the crossed pin. Thirty seconds to learn, and it changes how long everything holds.
Use two anchors rather than one tight one. Spreading the load beats concentrating it.
Pick something you can leave alone. The point of this page is not touching it again.
The 25 Easy Buns
1. Anchored Low Bun
Low, coiled, two crossed pins. The benchmark for lasting. Low position and crossed pins are the two changes that matter, and neither costs any extra time.
2. Low Twisted Knot
One twist, tucked and pinned. Very little to come undone. A twist locks by its own tension, so the pins are holding something already secure.
3. Nape Chignon
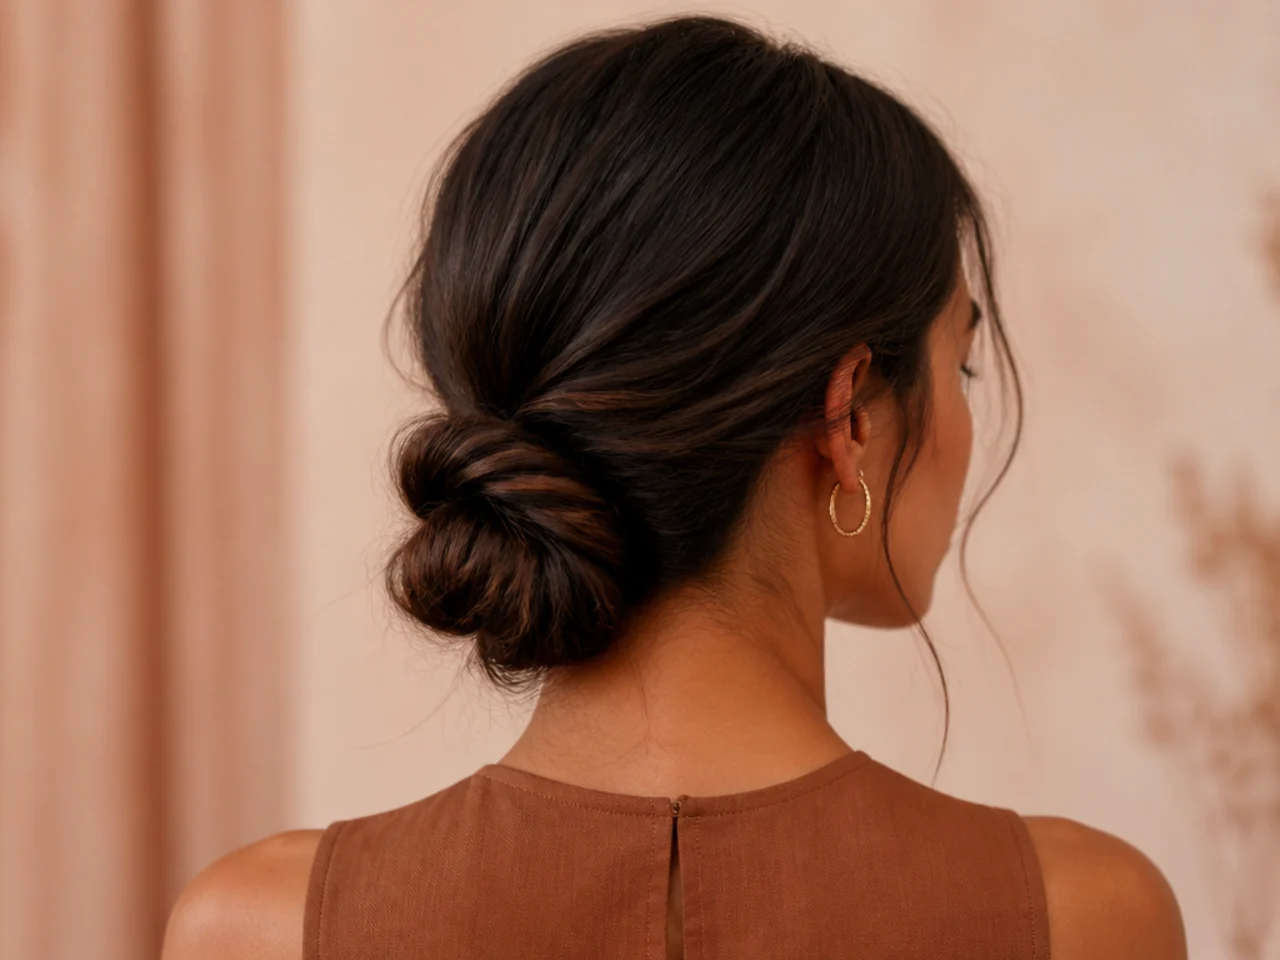
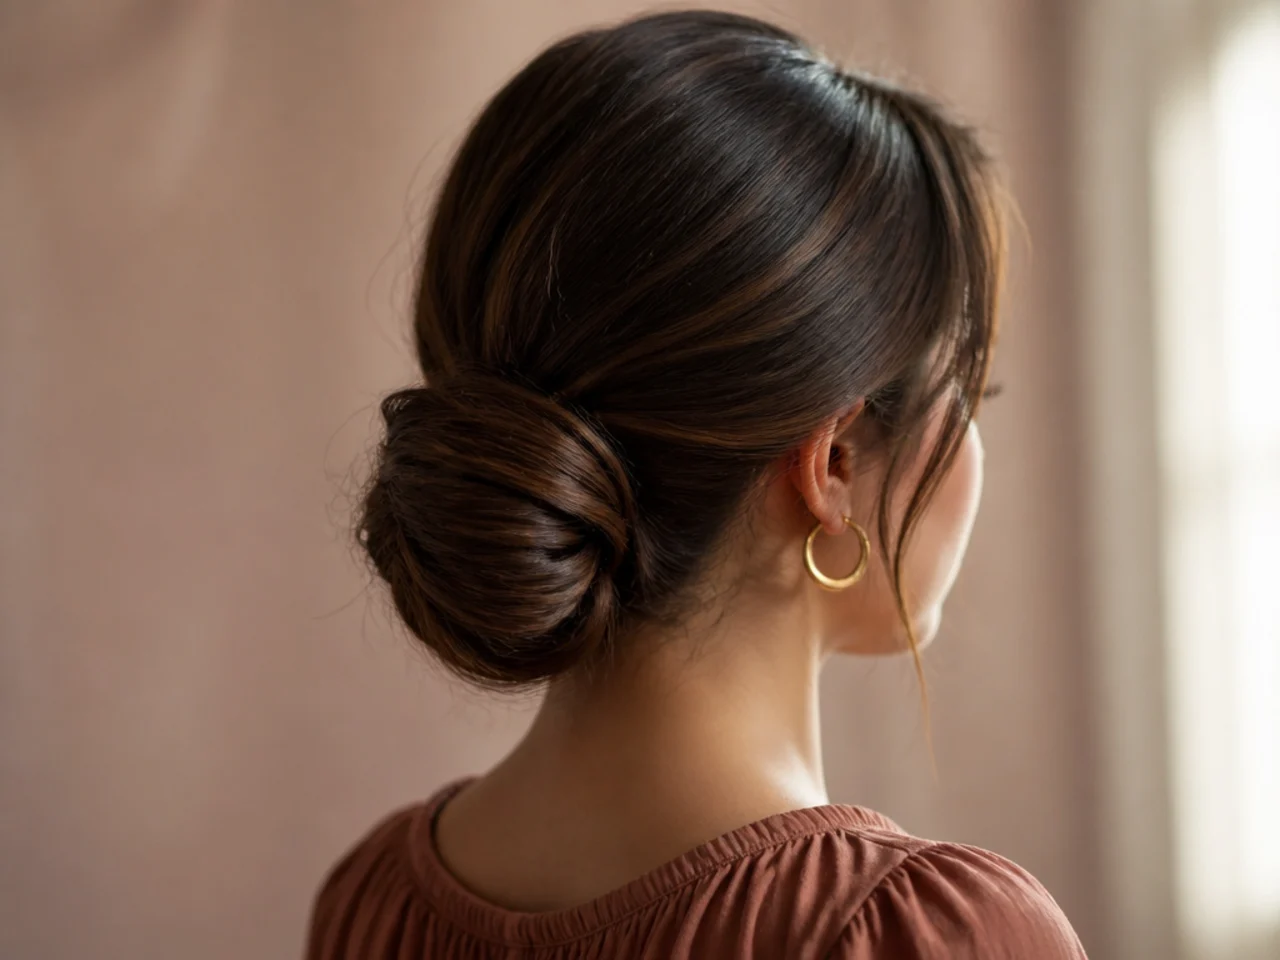
Flat against the neck, where movement is least. The nape barely moves across a day of ordinary head turning, which is why this position outlasts every other.
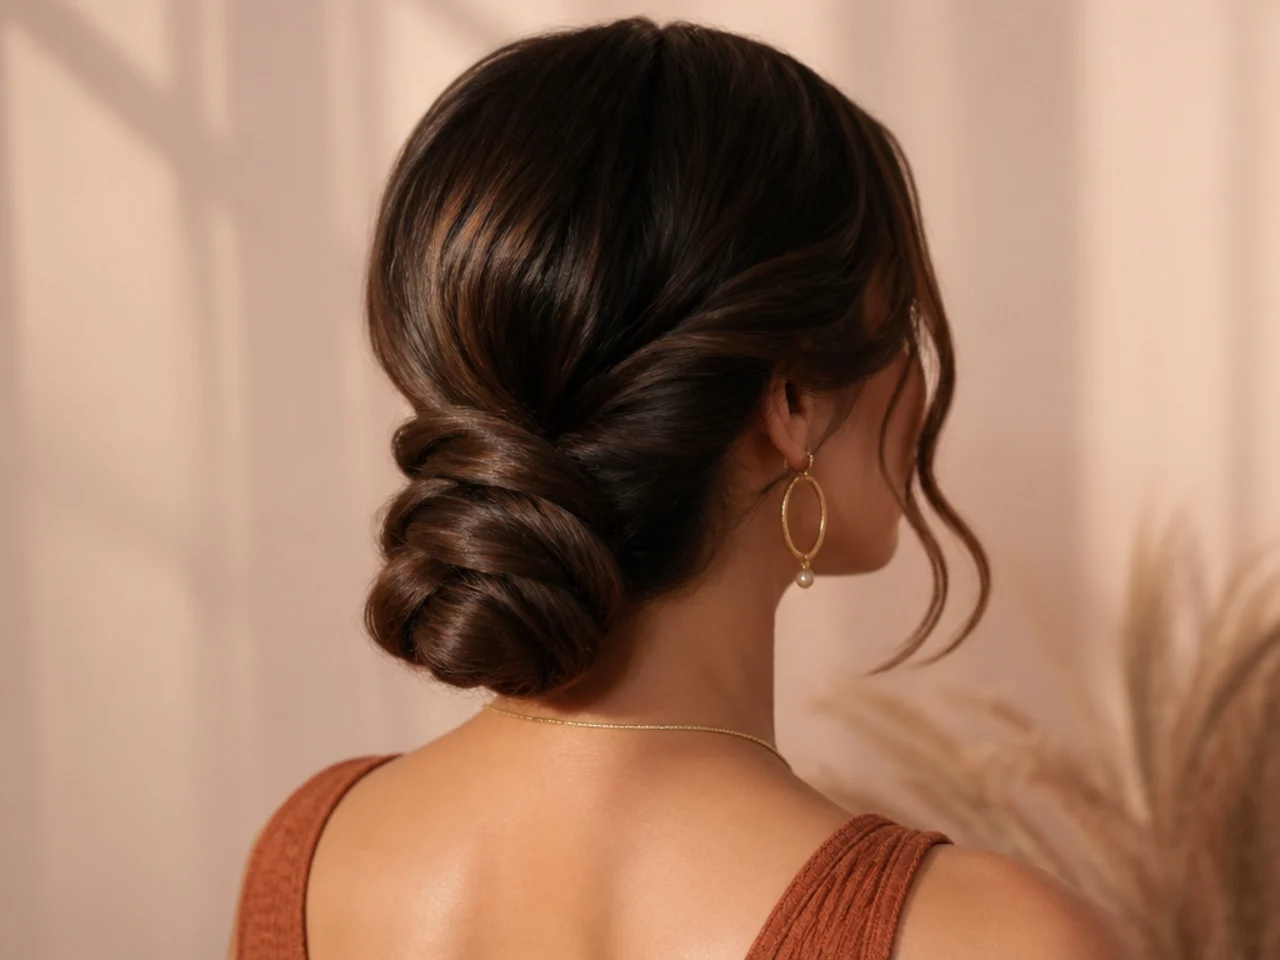
4. Claw Clip Low Bun
The clip biting into the hair at the scalp rather than around the coil. That distinction is the whole trick — clipping the coil holds the part that was never moving.
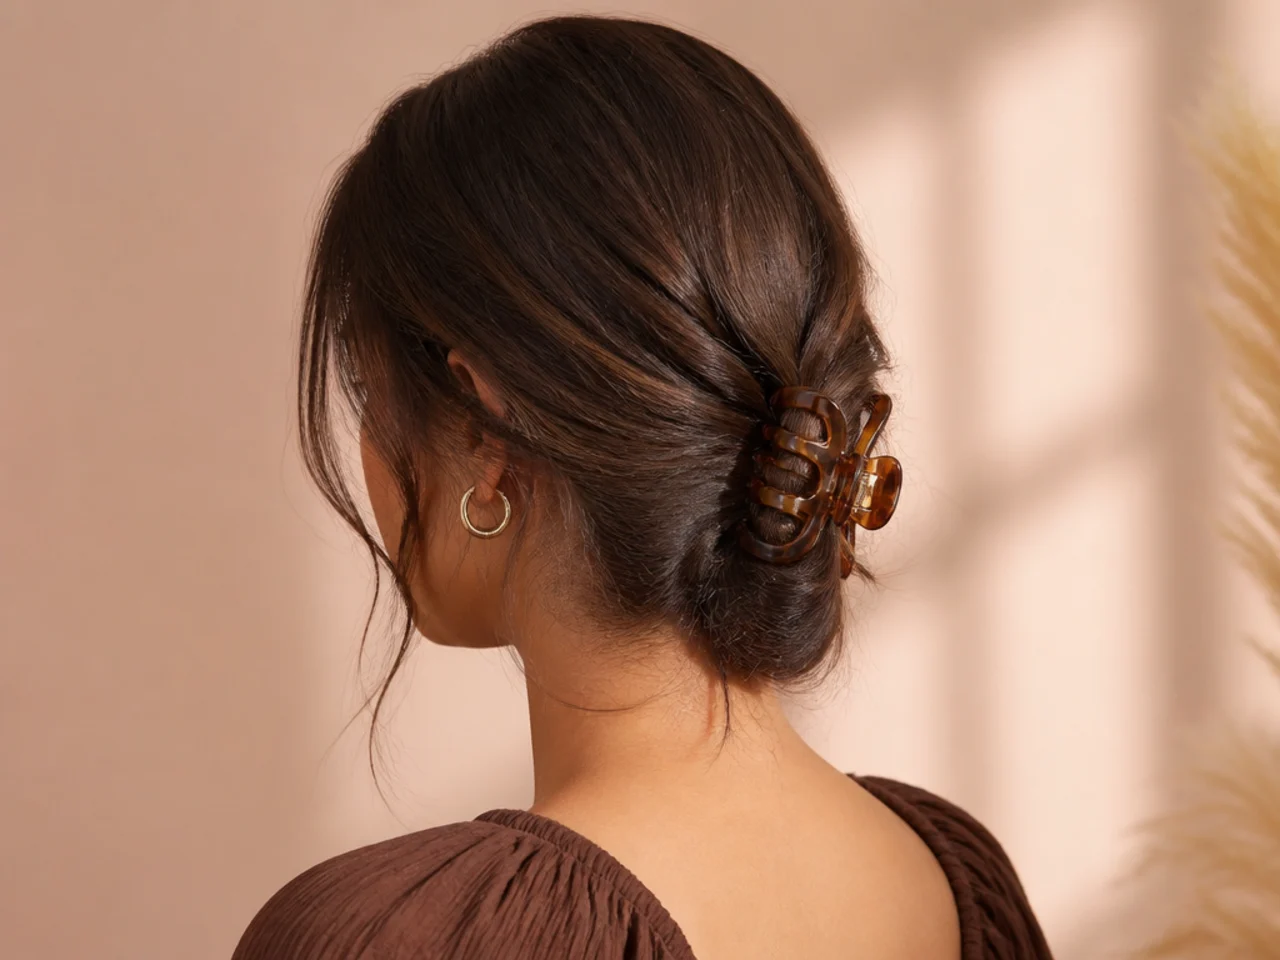
5. Double-Anchored Bun
Two crossed pairs on opposite sides. Nothing shifts. Two independent anchors mean one working loose costs nothing, because the other pair is still holding.
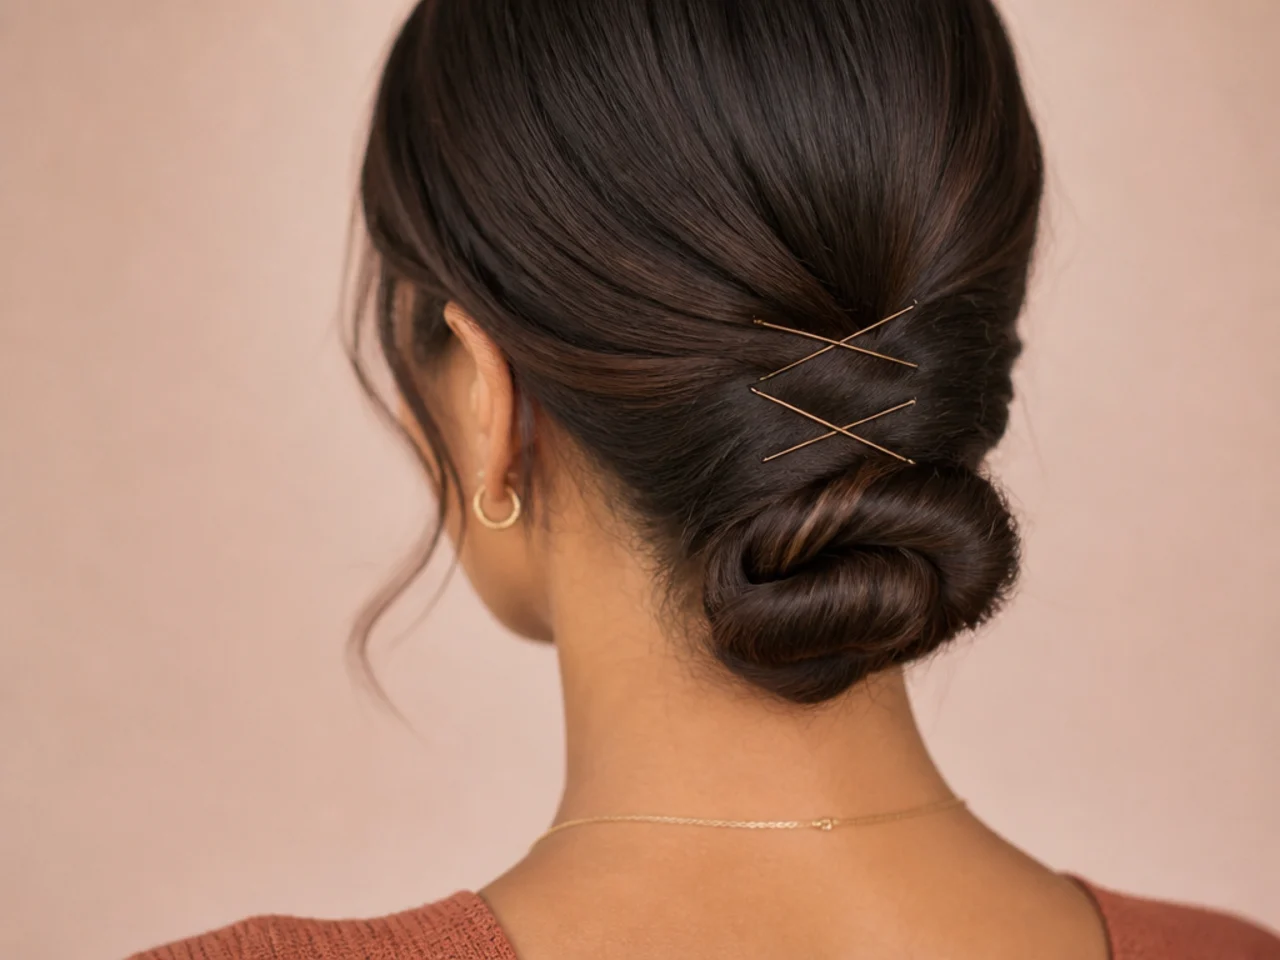
6. Low Bun with a Fabric Tie
Grip without the pull of a bare elastic. Fabric spreads its pressure over a wider band, so it holds without marking the hair or snapping it.
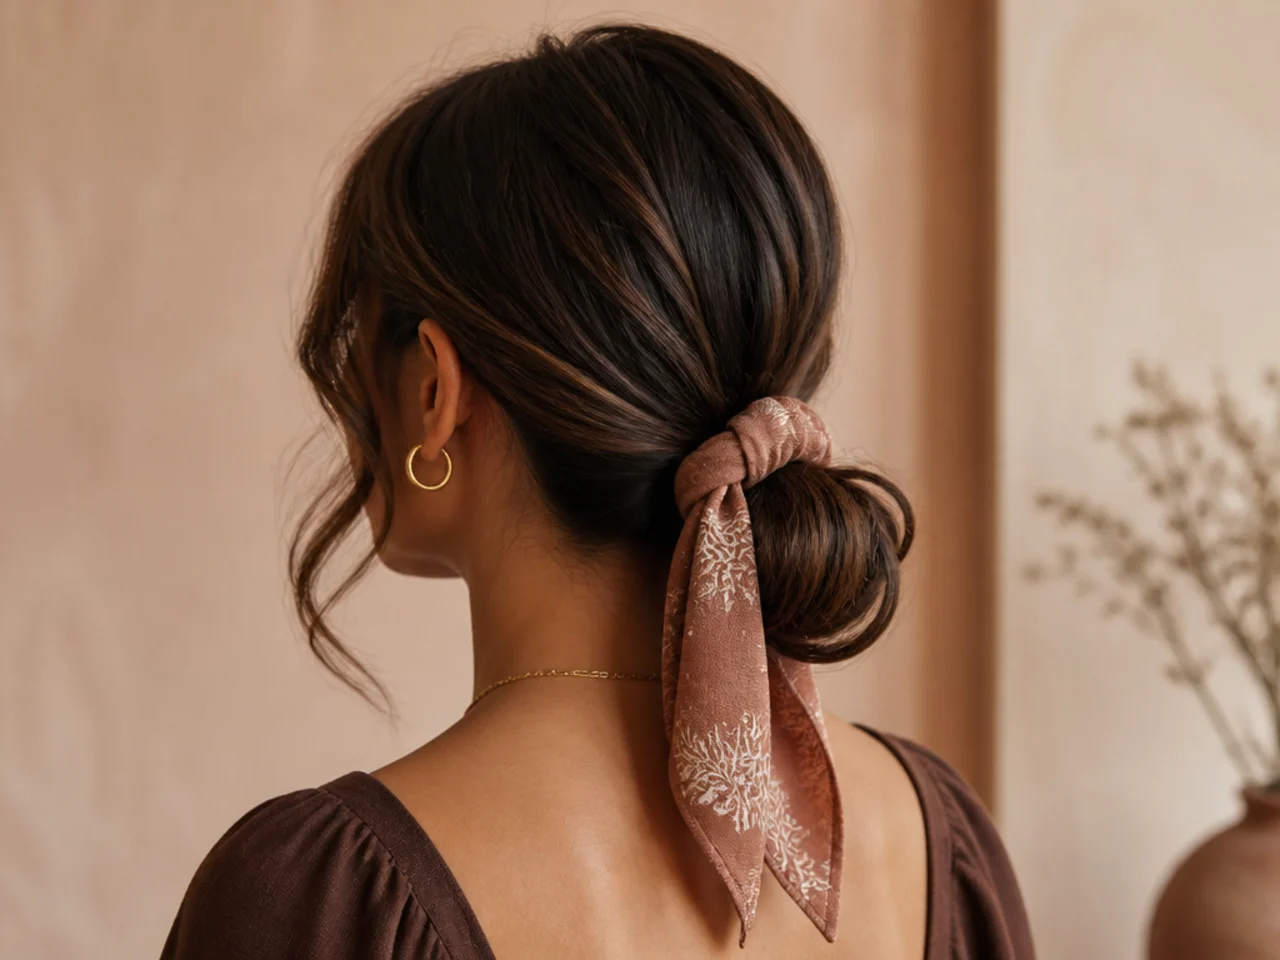
7. Mid-Height Anchored Bun
A compromise position, still pinned at the scalp. Mid-height receives more movement than the nape but far less than the crown, which is a reasonable trade.
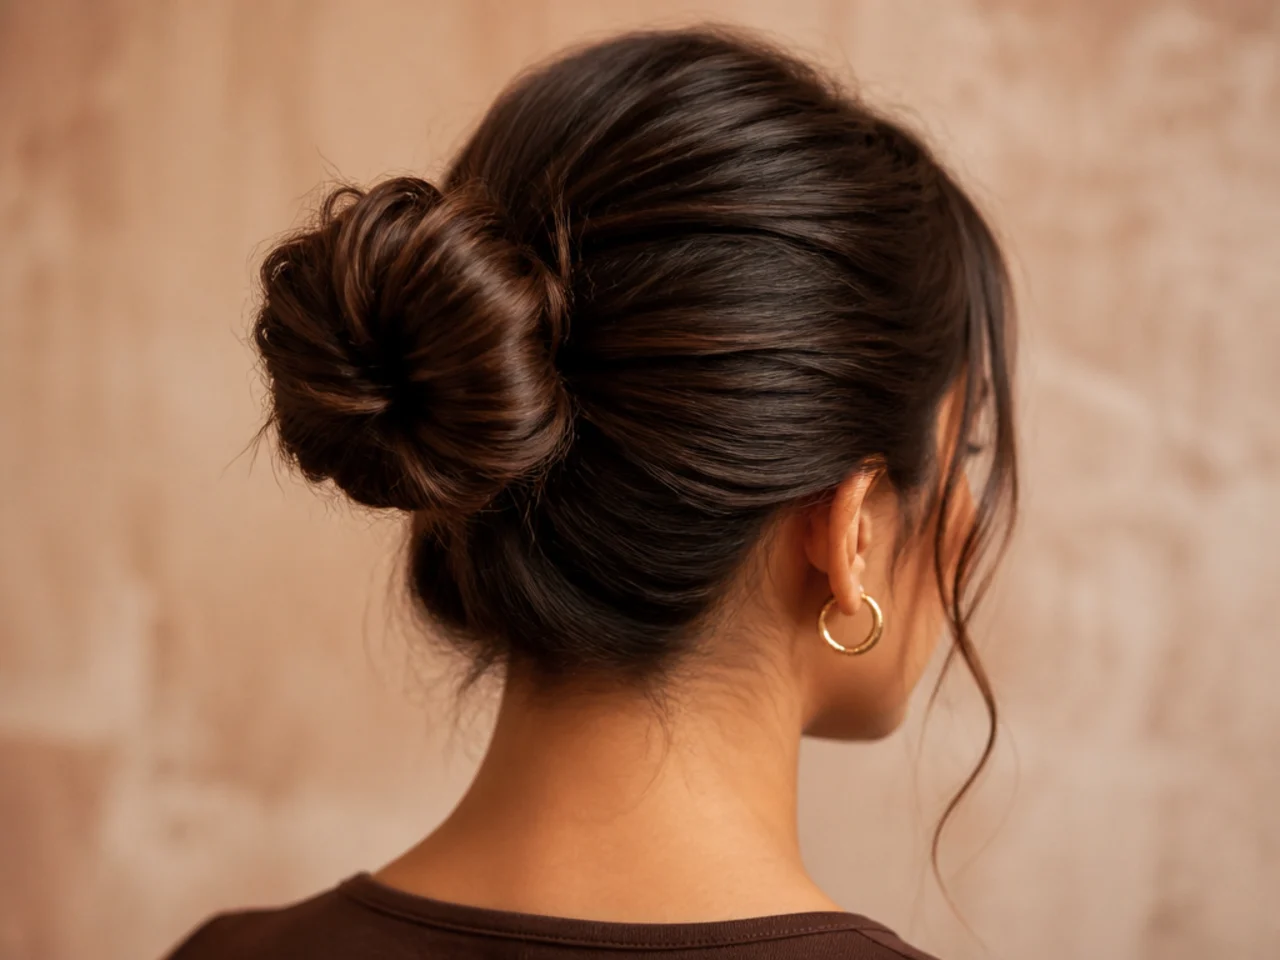
8. Rope Twist Bun
Twisted tightly before coiling, so it resists unwinding. The twist stores tension that works against the coil unravelling, which a smooth wound rope does not.
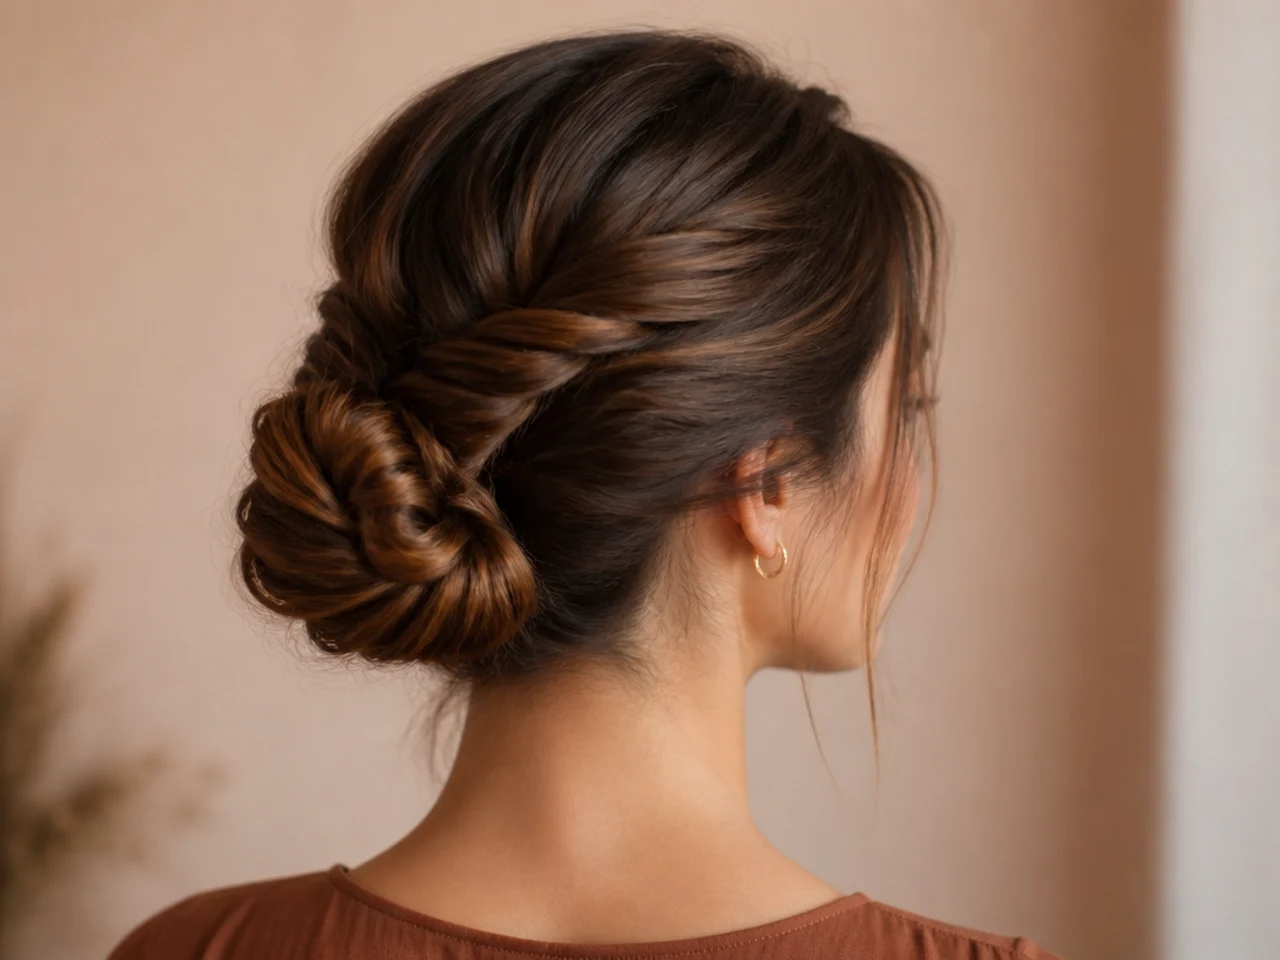
9. Flat Coiled Bun
Wound flat against the head. Almost no protruding weight. A coil pressed against the skull has no leverage, and leverage is what works pins loose.
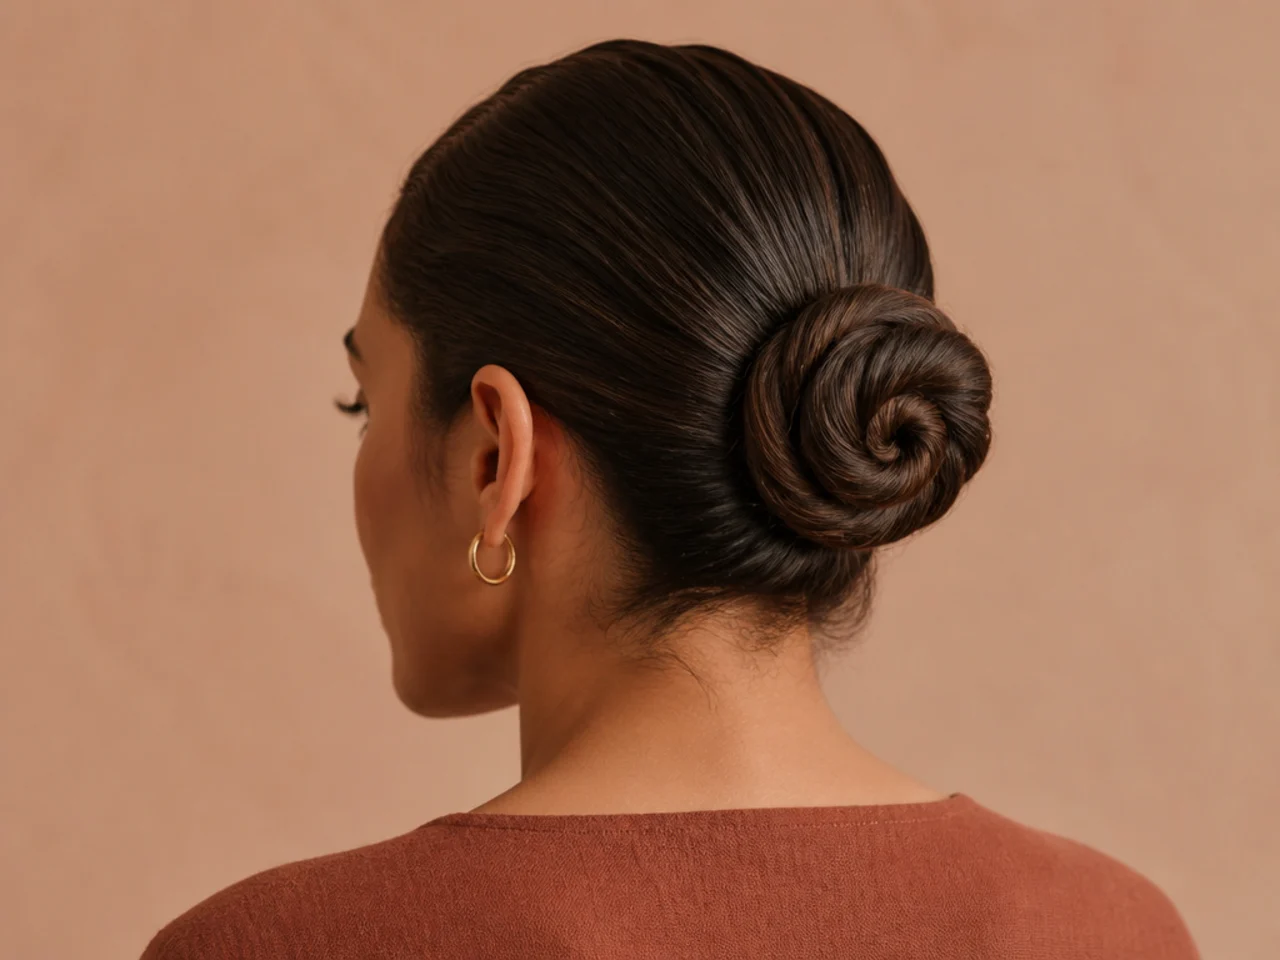
10. Bun Over a Hair Tie Base
The tie first, the coil pinned around it. Two systems holding. If the elastic loosens the pins are still anchored, which turns a total failure into a minor one.
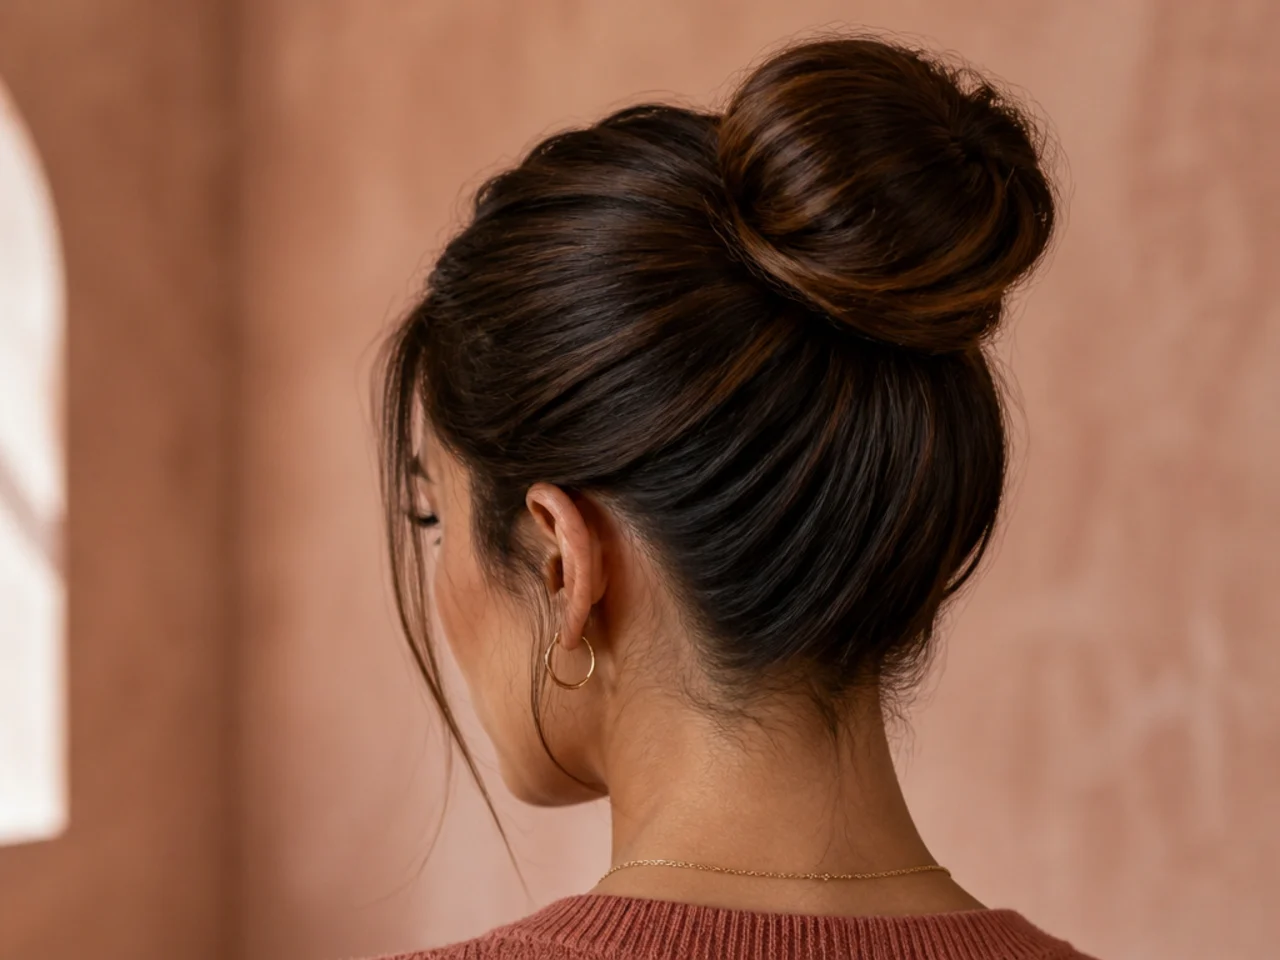
11. Braided Base Bun
The length plaited first, which stops it working loose. The plait also gives the pins texture to bite into, which is worth more than any product.
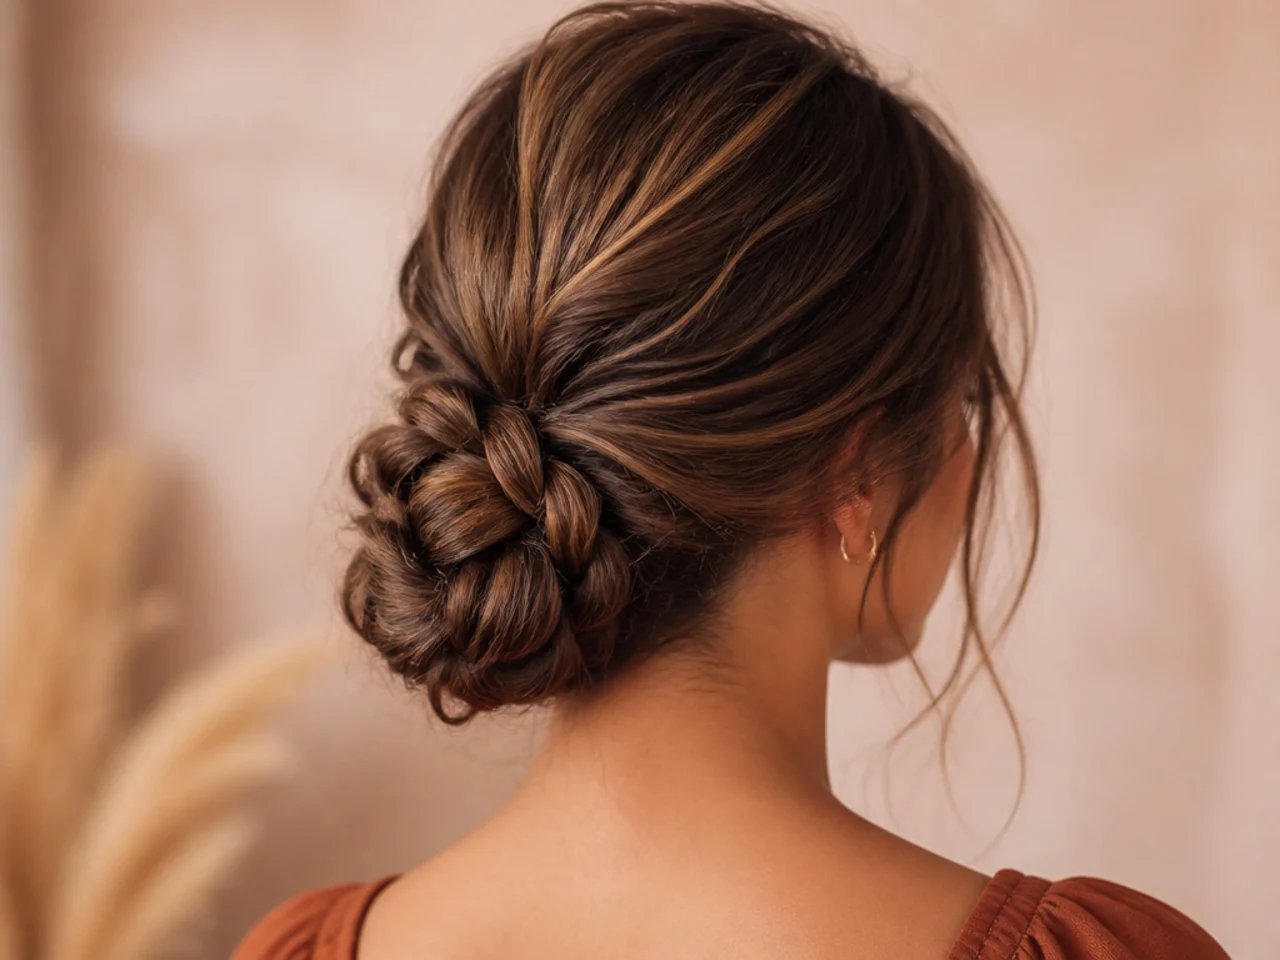
12. Two Low Buns
The weight split between two anchors instead of one. Each bun carries half the load, so neither is working near the limit of what its pins can hold.
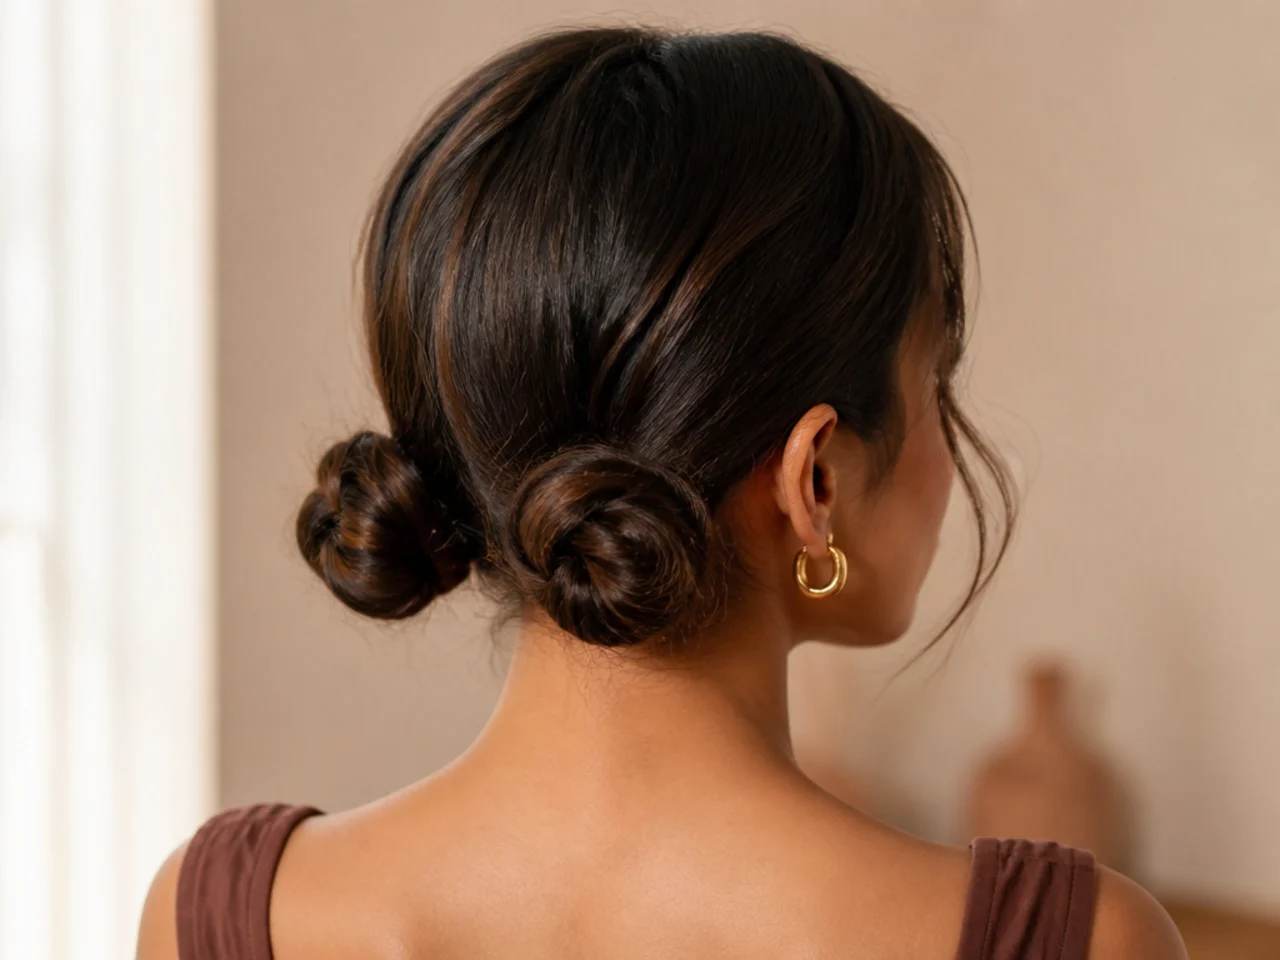
13. Half-Up Anchored Bun
Less weight to hold, so it moves less. A half-up gathers perhaps a third of the hair, well inside what two pins comfortably manage.
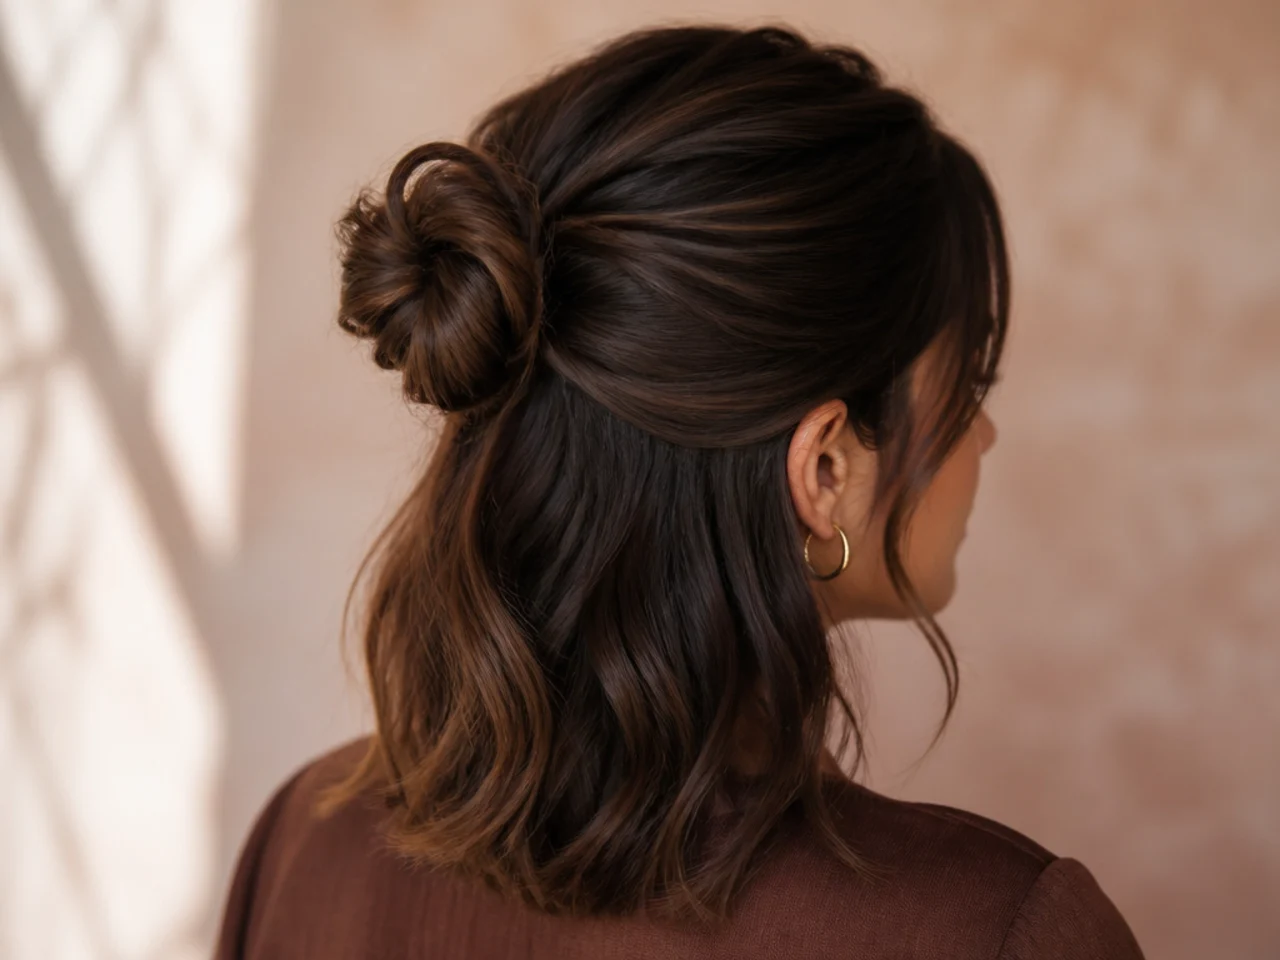
14. Bun with a Headband Behind It
The band taking some of the load off the pins. The band holds the front sections by pressure around the skull, so the gather does not have to.
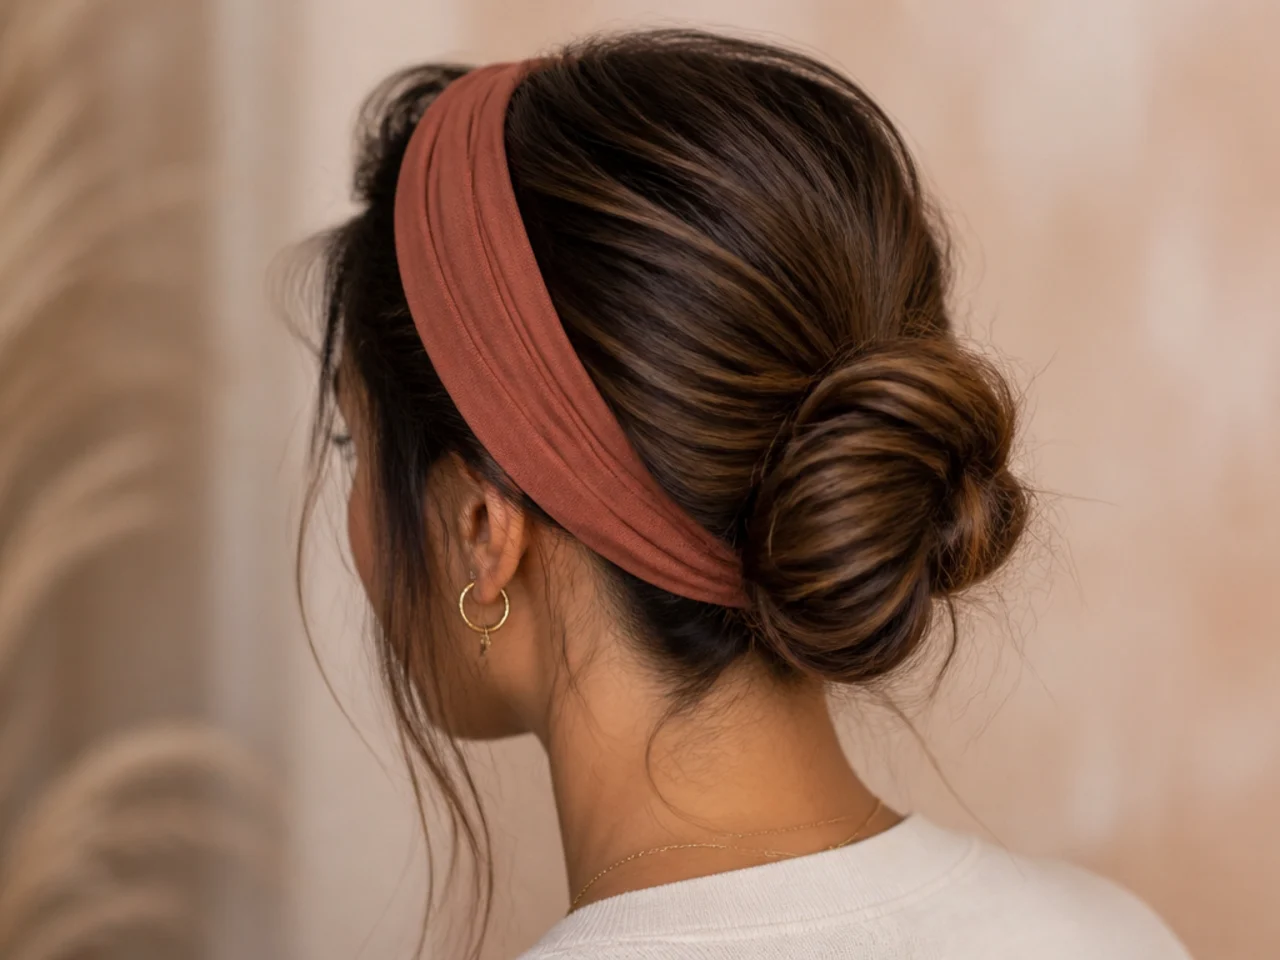
15. Low Bun on Fine Hair
Fabric tie, crossed pins, and nothing pulled out. Fine hair has too few strands to spare for pulled pieces, and they are also the first thing to slip.
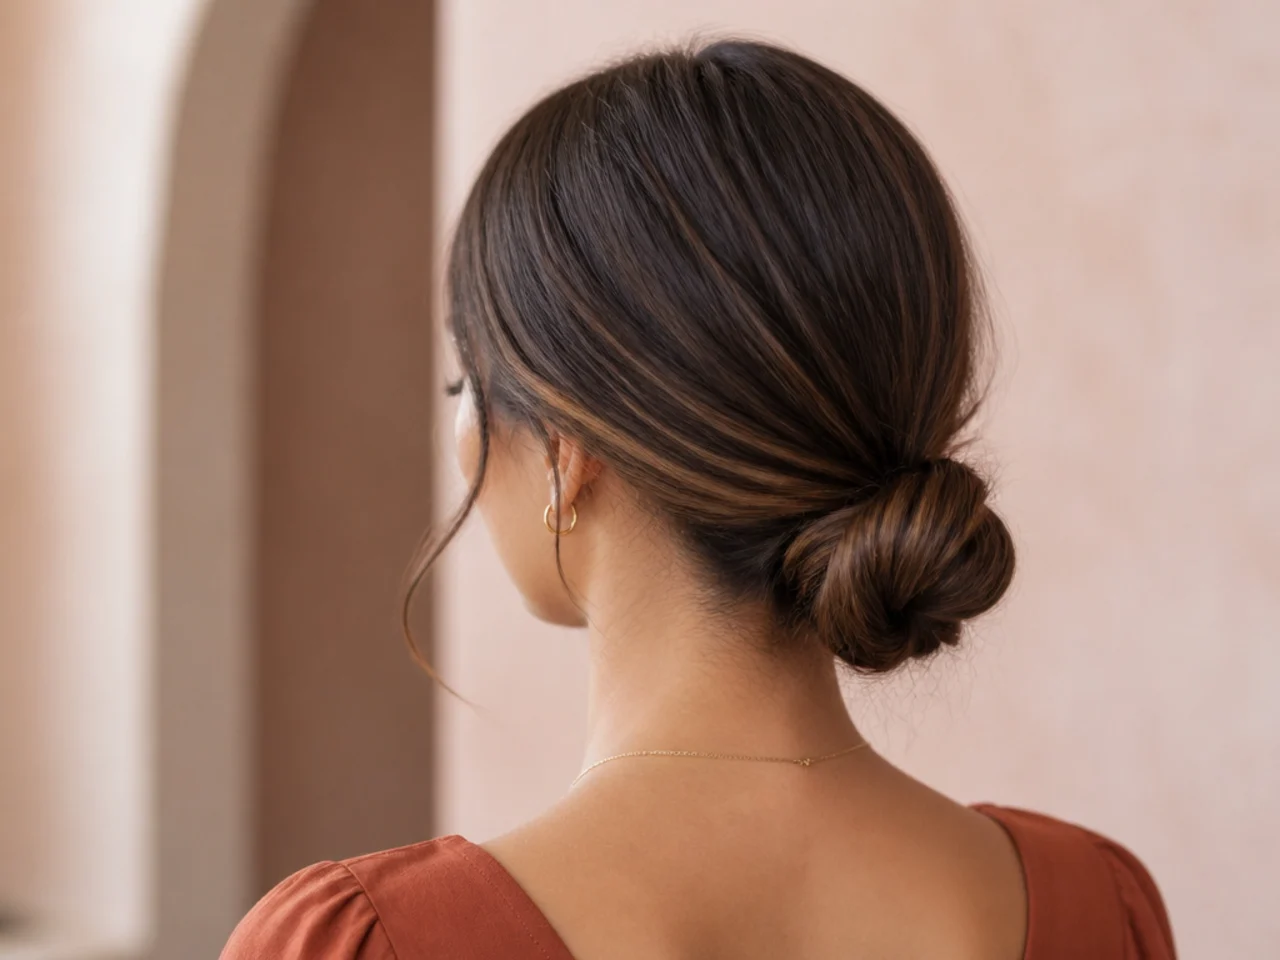
16. Low Bun on Thick Hair
Divided in two and pinned separately to spread the weight. Two smaller coils each sit within what a pair of pins can hold, where one large coil exceeds it.
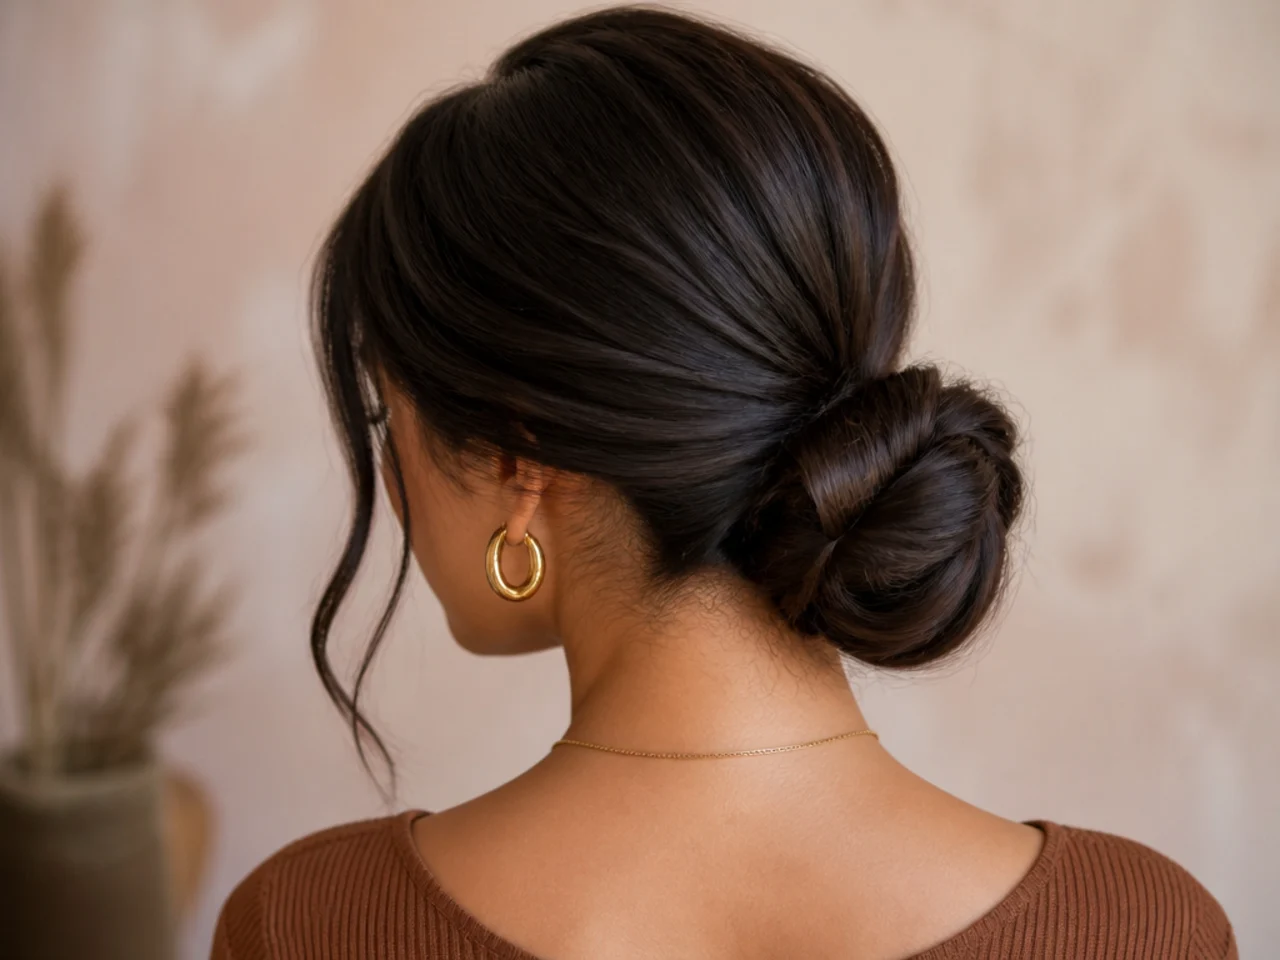
17. Low Bun on Curly Hair
Gathered uncombed, pinned close to the scalp. Curl clumps are many strands already gripping each other, and combing them apart destroys exactly the friction you need.
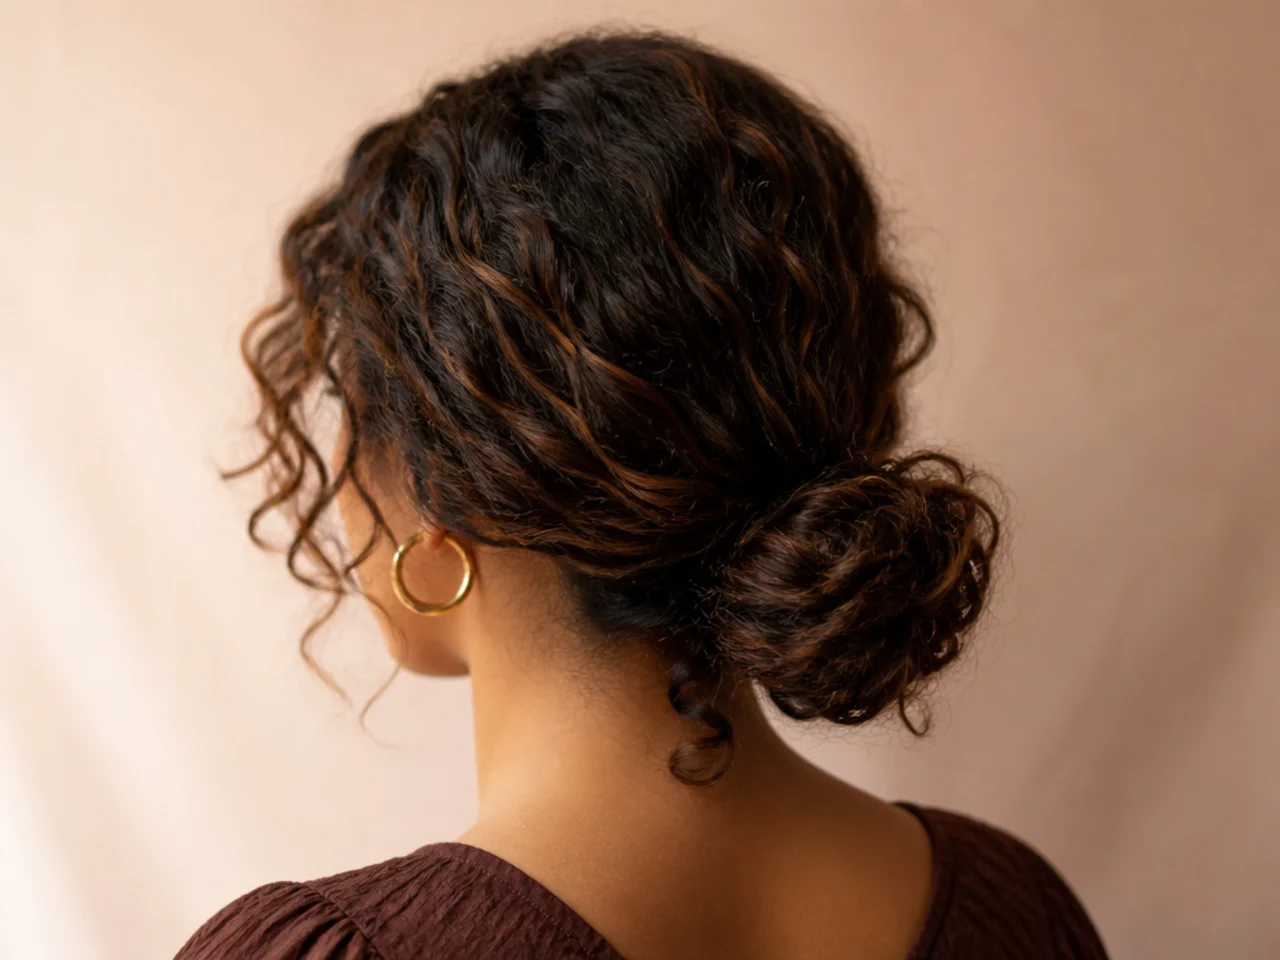
18. Bun for a Long Day at a Desk
Low, flat, nothing to press against a chair back. A protruding bun against a headrest is uncomfortable and it works itself loose over a long sitting.
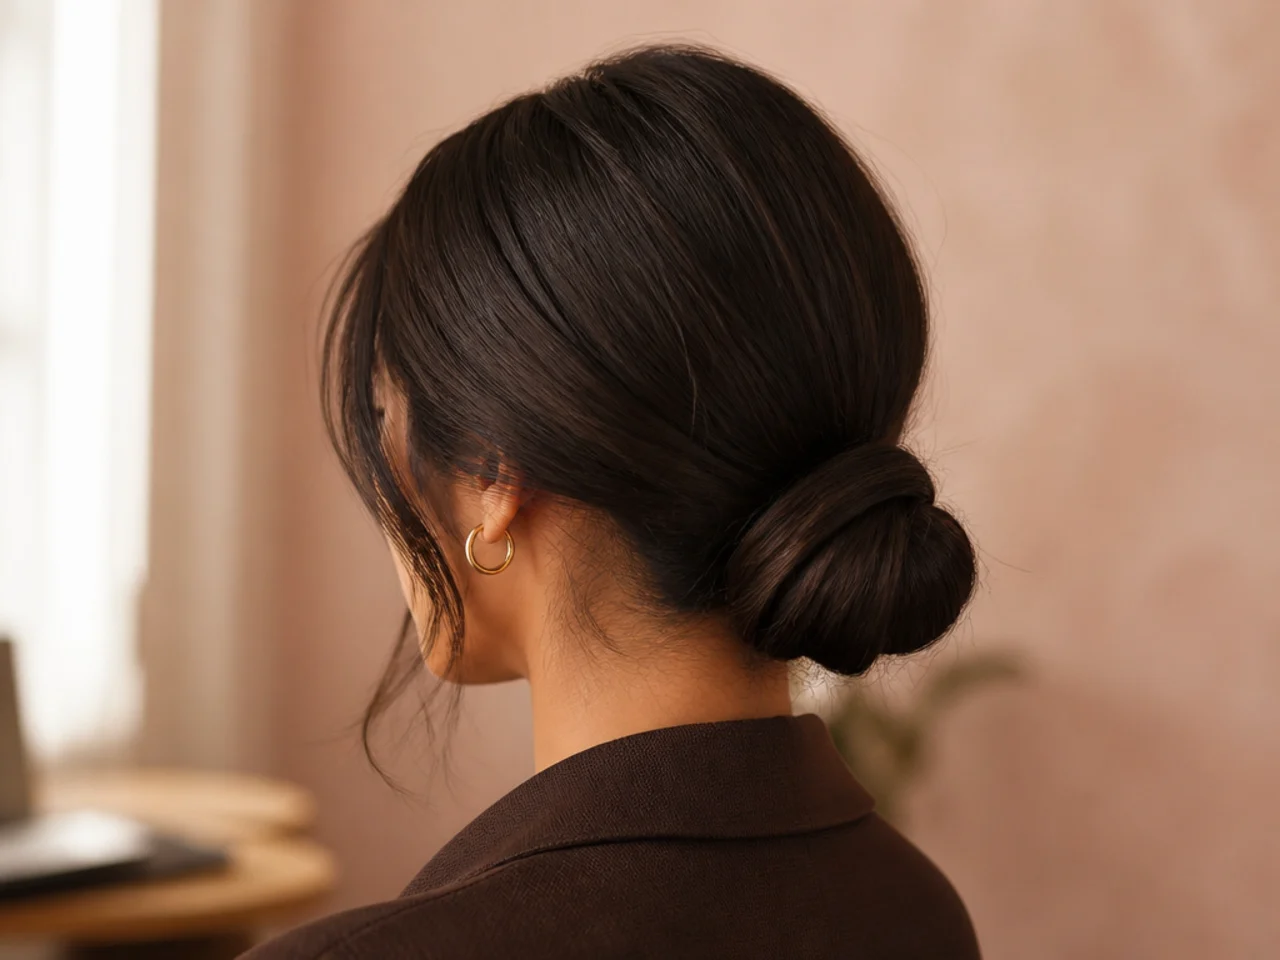
19. Bun Under a Hat
Low enough to sit below a brim without shifting. A hat pushed on over a mid-height bun drags it out of position on the way down.
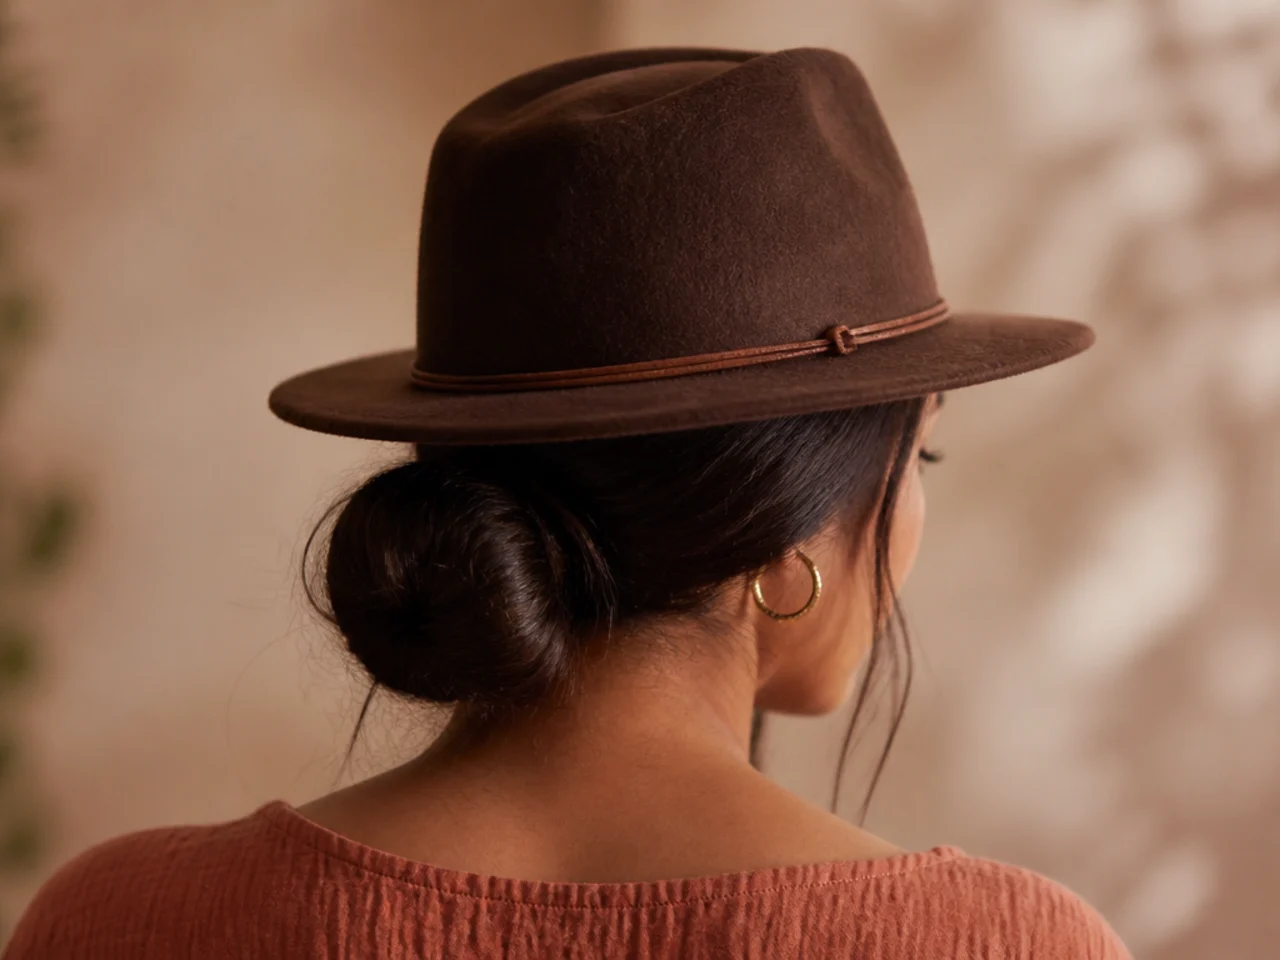
20. Bun for Sleeping In
Loosely coiled high, so nothing presses against the pillow. High and loose is the one time height helps, because the weight rests on the pillow rather than pulling at the roots.
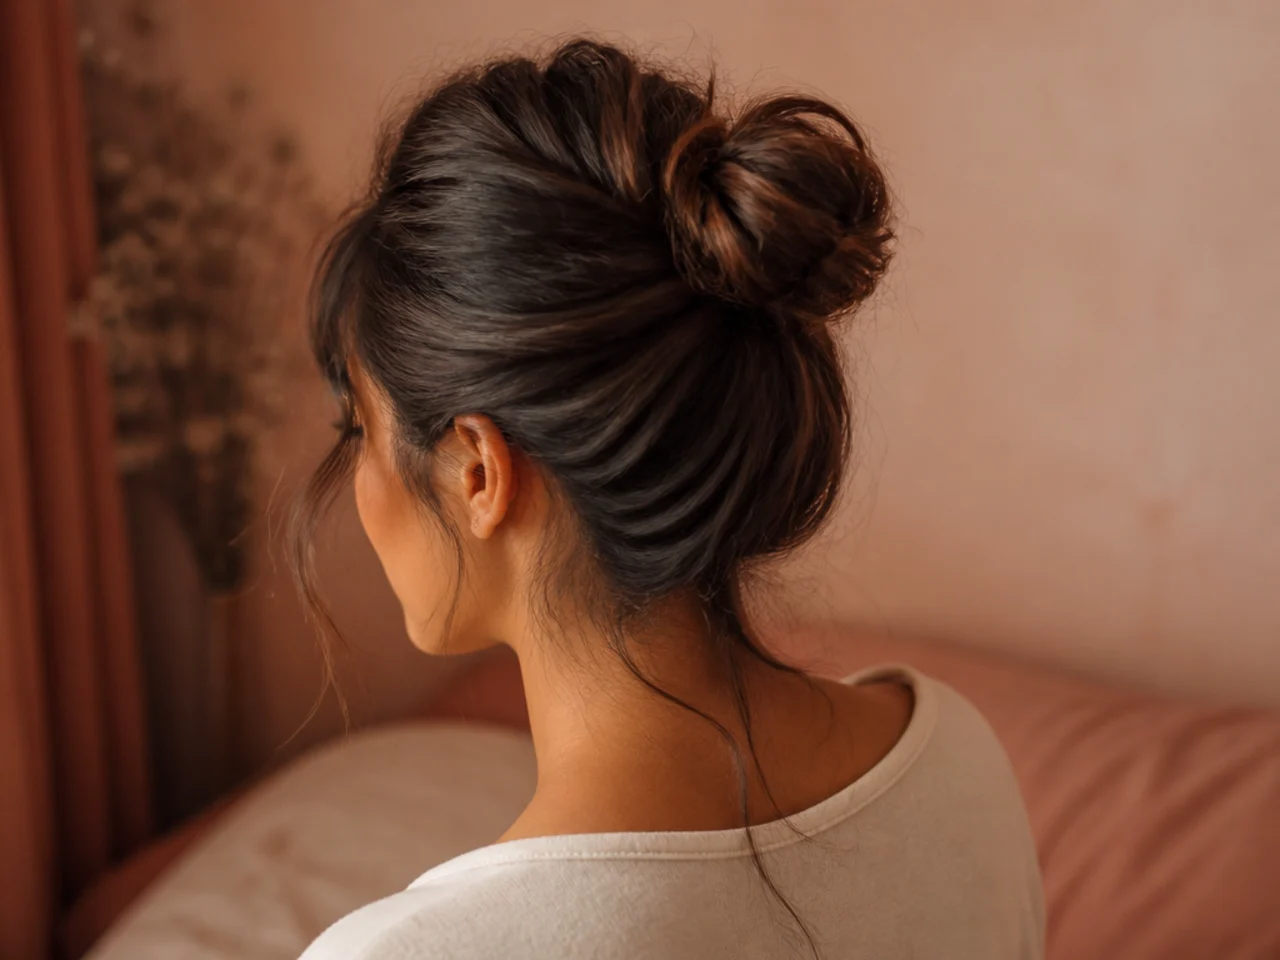
21. Second-Day Bun
The condition every bun on this page performs best in. Natural oil gives the pins something to catch on, which is friction you would otherwise have to add.
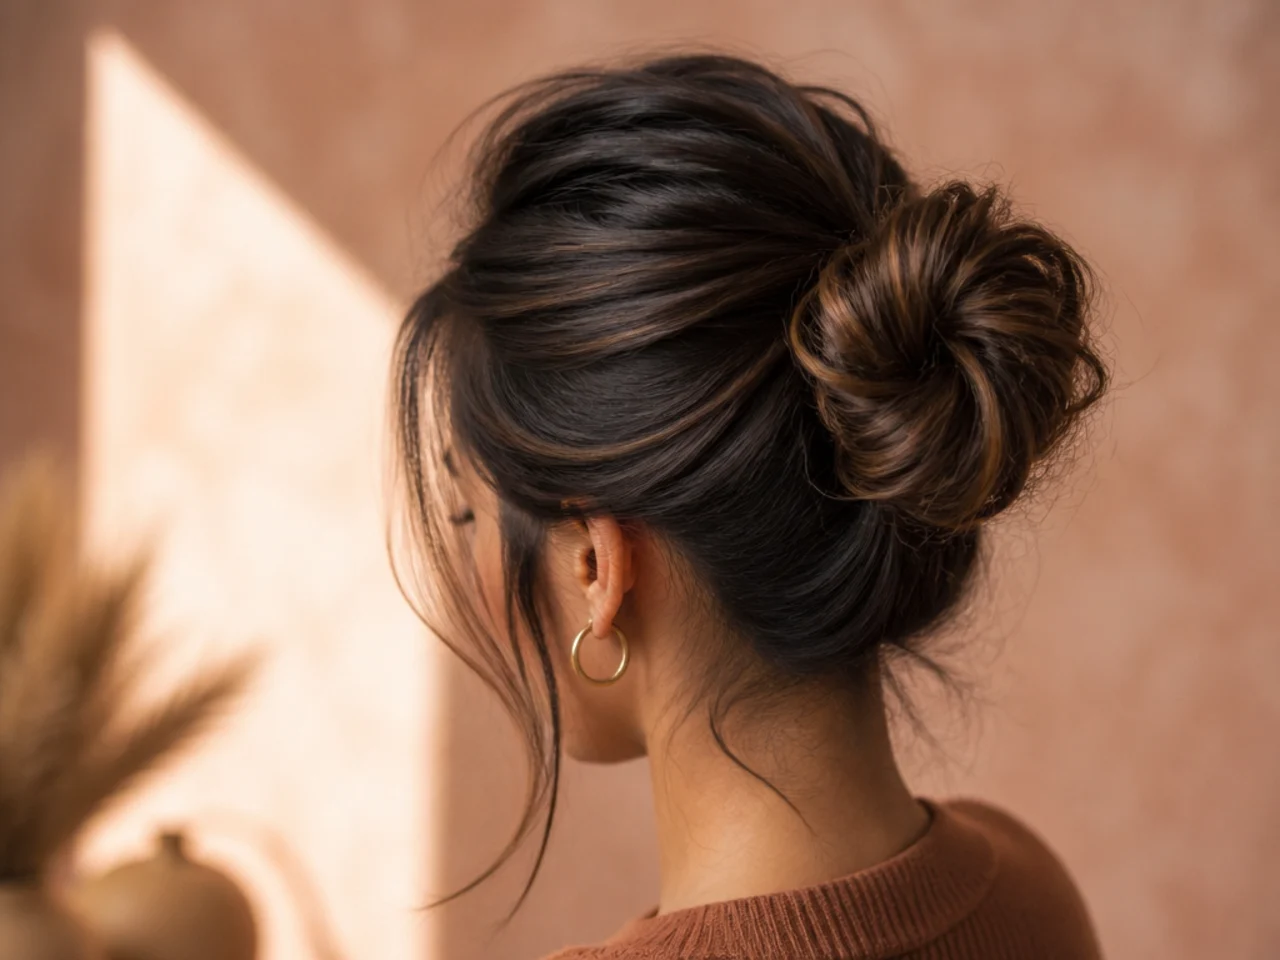
22. Bun with One Piece Tucked
The only adjustment needed once it is in. One tucked piece is a repair; three is a sign the anchors have gone and it needs resetting.
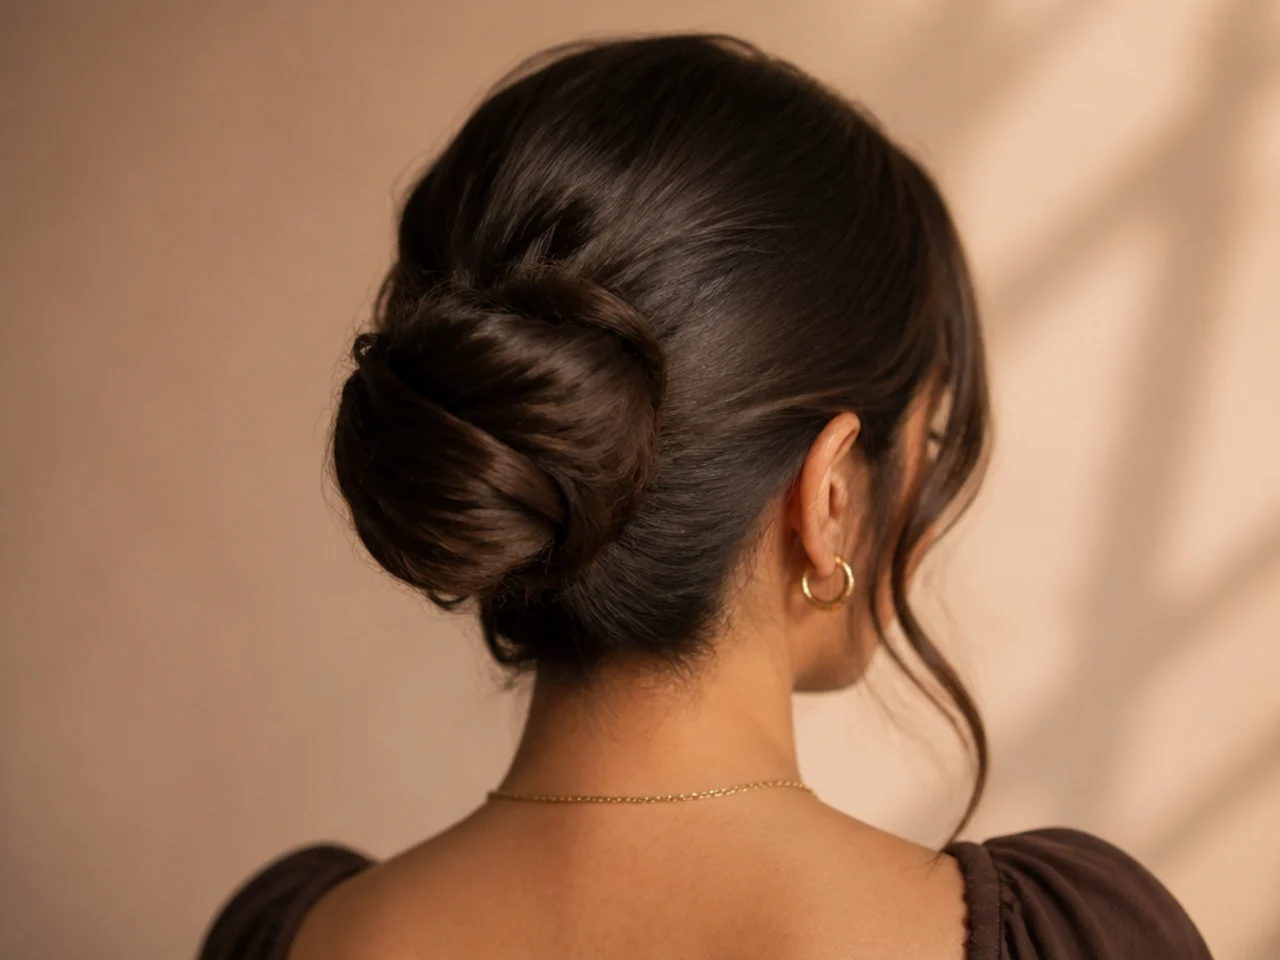
23. Bun Reset in Ten Seconds
When it has finally moved, this is the fix. Take it down and rebuild it low rather than trying to pull it back up, which never works.
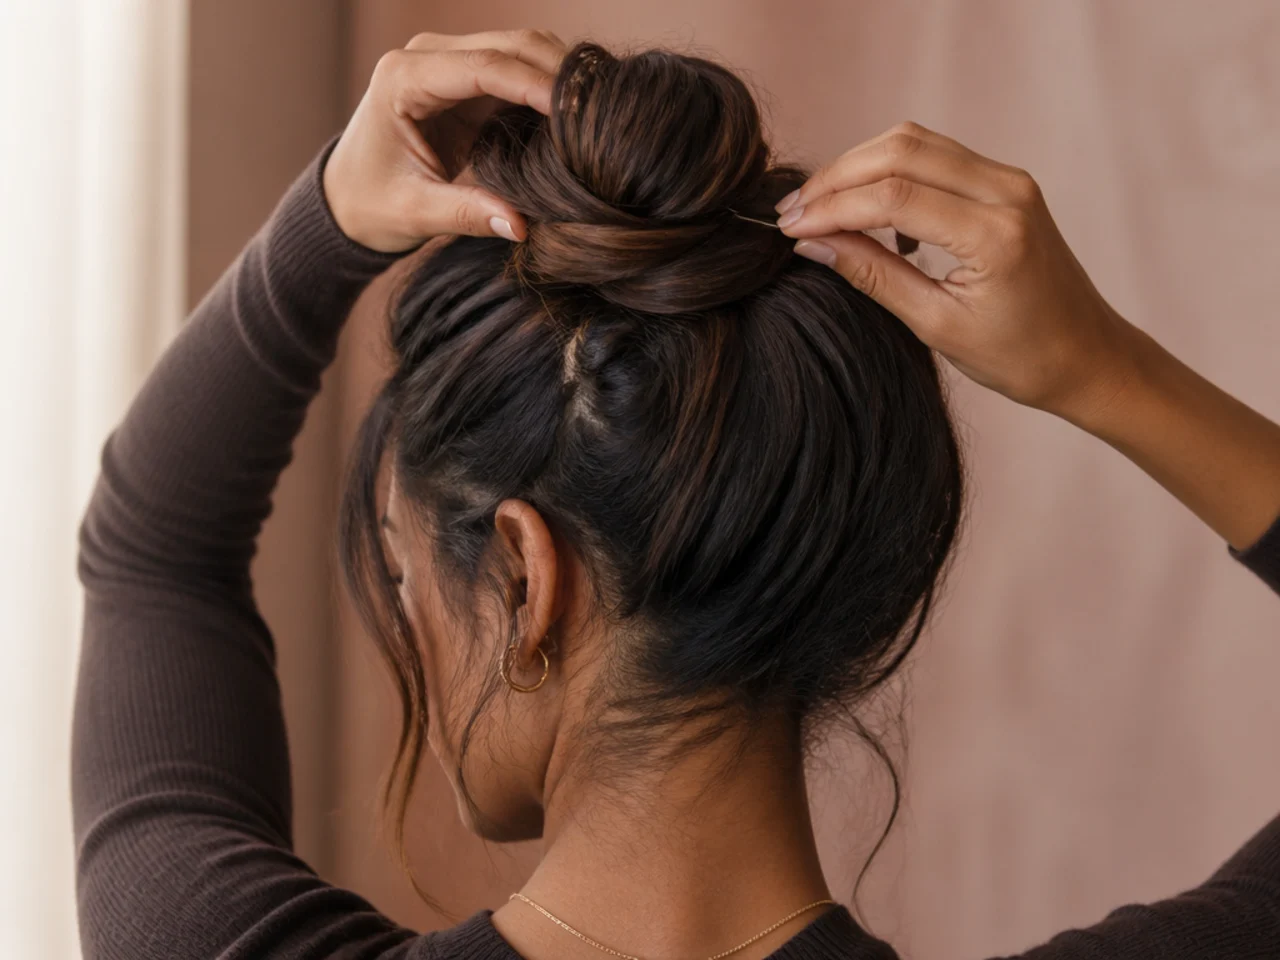
24. A Bun Tightened Too Far
Scalp pulled, and it still slid. Tension is not the answer. Tightening acts on the tie, and the tie was never the thing that was moving.
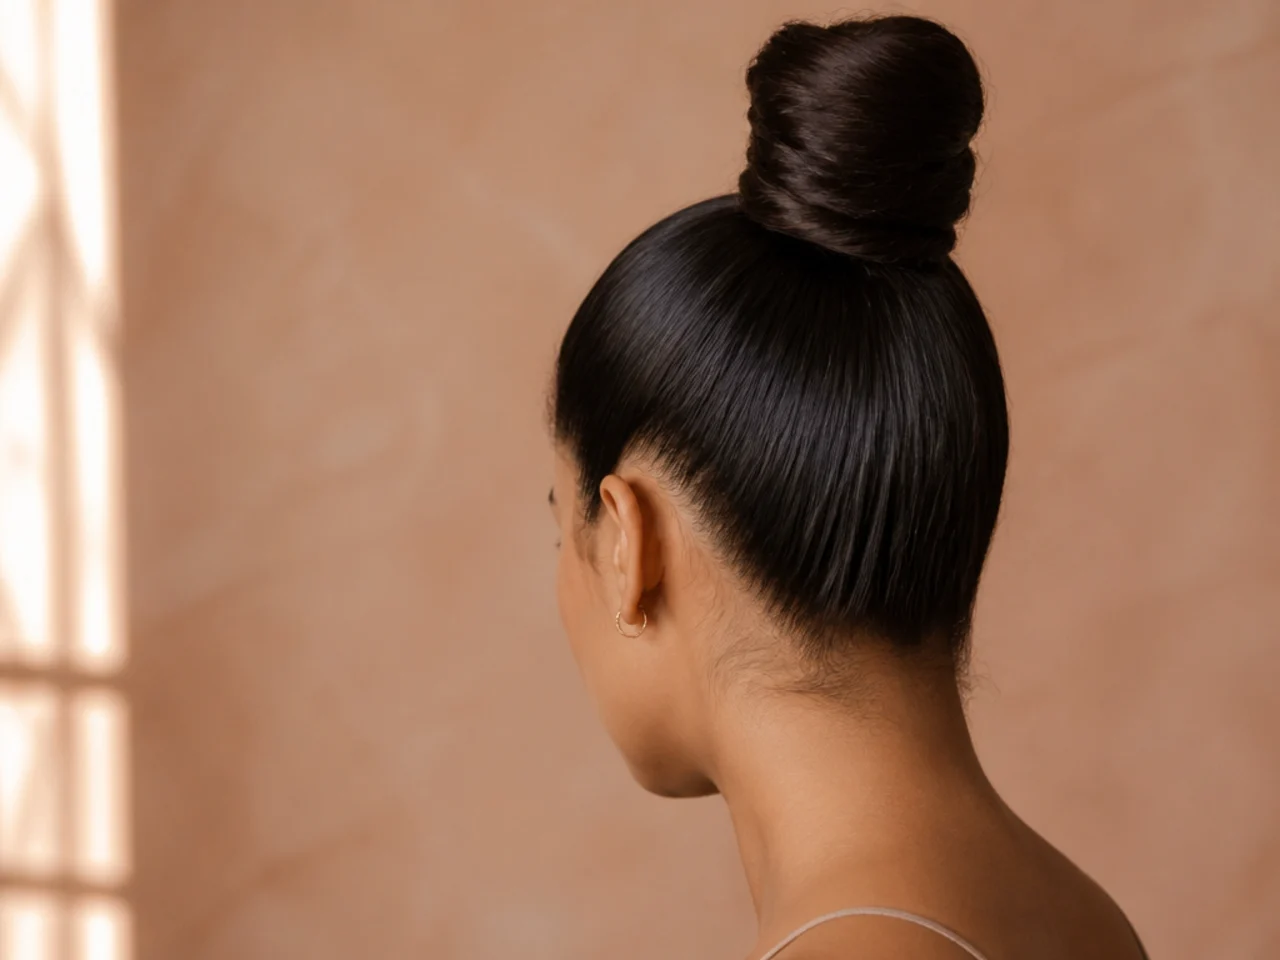
25. A High Bun at 4pm
Descended, exactly as the position predicts. More movement reaches the crown than anywhere else on the head, so the descent starts earlier there.
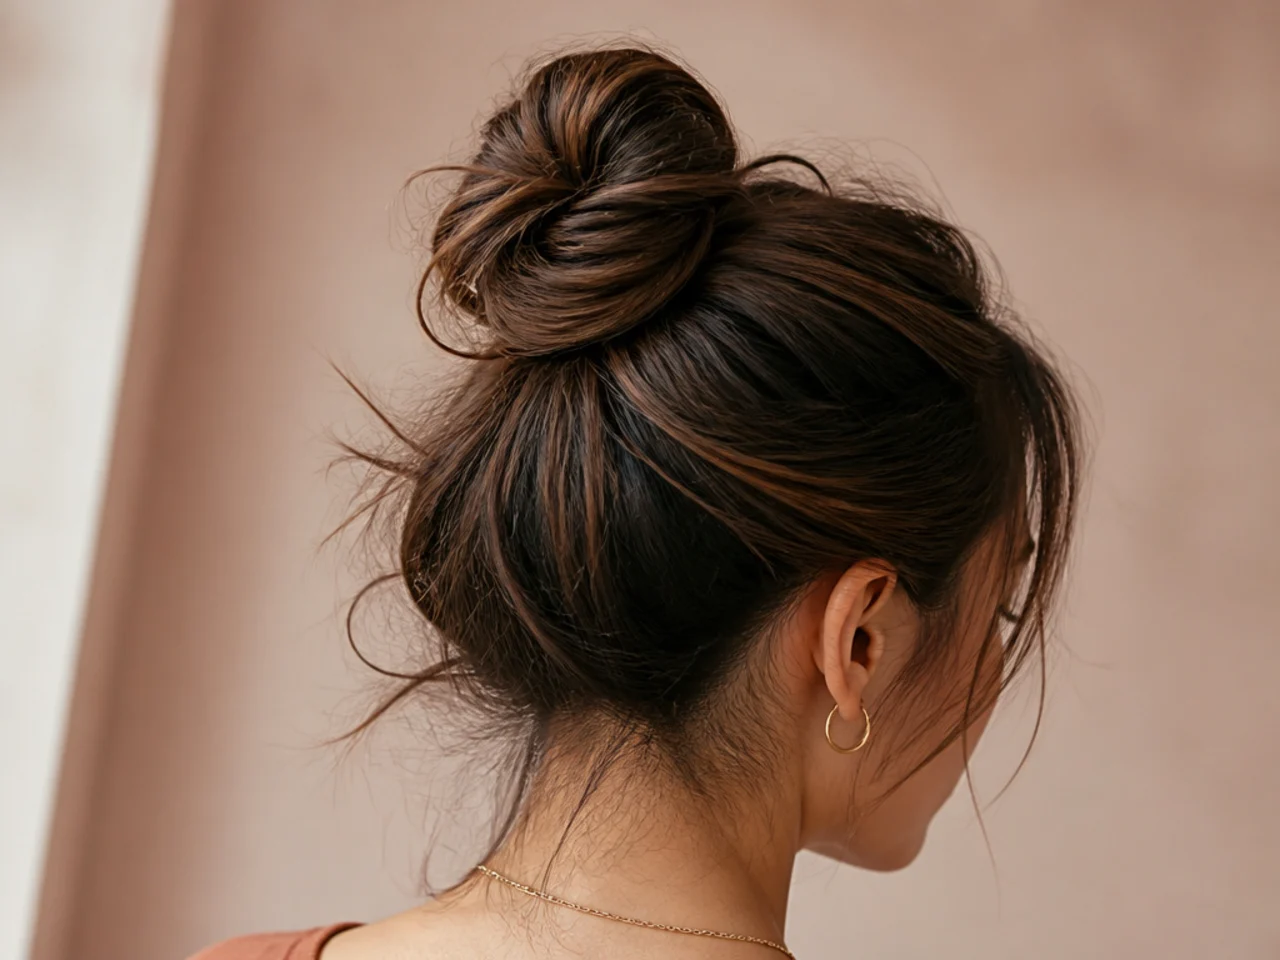
Styling and Upkeep
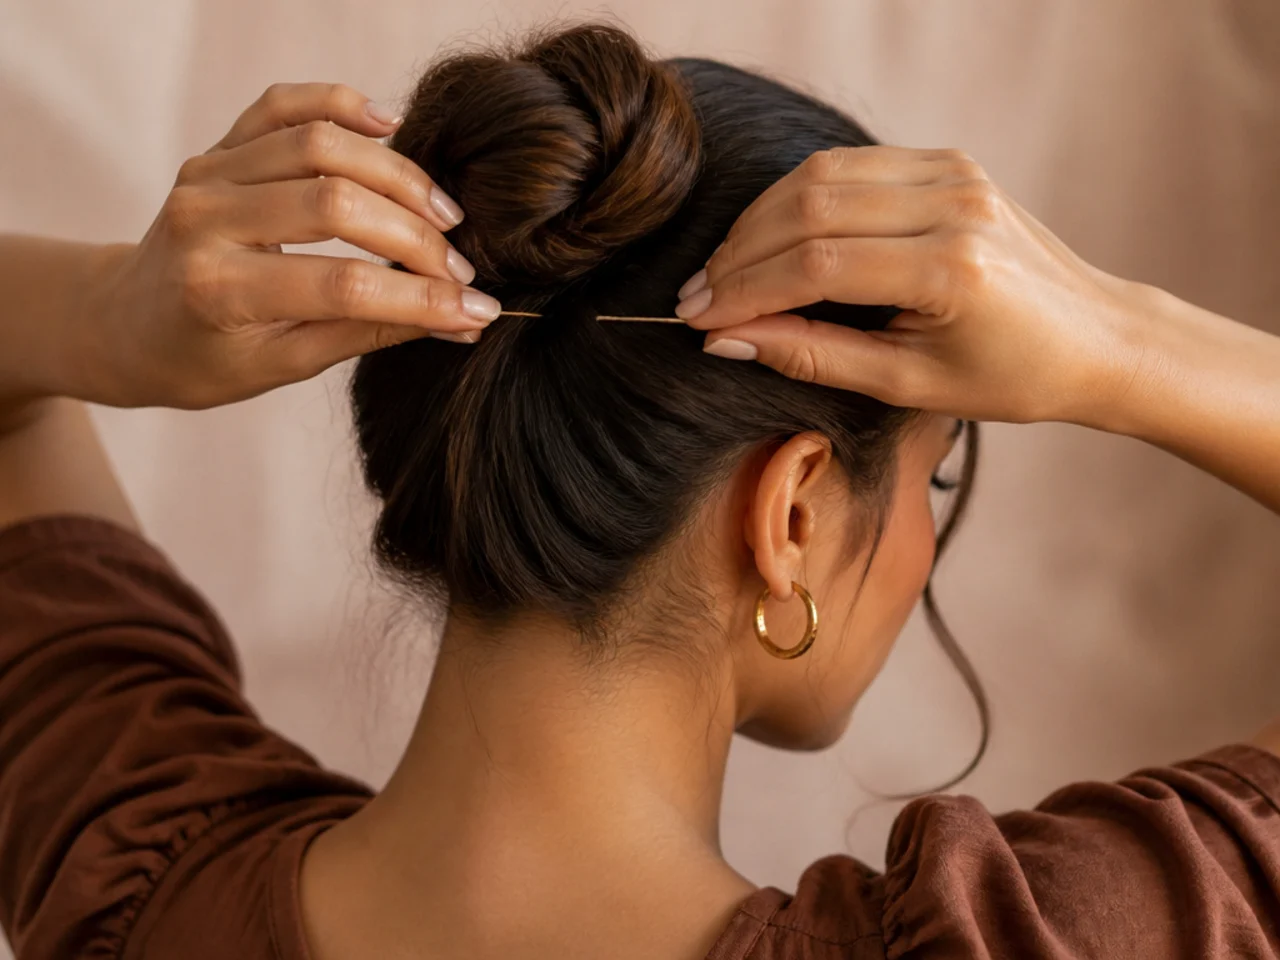
Cross every pair of pins. Push one in, then the second across it at an angle. It takes no longer.
Anchor into hair near the scalp. Not around the coil, which is not what moves.
Go low on days you cannot fix it. Position is doing more work than any product.
Do not tighten a slipping bun. Reset it low instead.
Keep two pins in a pocket. One anchor failing is the usual cause of a mid-day collapse.
Mistakes to Avoid
Tightening the tie to make it last. It is not the tie that is moving.
Parallel pins. They work loose within the hour.
Pinning around the bundle. Anchor into the hair underneath instead.
A high bun on a long day. More movement, sooner descent.
One anchor carrying everything. Two spread pairs hold far longer.
FAQ
Why does it slip? The hair loosens at the root, and the whole bun travels down.
How do you anchor it? Crossed pins into the hair near the scalp.
Which position lasts longest? Low, at the nape — less movement reaches it.
Final Thoughts
Learn to cross your pins and move the bun lower. Those two changes cost nothing, take no extra time, and between them solve the thing everyone tries to fix with a tighter elastic — which has never worked and was never going to.
For the fastest versions see 15 quick hair bun tutorials for busy days, and for a bun on unwashed hair specifically see the greasy hair bun. More in Updos & Clips.