
20 Elegant Hoco Updo Hair Ideas to Try
A twenty-step walkthrough for building a homecoming updo that holds — from what to buy and how to prep, through the pinning itself, to the troubleshooting for when it starts to slip mid-evening.
In this article · 28
- What You Will Need
- Before You Start
- The 20 Steps
- 1. Brush It Through Completely
- 2. Mist Texture Spray Through the Mid-Lengths
- 3. Decide Your Height Now
- 4. Section Off the Front
- 5. Backcomb at the Crown
- 6. Smooth the Surface Back Over
- 7. Gather to Your Chosen Point
- 8. Secure with a Clear Elastic
- 9. Split Thick Hair Into Sections
- 10. Twist Each Section Before Coiling
- 11. Coil Around the Base
- 12. Pin Through Into the Hair Underneath
- 13. Cross Every Pin With a Second
- 14. Work Around the Coil, Not Along It
- 15. Tuck the Ends Under and Pin Them Separately
- 16. Test It With a Shake
- 17. Photograph the Back Before You Finish
- 18. Release the Front Sections
- 19. Spray in Thin Passes From a Distance
- 20. Put Six Spare Pins in Your Bag
- Aftercare and Upkeep
- Troubleshooting
- Mistakes to Avoid
- FAQ
- Final Thoughts
An updo is not a harder hairstyle than a half-up. It is the same set of moves with one difference: everything has to be anchored, and almost nothing about anchoring is obvious from watching someone else do it.
What follows is the whole process in order — what to have ready, what to do before you start, the twenty steps themselves, and what to do when it begins to slip at half past nine.
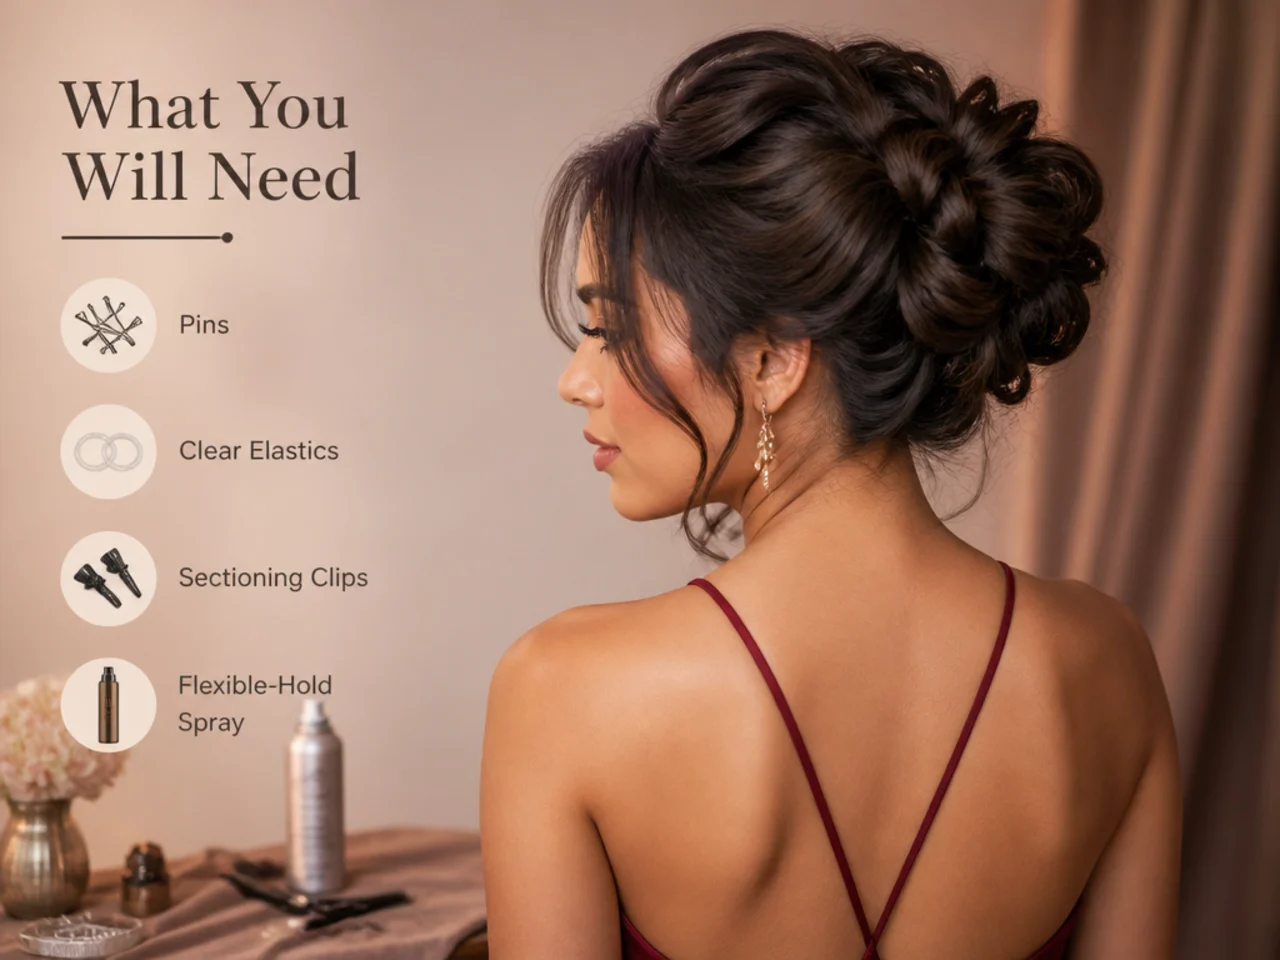
What You Will Need
Twelve to twenty bobby pins. More than you think. Buy a pack rather than counting out what a tutorial suggests.
Two clear elastics. One for the base, one spare.
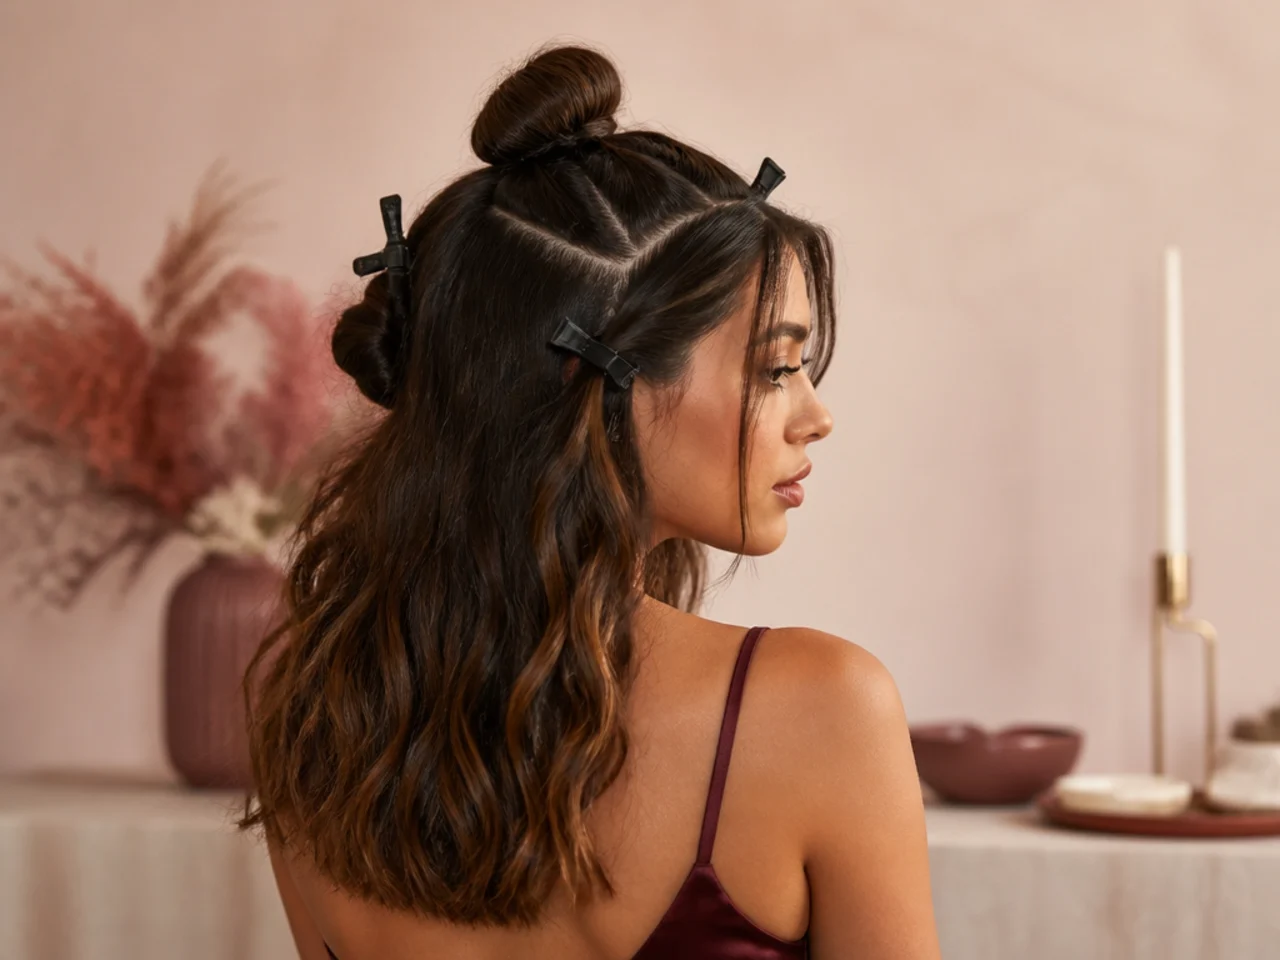
Four sectioning clips. The step most often skipped, and the one that makes everything else manageable.
Flexible-hold hairspray. Not a rigid one — rigid hold shatters under movement and stops holding entirely once it has.
Texture spray, if your hair is fine or freshly washed.
A hand mirror, or a phone. You cannot judge the back any other way.
Before You Start
Hair washed the night before, not that morning. Clean hair is slippery and pins slide out of it. This decides more than any technique below.
Completely dry. Damp hair at the roots will loosen the whole structure as it dries.
No oil for two days. Pins do not grip an oiled strand.
Everything within reach. Hunting for a pin with one hand holding a coil in place is how a manageable job becomes a difficult one.
The 20 Steps
1. Brush It Through Completely
Any tangle left in becomes a lump under the finished shape.
2. Mist Texture Spray Through the Mid-Lengths
Skip only if your hair is thick and two days unwashed. Everyone else needs the grip.

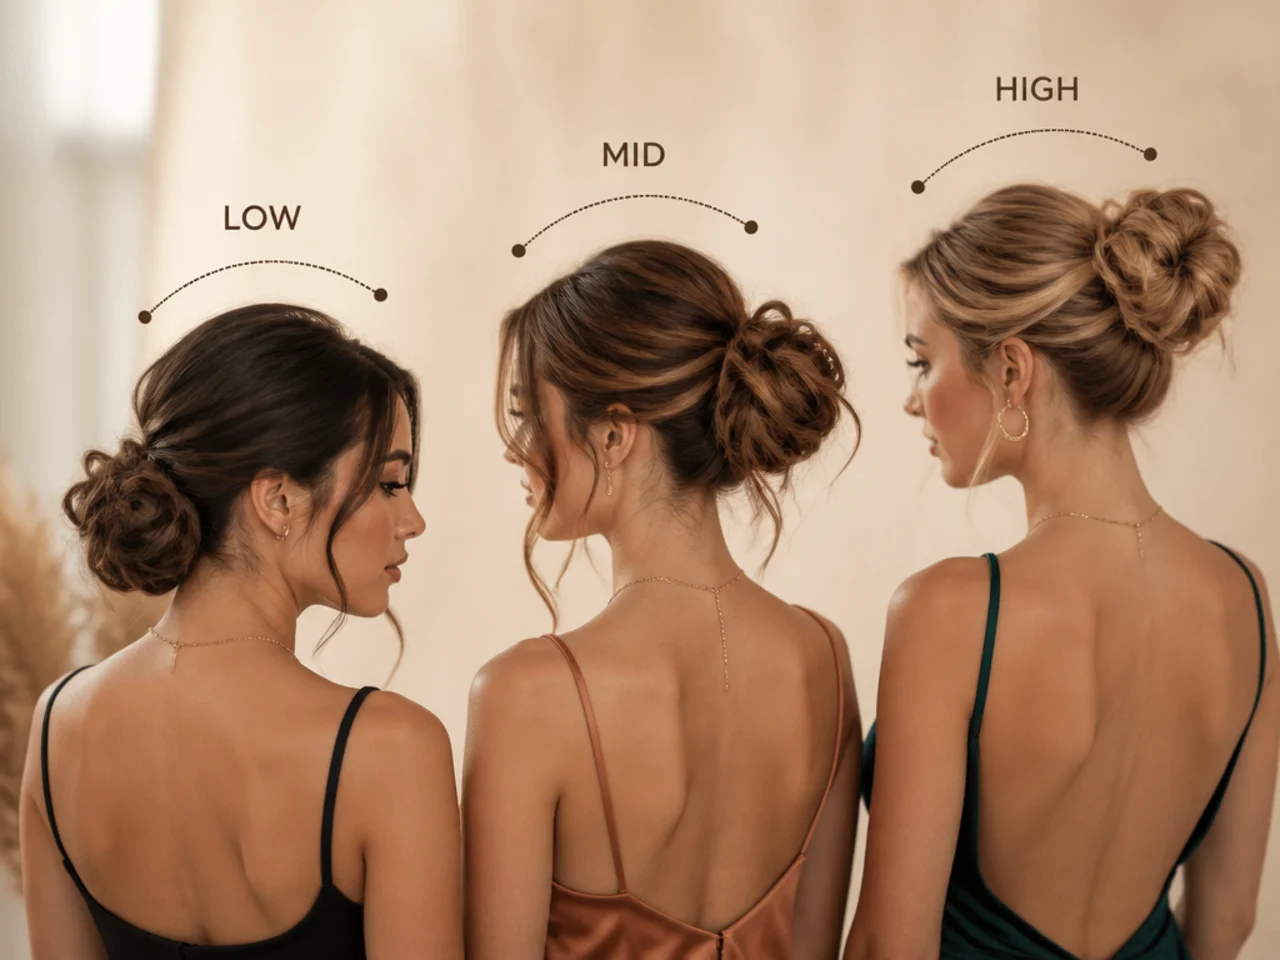
3. Decide Your Height Now
Nape, mid-back or crown. Changing your mind halfway means starting again.
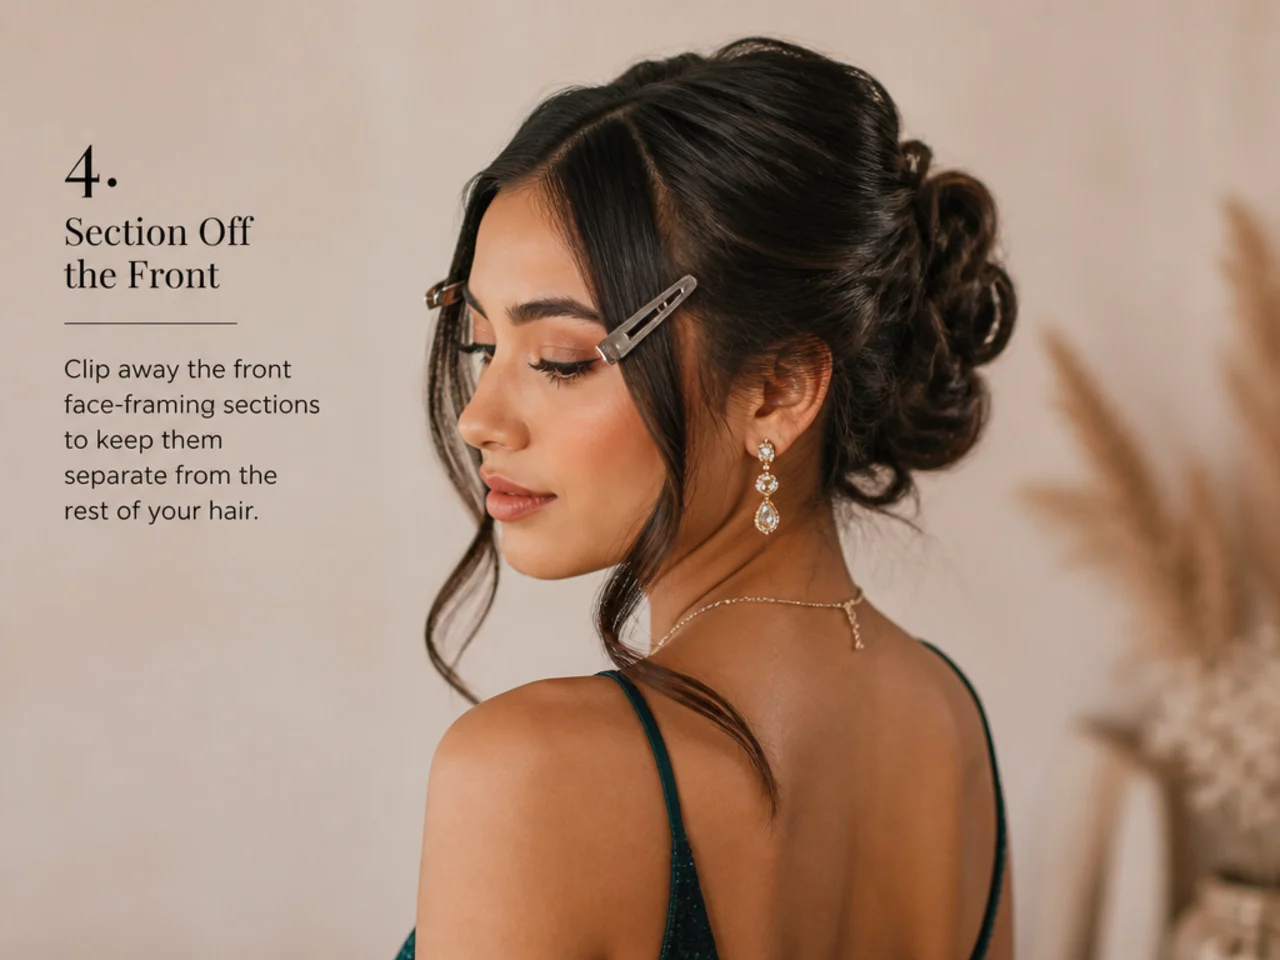
4. Section Off the Front
Clip away the two face-framing pieces before you touch anything else. You will want them at the end.
5. Backcomb at the Crown
Three light passes underneath the top section. This is what stops the finished shape sitting flat.

6. Smooth the Surface Back Over
Brush only the top layer, gently. The backcombing underneath stays where it is.

7. Gather to Your Chosen Point
One hand gathering, the other smoothing as you go. Lumps set now are permanent.

8. Secure with a Clear Elastic
Tight. This is the foundation and everything else hangs off it.
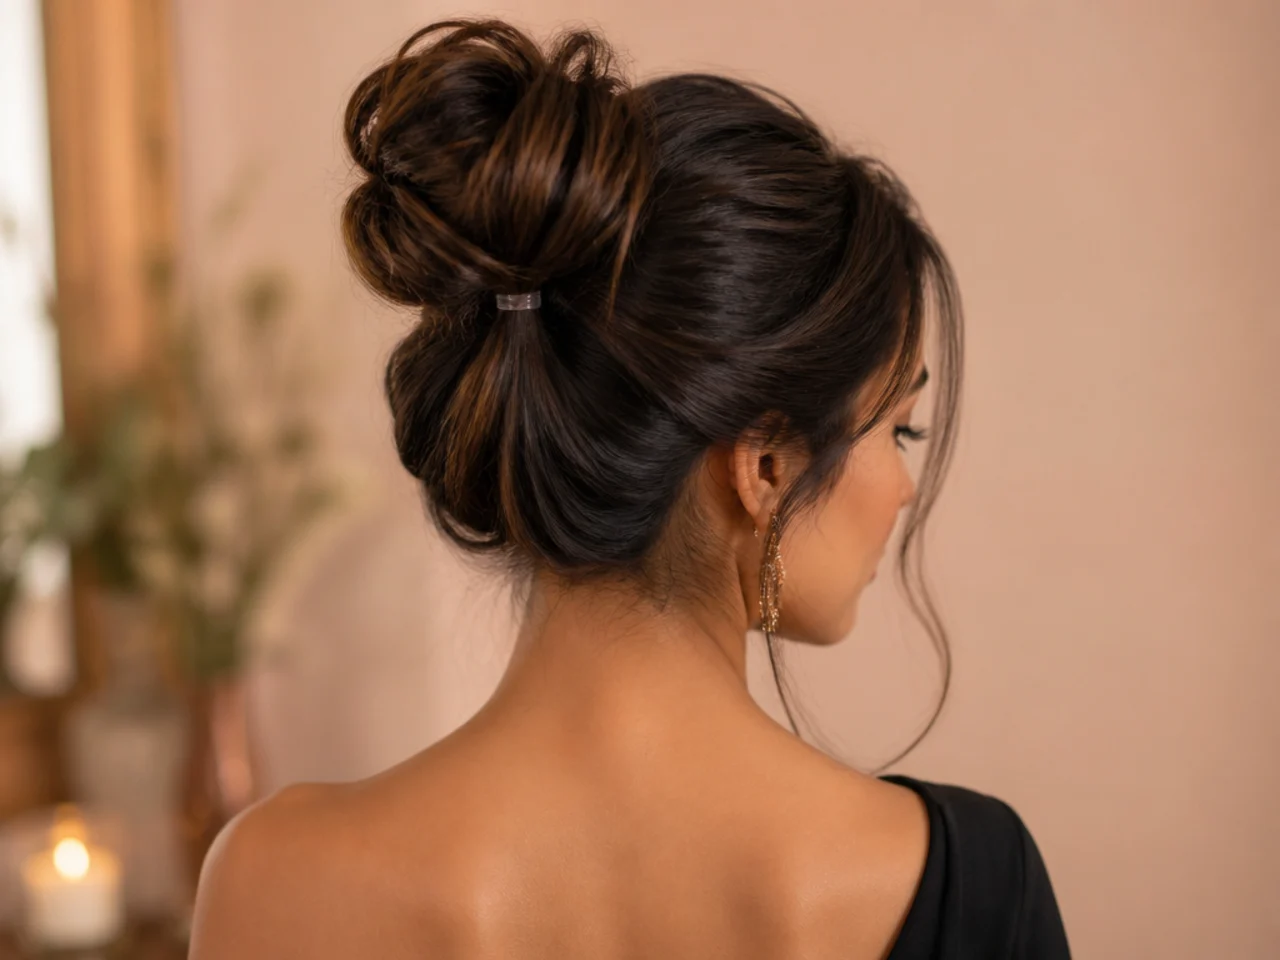
9. Split Thick Hair Into Sections
If your hair is thick, divide the ponytail into two or three before coiling. One coil of thick hair is too heavy to hold.
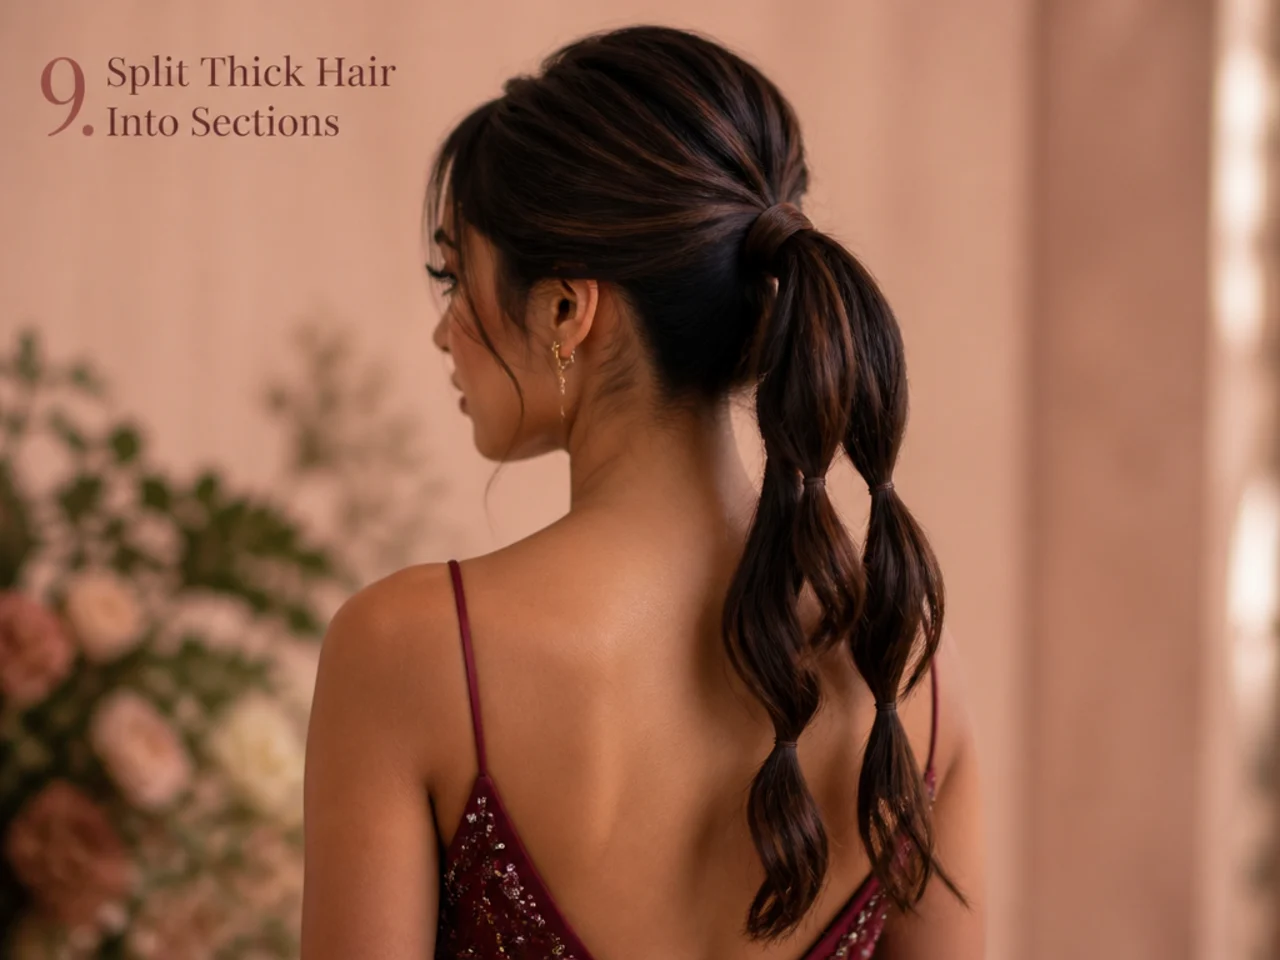
10. Twist Each Section Before Coiling
A twisted section holds its own shape. An untwisted one unravels as you pin it.
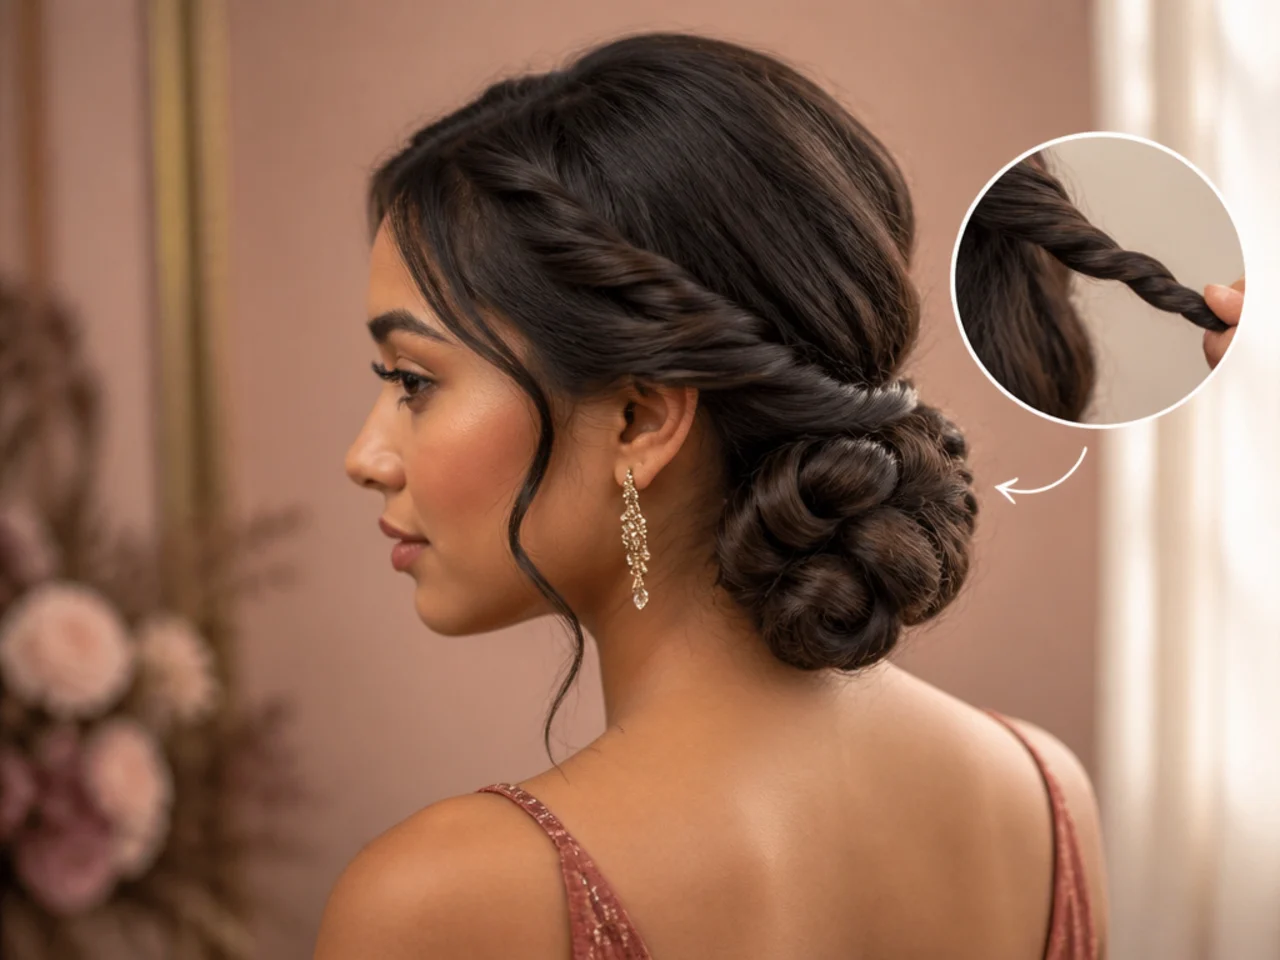
11. Coil Around the Base
Wrap around the elastic rather than away from it, keeping the coil flat against the head.
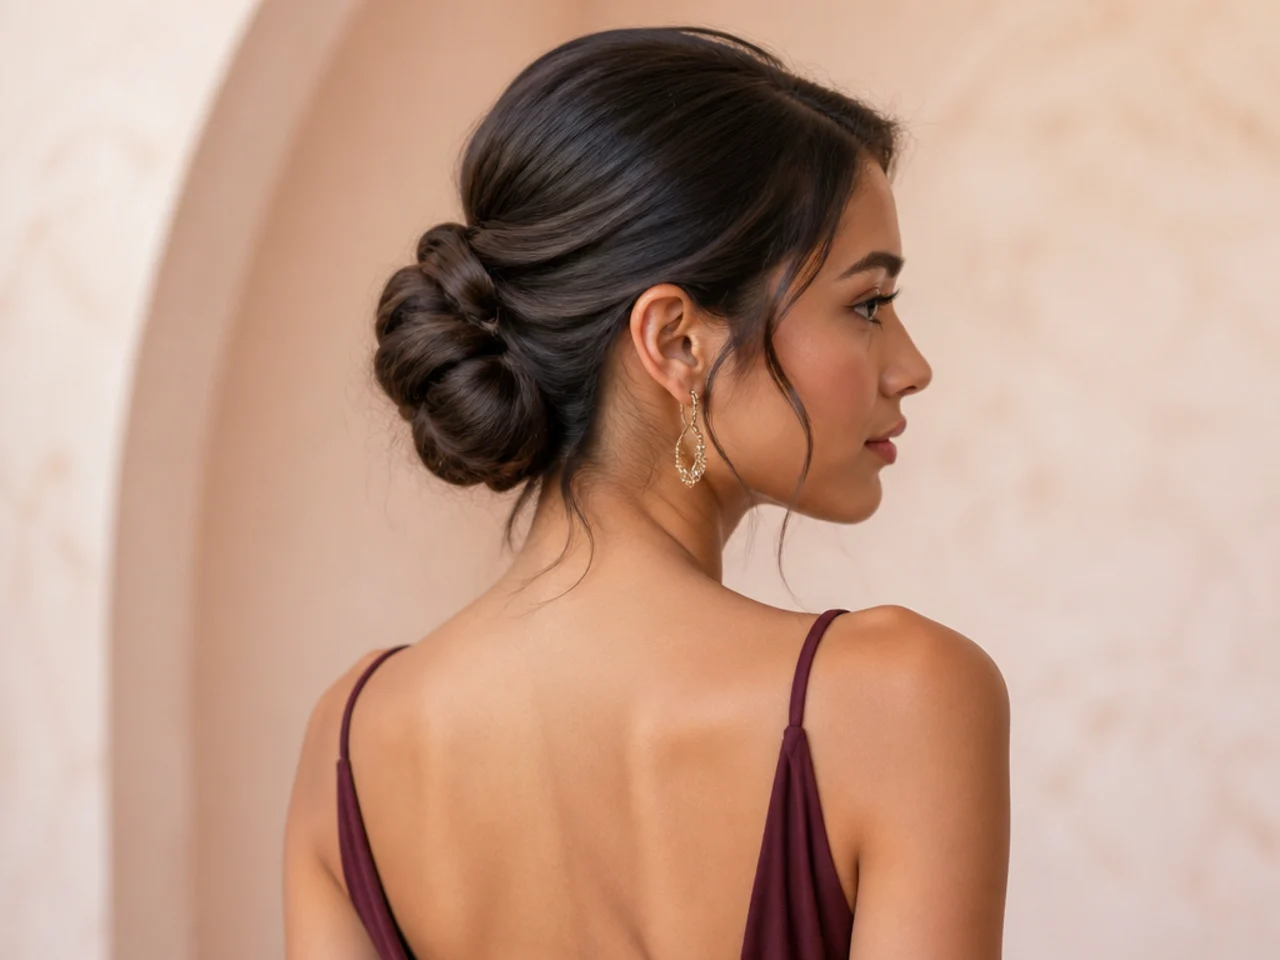
12. Pin Through Into the Hair Underneath
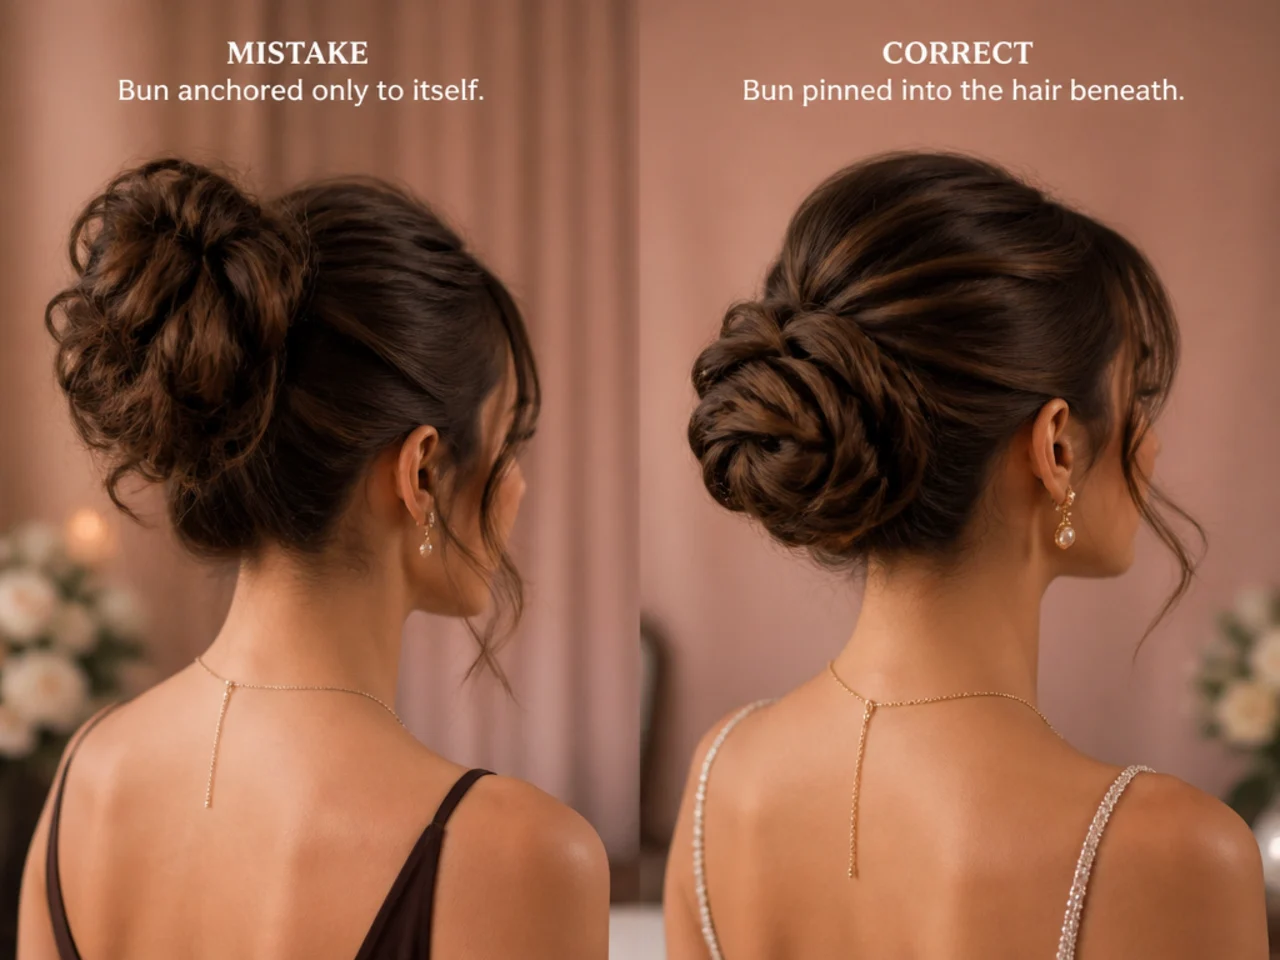
The most important step here. A pin that only passes through the coil holds the coil to nothing, and the whole shape will travel down. Catch the hair beneath every time.
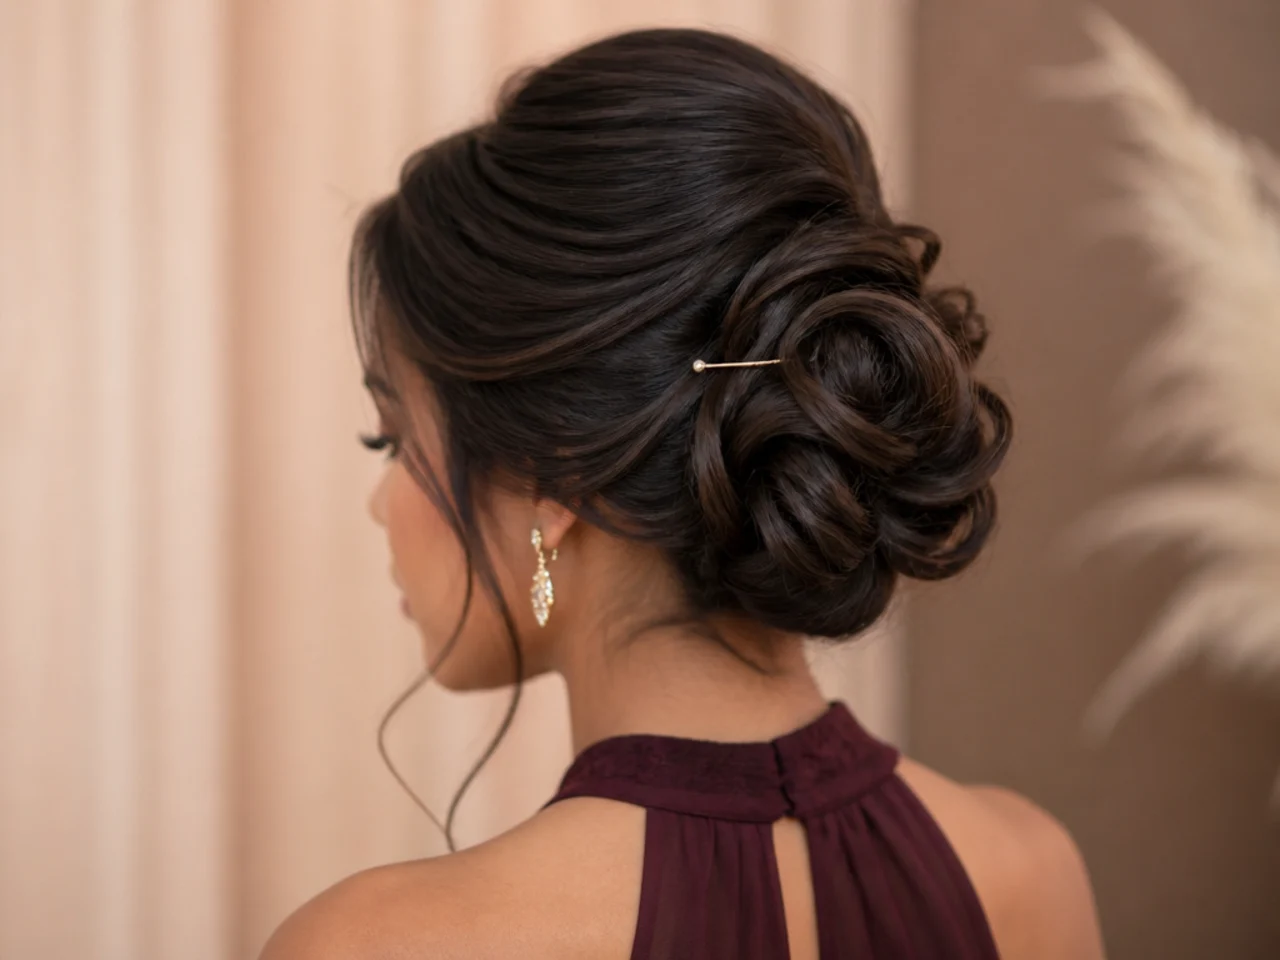
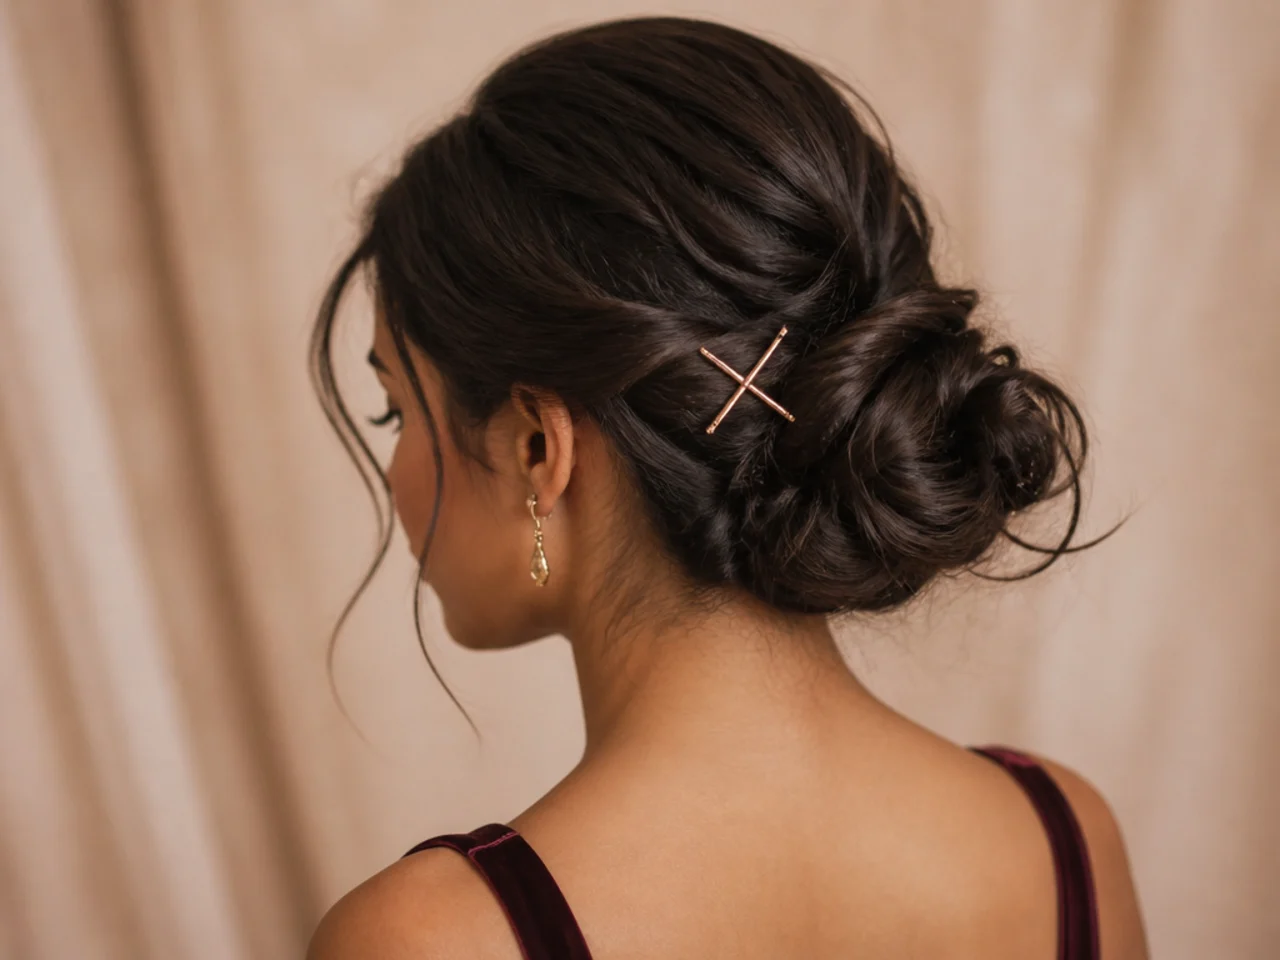
13. Cross Every Pin With a Second
Pins pushed straight in have one direction to travel and they travel it. Two crossed in an X lock against each other.
14. Work Around the Coil, Not Along It
Pin at the twelve, three, six and nine o'clock positions before filling in. Even tension all the way round.
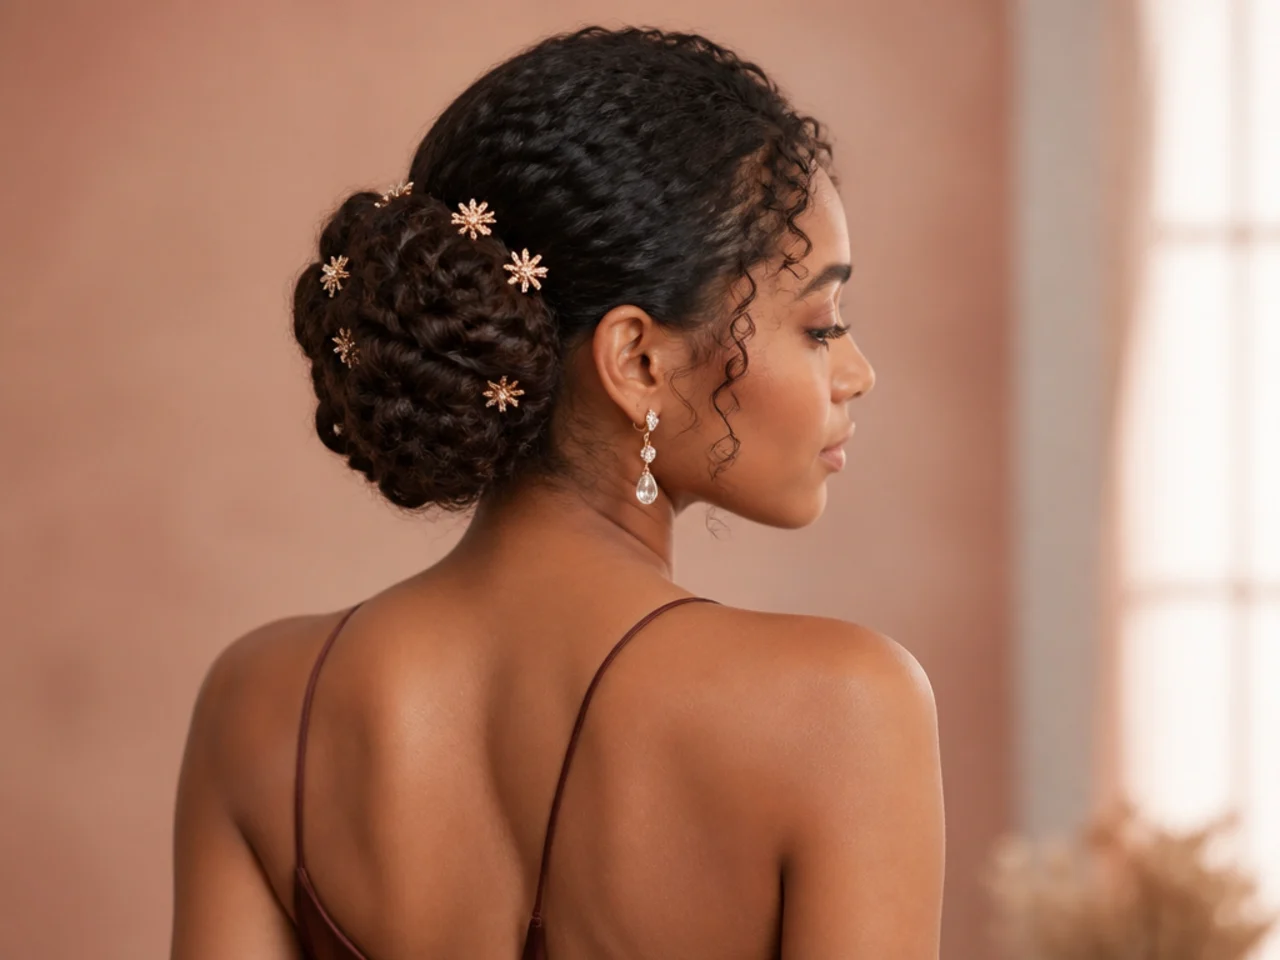
15. Tuck the Ends Under and Pin Them Separately
Loose ends are what unravel first. Give each one its own pin.
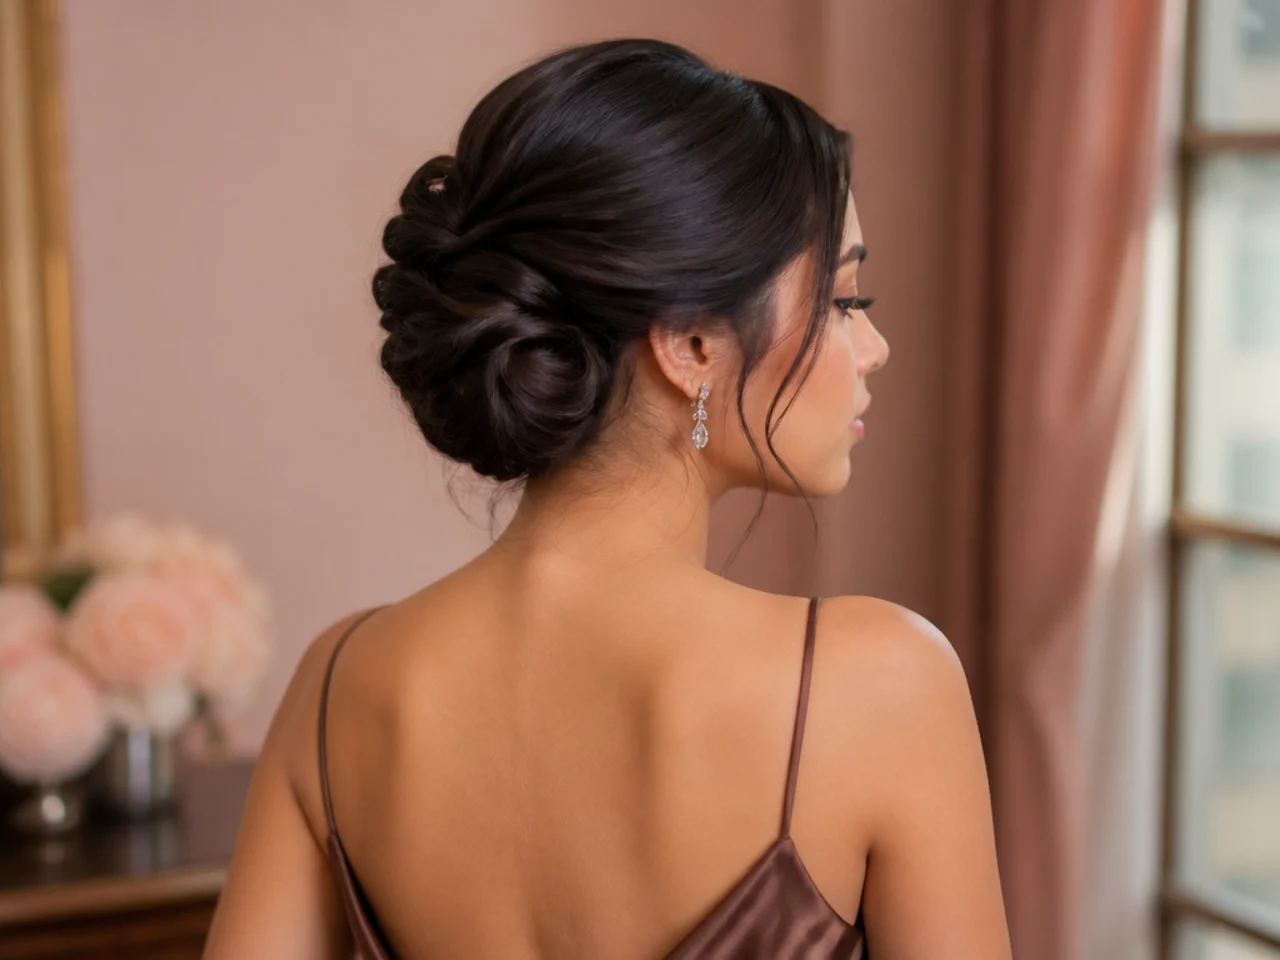
16. Test It With a Shake
Shake your head properly now, not politely. Anything that moves here will be on your shoulders by ten o'clock.

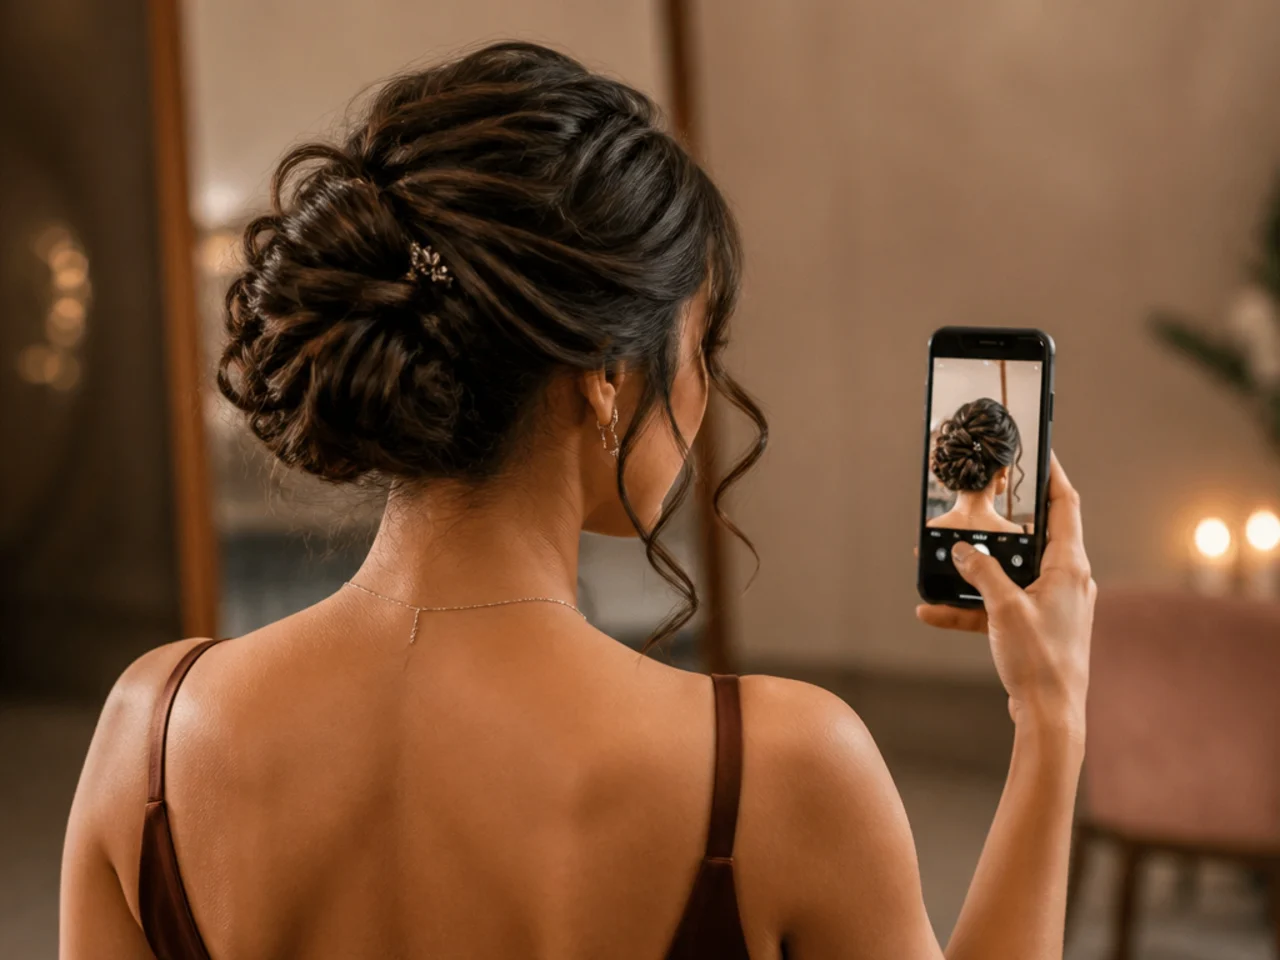
17. Photograph the Back Before You Finish
Your phone will show you gaps, lumps and a crooked centre that the mirror cannot. Fix them now while it is easy.
18. Release the Front Sections
Unclip the face-framing pieces and leave them, or curl the ends softly. They are what stop an updo reading as severe.

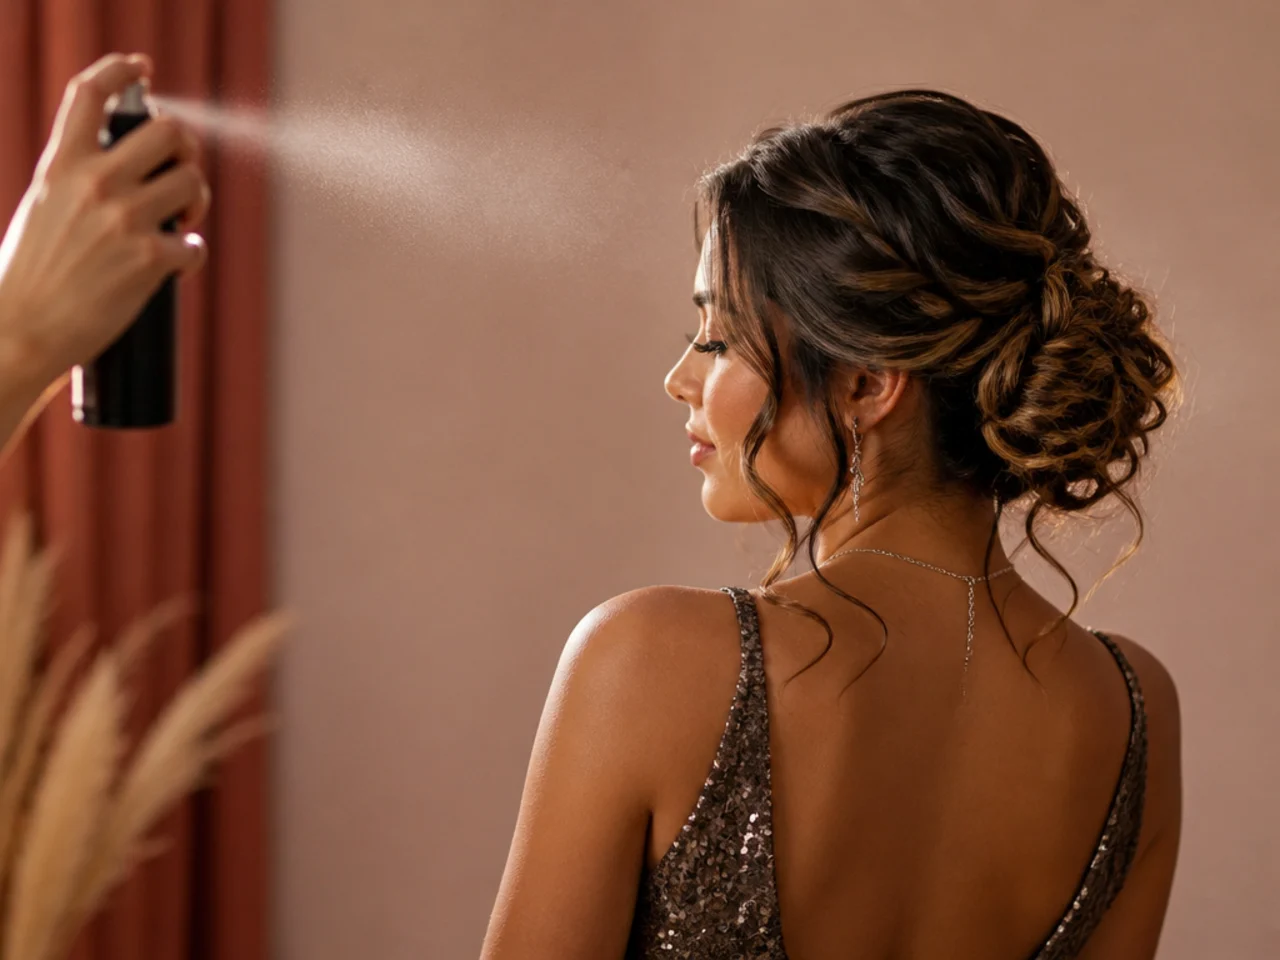
19. Spray in Thin Passes From a Distance
Two light passes from arm's length, not one heavy one up close. Heavy spray looks stiff early and breaks into visible clumps later.
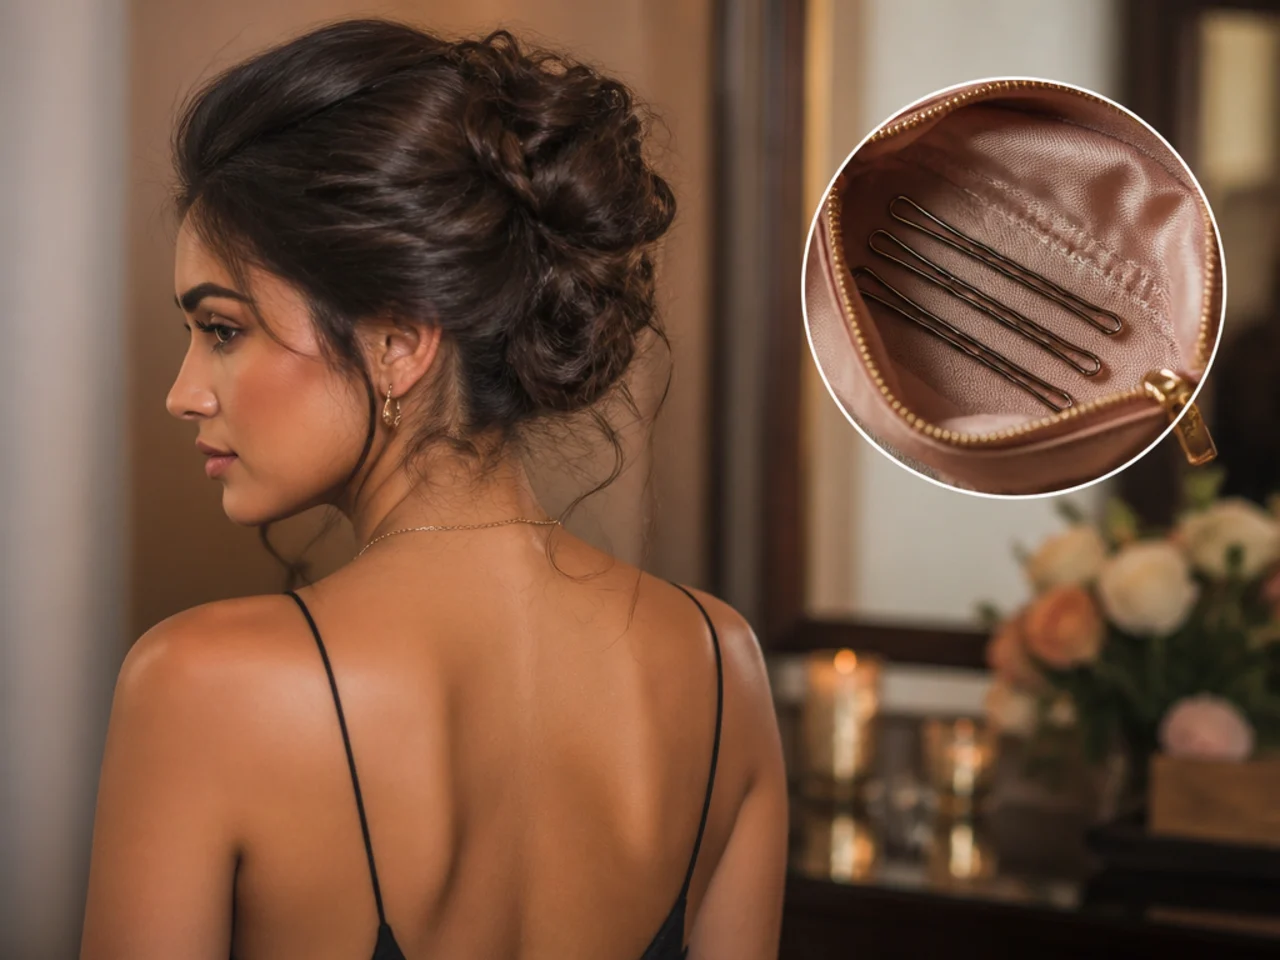
20. Put Six Spare Pins in Your Bag
The whole difference between a two-minute repair and going home. It weighs nothing.
Aftercare and Upkeep
Leave it alone. An updo is at its most stable in the twenty minutes after it is finished, and every touch after that loosens something.
Do not re-spray during the evening. Fresh spray over set spray does not add hold; it dissolves the surface of what is already there and then dries harder and more brittle than before.
If a piece falls at the front, leave it. It reads as intentional, and everyone assumes it was.

Troubleshooting
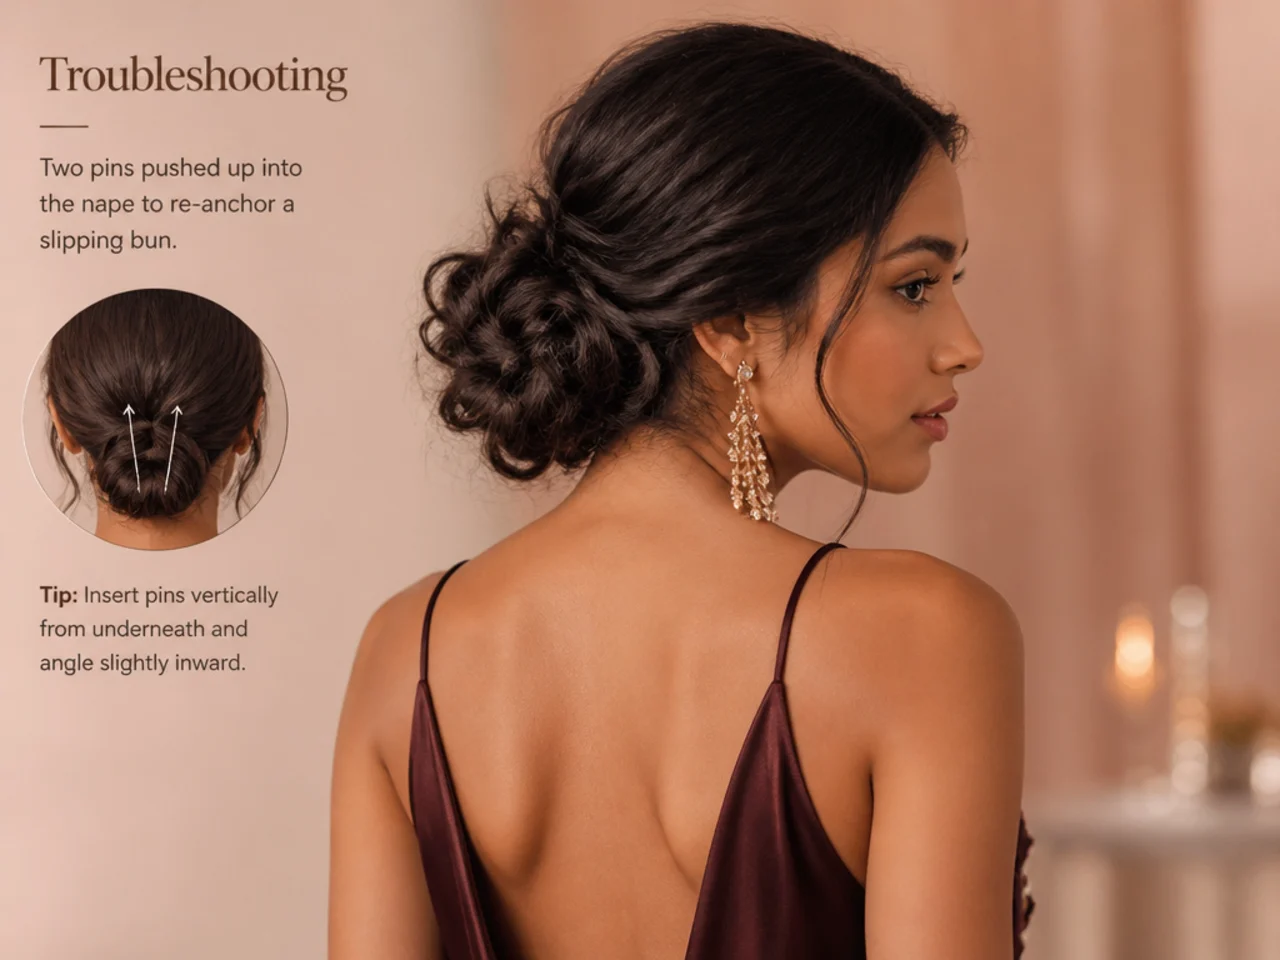
The whole thing is sliding down. It is anchored to itself. Push two pins up through the base into the hair at the nape rather than into the bun, crossed. That re-anchors the structure rather than tightening it.
A section has come loose at the side. Do not repin the whole thing. Twist that piece back toward the coil and cross two pins over it.
It has gone flat at the crown. The backcombing has collapsed. You cannot rebuild it now — but tipping your head forward and misting the roots with dry shampoo restores most of the lift.
Pins keep sliding out. The hair is too clean or too oiled. Dry shampoo at the pin points gives you enough grip to get through the evening.
There is a visible gap at the back. One pin, pushed through the gap into the hair underneath, closes it. This is what step seventeen exists to catch.
Mistakes to Avoid
Pinning into the coil only. The single most common reason an updo travels down. Always catch the hair underneath.
Pins pushed straight in. They work loose. Cross them.
Washing that morning. No technique compensates for hair that has no grip.
One coil on thick hair. Split it. A single heavy coil pulls itself out.
Not checking the back. You are the only person at the event who will not see it.
FAQ
How many pins? Twelve to twenty, and more than you expect.
Why does it slip? It is anchored to itself rather than to the hair underneath.
Can you do your own? Yes — but photograph the back before you finish.

Final Thoughts
If one thing on this page changes your result, make it step twelve: every pin goes through the coil and into the hair underneath. That single habit is the difference between an updo that is still where you put it at midnight and one that has quietly walked down your neck since nine.
For styles rather than technique see 25 stunning hoco hair ideas, and for the half-up alternative see 15 dreamy half up hoco hair ideas. More in Occasion & Event Hair.
Frequently asked questions
Related posts
See all posts
15 Graduation Hair Ideas for the Updo Versus Down Decision
Read more
15 Straight Hair Wedding Looks to Save
Read more
20 Gorgeous Prom Looks for Straight Hair
Read more